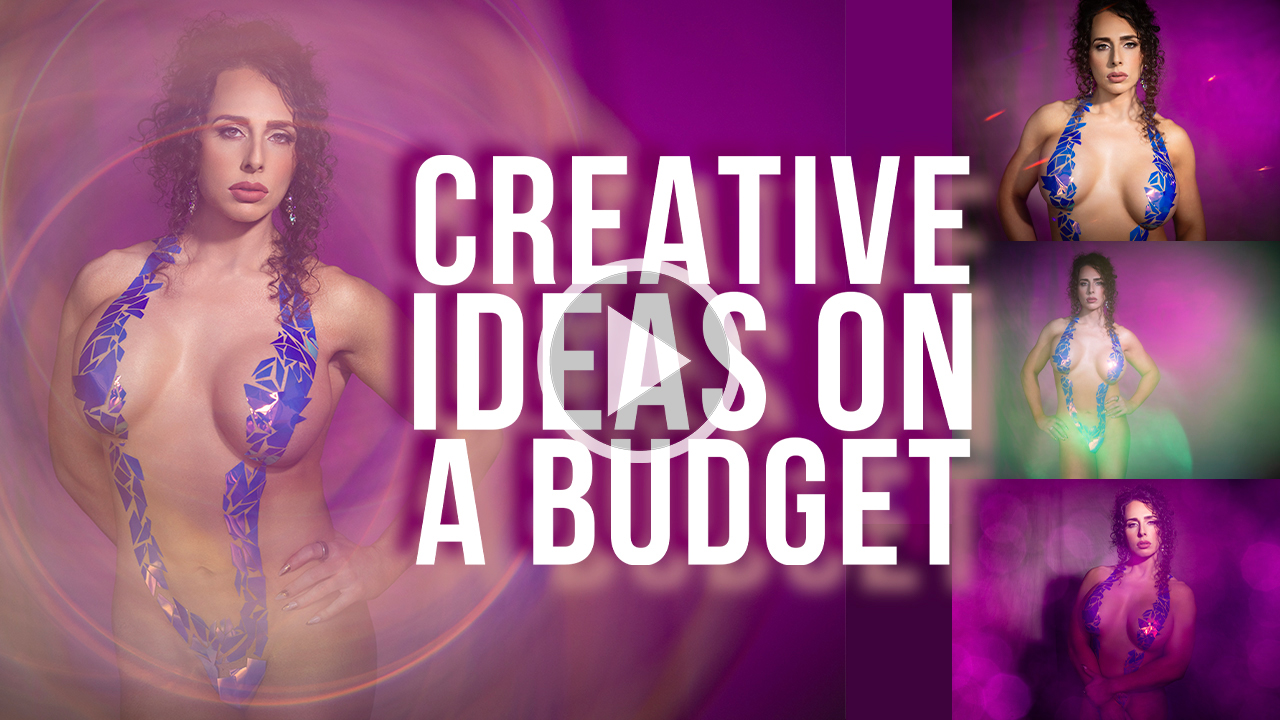
CREATIVE IDEAS FOR YOUR NEXT PHOTOSHOOT ON A BUDGET
If you’re a photographer or content creator looking to level up your portfolio without breaking the bank, you’re in the right place. Whether you’re just starting out or looking for fresh inspiration, there are creative tools and techniques out there that can completely transform your photos—all without costing more than a nice dinner out.
Here are four creative ideas for your next photoshoot on a budget, plus a few bonus tricks to make your sessions stand out.
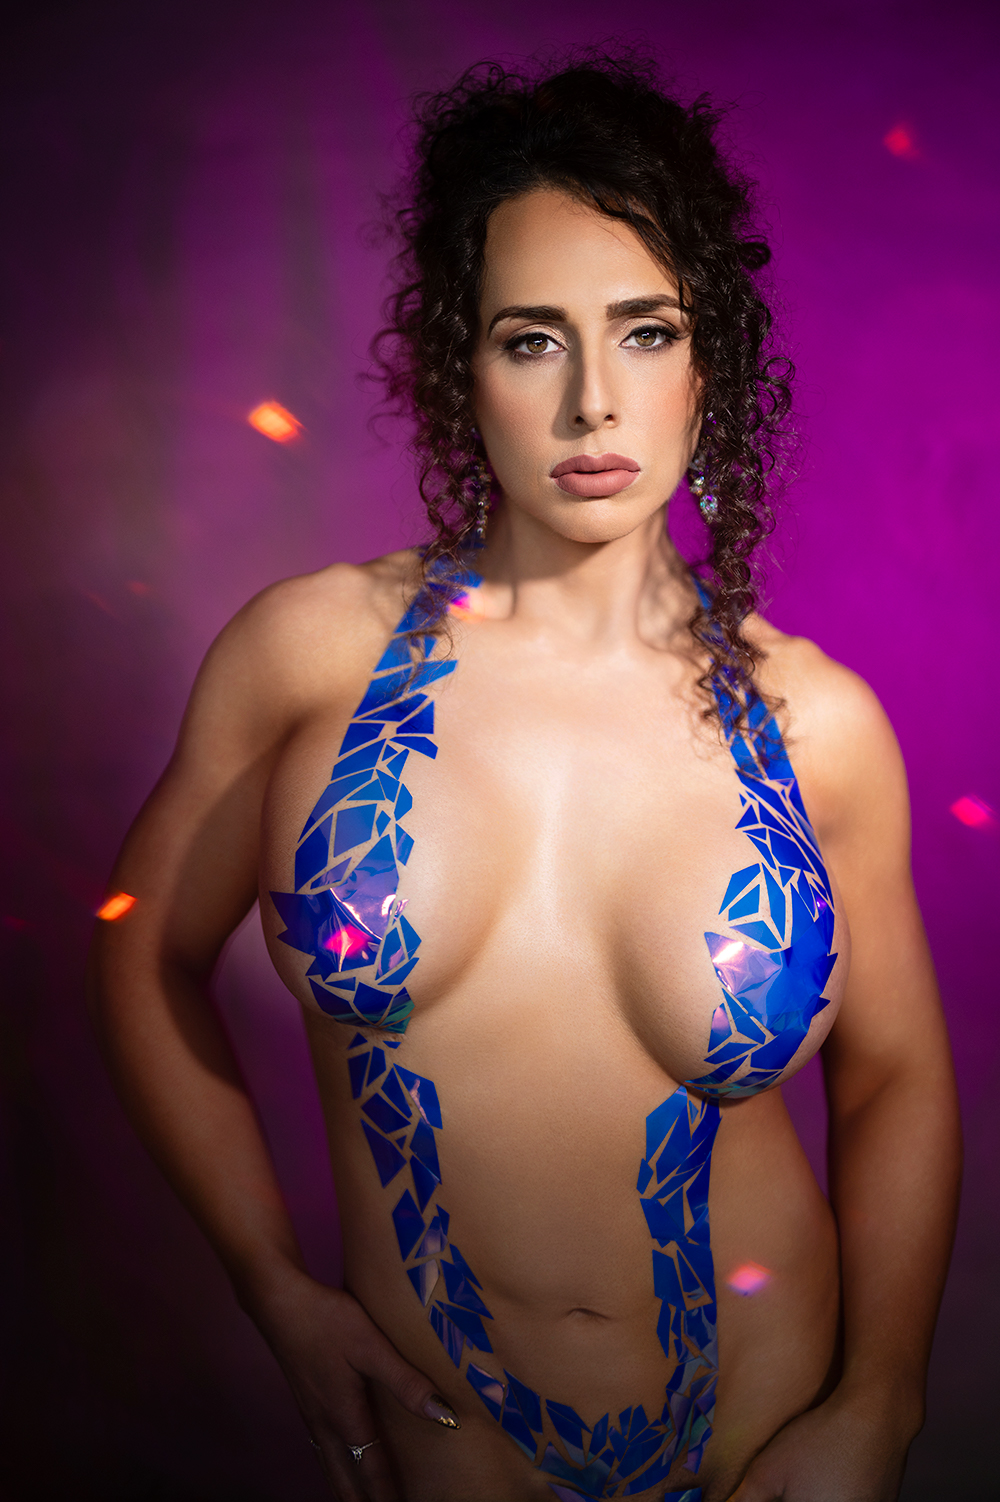
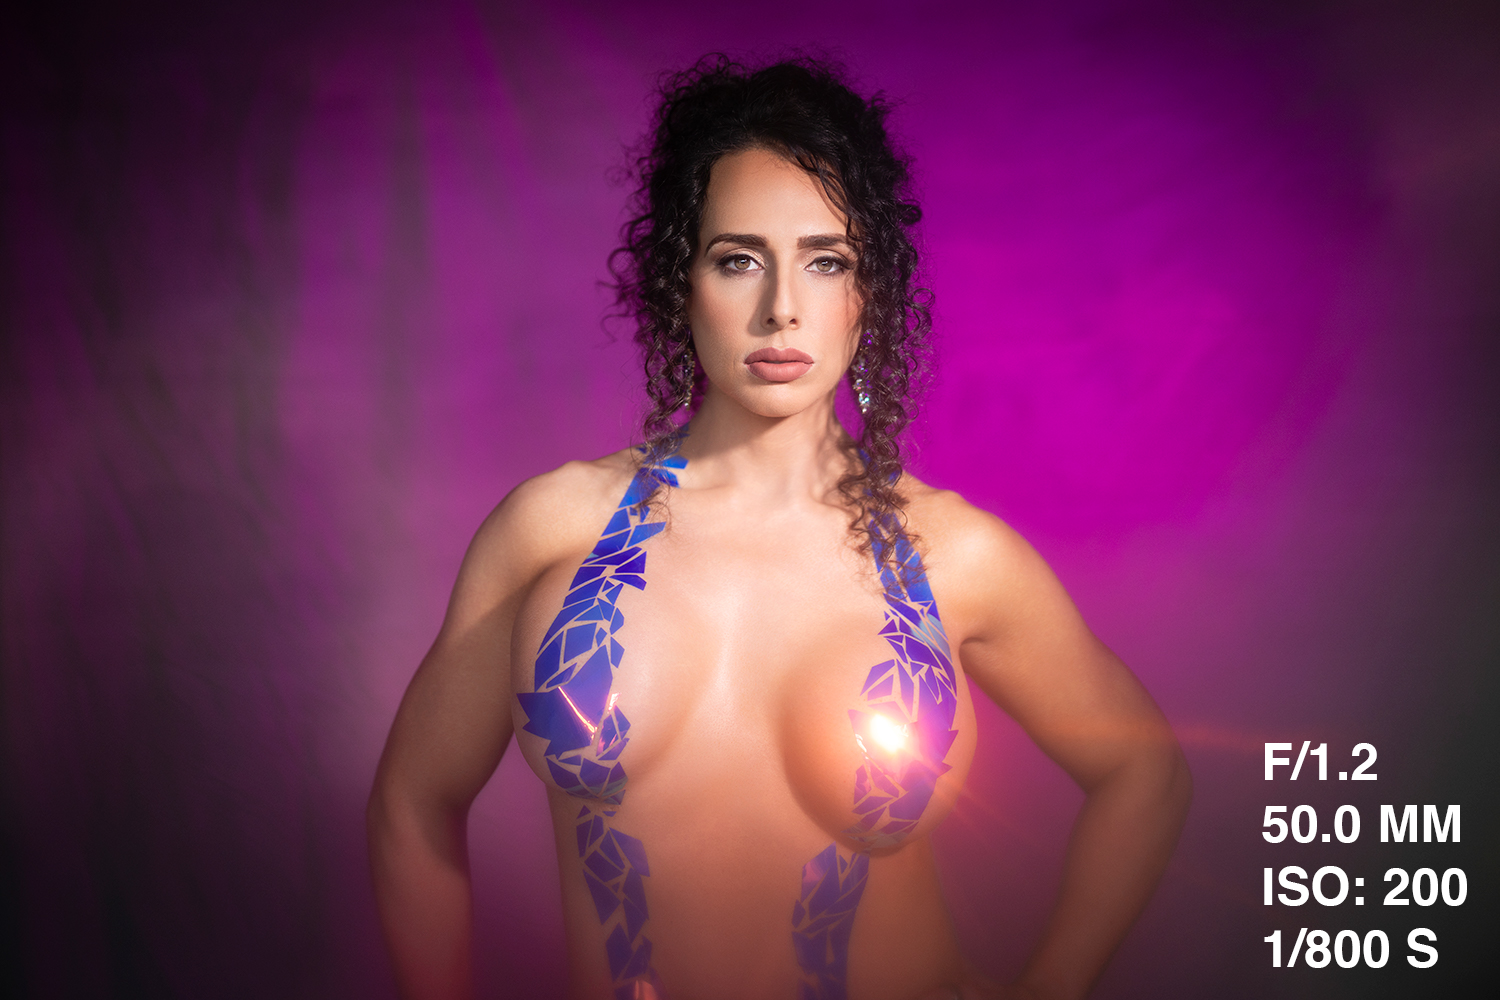
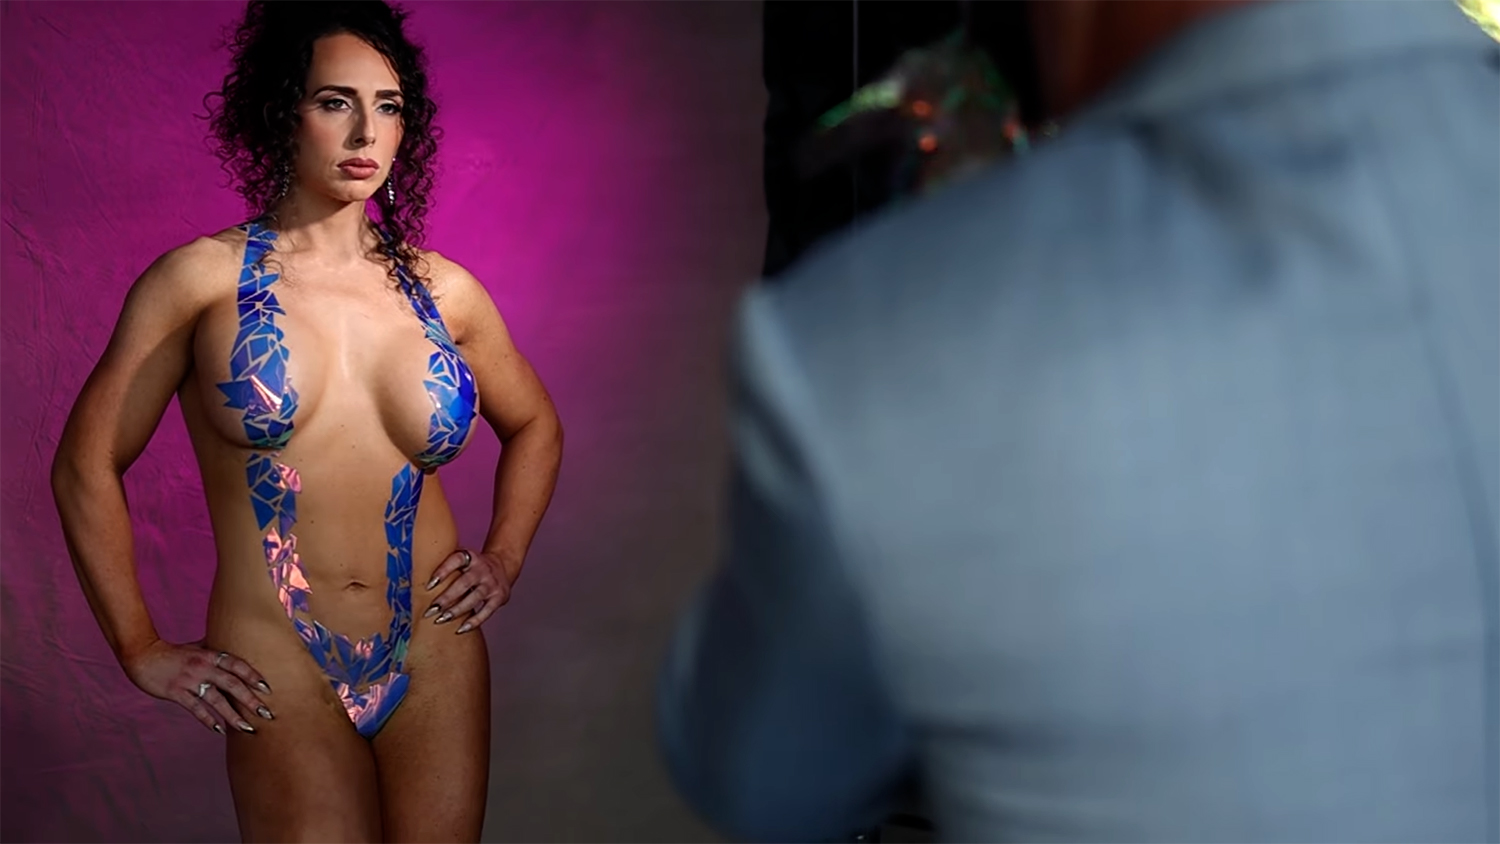
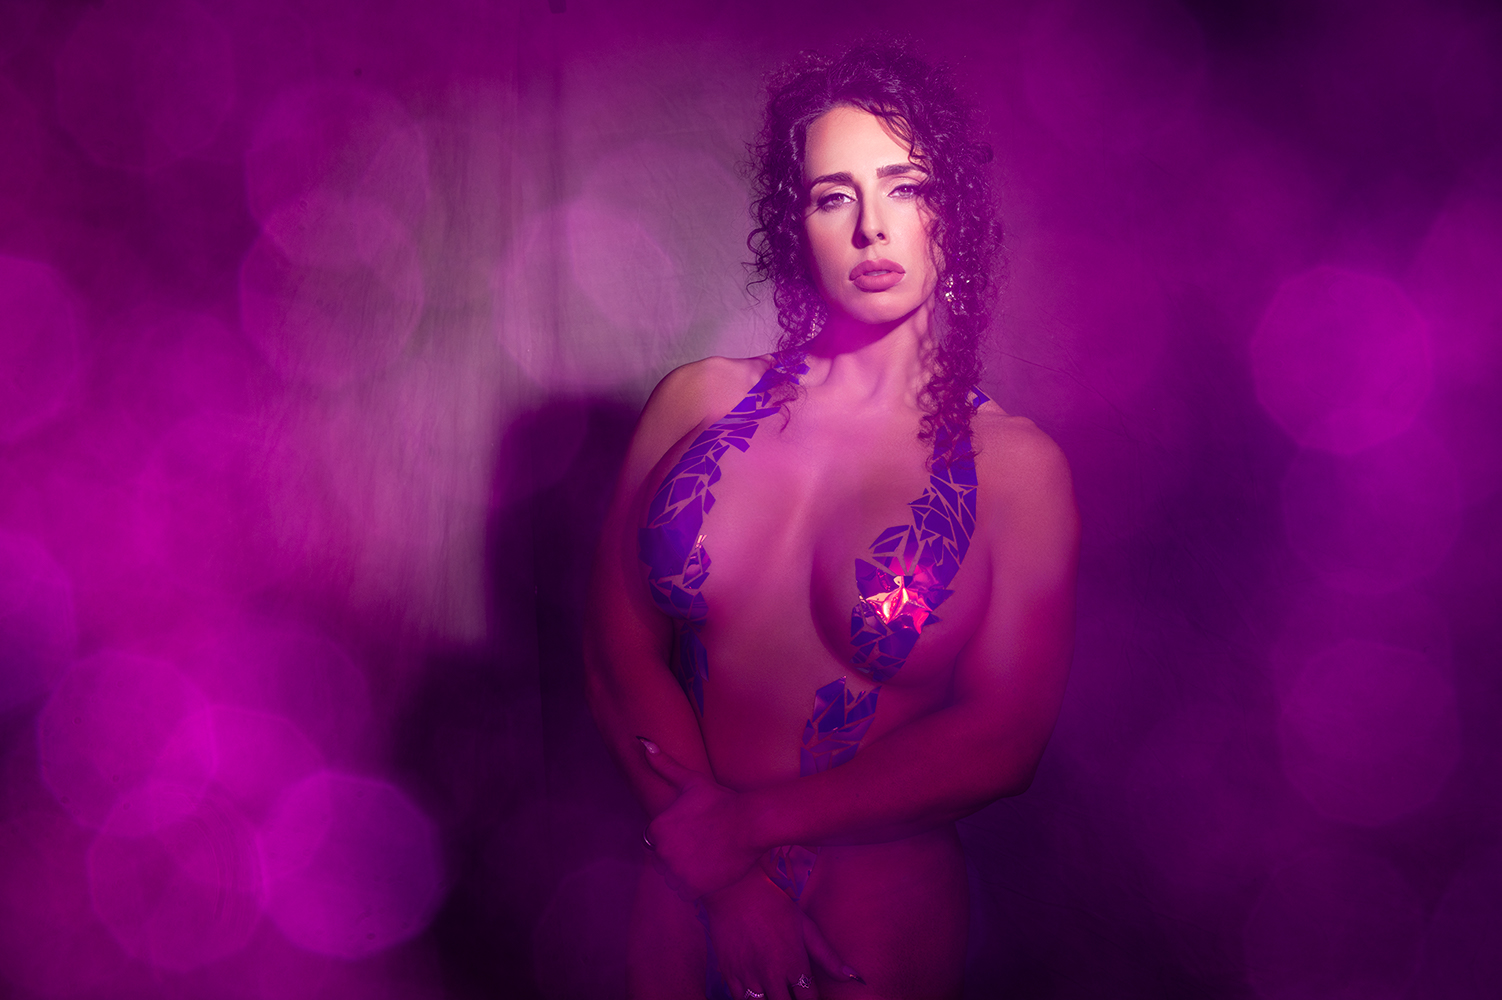
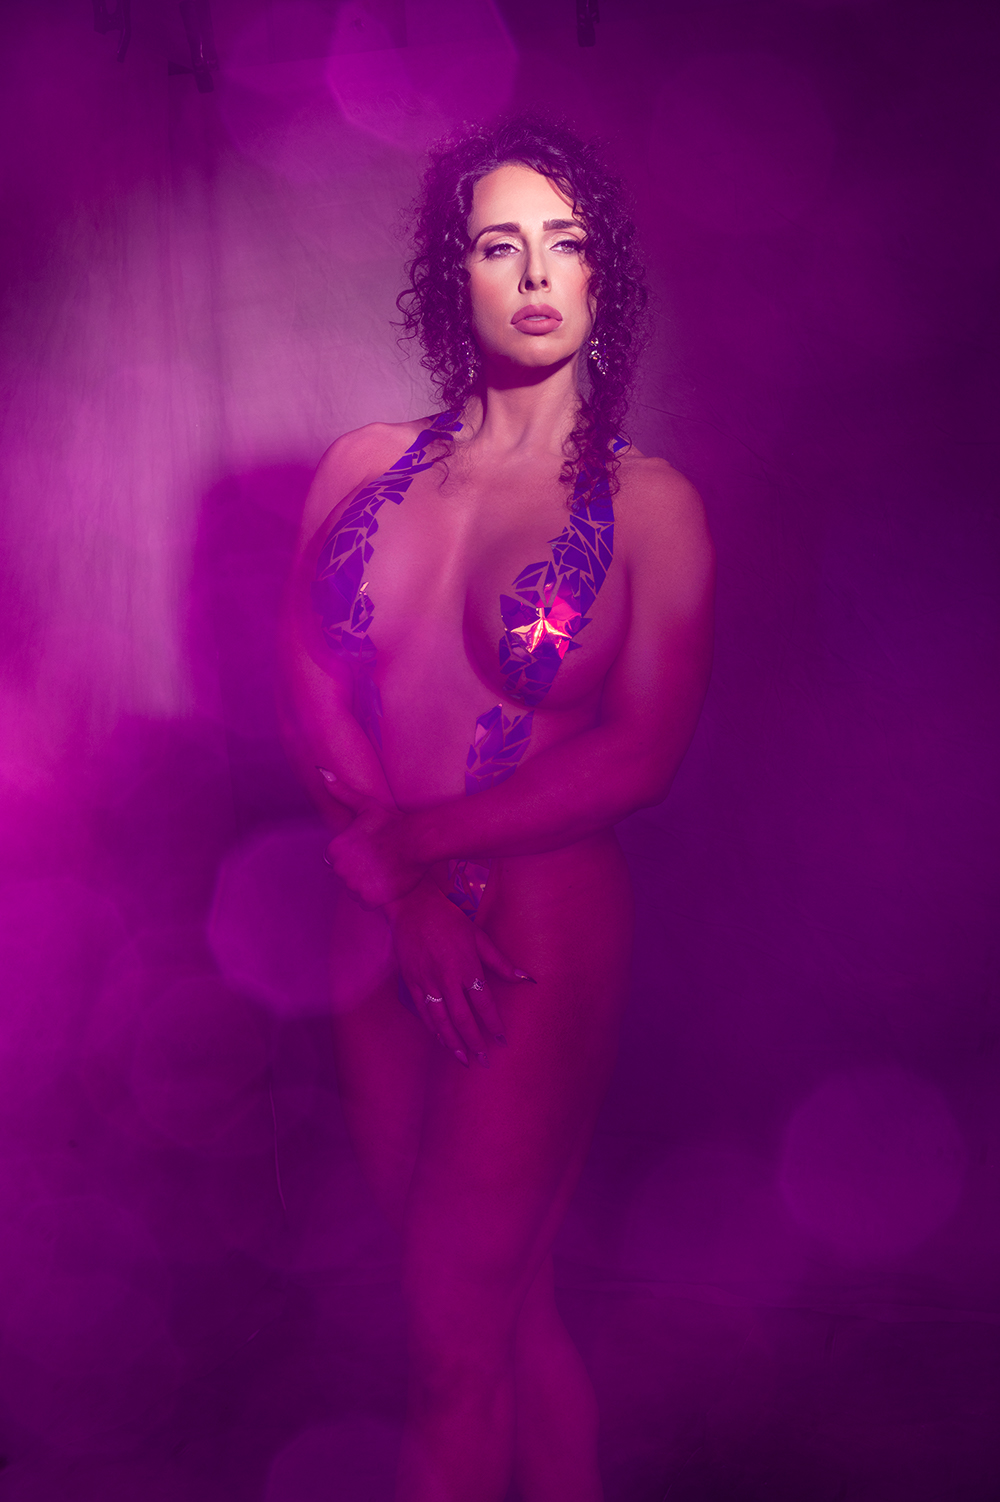
One of the most eye-catching and unique styling ideas you can bring into your next shoot? Body tape as fashion. Think of it as crafting a custom outfit—on the model—using fashion tape. It mimics the look of a one-piece swimsuit or evening gown, and when done right, it beautifully highlights curves and adds a high-fashion edge to your portraits.
Photographer Sal Cincotta teamed up with Brandy from Refine Beauty for a session using tape to sculpt sleek, edgy looks. It’s a bold and artistic way to push creative boundaries—and the materials can cost under $30.
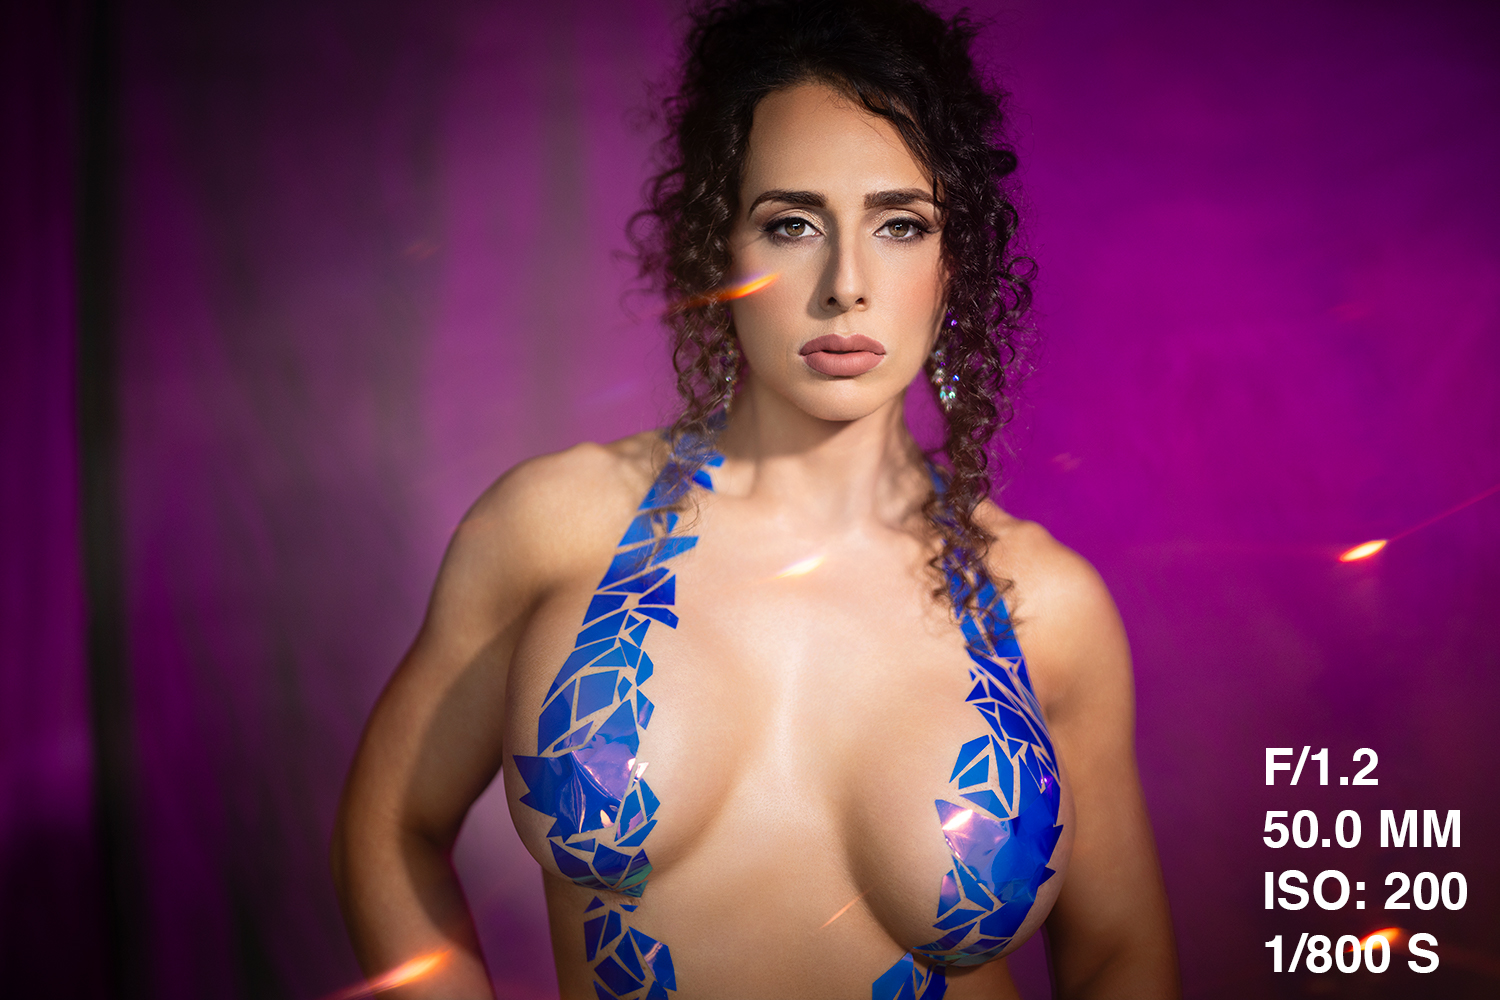
For this shoot, I used my Canon R5 with a 50mm f/1.2 lens and photographed wide open at f/1.2 to capture soft, dreamy portraits with beautiful depth. Natural light gave us a quick, easy setup and let us flow through poses without adjusting gear between shots.
But while natural light is fast and flexible, it also has its limitations—especially when it comes to consistency, direction, and mood.
Pro Tip:
Look to swimsuit designs or red carpet fashion for inspiration, then build your tape patterns accordingly. Just be sure to work slowly and carefully—this is a hands-on process that takes patience and a good eye for detail.
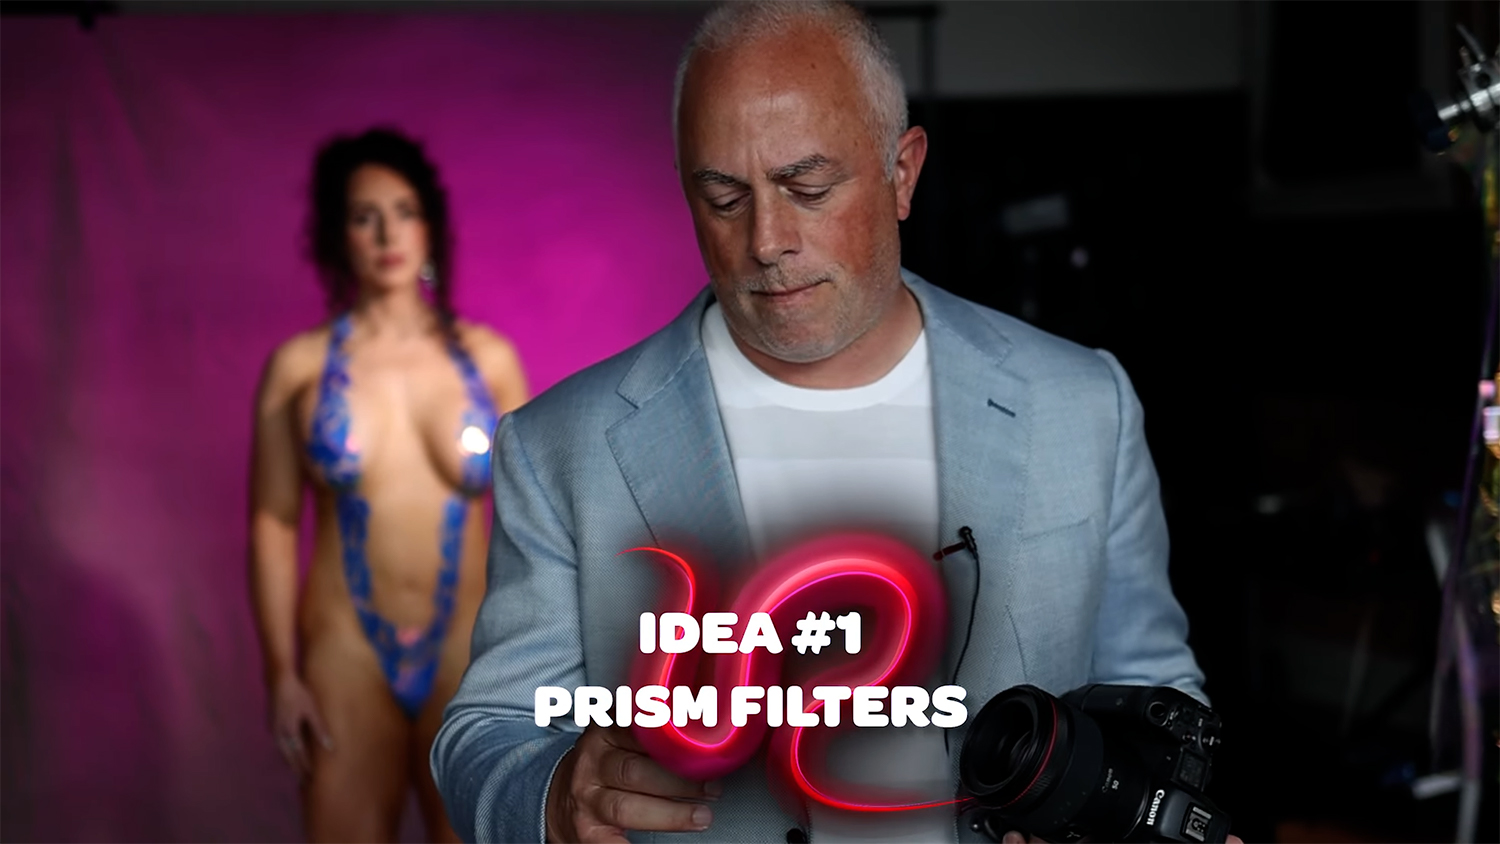
2. Prism Filters for In-Camera Magic
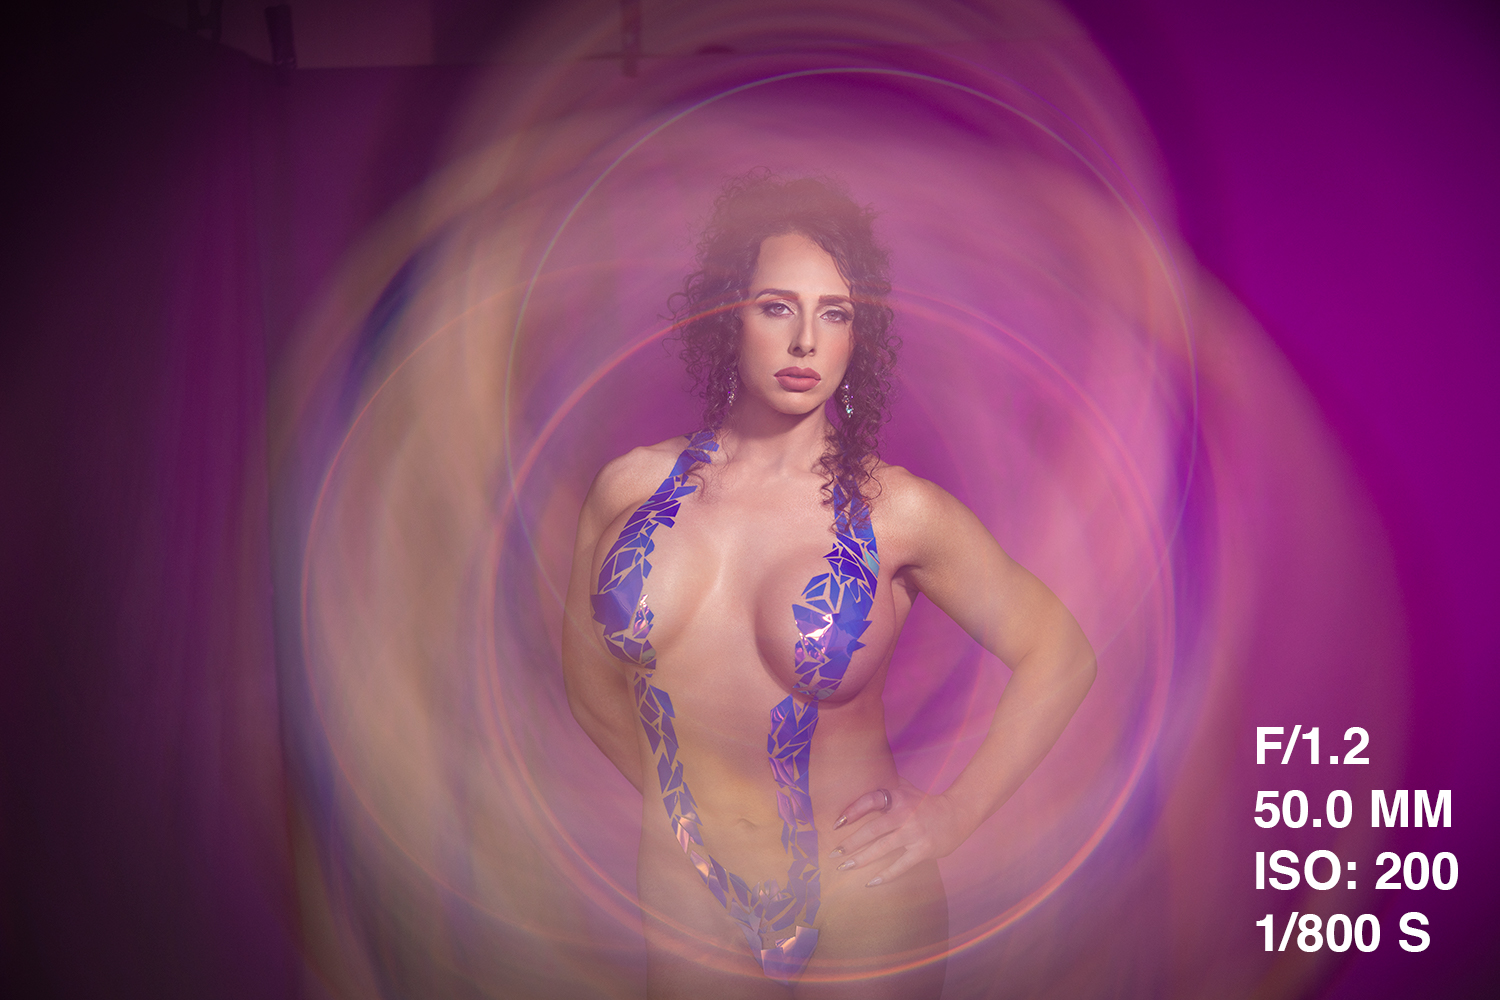
Prism filters are a small, inexpensive investment that make a big impact. For around $40 or less, these filters screw onto your lens and create all kinds of dreamy effects—like halos, light rings, or sci-fi glows.
For best results, try them with a 50mm or a mid-range zoom lens like a 24–70mm. Use strong lighting and experiment with aperture and shutter speed to control how dramatic the prism effect looks in-camera.
Creative Twist:
Want to push the effect further? Try shooting with a slower shutter speed (1/20 or slower), then gently move the prism mid-shot. The result: surreal, water-like motion blur that gives off cinematic, Marvel-movie vibes.
3. Holographic Sheets = Instant Glam
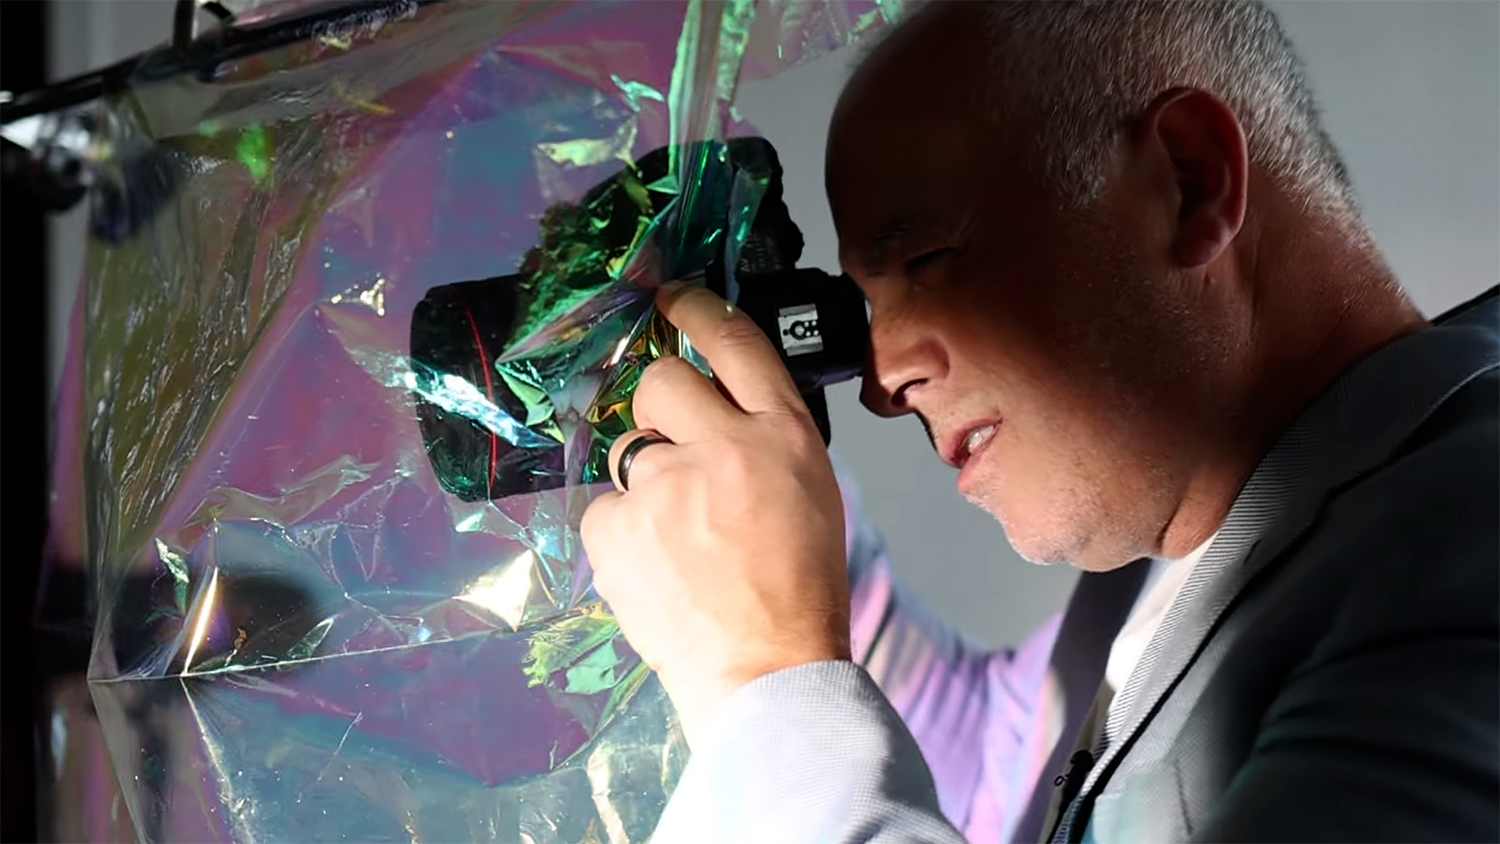
For a fun, iridescent look that catches and plays with light, holographic cellophane sheets are a total win. Available in rolls online for under $15, you can drape them in front of your lens, behind your subject, or even fire light through them for ethereal effects.
They pair especially well with body tape fashion or glam studio portraits and let you create multiple different looks with a single material. Think shimmery backdrops, refracted light flares, and soft texture overlays.
Pro Tip:
Try shooting through the sheet, wrapping it slightly around your lens, or bouncing a colored LED or strobe off it for dynamic light play.
4. Crystal Reflections for Elegant Light Play
Don’t underestimate the power of a simple chandelier crystal. These small, multifaceted gems can add stunning light refractions and dreamy bokeh effects when held close to your lens while shooting. You can find them on Amazon or repurpose old decor—no need to spend more than $10–$15.
Every lens reacts differently to crystals, so test a few positions and angles. Hold the crystal off to the side for subtle sparkle or frame it directly in the lens for more pronounced flare.
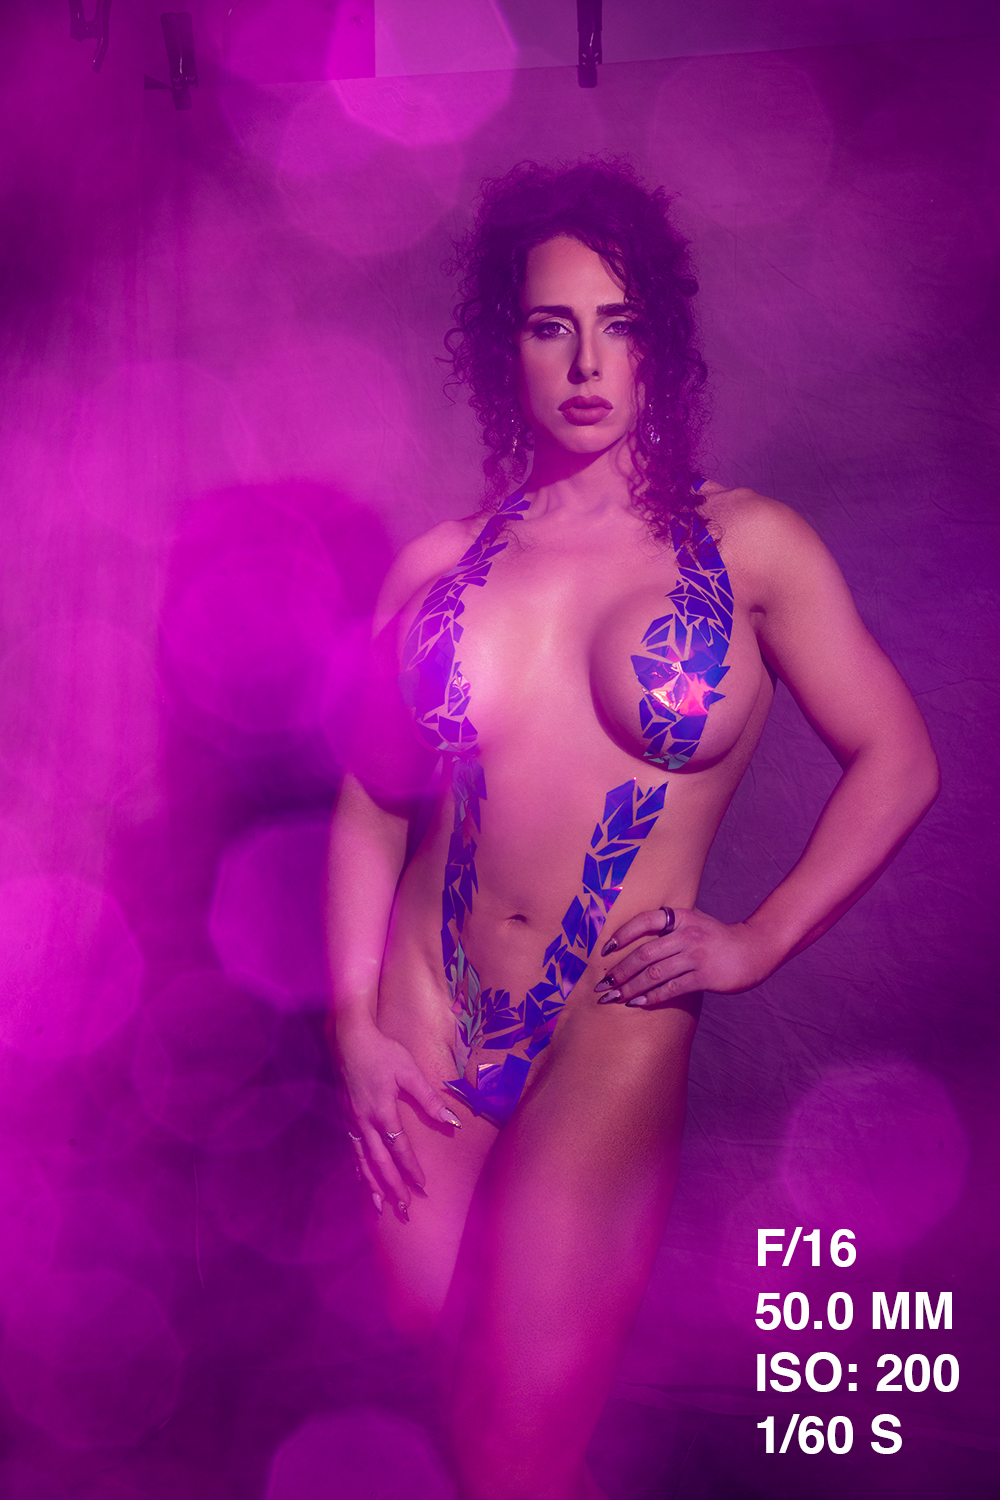
Bonus: The “Glitter Bomb” Lighting Trick
This one’s a little more technical, but it doesn’t require any expensive gear—just a little setup. Known as the “glitter bomb” effect, it uses strong backlighting and a stopped-down aperture (like f/22) to create an abstract, glittery wash across your image. The trick is to highlight all the little dust particles and details that are normally hidden at wider apertures.
Here’s what you’ll need:
A powerful strobe or constant light (Sal used the FJ400)
A color gel that matches your shoot’s palette
A camera setting of f/16–f/22 to stop down and pull in the texture
Position the light at roughly a 45-degree angle to your subject, and be prepared to adjust positioning for best results. It’s a stunning trick for fashion, senior portraits, or editorial work.
Final Thoughts
You don’t need a massive budget to create stunning, high-impact images. With a little imagination and a few low-cost tools, you can expand your creative toolkit and offer something truly unique to your clients.
From body tape styling to holographic overlays and prism filters, these ideas are all about experimentation and bold visual storytelling.
Which one will you try first? Leave a comment below or tag us in your next shoot—we’d love to see how you bring these creative budget-friendly ideas to life.