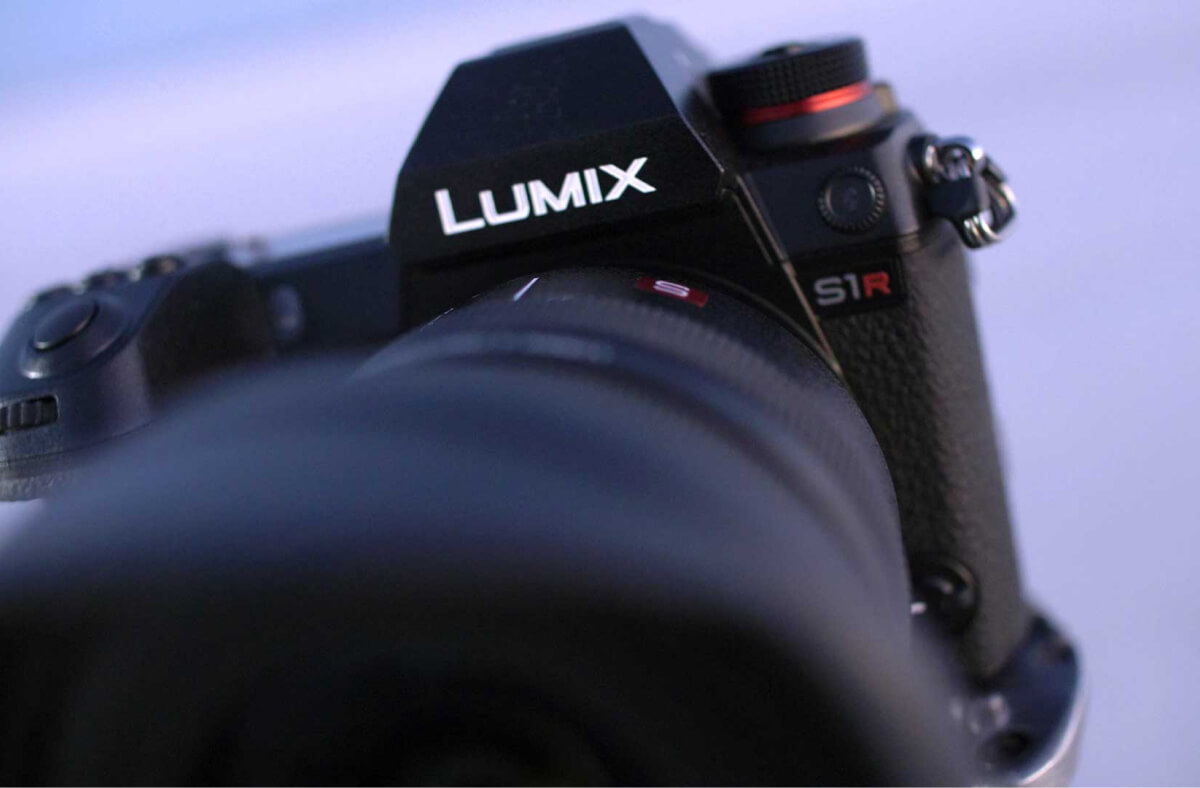
My name is Rey Benasfre with Shutter Magazine and tonight we put the Panasonic S1R and the Lumix 16-35 f/4 to the test.
We wanted to create an epic wide shot to get as much of the scene and sky as possible. To make it even more interesting, we added a model and used off camera flash to create a stunning image. Keep reading to see how we created it and why Panasonic remains a top contender in the mirrorless arena.
Milky Way Portraits 16-35mm f/4
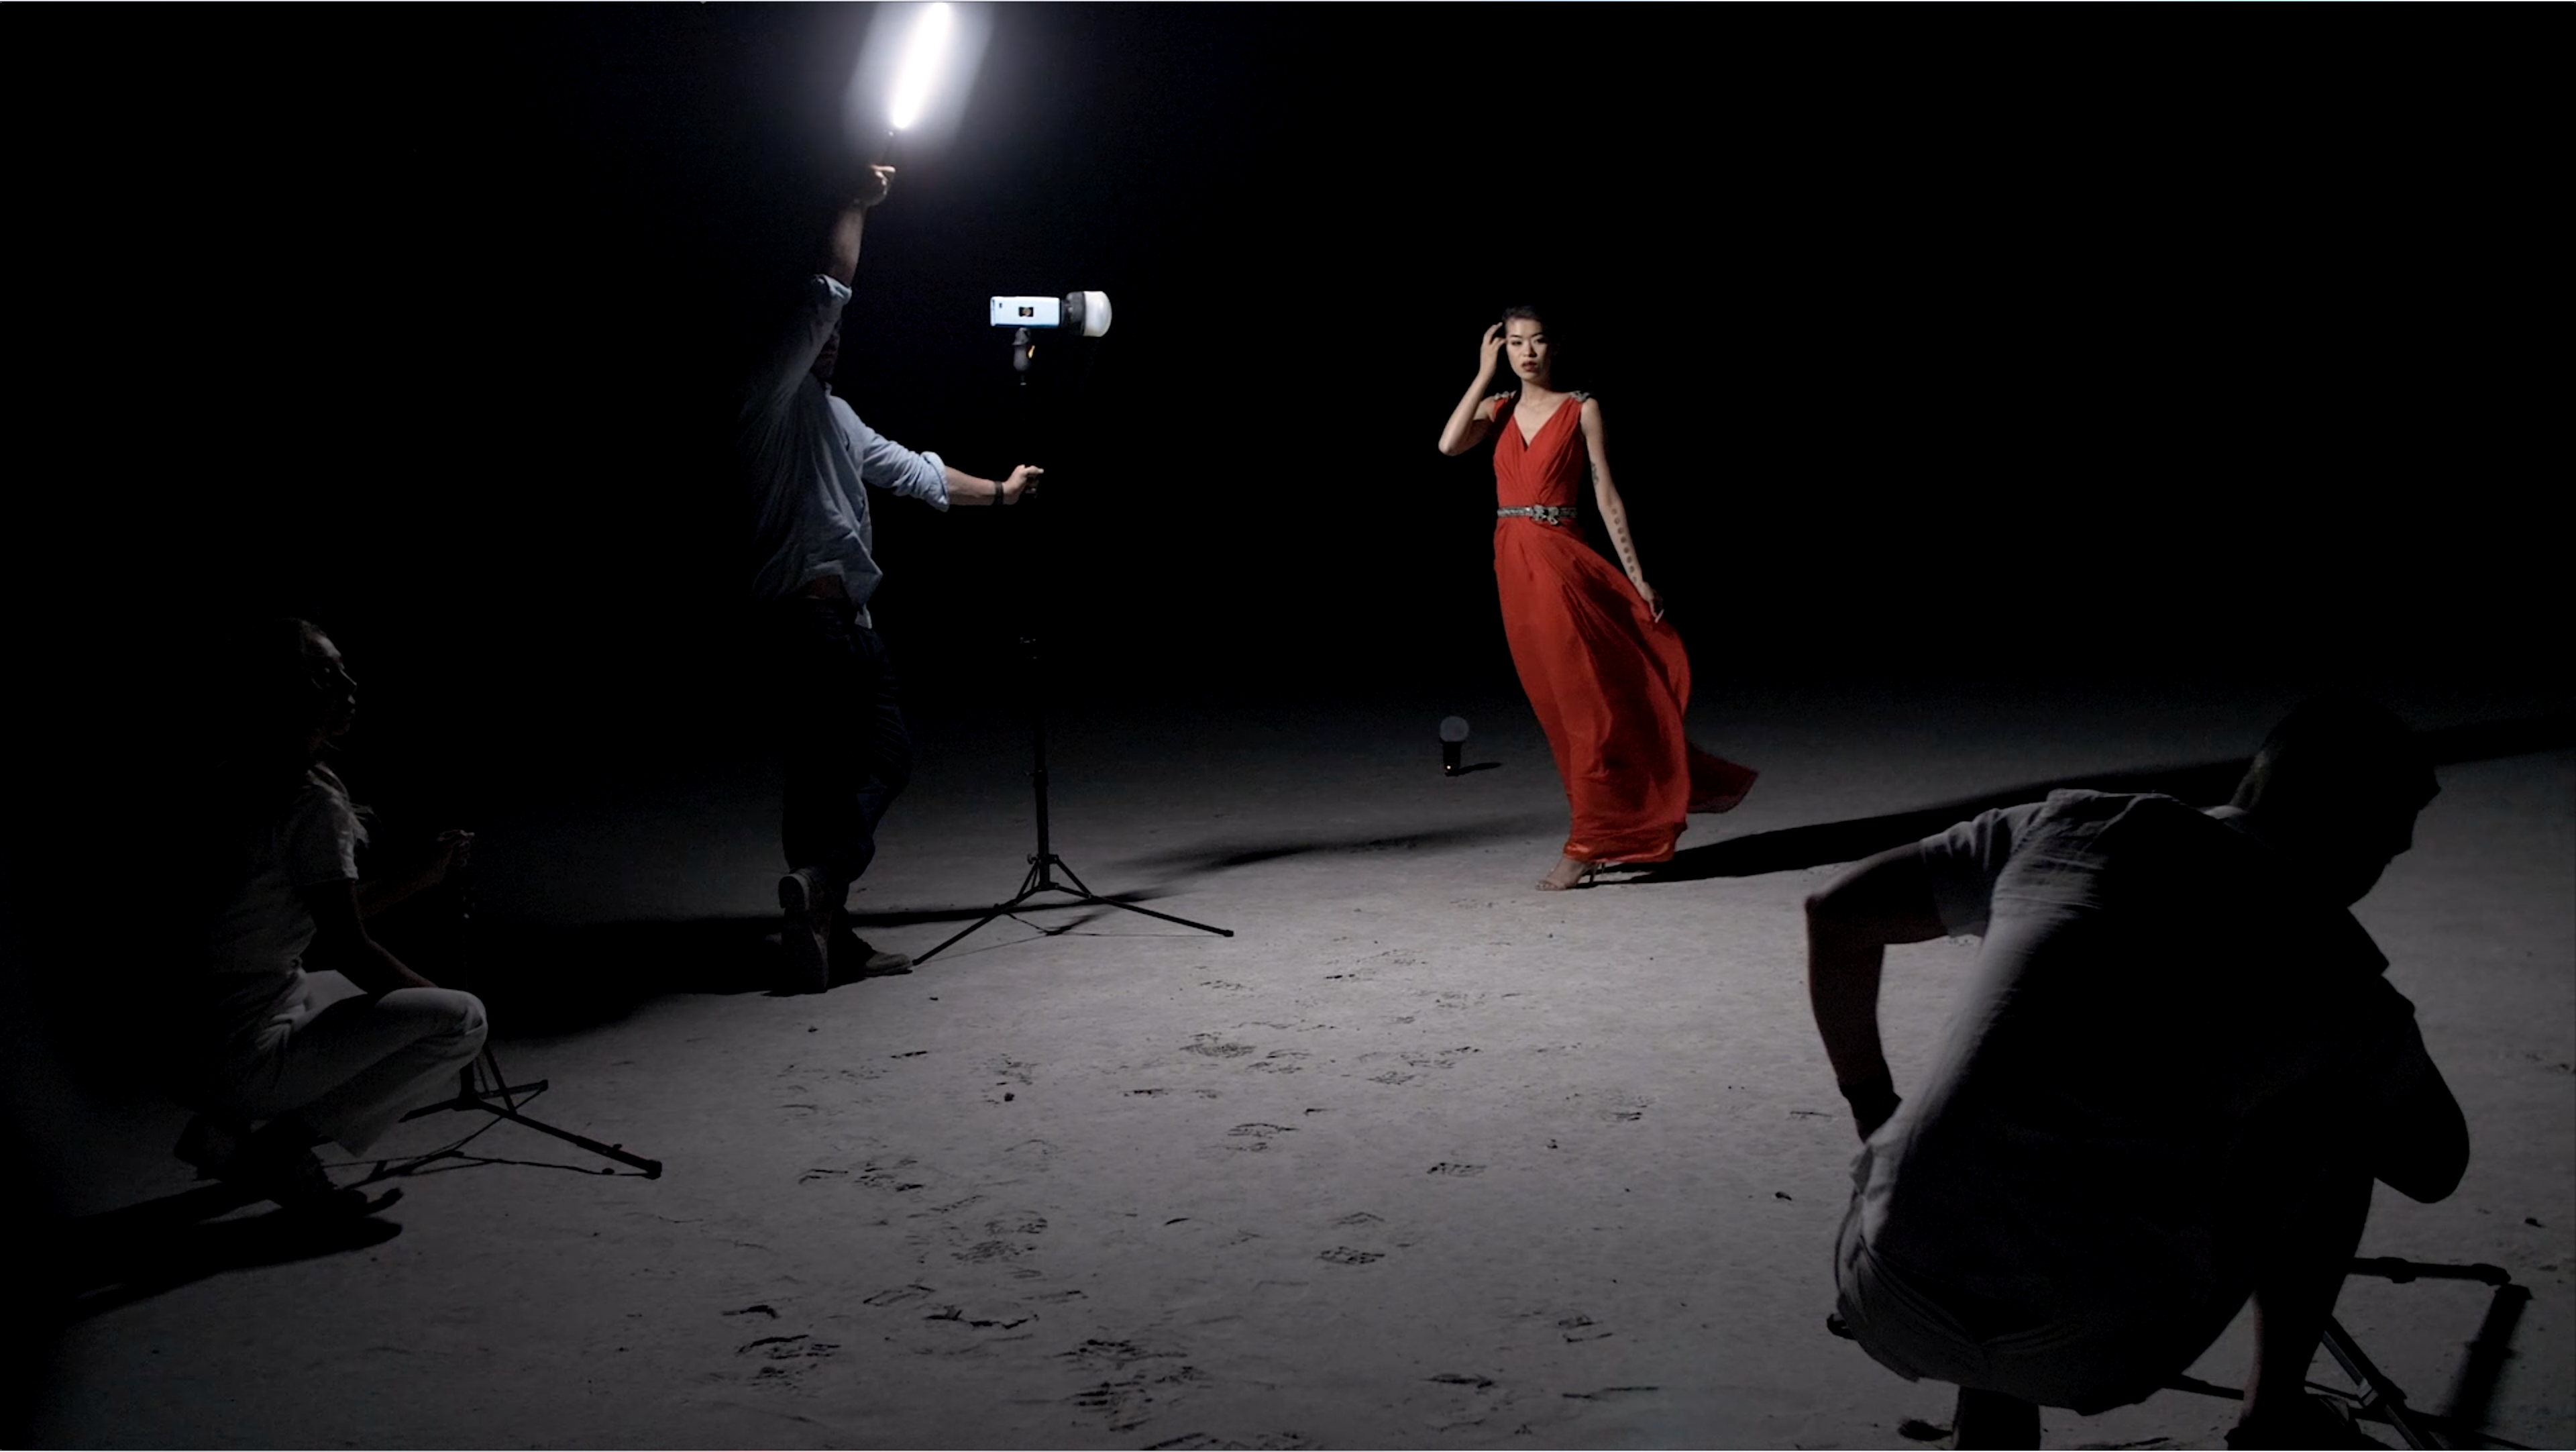
By incorporating the Milky Way into a portrait image we know that this is going to be a more environmental type of shot. In order to showcase the starry sky and the beautiful backdrop of the Bonneville Salt Flats we want to use the widest lens possible. I wanted to show off the arc of the Milky Way rising over our model and framing her over the land while also showing the ground and interesting texture of the salt flats. To do that I used a speedlight to backlight her which not only illuminated the ground but also used her shadow as a set of leading lines going right to her.
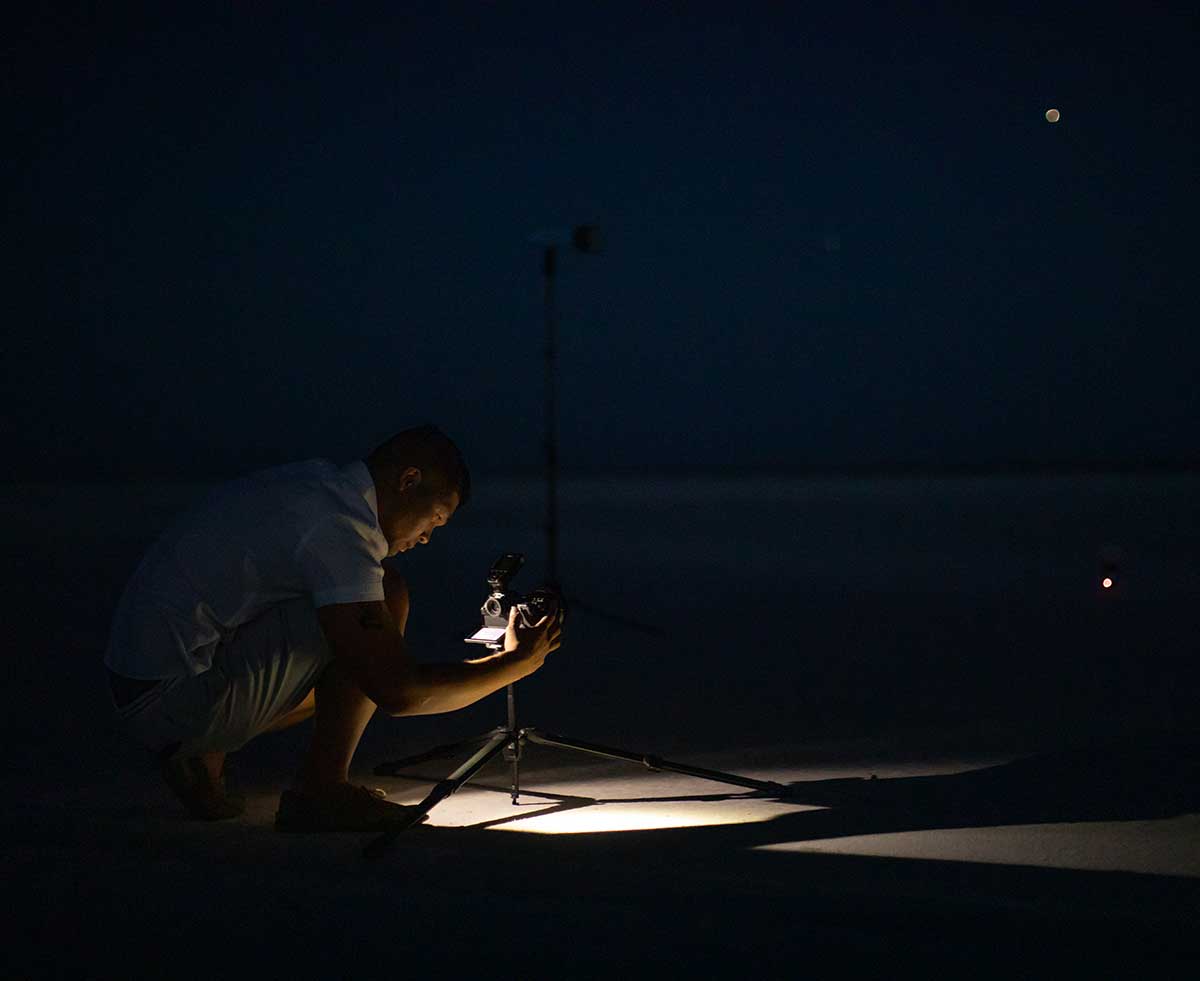
The Bonneville Salt Flats is an amazing location. Another reason why we picked it is because it is out in the middle of nowhere. When taking a photo of the Milky Way, ideally you want to be as far away from cities and even the smallest towns as possible. This is because the light pollution produced in these areas is enough to drown out the light coming in from stars bajillions of miles away. We chose a moonless night in July when the Milky Way is normally out after 10pm. To find the location and best time for the Milky Way I use an app like PhotoPills or The Photographers Ephemeris (TFP).
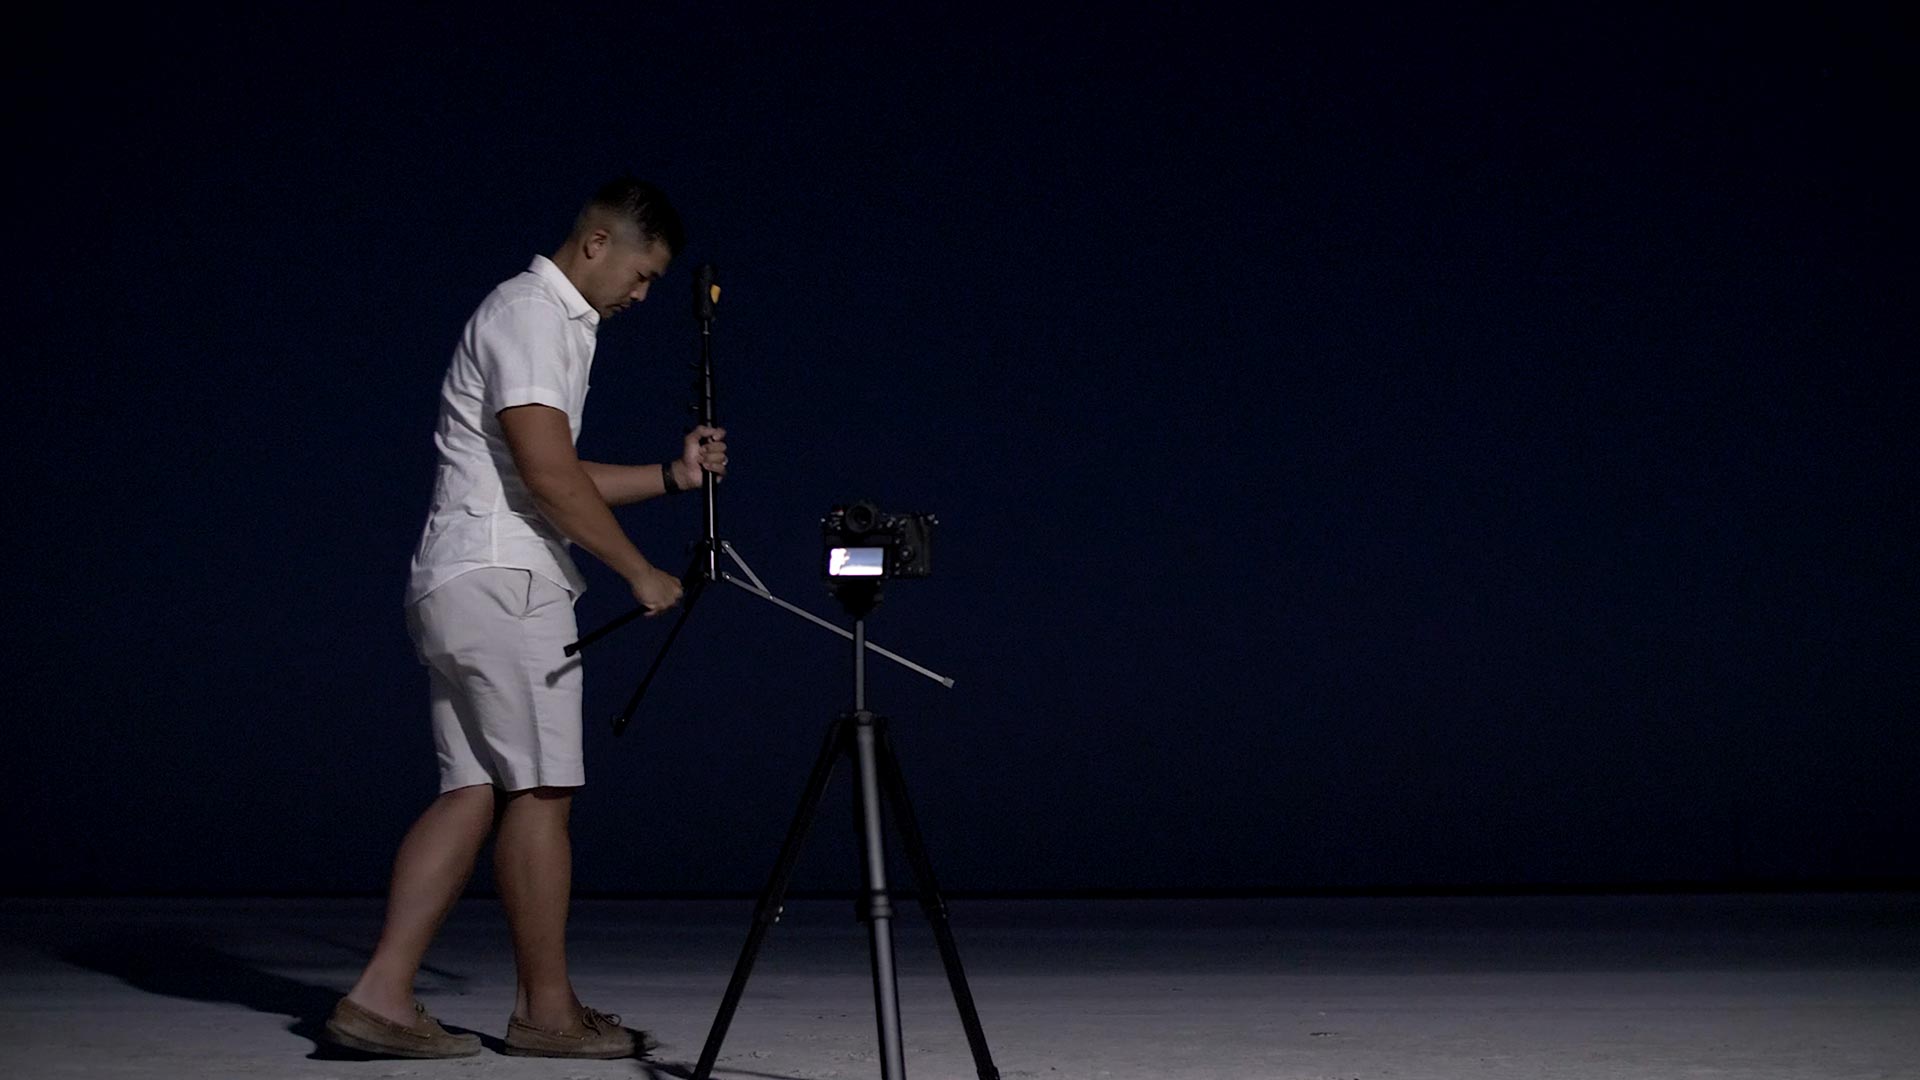
One thing to know about Milky Way images is that these are long exposure shots that last anywhere from 20-30 seconds. With the Panasonic S1R mounted on a sturdy tripod this allows the camera to collect as much light information as possible with minimal motion blur. Our model will need to stay as still as possible which can be hard to do for 30 seconds. Even the slightest movement can be noticed. A great trick to handle this and ensure our model comes out sharp and bright is to add a pop of flash at the end of the exposure.
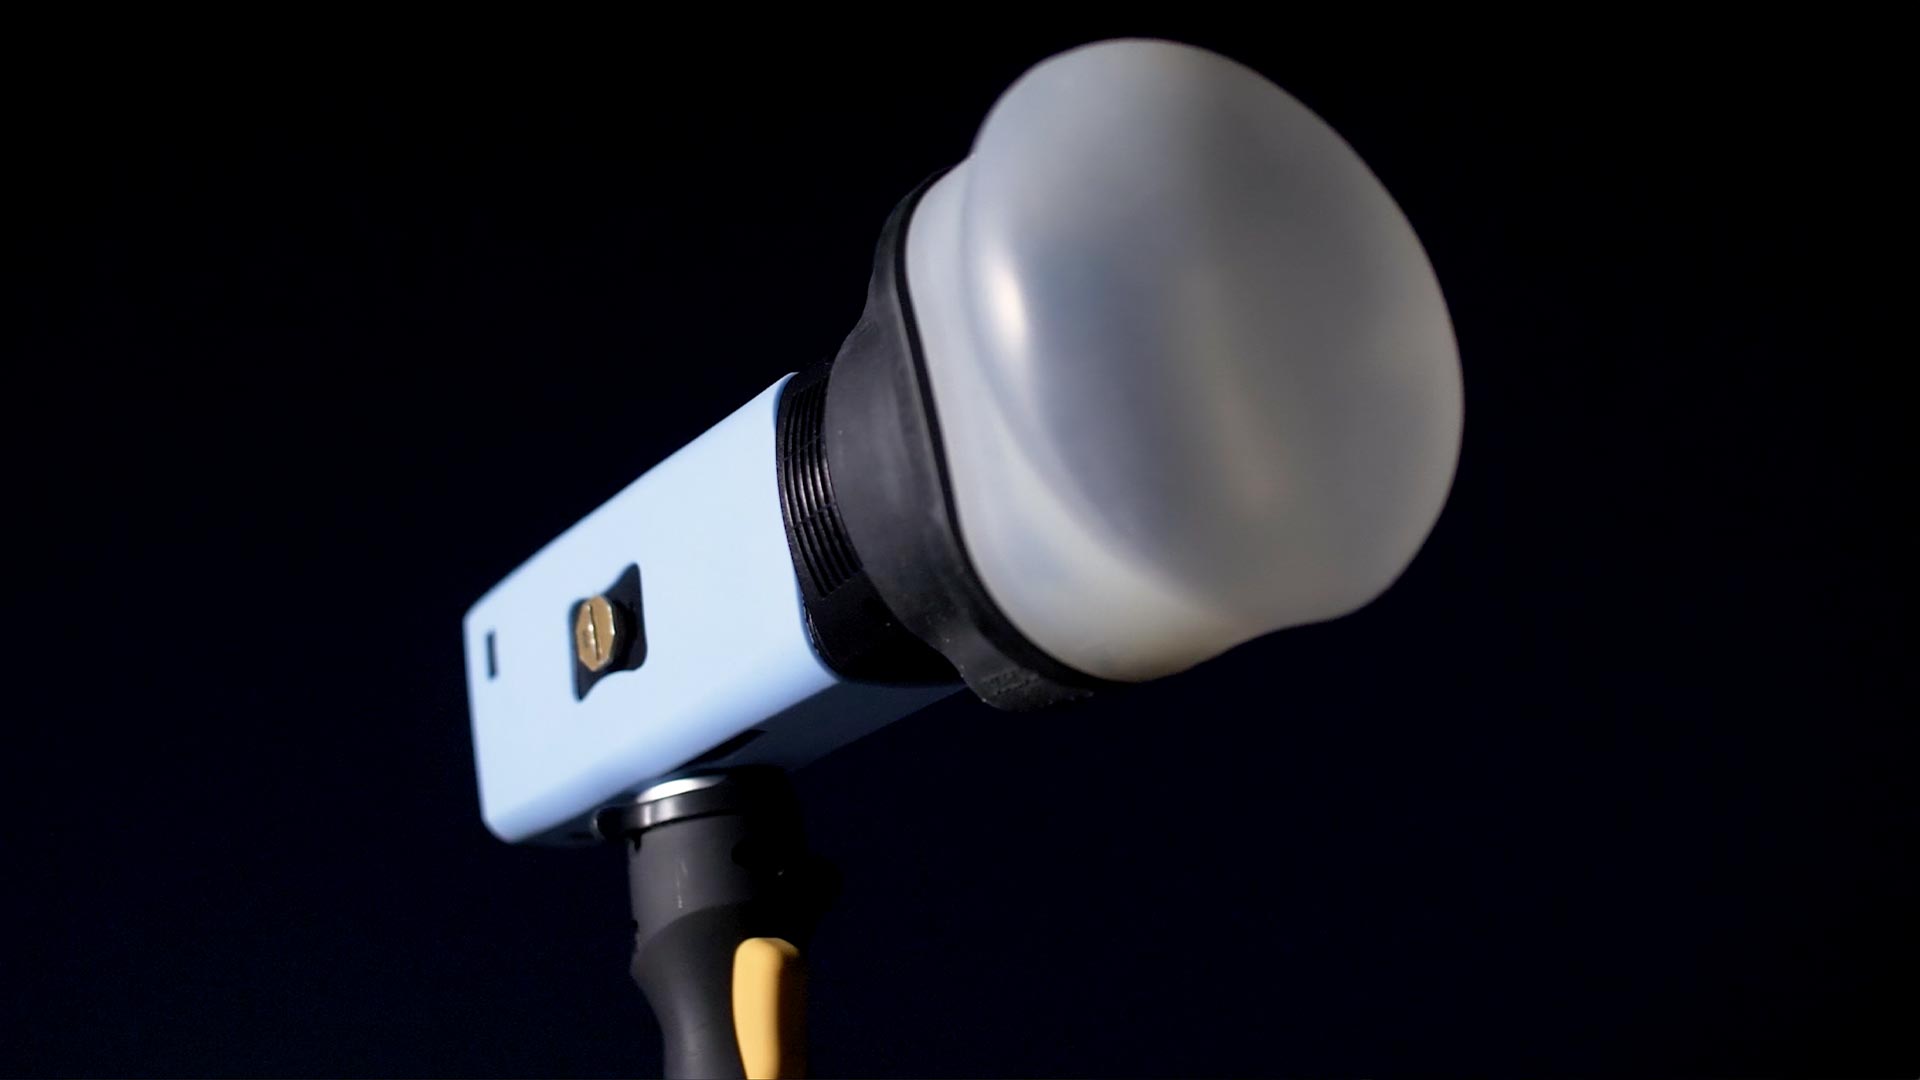
We connected our Panasonic S1R to trigger two speedlights and set it on Rear Curtain Sync mode. This makes it so the flash goes off at the end of the exposure when the rear shutter curtain sets down. That pop of light will freeze the details in anything it touches which will make sure our subject comes out sharp and not blurry in the end. In this image we added one speedlight behind her with a CTO gel and small diffuser to spread out our light. In front we added another diffused speedlight.
Next we’ll need to take our shot but before we do that I’ll talk about settings and how to know which ones to use. I always like to use a good starting point. For shutter speed a general rule of thumb to follow is the “500” Rule.
Take 500 and divide it by your lens’s full-frame focal length.
The answer is around the maximum amount of time you want to have your shutter open. Any longer and our camera will begin to pick up the stars’ movement across the sky caused by the Earth’s rotation. With the Panasonic 16-35mm f/4 we are going to shoot at widest focal length. Alright boys and girls I hope you remember how to do long division. Or you can use a calculator…we’ll just use a calculator:
500 divided by 16 gives us a maximum shutter speed of 31
Now we need to set our aperture as wide as possible so in this case F/4 and keep our ISO around the 1600-3200. For our image we’ll go with 20 seconds (so our model doesn’t have to stand still for too long), f/4 and ISO 3200. Our goal for these types of images is to gather as much light as possible by pushing the camera to its exposure limits.
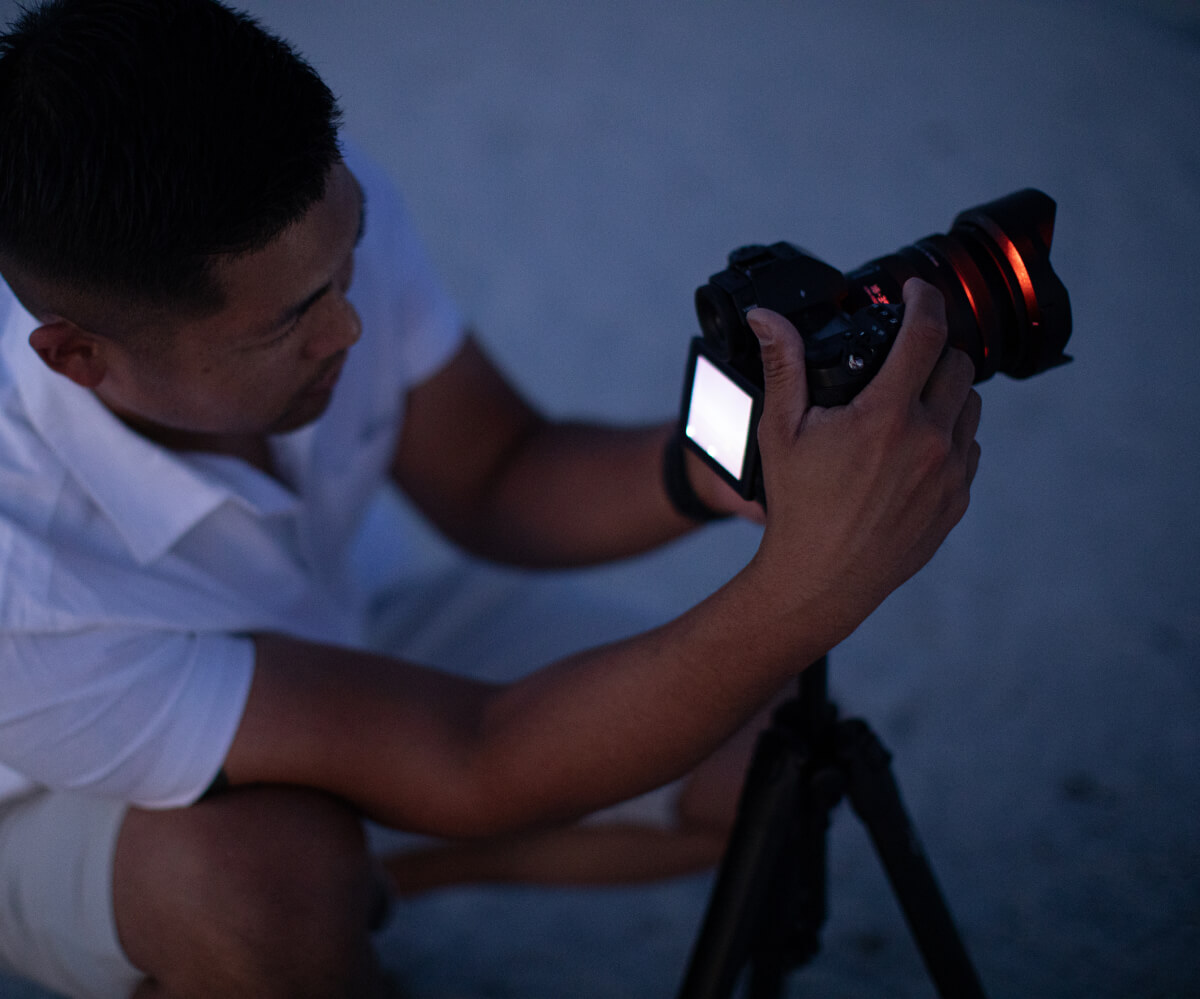
The last thing we want to do is set our focus so that our stars our tack sharp. We’re going to use manual focus for this. Here’s where the S1R’s technology really shines. Focus Peaking. When using manual focus the S1R gives you a zoom-in window so now we can zoom in on the tiny stars billions of miles away. When you start adjusting that focus ring you’ll notice the focus peaking show you everything that is in focus. When it zooms in on a star and you get it as sharp as possible you’ll notice the rest of the sky being highlighted by focus peaking. We want to adjust this so that most of the sky and model is being highlighted. You can see this on the S1R’s LCD screen or inside the viewfinder itself which has an insane 5.76 Million Dot EVF display.
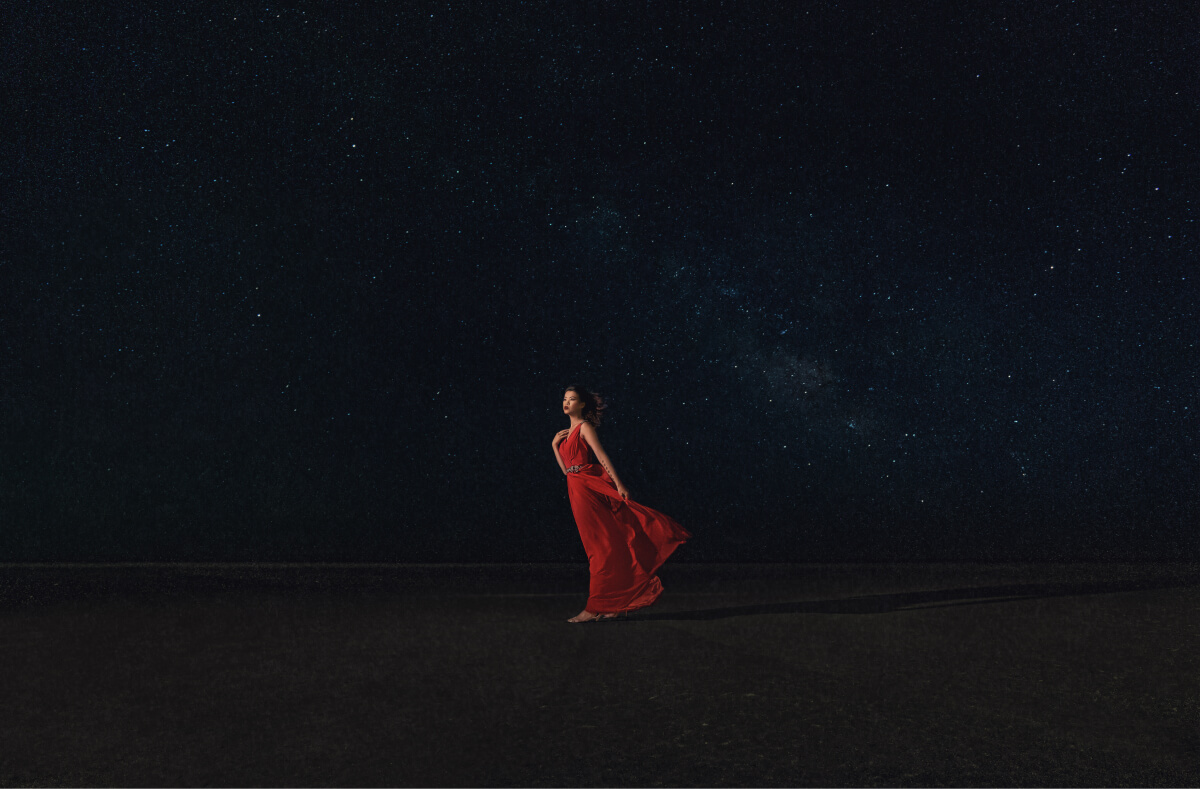
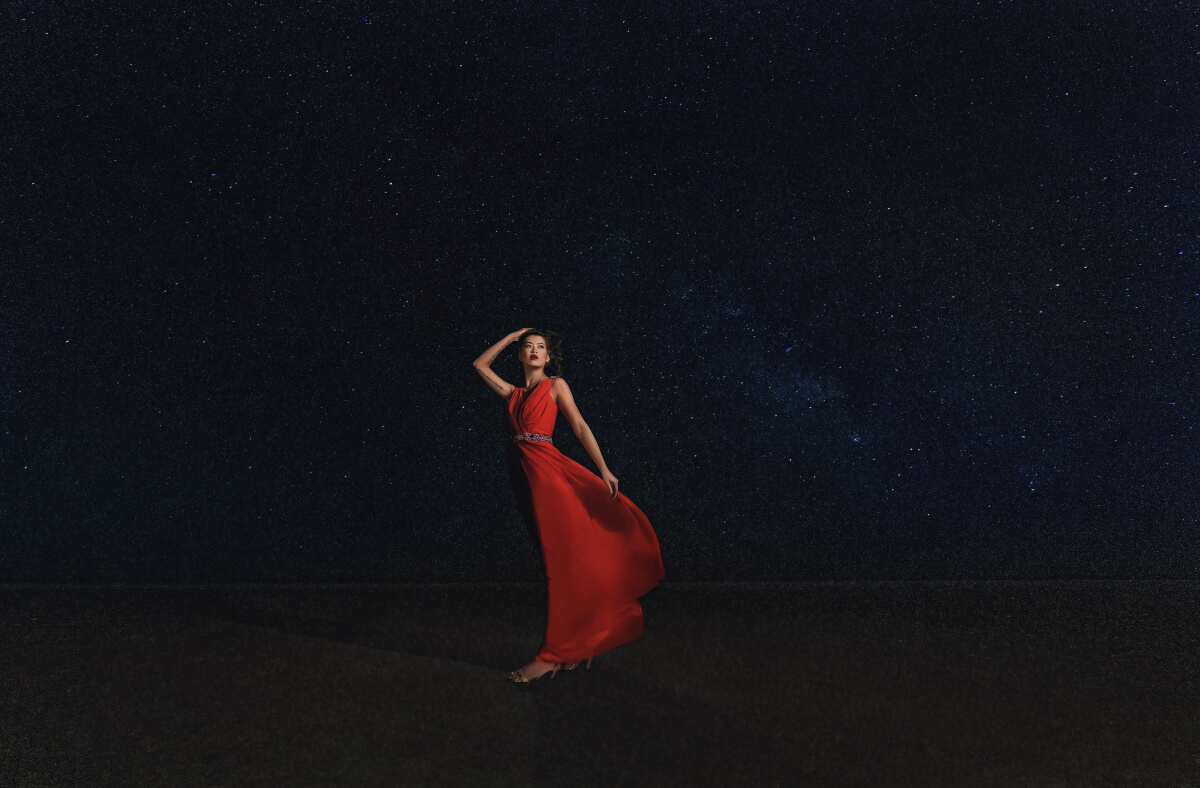
Final Images
Final Edit
Settings: 20 sec @ f4.0 ISO 3200
Settings: 25 sec @ f4.5 ISO 3200
We had an amazing scene and model to start with. I wanted at least two different looks so for the next one I got a little closer while still getting all of the night sky with our awesome 16-35 F/4. The result is the two images you see above which are absolutely incredible.