We’ve all experienced “bad light”. The difference is, the best photographers in the world know how to use, manipulate and control lighting in any situation to create iconic images.
Recently, I was in Las Vegas teaching at Project Obscura hosted by H&H Color Lab and I was forced to work outside from 9am until 5pm. As you can imagine, lighting conditions were changing by the minute. So being able to work in these conditions was crucial to creating successful images.
All the images will see here were created with nothing but available light and a silver reflector as needed. This is important to understand. I’m not denouncing flash photography. In fact, I’m a huge user of off-camera flash, but in this class I was trying to teach and showcase how you can control any light at any time of day. In my opinion, it’s much easier to work in a blacked out room and add lighting as needed. The level of difficulty increases tenfold when you are trying to control and manipulate the harsh sun and still create strong images. That was the point I was making.
Settings: f1.2 @ ISO 50, 1/320th | Lens: RF50mm F1.2 L USM
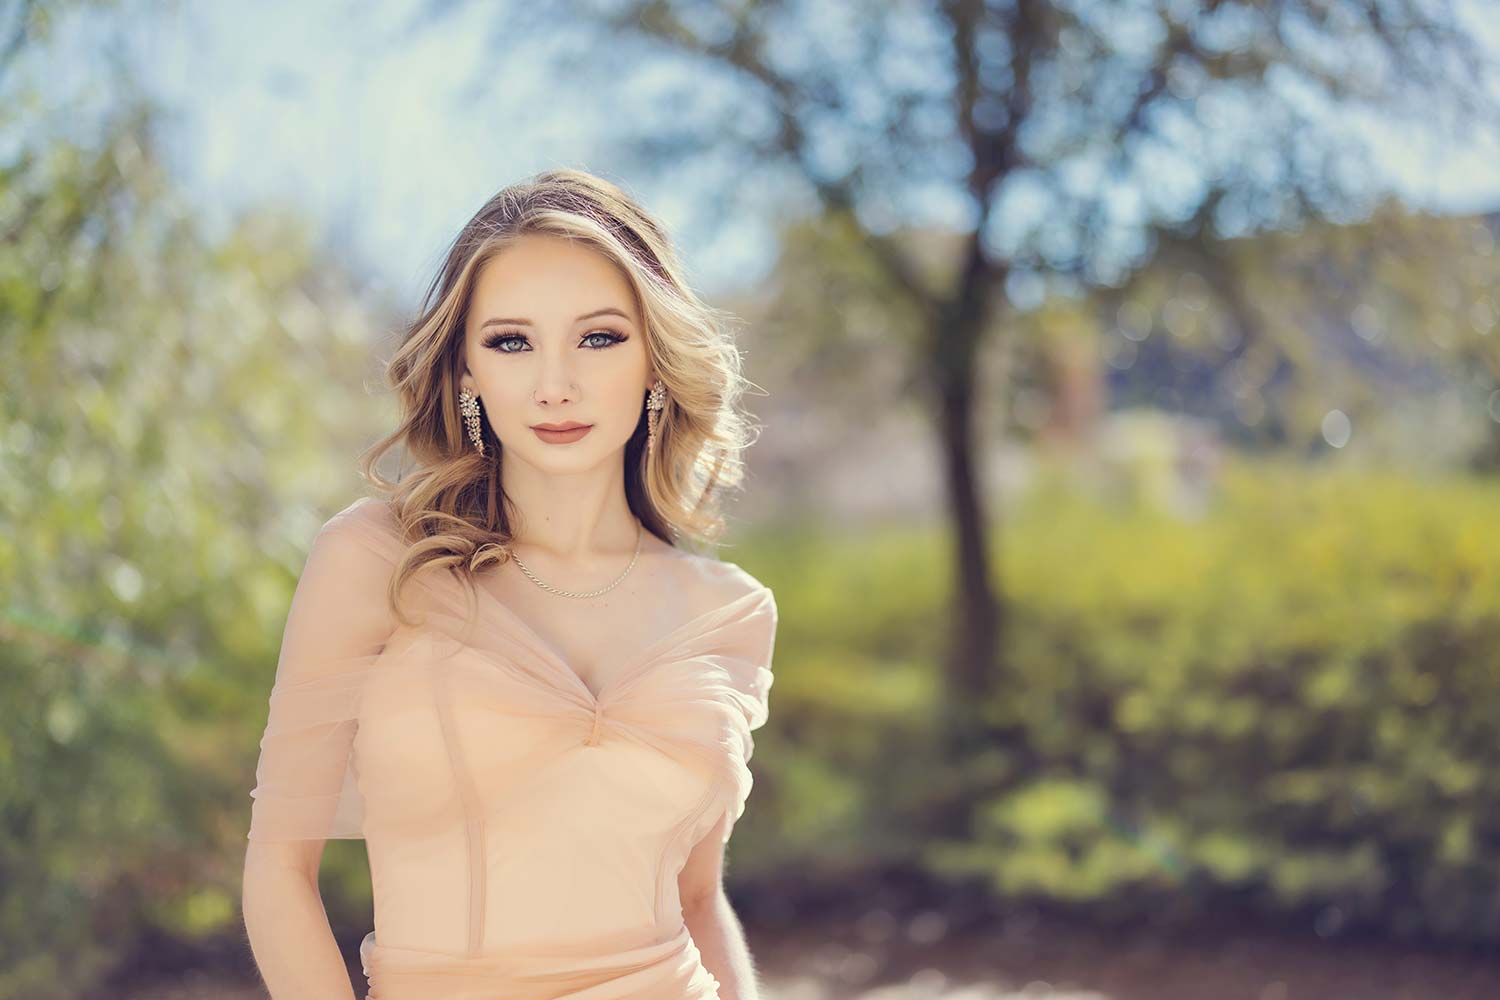
Settings: f2 @ ISO 50, 1/5,000th | Lens: RF85mm F1.2 L USM
I look for two things when I’m working in natural light. First, can I find open shade? If so, I still need a level of directional light. This is where I use a reflector. Silver is my go-to type because I love the more contrasty light it delivers.
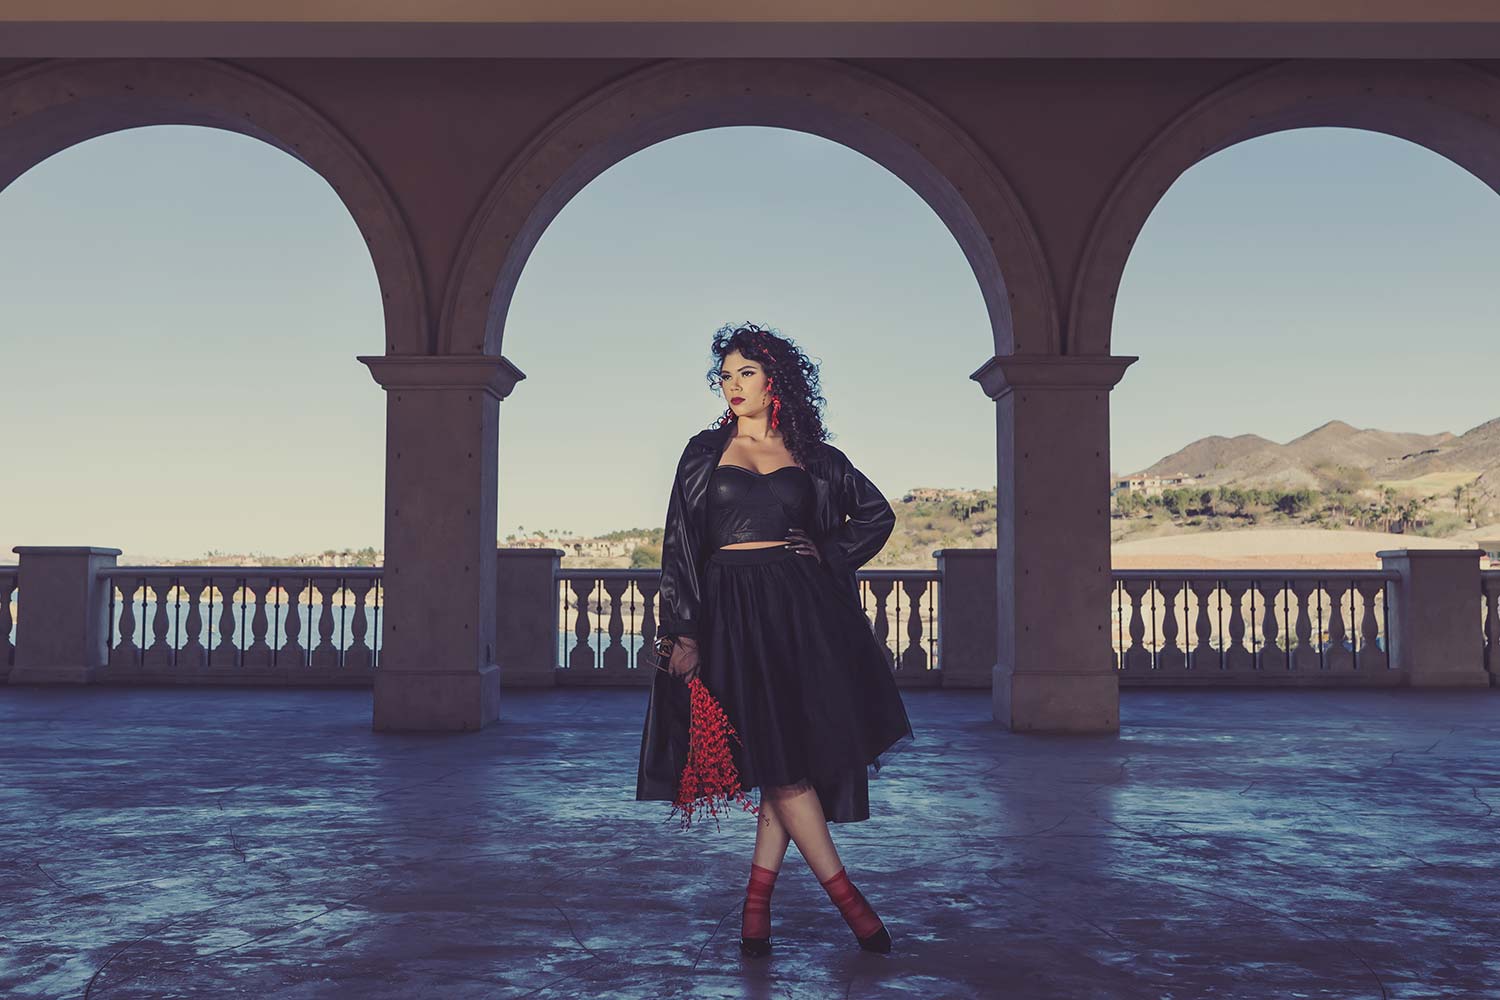
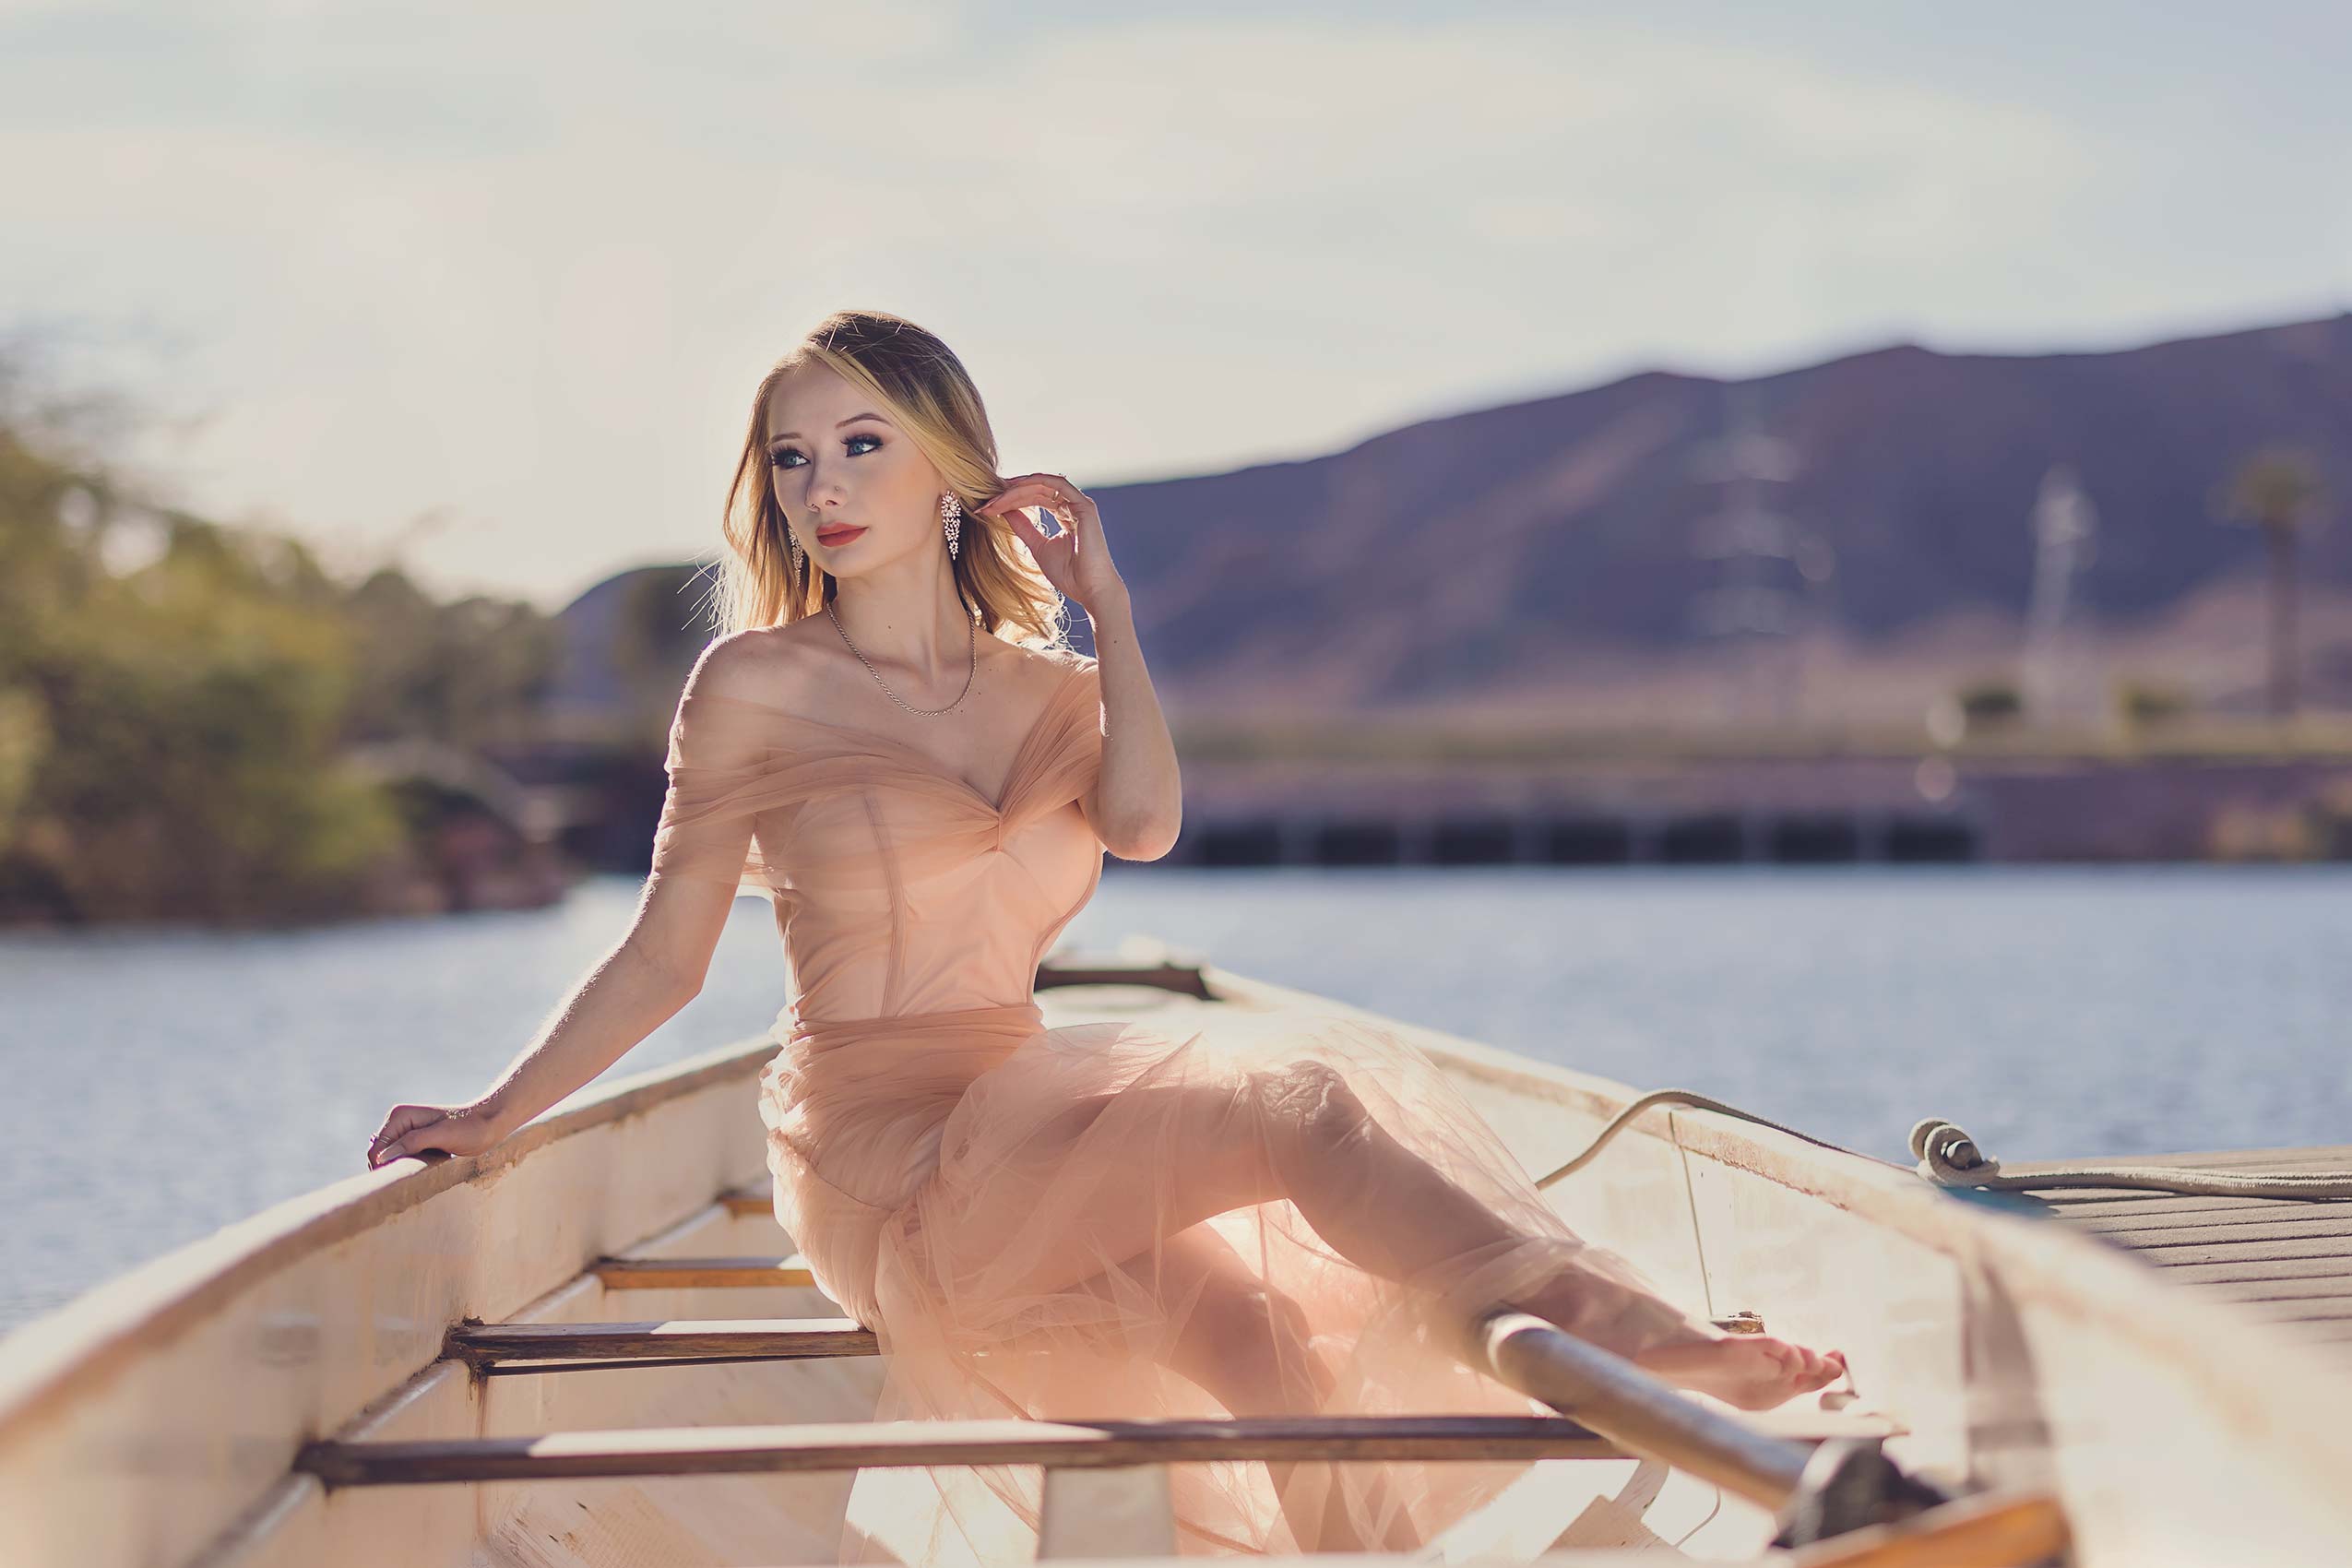
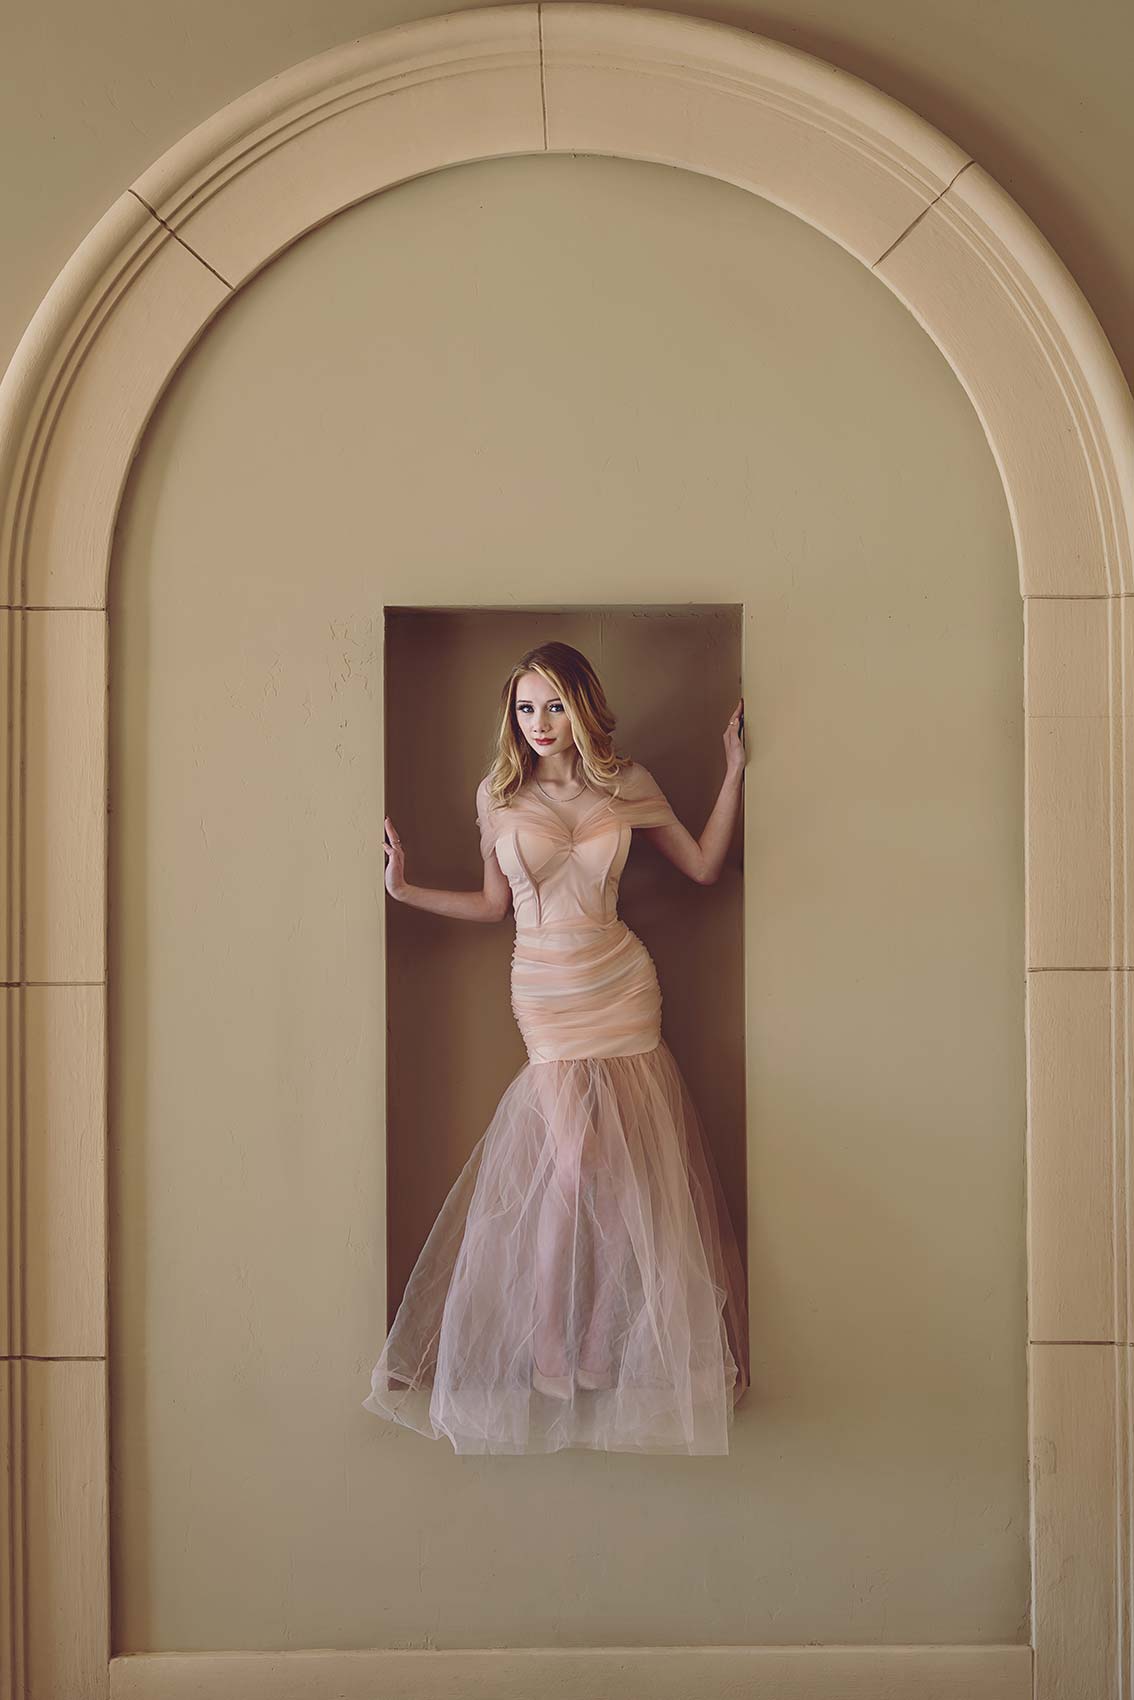
Settings: f2.8 @ ISO 100, 1/1250th | Lens: RF15-35mm F2.8 L IS USM
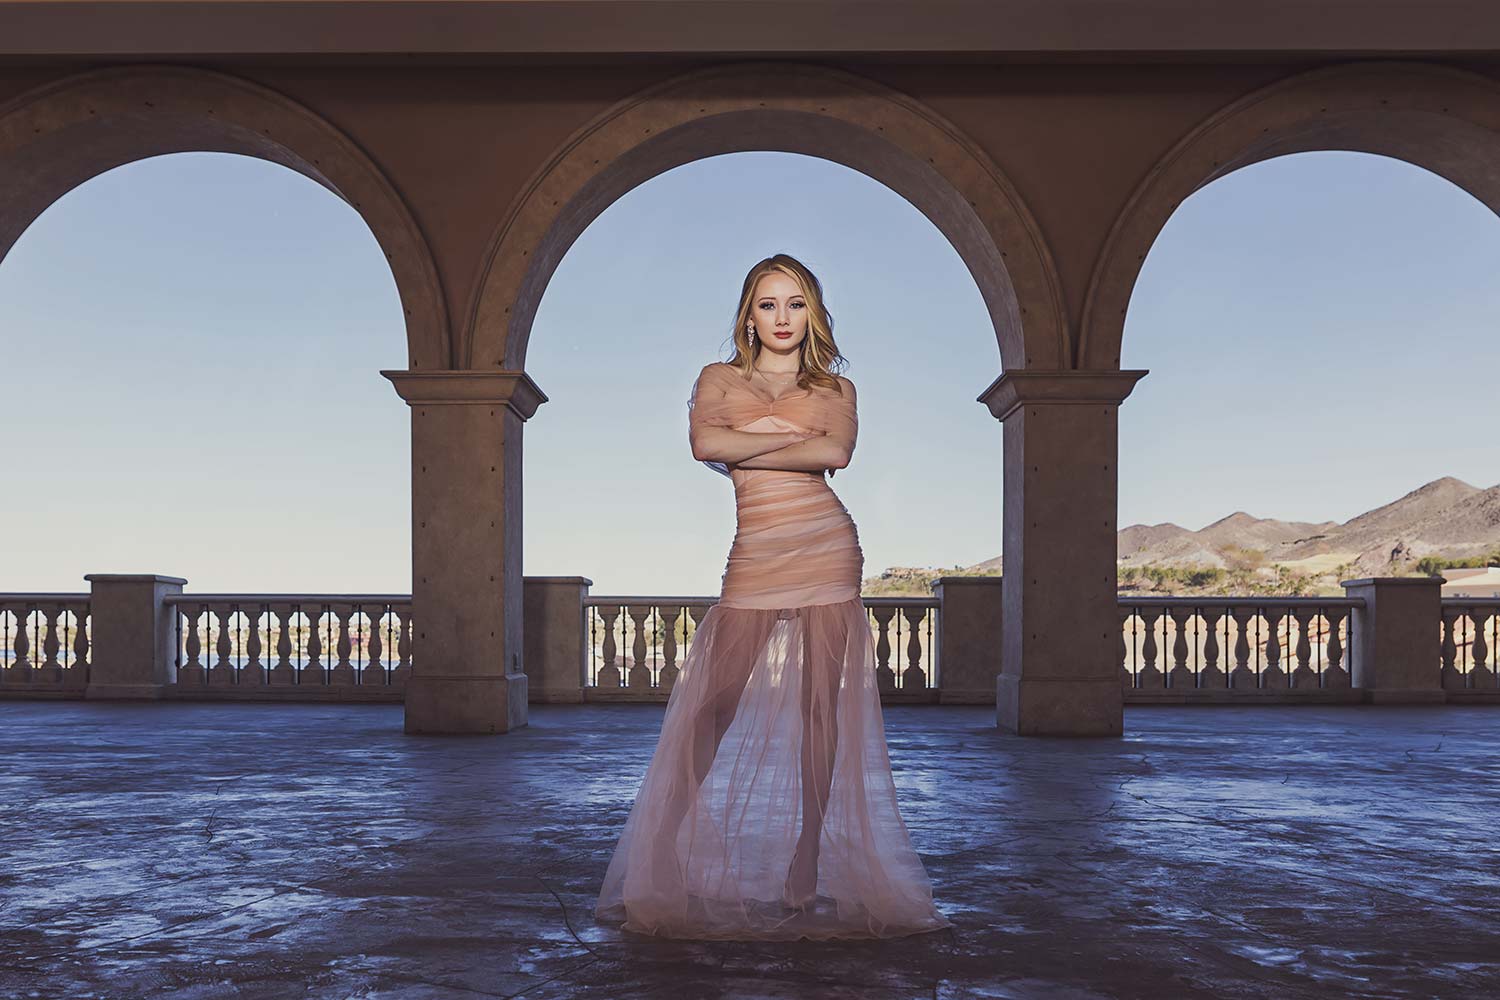
Settings: f2.8 @ ISO 100, 1/1250th | Lens: RF15-35mm F2.8 L IS USM
If I can’t find open shade, I then look to place the sun BEHIND the subject. This creates a natural hair/edge light. Then I use a reflector to add fill light to the subject and reduce the difference in exposure from the background to the subject. By doing this, we avoid that blown-out look that has become popular with “natural light” photographers. Don’t get me wrong, if light and airy is your style, that’s fine, but try adding some fill light and maintain the exposure on your background. It’s a much stronger look. In the end, we are all trying to master our craft.
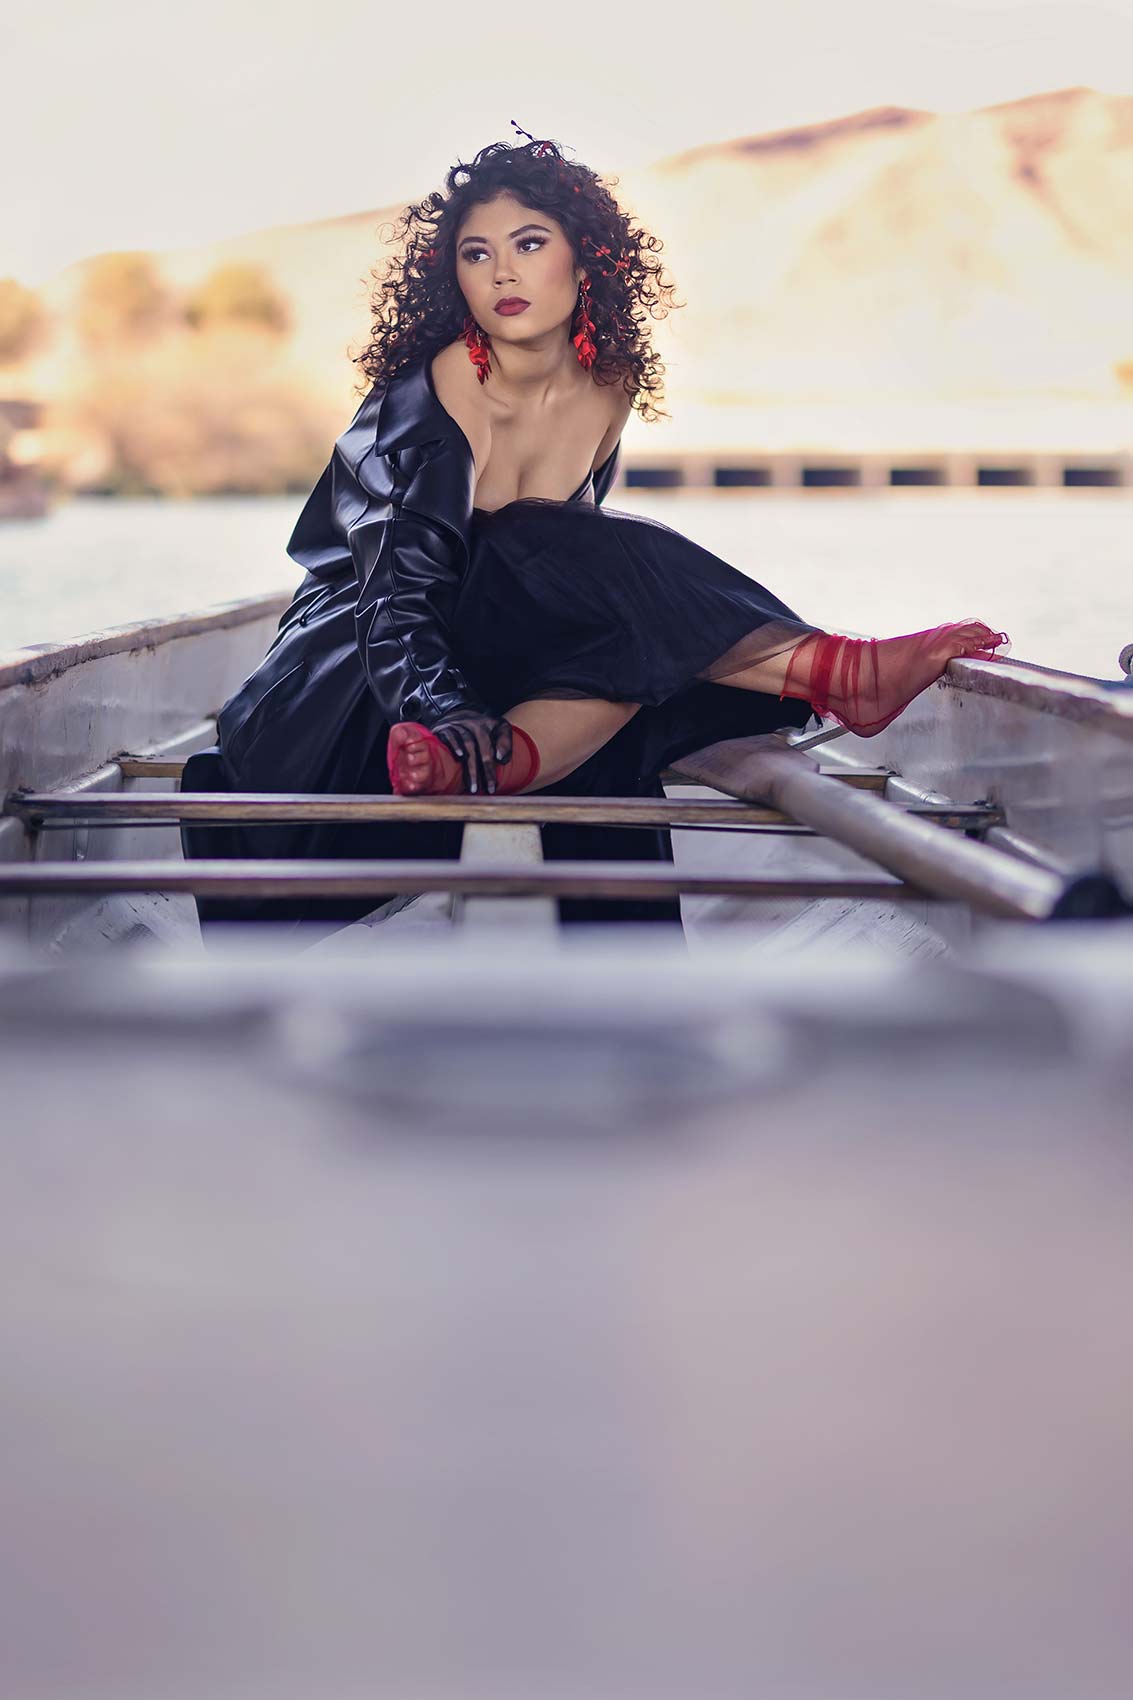
Settings: f1.2 @ ISO 50, 1/2,500th | Lens: RF50mm F1.2 L USM
Settings: f1.2 @ ISO 100, 1/2,500th | Lens: RF50mm F1.2 L USM
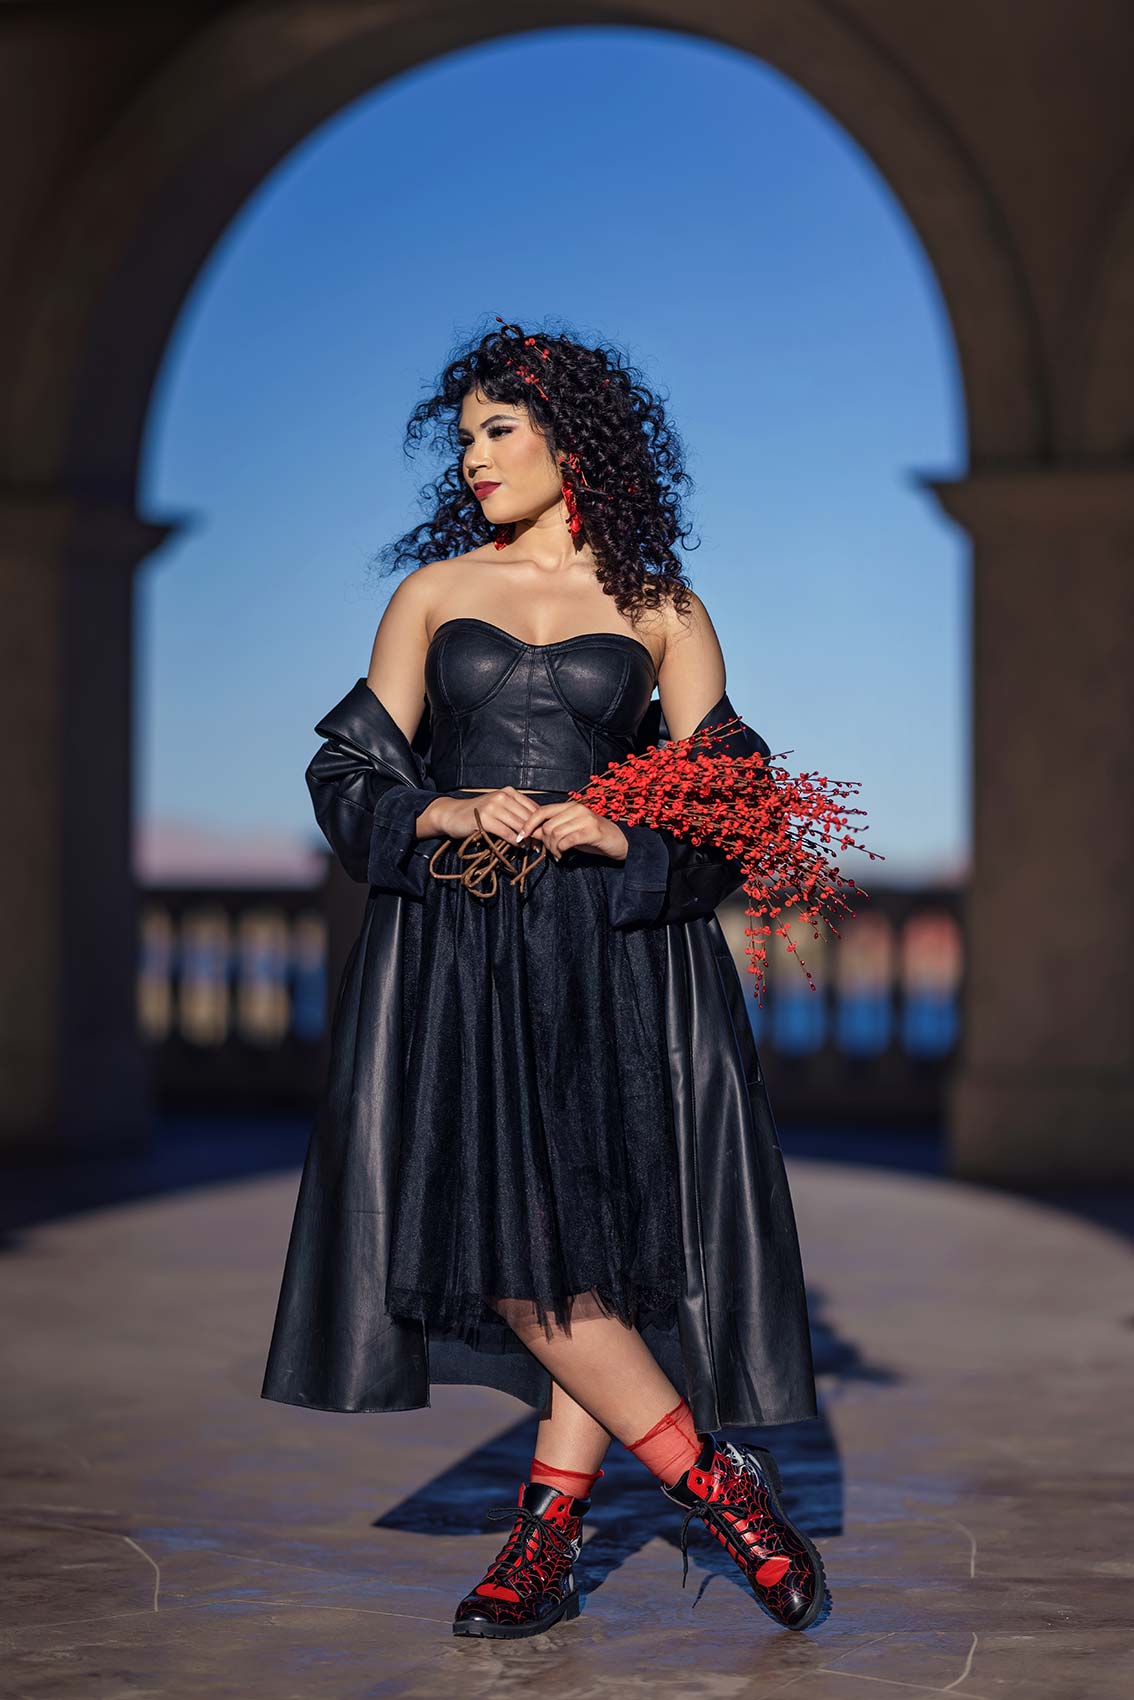
Settings: f/1.2 @ ISO 50, 1/4,000th | Lens: RF50mm F1.2 L USM
Settings: f/1.2 @ ISO 250, 1/1,250th | Lens: RF50mm F1.2 L USM
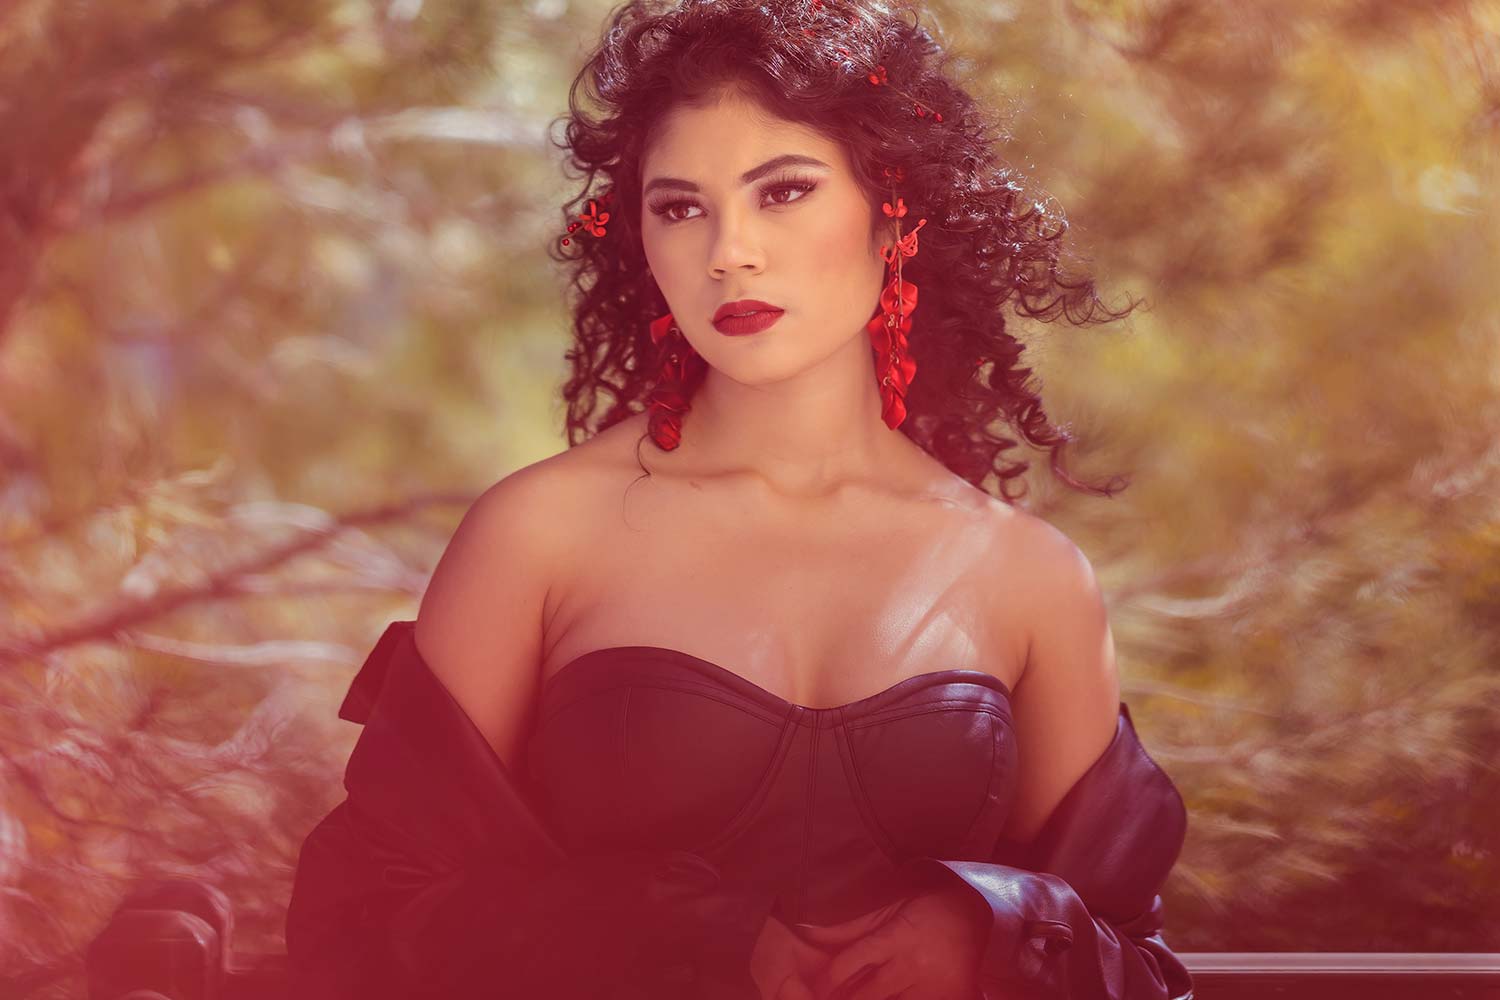
Settings: f/1.2 @ ISO 50, 1/8,000th | Lens: RF85mm F1.2 L USM
Settings: f/1.2 @ ISO 100, 1/1,000th | Lens: RF85mm F1.2 L USM
As the sun begins to get lower on the horizon, I change my strategy a bit to shoot with direct sun. This can also be visually appealing because the sun gets a bit bigger and softer as it gets lower on the horizon.
The images you are seeing are a combination of the strategies I’ve listed above. As I am sure you will agree, the images change throughout the day. The models are the same, but we get a different look and feel as the day progresses.
Which one is your favorite? The best way to learn and grow is to get out there and try it.
Settings: f/16 @ ISO 50, 1/200th | Lens: RF15-35mm F2.8 L IS USM
Settings: f/1.2 @ ISO 100, 1/320th | Lens: RF50mm F1.2 L USM
WANT MORE CONTENT LIKE THIS?
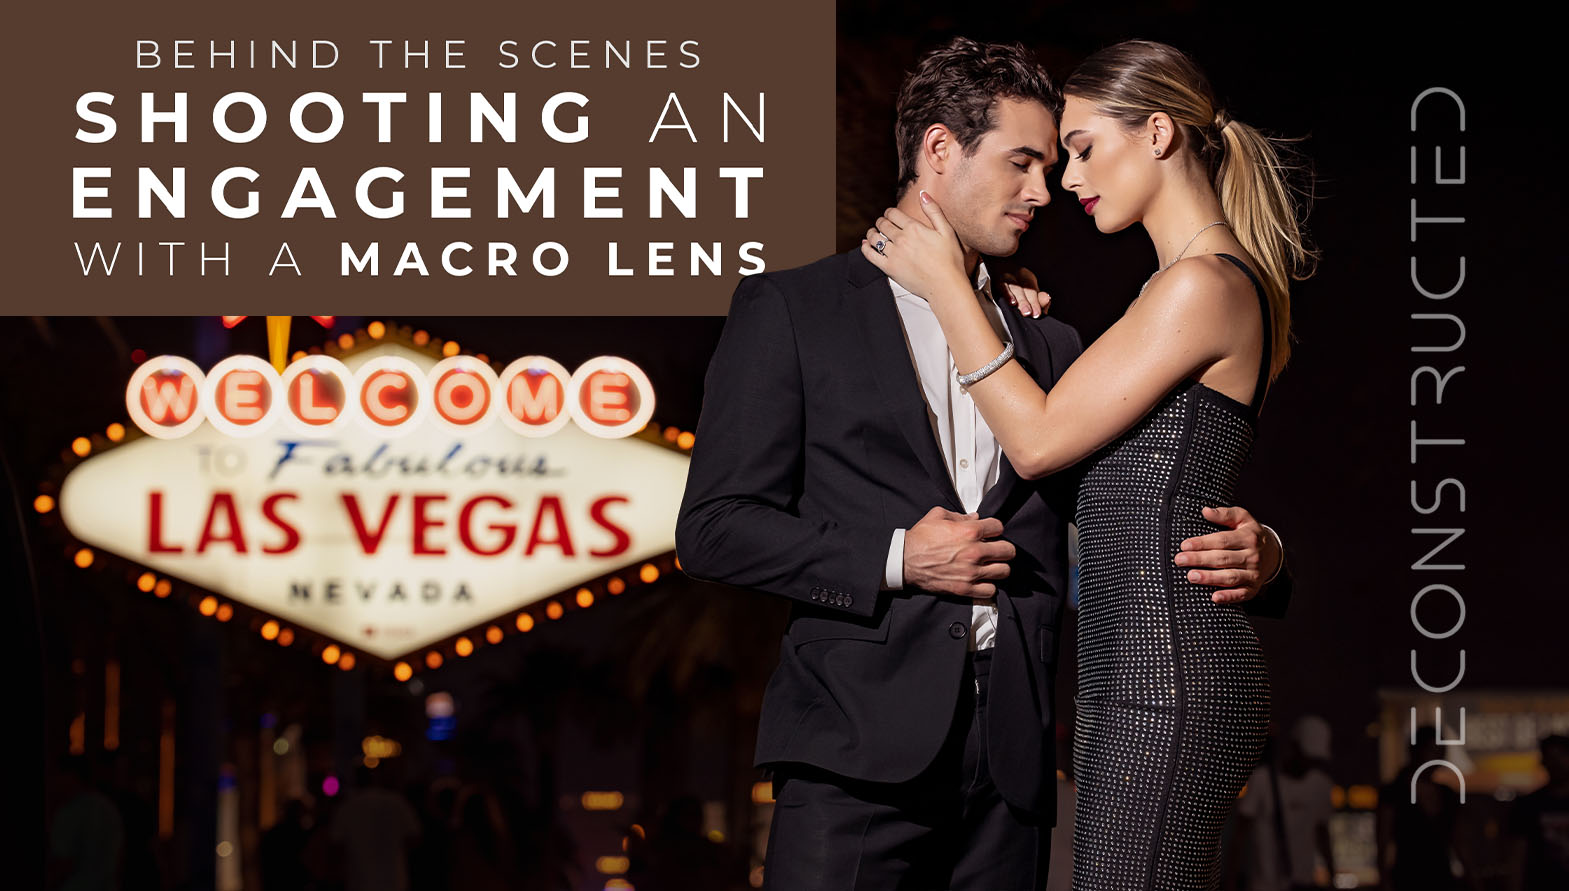
Shooting an Entire Engagement Session with a Macro Lens
In this Las Vegas engagement shoot, we checked out the highly underutilized Canon RF100 F2.8 L MACRO IS USM lens. People may forget about this lens, but it’s really a swiss army knife. You can get tight shots, those macro details, as well as full-body portraits.