
Why Photographers Should Embrace Digital Retouching
Why Photographers Should Embrace Digital Retouching with Nino Batista Want more information on this article? Get access to video content…

Why Photographers Should Embrace Digital Retouching with Nino Batista Want more information on this article? Get access to video content…
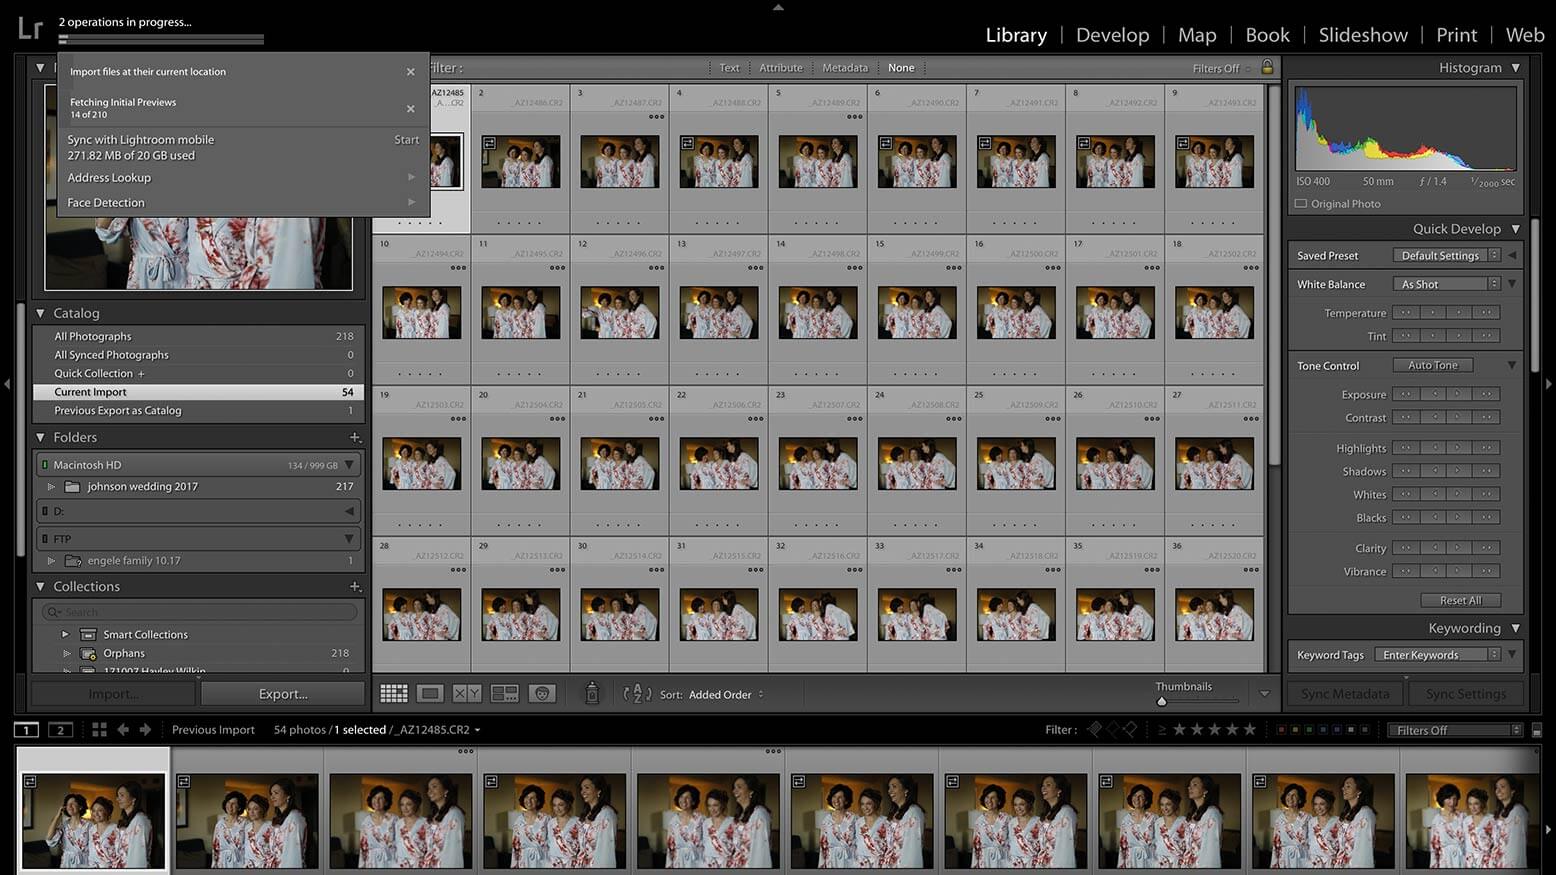
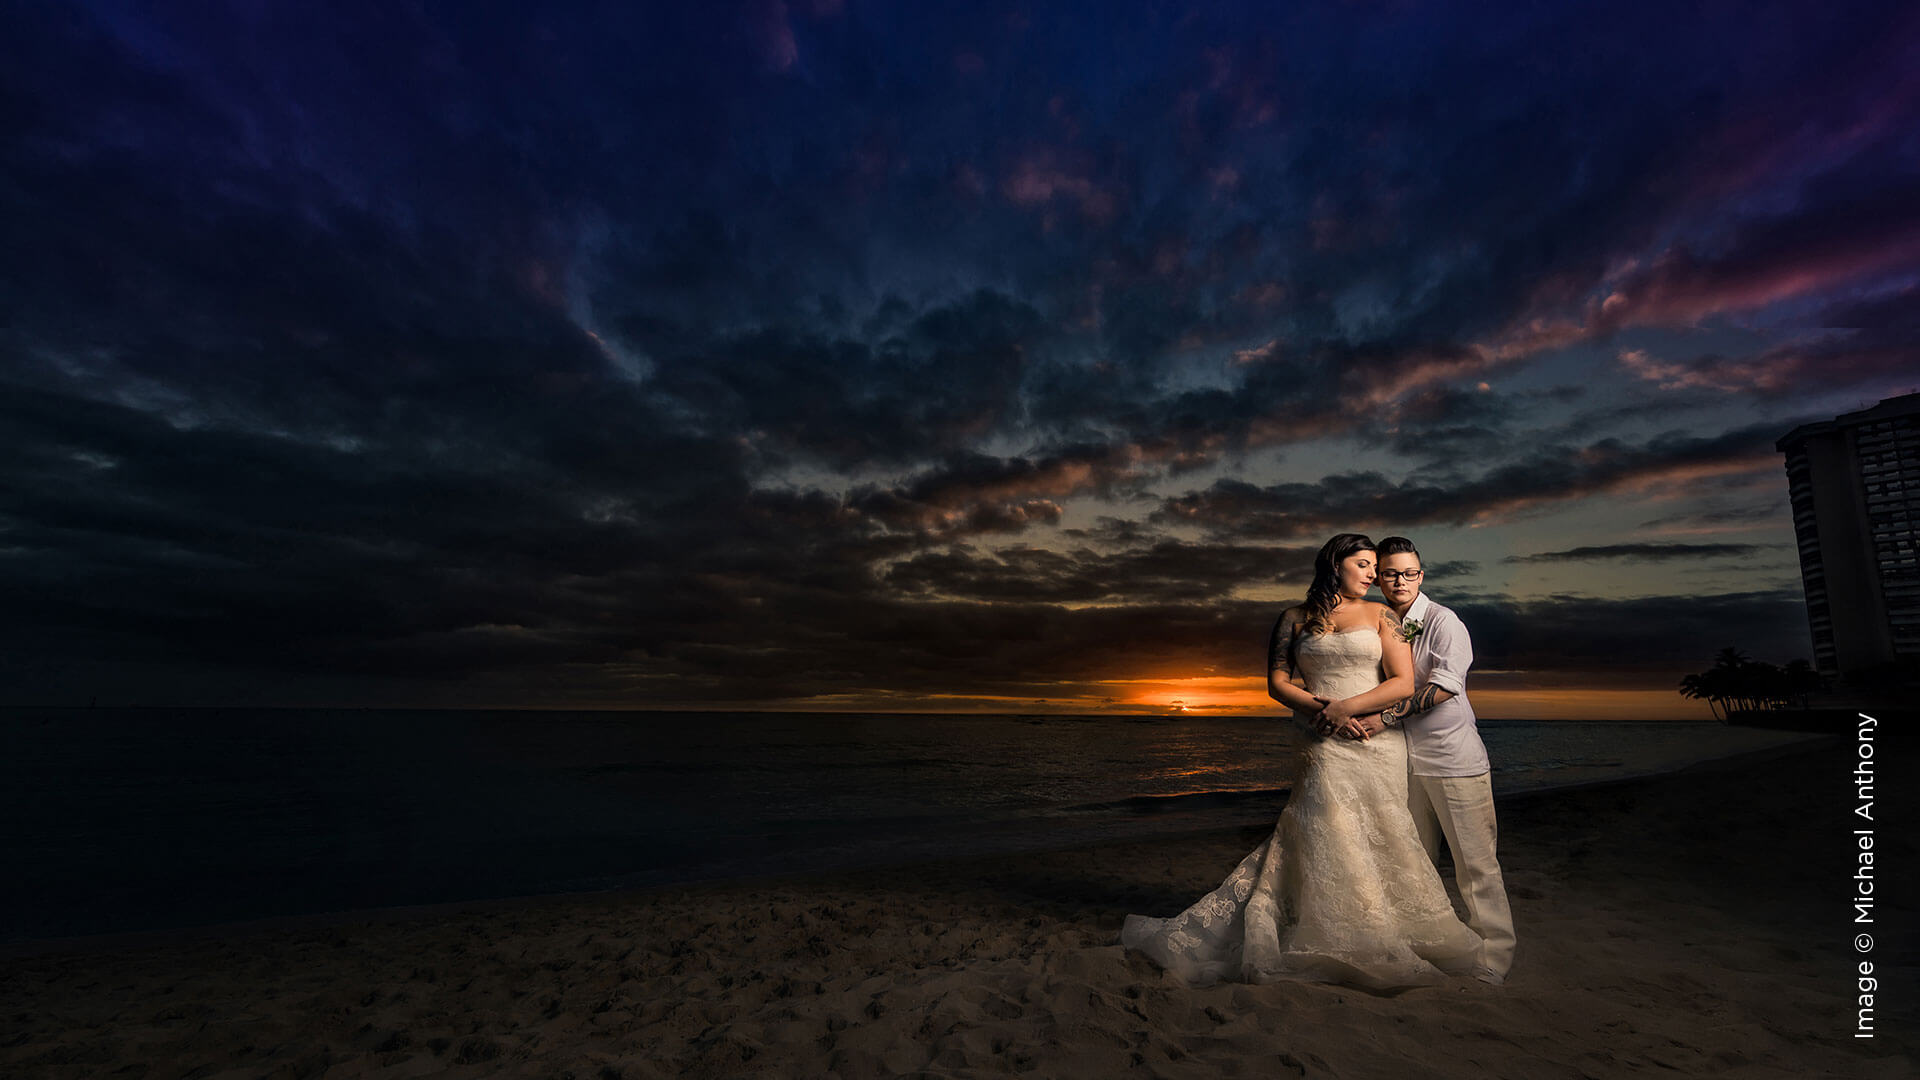
After shooting a wedding or any eight-hour-plus event, I dread spending countless hours working in Lightroom. Lightroom can be a huge time suck: waiting for my memory cards to ingest, waiting for each Raw to load for culling, waiting for adjustments to render in the Develop module. Are you struggling with the same post-shoot stress? If so, this article will forever free up these worries and let you get to work—at the pace of your computer’s speed, of course.
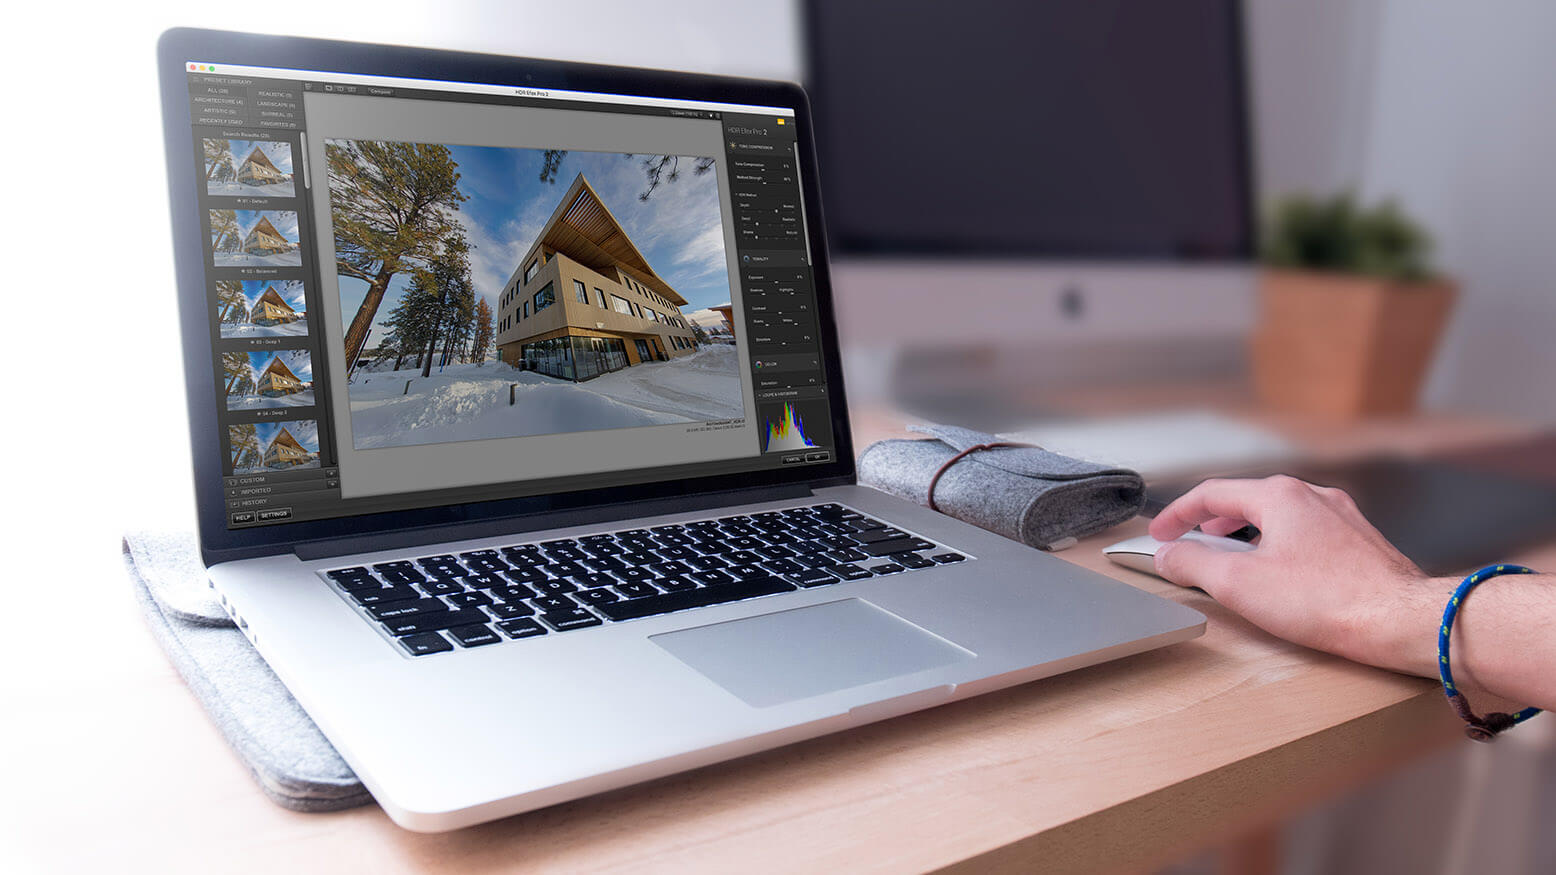
A commercial or editorial client will likely require editing images for a greater dynamic range. In that case, you will want to know what your editing options are after the shoot. Ideally, you want to work with a tripod to give yourself the most flexibility in stopping down your aperture, staying at a low ISO and taking long exposures. Long exposure sometimes removes your option to shoot handheld. Let’s look at some options for multiple exposures and how we can merge these files.

Black-and-white conversion is an art, and the art is in determining how each color is rendered in black and white. Say you have an image of a beautiful landscape with a deep blue sky full of fluffy clouds. When we convert that to black and white, the blue sky loses its color. Now, I have a question for you: How will the blue areas look in black and white? Will they look light gray? Dark gray? White? Or maybe light gray with a slight gradient of dark gray? Making these decisions for how each color will be rendered is what makes black-and-white conversion fun.
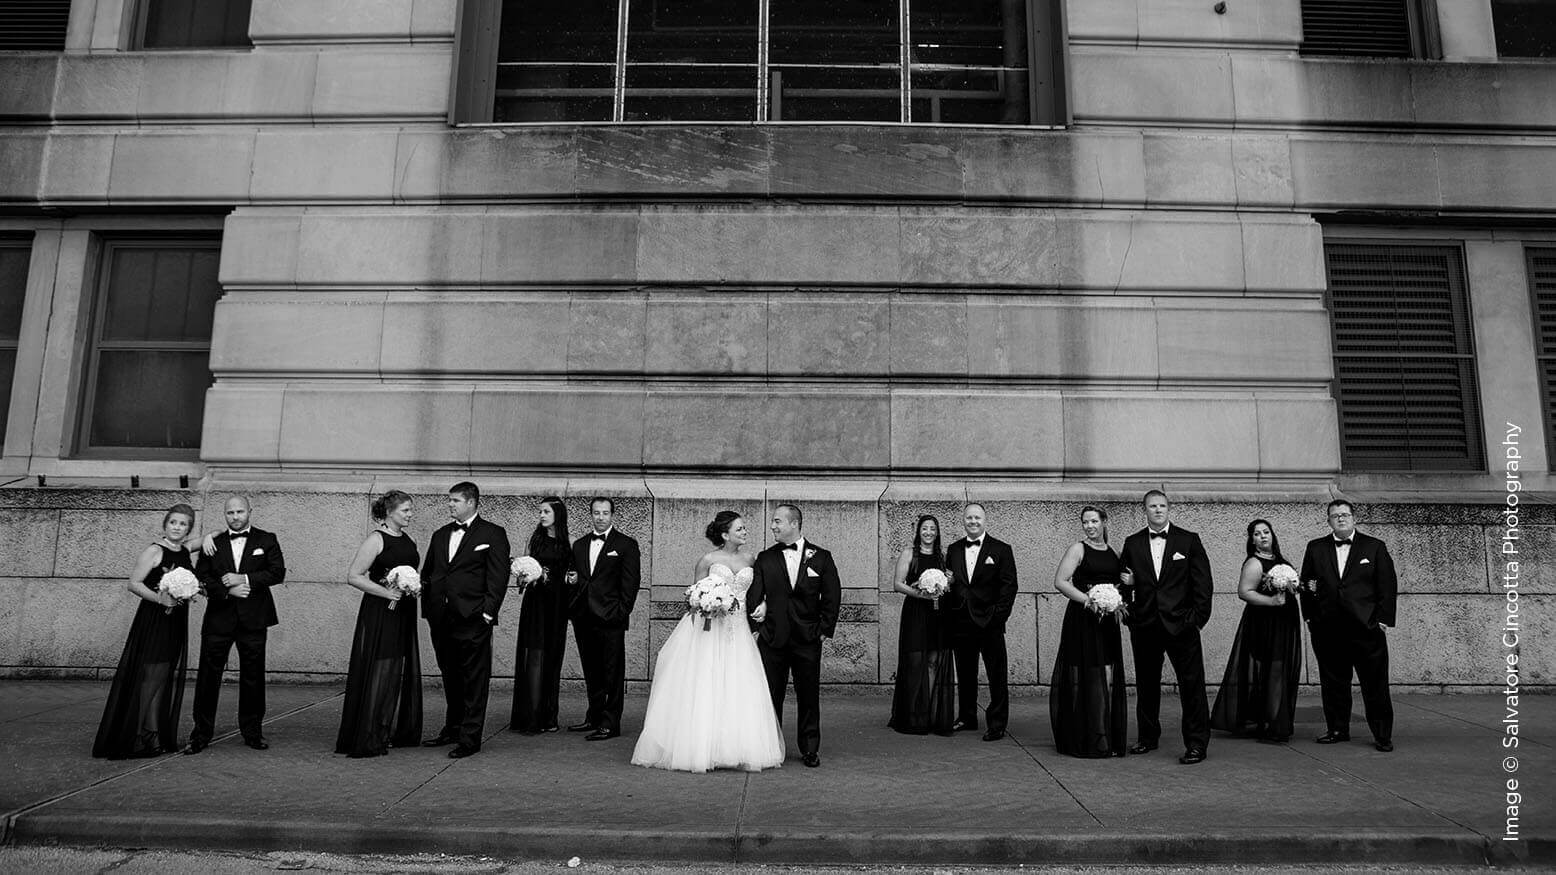
Whether you are shooting for grayscale or converting images due to horrible mixed lighting, you need a good workflow for black-and-white editing. Capture One Pro 10 has made it simple to do a large majority of your black-and-white editing without the need to edit in another software or plugin. This article show you how to use the presets, styles and tools of Capture One to make your black-and-white editing not only easier, but prettier.
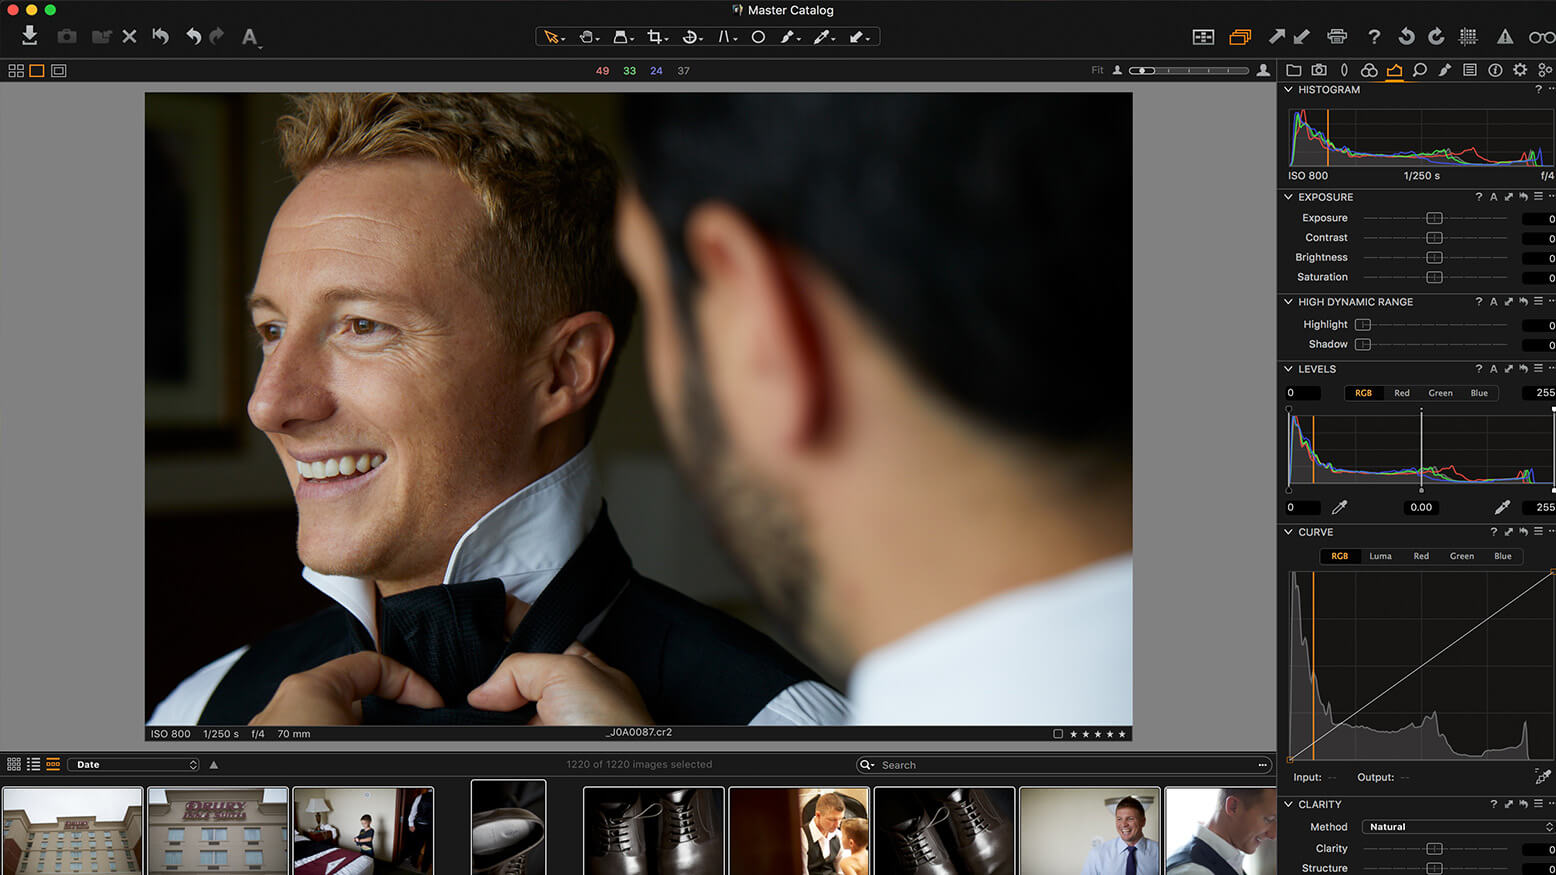
The change from Lightroom to Capture One is a challenge at first. They look completely different, and I am sure you had the same feeling before you used Lightroom for the first time. Learning the interface, customizing your Workspace and designating keyboard shortcuts will save you the most time. With this article, I intend to show the possibilities of migrating from Lightroom to Capture One.

When you retouch clients, your changes can’t be noticeable. When it’s obvious that an image has been altered from reality, it’s just tacky. This article takes you through the do’s and don’ts of Liquify and how to navigate through the Liquify panel in Photoshop CC.
For professional photographers, a RAW processor is an absolute necessity. But because there’s so little competition, our current options are inefficient at best and completely unacceptable at worst.

Moving to a mobile workflow can seem more daunting than just taking pictures and storing them on your computer. I am constantly changing how I ingest, back up, edit and output files on a weekly basis, as well as the programs I am using.
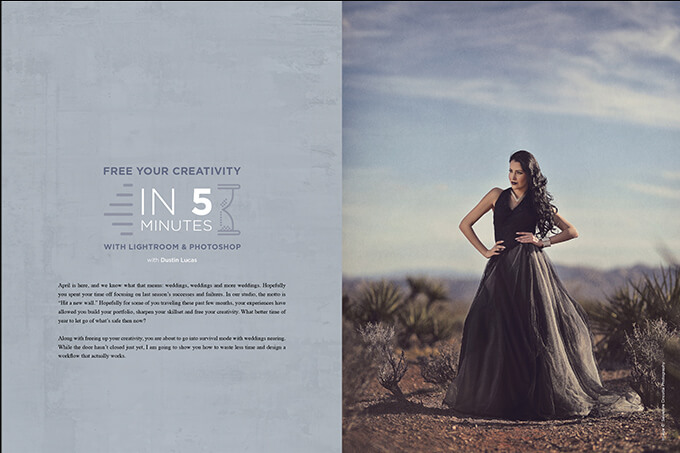
April is here, and we know what that means: weddings, weddings and more weddings. Hopefully you spent your time off focusing on last season’s successes and failures. In our studio, the motto is “Hit a new wall.”
