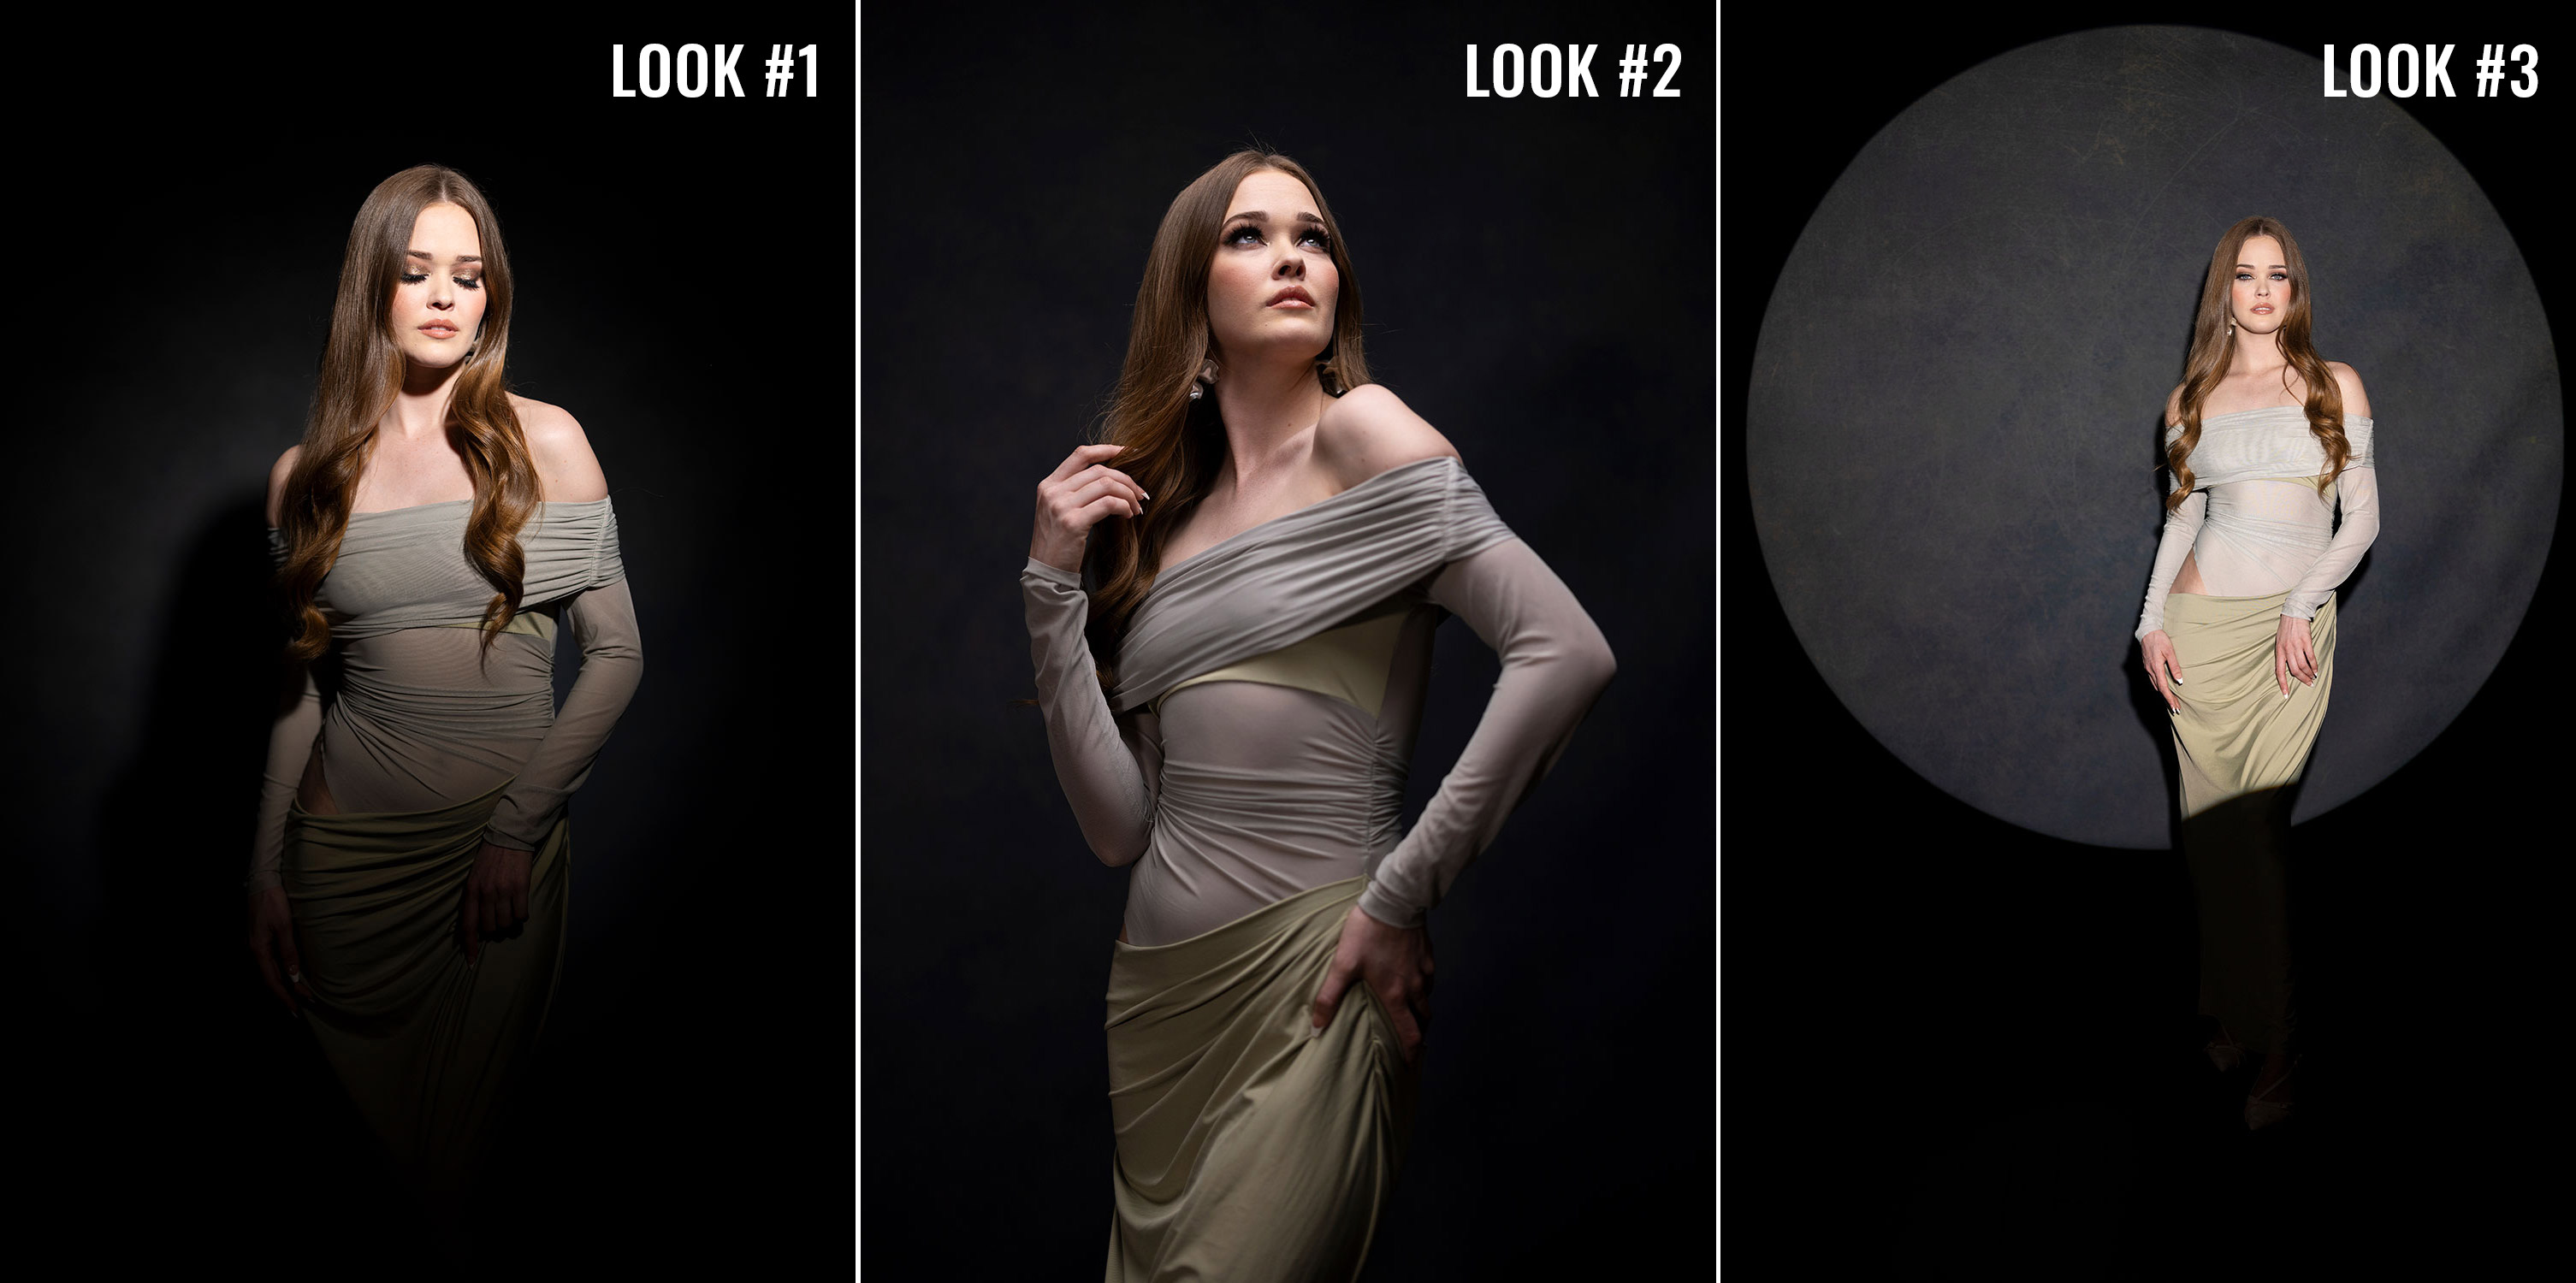
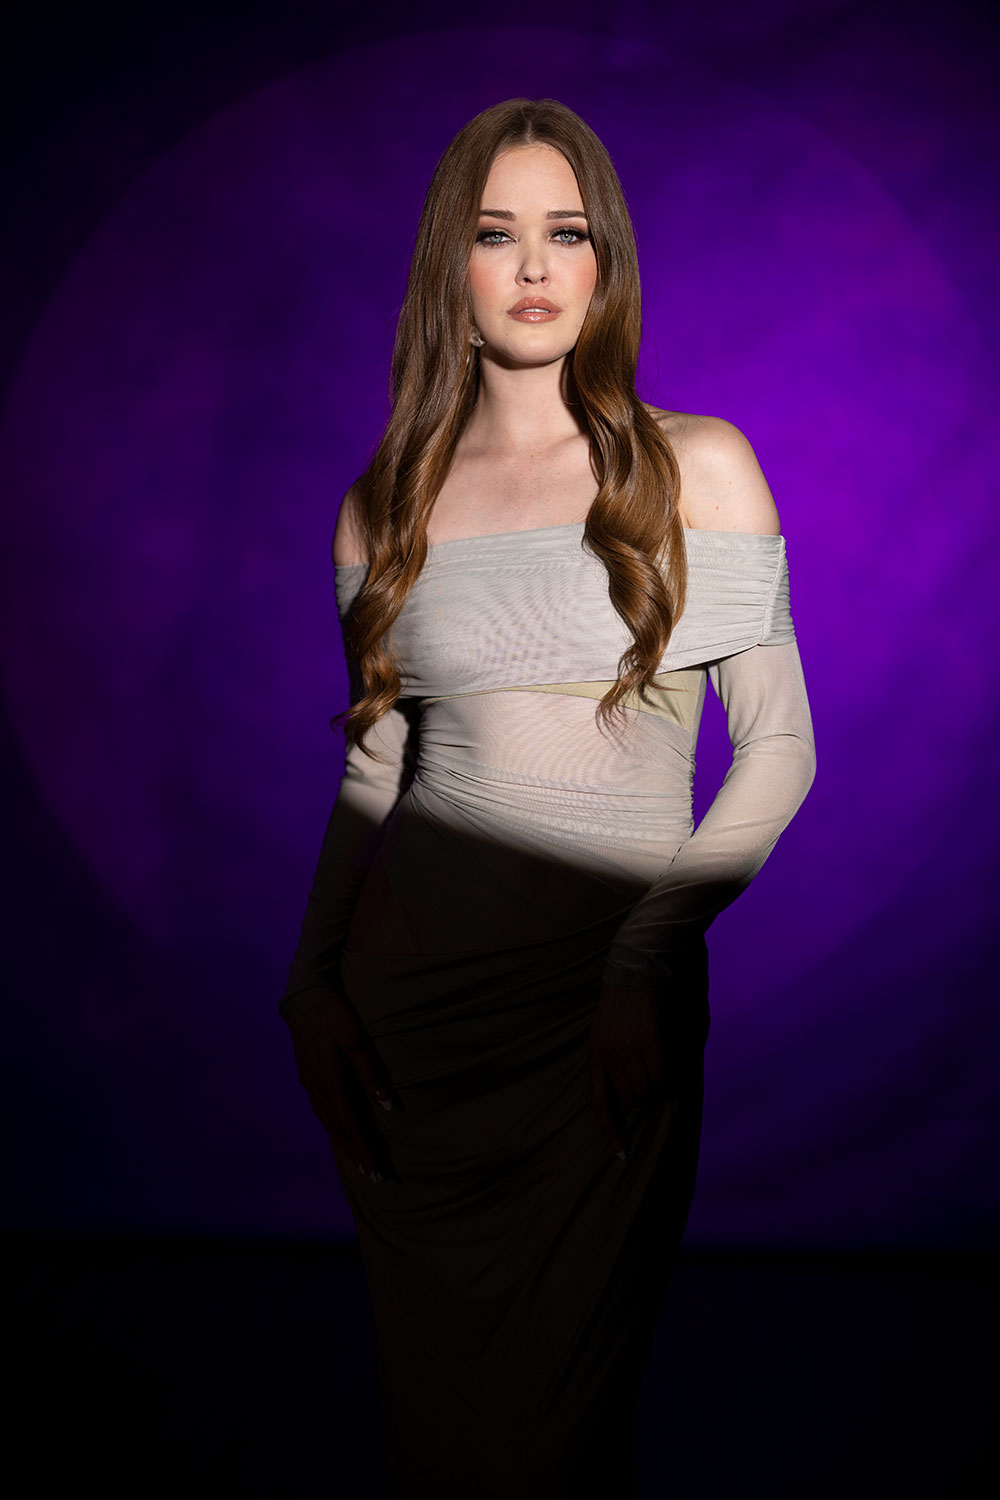
When it comes to creating bold, eye-catching portraits, lighting is everything. Whether you’re working in a studio or on location, the right setup can add mood, depth, and an unforgettable sense of drama to your images. In this video, we’re breaking down three dramatic portrait lighting setups you can master in minutes. No complicated gear or huge budget required.
These techniques are perfect for photographers looking to add impact and style to their portrait sessions. Let’s dive in.
Equipment Used:
Camera: Canon EOS R5
Lens: Canon RF 50mm
Light: Nanlite FC-300B (looks 1 & 3), Nanlite FS-300C (looks 2 & 3)
Modifiers: Nanlite FL-20G Fresnel Lens (Look 1), Nanlite Para 90 Quick-Open Softbox (Look 2), Nanlite PJ-BM Projection Attachment (Look 3)
Team:
Photographer: Sal Cincotta
Model: Violet
Hair & Makeup: Brandi Patton, ReFine Beauty
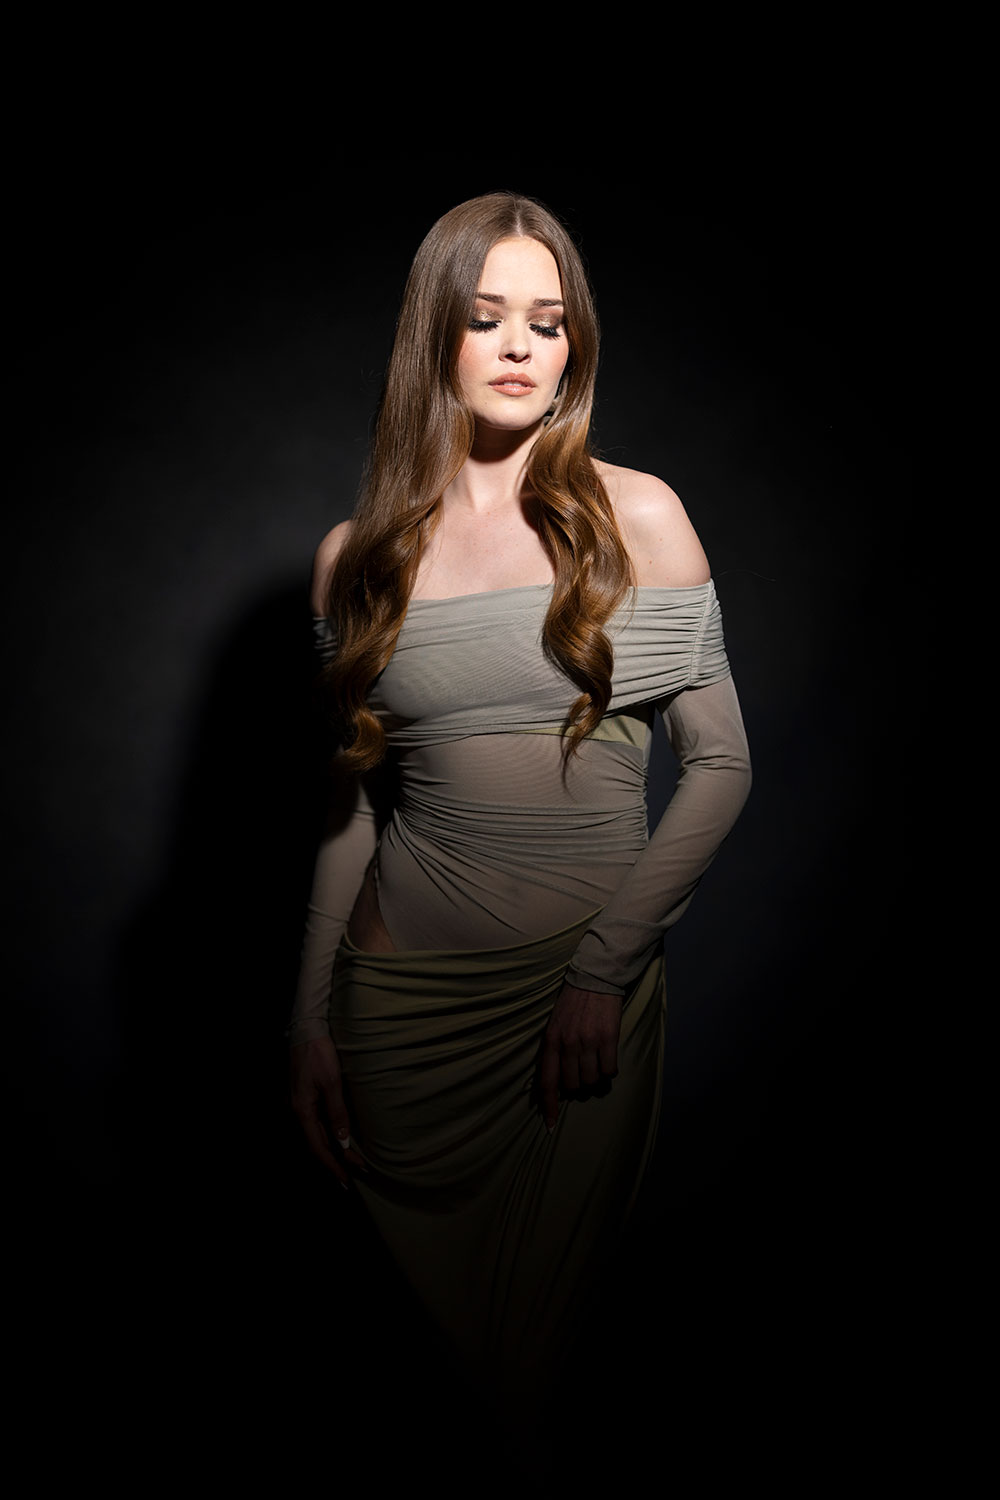
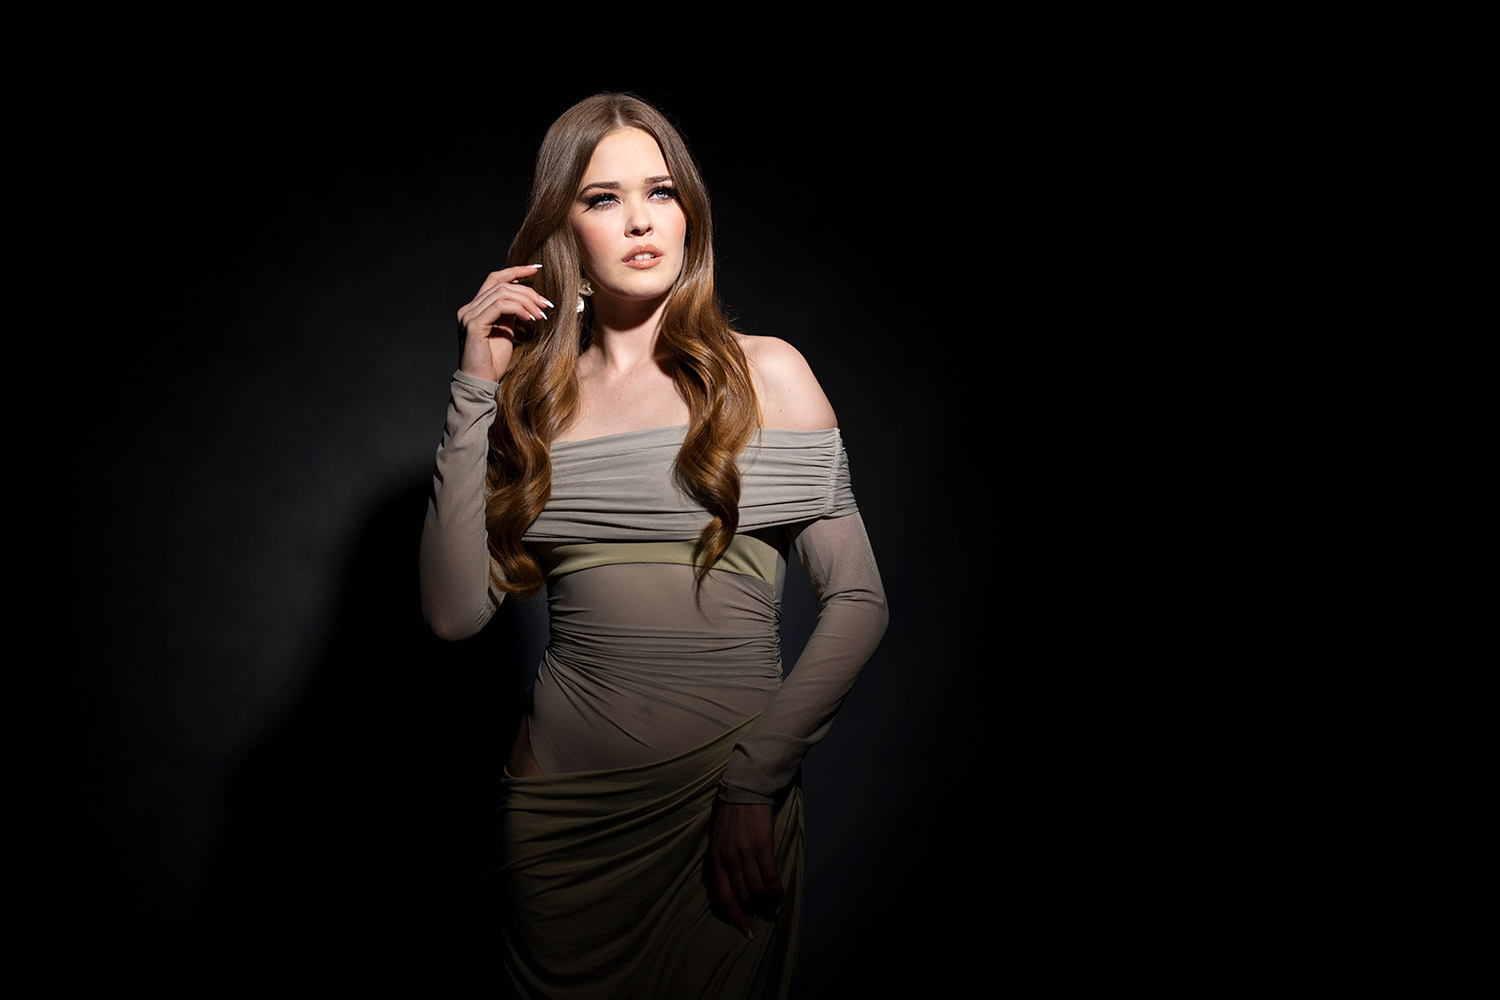
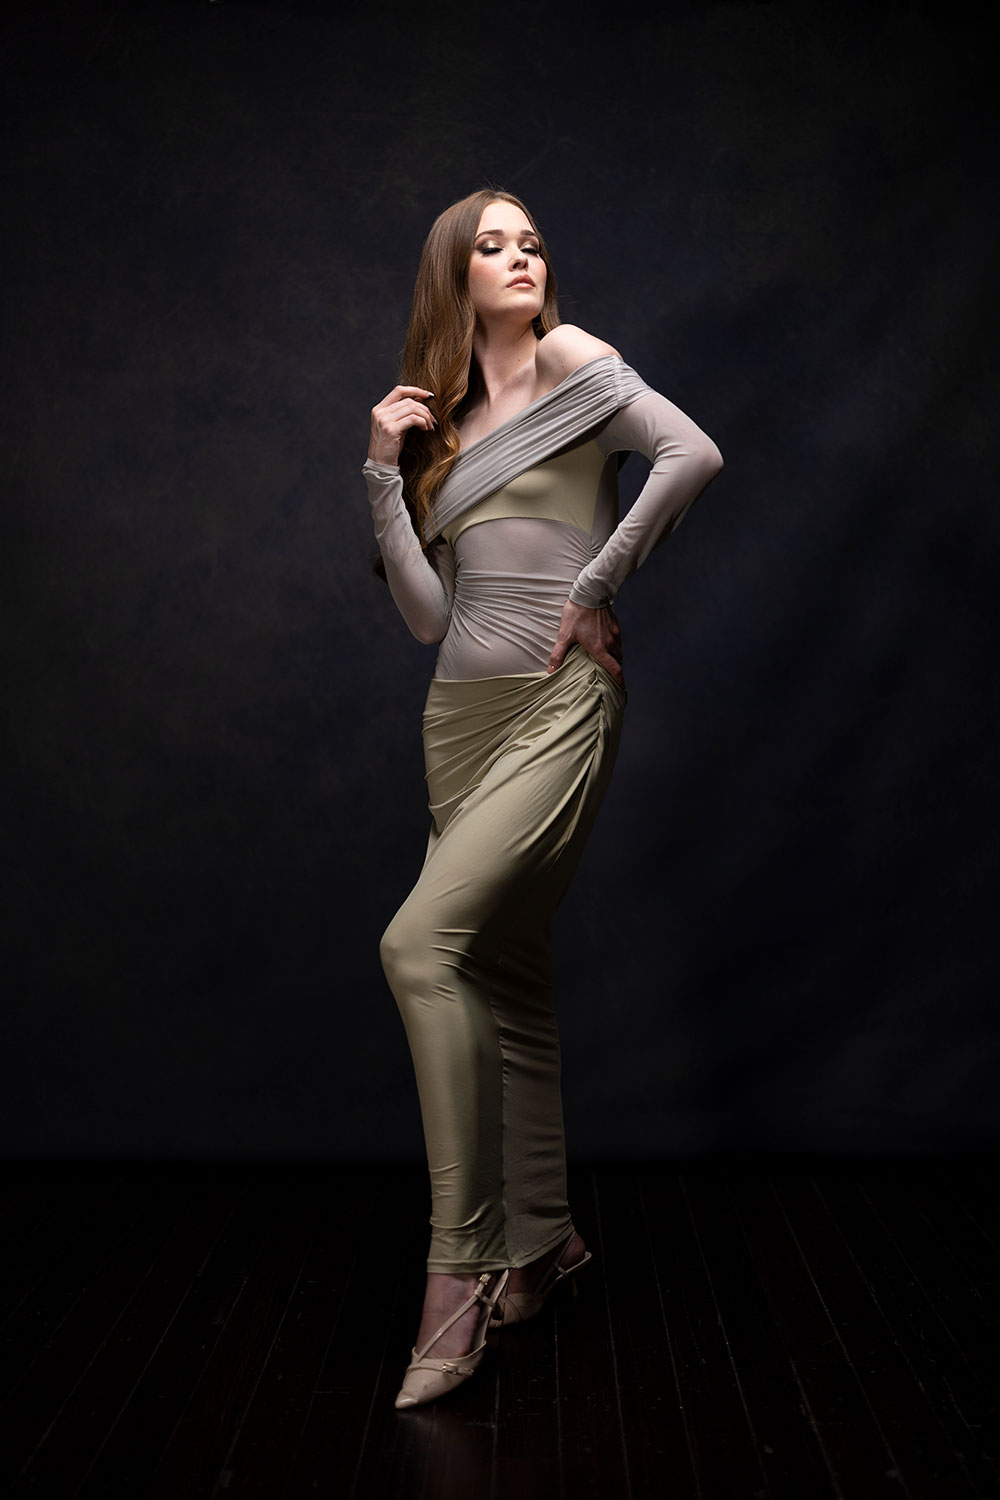
Dramatic Lighting Setup #1: The Classic Fresnel Spotlight Look
If you’re after that Old Hollywood vibe – think deep shadows, crisp highlights, and cinematic flair, this setup is for you.
We used the Nanlite FC-300B with a Fresnel lens to create a tight, circular beam of light. The result? A beautifully controlled spotlight with dramatic falloff. This setup isn’t meant to light everything evenly. Instead, the key is guiding your subject so the brightest part of the light hits the face and head, allowing the shadows to do the storytelling.
Why it works:
This look adds instant drama with very little effort.
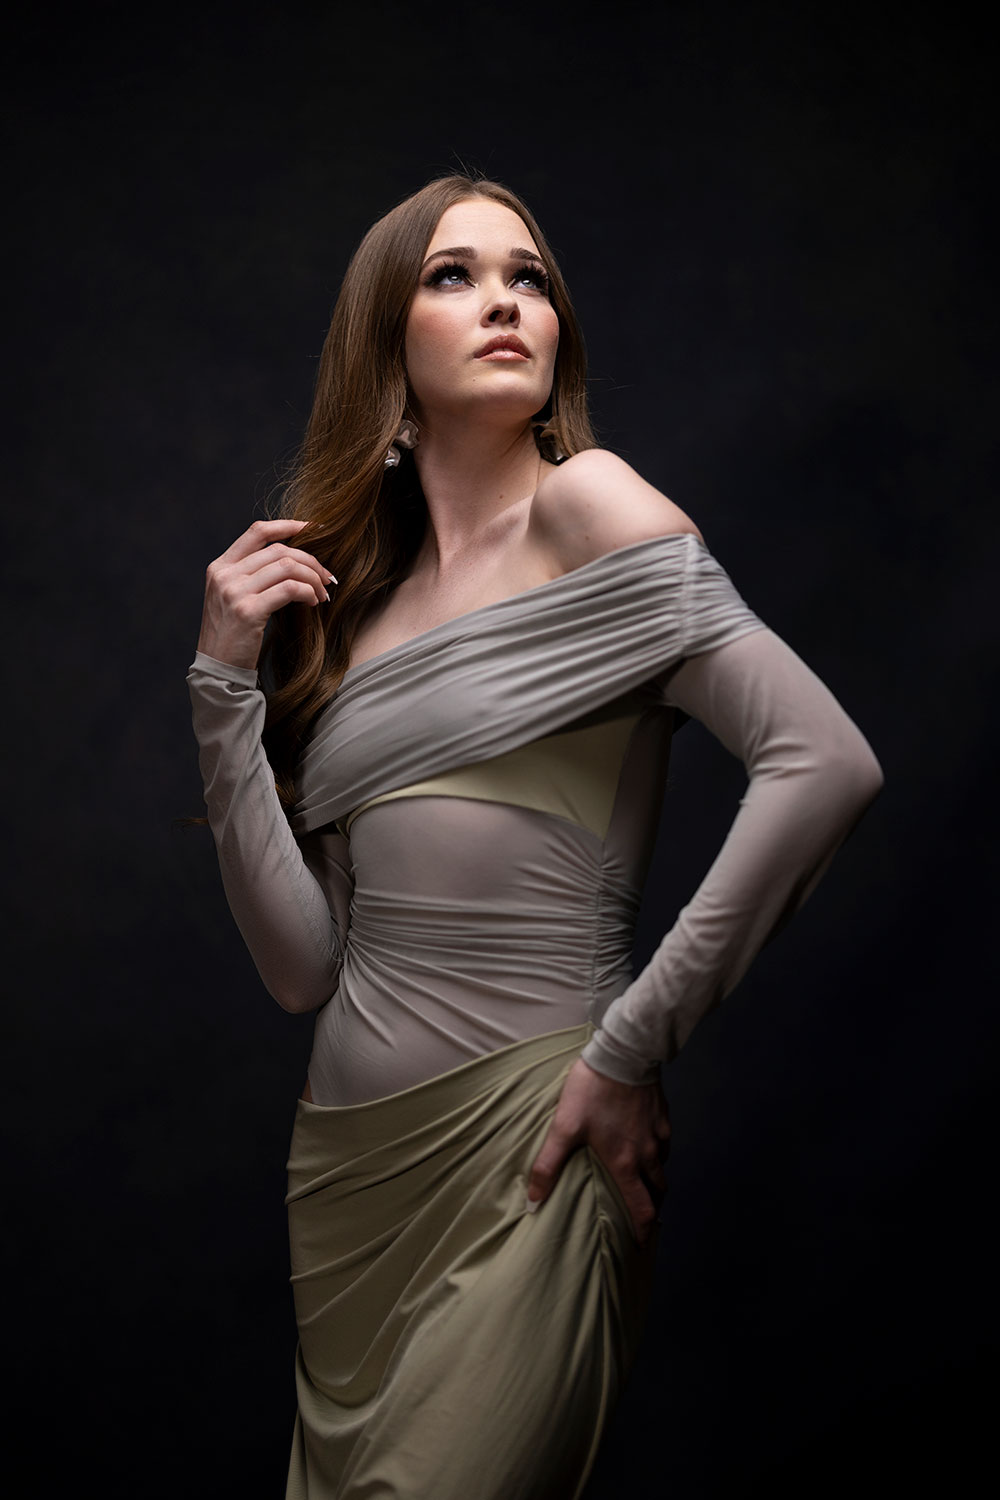
Dramatic Lighting Setup #2: Sculpted Light with an Overhead Softbox
Next, we softened things a bit, but kept the drama intact.
Using the Nanlite FS-300C and a Parabolic 90 Softbox, we placed the light source overhead to create beautiful shadow shaping across the face and body. It’s softer than the spotlight, but still directional enough to give your images a strong sense of mood.
Tip: make sure your subject isn’t staring straight into the lens. Overhead lighting can cast unwanted shadows under the eyes if not managed properly. Adjust their pose to keep a flattering light placement.
Why it works:
It gives portraits a sculpted, professional look without washing out facial features.
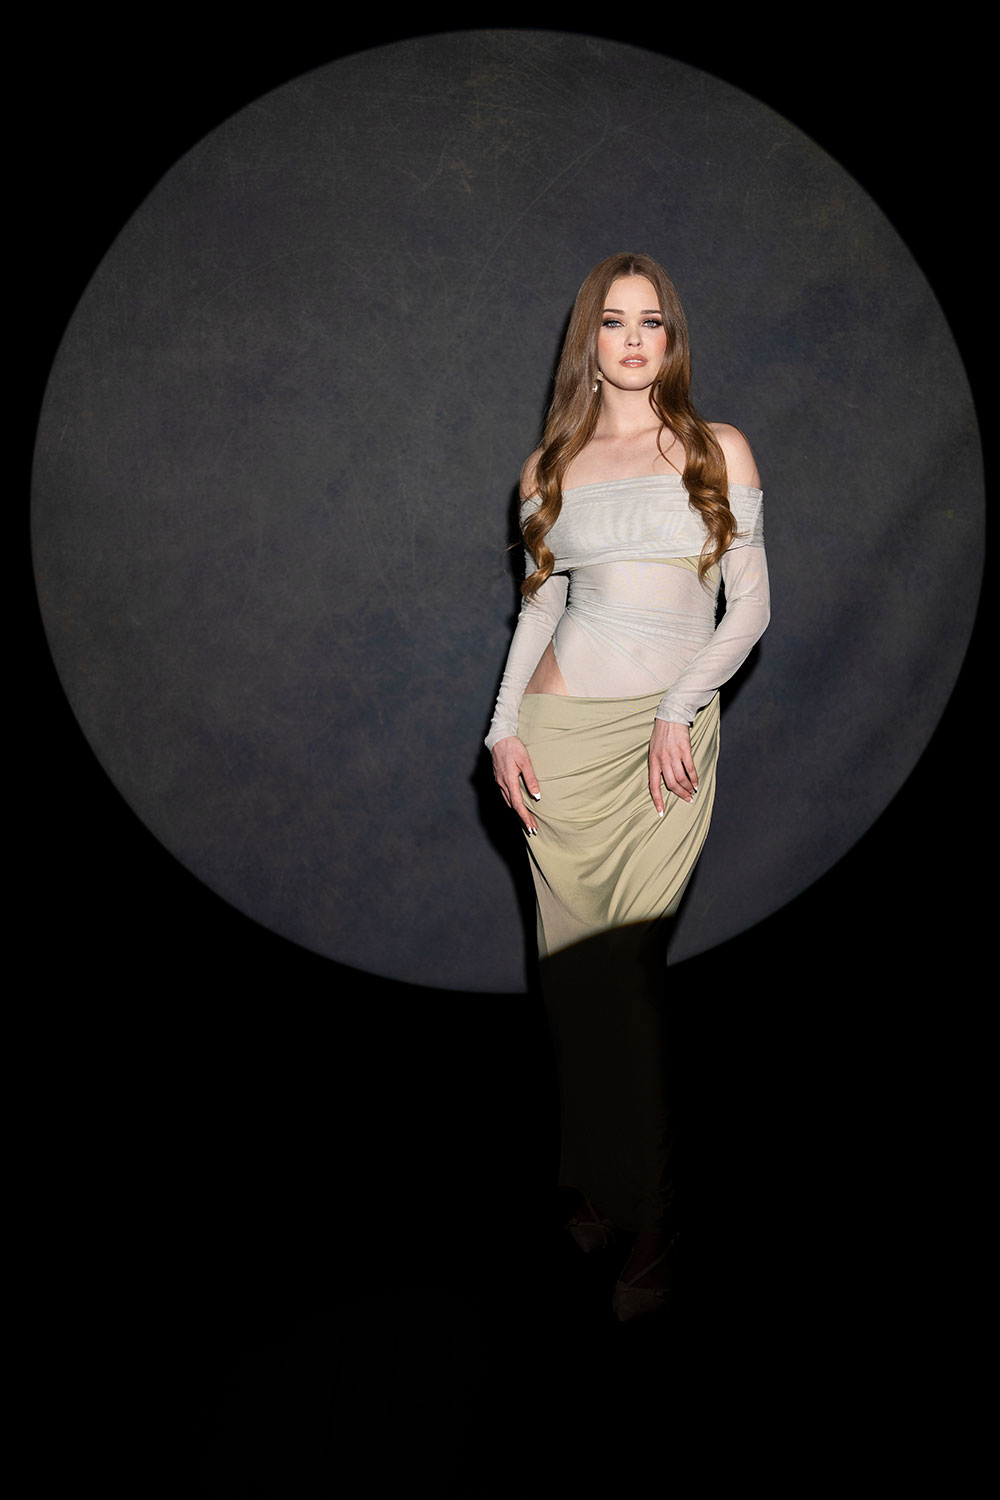
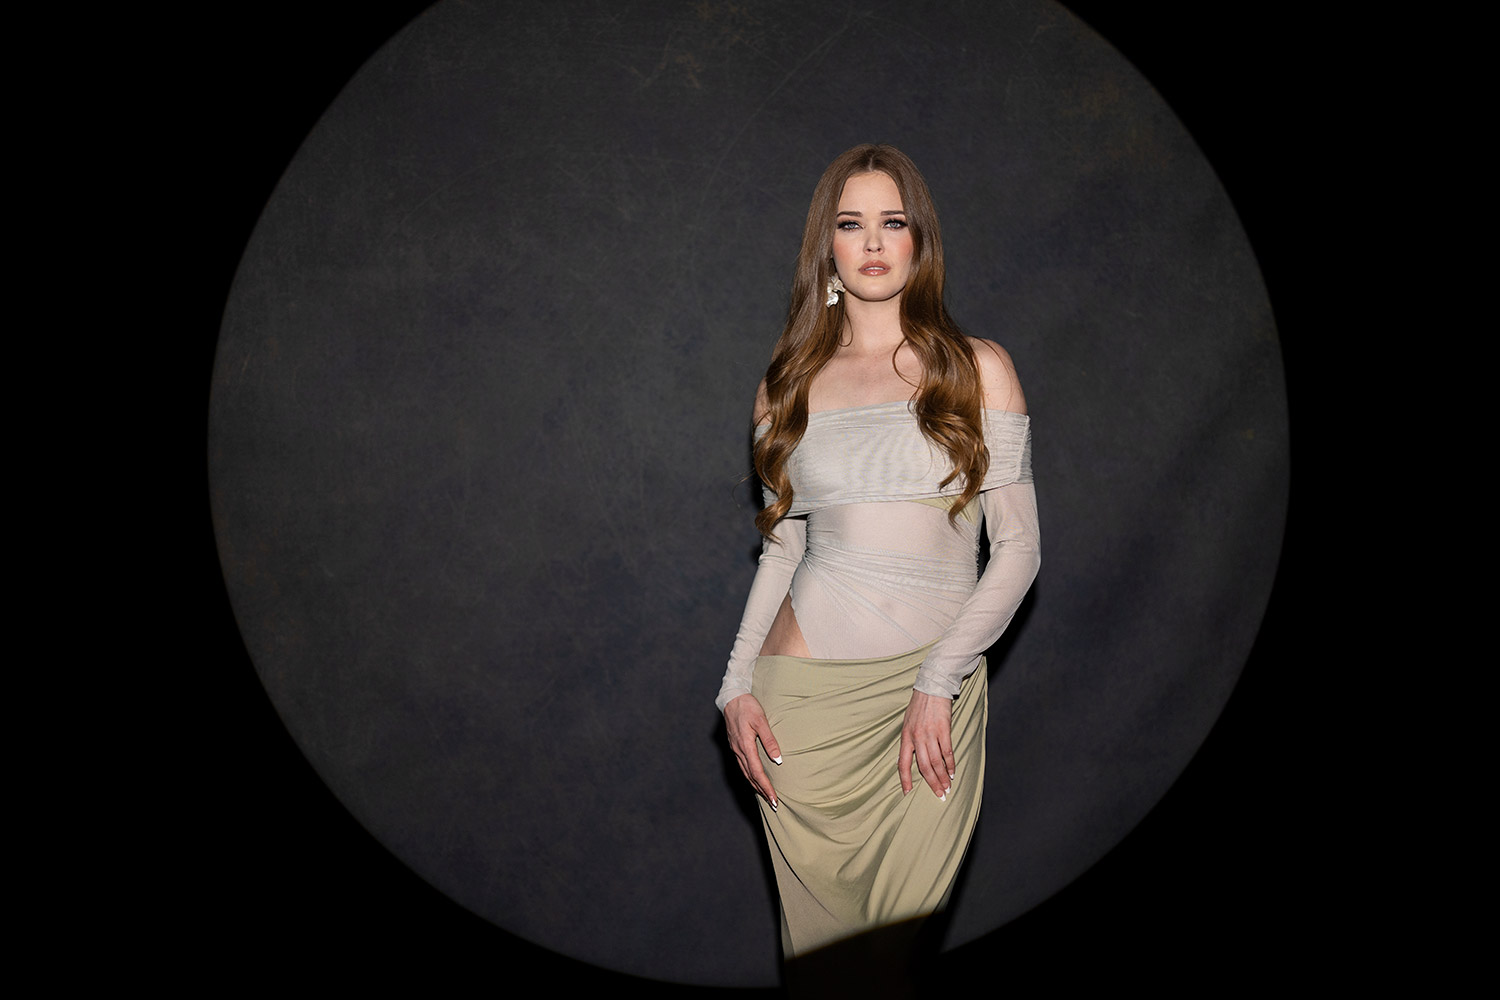
Dramatic Lighting Setup #3: Add Flair with a Projector and Gobo
For the third setup, we brought out the big guns: the Nanlite PJ-BM projector with a simple gobo pattern.
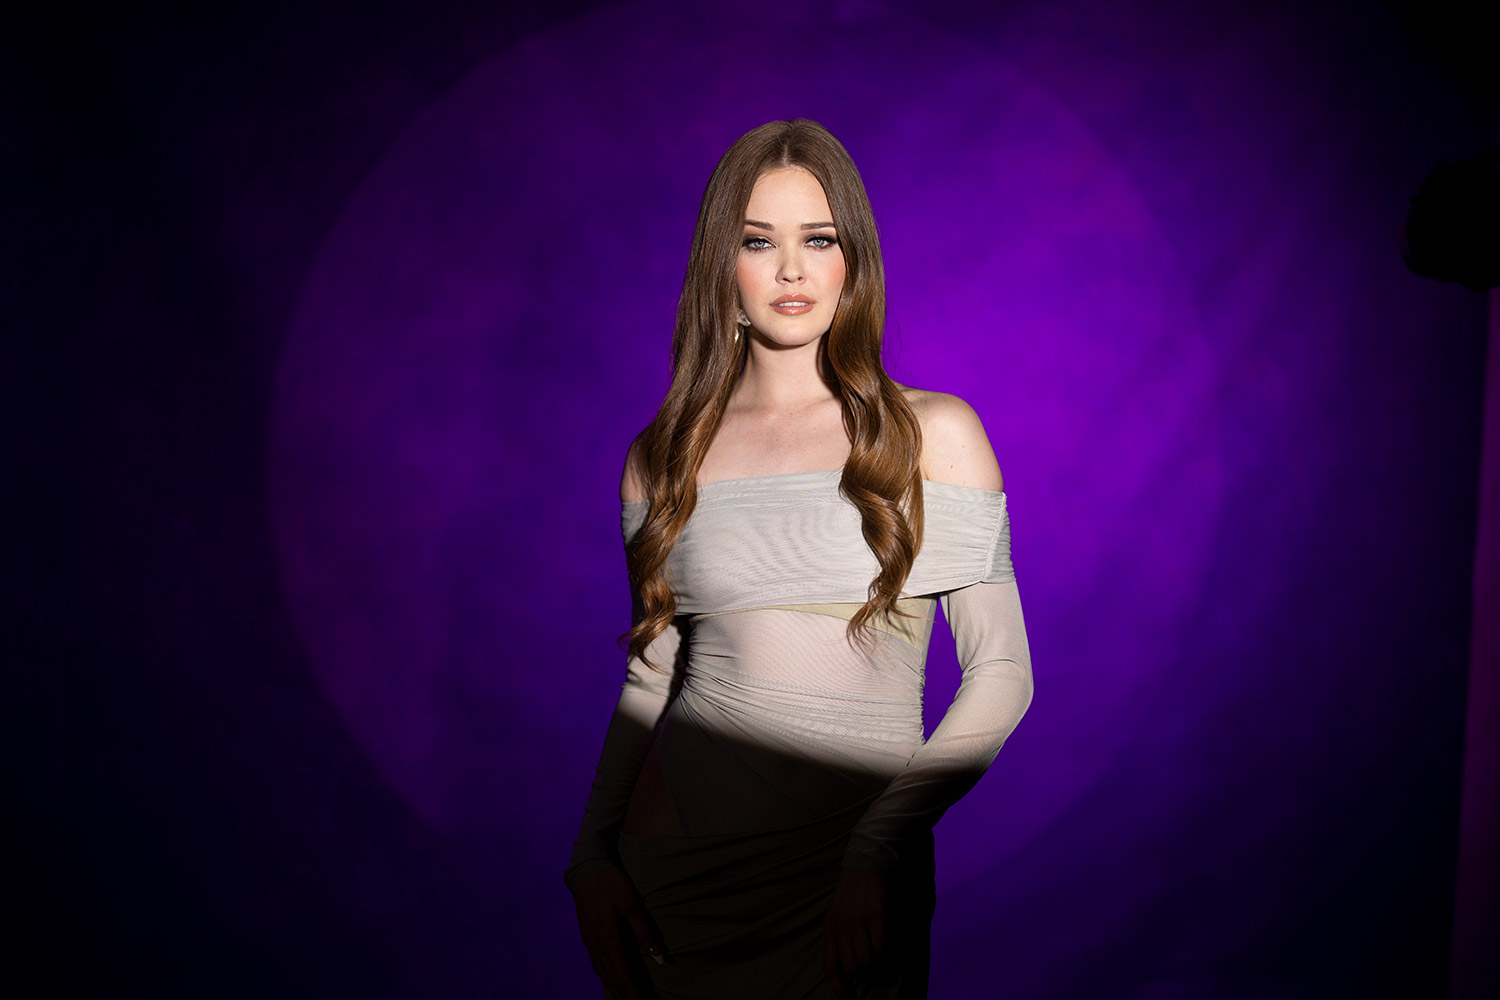
This tool lets you project shapes and patterns onto your subject or background. In our case, we used a clean circle of light and kept the edges crisp for maximum drama. Paired with the Nanlite FC-300B, this setup created a strong, graphic look. We also added a splash of colored light in the background using the Nanlite FS-300C – a subtle purple to complement the green outfit our model was wearing.
Why it works:
It instantly transforms a basic portrait into a work of art. The projected pattern adds texture and layers to your image without needing extra props or backdrops.
The beauty of these dramatic portrait lighting setups is how adaptable they are. You can use them in a small studio, modify them with colored lights or gels, or even combine elements from each to create your own signature style.
Whether you’re shooting fashion, editorial, or just want to experiment creatively, these three setups are a fast, effective way to bring drama to your portraits.
Ready to make your portraits stand out? Start experimenting with these lighting setups and see what unfolds.

