If you’re looking to take your natural light photography to the next level without overcomplicating your setup, you’re in the right place. In this post, we’re diving into an easy, practical way to create advanced natural light portraits that pop—with nothing more than open shade and a reflector.
Why Natural Light Isn’t Always Enough
Natural light portraits are a favorite among photographers for a reason: they’re quick, clean, and don’t require much gear. But sometimes, natural light on its own can fall flat—literally. Without direction or dimension, your subject can look two-dimensional, especially in open shade where the light is even but soft.
So how do you add that extra pizazz to your shots?
Equipment Used:
Camera: Canon EOS R5
Lens: Canon RF 50mm f1.2
Light: Natural Light, Westcott Fusion
Backdrop: Astrid – Intuition Backgrounds
Team:
Photographer: Sal Cincotta
Model: Violet
Hair & Makeup: Brandi Patton, ReFine Beauty
The Secret Ingredient: Reflectors
You don’t need to jump straight to off-camera flash or strobes to add depth. A reflector is one of the most powerful tools you can add to your kit for advanced natural light portraits. It’s lightweight, portable, and incredibly versatile.
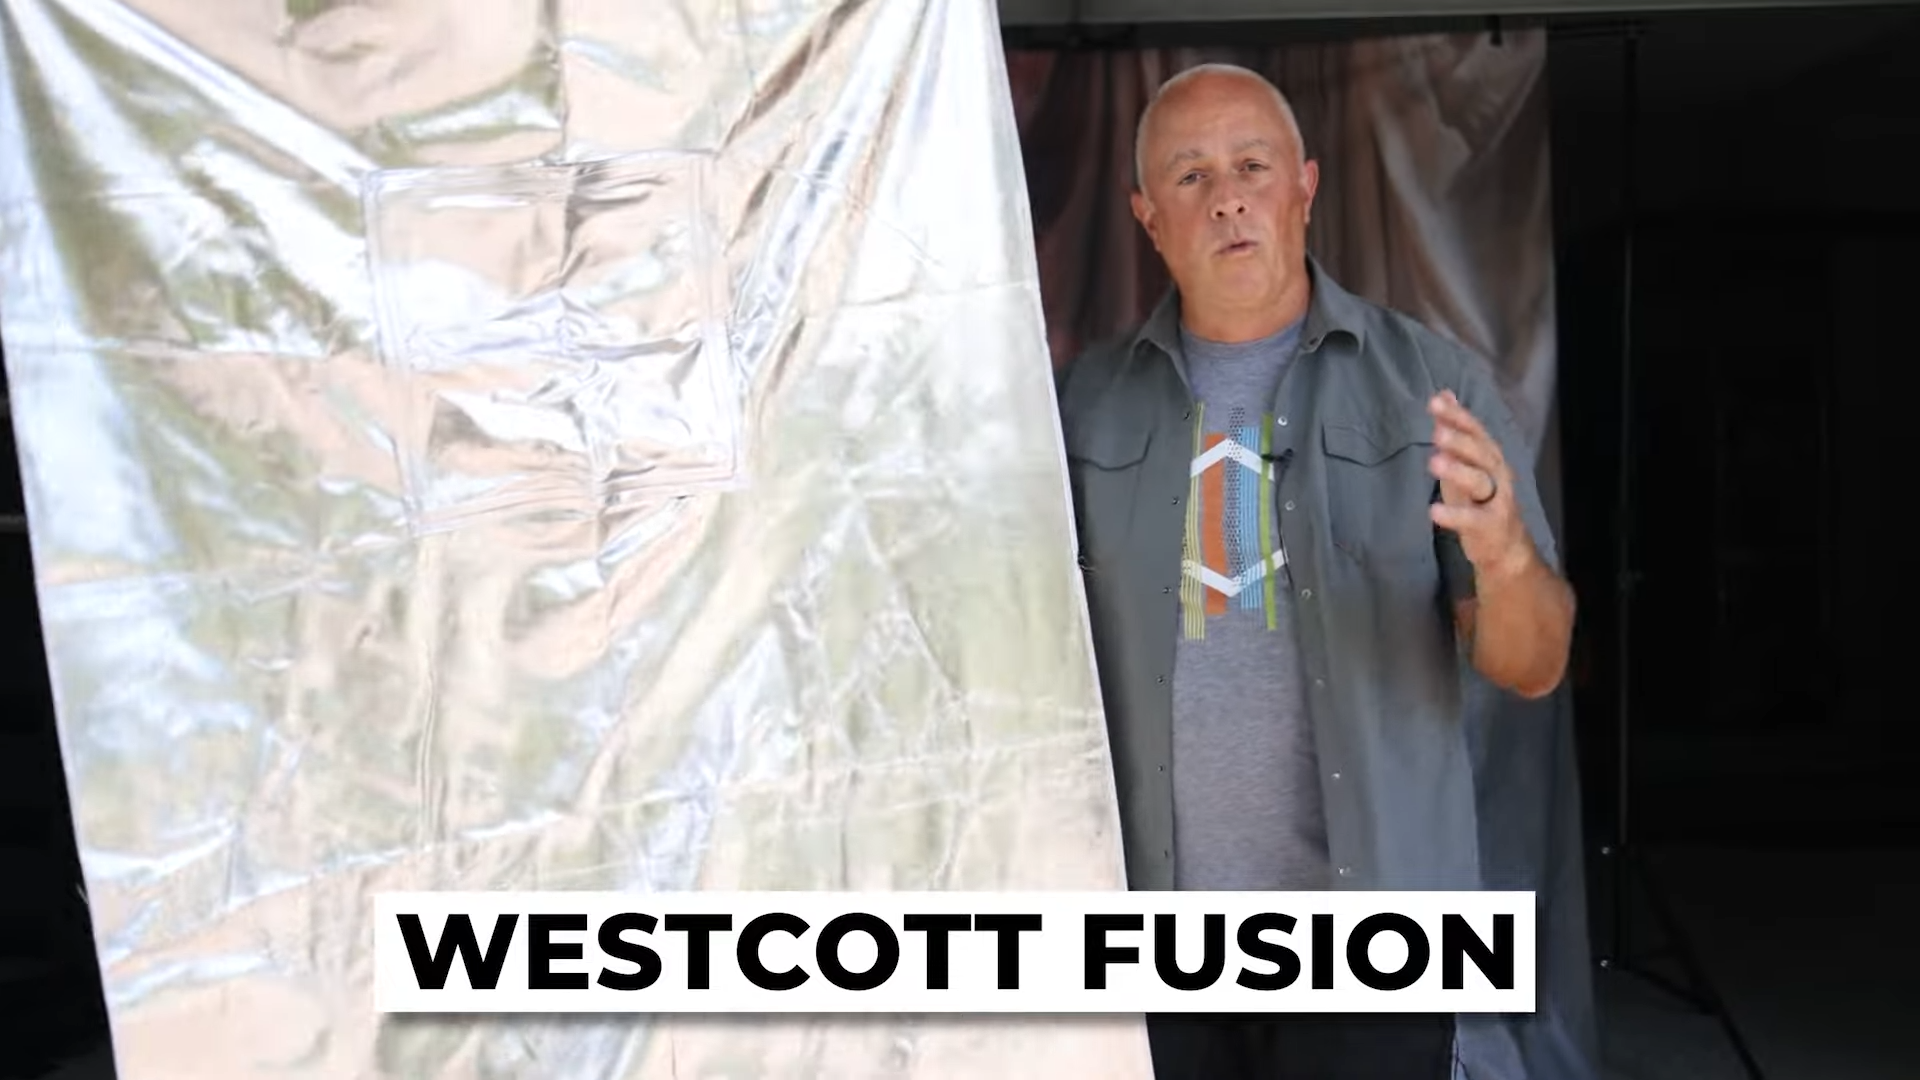
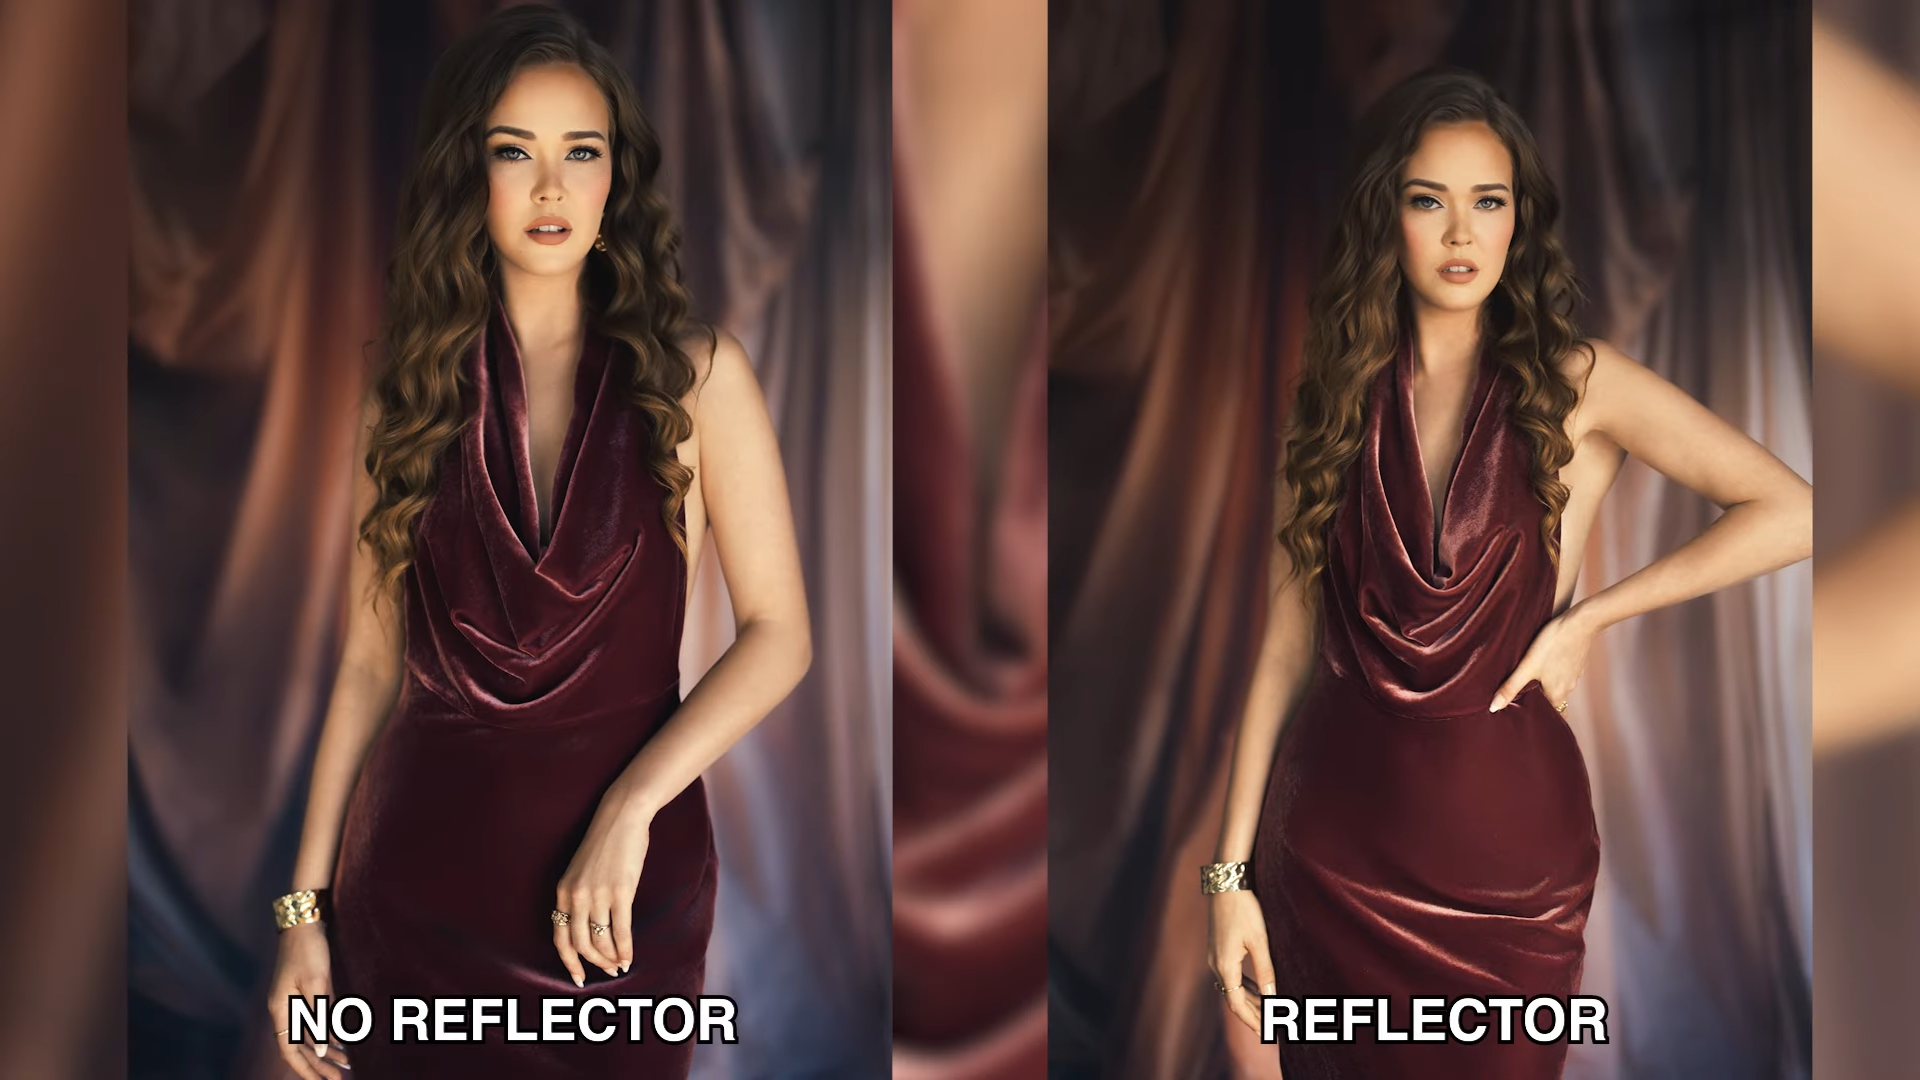
In this shoot, we used the Westcott Fusion reflector, one of my go-to tools for every portrait session. With its silver surface, we were able to bounce light back into the subject’s face and body, creating more specular highlights and brighter eyes—all without losing the natural light feel.
The Setup: Open Shade + Reflector
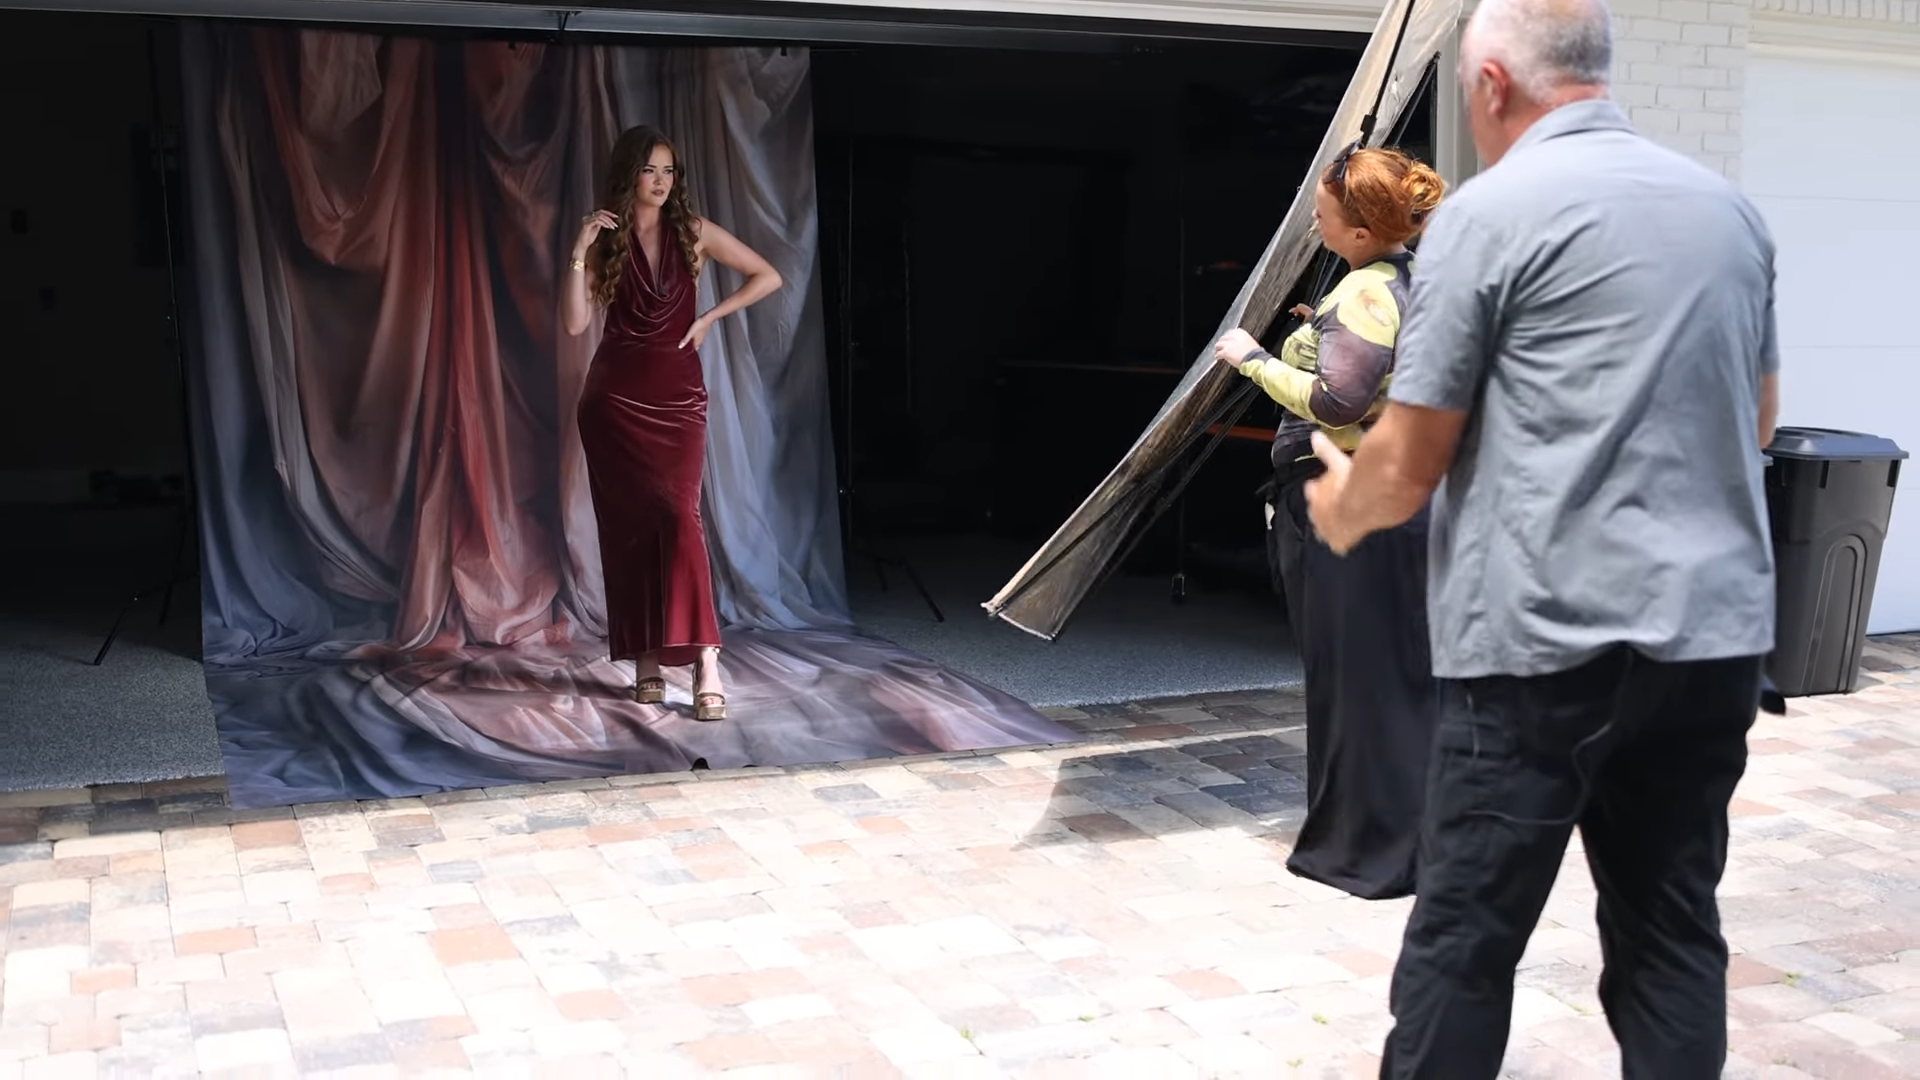
For this demo, we set up in an open garage—simple, unassuming, and shaded from direct sunlight. Open shade is a fantastic place to shoot because it provides soft, even lighting without harsh shadows.
However, that soft light alone can make your images look flat. By positioning a reflector to bounce light back onto the subject, we were able to introduce dimension and sparkle without using flash.
Key Tips for Working with Reflectors:
- Angle In = Angle Out: To get the most out of your reflector, pay attention to how the sun hits it and where the reflected light lands on your subject.
- Use Silver for Pop: Silver reflectors give you a clean, bright light that adds contrast and intensity—great for advanced natural light portraits.
• Size Matters: A rectangular reflector covers more surface area than a circular one, allowing you to light more of your subject evenly. This is especially useful for full-body shots.
Behind the Scenes: The Background
We also used a beautiful background from Intuition Backgrounds called Astrid, made with their new Lunara material. This semi-wrinkle-free fabric makes setup and breakdown a breeze—no more struggling with creased canvas or fleece. It’s not required, but having a professional-looking backdrop definitely adds polish to your final image.
Real Results with Simple Gear
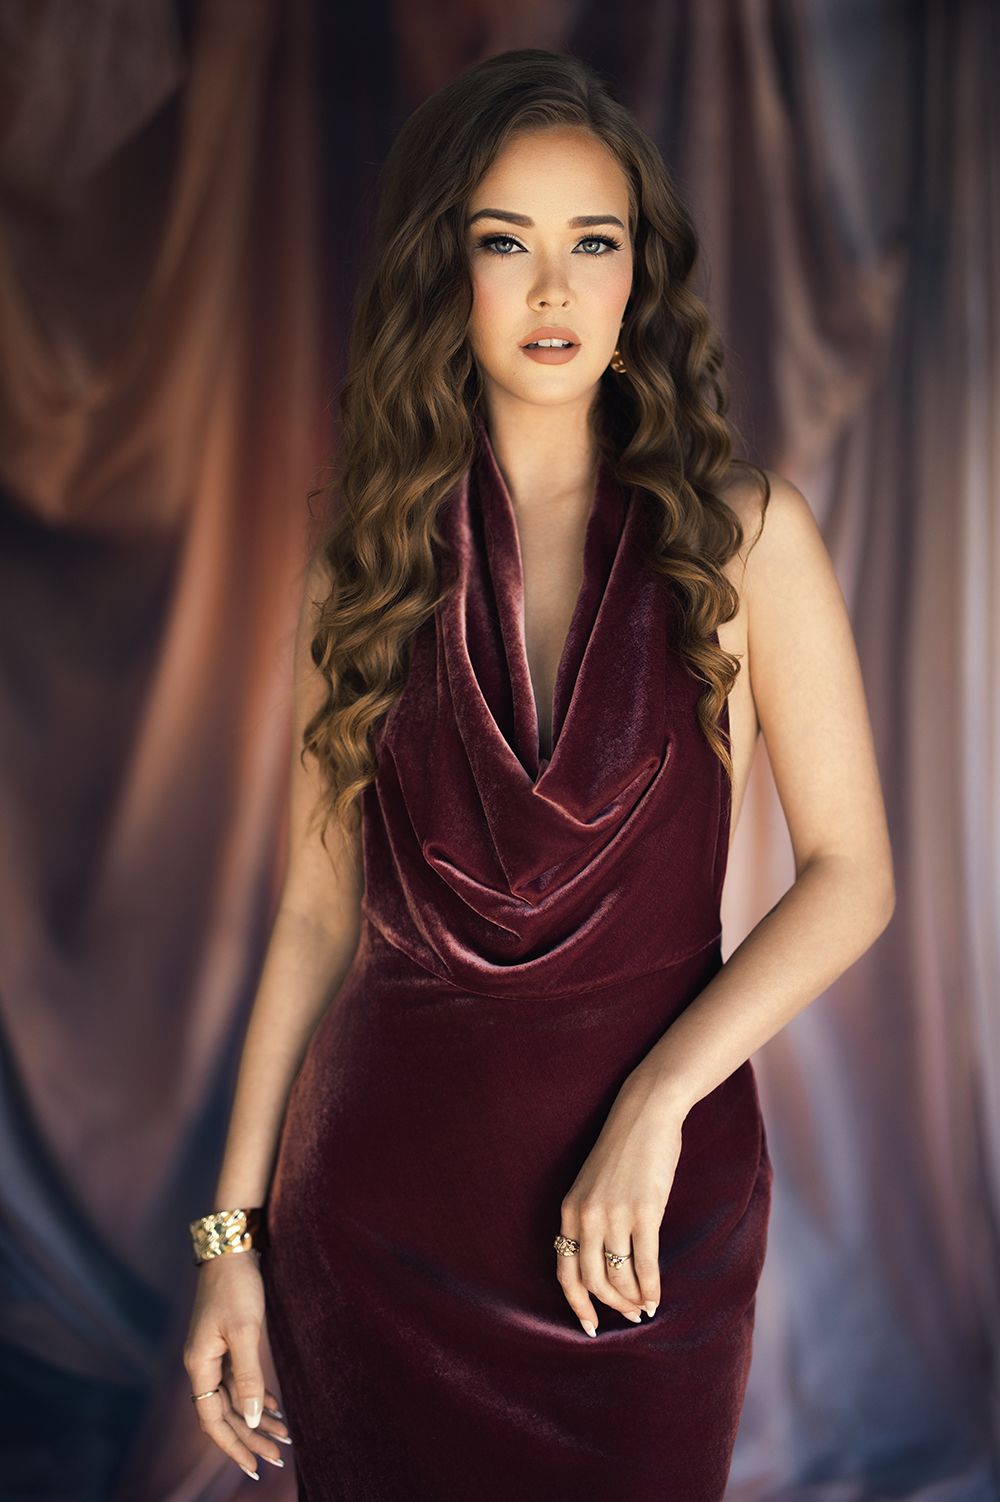
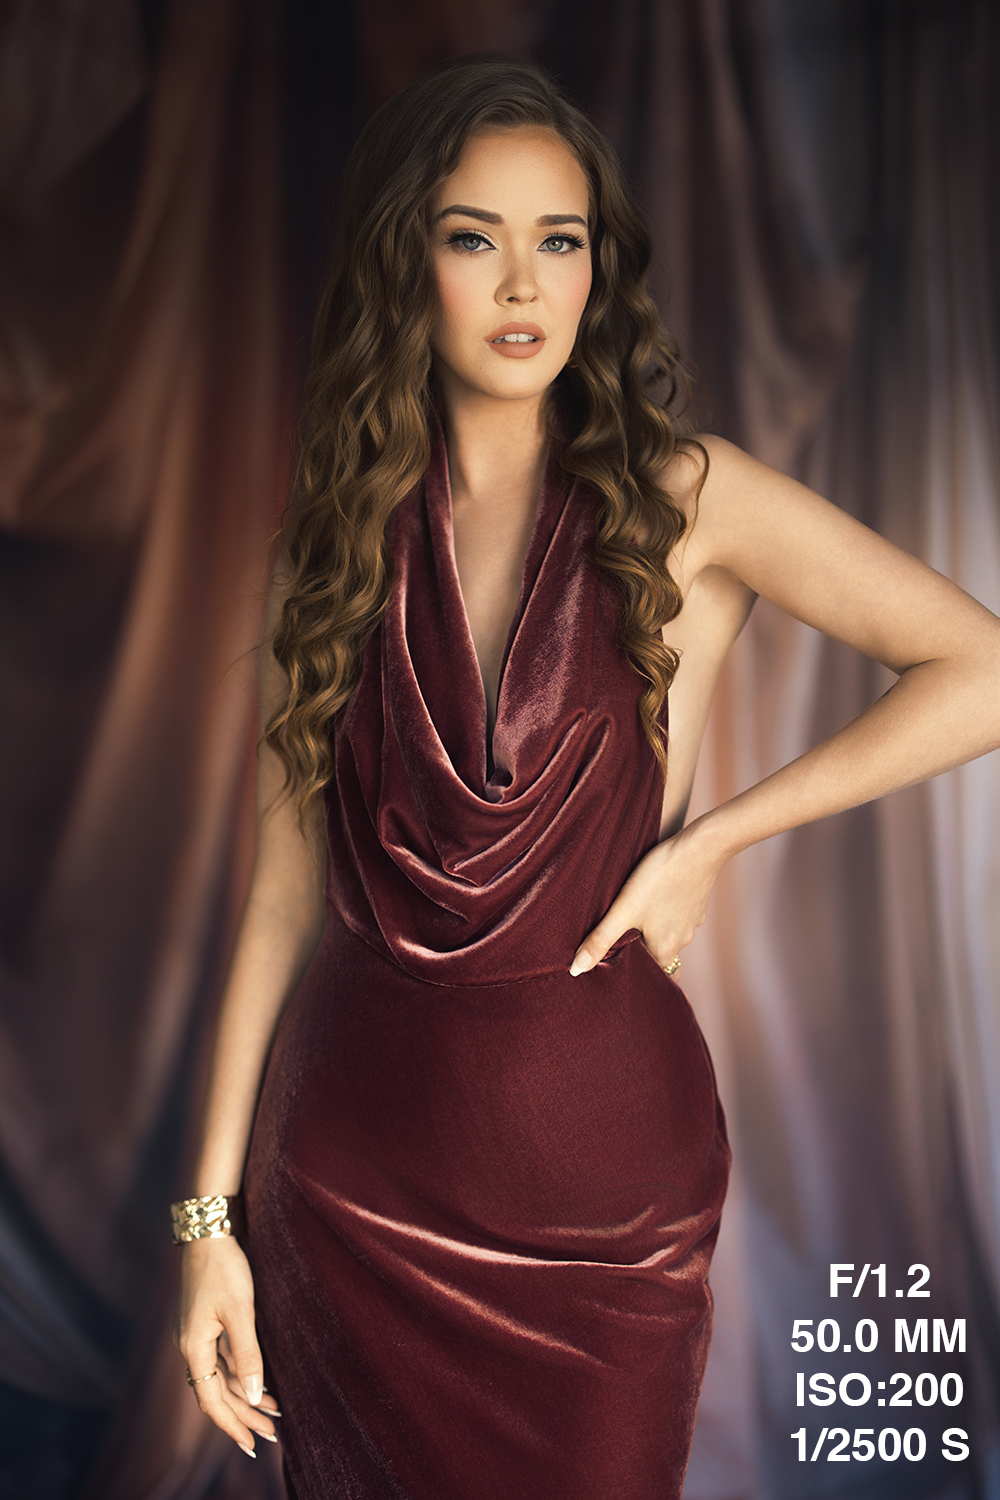
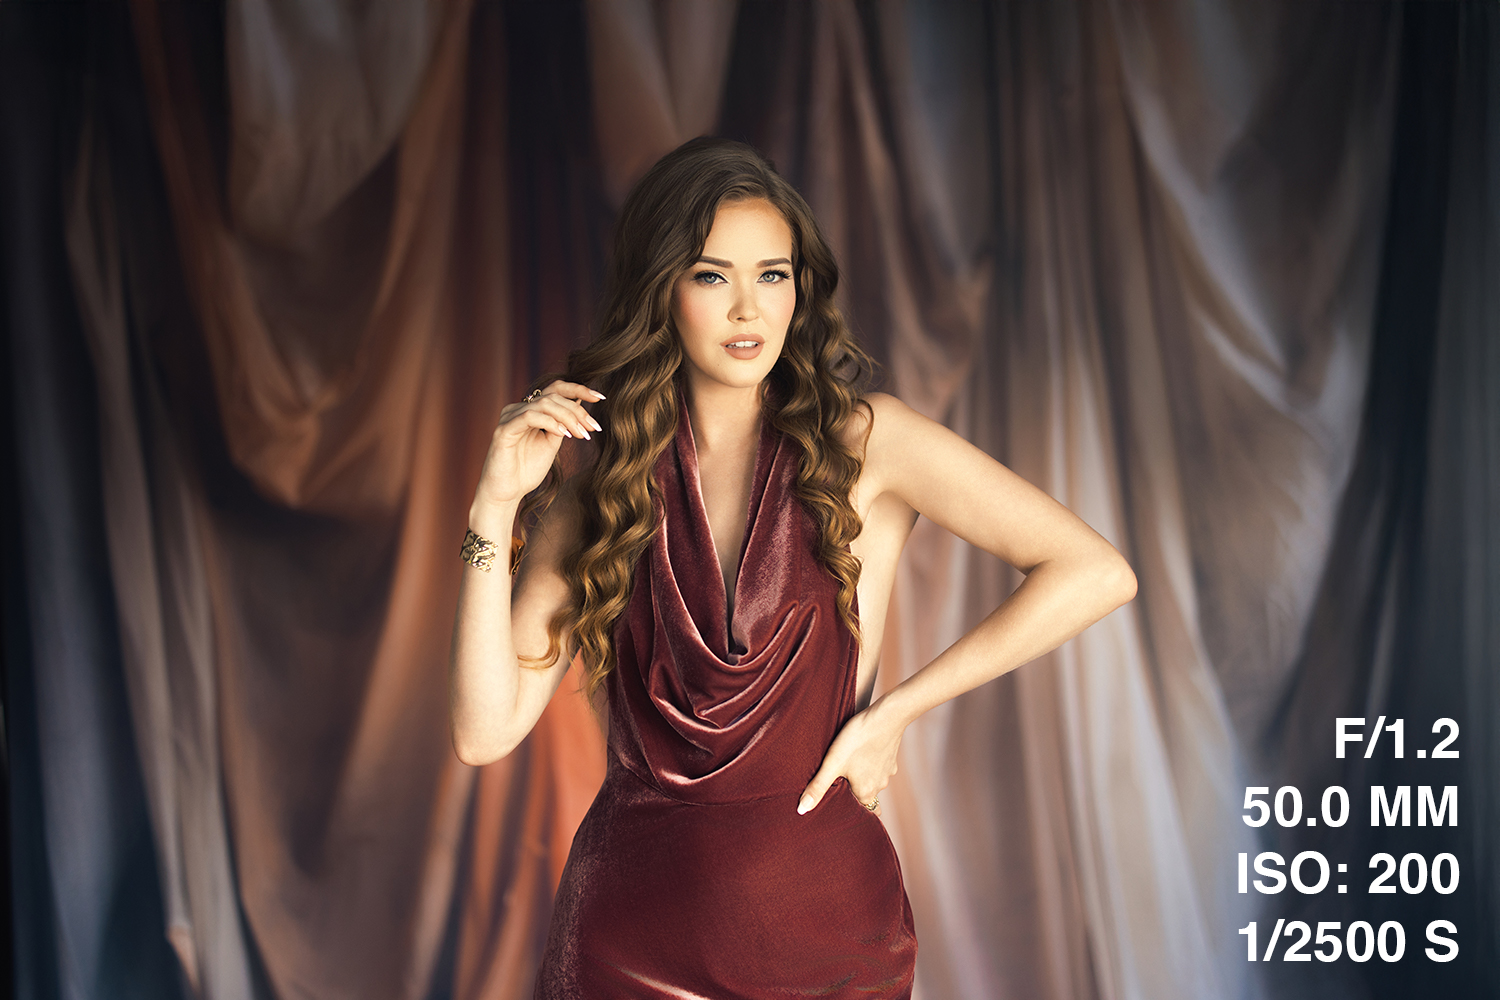
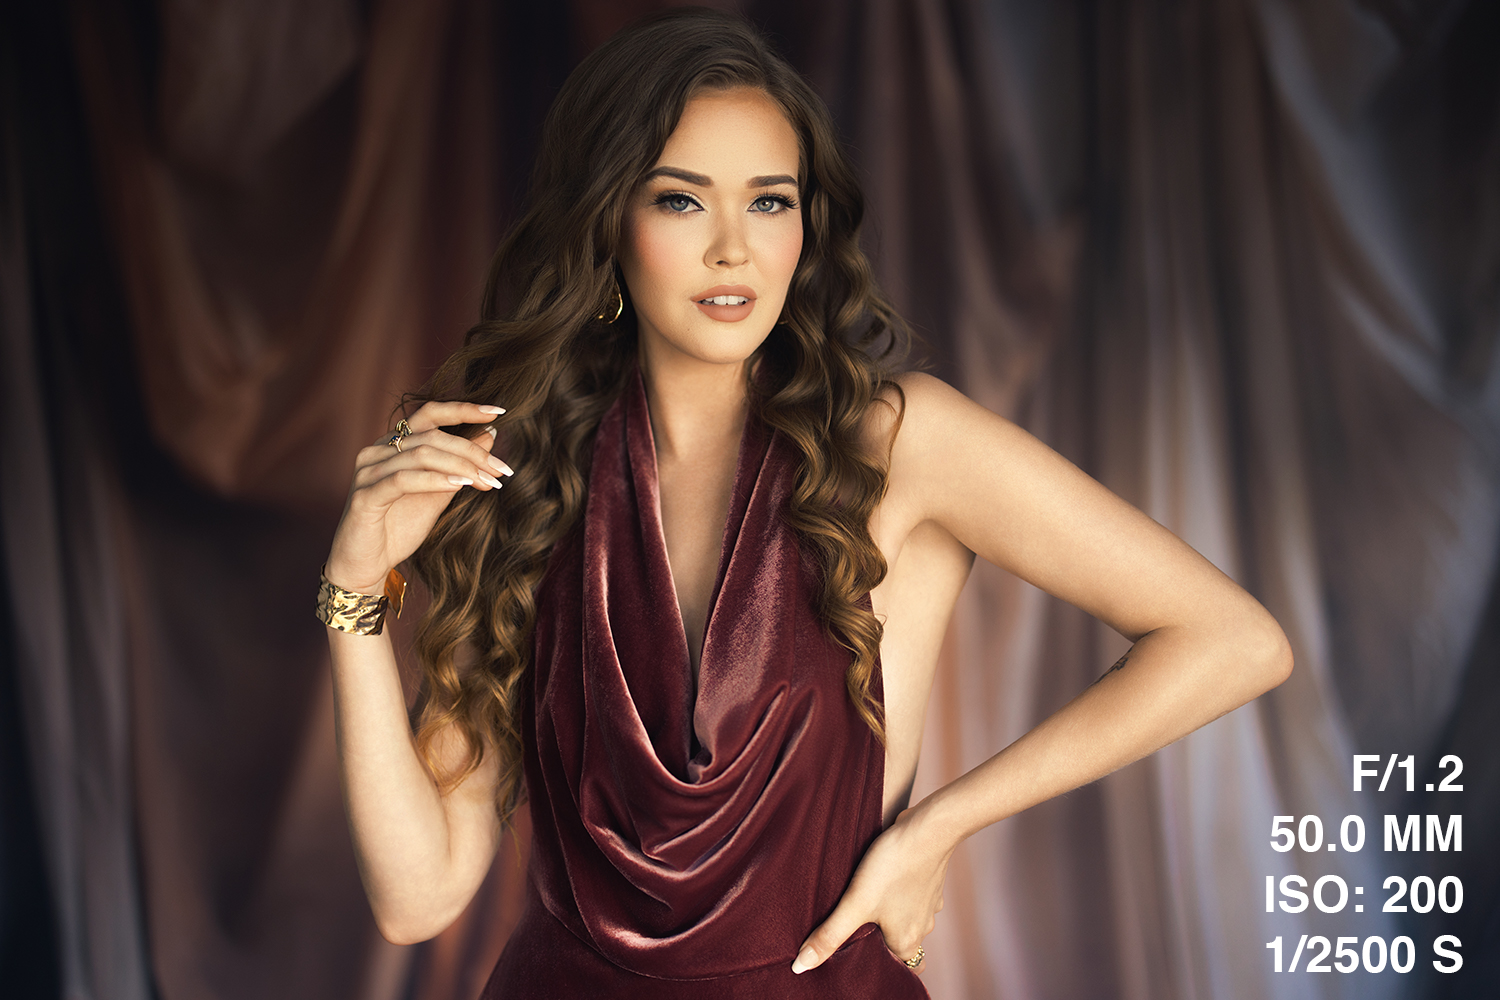
With just a reflector and smart placement in open shade, we were able to create portraits that look like they were shot in a fully lit studio. From close-up headshots to full-body images, the addition of a single light bounce added catchlights in the eyes, richer skin tones, and more contrast throughout the scene.
Final Thoughts: Don’t Overthink It
Photographers tend to overcomplicate things, but advanced results don’t always require advanced gear. When you’re shooting natural light portraits and want that next-level look, start with what you have—then add in tools like a reflector to bring dimension, sparkle, and life into your images.
Advanced natural light portraits are all about subtle enhancements that create big impact. With just a little know-how and a simple modifier, you can create beautiful, dynamic images that stand out from the crowd.
Ready to take your natural light portraits to the next level? Grab your reflector, find some open shade, and start experimenting. You’ll be amazed at how far a little bounce can go.

