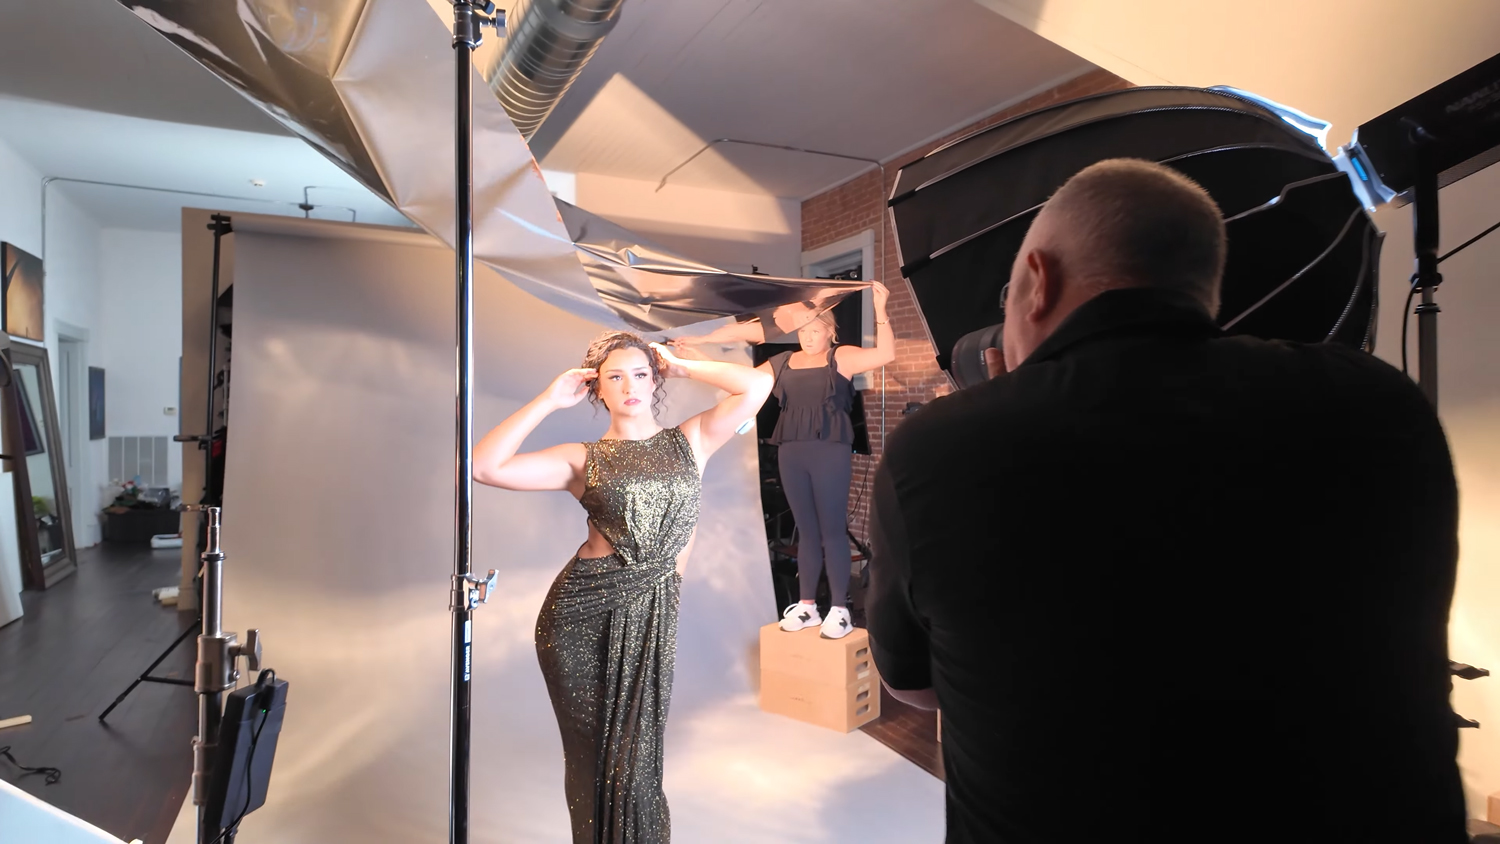
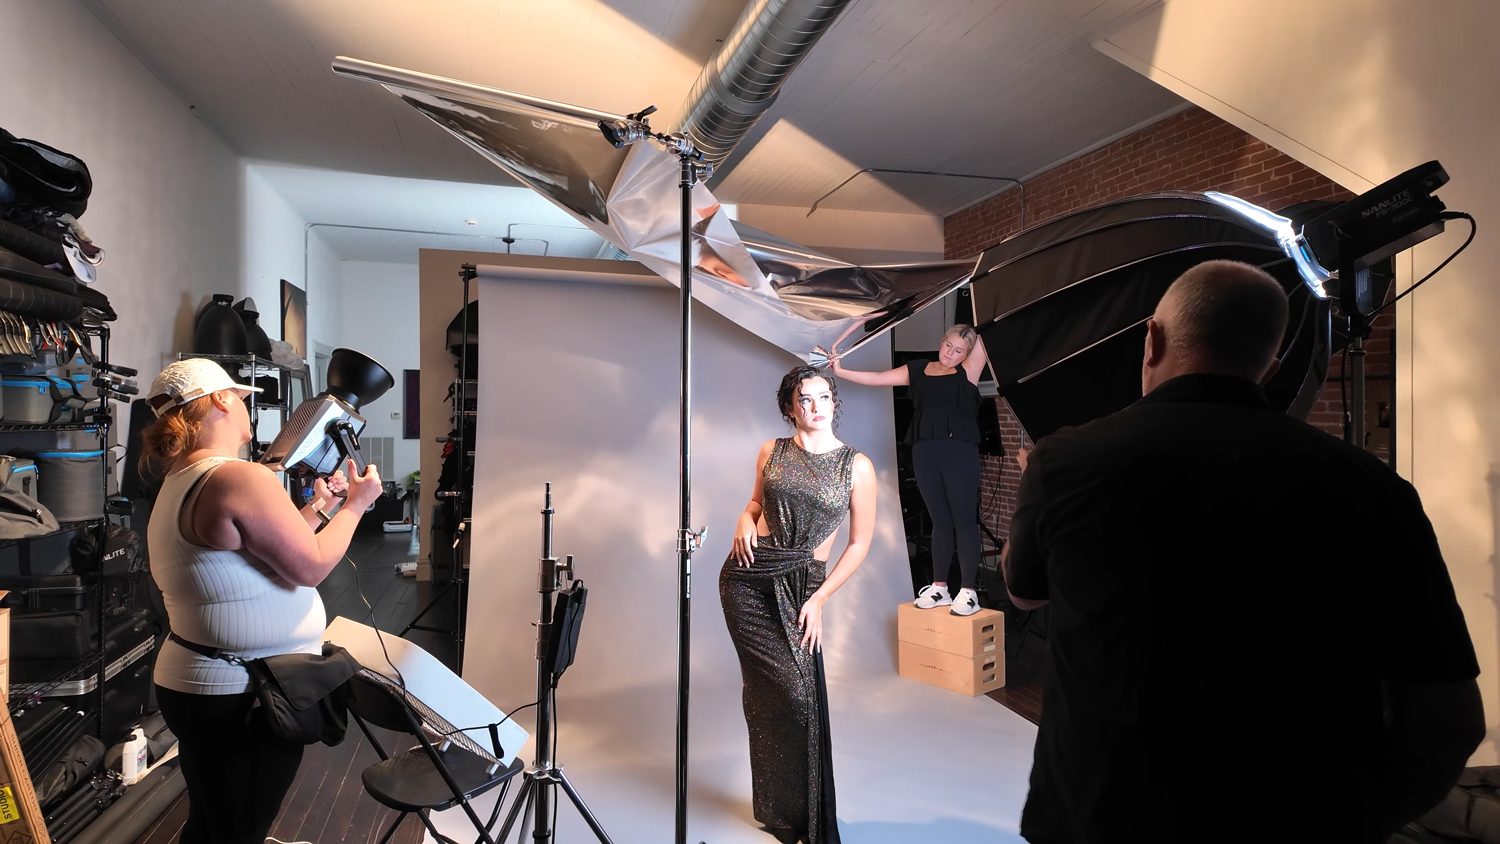
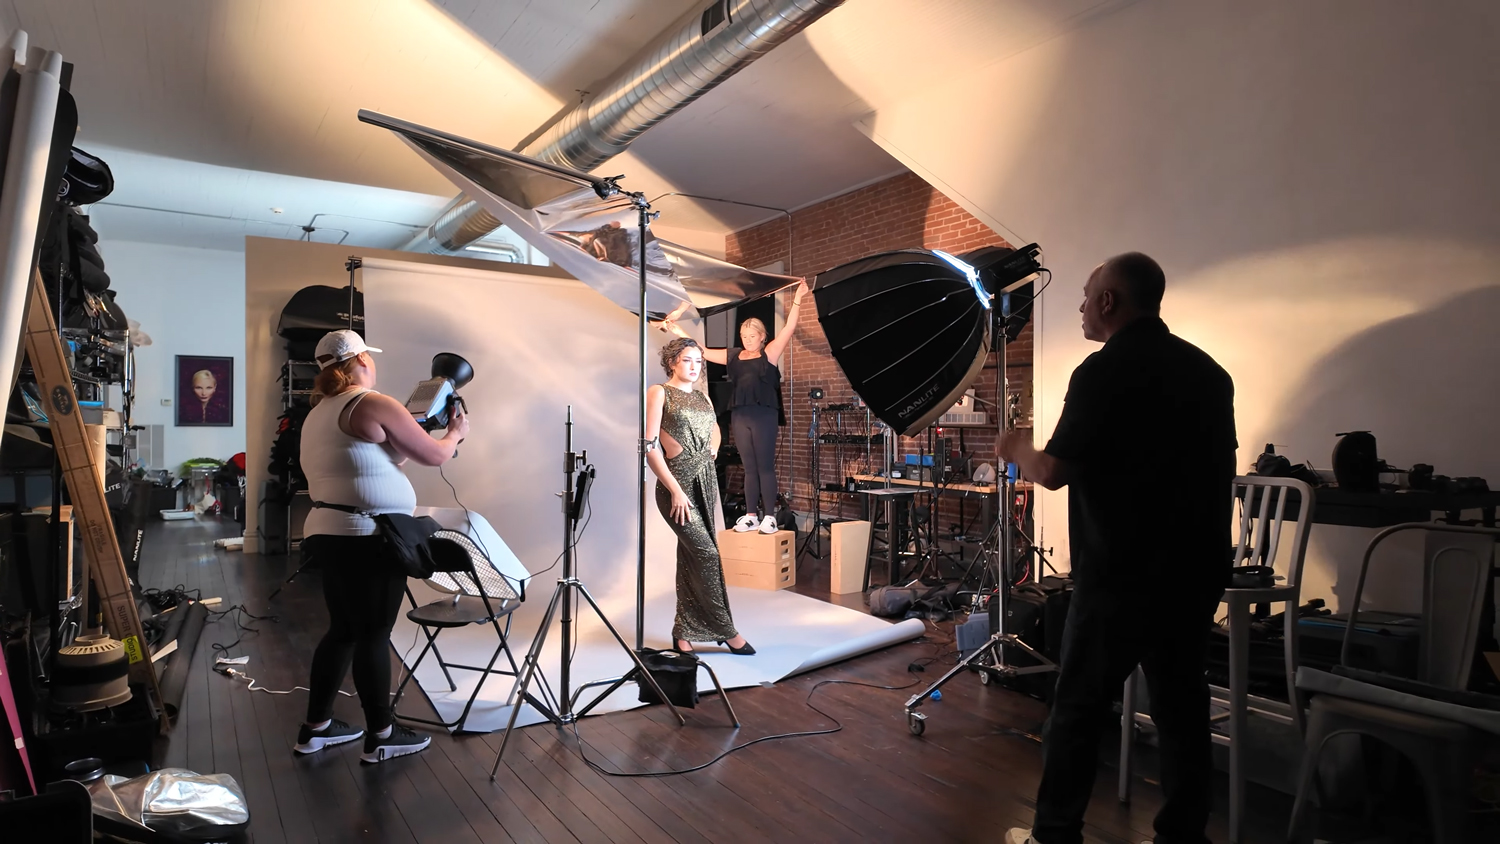


Create stunning on-location portrait photography using these reflector tips to control harsh light, soften shadows, and capture professional-quality portraits anywhere.

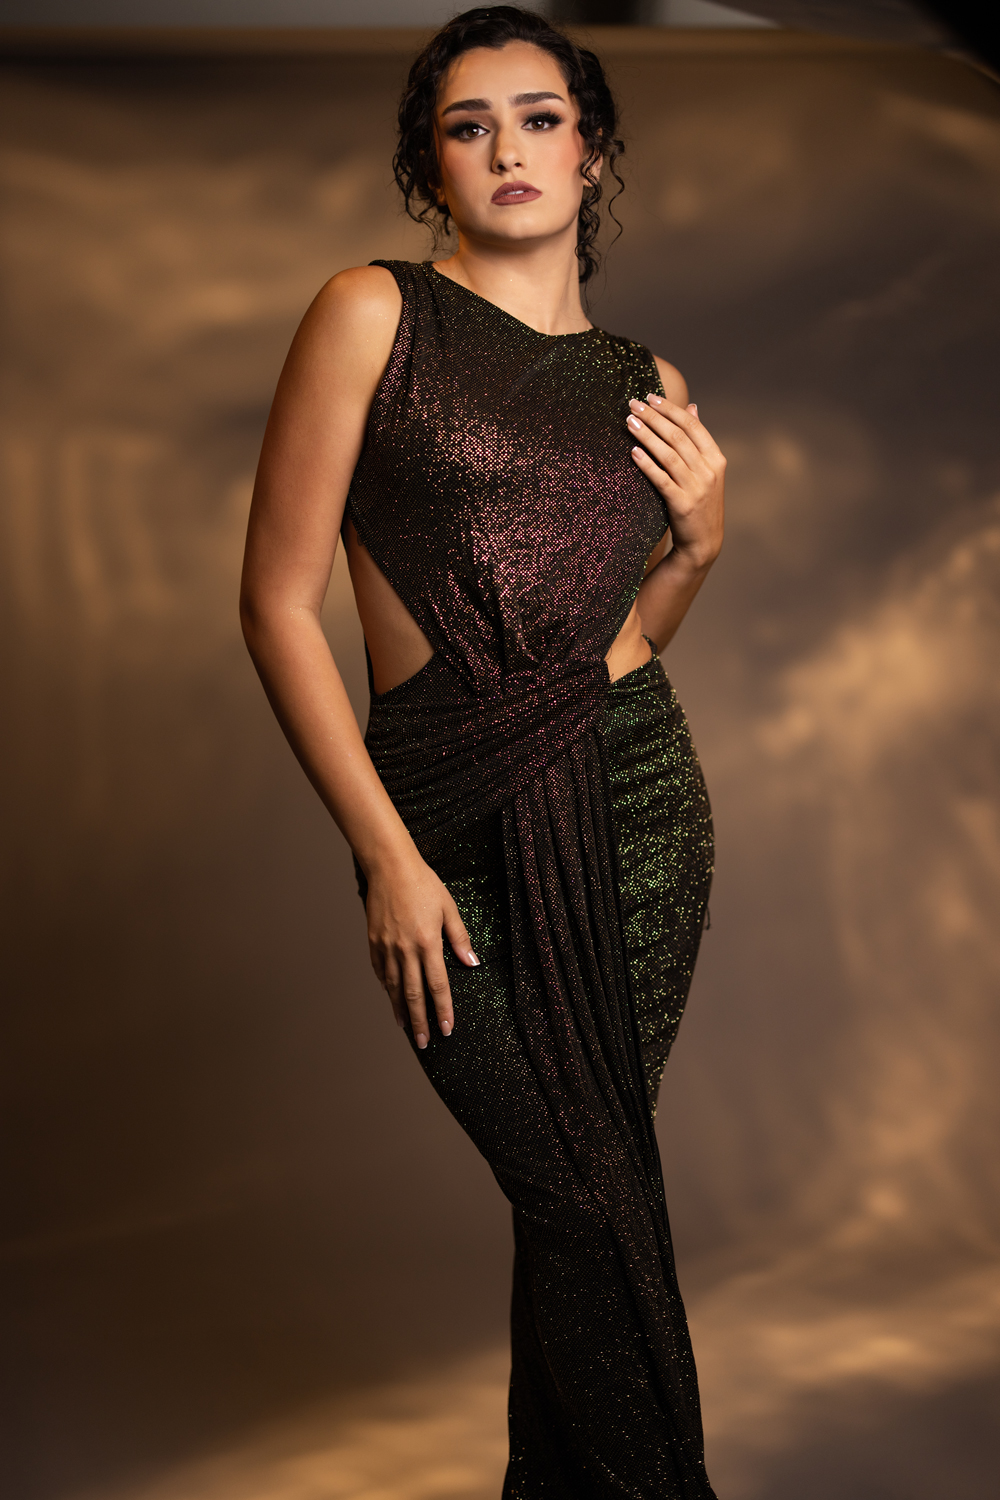
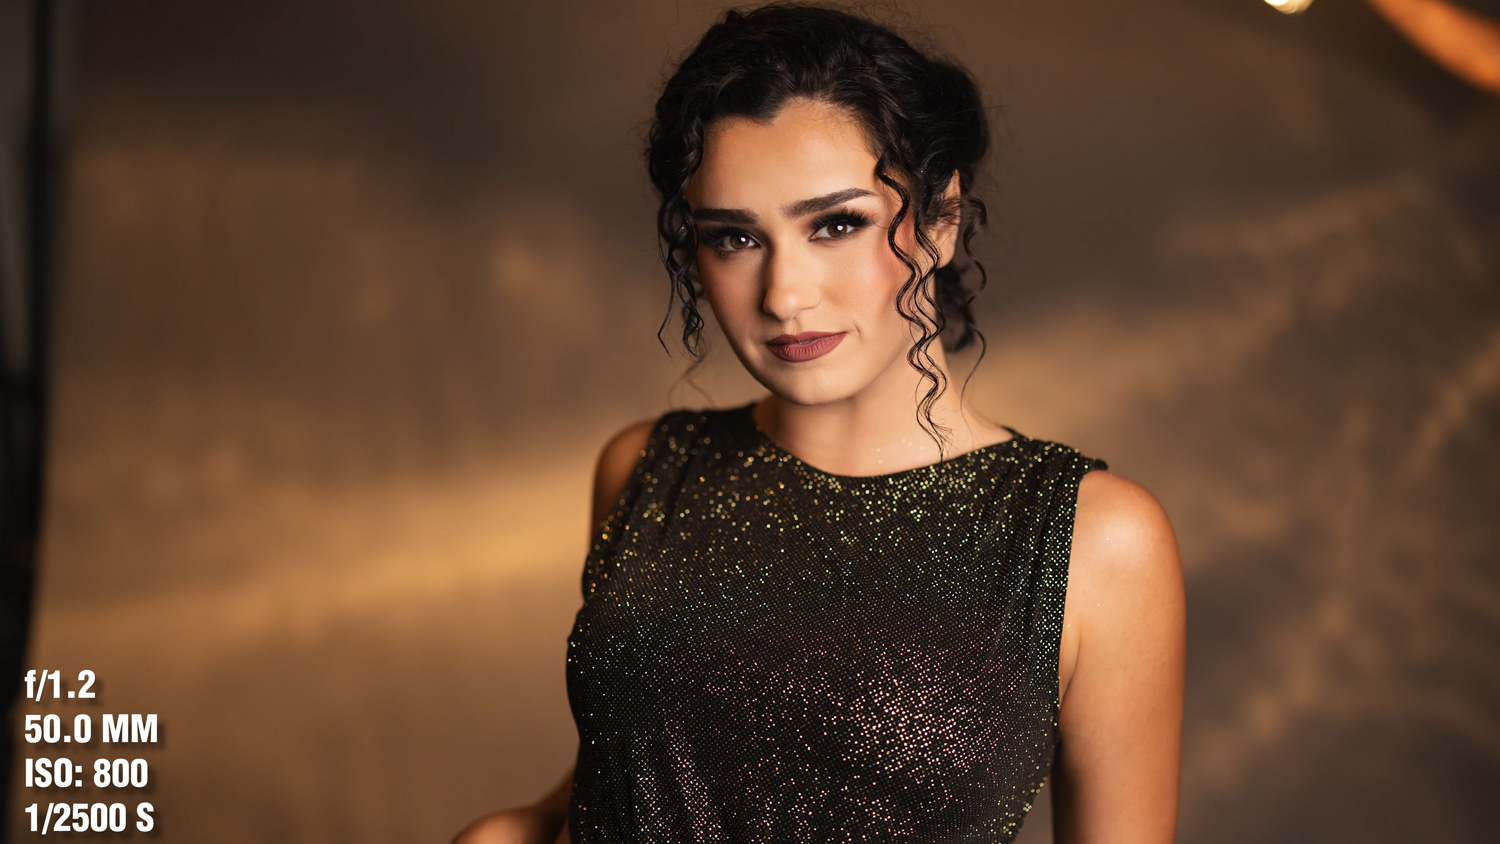
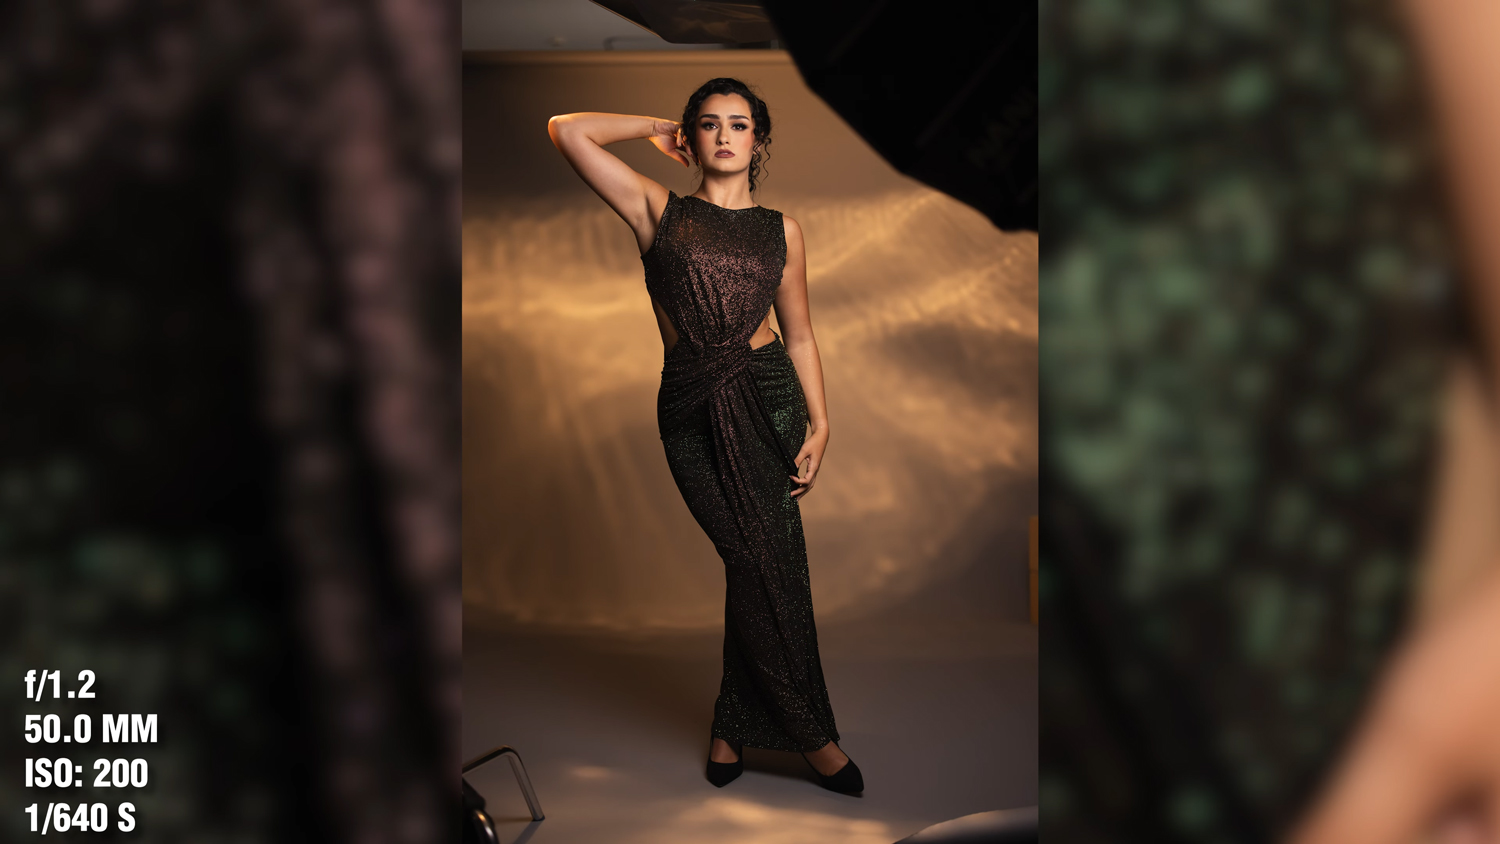
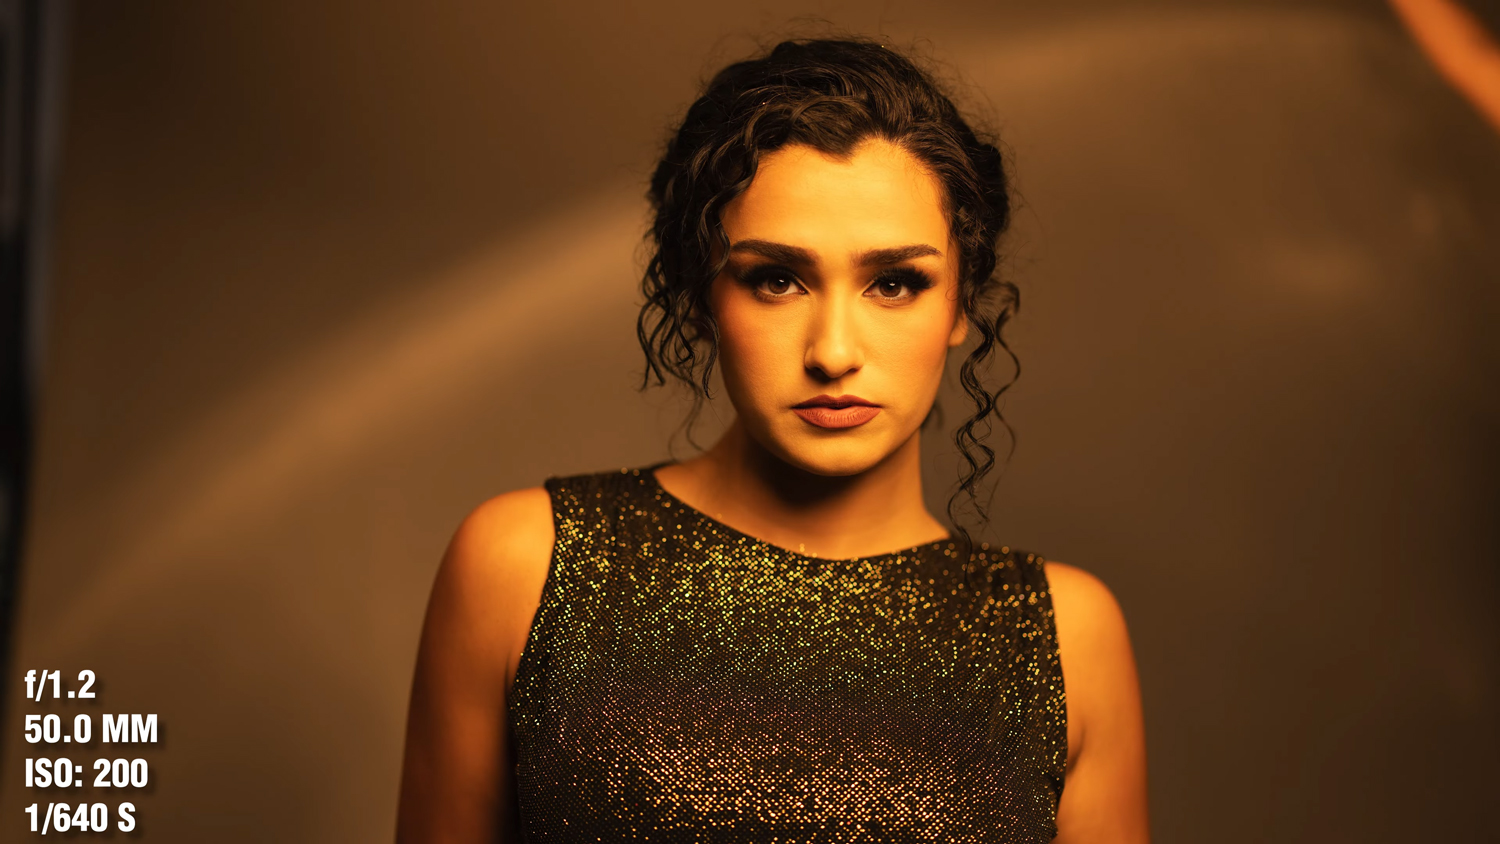
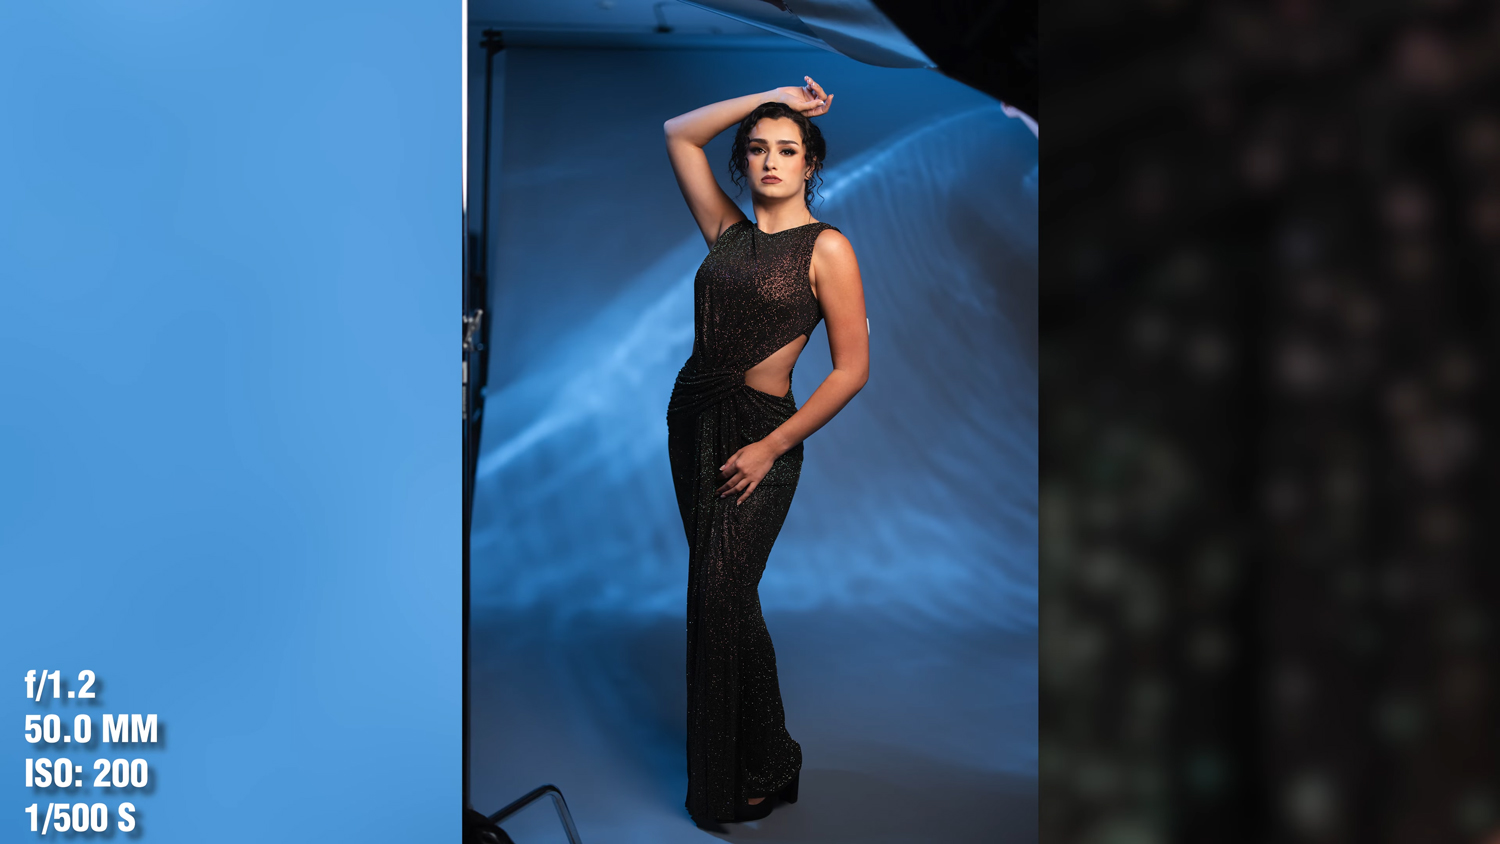
Learn how to create stunning moody portraits with simple photography hacks. Discover lighting, fog, and posing techniques to add depth, drama, and a cinematic feel to your photos.
