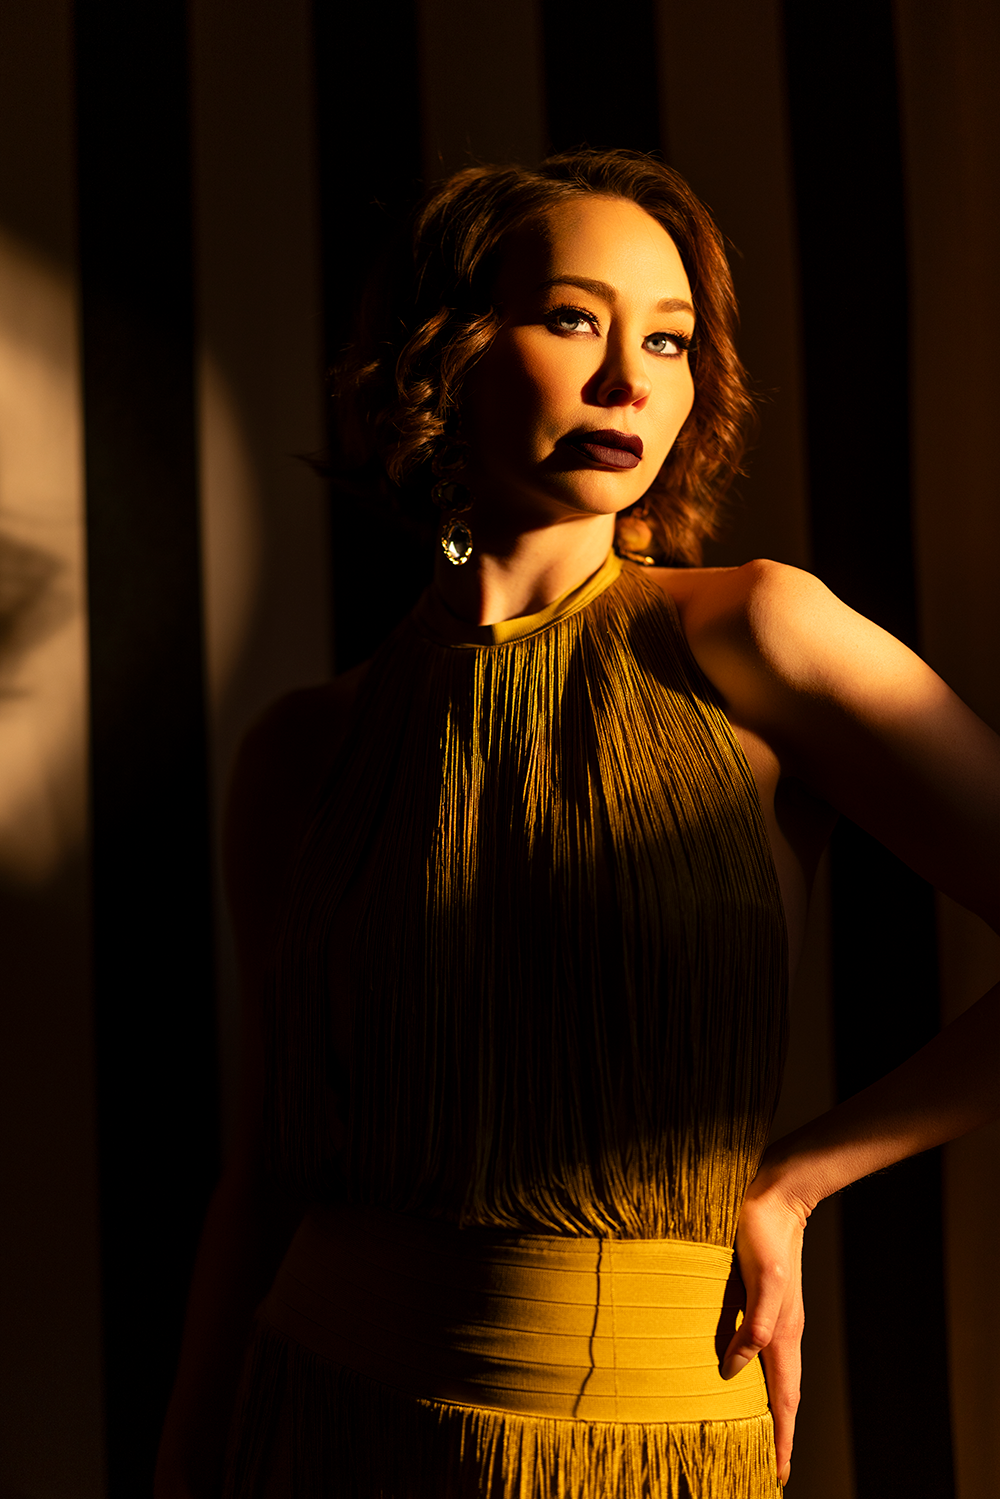
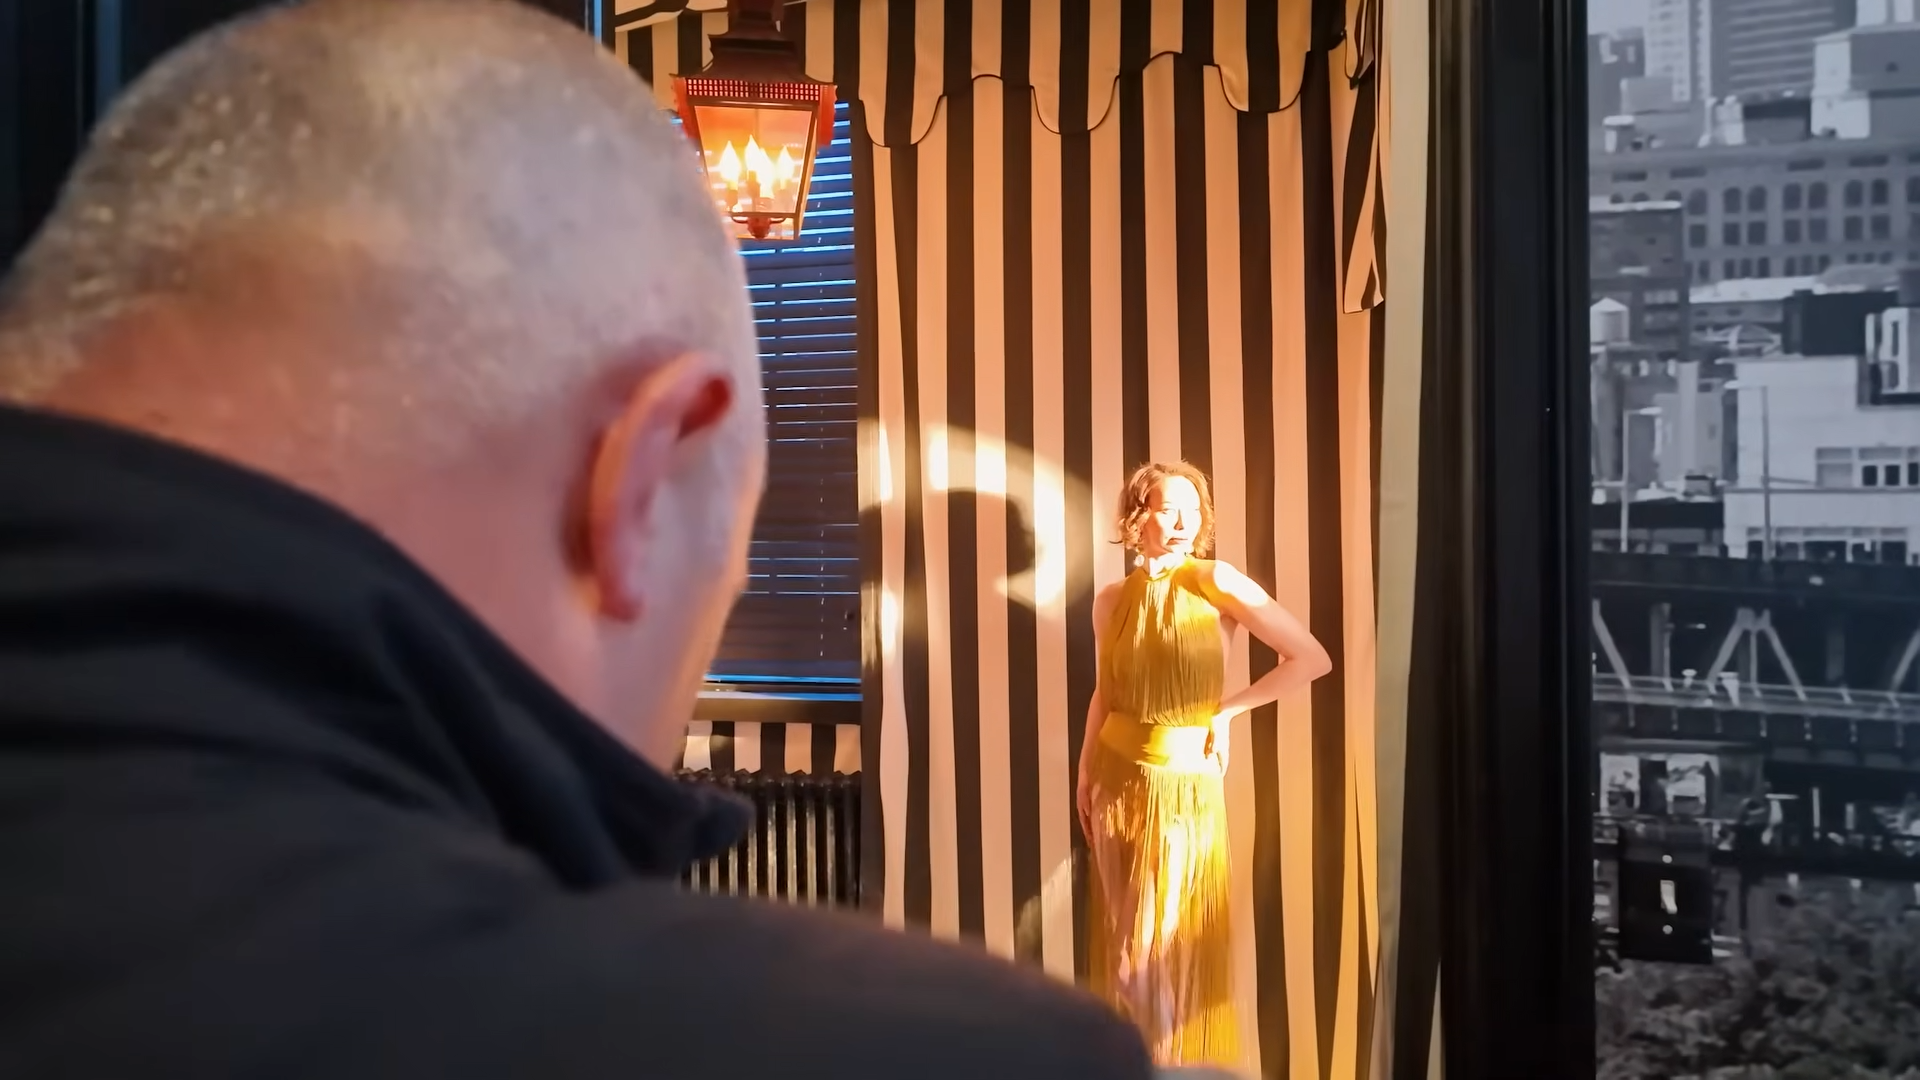
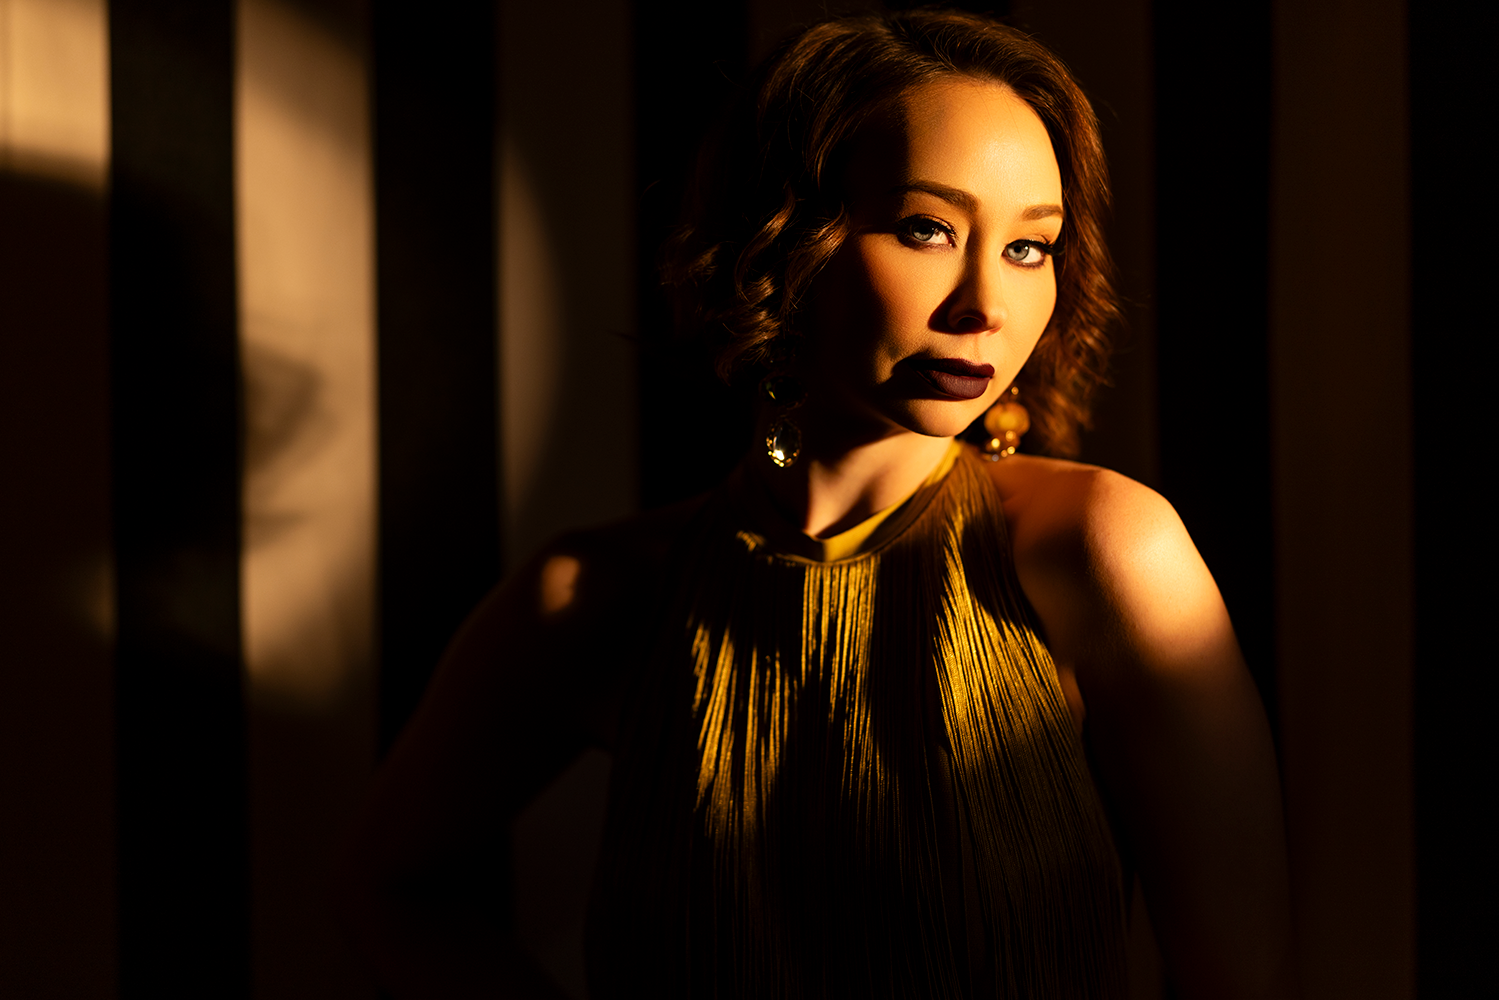
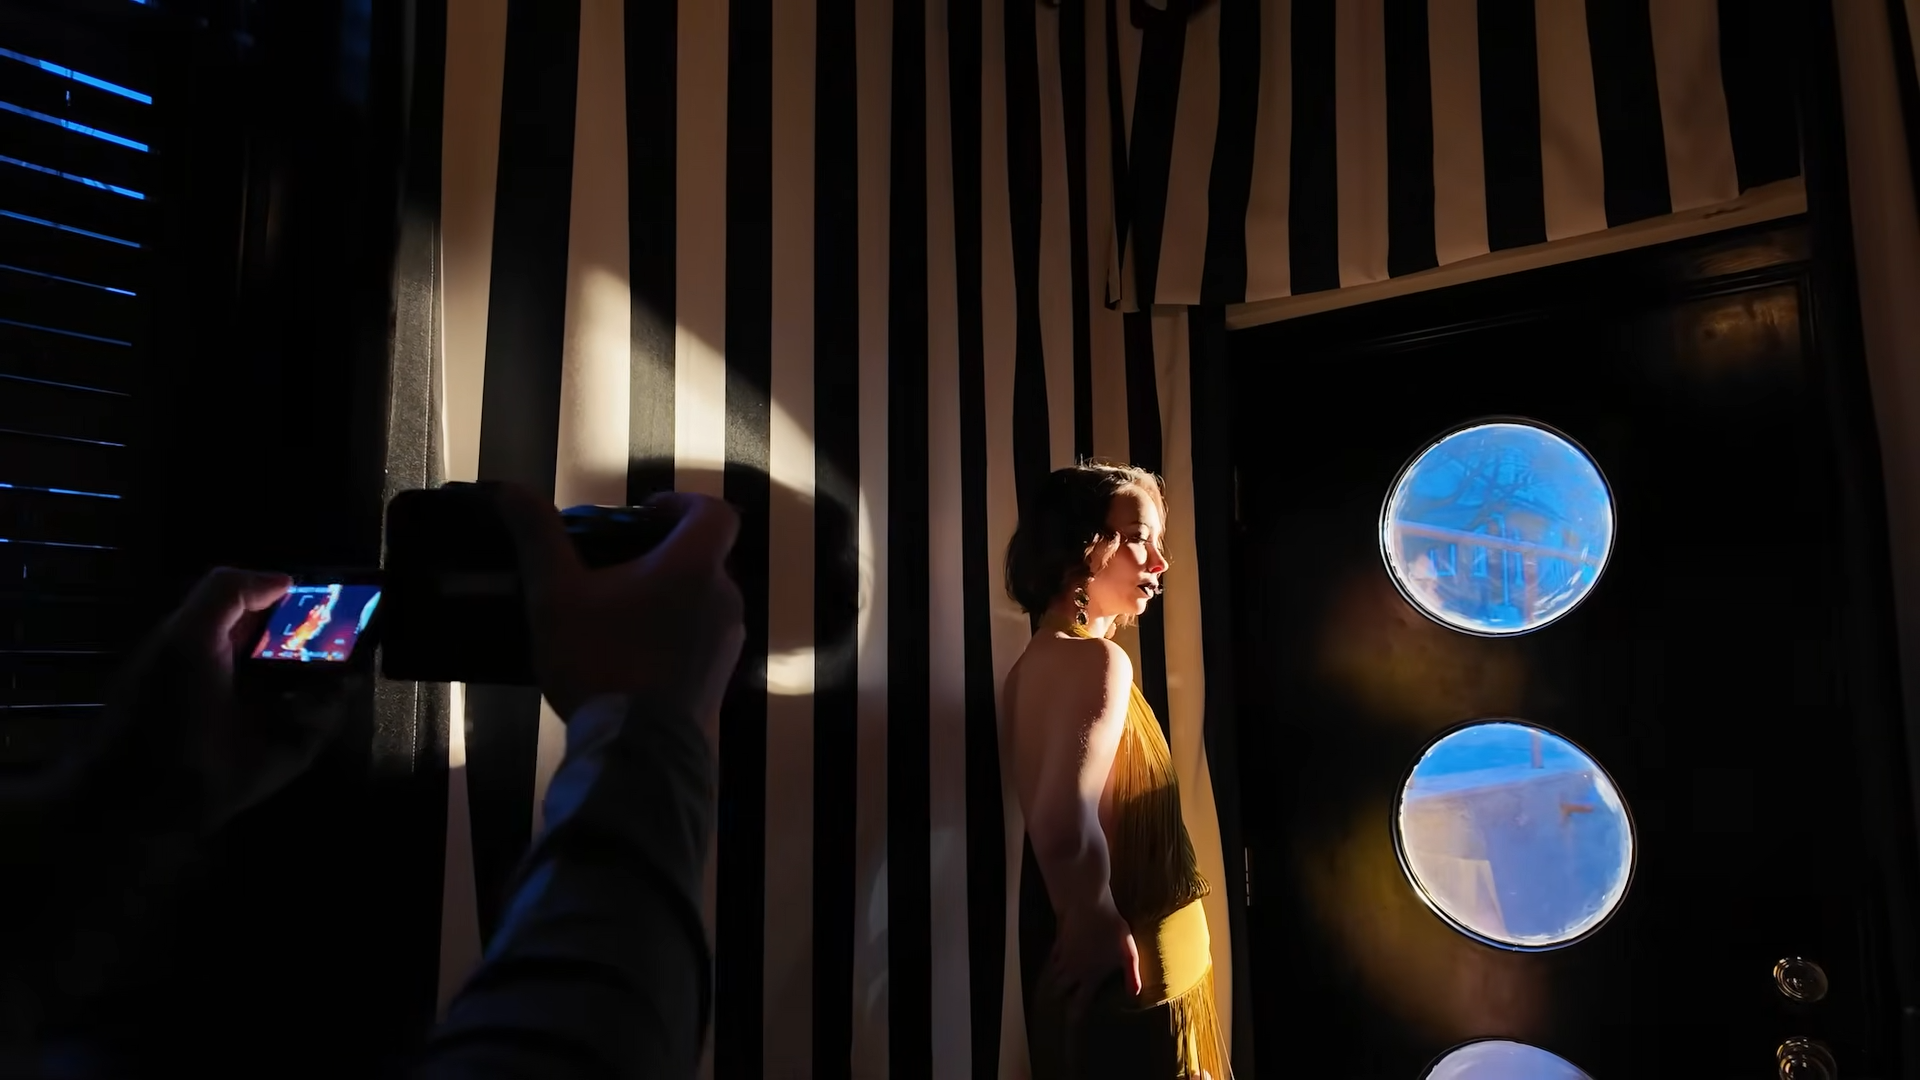
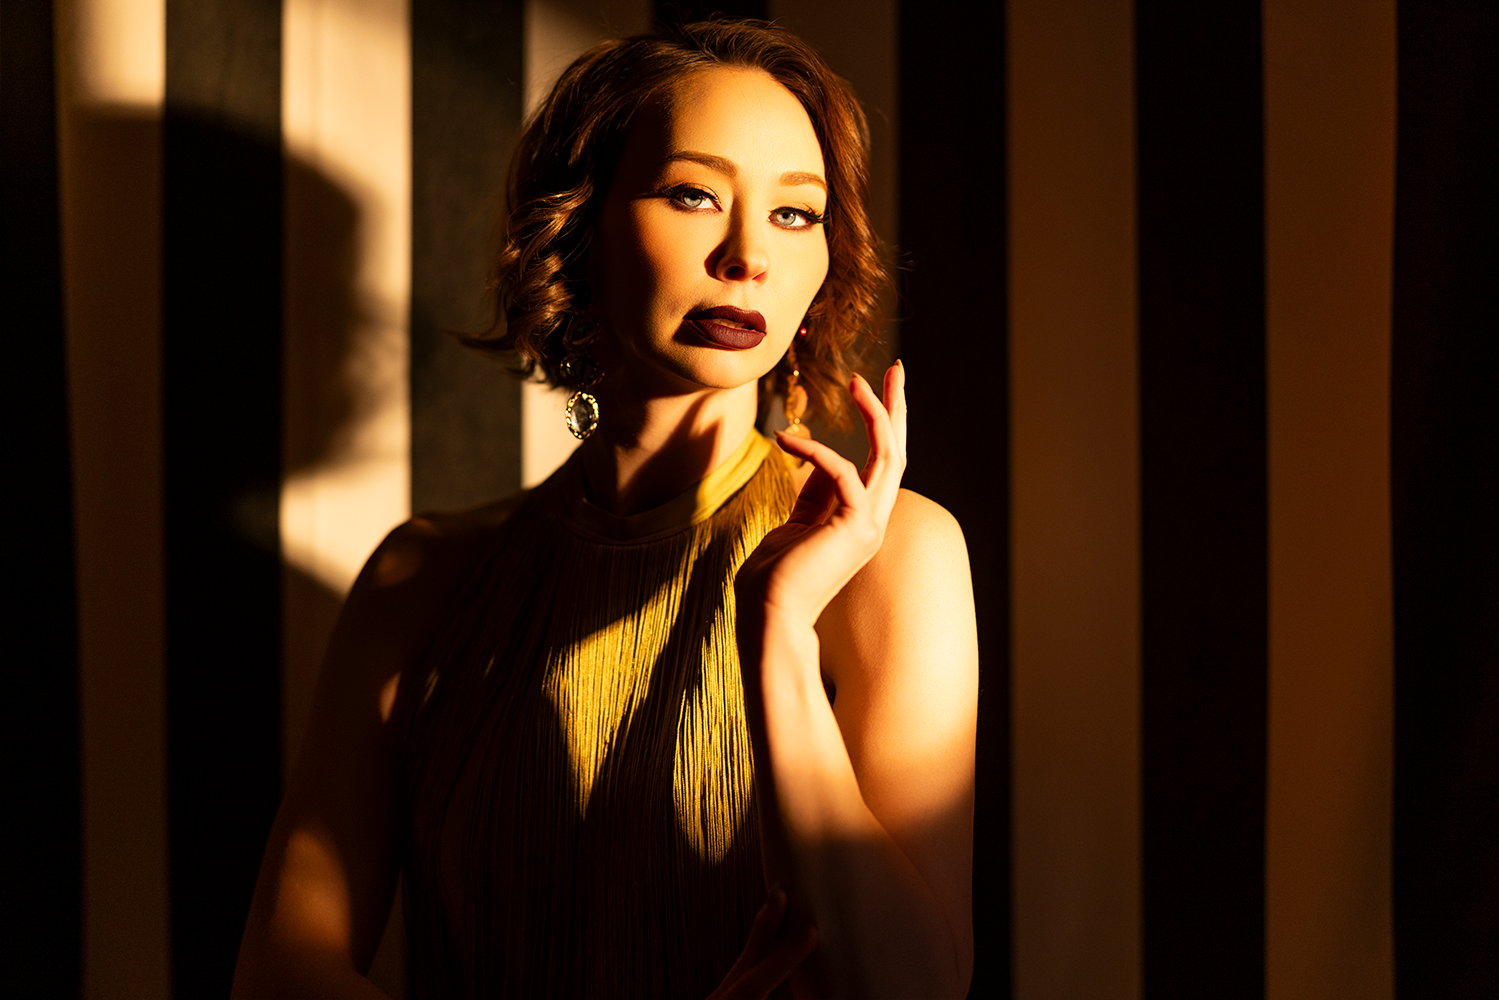
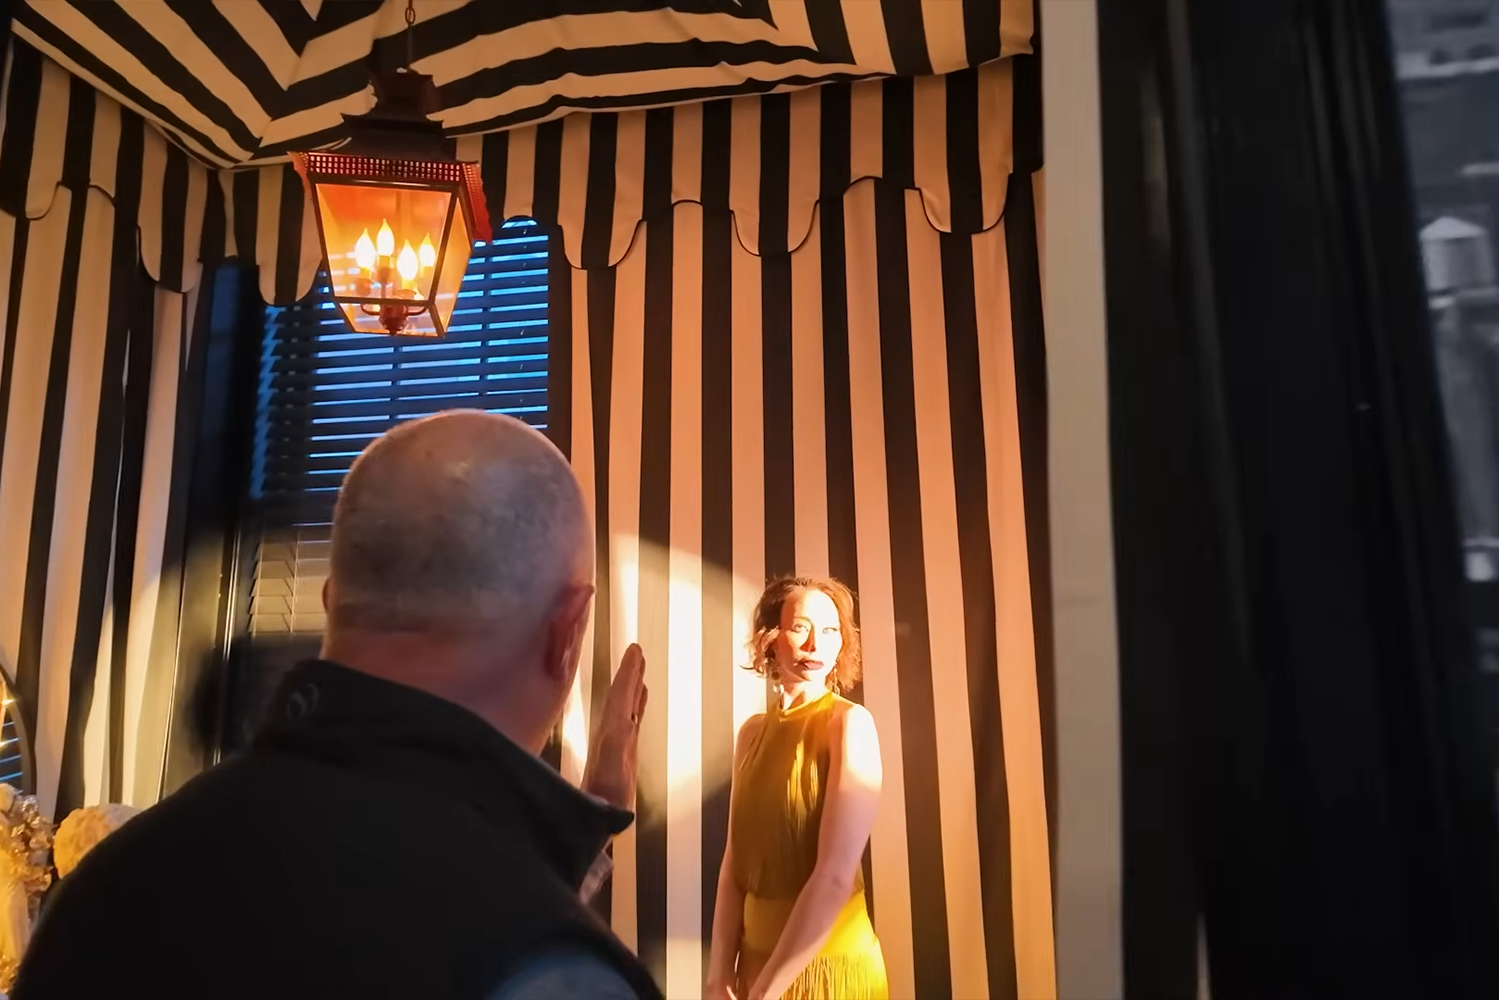
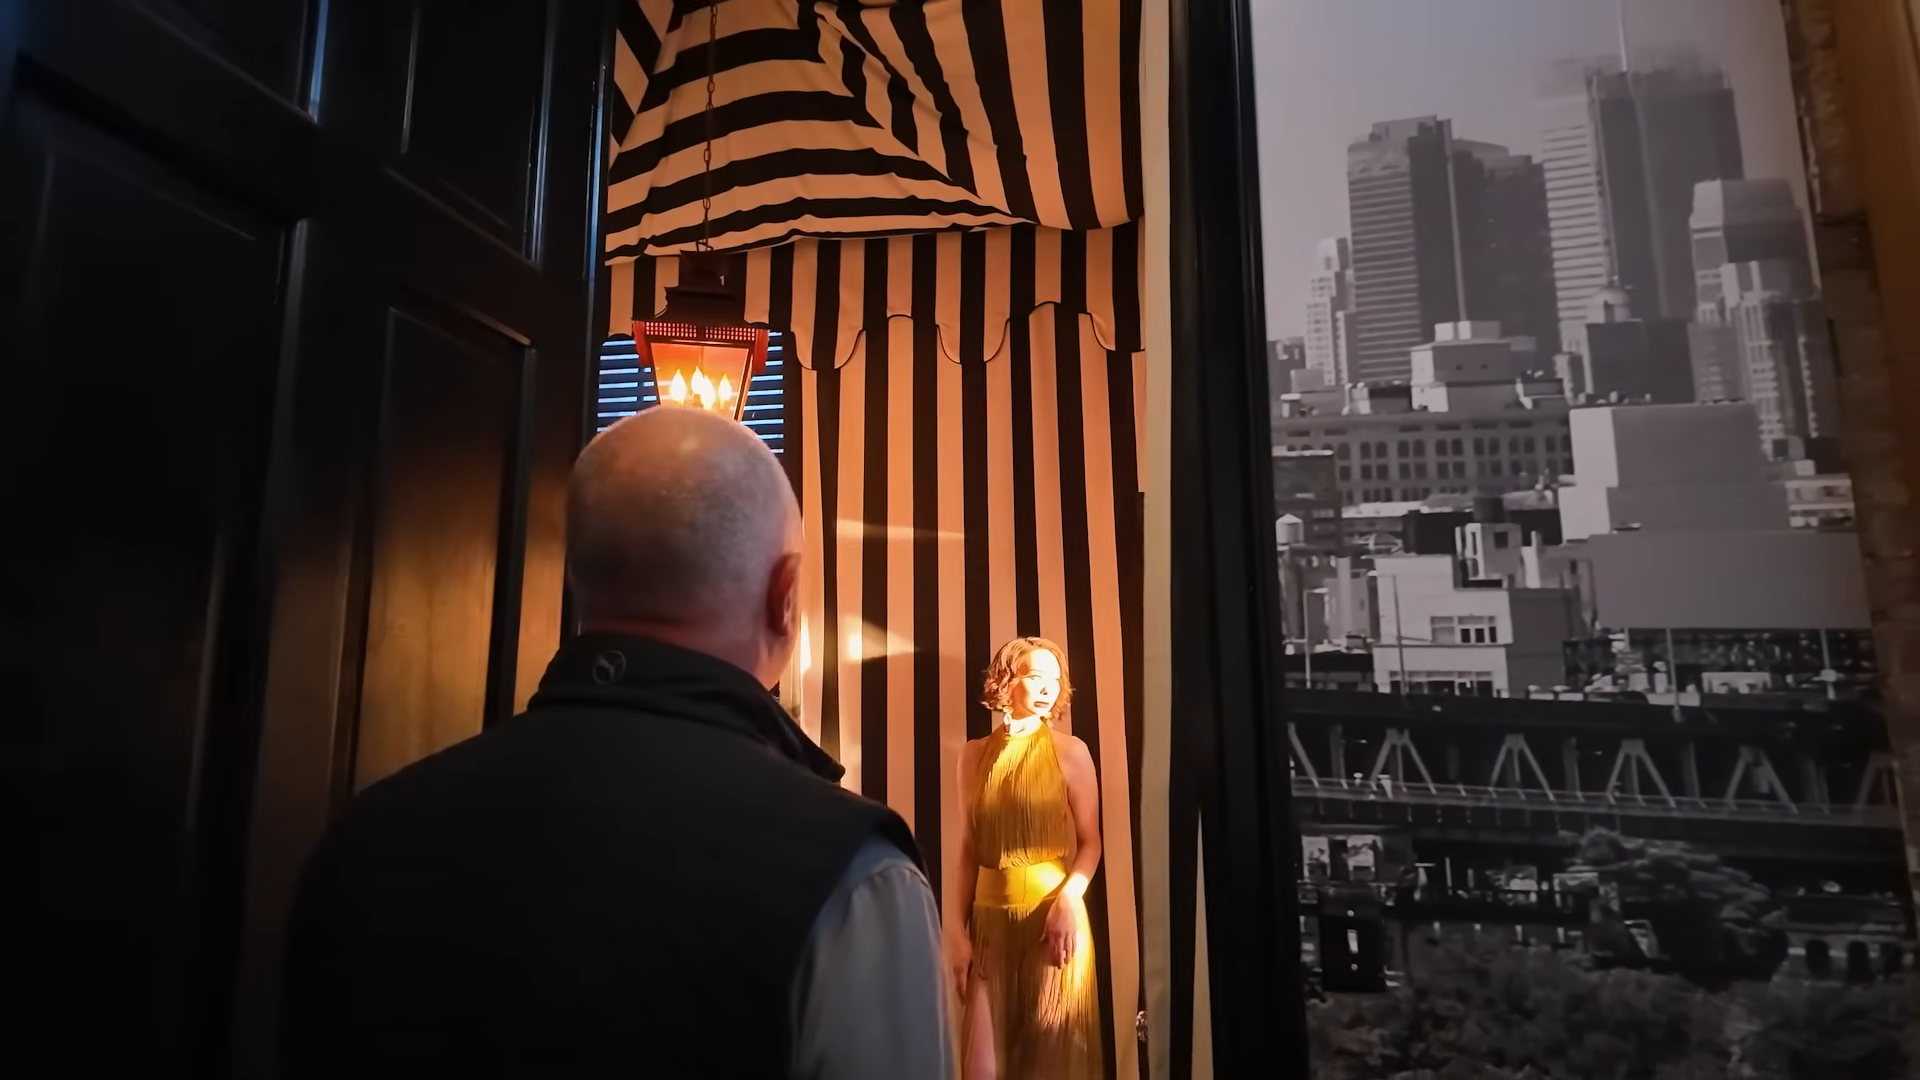
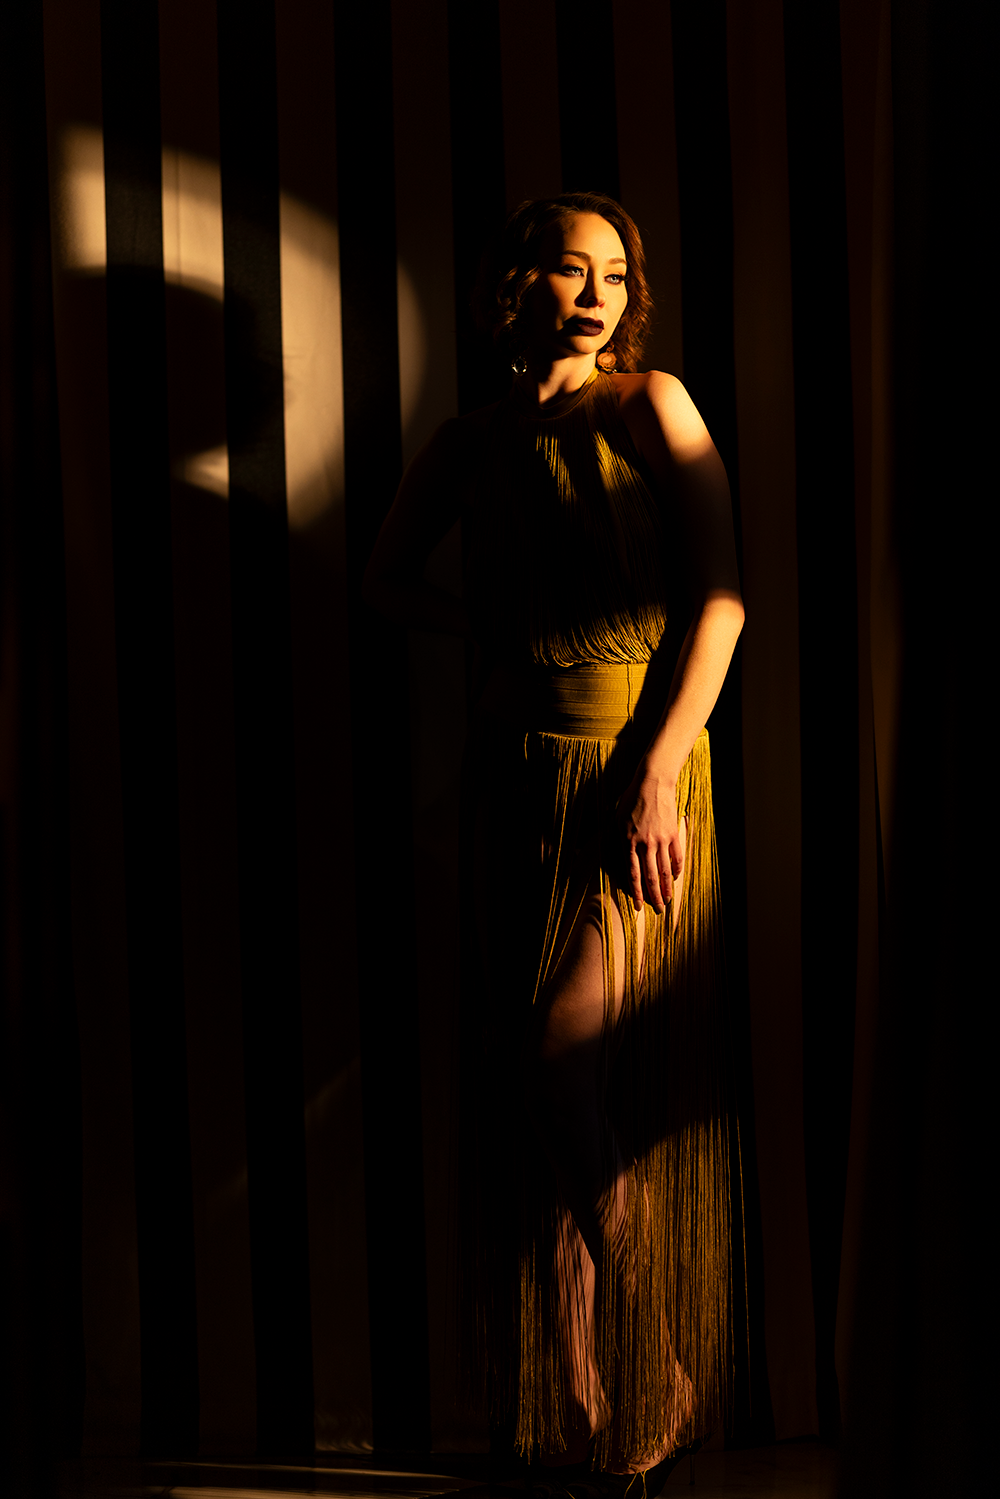


Discover creative photoshoot ideas using reflections to transform small or challenging spaces into striking, professional images with simple lighting techniques.
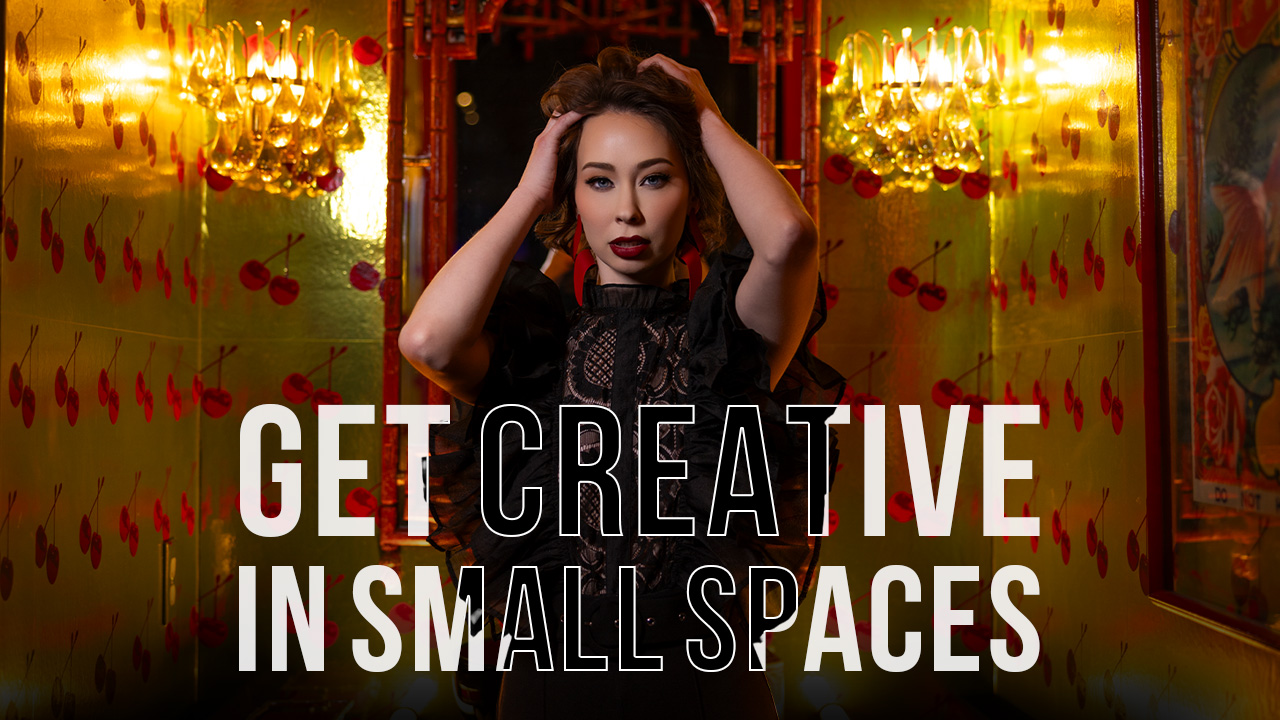
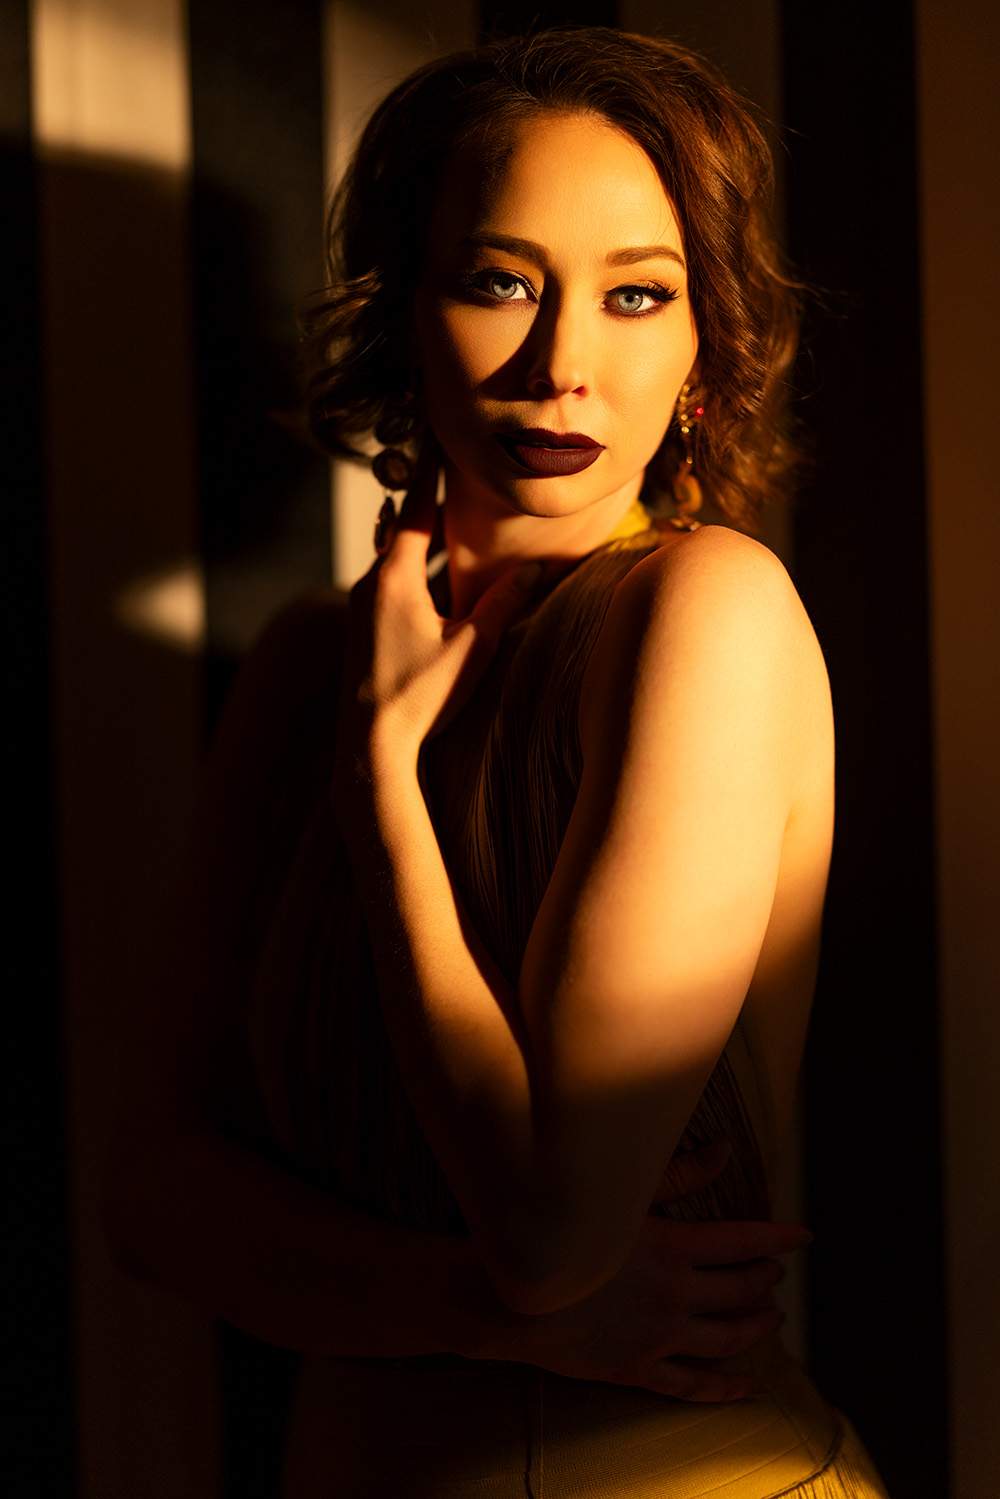
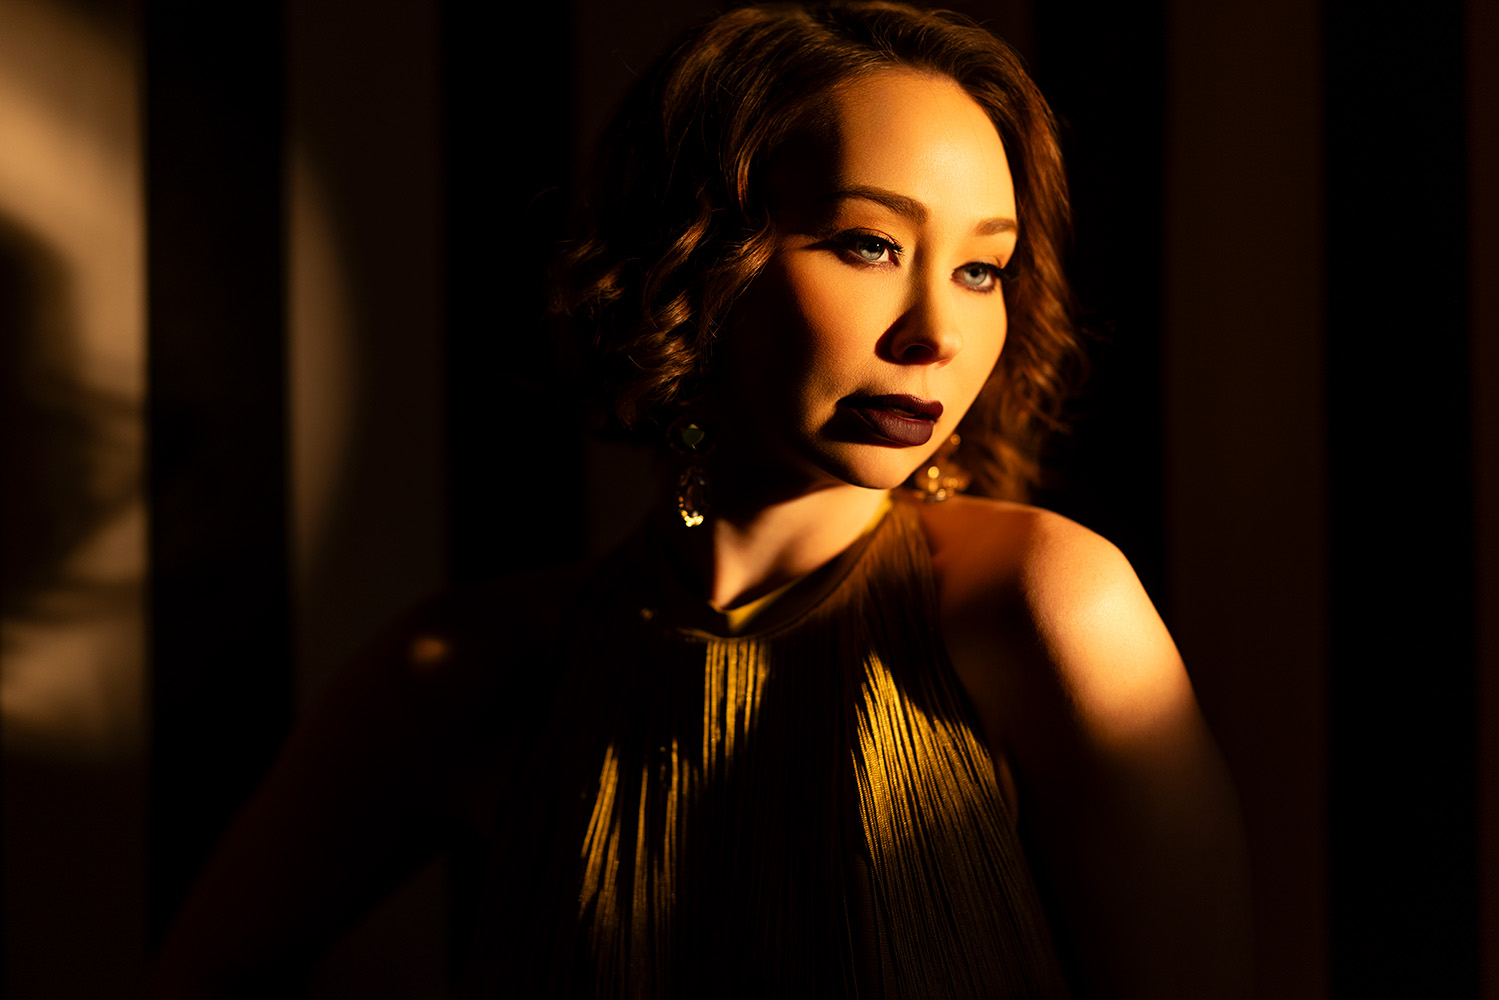
Learn how to create creative portraits in tight environments with proven small space photography techniques. Discover lighting, composition, and posing tips to maximize any small space.
