Today, I’m going to show you the difference between what I see and what my camera sees. If you’re just starting out as a photographer, I think this becomes very important because you’re going to look around this area, and there is nothing but garbage and junk here.
One of the things we’ve been known for in our urban portraits with our high school seniors, even our weddings, is how we can take something that to the naked eye is truly ugly and make it beautiful, right? And that’s what we’re going to do today. I’m going to take you through this step-by-step: how to turn ugly locations into stunning photos. So let’s get to it.
Equipment Used:
Camera: Canon EOS R5
Lens: Canon RF 70-200
Light: Natural Light
Team:
Photographer: Sal Cincotta
Model: Lauren
Hair & Makeup: Brandi Patton, ReFine Beauty
Ugly Location Tip #1: Choose A Lens That Gives Compression & Depth of Field
One of the tools that make it a lot easier to turn a kind of ugly environment into something usable for your clients is a long lens. So 70-200, because we need compression and a shallow depth of field. So 2.8 is a bare minimum. If you’ve got something that’s at 1.2, or 1.4, it’s going to be even better for you. Why? We want to blur everything out and really get us to focus on our subject.
Ugly Location Tip #2: Don't Shoot Wide
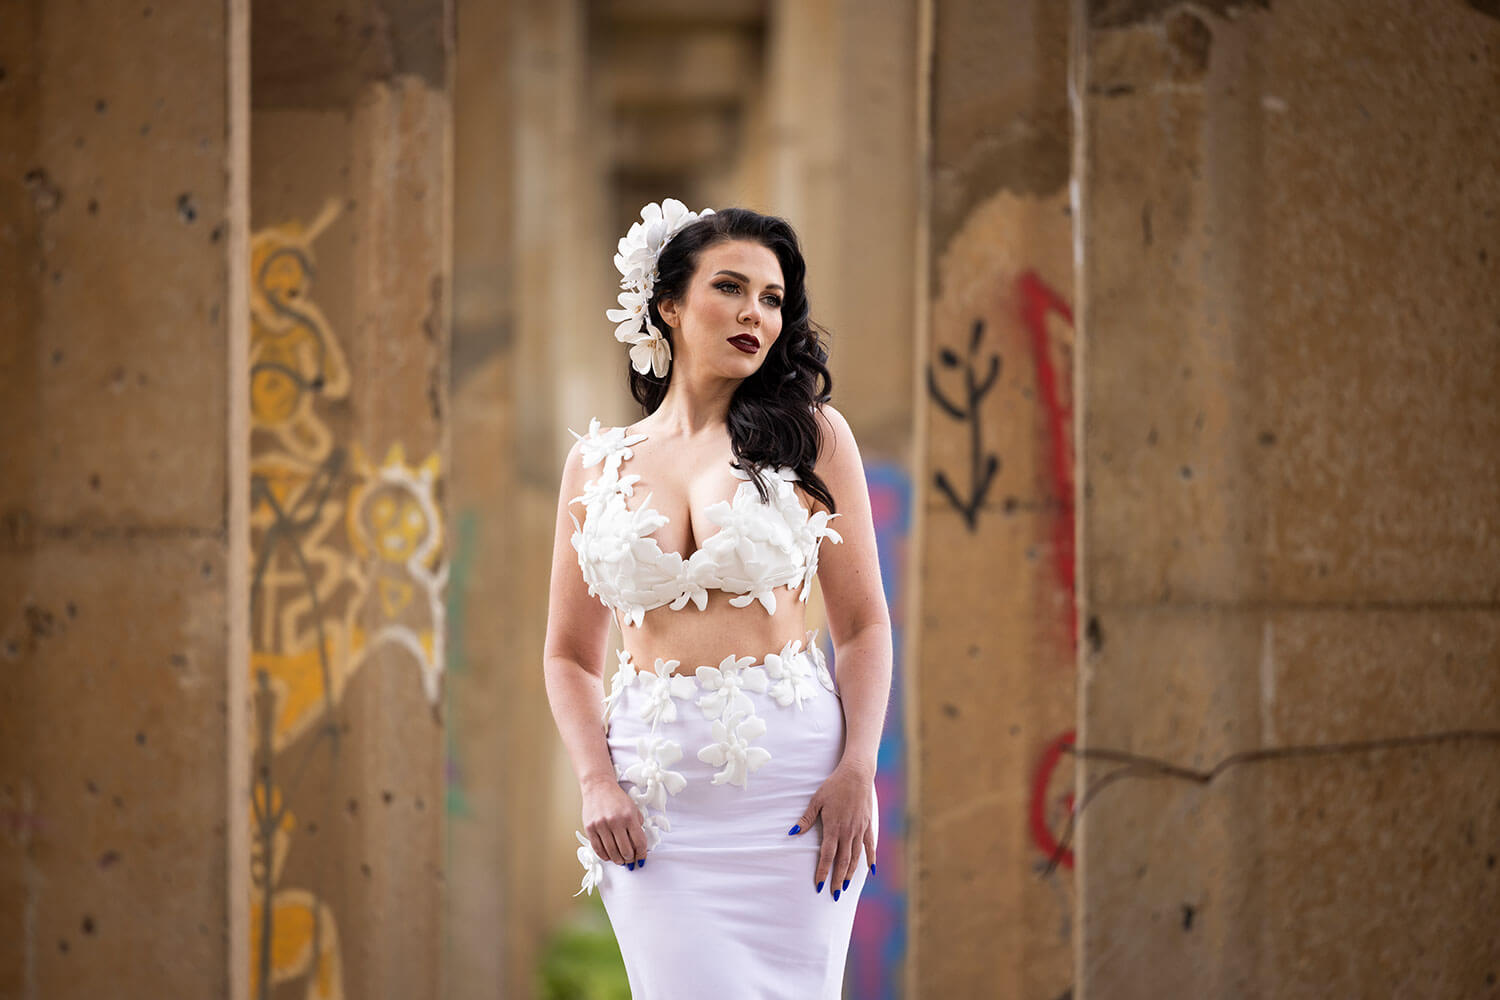
What I’m seeing here that I really enjoy is all these pillars and all these leading lines. But as you can see, this video camera, it’s about a 35 millimeter lens. If we showcase all the full scene like this, it’s just not creating a compelling portrait. So if you show up here with your clients or something like that, they’re looking at this going, “This is complete garbage.”
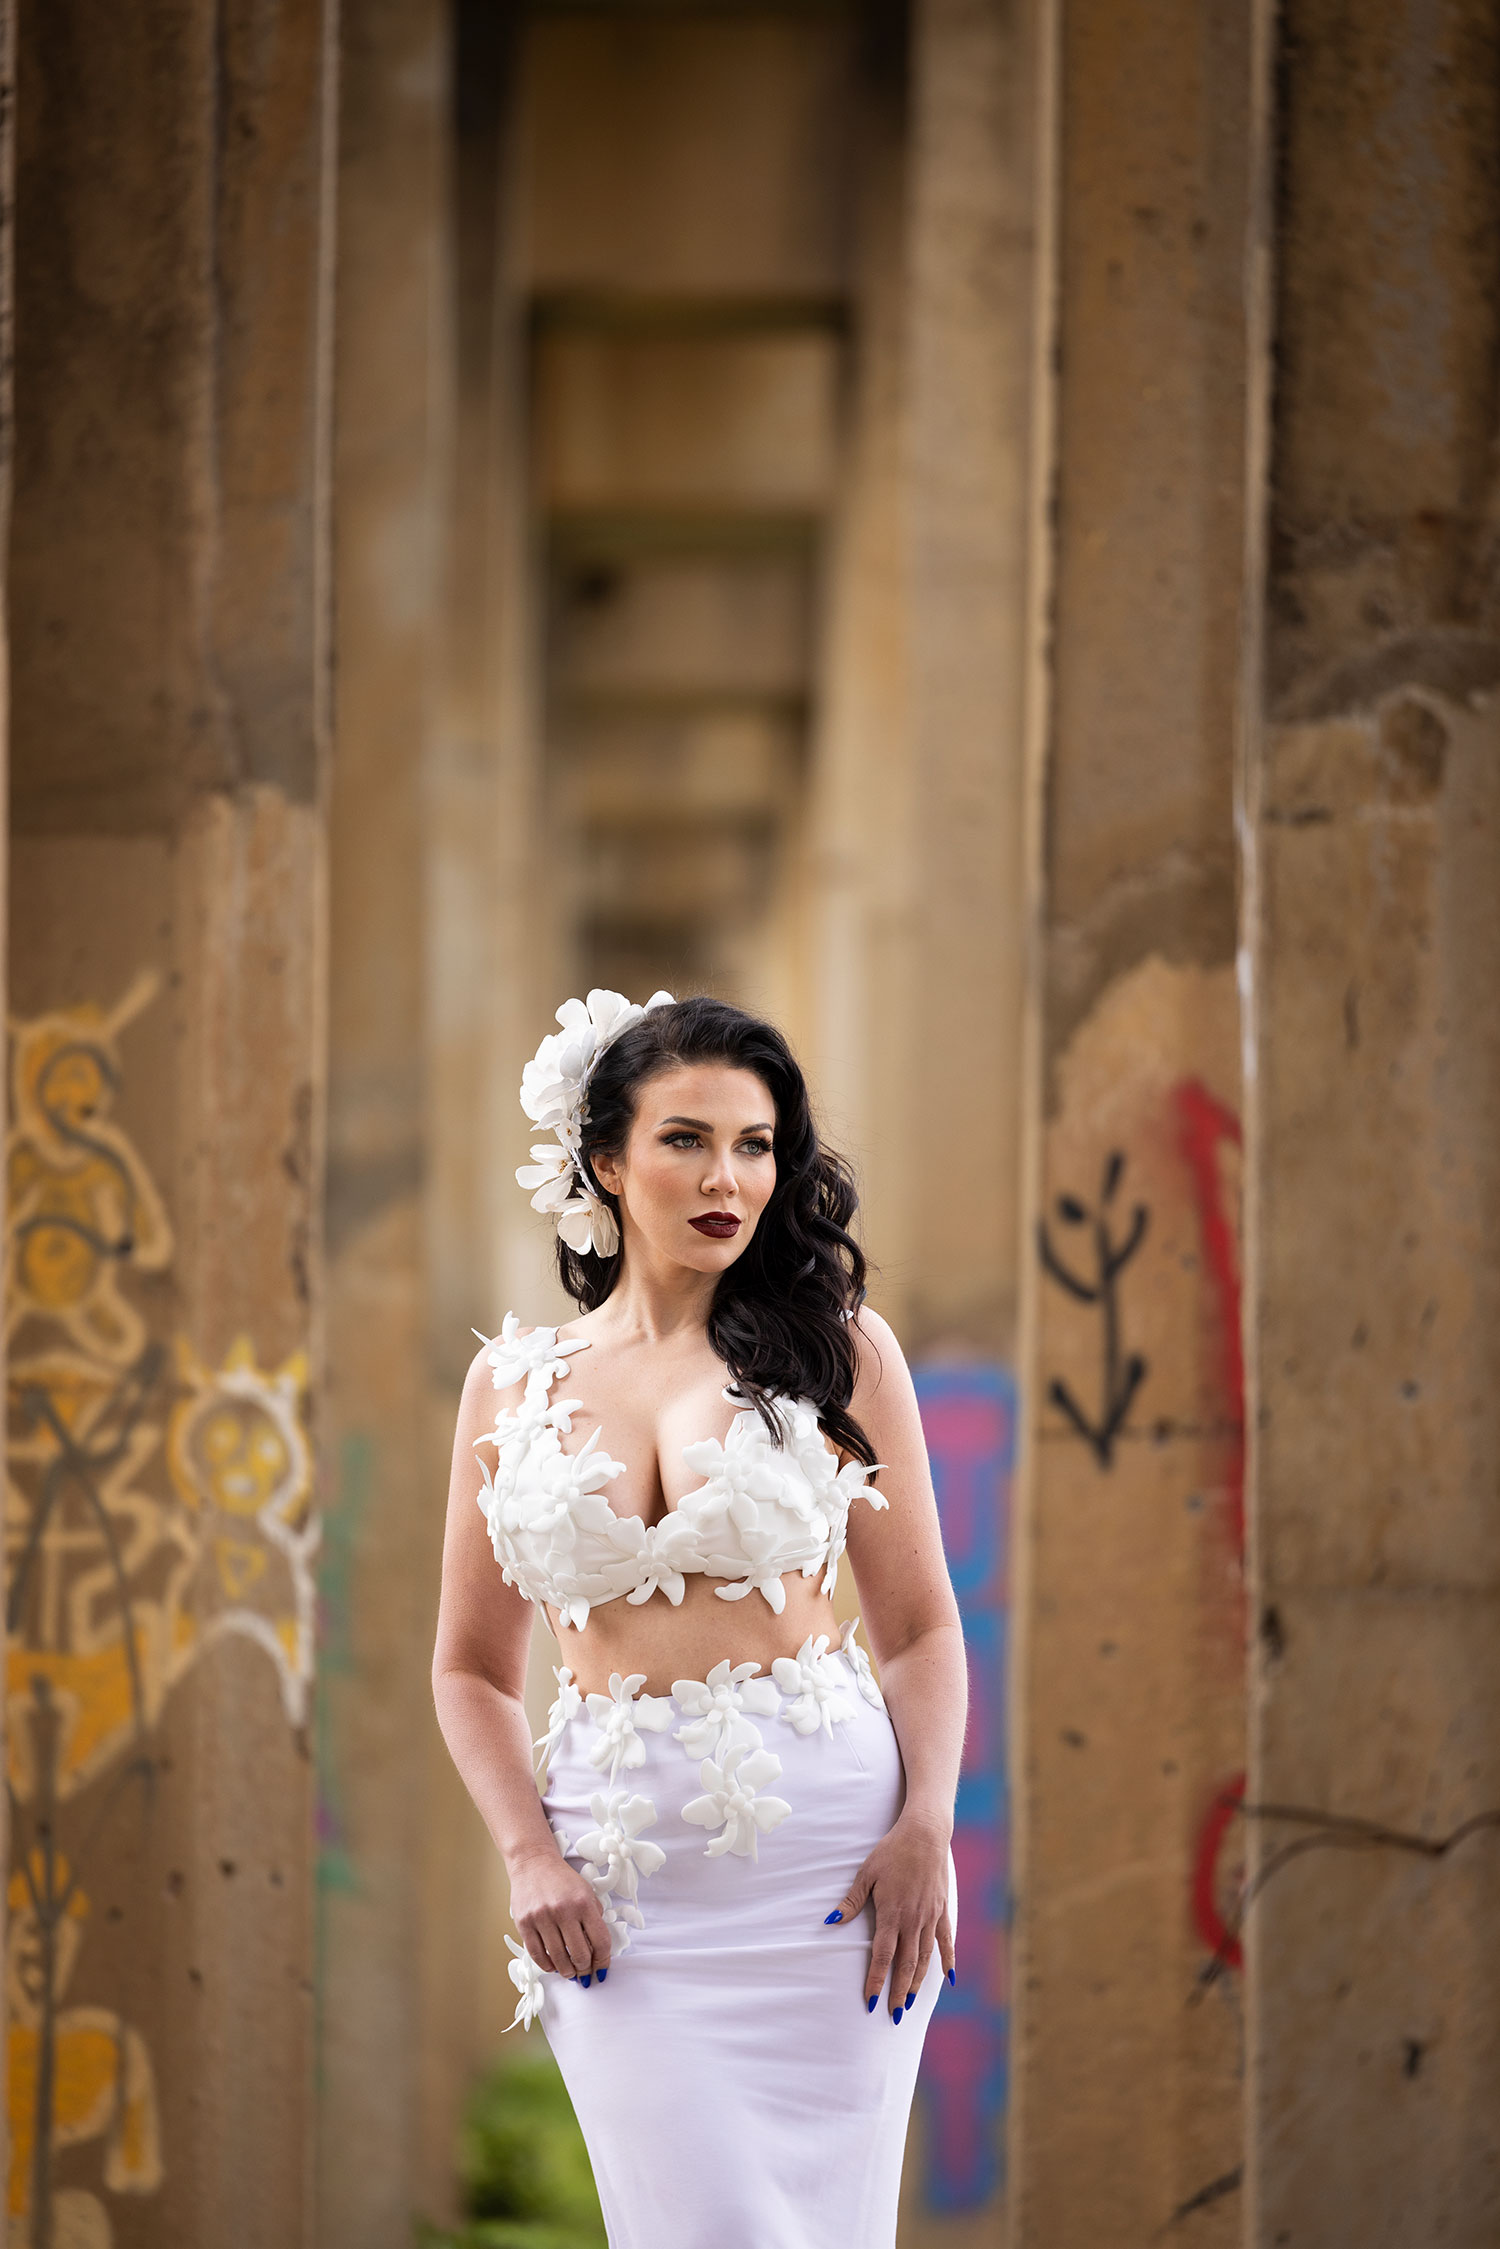
And so what I’m going to do is use a long lens, like my 70-200, get that compression, get that shallow depth of field, and really turn this into something that’s a little bit more interesting. You may not like urban portraits, you may like more of a clean studio environment. Totally cool. But if you want to shoot outdoors, how do you make something that may not look the best, look interesting? We can only go to so many parks, so many brick walls. We want something that’s different.
So now what I’m doing, going horizontal and vertical. Love that. And really taking most of the environment out of here and using compression to get the shot I want. Now I’m going to move in a little closer to her. Same thing, at a shallow depth of field, I can be at 2.8. Looking away. Love that. Even changing my composition here where I kind of crop her at the waist. Love that. Can I get you maybe here? So same thing now. Now I’ve pulled her off those other pillars, so I have less graffiti on it.
Ugly Location Tip #3: Create Contrast With the Environment
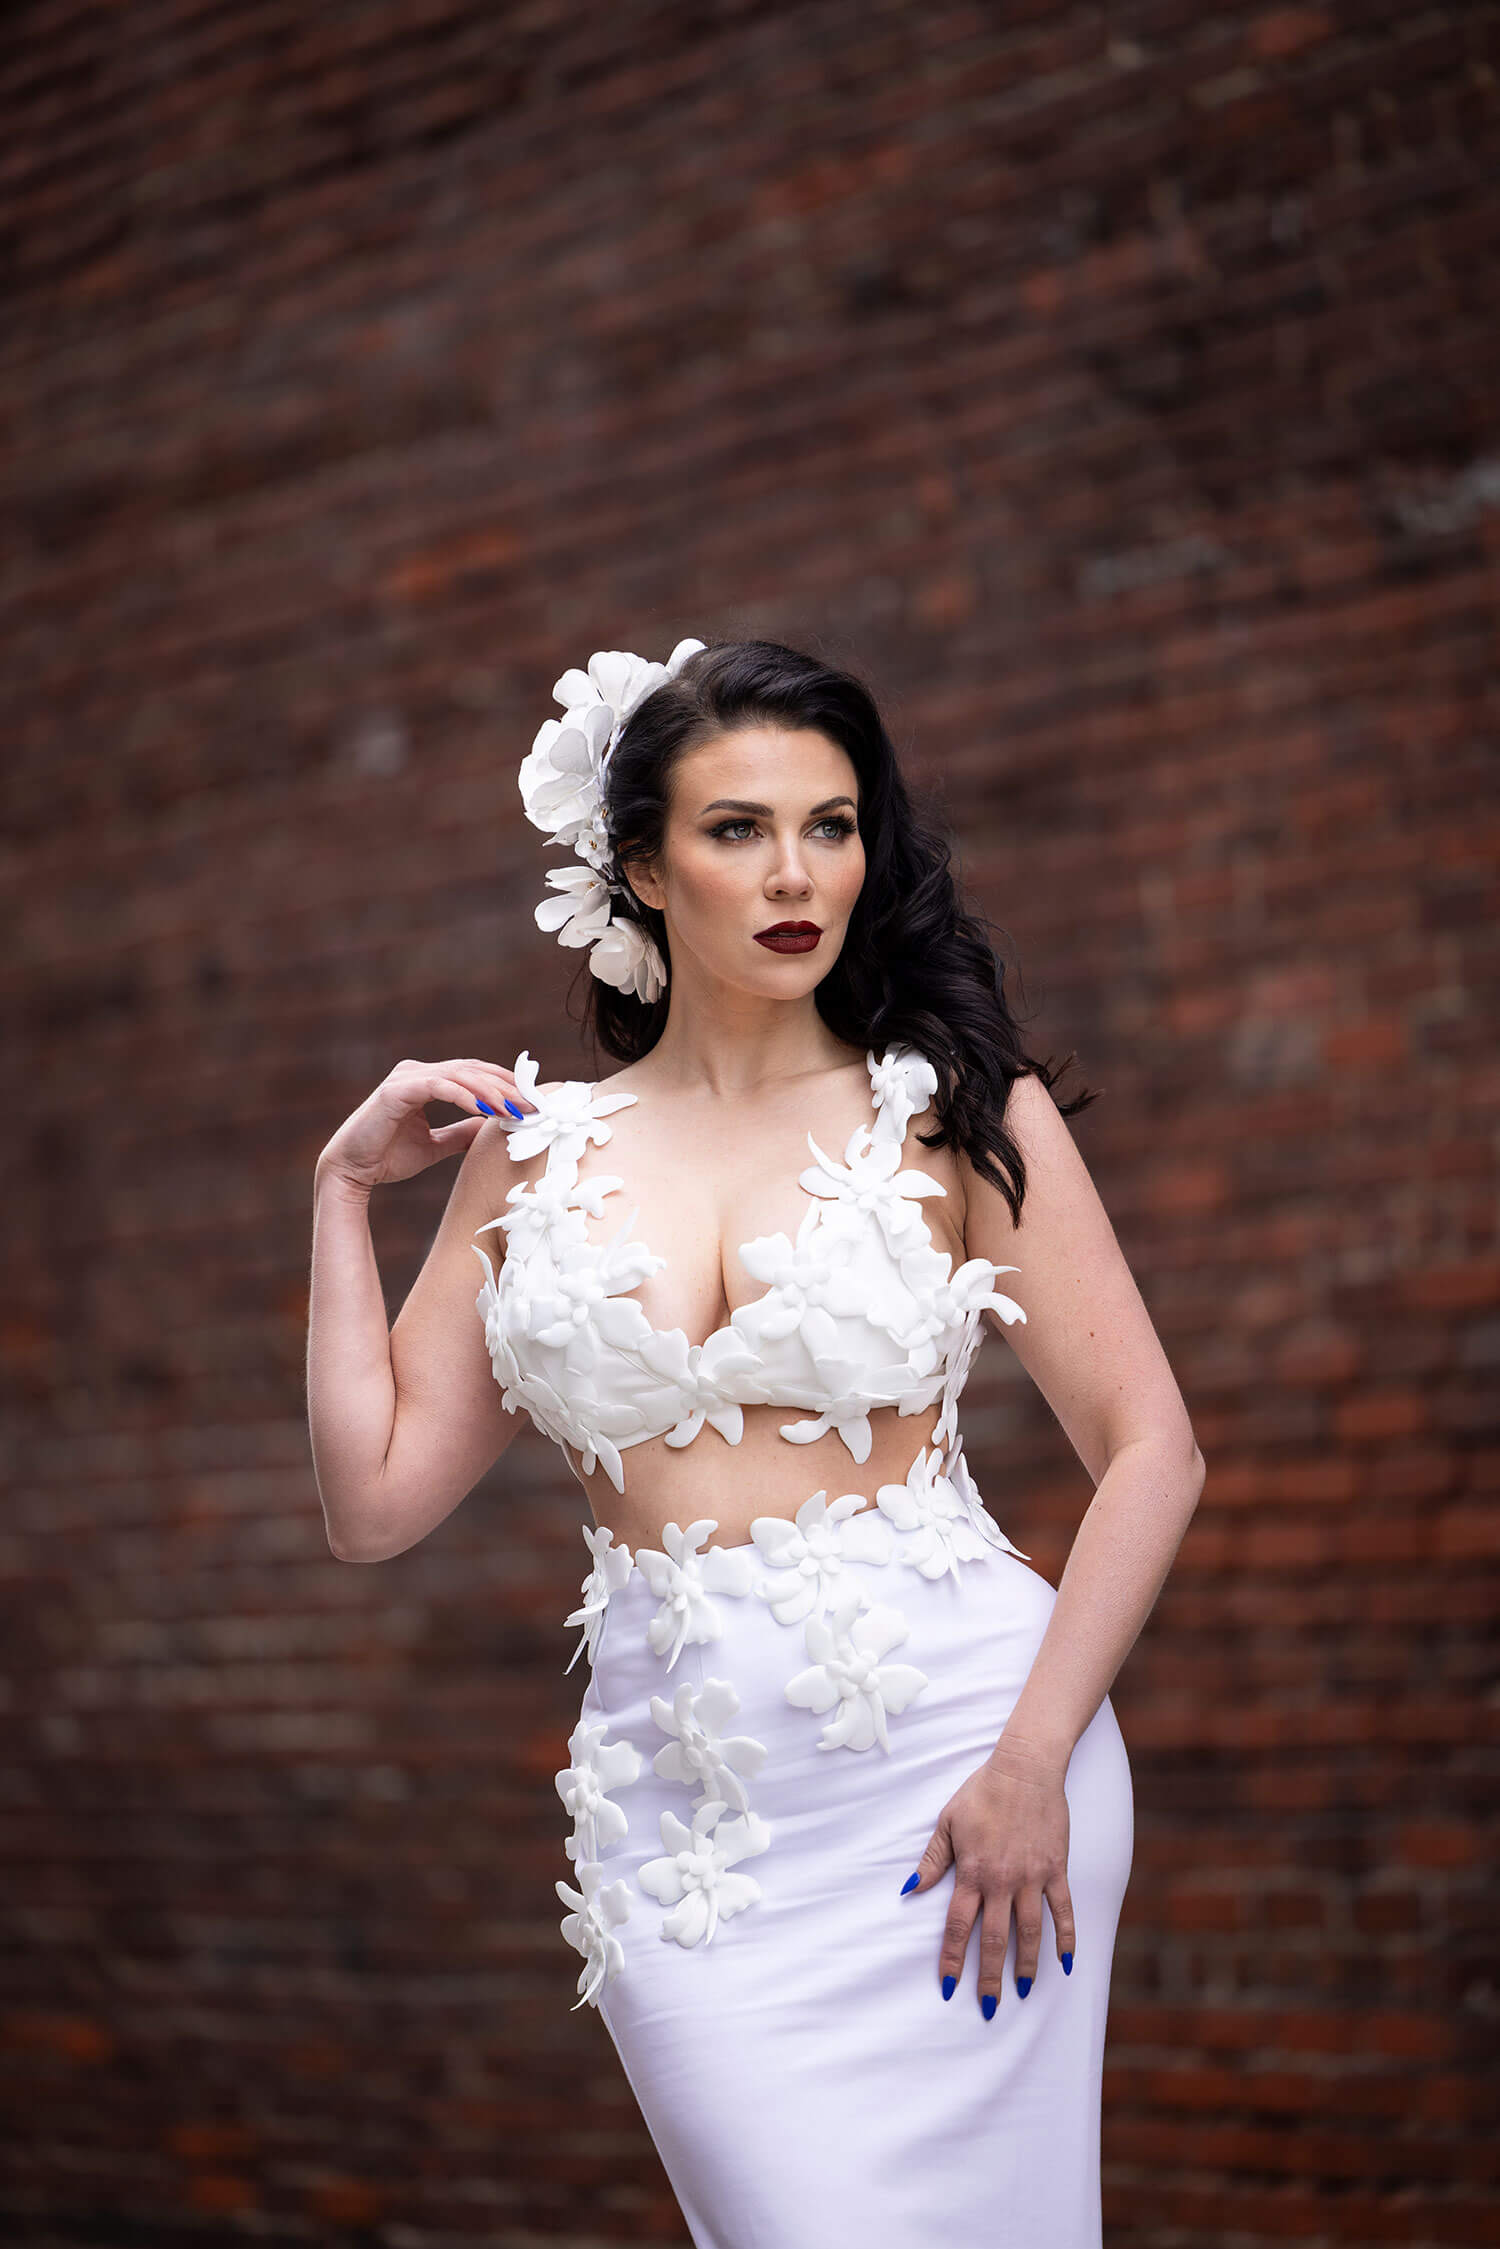
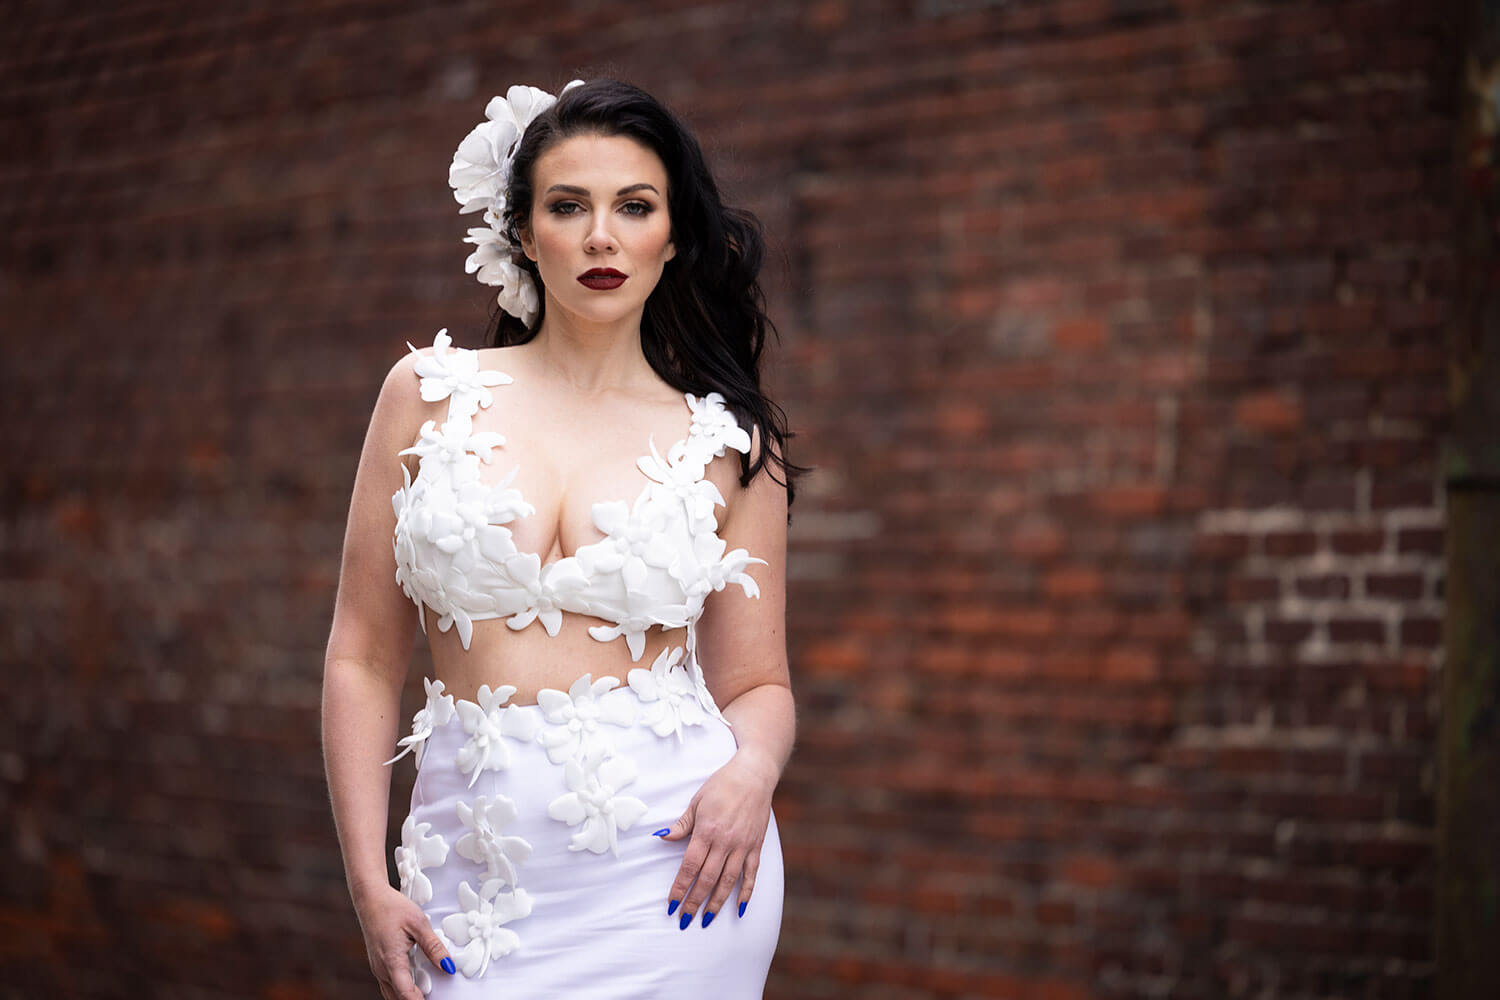
All right, so here we are in our second location. It’s just a regular alley; you might walk by an alley wherever you live, and think nothing of it. But here’s an environment where I know she has a white dress on. I’ve got no direct lighting, I’ve got a dark background. I know she’s going to pop off that. And again, using a 70-200, I can really control what the camera’s seeing versus the naked eye. To the naked eye this doesn’t look overly exciting, but let’s see what we can create here.
And in this location, I don’t mind going a little wider and seeing some of the elements here, right? We’ve got a drain pipe and a door in the background. It’s kind of cool. Mix it up, bring it into the frame. Plenty of leading lines.
All right, everybody, that’s a wrap. Hopefully we’ve gotten your imagination going and given you some ideas of how you can just turn generic locations into something magical for you and your clients. We’ll see you in the next video.

