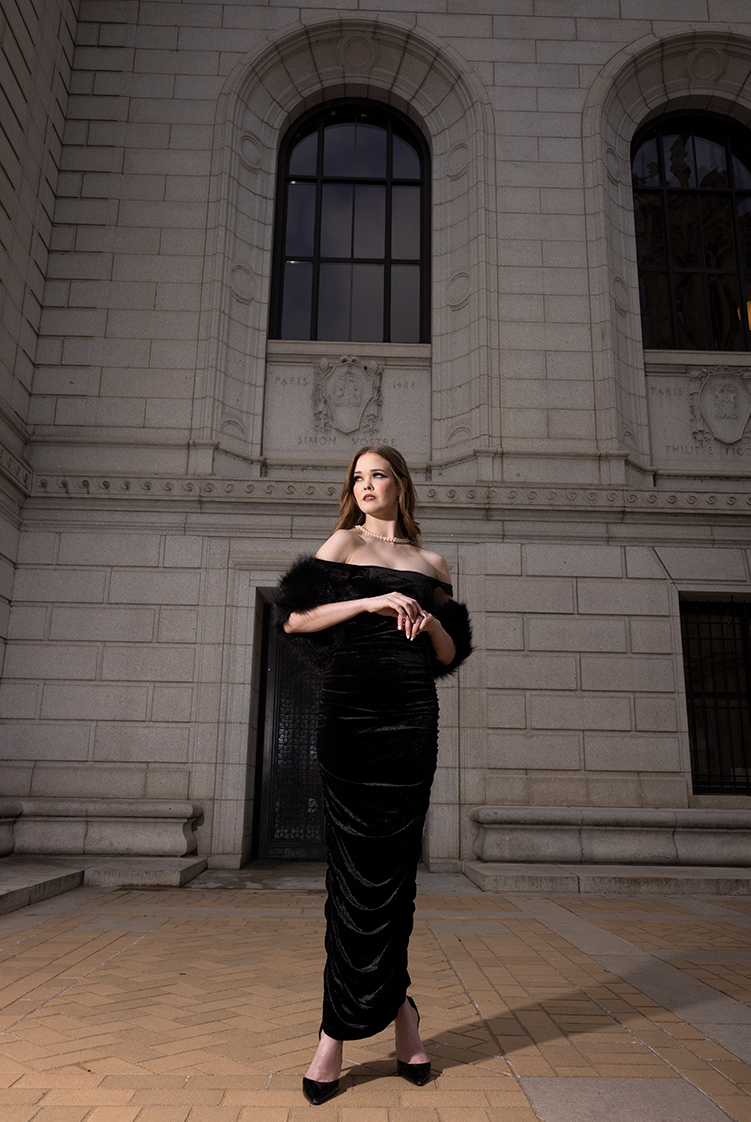
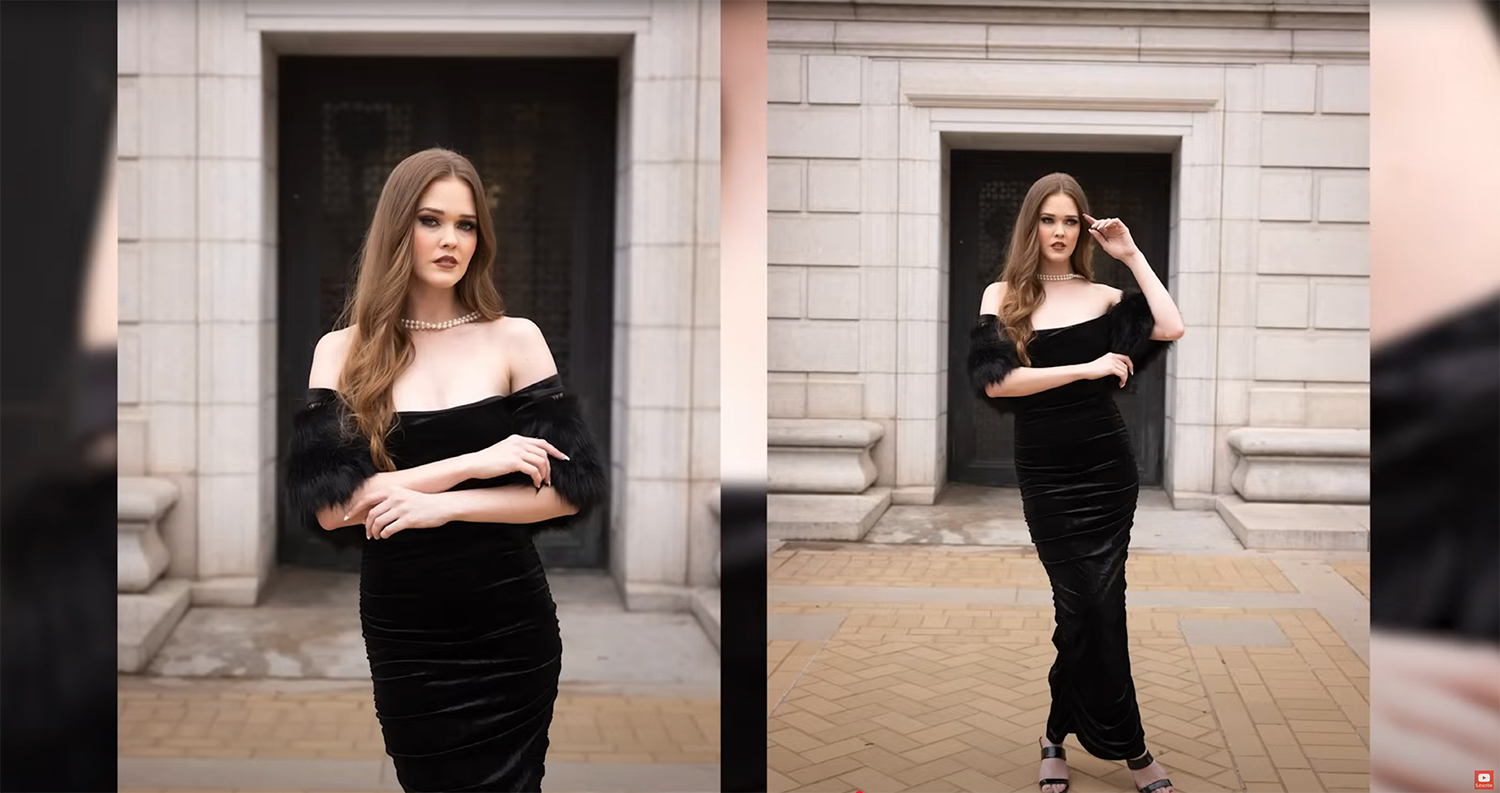


Discover creative photoshoot ideas using reflections to transform small or challenging spaces into striking, professional images with simple lighting techniques.
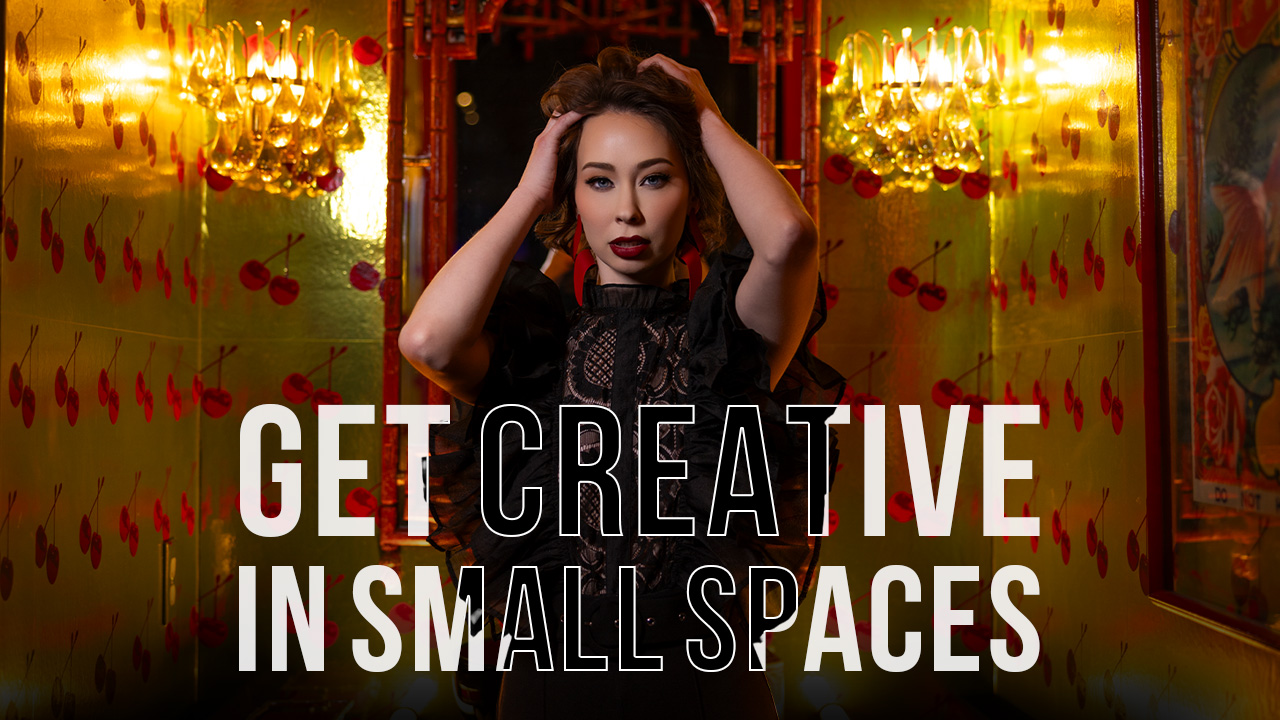
Learn how to create creative portraits in tight environments with proven small space photography techniques. Discover lighting, composition, and posing tips to maximize any small space.

This Post Has One Comment
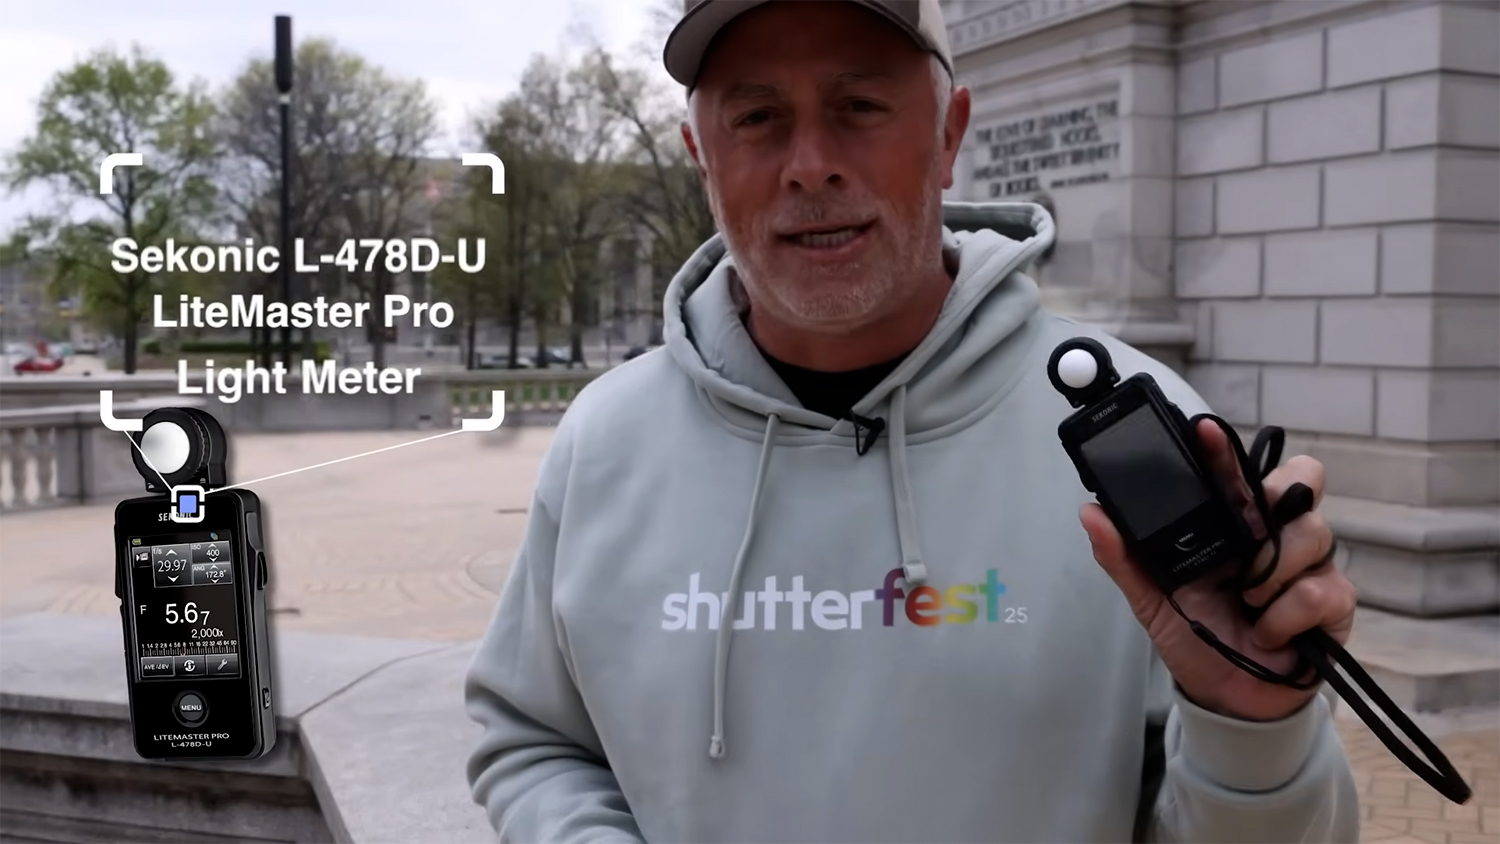
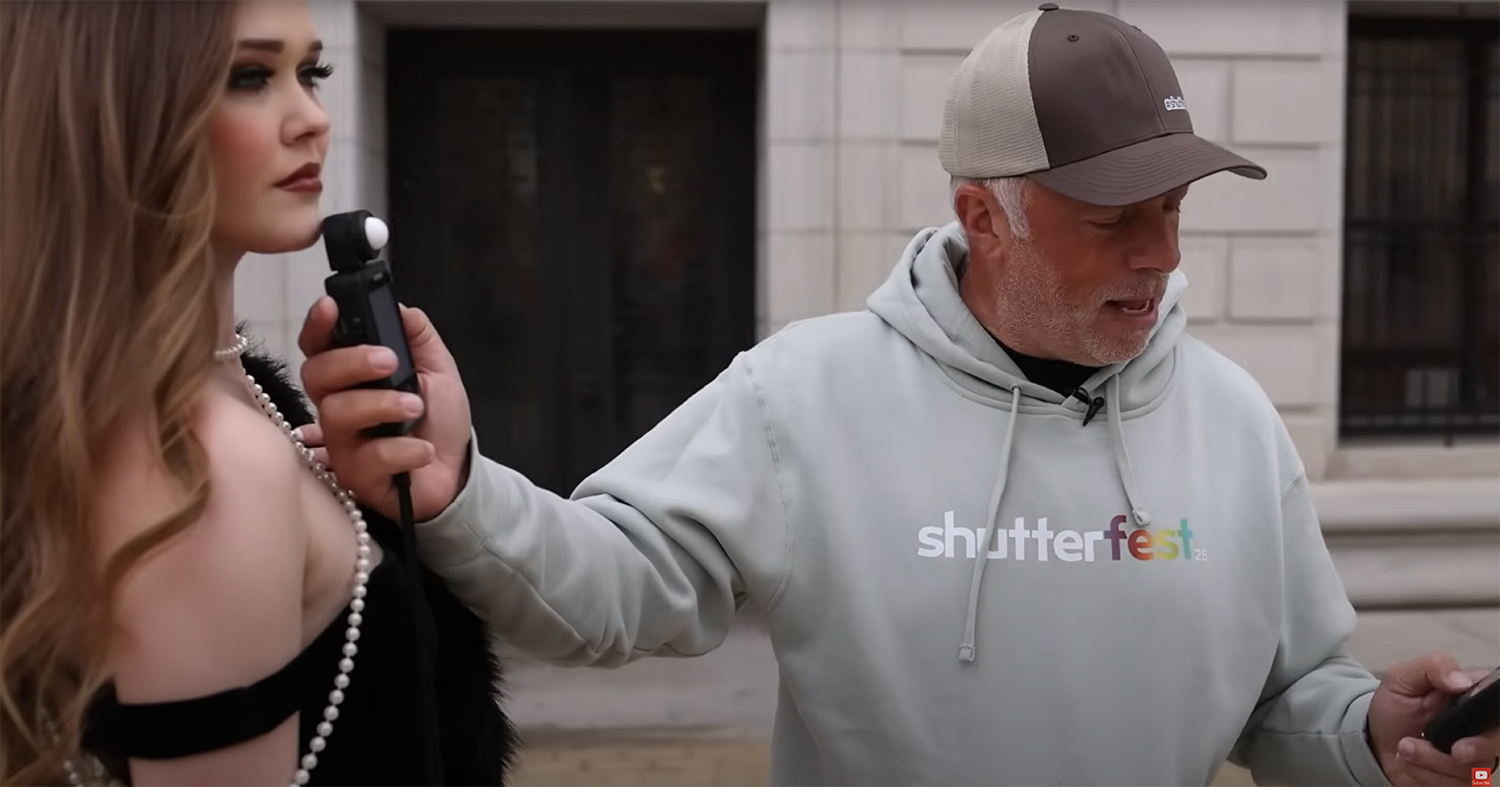
Started with a Luna Pro for ambient light. Quickly evolved to incident work, almost exclusively for incident. Successful work under all kinds of lighting. Upped Minolta flash/ambient meter used almost exclusively for incident. Successfully through hundreds of shootings