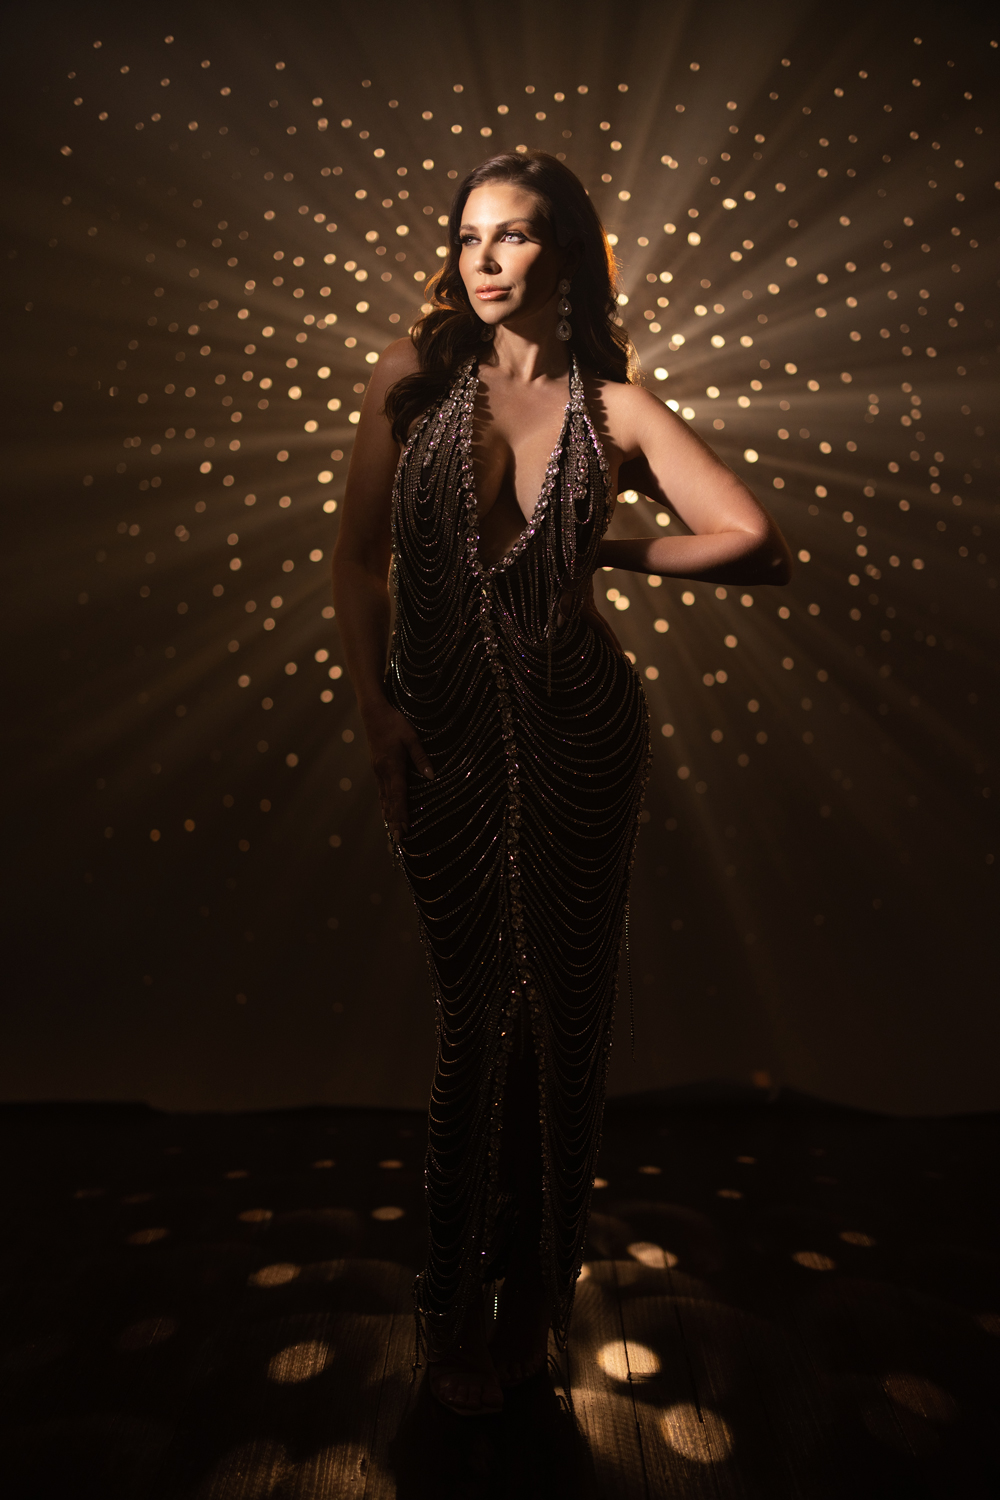
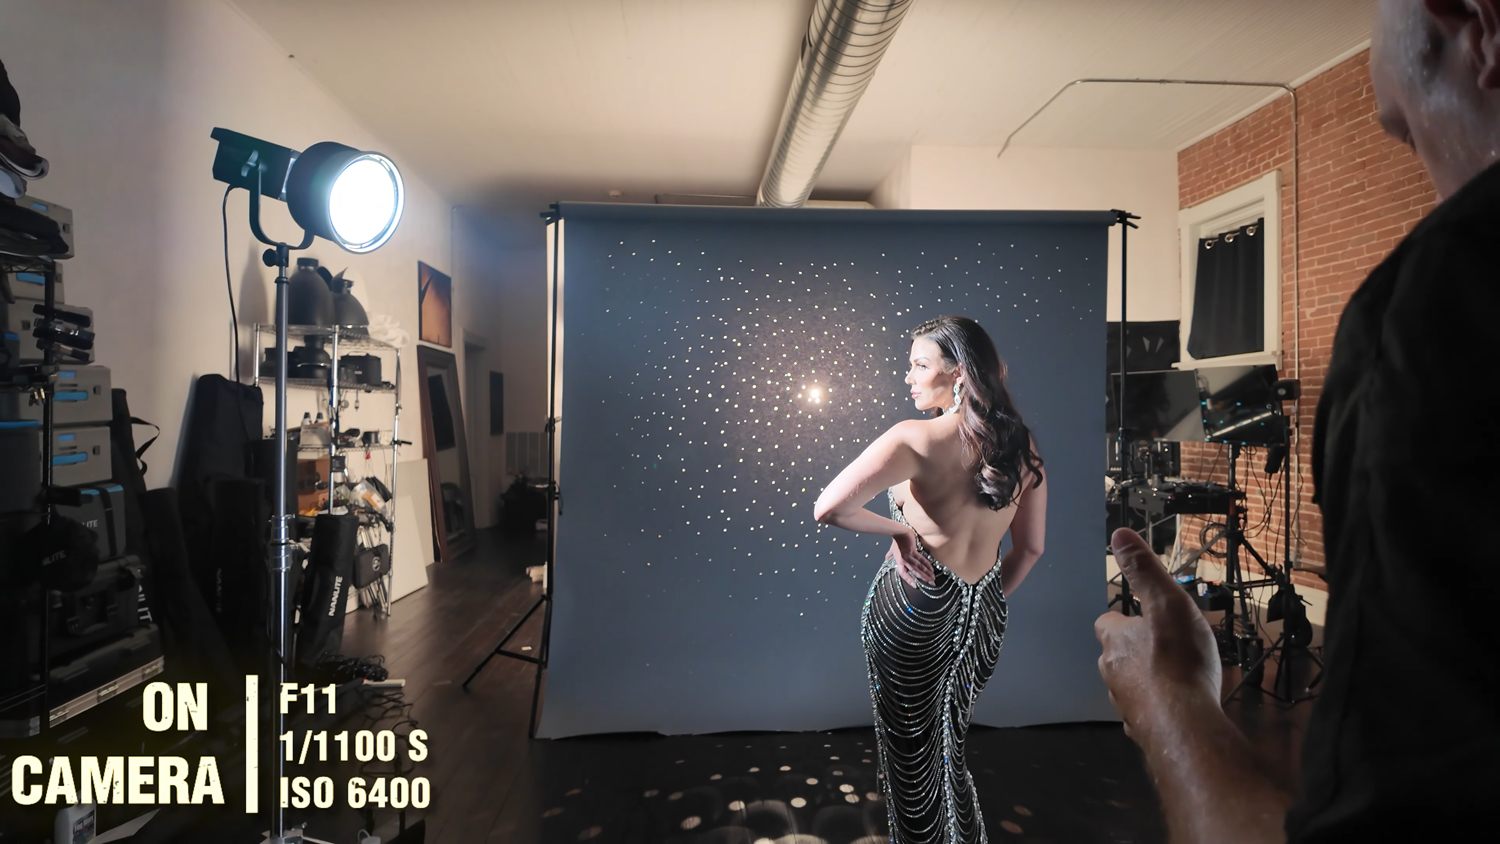
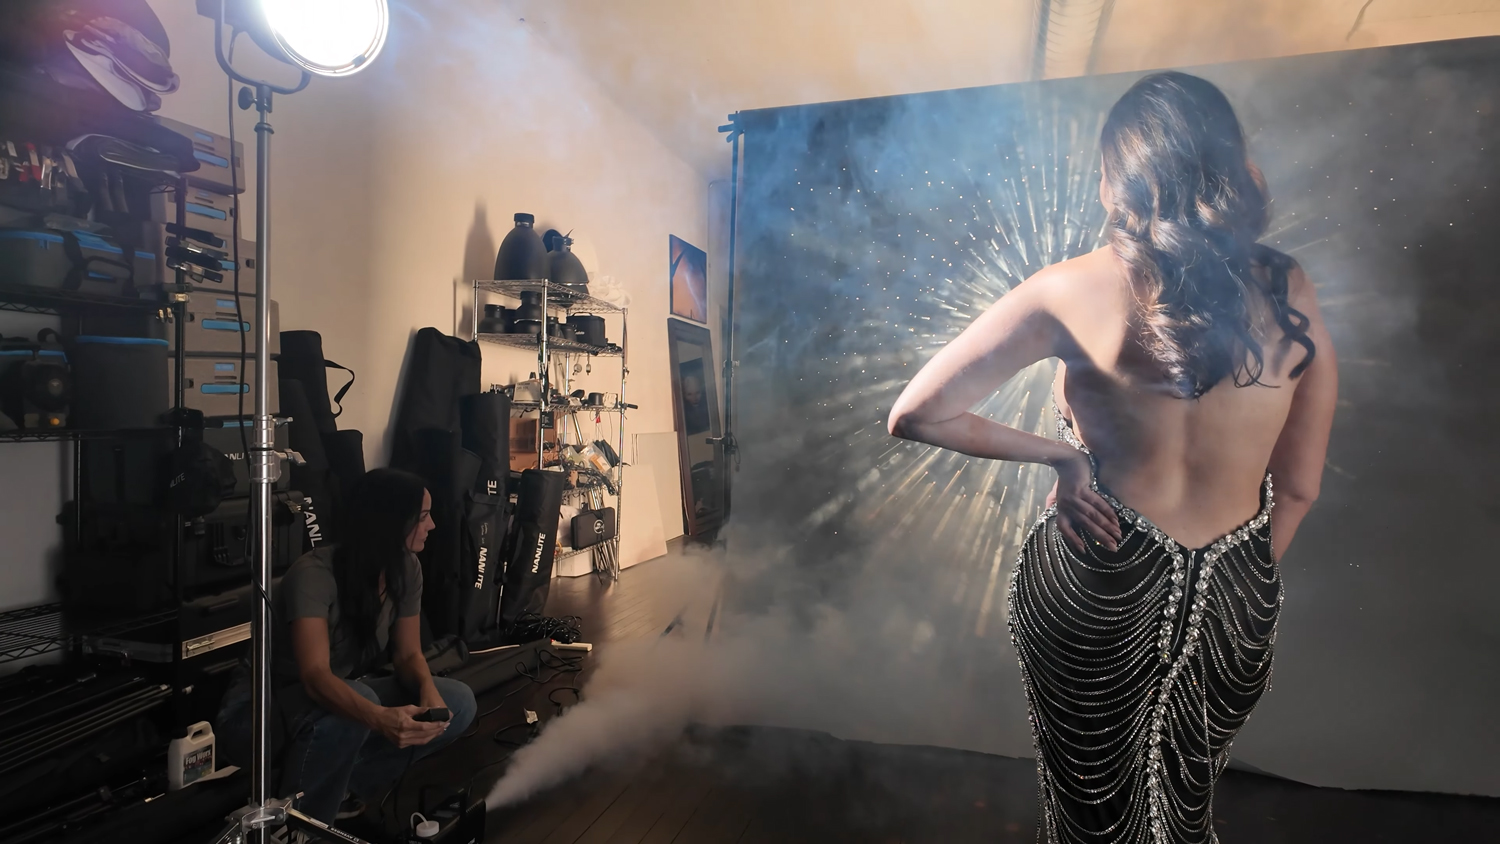
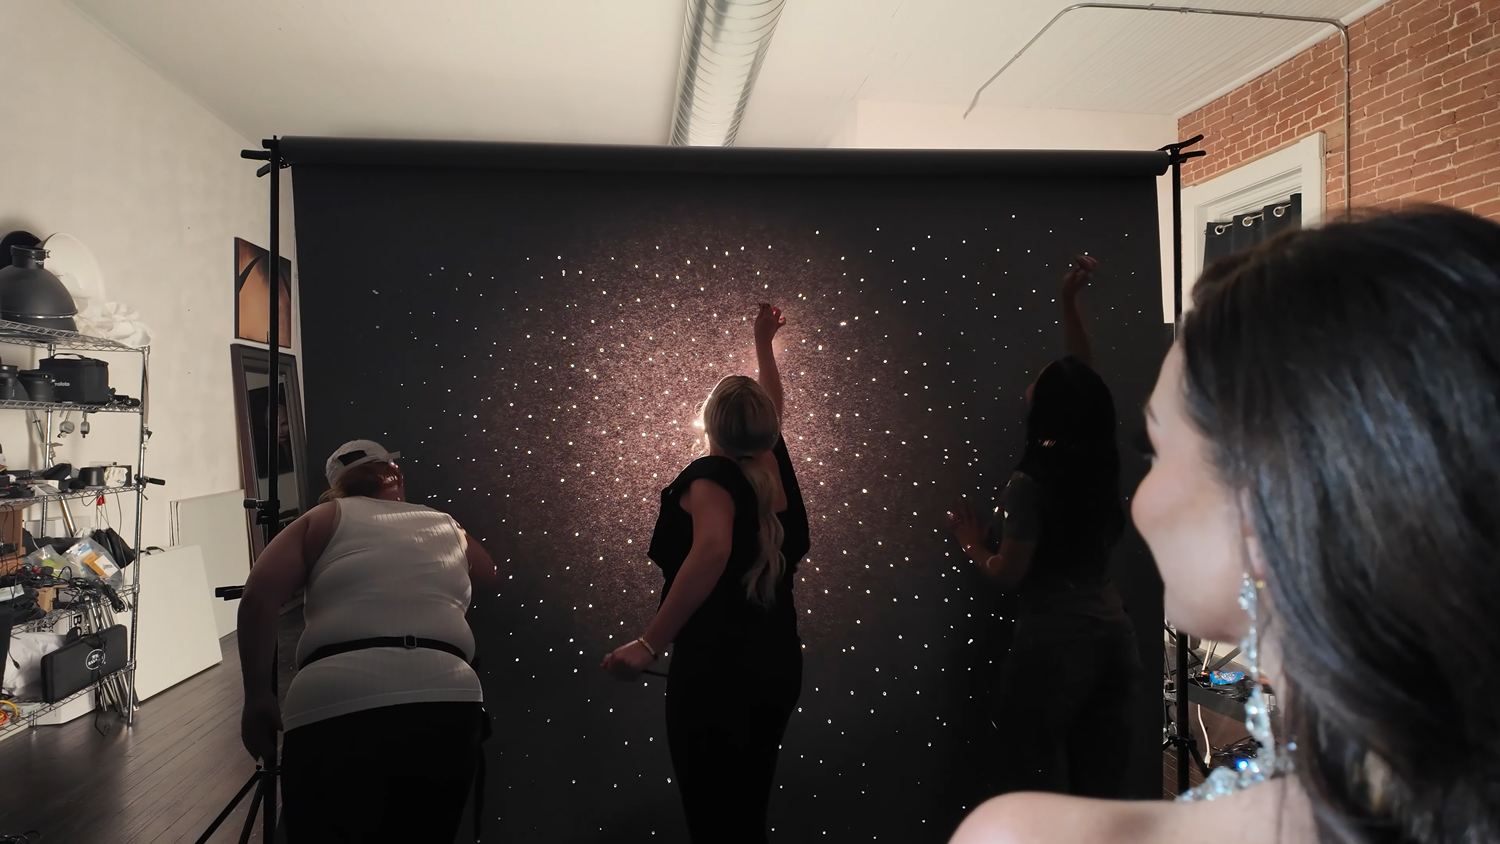
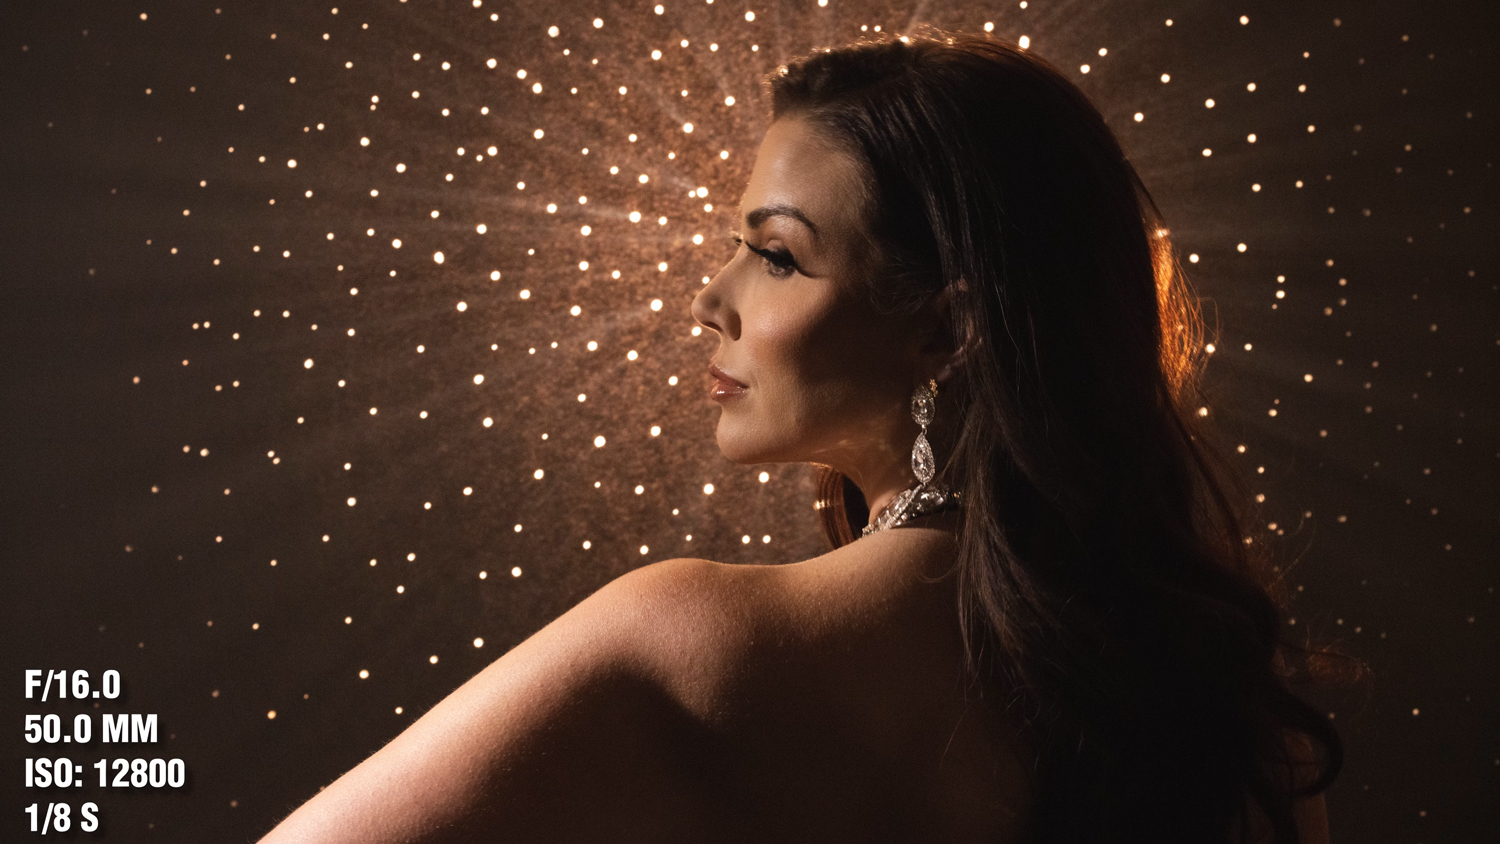


Create stunning on-location portrait photography using these reflector tips to control harsh light, soften shadows, and capture professional-quality portraits anywhere.

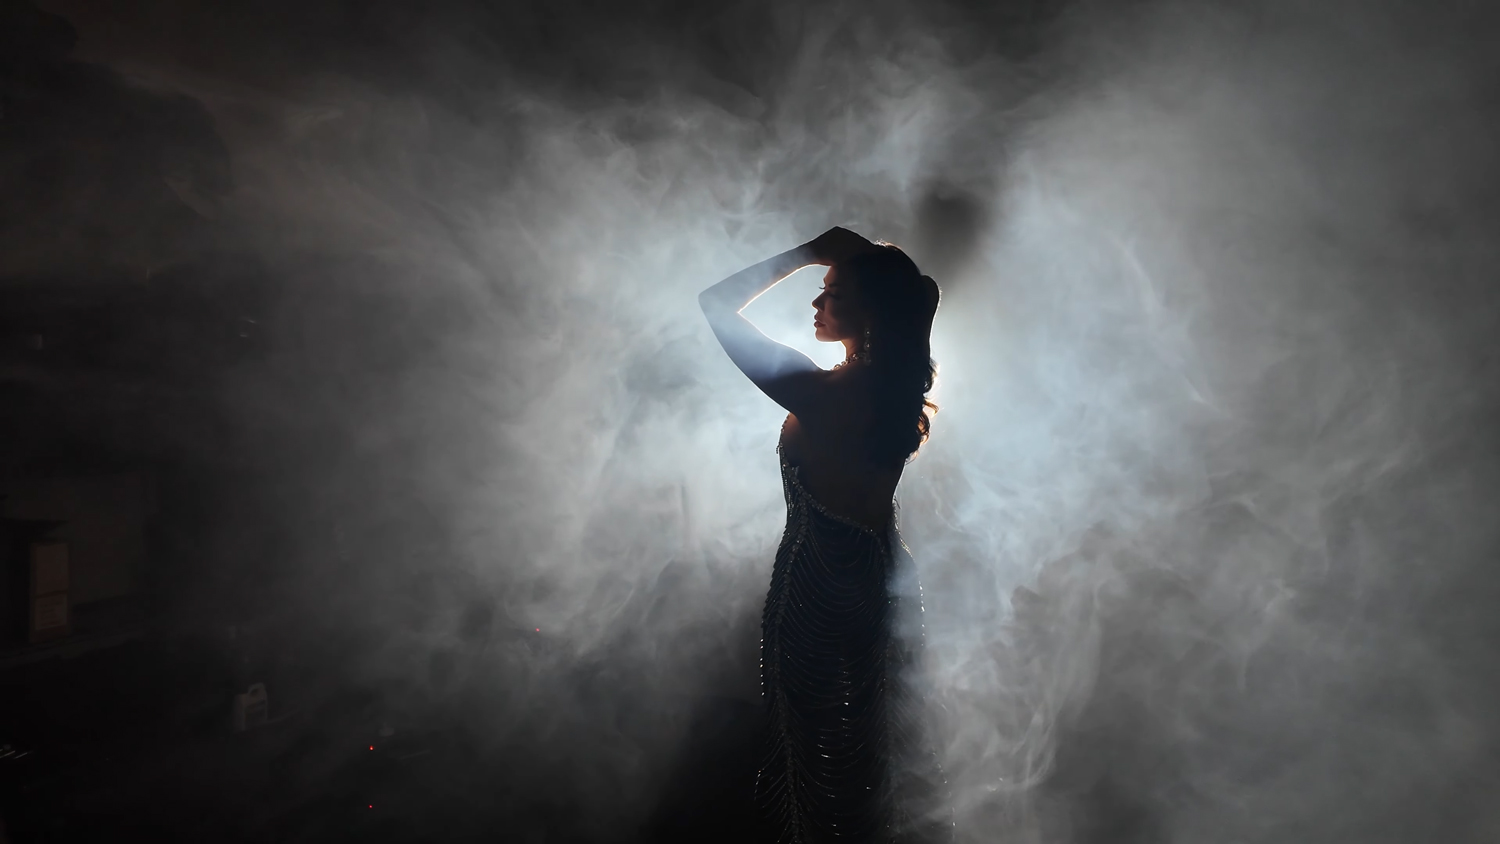
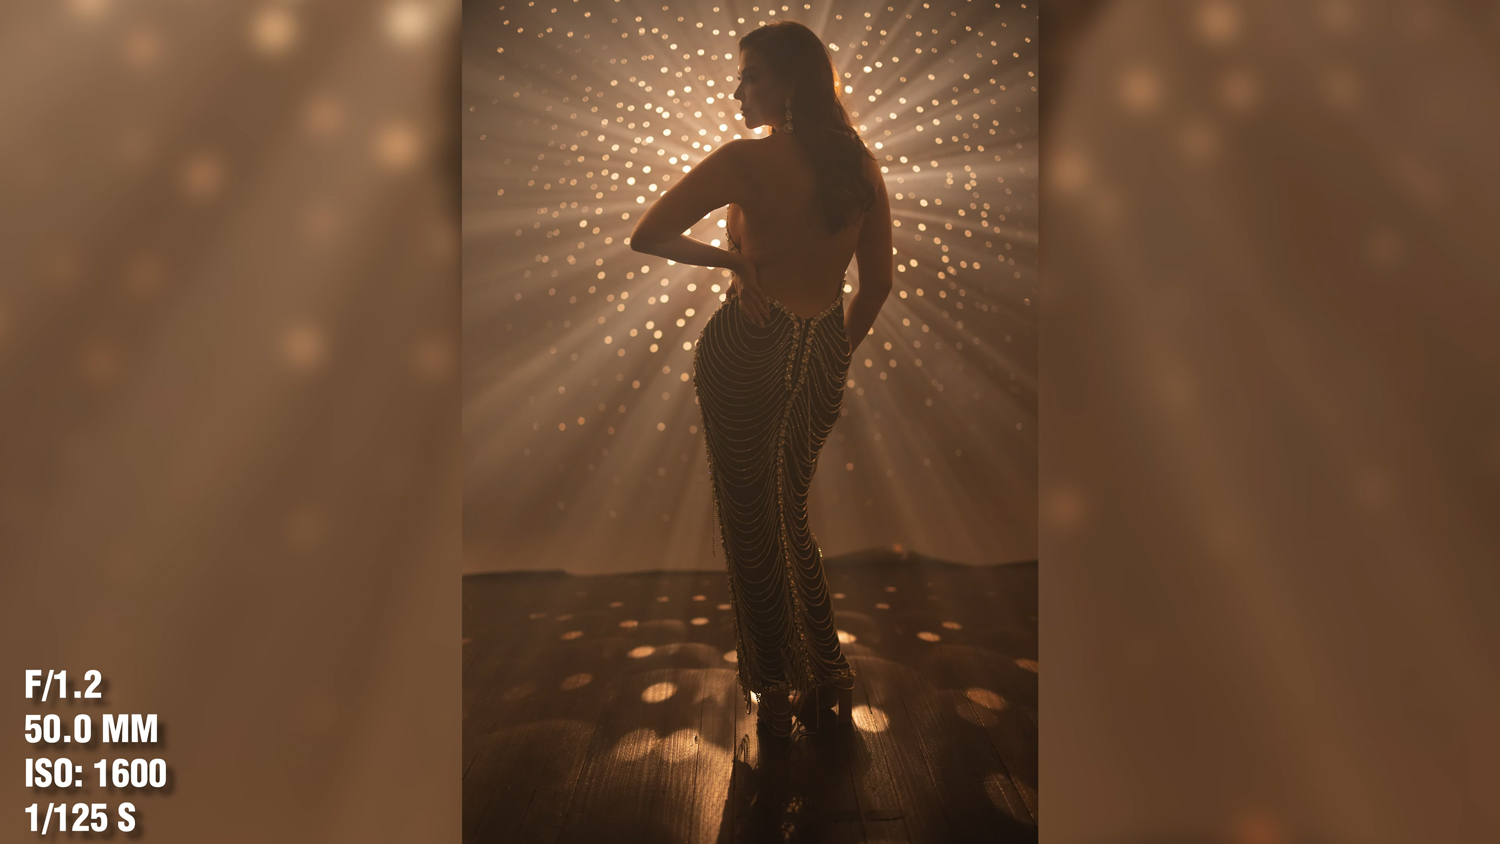
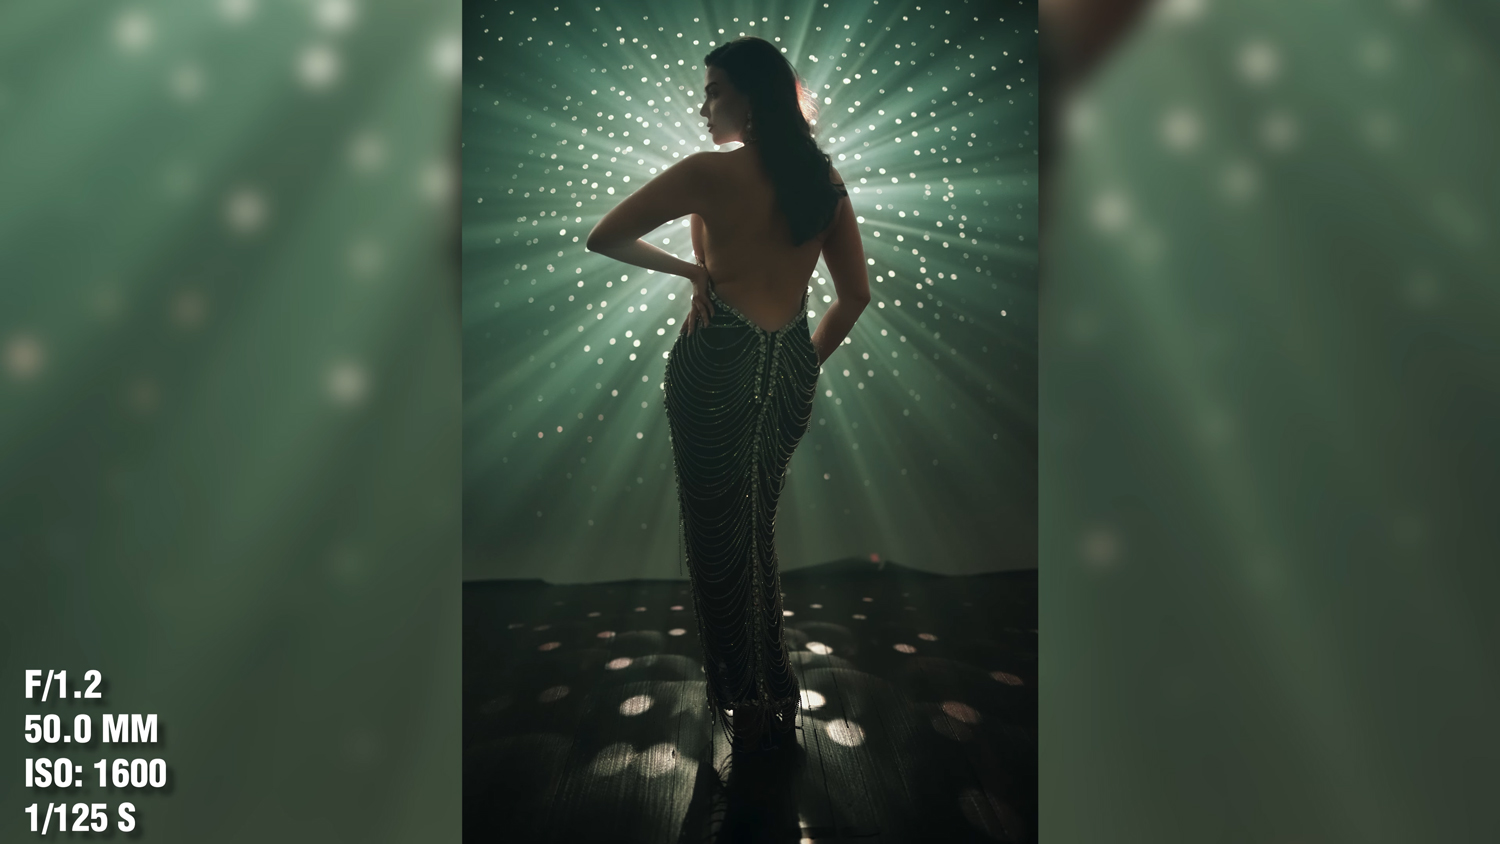
Discover how to use creative photoshoot locations and urban environments to capture stunning images anywhere. Learn lighting, composition, and layering techniques to turn ordinary spots into powerful photos.
