Equipment Used:
Team:
Transforming a Plain Block Wall Into a Killer Portrait: Photography Hacks You Need to Try
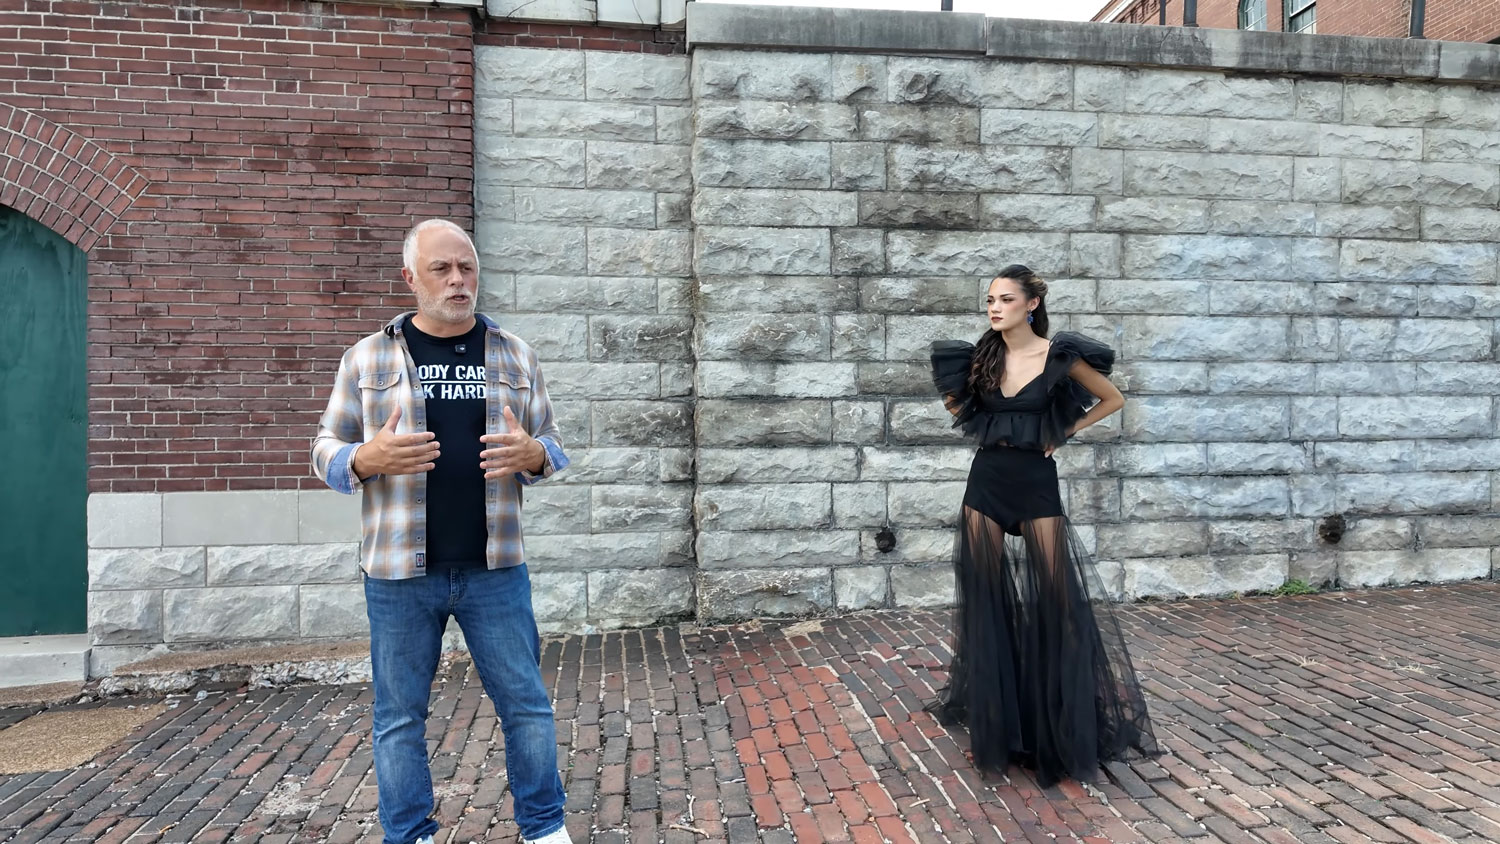
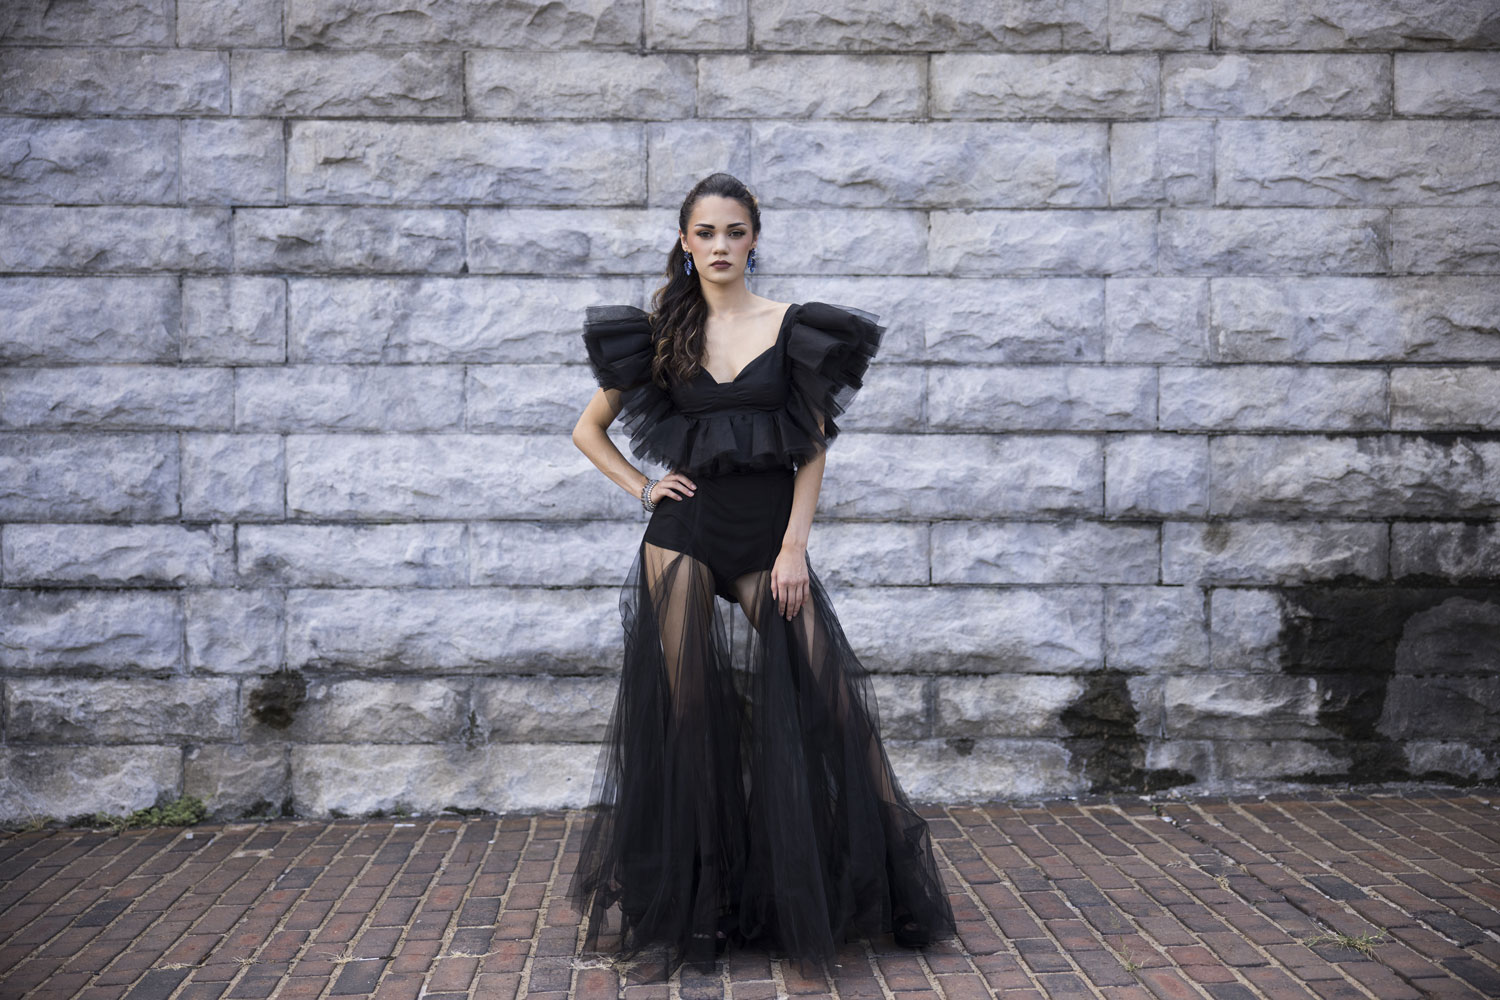
We’ve all been there — you find yourself on location, staring at a dull, gray wall or harsh midday light and thinking, “There’s no way this is going to look good.” But that’s exactly where creativity kicks in. In this episode of Ugly Spot, Killer Shot, we took a gritty urban wall in downtown St. Louis and turned it into a studio-worthy portrait scene.
Here’s how we did it — and how you can use the same photography hacks to elevate your own shoots.
See Beyond the Obvious
At first glance, the spot looked flat and gray — not exactly inspiring. But great portraits are often made in ordinary places. The trick is to train your eye for contrast, light, and composition.
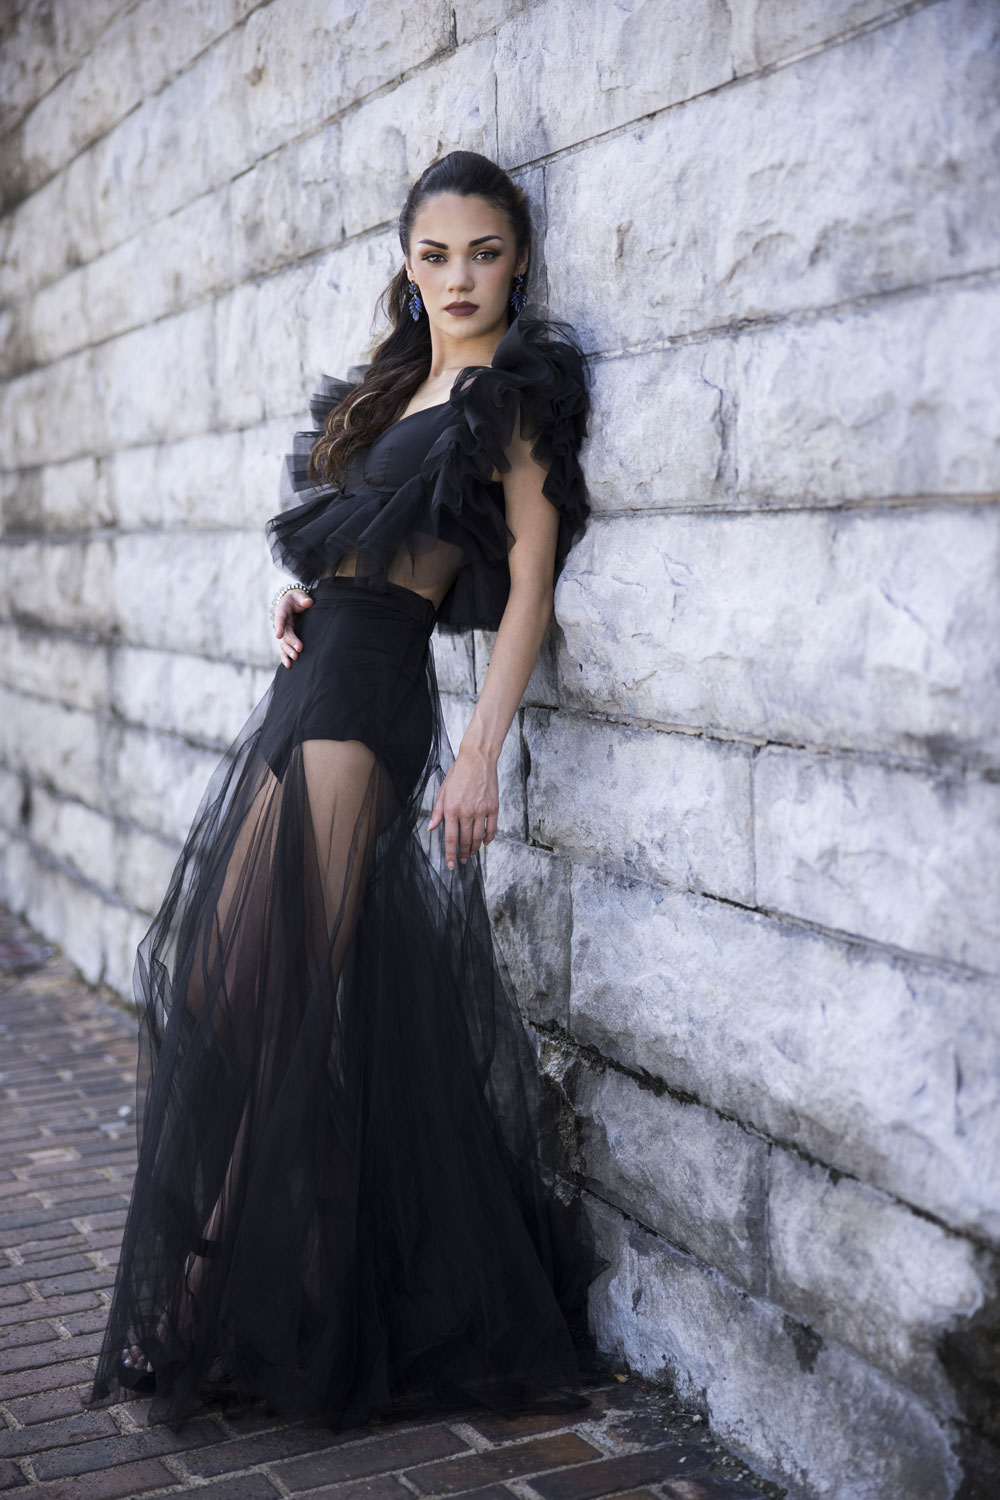
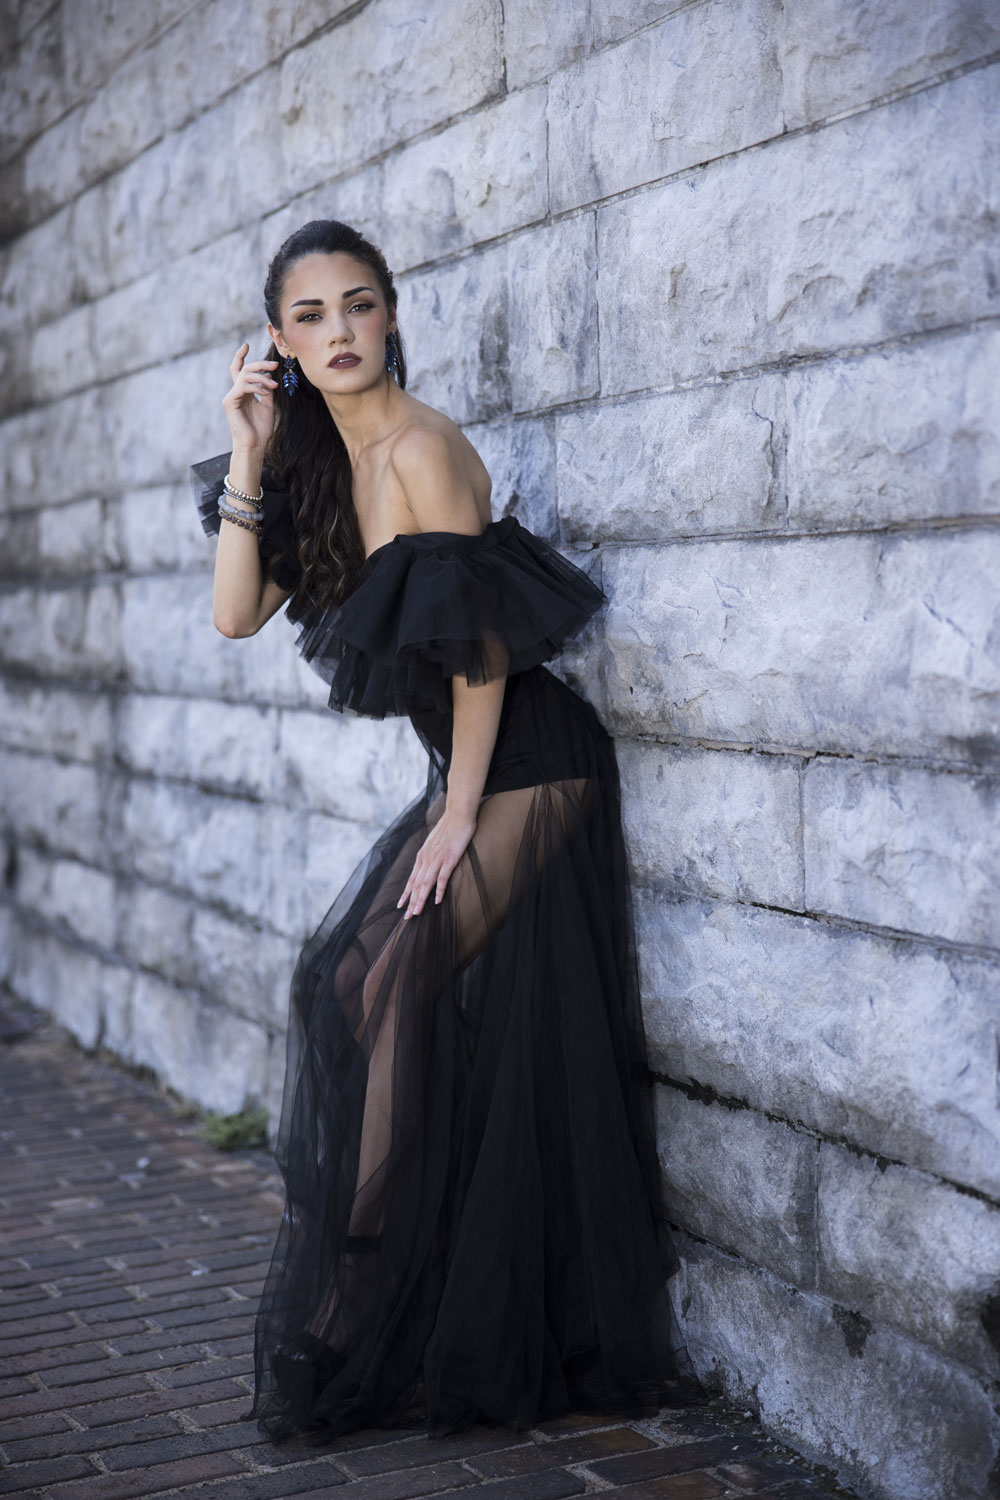
Our model wore a black outfit against a gray, monochromatic wall. That contrast alone made her stand out before we even touched a light or lens setting.
Use a Reflector to Control and Enhance Natural Light
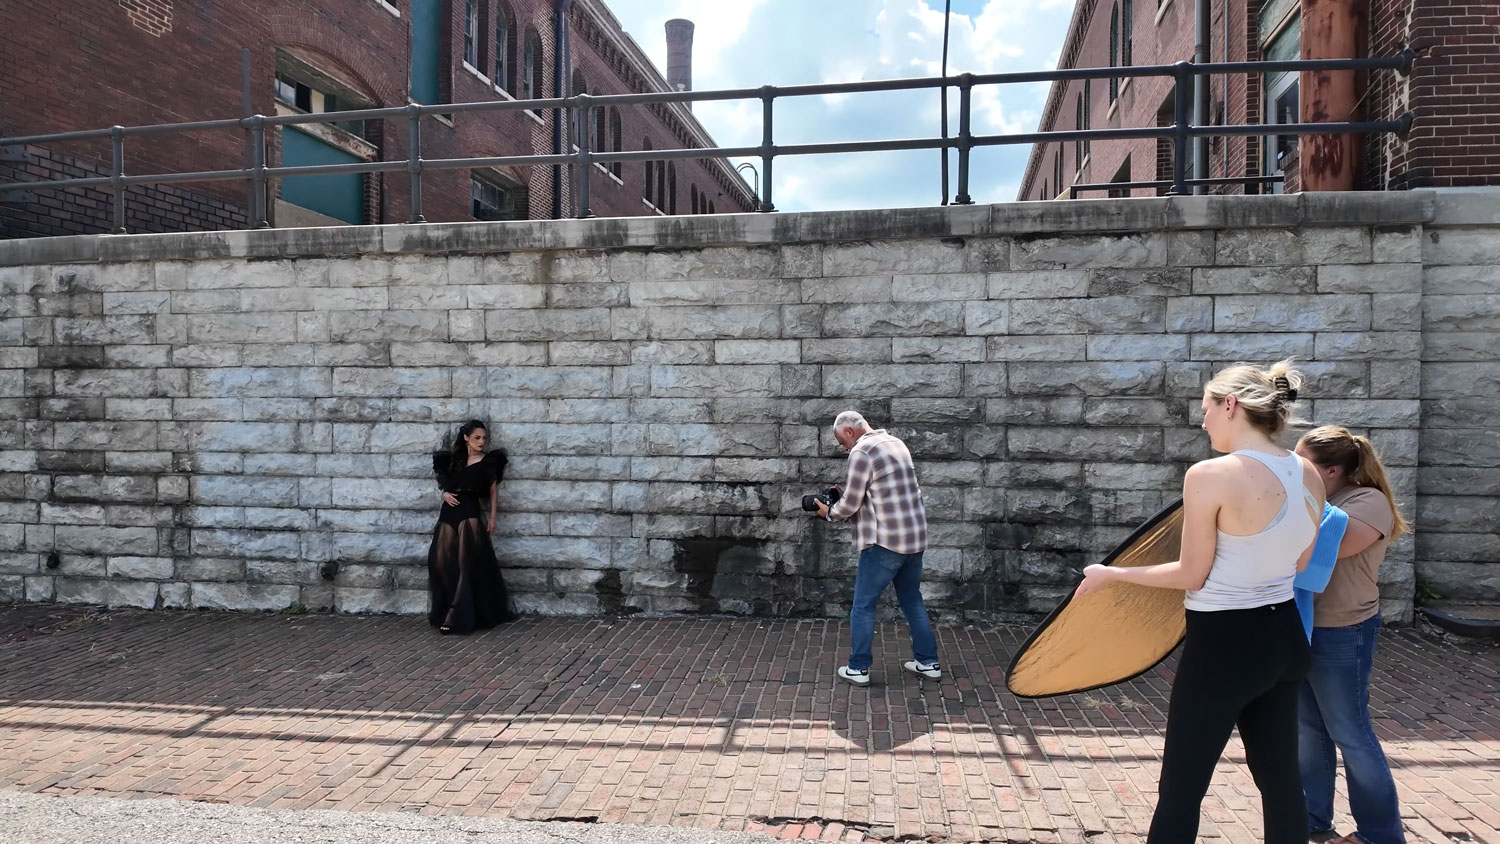
Shooting in harsh sunlight can make or break your shot. When the sun slipped behind the clouds, we used that moment of soft, open shade to start shooting. Even lighting like that can be flattering — but once the sun popped back out, it was time to grab our secret weapon: a reflector.
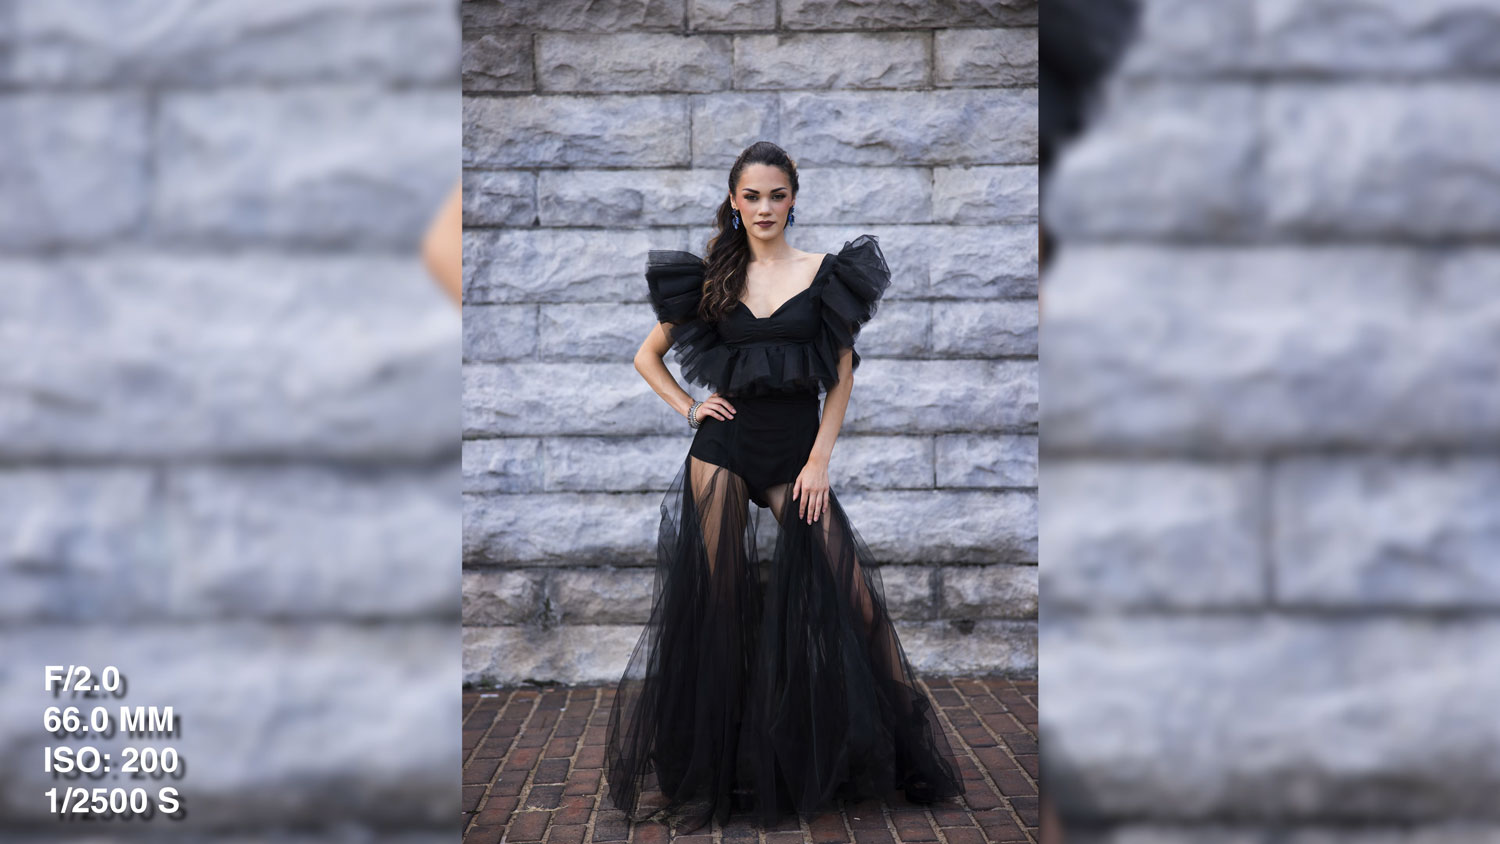
f/2.0 @ 1/2500, ISO 200
Reflector Hacks That Add Instant Life to Your Portraits
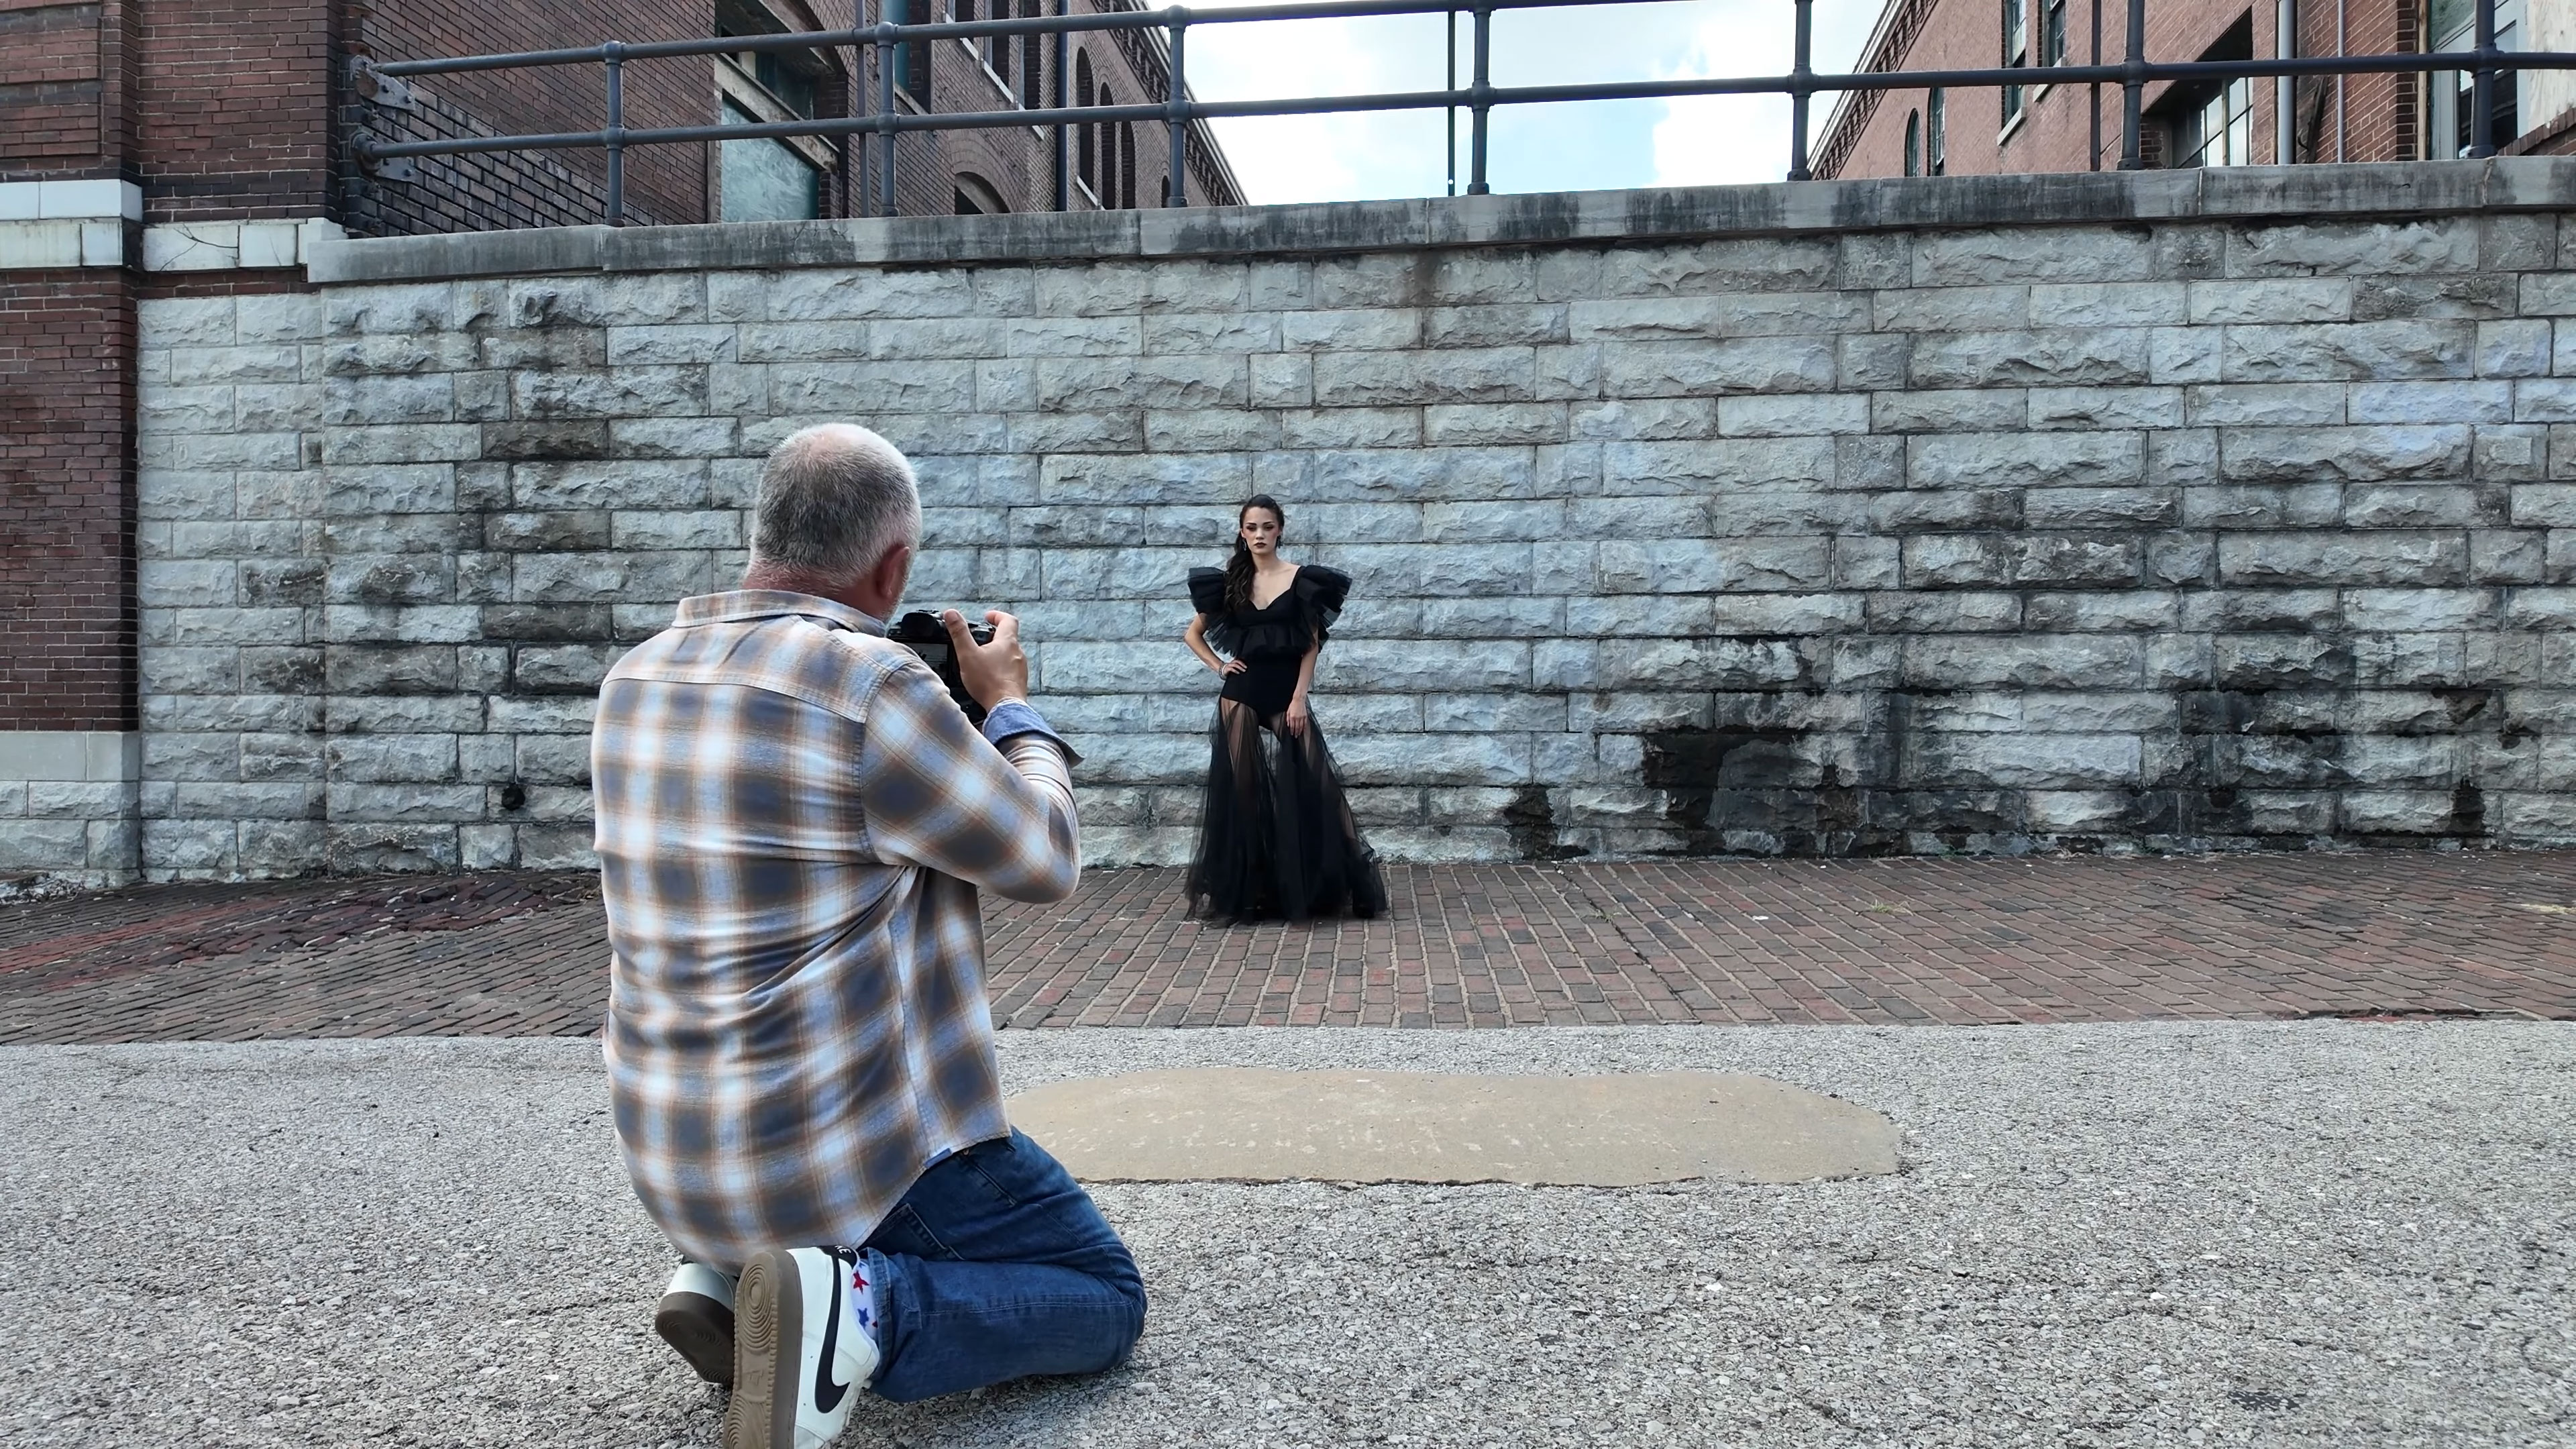
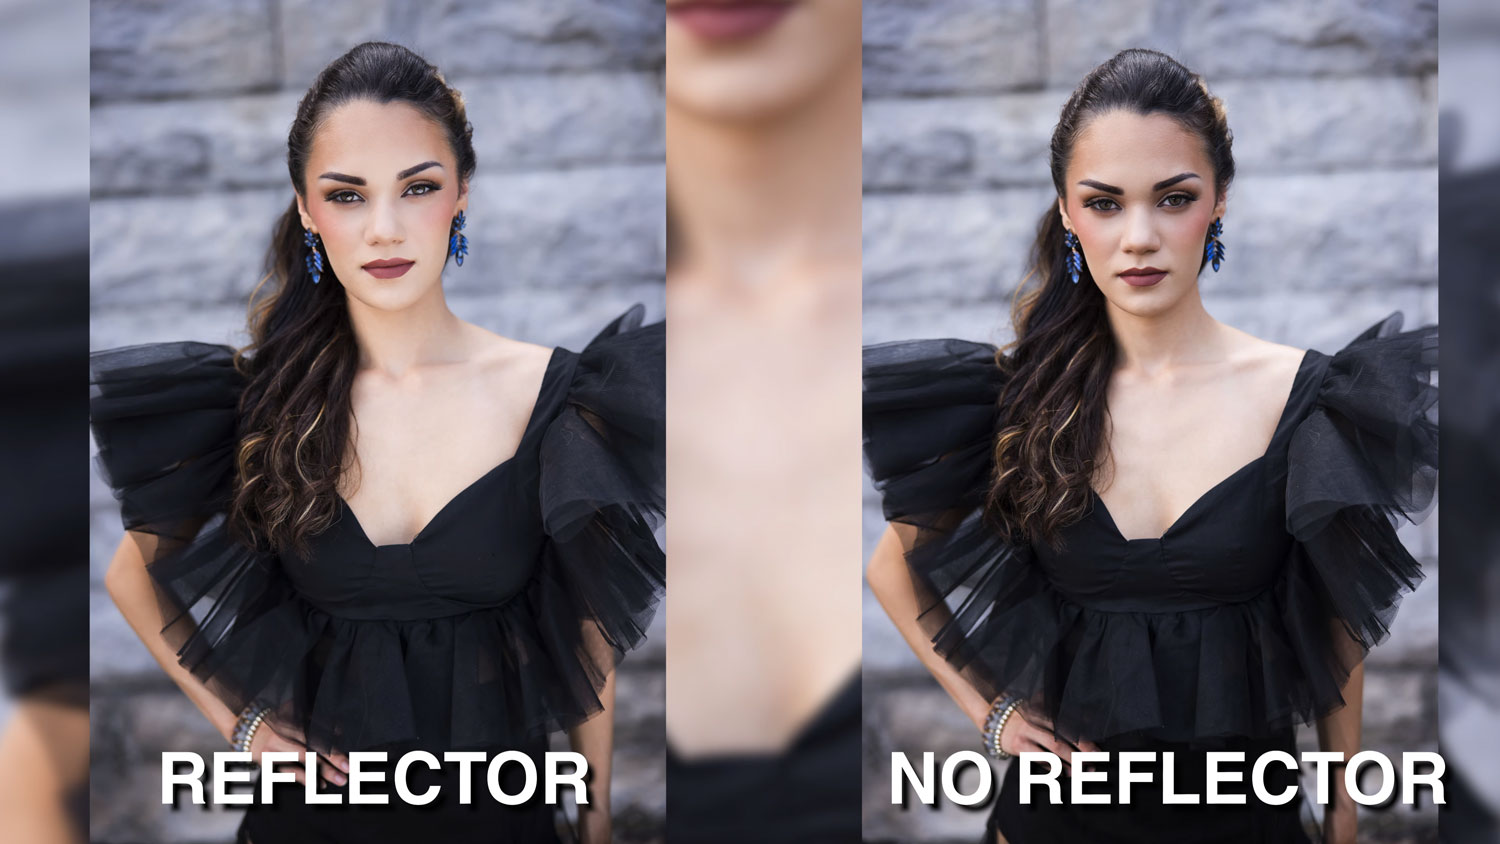
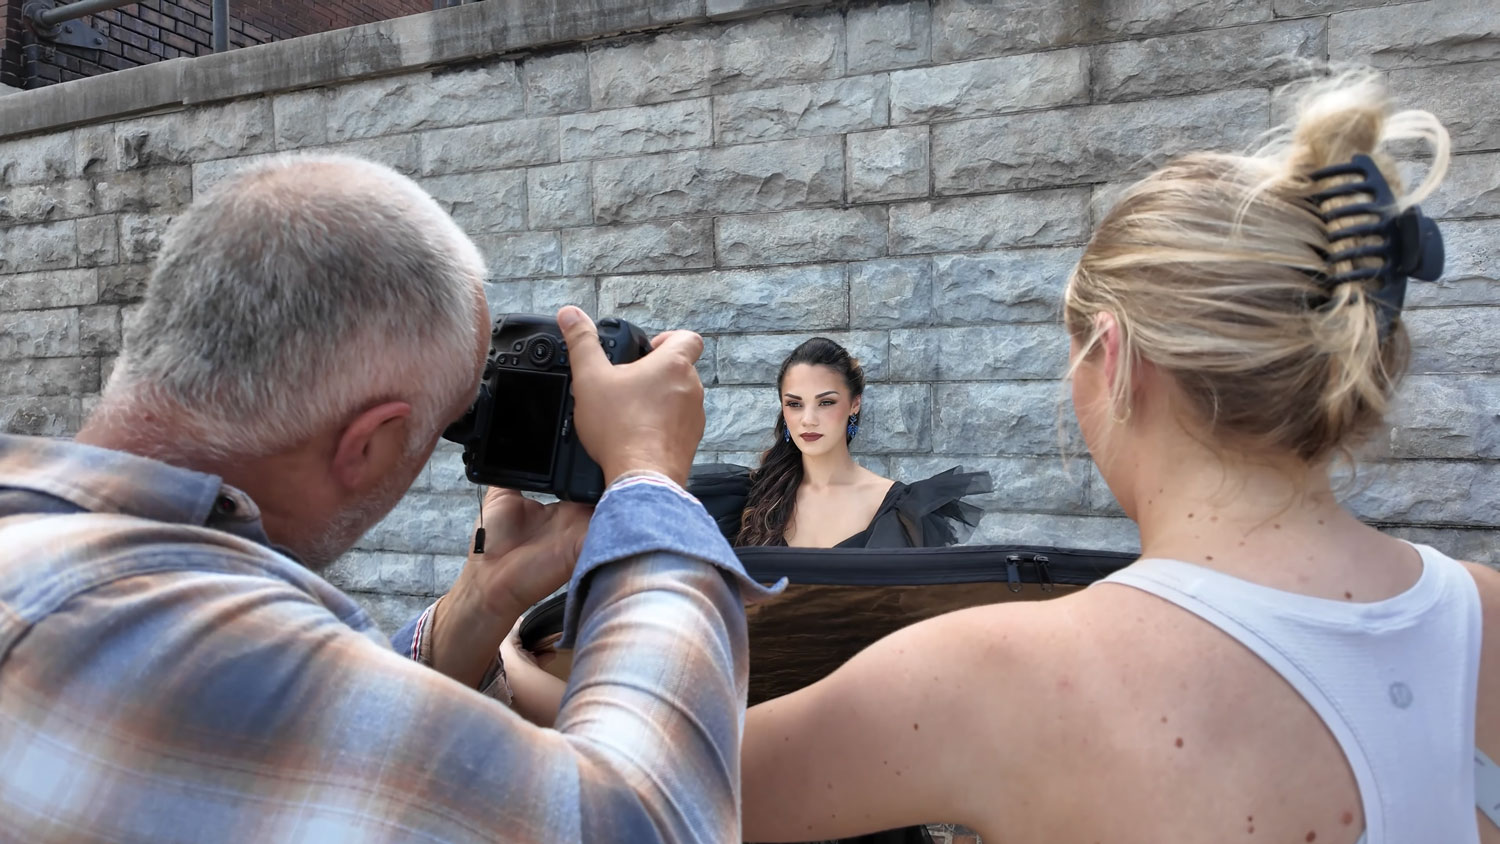
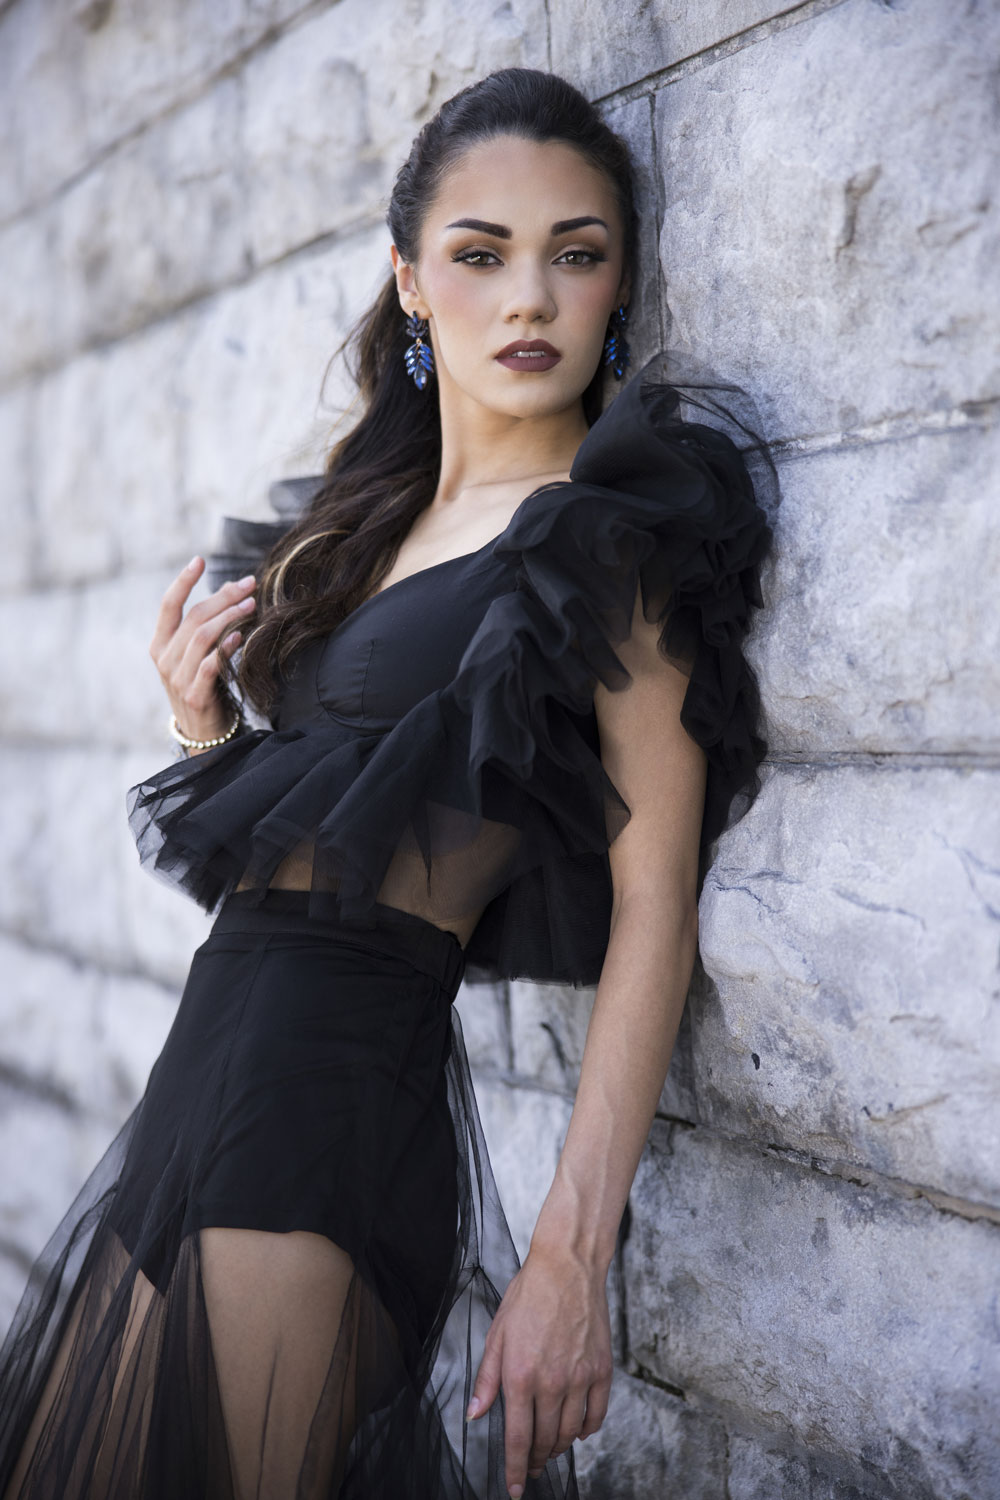
A silver reflector placed at the model’s waist made all the difference. It bounced just enough light into her face and eyes to create that irresistible sparkle, even when no direct sunlight was hitting her.
Without the reflector, the image felt flat. With it, the portrait came alive — her eyes glowed, her skin tone warmed, and the whole shot looked instantly more professional.
Pro tip: Try experimenting with the gold side of your reflector too. It’ll add warmth to skin tones and depth to your image — especially on overcast days or in cool-toned environments.
Pair Reflector Light With Shallow Depth of Field for Studio Results
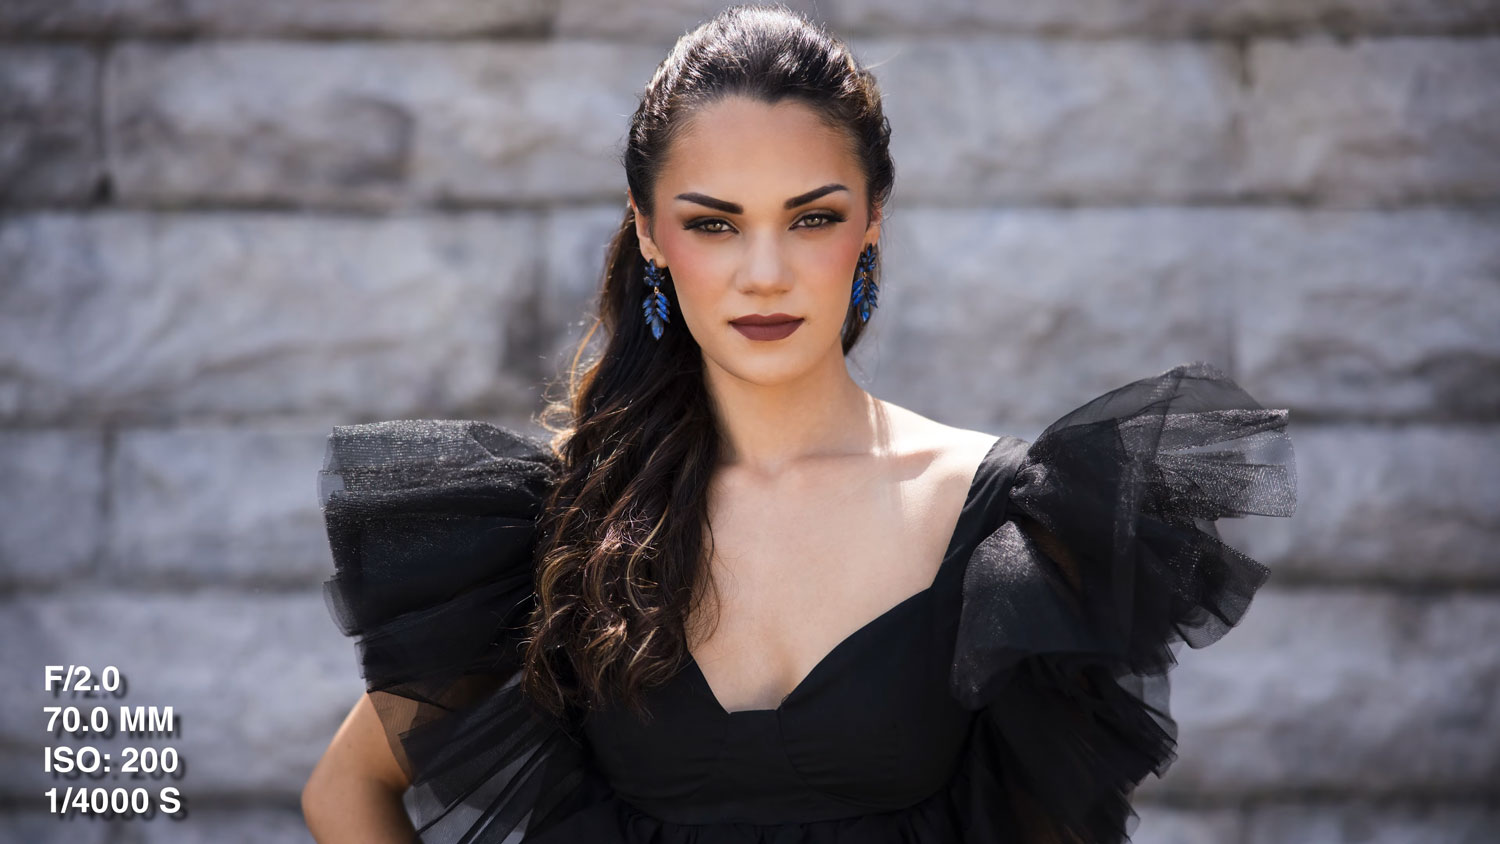
We shot wide open at f/2, using a 28–70mm lens. That shallow depth of field blurred the gritty background just enough to make our model pop while still keeping the urban texture visible.
Even when working against a plain wall, this technique gives your subject dimensionality and focus — one of the simplest yet most effective photography hacks you can master.
Change Your Angles, Change the Story
Once the basic lighting was nailed down, we played with angles and composition. By shooting from one side of the wall and positioning the model toward the bottom left of the frame, the bricks led the viewer’s eye straight toward her face.
That’s what turns an average shot into an editorial-style portrait: subtle composition choices that guide the viewer without distracting from the subject.
f/2.0 @ 1/4000, ISO 200 f/2.0 @ 1/2500, ISO 200
The Takeaway: It’s Not the Spot, It’s the Vision
You don’t need a perfect location to capture a killer portrait. You just need to see potential — and know a few smart tricks for light and depth.
Next time you’re shooting, try this challenge: pick a spot you’d normally skip and see what you can create with the right reflector, some shallow depth of field, and a few smart photography hacks.
Key Takeaways
Use contrast between subject and background for instant visual interest.
Reflect light creatively to add sparkle to your subject’s eyes.
Shoot wide open (f/2 or lower) for creamy background blur.
Experiment with angles to add storytelling depth.
Don’t fear “ugly” locations — they might just surprise you.

