
The images:
Click to enlarge
Image #1
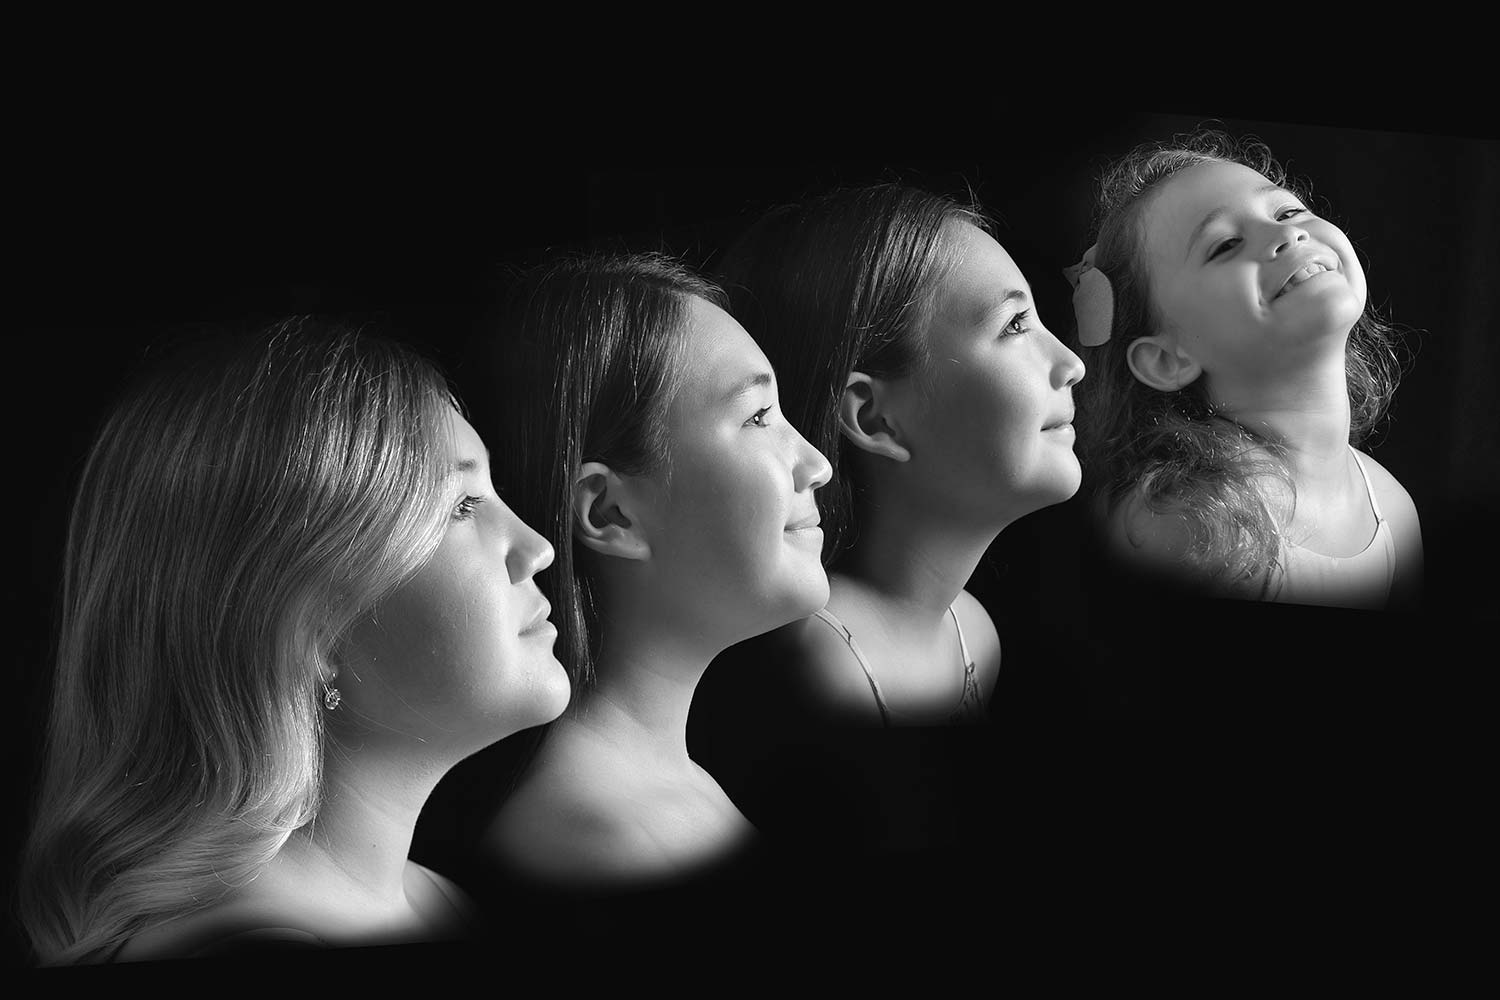
Blend the edges
A for effort here. I see what you’re trying to do, but this is poorly executed. You’re trying to drop the kids in, all to the same scene, looking the same way, and clearly our little child on the far right, who is not listening to what’s going on, is more than likely the problem child. That’s fine in a spirit, but you, on the Photoshop side, look what you did… I can see the hard edge of the picture right along the top of her head, because you didn’t blend it. You chose not to blend it. I can also see the hard edge right below her. This is just bad, sloppy Photoshop work, that you have control over. You could make the argument, “She wouldn’t listen. You don’t understand, Sal.” Whatever the case may be, but I’m telling you, this is just sloppy work. We’ve got to fix and pay attention to the details. I don’t want to hear about, “Well, you don’t understand. The family loved it.” That’s great. I’m sure they did love it, but that’s not what Two Minute Critique is about. It’s not about if the family likes it. It’s about can you get better? I am seeing how we did not blend this at all, and this is where you’ve got to learn your blending modes and spend a little bit more time, especially if you’re going to put this in front of a client and sell it to them.
Image #2
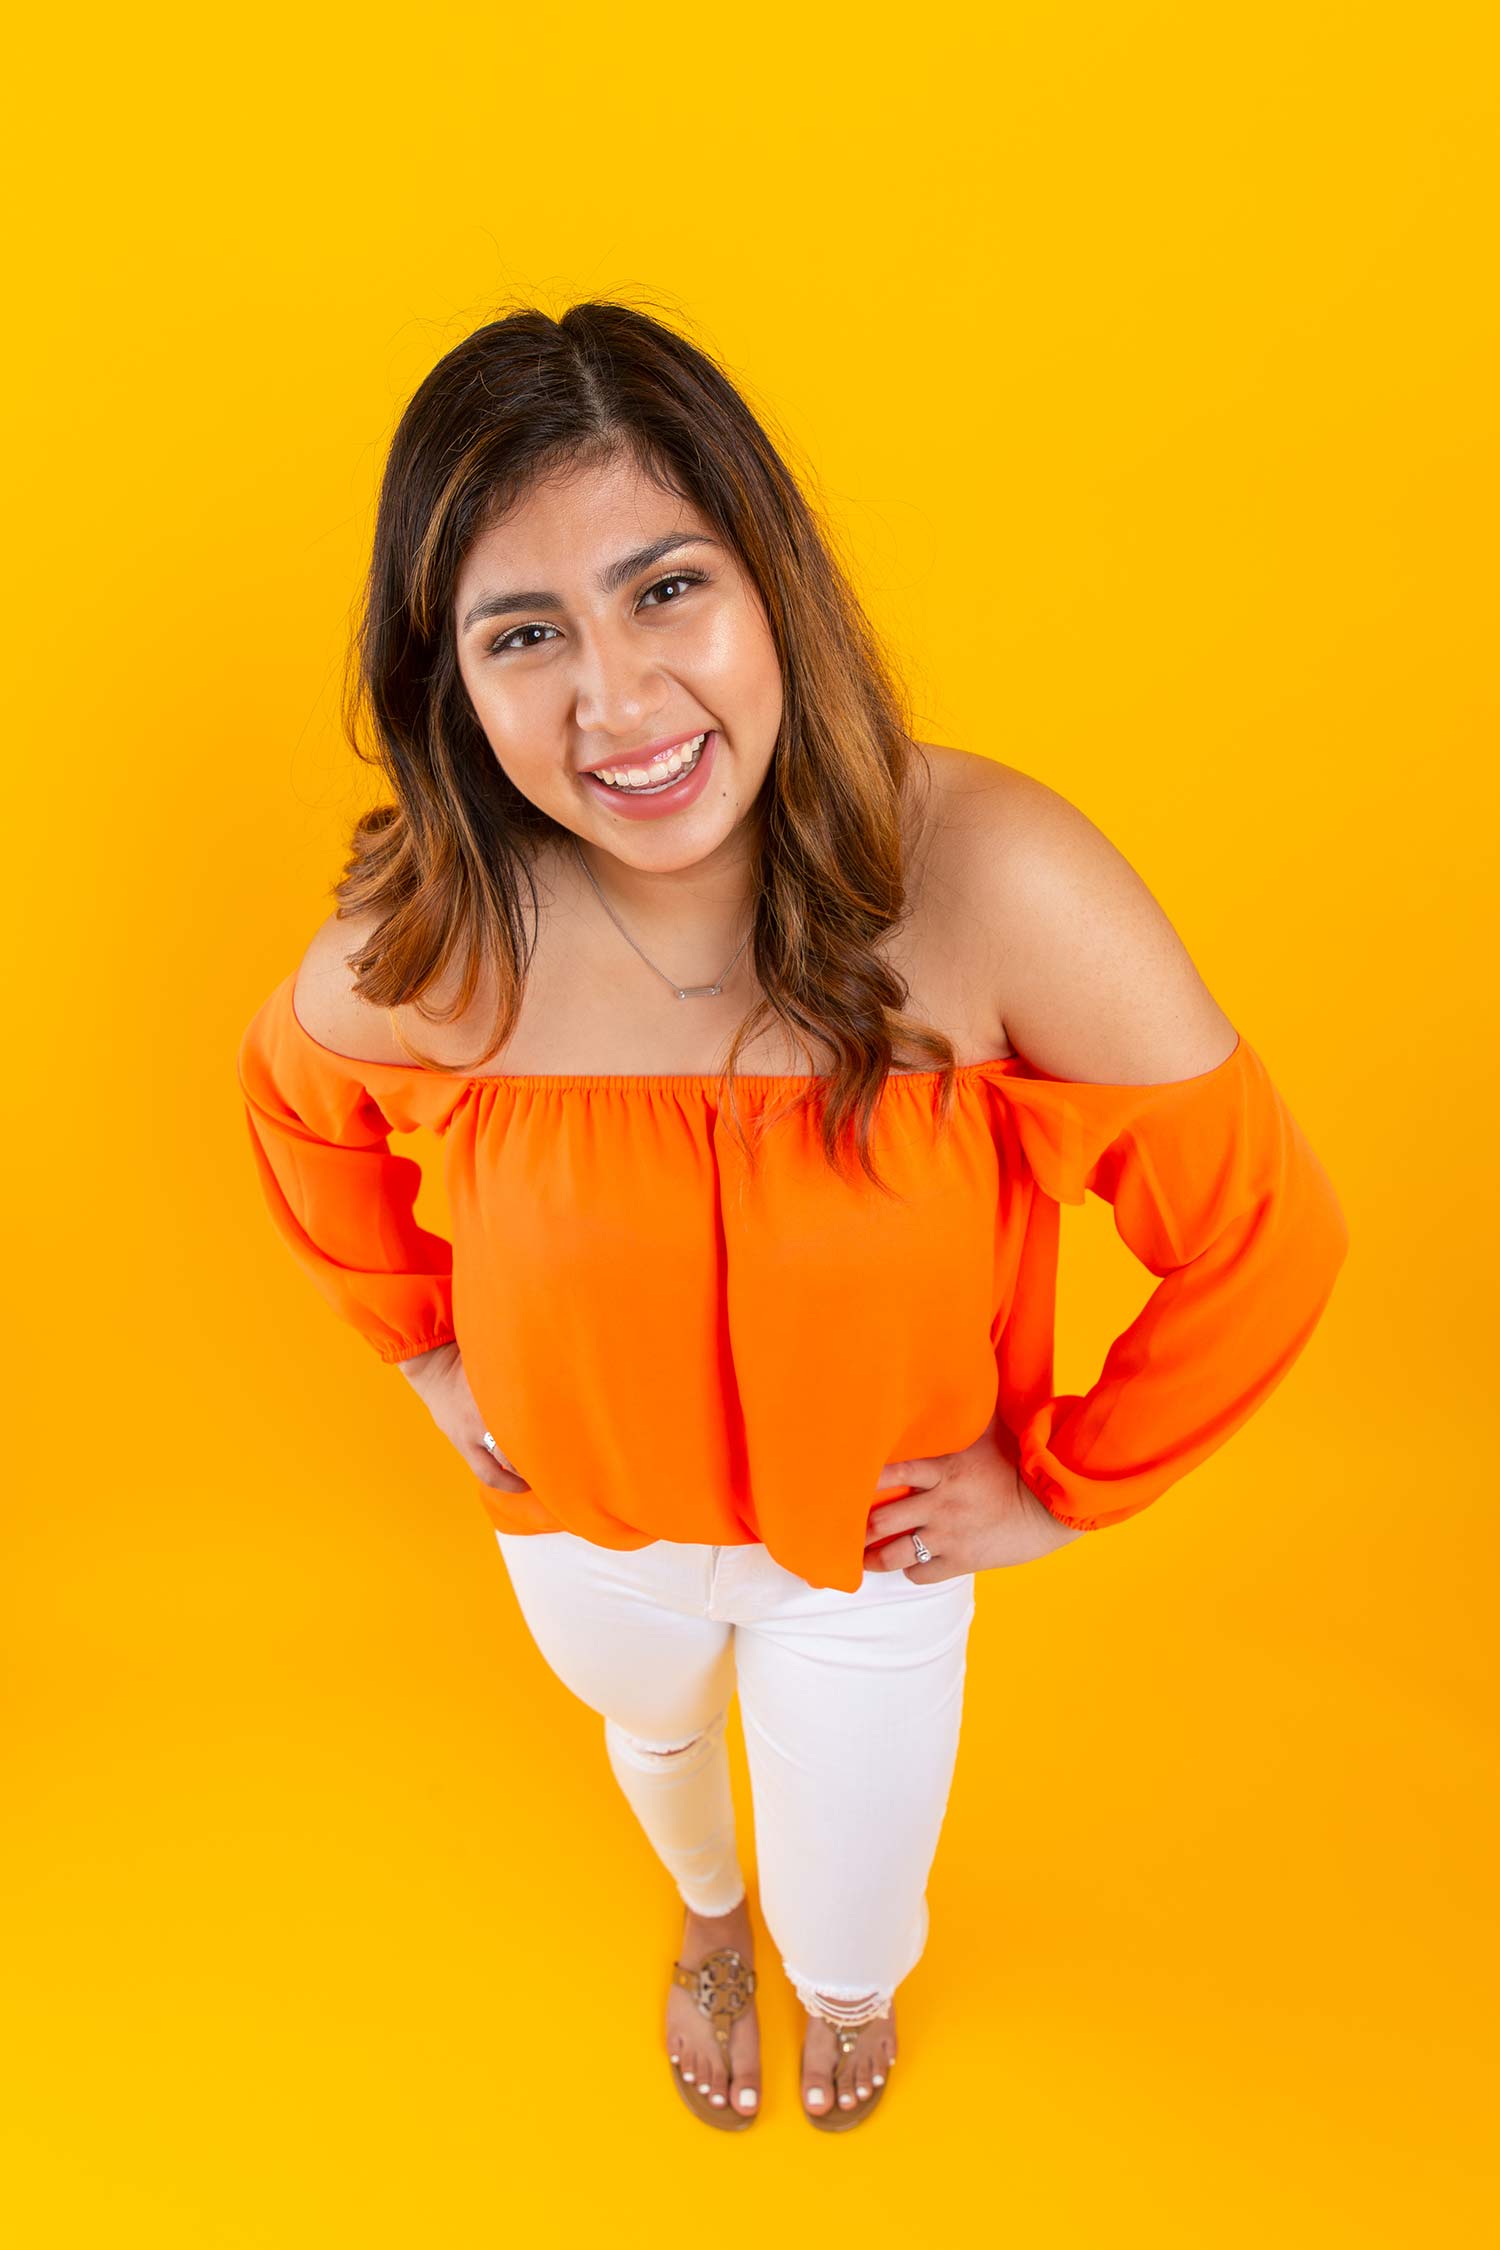
Analogous Colors
Very vibrant, bright colors. At first, it’s a jarring image. Now, these are what are known on your color wheel as analogous colors. These are supporting colors in the color wheel, orange, yellow, and in that family. I had to look it up, I’m not going to lie like I know all my color theory off the top of my head. This could be for a commercial shoot, product shoot. This could be brand colors for all I know, but the orange and yellow actually don’t bother me as much as I thought. As I continue to look at this image, what I’m realizing is actually the most jarring to me are the white pants because they don’t quite belong with the complementary or the analogous colors in this image. I’m going to the white, but where I should be really going to is her face. If I zoom in and get rid of the white pants, you can see we’re not getting sucked out anywhere else in the frame. We’re making our way to her.
Clean up
Now that we’re making our way to her, where is the cleaning up of this image? She looks like she was sweating on that day. Just a little bit of touch-up, clean up that hair out of her eye, clean up some of these stray hairs. For the love of Pete, she’s got lipstick on her teeth, man. We’ve got to remove that kind of stuff for people, or else they’re just not going to buy them. These are things you, the photographer, control to make this better. If you’re going to be a professional, we’ve got to deliver a professional quality product, and these little details matter. That’s the difference between an average photograph and a professional photograph. It’s these little details that we have to pay attention to.
Image #3
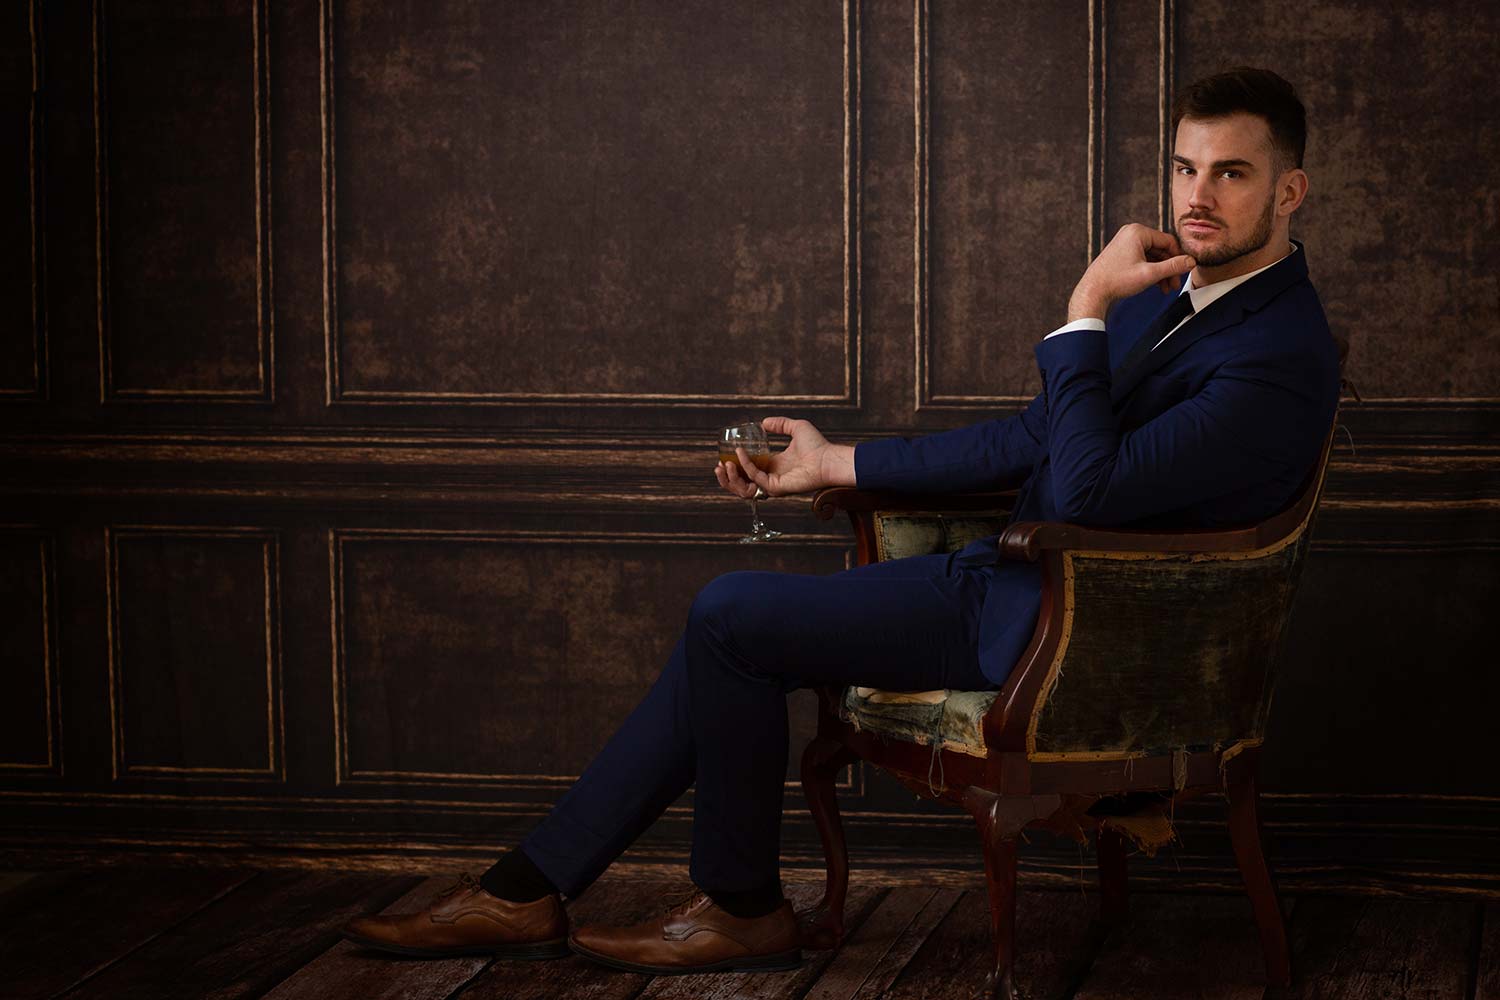
Vignetting
First thing jumping out at me, close your eyes, open your eyes. Where’s the first place it goes? I don’t know about you guys, but my eyes are going right to the middle of the back wall in the frame, that’s the brightest part. This is dodging and burning work 101. Your vignette is heavy on the right and left of your frame. It’s even cutting into him. I should be making my way to his face. What I should not be doing is getting stuck right here in this back wall. That’s not where you want me to be. I love the chair. I love the scene. I love the pose. Everything about this is almost right. He needs more light on his face, and that dodging and burning has to be even throughout this frame. This is really, really bad dodging and burning, and that’s killing the image, because it’s not getting me to him. It’s getting me to everything else.
Image #4
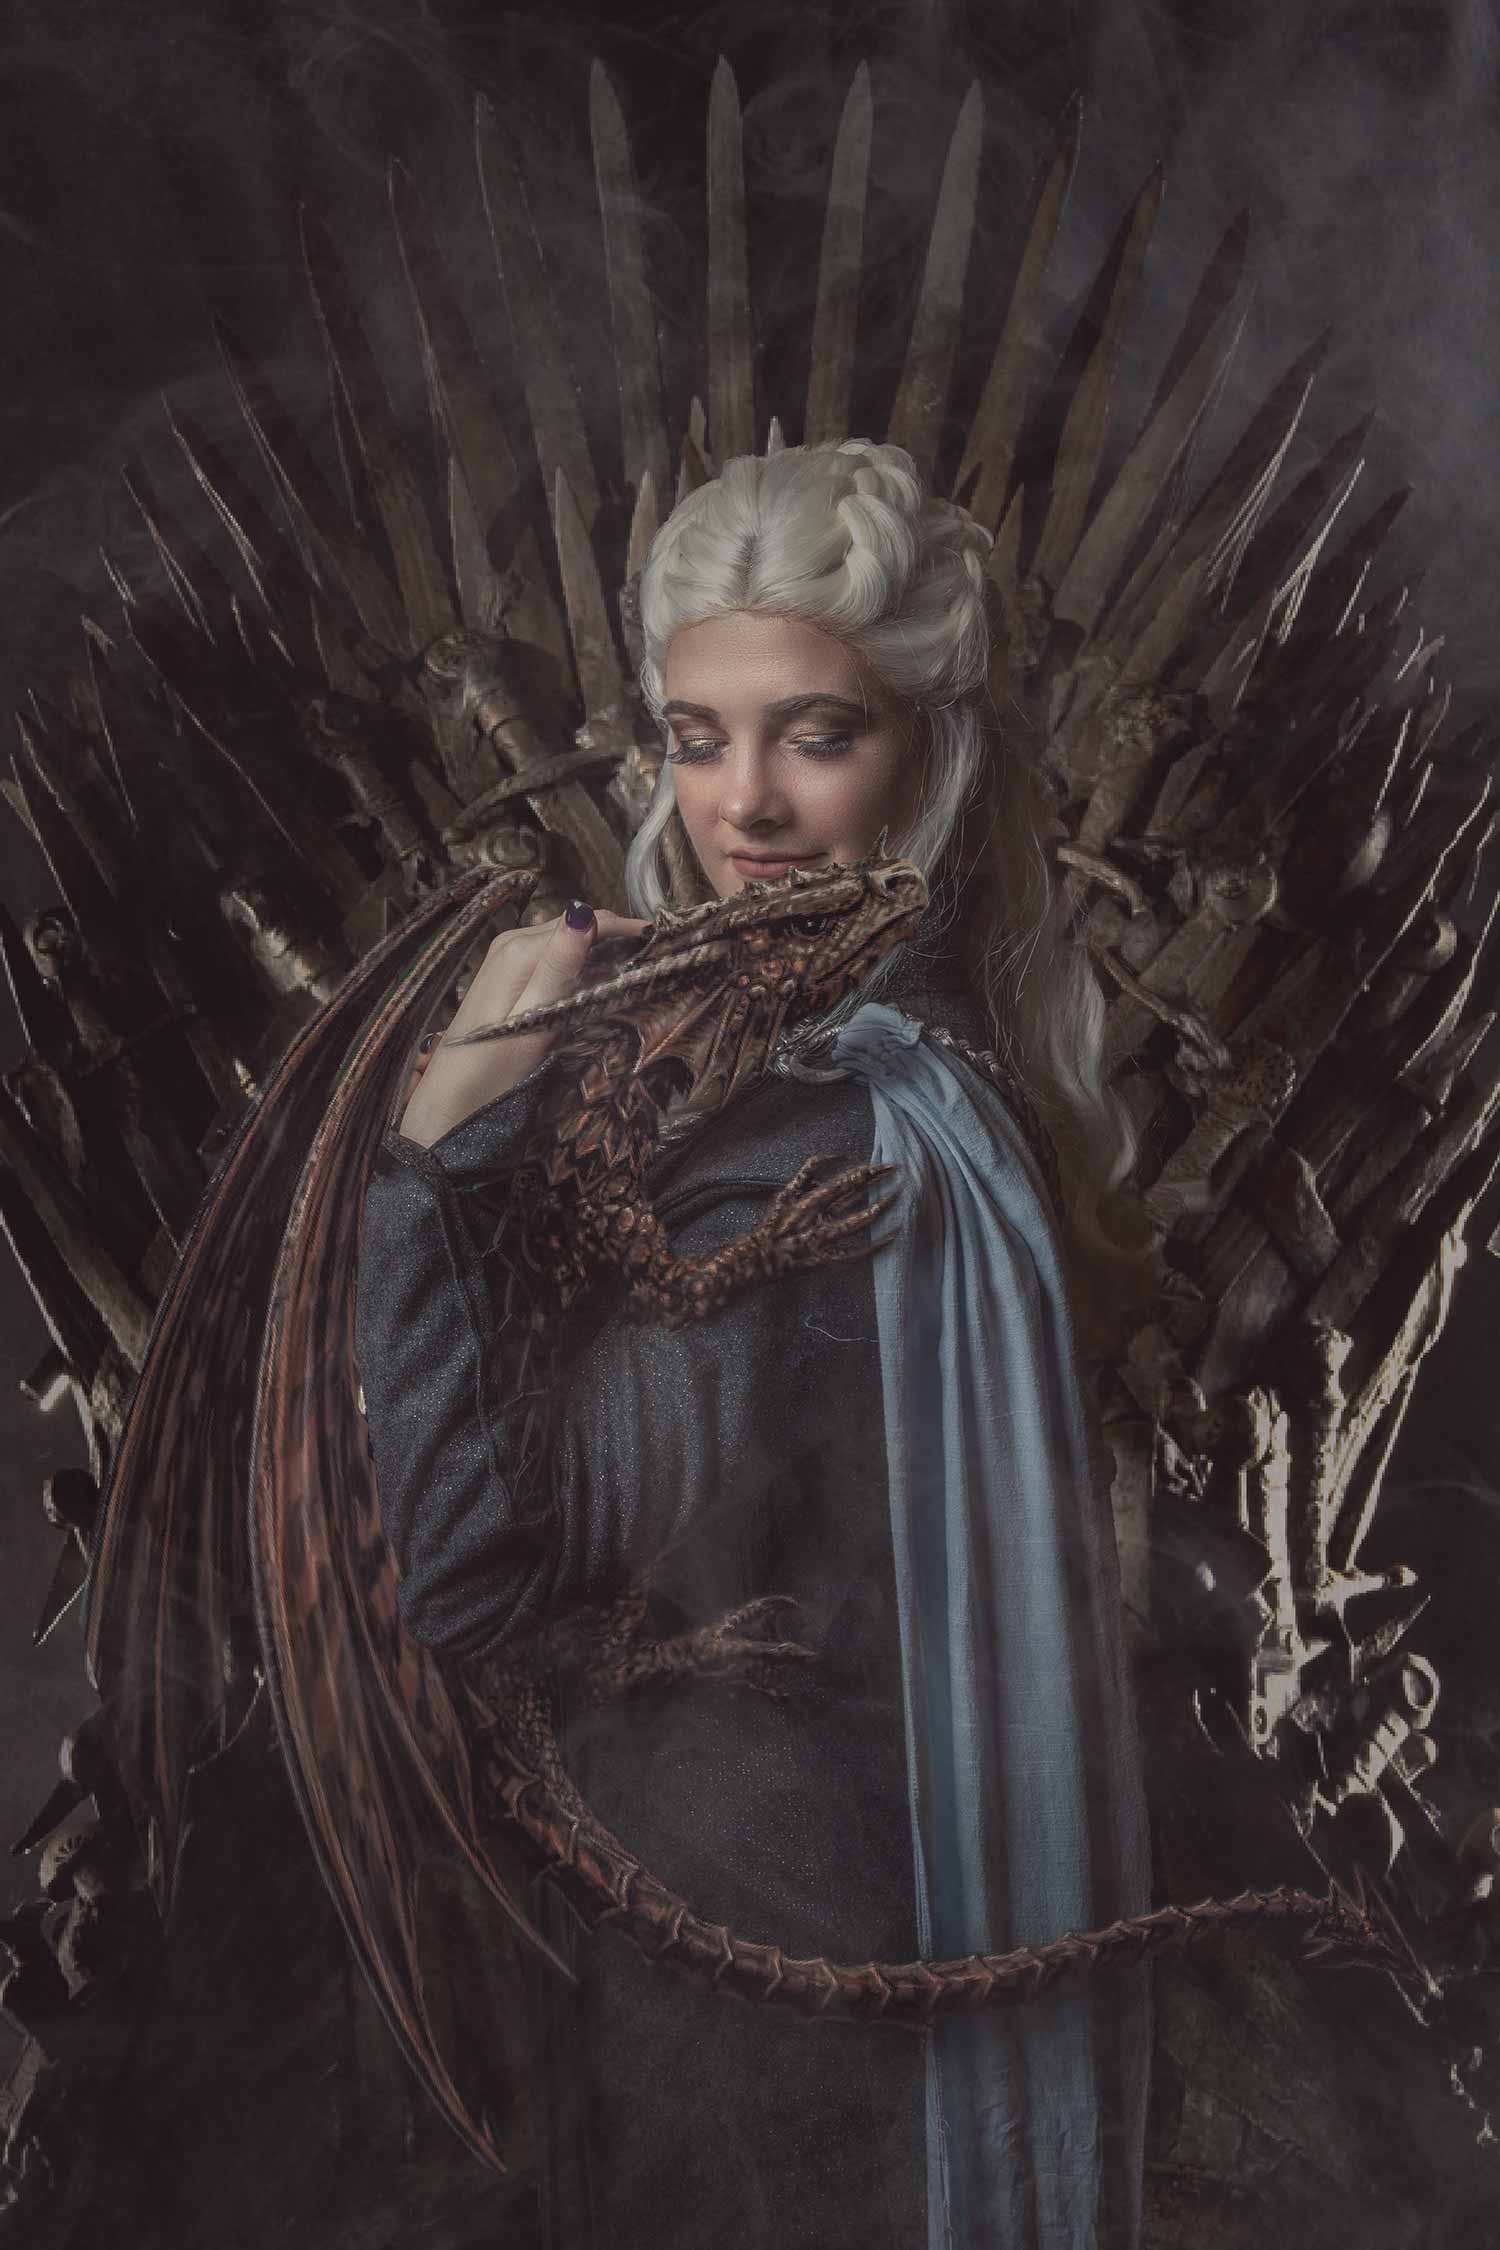
Strong composition
This is a very well put together image. I like the composition. We can see that her eyes are right in the third, the dragon is right in that center, and she’s looking down at that dragon. And the composition gets even better. There’s this circular movement within the image that’s taking you from her eyes, to the dragon, to the tail, and back up. Look at the light. The light is nice and controlled, coming in from this direction, and I’m making my way to her face. This is what we should be striving for. Don’t get lost in the cosplay of this. See it for what it’s at. Every part of this image is interesting.
Post-Production
That bright spot, on the bottom right of the throne, is driving me batshit crazy. I’ll acquiesce. Maybe the maker said, “Hey, I want you to come here, follow the tail, and make your way out.” That’s not what’s happening here. Your eye is going to constantly find that brightest spot, so that spot should be burned down just a little bit. Good use of smoke to keep me out of the background. If that was just all black, I’d get stuck up in that area, but by using some smoke to diffuse it, great job. Also, I would like to see her wrist burned down just a little bit more, since it’s so close to the face. I don’t want it distracting. I want to get my way to the little dragon and my subject.
Get critiqued!
Have you ever wanted PERSONAL feedback on YOUR photography from Sal Cincotta?
Enter your images for a chance to see your work being critiqued by Sal! Need some guidance? Want to show off some of your best work? Submit your images here for a chance to see them critiqued.


