
The images:
Click to enlarge
Image #1
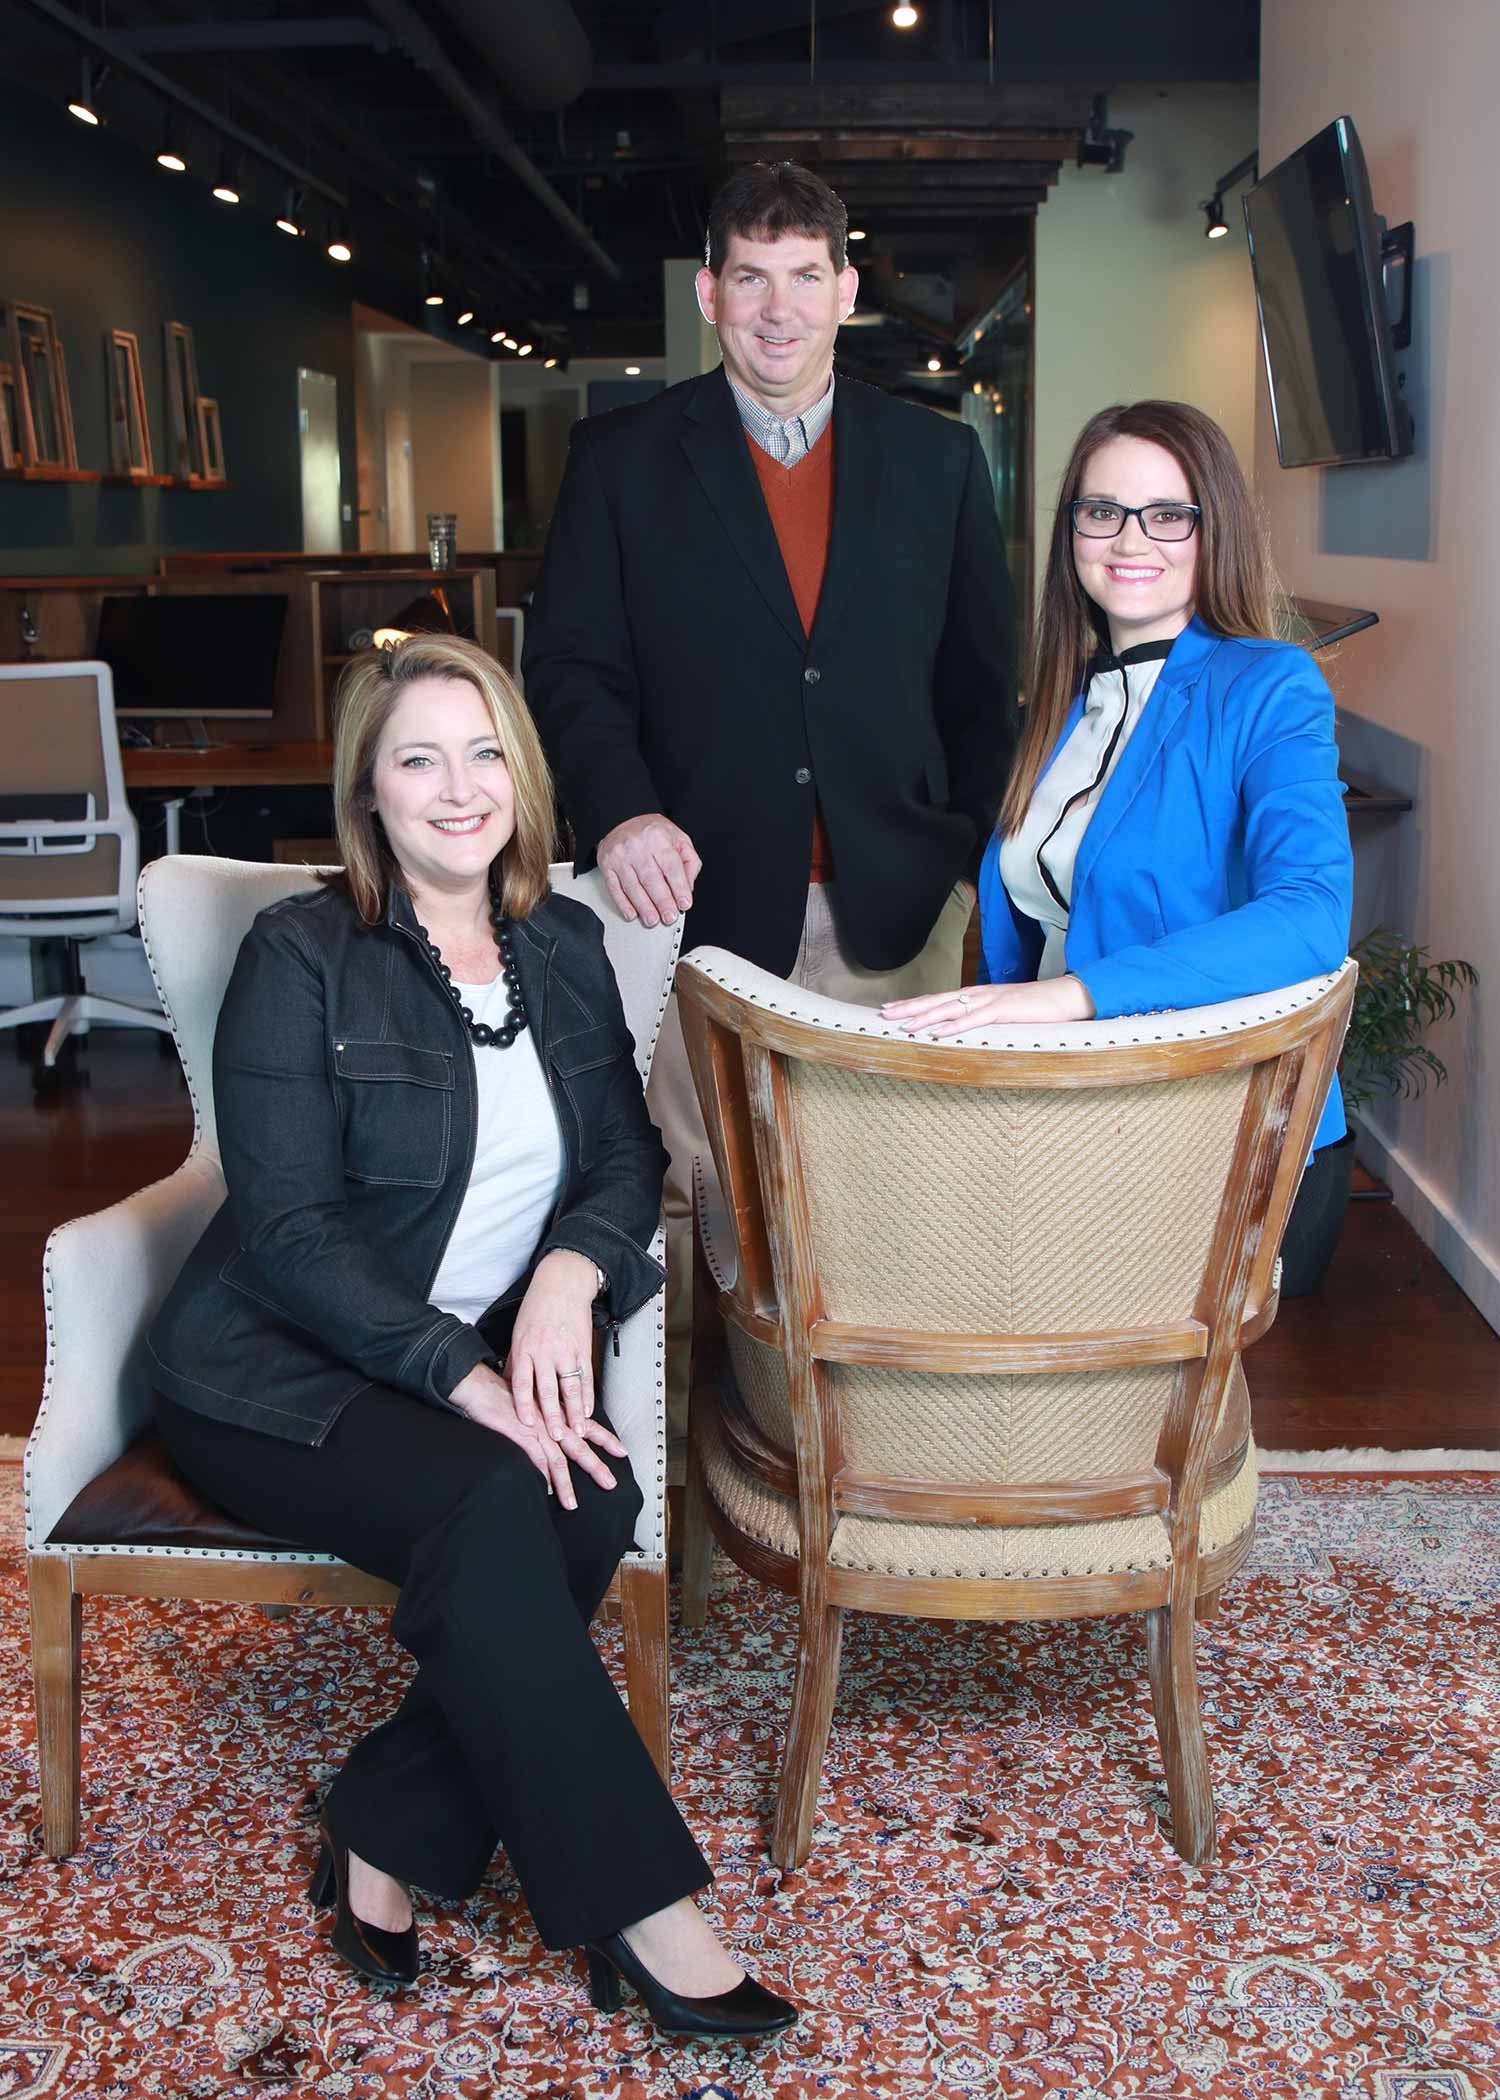
The first thing I see in this photo is the chair. It looks like they took a picture of a back of a chair. Here’s the deal, I’m always going to acknowledge when I’m not sure what the goal is of an image, and this is one of those images. If this were for a furniture store it would be perfect, but I’m guessing it’s not because I see computers in the background, desk chairs, etc. Since this looks like this was taken in an office space, I’m assuming this is a corporate headshot of some sort, but all in all the back of the chair is a distraction. The chair is creating separation and taking away from the fact that this is a “team” shot. I know you’re trying to get creative here, but this is not doing that.
Removing distractions
There’s a lot of elements here that are becoming distracting besides the chair. The TV in the back could’ve easily been removed in Photoshop, or the angle that the photo was taken could’ve been slightly changed, which would have given the photo a little more breathing room. It would make more sense to me to see more of the office that the photographer decided to create an environmental portrait in, but instead this shot is so compressed.
I see the kind of portrait triangle that we’re trying to create which is great, but you’ve got things that are happening that are making it a lot more difficult to be usable.
Let’s see what else can we find in this particular image. Everybody looks good; they’re all smiling, the man has a hand in his pocket; that doesn’t bother me. The woman on the right looks like she’s missing an arm, which can be up for debate. My final thoughts are that this picture, in and of itself, feels very unnatural.
Image #2
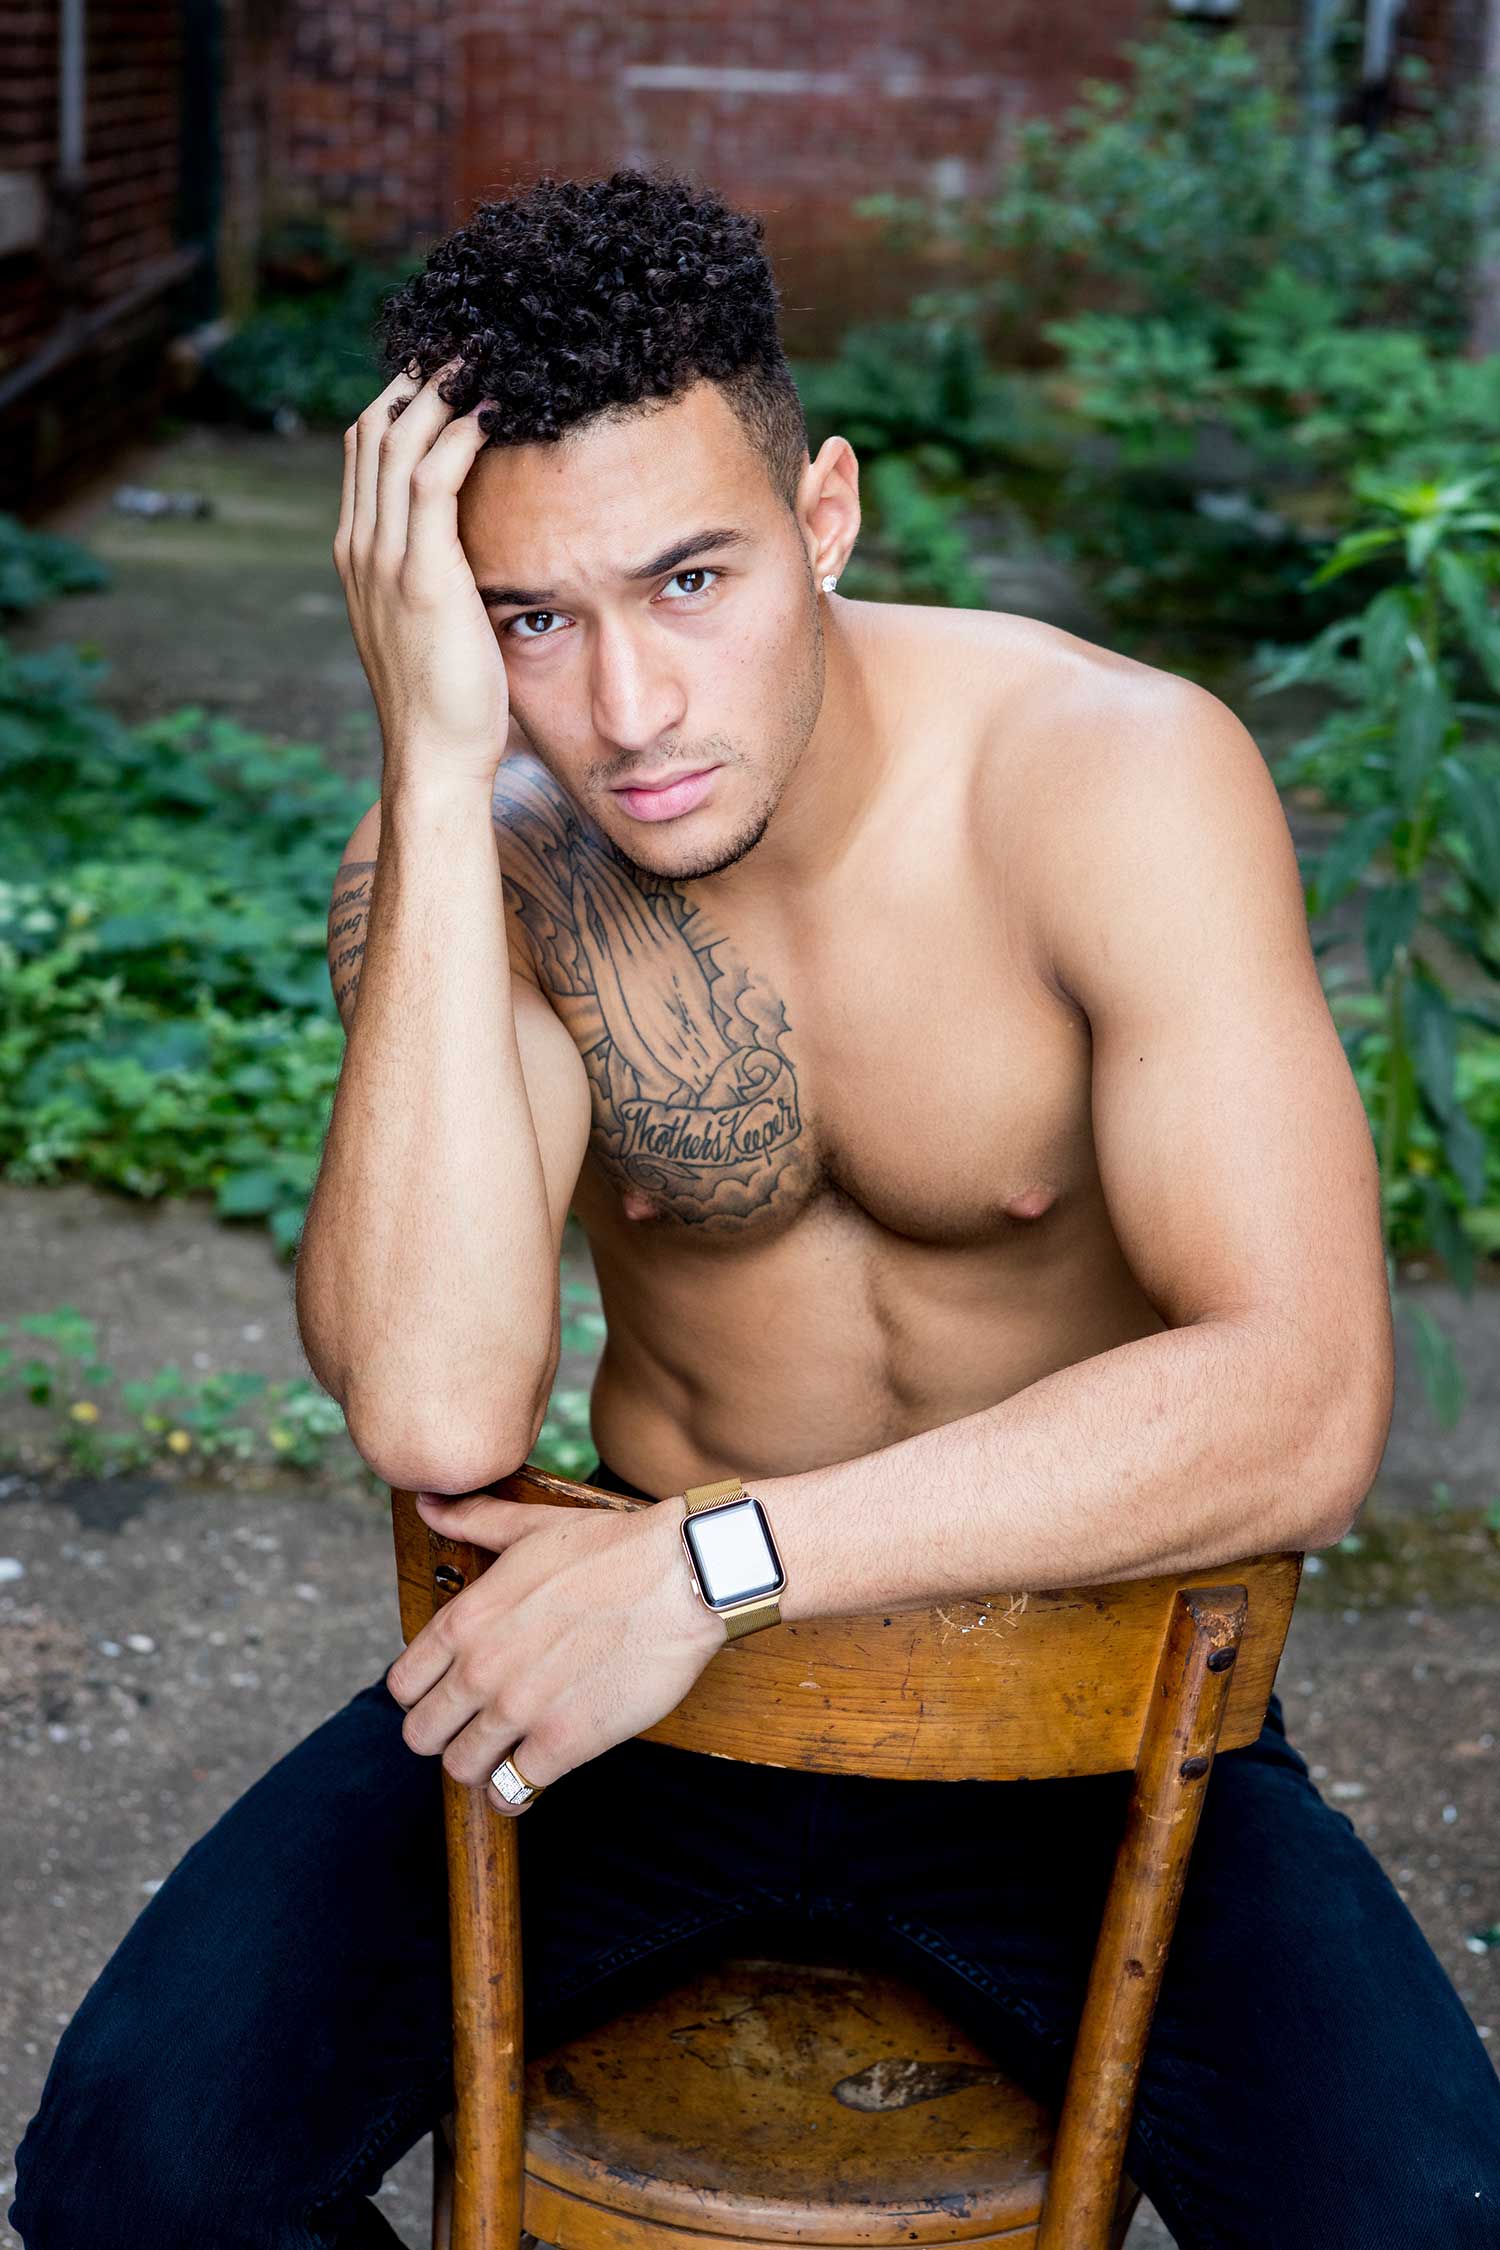
This looks like a body portrait. We want to showcase that he’s fit and in shape; I’m not fit and in shape like that, so he looks good to me, but it could be better.
Pose
The pose is really making me struggle. What’s happening because of the pose, it’s making him look heavy and that’s a problem. If you’re showing a bodyscape, you don’t want to make your subject look compressed and small. We don’t have his shirt off because we want him to look weak, right? We want that hero shot; so for something like this I’d either be right at eye level, or shooting up so the subject looks bigger. Get him big, give him a masculine pose. This feels more like a fashion-style pose, which is fine, but why is his shirt off if we’re going for a fashion look?
Depth of field
Another thing that could be done with this photo would be to eliminate all the distractions from the background. Because of the depth of field that was chosen, the background is completely in focus, which is distracting me from the subject. When you start thinking about when to choose a shallow depth of field, these are the kind of things you need to keep in mind. Use it to your advantage and make sure you’re keeping the focus where it should be.
Cutting off at the joint
The last issue that’s killing the shot is the crop. We’re cutting the image off at his knees, which is a huge no-no. These are all things that we can do to make this image better.
Image #3
Expression
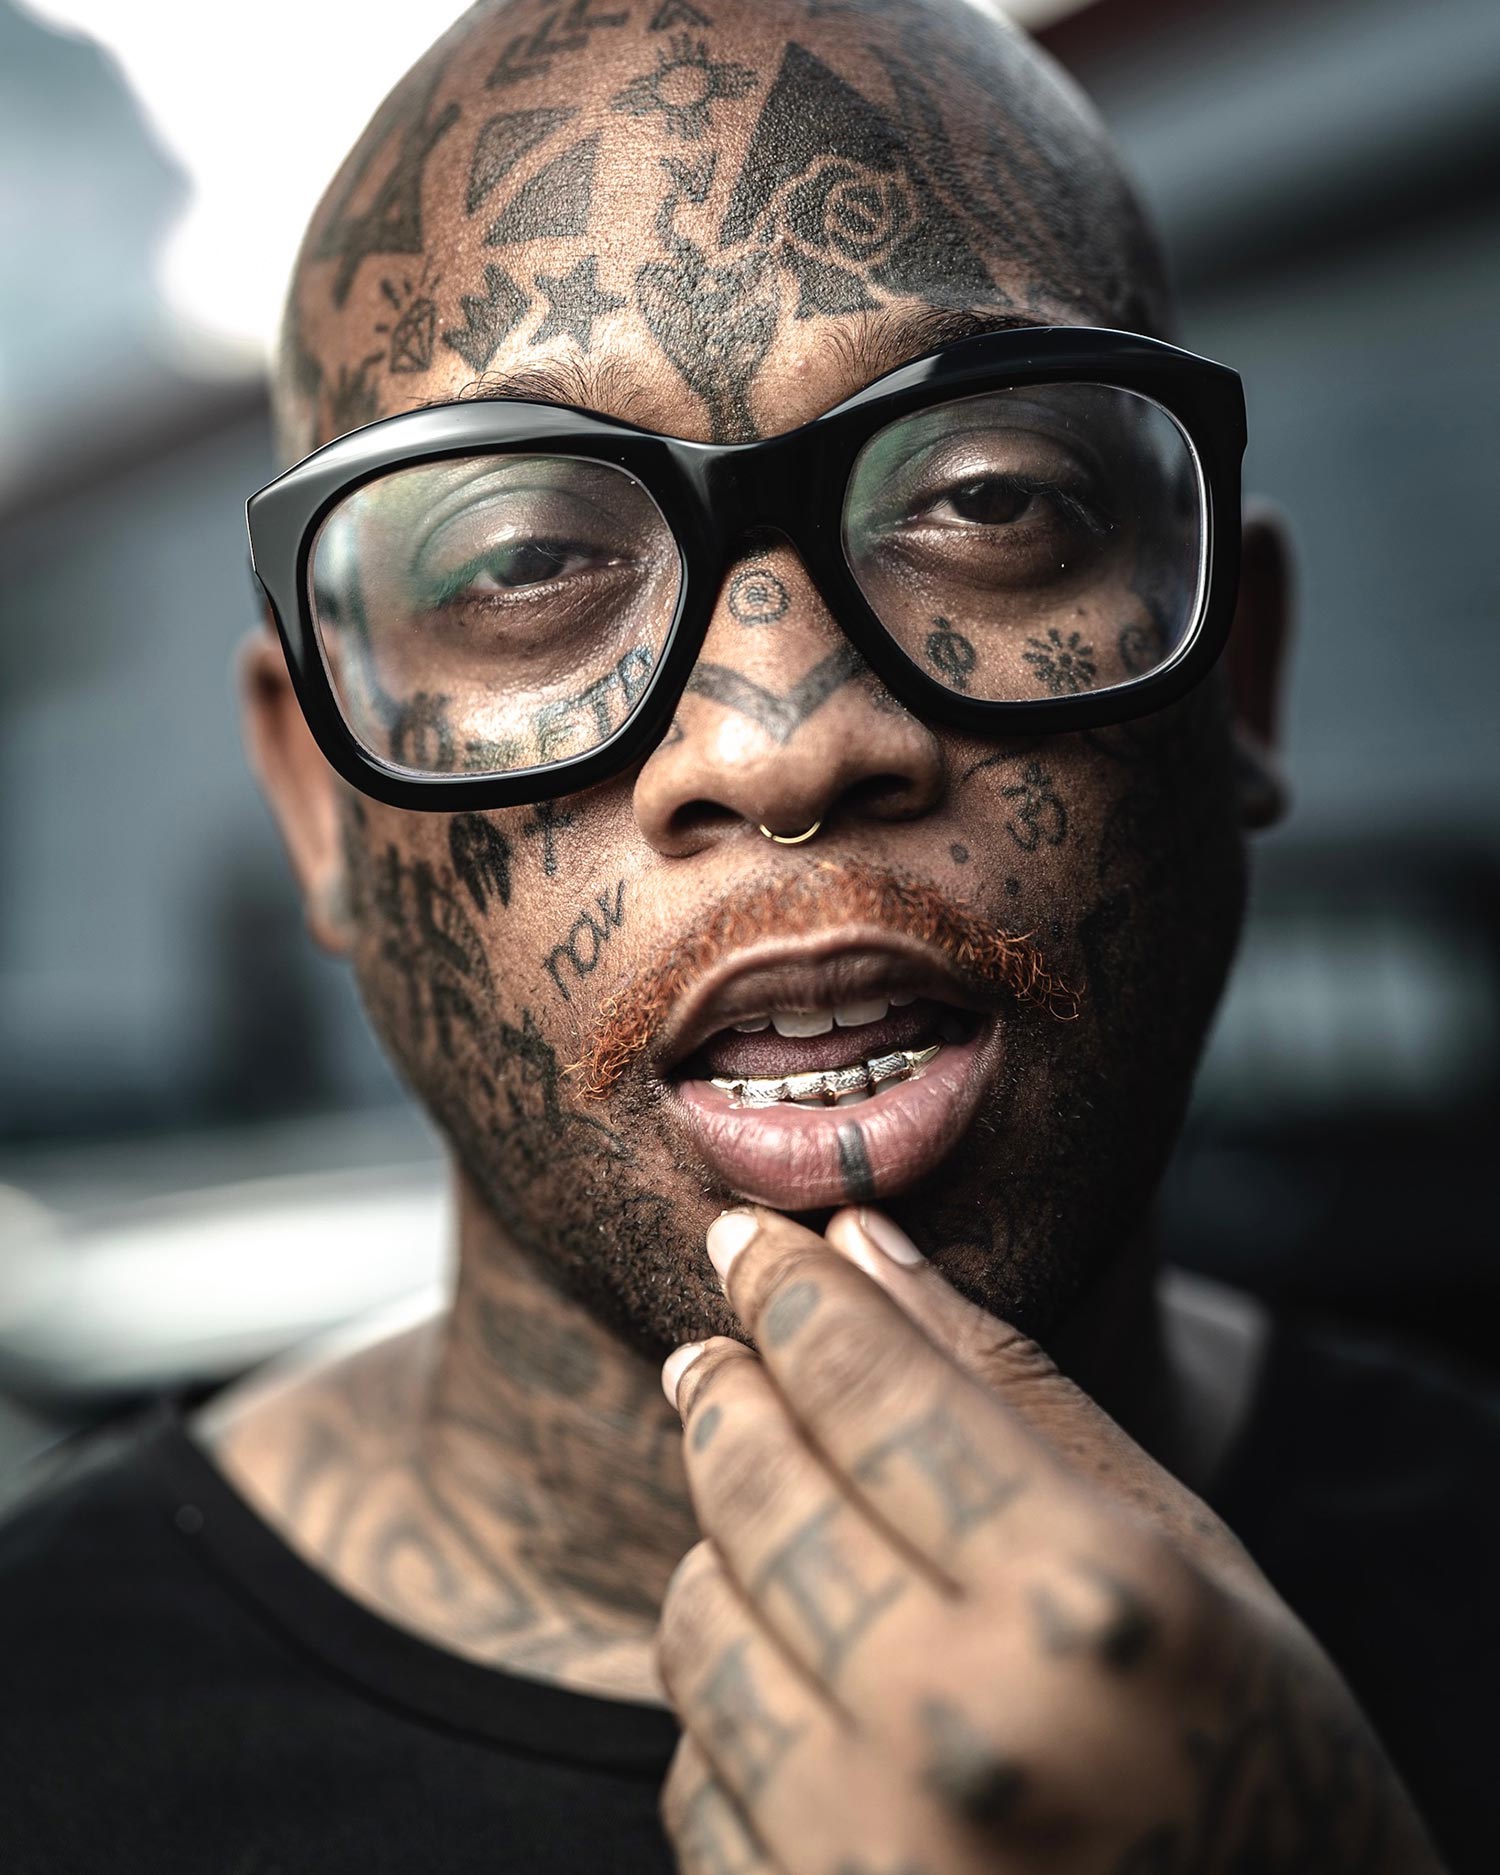
When I first saw this image, I really liked it; he’s got this real hip, chill vibe. Granted he’s got tattoos all over his face and hands, but the way his eyes are looking at the camera, it’s super moody. Kudos to the photographer; whether that direction was given or not, the subject’s expression is making this a really impactful shot.
Where does the eye go?
What I want to do is point out how we could make this better. Your eye will always go to the brightest part of the image, and that cannot be missed. The brightest part is the upper left corner and that is really easy to fix in Photoshop. By filling that gap a little bit more, now my eye goes straight to him. You might be going for the purist feel, but that’s not what it’s all about. Make the image right and get my eye drawn to him.
Something else that catches my eye is the hand that’s growing out of nowhere. Having that hand right there is not good portraiture. We could drop that hand out of the frame and it would be a better image; along with some dodging and burning. Overall, great image I really like it. I’m hoping you agree making those small changes can have a big impact.
Image #4
Dodging & burning
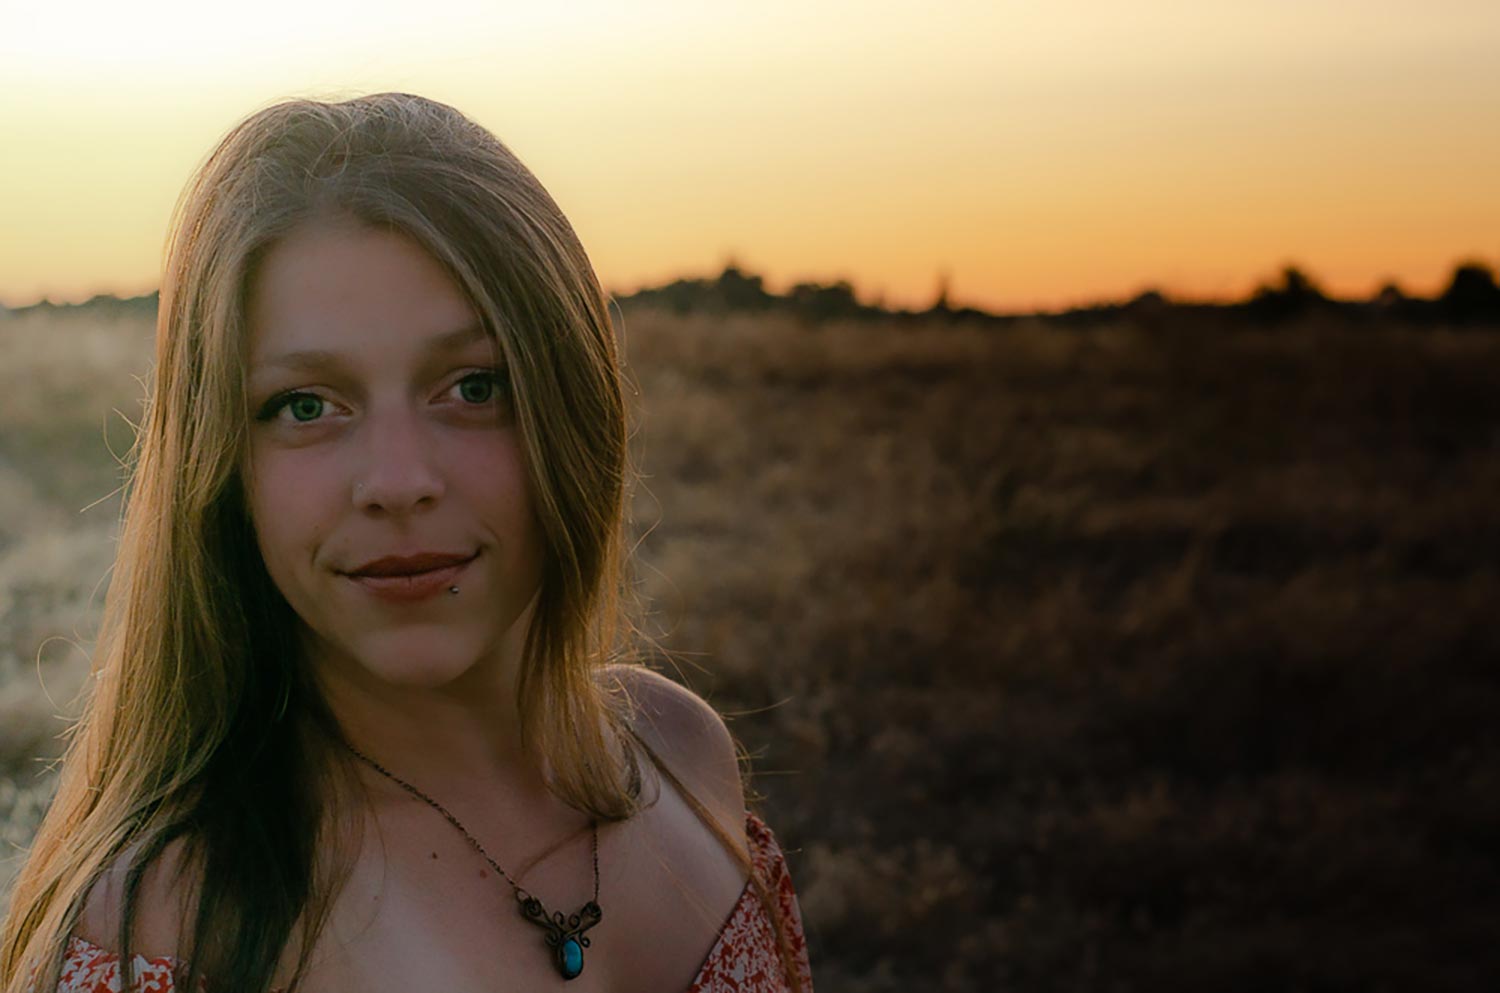
This could be one of the worst examples of Photoshop dodging and burning I’ve ever seen. This is a beautiful girl, I like that she’s in a field, the photo has potential to be good but there are so many things wrong with this photo that it’s taking away from the good. This is what these videos are all about though, I’m giving tough love because I want you to actually learn something from what I’m saying.
Let me tell you what did not happen in this scene. The light did not come in from the left and take a hard stop in the middle of the field and not reach the right side. Unless there was a solar eclipse during this photo, this is not natural light. There is close to a four or five stop light difference in light from the top left corner to the bottom right corner. Light doesn’t work that way, you have to fix that because there is nothing natural about this.
Now, like I’m always saying, your eye goes to the brightest part of the image. Where’s the brightest part? Well, you guessed it, on the other side of the planet in the top left corner. It should be on her face, and you have full control over this. All that needs to be done is some simple dodging and burning.
Get critiqued!
Have you ever wanted PERSONAL feedback on YOUR photography from Sal Cincotta?
Enter your images for a chance to see your work being critiqued by Sal! Need some guidance? Want to show off some of your best work? Submit your images here for a chance to see them critiqued.


