5 Lighting Tricks for Better Photos with Michael Anthony
Lighting is easily the prime component to creating an interesting image. Lighting, when coupled with color, is what draws a viewer in to look at the subject in an image.
Lighting is the foundation of a photographic composition. Photographers who are skilled in lighting can offer their clients flattering portraits no matter what environment they are working in. In the old days, lighting was just something that photographers understood. However, during the digital revolution, as cameras became more intuitive, people were able to obtain exposures much more easily by utilizing the automatic functions in their cameras.
Therefore, over the last 10 years we have seen many photographers who have never really learned how to use light. I cannot entirely blame them, because many of them have turned natural lighting into a brand, and coincidentally, many clients prefer that type of look.
But no matter what your style is you can create even better images by utilizing good light. In this article, I’m going to show you five of my favorite lighting tricks that can instantly transform a boring image into something much more interesting.
1. Create sun flare utilizing flash
I originally wrote about this tip exactly five years ago in the August 2015 edition of Shutter Magazine. But since it has been five years since I have touched on it, we can get a little more advanced now.
Placing a CTO gel on your flash can create the right color light. But the goal when creating fake sun flare is to mimic the look of natural light. Therefore, positioning is incredibly important. When positioning a “sun flash” make sure that you place it in the same direction of the strongest natural light source in the frame. When shooting with natural light, your sun will typically be your strongest light source, so by utilizing your flash in the same direction, you are ensuring consistency throughout the scene even if your light spill is not perfect.
Once you have your positioning down, now it is time to worry about the shape. I highly recommend using either a round flash head like a Profoto B10 or utilizing a speedlight modified with a MagSphere. This will help spread the light out in a better pattern that is more consistent with the natural look of the sun. When you position the light high from the brightest direction of natural light in the scene and use a round light head, the sunlight that you are creating is indistinguishable from real sunlight.
Lastly, let’s talk about when to do this. You have a noticeably short period of time in the day that you’re able to take advantage of this technique. Once the sun gets too low in the sky, utilizing fake sun flare will look out of place. Therefore, it’s best to use this technique right as the sun disappears at sunset, or in open shade where you can craft all of the light spill yourself.
2. Utilize bounce flash whenever you can
I talk about this technique often because it really is a life saver. I’m a location-based photographer, and the last thing I want to do is lug around heavy equipment in the city. This can draw unwanted attention to me, and it can just slow down the entire process of shooting.
Fortunately, in most locations that you shoot, you will have access to a much larger modifier than you could ever bring with you. When utilizing bounce flash, everything is a modifier.
The way this works is that you first have to use a high-powered light source. You want to be able to spread that light source out using a sphere or a round head. Then you can place that light toward a flat surface. You will ideally look for something that is brighter in nature, like a white wall.
Then you can bounce the flash off that light source and create a softbox just about anywhere. This is probably my most used technique to create soft light. Oftentimes you might not even need a flash to do this. All you must do is find a bright wall where the sun is bouncing off.
Bounce flash can give you beautiful soft portraits at just about any time of day. You can also use this technique with on-camera flash by turning your light 90 degrees to the left or right. I often use this during grand entrances or when photographing dancing on a wedding day.
Another way you can lighten your load is to just use a reflector to bounce the light off. This would require an assistant, but it works perfectly well if you have a stand to hold your light.
Bounce flash is entirely underused because many photographers look at it as a considerably basic lighting technique. However, like most skills in our industry, photographers typically don’t master it before moving on to the next skill. On your next shoot, make it a point to look around for places to bounce your light off and I promise you will find a place to create flattering portraits.
3. Control your light spill
One skill set that can distinguish a skilled strobist from a beginner is the way that they control light. Now this tip has a couple of complex layers, but let’s get into the basic one first.
Controlling your light simply means making sure that your light is falling on your subject without affecting too much of the background. In practice, this seems like it could be amazingly simple to accomplish, however, in practicality it is quite difficult to do. Our eyes are typically attracted to the brightest parts of an image, so if a subject is lit at the same luminance levels as a background, it can detract our eyes from what is important in a composition.
There are two techniques that I primarily use to control light. The first is to feather my light source. Those of you who have seen me work know that I like to travel as light as possible. I do not like to carry extra equipment and I often lose accessories that go along with my modifiers.
Feathering a light source can help you to control your light spill and create a much better quality of light in the process. Typically, if we are utilizing a speedlight or a large softbox, we want to light the subject with the edges of that light. Doing so will allow us to avoid any major hotspots that will cause uneven light distribution on our subject’s skin. This may seem like it is going to diminish returns in terms of image quality, however, I can assure you it is not. I want you to test this on your next shoot. Take a close portrait and light your subject with the center of the softbox, and take another image with the power of the flash turned up slightly, but lighting them with just the edge of your softbox. You are going to notice that the second image has much betterhighlight to shadow transition, and it is not going to reflect imperfections or shine in your subject’s skin. An added benefit is that it is going to allow you to control the light spill.
Feathering your light source correctly typically means that your softbox is going to be pointed about a foot above your subject’s head. This will avoid light spill on the ground and will allow for much better highlight to shadow transition on your subject.
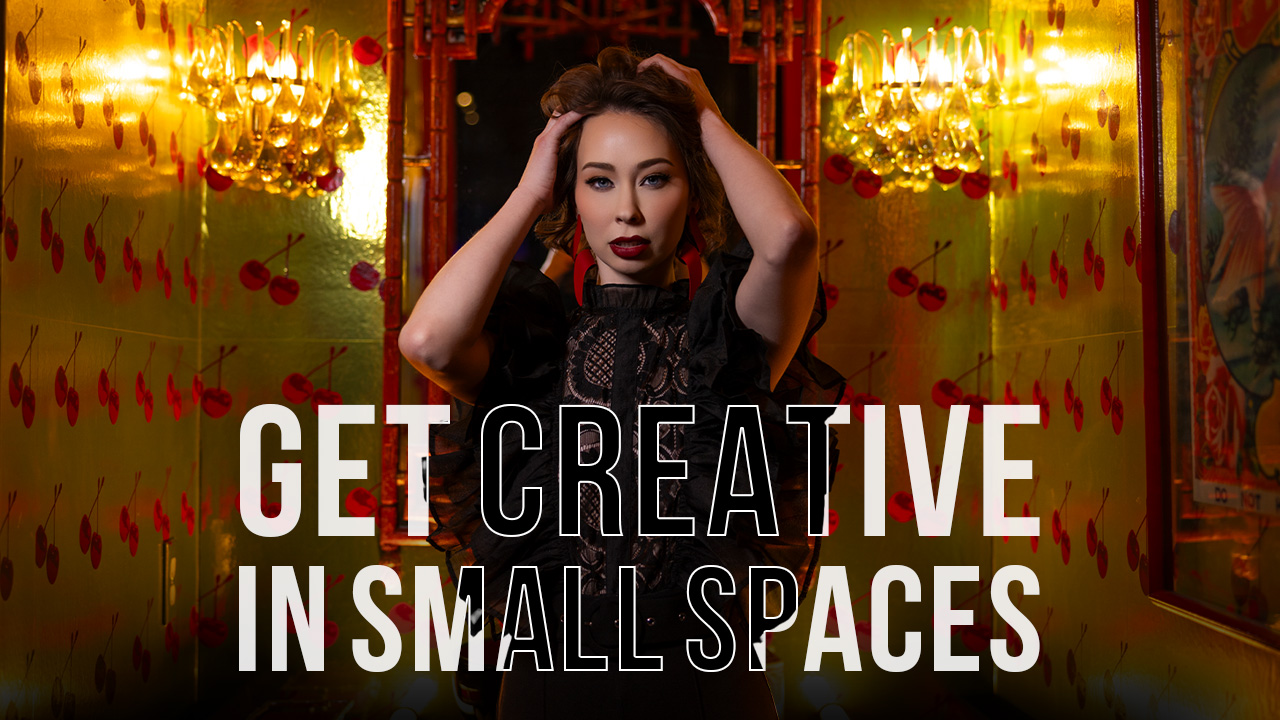
The second technique that I use to control my light is to utilize a grid. I typically will use this technique when I’m working in very tight spaces. By utilizing a grid, I can make sure that my light is pointed directly at my subject without having to worry about it spilling onto a background.
When I’m working in a bridal prep room, if there is not beautiful light to work with then I will usually photograph the room a bit darker to hide distractions. This is where grids come in handy. The MagMod or Profoto grid system allows us to control light spill by stacking the grids to get the correct spread of light.
Now that you know how to control light, let’s move on to the next tip.
4. Use light to create separation and dimension
While this tip may seem a little harder to visualize, I can assure you this is the easiest one to follow. Some of the best images will typically have multiple light sources. The reason for this is because as photographers have become better and better over the years, an image that has multiple light sources on the subject will tend to look different and more impactful to viewers.
Now, we do not want to utilize a secondary light just to utilize a secondary light. We want to do it with purpose and intent. By adding separation between your subject and your background, you inherently make your background look three-dimensional. There are a couple of ways to accomplish this. The simplest one is to just add a light onto your subject’s hair from behind. This will separate them from the background and when balanced properly with your key light will give your subject that three-dimensionality. But let’s take this a step further. What if we were to add an additional light onto our background? Now you are going to have three layers of depth in an image.
The beautiful part about this is that you can set up these three light diagrams just about anywhere. All you need is a wall, a subject, and three lights.
Now let’s take this even a step further. What if we were to add a gel onto that background light? This will allow us to control the scene by utilizing complementary colors that match our subject’s clothing, skin tone, or hair color.
Now, you can light a foreground in addition to a background or in lieu of. Oftentimes by lighting the foreground and then lighting your subject in the background just a tad brighter, we can create an interesting composition from simple elements like a chain-link fence or the back of an iron chair.
When utilizing lighting, the possibilities are endless.
5. Utilize color shifting when appropriate
I first introduced the concept of color shifting in 2015 as well. Color shifting just means utilizing a cooler or a warmer white balance and then offsetting the color by utilizing gels on your subjects.
In practicality, the way this works is you would set your white balance to 3200 Kelvin, and then utilize CTO gel on your subject. This will turn your background blue and keep white light on your subject.
This works very well when photographing at dusk, and it also works well in reverse when photographing at sunrise.
I often utilize this technique when I want to create a unique image that might be printed by my clients. The goal is to make something that they do not expect.
As a more advanced way of doing this, you can utilize a gray card to set a custom white balance. This works best when working with CTB gels. To do this correctly, you would take two full CTB gels and place them on a flash. Then you would obtain a custom white balance by allowing that flash to light a gray card. Set the custom white balance in your camera, then photograph your scene. This will turn the ambient light to a bright shade of red while leaving your subject with genuinely nice light on them.
This technique works very well when photographing in open fields around sunset. But be sure not to overuse it because it could take quite a bit of time to set up, and you do not want to detract from the client’s experience.
So, there you have it, my five tricks for creating better images utilizing creative lighting in 2020. If you have any questions, feel free to reach out to me at mike@elevateyourphotography.com and I will catch you next month in Shutter Magazine.