
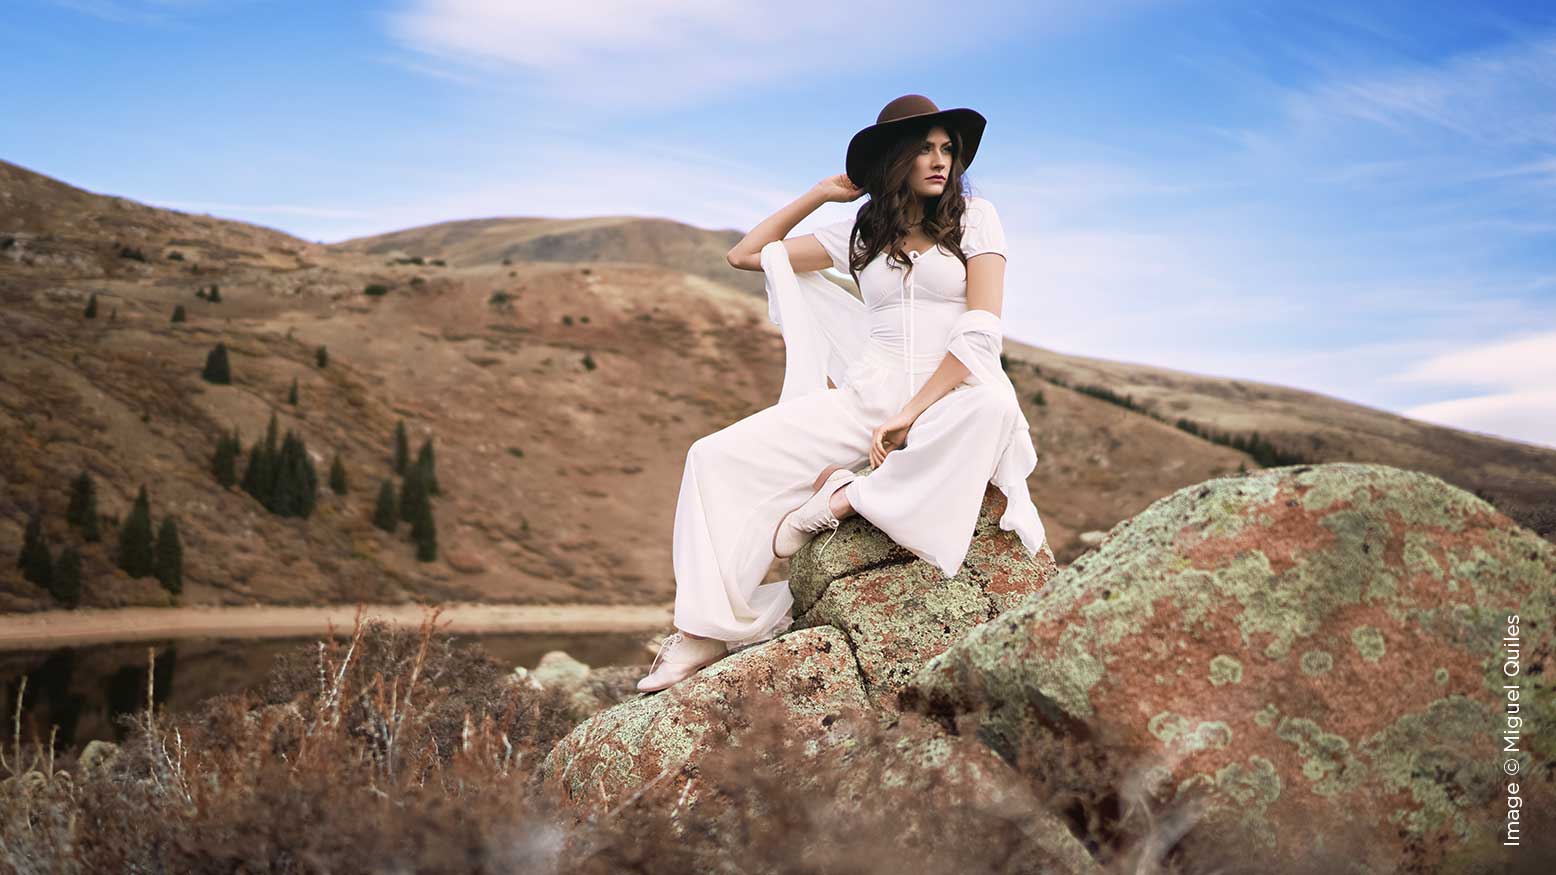
5 Tips For Mastering Portrait Lighting with Miguel Quiles
The single most important element of a photograph isn’t bokeh, or what kind of camera or lens was used to take it—it’s light! Great lighting is what separates the good images from the bad, as well as the good from the great. It’s literally and technically what your camera sensors capture every time you press your shutter. As a photographer, our number-one goal should be to chase down great lighting, maybe even learn how to create it if called for, and then place our subjects within that scene to bask in its brilliance. There are some useful strategies that I’ve learned and implemented in the last few years that have dramatically improved my portrait-lighting ability, and I believe these tips will help you as well!
Tip #1 – Be Aware of “Everyday Light”
Before I became known for my lighting style, I was a curious hobbyist who studied beautiful images from all of the big fashion magazines and books. I would pour over images and try to figure out some basic things:
- What was the light source?
- Where was the light coming from in relation to the subject?
- Was it being reflected or diffused?
- What was the color temperature (was it golden or cool in color)?
- Was it creating hard, defined shadows or softer ones?
As I began to wire my brain to identify and try to answer these questions, I started to try to become aware of “Everyday Light,” meaning the light that we see all around us throughout any given day. So how exactly does that work, and how do you utilize it?
One simple way of doing that is to pause at three or four moments throughout your day and answer those questions above. If you’re at a coffee shop, sitting by a window, talking to a friend, pay close attention to how they are being lit. Is it a combination of daylight mixed with some ambient light coming from within the shop? If so, do you see a different color of light on the store-lit side of the face versus the window side? Are items on the table, like a napkin perhaps, reflecting any light back onto your subject in a flattering or unflattering way? It may seem random, but in those situations, think of what it might take to get the everyday light that’s available around you to look better. Then, when you’re in a situation where you’re attempting to capture a great image, you’ll start to be aware of whether or not the spot that you’re in is the most conducive to taking a good shot, or if you might need to look elsewhere or maybe even create your own light. It’s a fun exercise that will fundamentally change how and when you take a photo.
Tip #2 – Take Photos at Different Times of Day
One of the most basic ideas that you’ll hear about is to take photos during “golden hour,” which generally occurs an hour after sunrise or an hour before sunset. While it is a perfect time to try to capture a nice image, it’s what I’ve come to learn as the “low-hanging fruit” of portrait photography. Nearly everyone can take a great image in these conditions, and it makes a great photo taken in this time a bit more—generic, for lack of a better word. Look through the portfolios of your favorite portrait photographers, and you’ll likely see this trend for yourself.
Rather than following the pack all the time, try breaking away from the commonly held times that one should take a portrait and practice shooting at all hours of the day. It’ll make you far more versatile and better equipped to handle anything that mother nature can throw at you lighting-wise.
Tip #3 – Natural Light Challenge
The idea behind this tip is quite simple. If you’ve taken some images using natural, available light, try to replicate that lighting using artificial lighting from speedlites, strobes and constant sources. You’ll be shocked to find that you can easily recreate most lighting scenarios relatively easily using lights that you are fully in control of. To give you an example of how I utilized this tip, I set up a black background in a shaded area outside of my studio and took a portrait of my subject for the day, Julie Dawson. After taking a few images I was happy with, I went into the studio and attempted to create a similar look using my studio strobes. I knew that the lighting that was illuminating her outside wasn’t actually hitting her directly, so I used that as a starting point for my lighting. I took two strobes, one on either side of her, and instead of pointing them directly at her, I bounced them forward into a white wall in front of her. This light bounced off the white wall and illuminated her in a way that was similar to what I was seeing outside. While the results you’re seeing here are from a few years ago, the technique is pretty close to what I would do today if faced with a similar exercise.
Tip #4 – Light-Shaping Round Robin
Ever wonder what the differences are between, say, a beauty dish and an umbrella? Or maybe a softbox and a Fresnel? Every light-shaper out there will create a different type of light effect on your subject, and it’s important to be able to identify which ones you’ll need for your given application. It’s a light study that will raise your IQ when it comes to identifying and creating great lighting, and it’s crazy simple. To start, you can use a simple five-in-one reflector. Try lighting a subject with the silver side, white side, gold side, black side and diffusion panel of your reflector! Perhaps try bending it in weird shapes to see how that throws light onto your subject. If you have the budget for it or own off-camera flashes, try using a variety of modifiers during a single shoot so that you can recognize quickly over time what each light is doing. For example, in my case, I learned that I personally preferred the light that I would get from a large octabox versus a similarly sized umbrella. This exercise is a great way to fine-tune your lighting tastes.
Tip #5 – Practice Daily
My final tip is to practice shooting daily. On those days where I don’t have a portrait subject to photograph, I would simply break out a soda bottle, place it on a counter, and snap away! Don’t ever make the excuse that you don’t have models to help you practice. Make the best of what you have and try these tips out every single day. Who knows, maybe you too will see yourself make huge strides in your mastery over lighting!


