


Learn how to use a projector for Portrait Lighting to create cinematic, controlled light in your photography. Discover techniques for shaping light, adding depth, and building dramatic portraits with a projector setup.

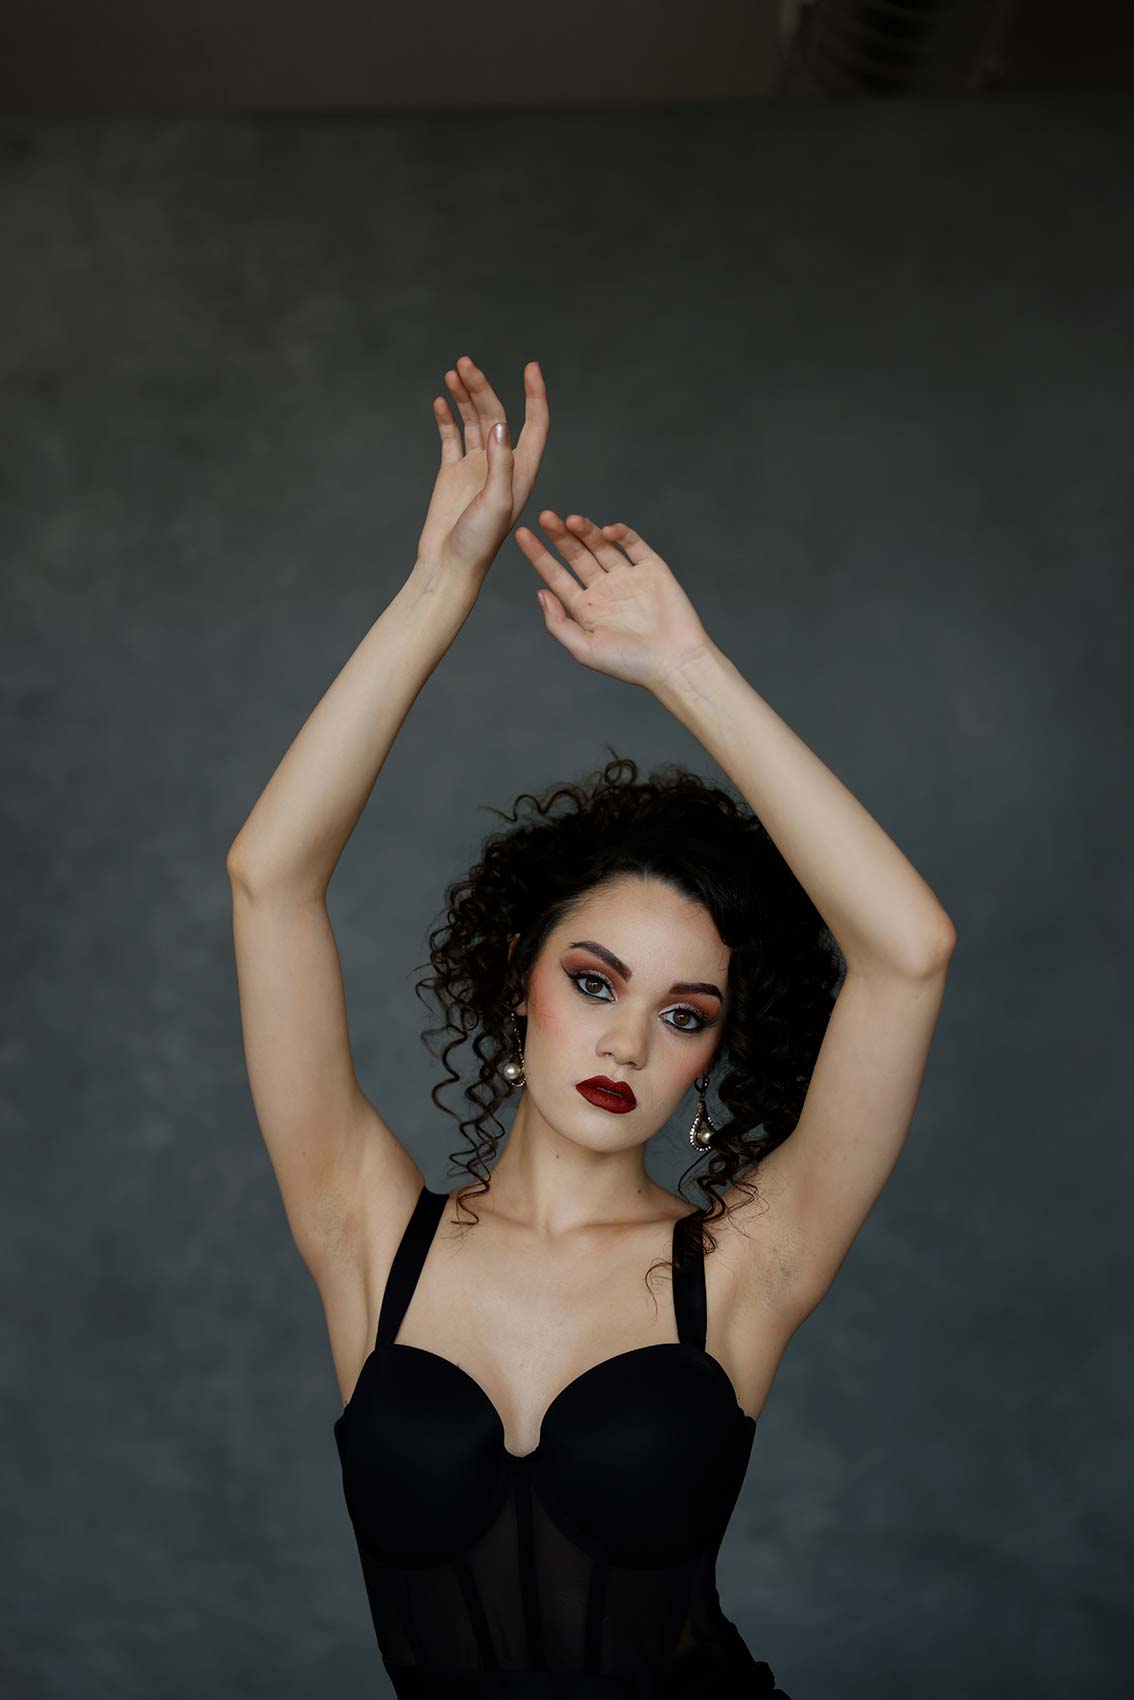
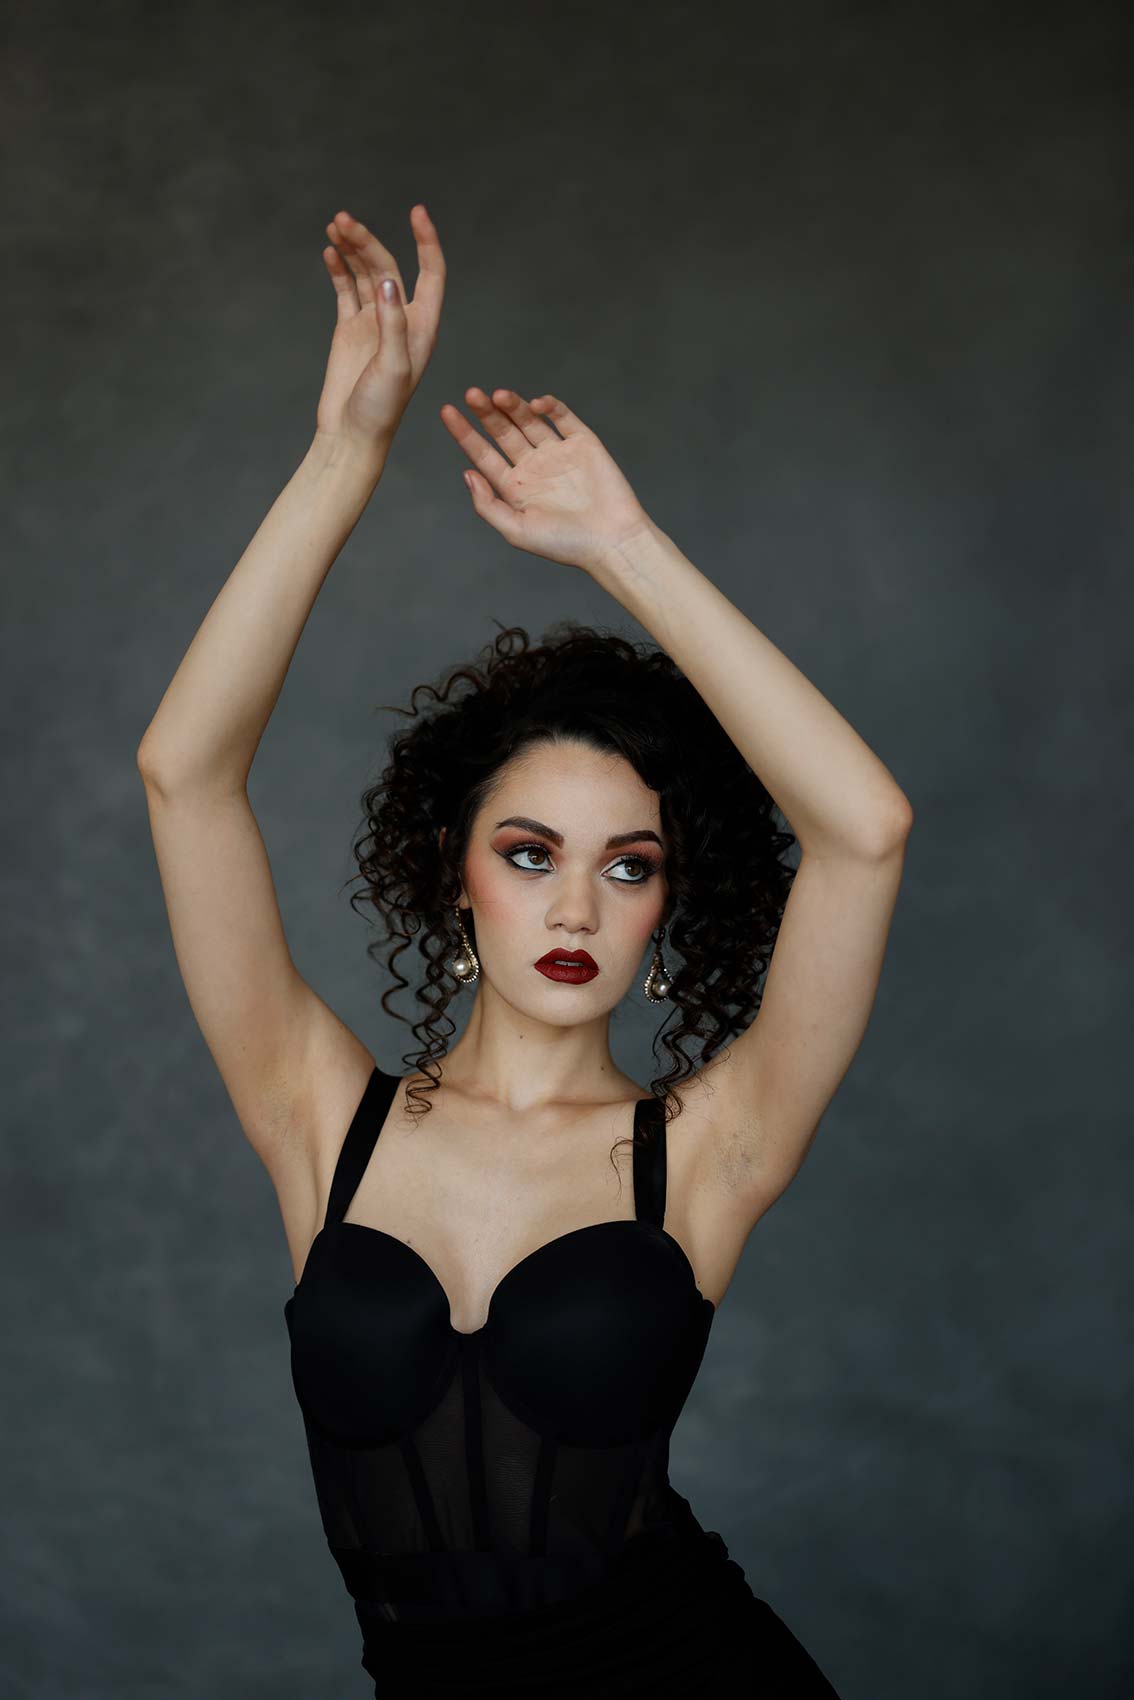
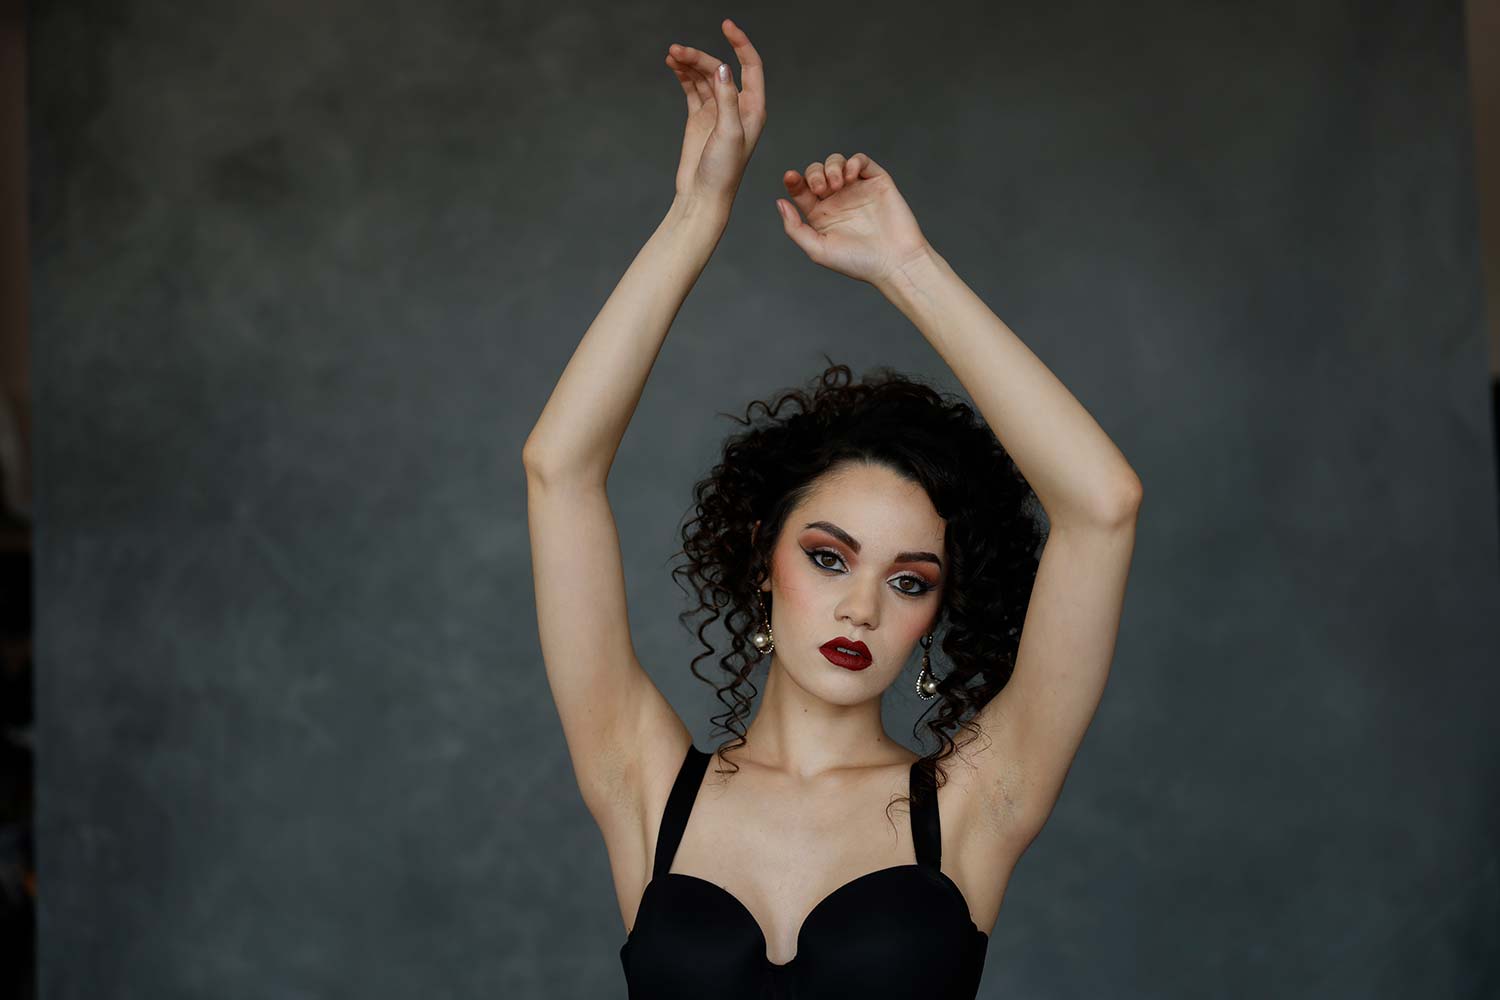
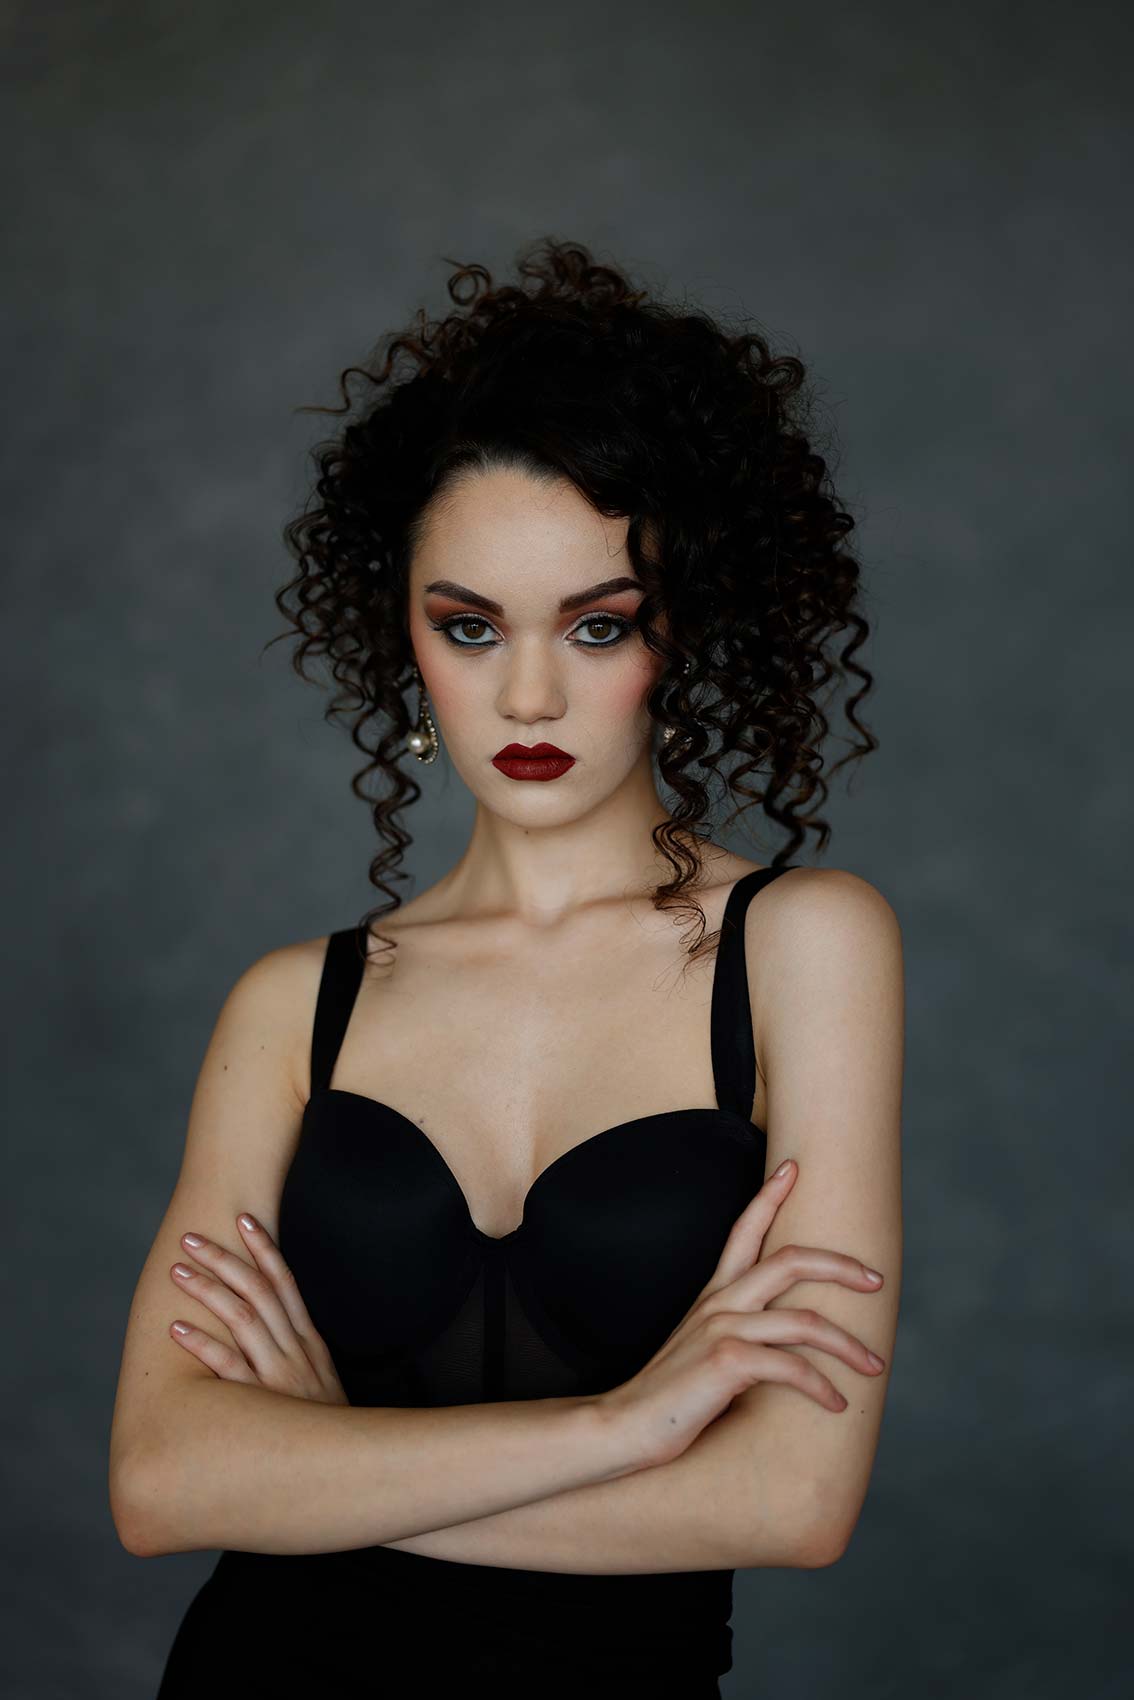
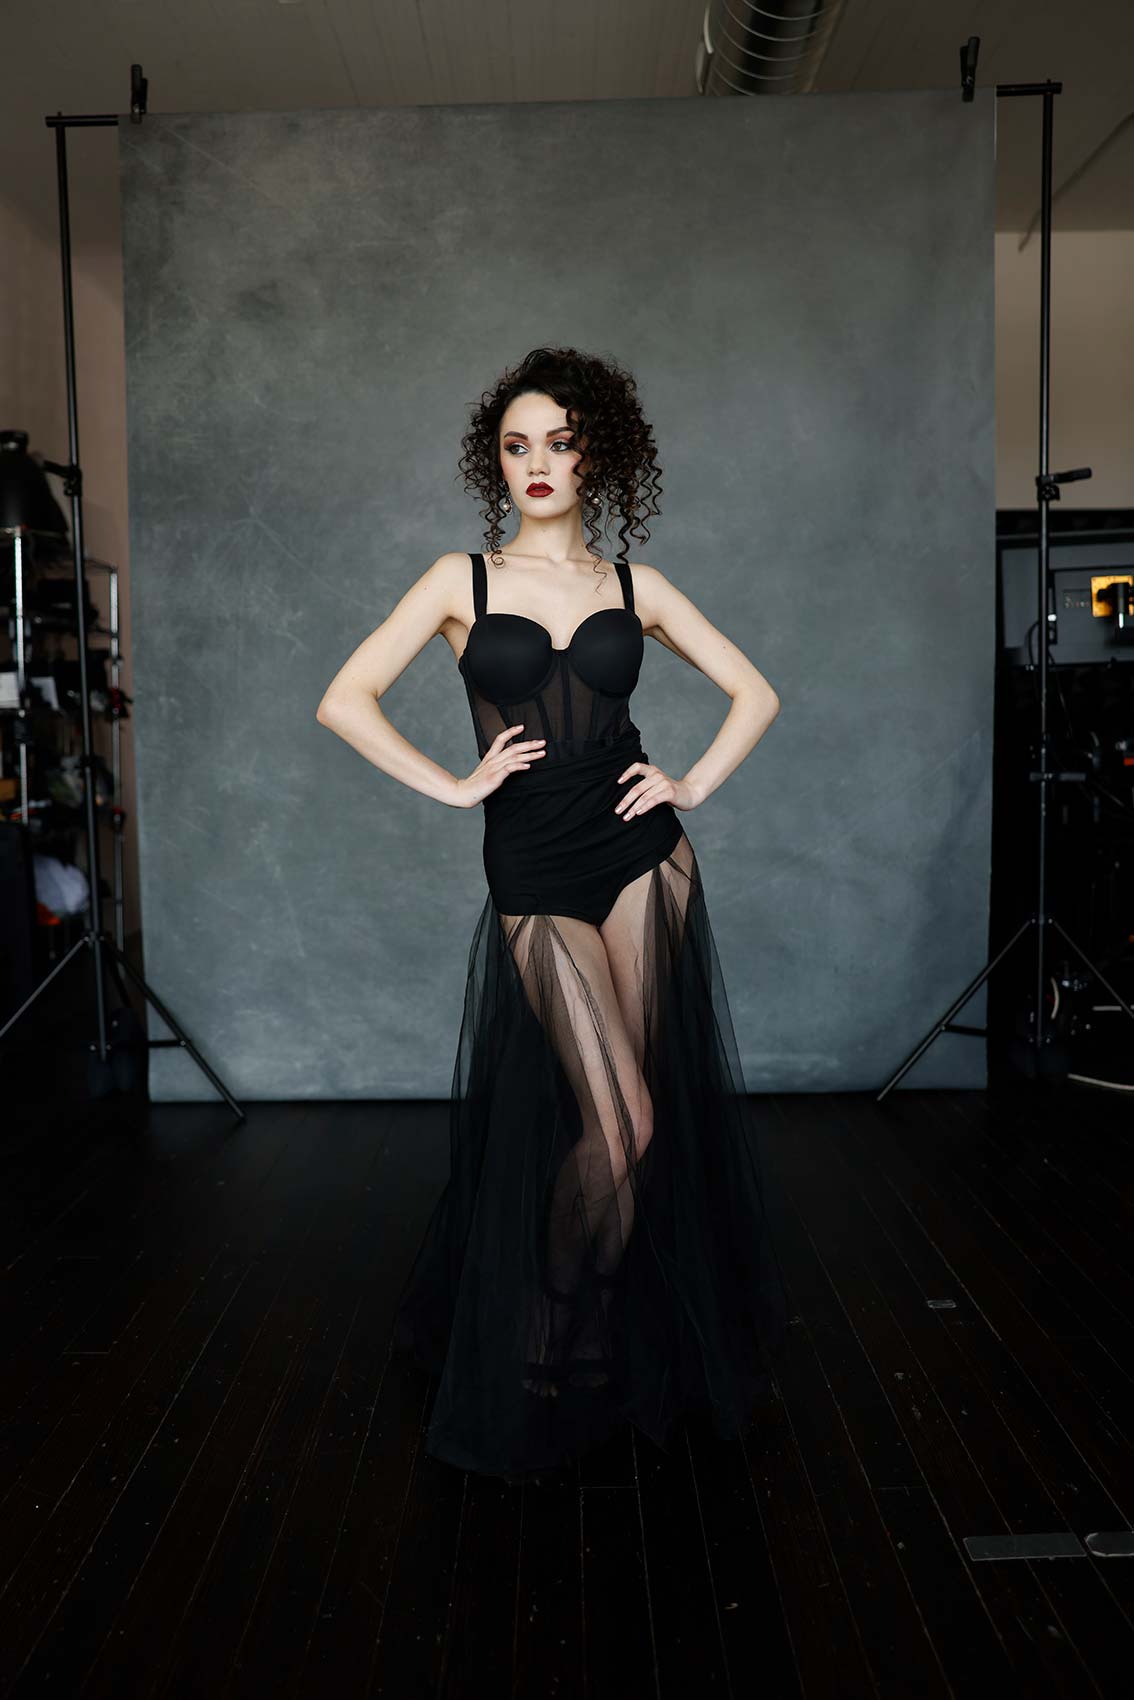
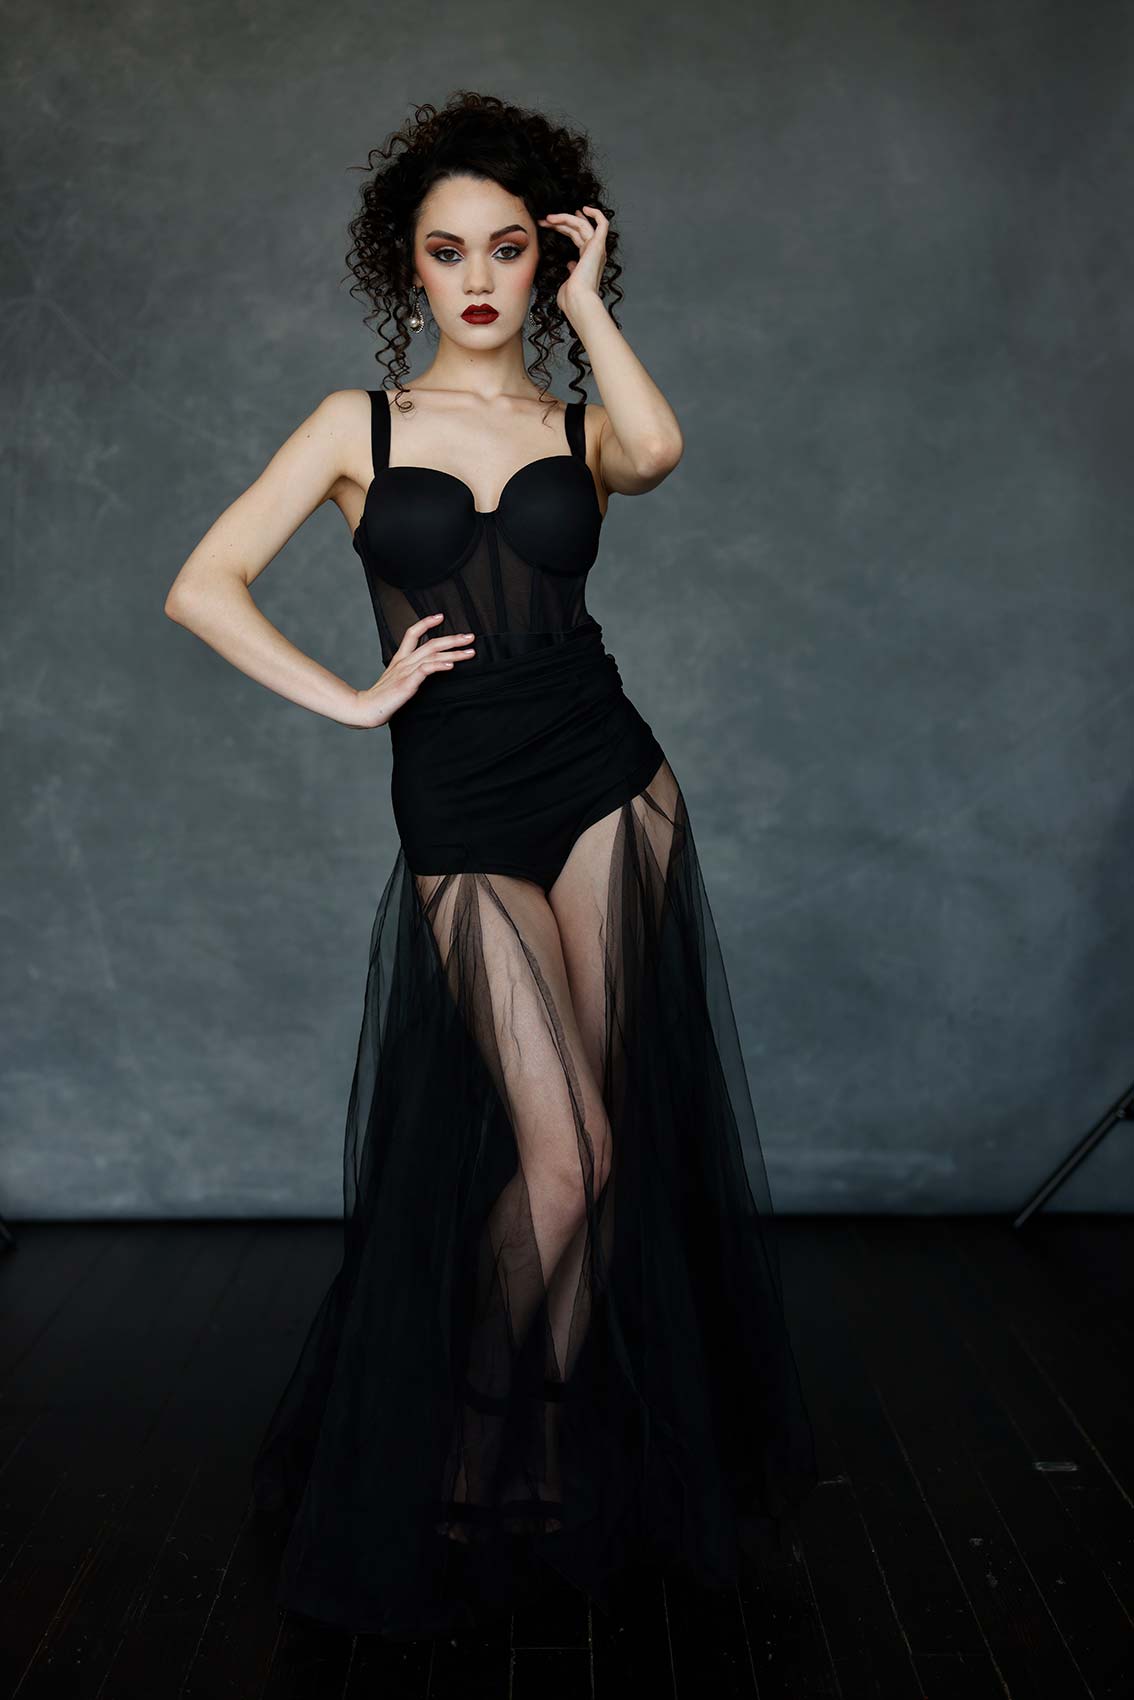
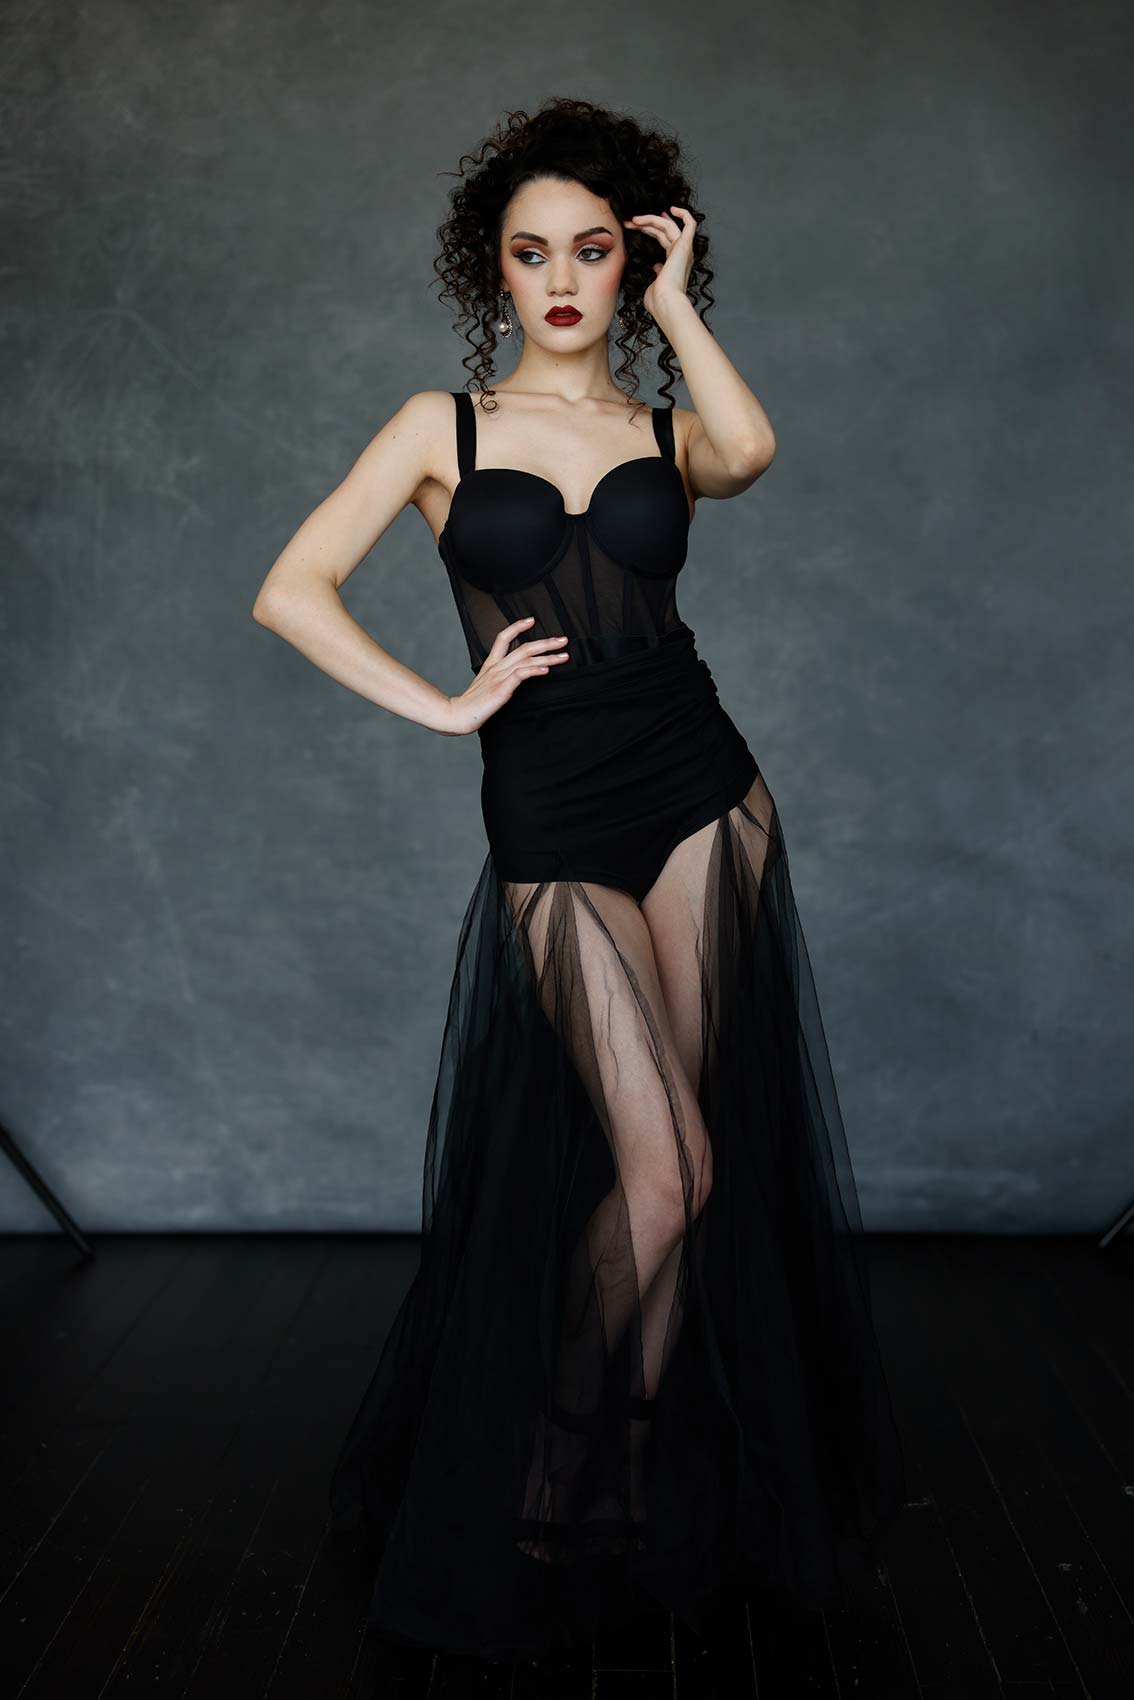
Level up your fashion photography with creative lighting techniques using portable tube lights. Learn how to shape light, control mood, and create bold, professional images in any space.
