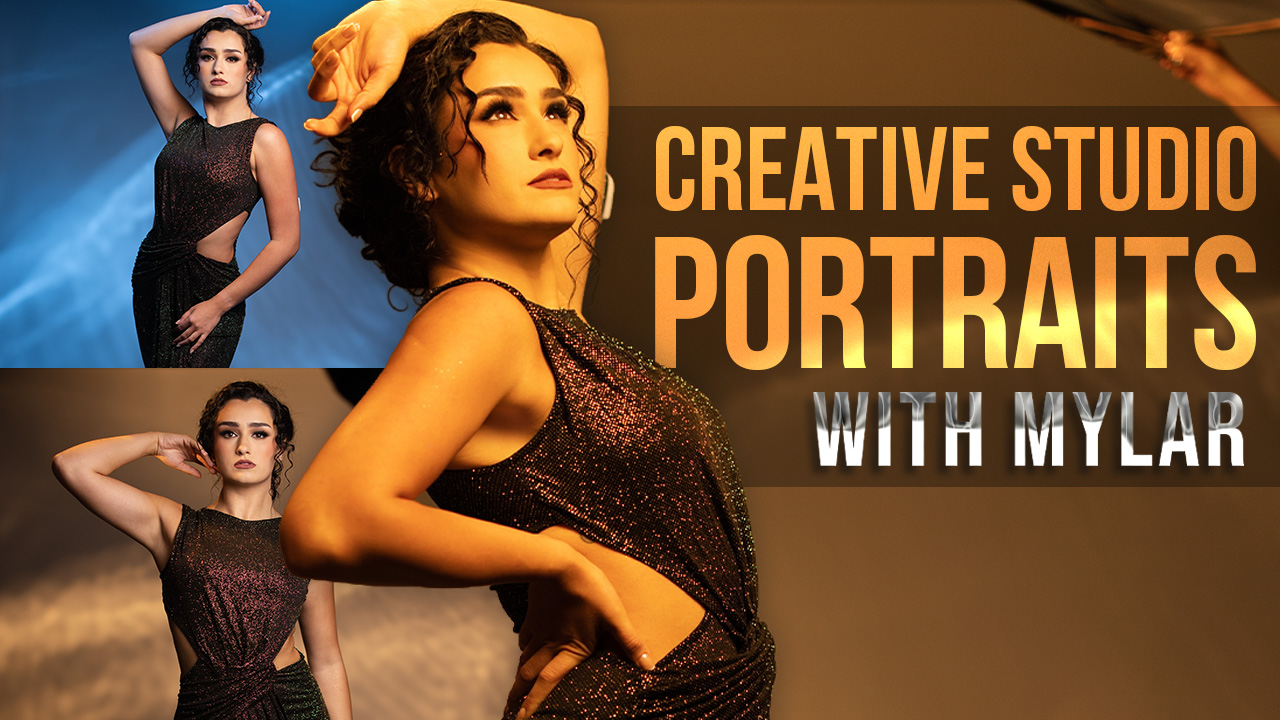
Anatomy of a Location Lighting Kit with Michael Corsentino
Want more information on this article? Get access to video content and additional supporting images. Launch the January 2018 issue of the magazine by logging in or signing up for a free account. Shutter Magazine is the industry’s leading professional photography magazine.
Deciding which lighting equipment to bring on location is all about striking a balance. The sweet spot is having enough tools to get the job done right and handle any curveballs that come your way. What you want to avoid is bringing so much gear that it becomes burdensome. I’ve done it more times than I care to admit. What you need from one situation to the next differs depending on a variety of factors.
Tool choice depends on the quality of light you want to create. You need to plan. You have to consider location, distance between your vehicles and the shooting location, number of assistants, the weather forecast and, finally, a backup plan for when everything goes south.
This article is a case study about choosing the tools for a location shoot.
Make a List
I start by making a packing list of all the equipment I’ll need based on my lighting plan, number of assistants, number of locations and the difficulty of getting the gear from the car to the locations. I pack plenty of options and backups in case Mother Nature decides not to cooperate, gear fails or ambient lighting conditions change. I carefully monitor the weather forecast so I have a good idea of what to expect on the day of the shoot.
Below you’ll see the equipment lists I created for the shoot, broken into categories.
Grip:
- Shur-Line locking extension paint pole with a Kacey Enterprises 5/8 pole adapter
- Avenger light stand (black, 10.8′) MFR # A630B
- Gitzo Series 5 Systematic 6X carbon fiber tripod (giant)
- Really Right Stuff ground-level tripod
- Manfrotto MHXPRO-3W three-way pan/tilt head
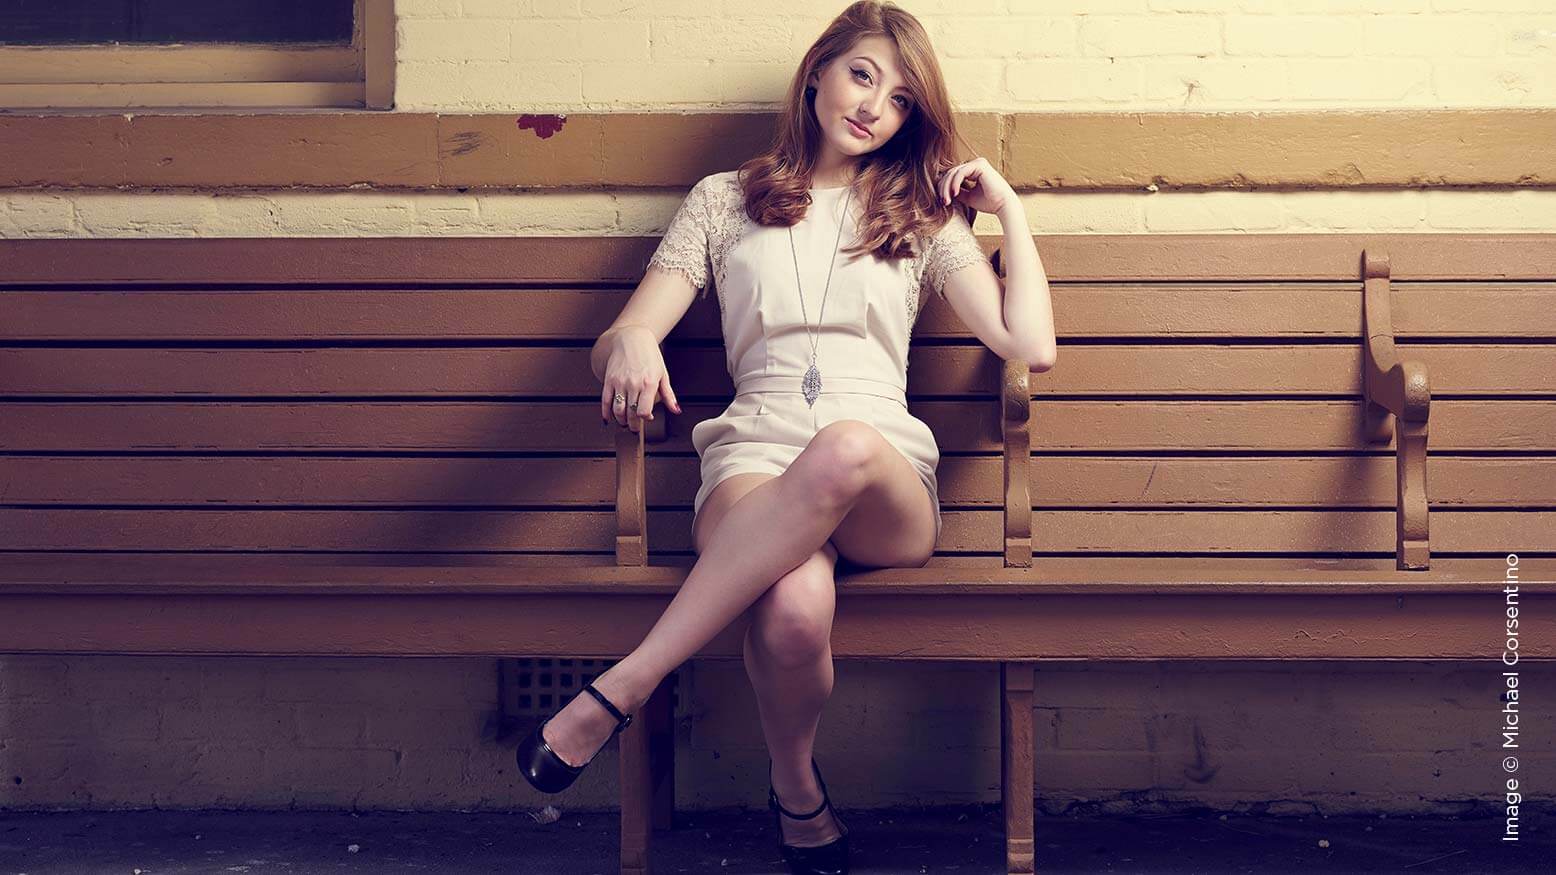
This shoot was a high school senior session with multiple locations within a three-hour window. Parking was a bit of a hike from each location. I had to transport my own gear because I had no assistants. Family members would be assisting during the shoot, and the weather forecast was calling for overcast to scattered showers. My lighting plan was for two looks, one soft and open, the other edgy and cool.
When shooting on location, determine how you’re going to support your lights. Do you have the permits you need to use light stands? Will you have assistants to hold lights? Because I knew using light stands at the planned locations was a question mark, I chose a Shur-Line locking extension paint pole with a Kacey Enterprises 5/8 pole adapter as the support for my keylight. As long as the strobes and modifiers are light, paint poles make great supports when you have assistants to hold them (in this case, a family member).
I packed one Avenger medium-duty light stand in case the assistance I’d been promised from family members didn’t materialize. You have to plan for all contingencies. The light stand could also be used to support a second CTO gelled strobe behind the subject to replicate the warmth of the sun if necessary. I packed two tripods and one Manfrotto three-way pan-tilt tripod head to use on each. The Gitzo is a full-size tripod that provides maximum stability for my honking medium-format camera, while the Really Right Stuff ground-level tripod is rock solid. I don’t use a tripod often in the field, but they’re indispensable for certain techniques, such as motion blur and producing duplicate exposures in perfect registration to hide strobes.
Strobes/Triggers:
- 2 Elinchrom Quadra pack and head strobe systems
- 1 Elinchrom EL-Skyport Transmitter Plus HS
- 4 PocketWizard Plus III transceivers, 3 mini jack cords
When I know someone will be supporting my keylight using a paint pole, I always go for the lightest strobe system I own, and that would be my two Elinchrom Quadra pack and head systems. Holding up a strobe for hours is hard work, especially for the uninitiated, so I want to make it as painless possible. The Quadra’s 400 watt-seconds of power, hundreds of pops on a single battery and super-lightweight head make it ideal for fast-moving location work. Its companion Elinchrom Skyport HS radio trigger allowed me to control the strobes’ power.
I brought two packs and two heads not only for additional light options but also to serve as backup in case any one piece in the chain failed. I also brought four PocketWizards to wirelessly trigger using my flash meter or trigger the strobes manually if necessary. I needed only three, but I packed an extra transceiver in case one failed, along with extra mini jack cords.
Strobe Light Modifiers:
- 1 Elinchrom Rotalux Deep Octabox (27.5″)
- 1 Lastolite 8-in-1 umbrella (41″)
- 1 Elinchrom Rotalux softbox for flash (14 x 35″)
- 2 Elinchrom Quadra Reflector Adapter MK-II
Elinchrom’s 27.5″ Rotalux Deep Octabox is my de facto modifier for on-the-go location work. It’s traveled far and wide with me because it’s extremely compact, lightweight and versatile, and it creates light from soft to edgy with enough coverage for full-figure work and everything in between. I chose the Lastolite 8-in-1 umbrella and 14×35 strip box to serve as accent/rim lights if necessary. Because of its shape and the broad quality of light it throws, the Lastolite 8-in-1 umbrella, GTO-gelled and used to shoot through, is a great substitute for the sun as a backlight on overcast days. The two Elinchrom Quadra Reflector Adapters are used to attach light modifiers to the Quadra strobe heads I would be using.
Expendables:
- 1 roll of CTO gel
- 1 scissors
- 1 roll gaff tape
Expendables are a category that refers to consumables and miscellaneous gear. I always bring a roll of color temperature orange (CTO) gel, scissors and gaff tape (good for a multitude of tasks) in case I need to gel my lights on overcast days to replicate the warmth of afternoon sun. As it turned out, I had plenty of warm-toned sunlight to serve as a rim/accent light behind the subject.
Reflectors/Diffusors/Misc.:
- 1 Lastolite TriFlip 8-in-1 Grip Reflector Kit (30″)
- 1 Lastolite TriGrip Diffuser, one stop (30″)
- 1 Sunbounce Dress Tube
I always take reflectors and diffusors of various shapes and sizes on location. My strobes never even leave my bag when reflectors and diffusors are all I need to get the job done. In this case, I needed compact, easy-to-pack-and-operate reflectors and diffusors that would easily fit into one roller bag. My go-to tools for this were the Lastolite Joe McNally 8-in-1 Tri-Grip Reflector and a Lastolite Tri-Grip Diffusion Panel. Both are collapsible, pack down to about a third of their expanded size and easily fit into a roller bag. They’re also easy to open, close and operate due to their built-in handles.
There are so many uses for each of these tools that it could easily fill an entire article. Suffice it to say that with a reflector, I can fill in shadows and bounce light from the sun, a strobe or an ambient light source. A diffusion panel used alone or in combination with a strobe can be used to soften harsh overhead sunlight; with a strobe fired through it, it’s essentially a makeshift collapsible softbox.
One other item I always bring on location is the Sunbounce Dress Tube, a handy collapsible dressing tube that provides privacy on location for quick wardrobe changes.
Batteries:
- AA, AAA batteries
- Phase One camera batteries
- Spare meter battery
- 2 spare Elinchrom Quadra batteries
The last thing anyone wants is to run out of power on location. I pack plenty of spare batteries for every single piece of equipment I bring.
Camera/Lenses/Etc.:
- Phase One camera and lenses
- Sekonic L-758 DR flash meter
- Compact flash cards
This category is pretty self-explanatory. I bring a range of lenses, typically three focal lengths from wide to telephoto. I also bring plenty of memory cards. Like power, the last thing you want to run out of on location is storage space. On some location jobs, I also bring a laptop, a card reader and an external solid-state hard drive to back up images throughout the shoot.
Bags
To transport everything, you’ll need bags that are up to the task. I was essentially working alone on this shoot, so I needed all my lighting equipment to fit into one bag. I used a large Kata rolling bag (no longer produced) that held everything except my camera, which was in a medium-size rolling Pelican case. Two hands, two bags—that’s it!
The Shoot
The weather cooperated and I had plenty of afternoon sun to use as backlight. I needed only one strobe and the Elinchrom Rotalux Deep Octabox (my keylight) for the entire shoot. Even though I didn’t use everything I’d brought, I had what I needed to get the job done and handle any curveballs that came my way.
Having a solid plan and being prepared for any eventuality is your best defense. It allows you to relax, work confidently and produce the winning images your clients are counting on.