
Do you know the best settings for your camera? Most believe that if you don’t photograph in manual mode you must not be a good photographer, but nothing could be further from the truth. I’ll show you the right way to use aperture priority and see if manual mode camera settings or aperture priority is better for your final images.
Equipment Used:
Camera: Canon EOS R5
Lens: Canon RF50 f1.2
Light: Natural Light
Team:
Photographer: Sal Cincotta
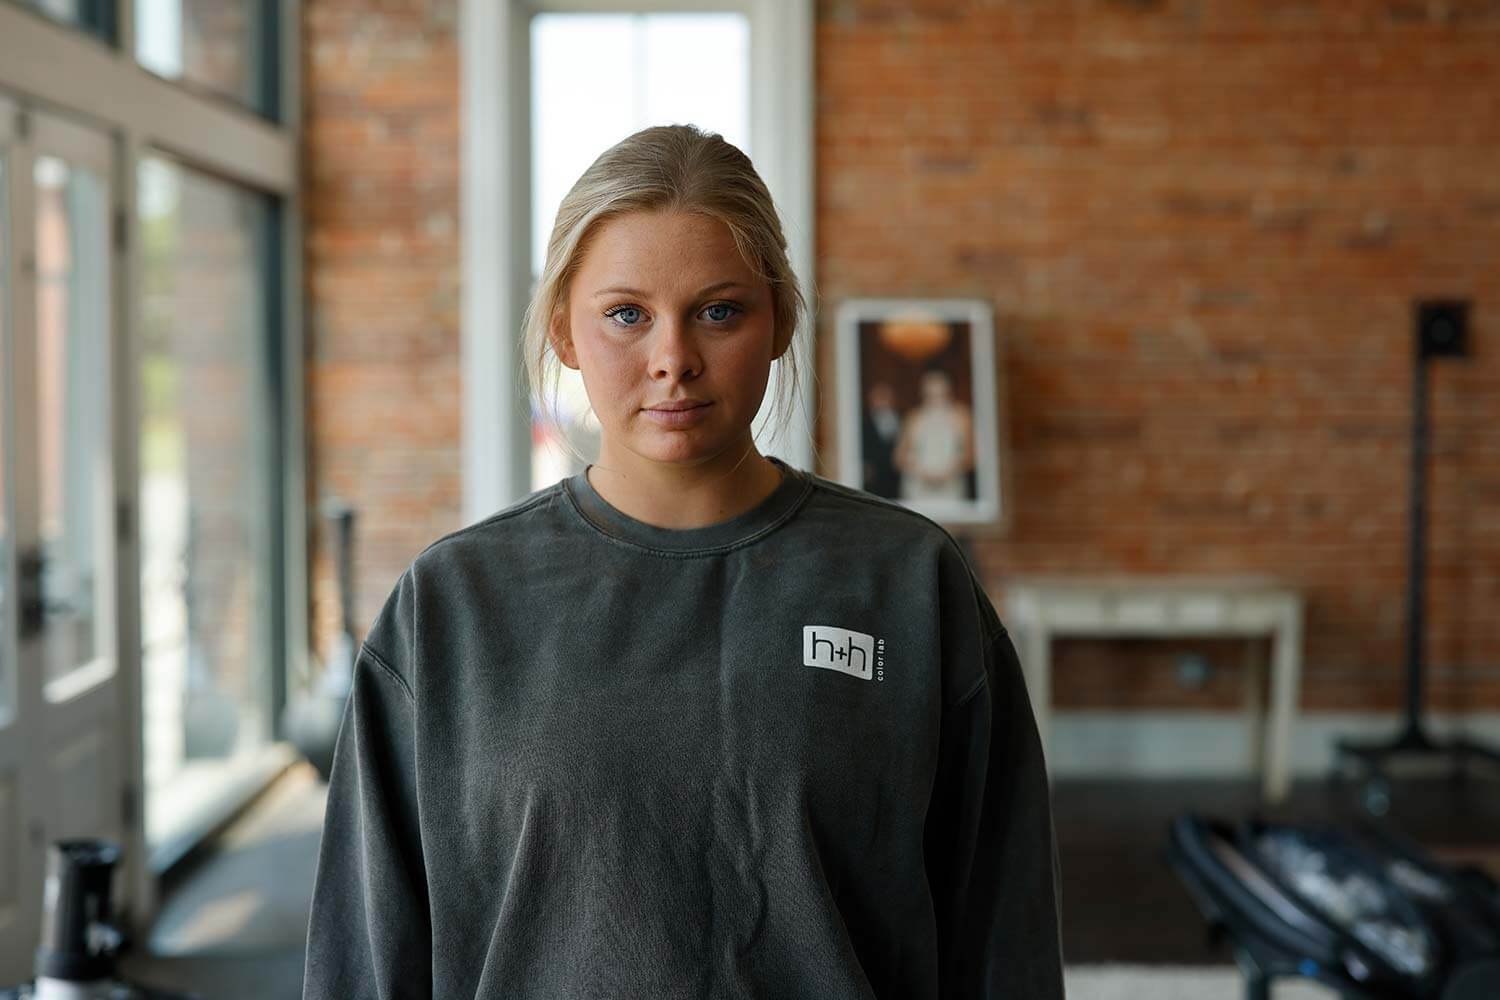
Model: Blair Winter
Are you a manual shooter? What if I told you aperture priority is actually better.
What’s up everyone, today I’m going to cover manual mode verses aperture priority with you. Now, I know you diehards out there are convinced that you can’t possibly be a professional photographer unless you shoot in manual mode. Well, as someone who is a professional photographer, I can tell you that for the last 15 years I’ve been cheating. Maybe it’s like a dirty little secret. That’s what we should tell each other. We’re sharing our secrets right now, but I’ve been shooting in aperture priority for 15 years and I love it. I’ll never go back, and here’s why: it’s faster and more consistent, and I’m going to prove it to you right now.
So before I start shooting, I’m going to show you a light meter. Are you in manual mode? Do you even know how to use a light meter? If you don’t, who cares! At the end of the day, your light meter is not going to lie to you. If I’m in the studio with studio lighting and a completely controlled environment, of course I’m in manual mode because nothing’s changing. But if you’re a wedding photographer, senior photographer, boudoir photographer, or anybody who’s moving in an environment and you’ve gotten into post production to edit your images, I call bull… If you’re a manual photographer, your exposure’s all over the place and you know it. Don’t lie.
What I don’t want to do is get back into post-production and spend hours editing. That will happen if you’re in manual mode because the metering system on the camera is not going to adjust. It’s just going to work the way you have it set.
Why Use Aperture Priority?
What do you care about as a creative photographer? I’m not talking about a sports photographer where you get a lot of action. For your typical wedding, senior, family, or boudoir shoots, the only adjustment you’re typically making is aperture. Do you really care if your exposure is at one 1000 of a second or one 2000th of a second? For the most part, the average portrait photographer does not. I don’t want to get lit up in the comments about that. I’m talking about portrait photography specifically.
With that being the case, really all I’m adjusting is creative – meaning my F-stop. Whether I want a super shallow depth of field or I want more depth, I’m going to go from 2.O to f/11, or whatever the case may be. I don’t really care within reason what that shutter speed is. So if I’m at a wedding and I’m shooting my bride, she might be getting lit with some open shade while Mom’s close by with different light on her. Then maybe there’s somebody else with different light on her. When you get into post-production, again, I’m calling bull… on it. You know for a fact you’re having to adjust exposure because there’s no way you’re moving that quick and getting your exposure completely dialed in. You just can’t move that fast. So, aperture priority has become the solution for me.
Let me prove it out to you. In one spot, my light is at 2.07. If I go over by the window and we’ve got somebody standing right over here, now they’re closer to the light and are at 4.0. We’re already over a stop different on the light. Now, what if they’re backlit? Maybe Mom and Dad are by another window, and I’m trying to turn and get that picture for the same spot. Now the light is at 1.4. So, you’re talking about the movement of over two stops of light as I move through here. This camera we’re filming on is even having trouble. I’m being backlit on the camera because she’s in manual mode on that camera.
Shooting in Manual Mode
Now I’m going to do it with actual pictures. We said before that here I was at one 25th of a second, ISO 200 2.09. So roughly 2.8. I’m going to go into manual mode and do my setting. ISO 200, one 25th of a second, and f/28. Well, 2.5 because we weren’t fully at 2.8. Now I’m going to take this picture of Blair in manual mode. It’s a beautiful shot and well exposed.
Now let’s take a picture of Molly backlit, again, in manual mode. What’s going to happen is the camera’s compensating and we don’t have an evenly exposed image. It’s blowing out the entire background. Now, let’s move Molly again. This is going to be a little bit more evenly lit, but we’re blowing highlights on the side of the image. You can see all three of those images in manual mode.
Straight On - Manual Mode
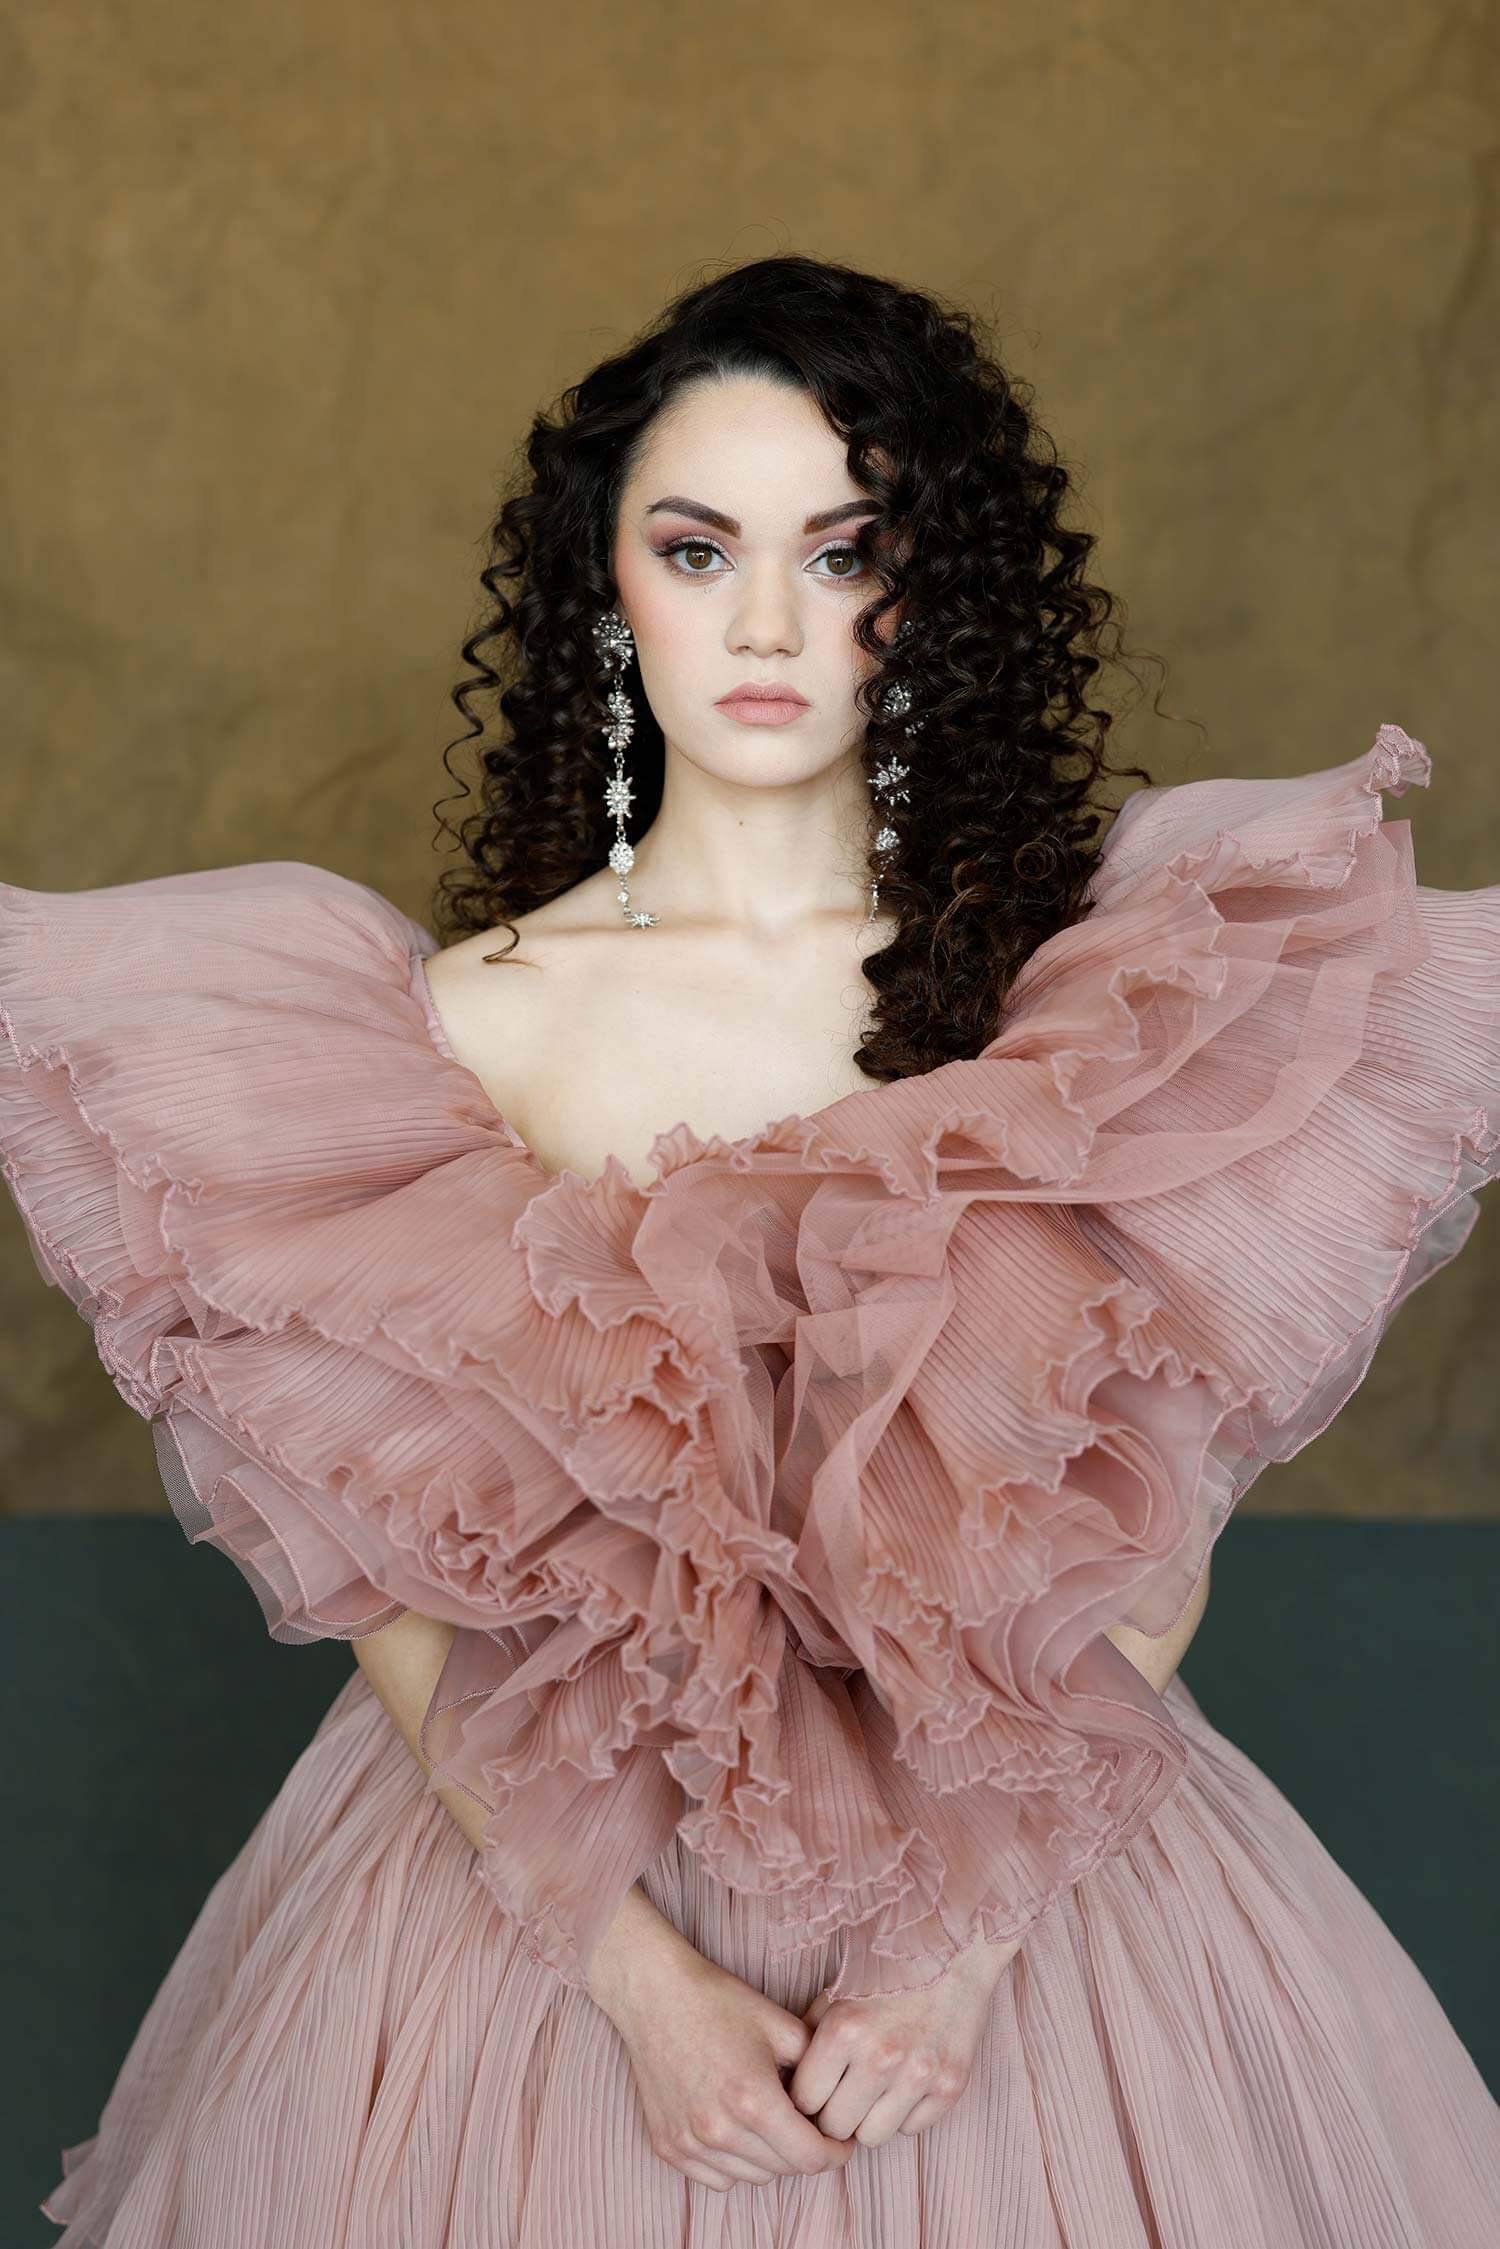
Settings: f/2.5 @ 1/125, ISO 200
Backlit - Manual Mode

Settings: f/2.5 @ 1/125, ISO 200
Sidelit - Manual Mode
Settings: f/2.5 @ 1/125, ISO 200
I’m going to take the same three images now with aperture priority.
Shooting in Aperture Priority Mode
With aperture priority, I’m going to switch to the same thing, 2.5 to keep a consistent ISO 200. What’s going to end up happening is that shutter speed’s going to be the variable here, your exposure triangle. I’m okay with it because I don’t care what that shutter speed is.
So let’s take the same picture of Blair. It actually has better exposure. We will also take the same two pictures of Molly and wow, what a difference. You can see the images below straight out of camera. These have not been edited at all.
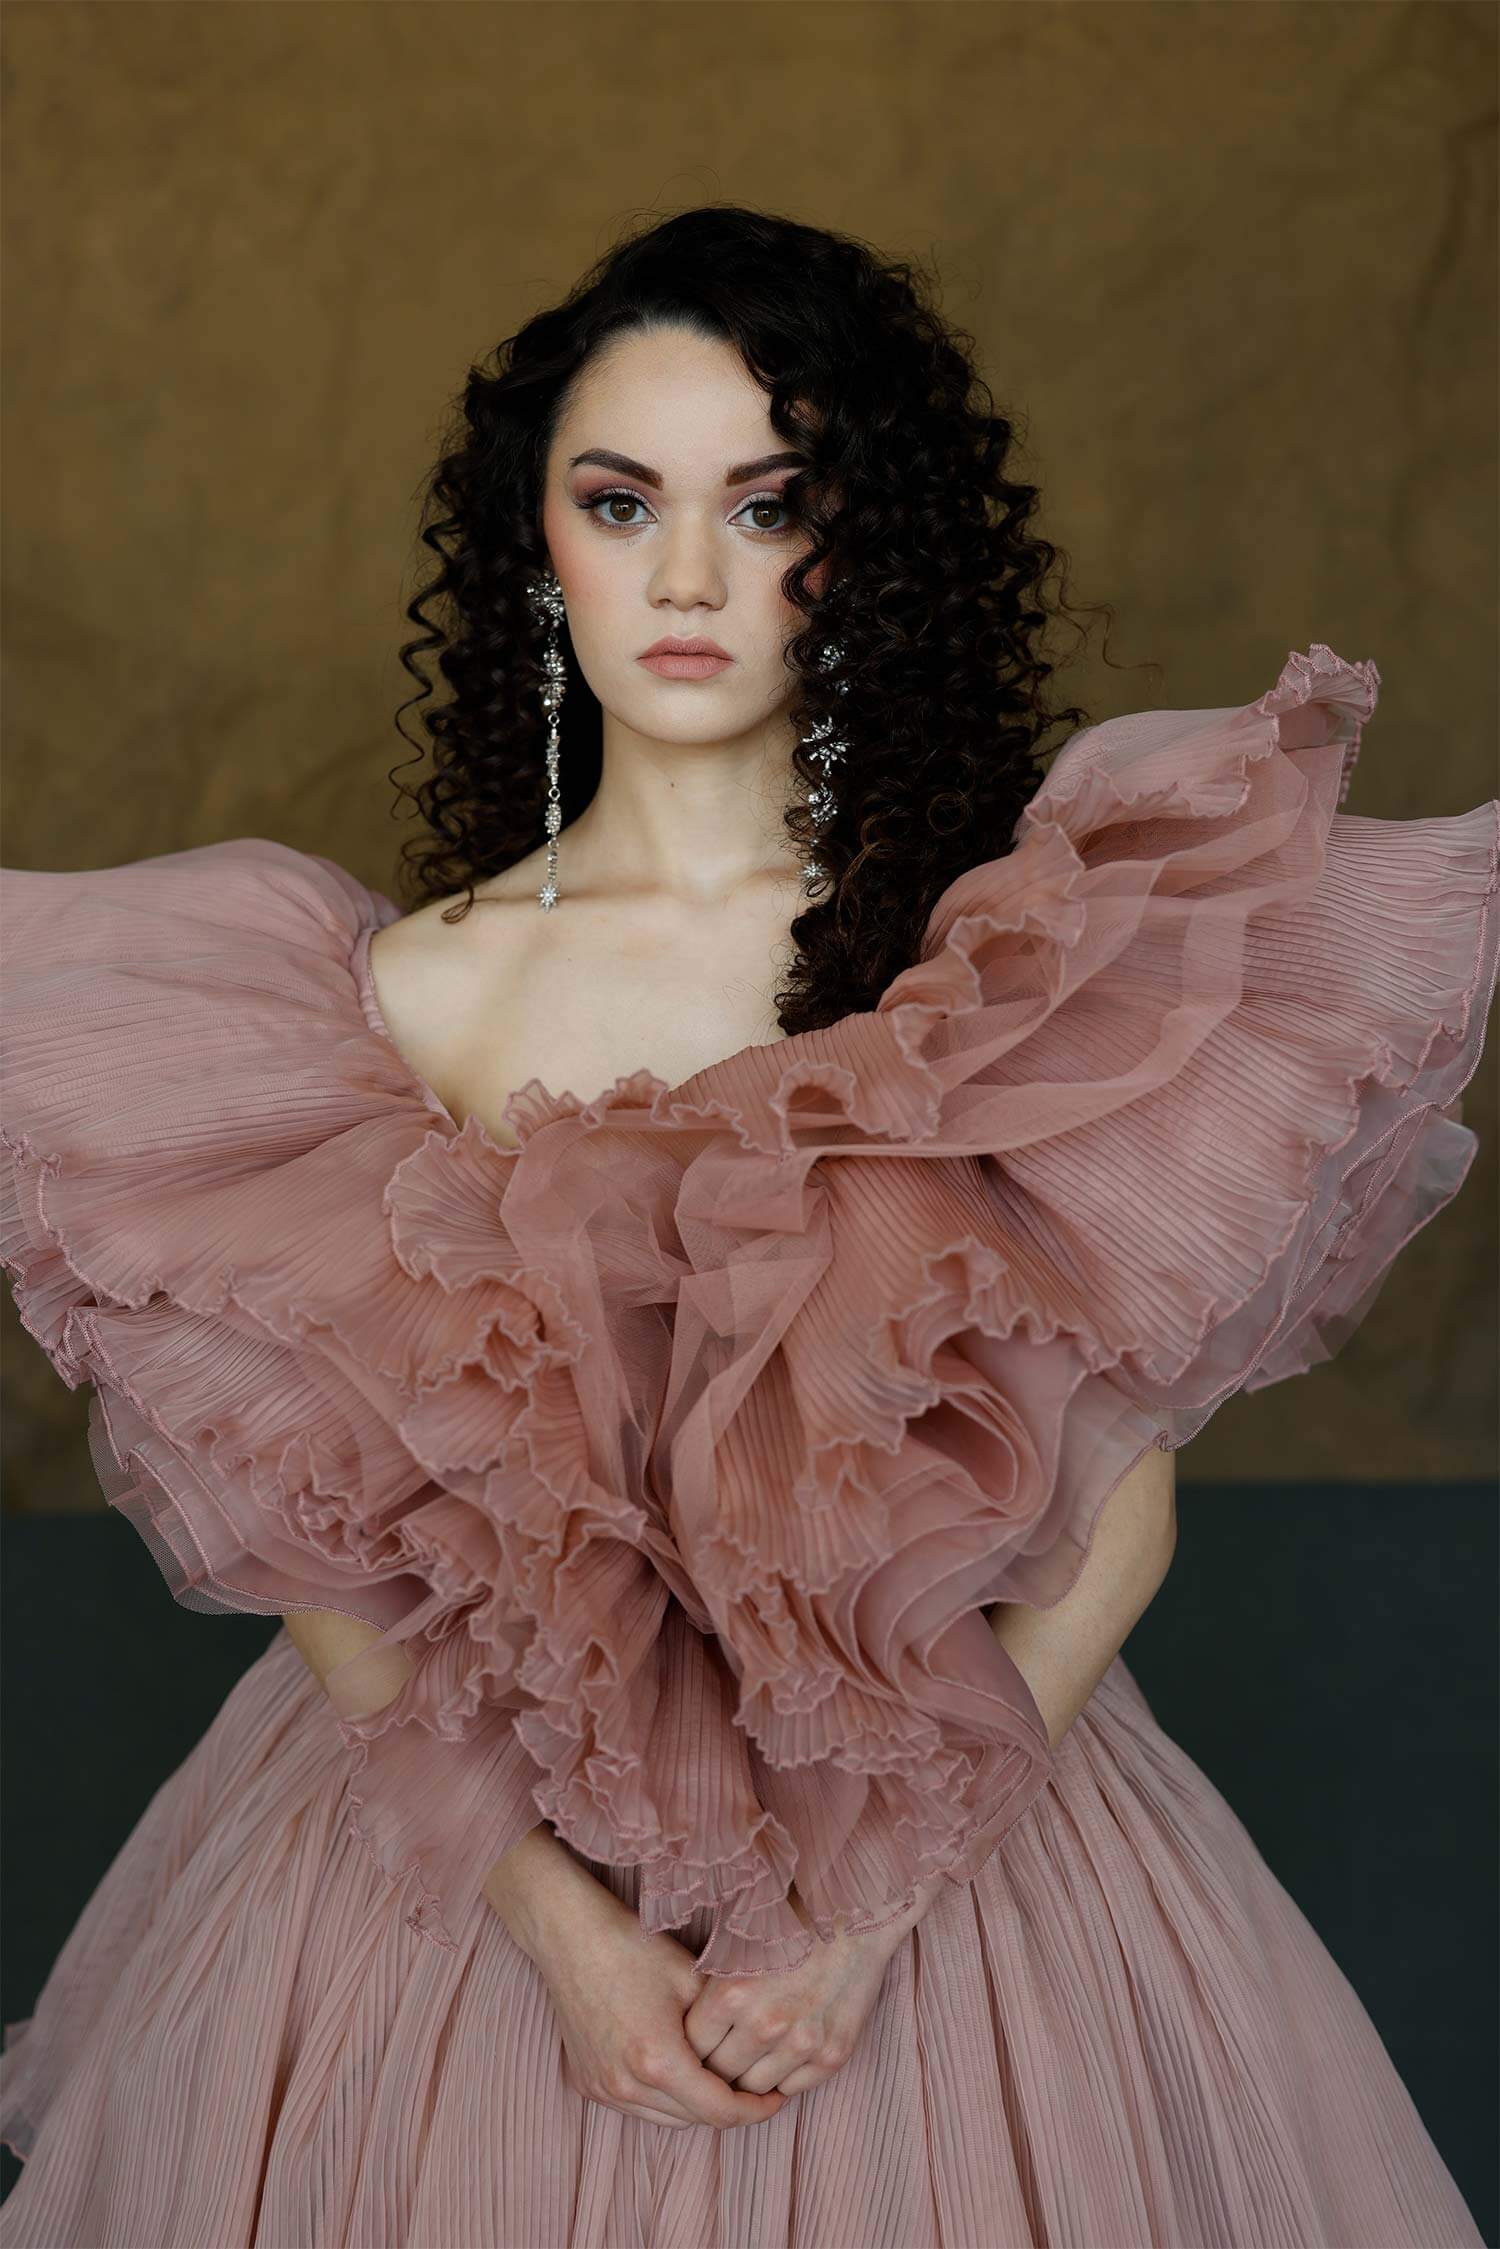
Straight On - Aperture Priority Mode

Settings: f/2.5 @ 1/250, ISO 200
Backlit - Aperture Priority Mode

Settings: f/2.5 @ 1/320, ISO 200
Side-Lit - Aperture Priority Mode

Settings: f/2.5 @ 1/800, ISO 200
So what am I trying to impress upon you?
I can now go back from a job and throw these images into Lightroom. In aperture priority, if I’m off it’s only because the metering system in the camera is off by a quarter stop or something like that. All my images will be off a quarter a stop throughout the entire scene, and I can make that blanket adjustment to those images. My post-production time is going to be a fraction of what it is in manual mode.
In manual mode now, I truly have to go image by image in each of these scenes and make that adjustment. So some could be a quarter stop, some could be a full stop, and some could be a half stop. It’s all over the place. I know you’ve felt that pain. Shooting in manual mode does not make you a professional at all. It’s understanding your exposure triangle and understanding your camera equipment and how it all works together to get the best possible shot with the best possible exposure. You can do all this while also working as quickly and as efficiently as you possibly can.
I hope that helps you guys and at least makes you scratch your head. Go out there and try it before you hate it. Don’t go in the comments to tell me you don’t love it or you’ll never do it. Give it a try and let me know what you think in the comments below. We’ll see you in the next video.
Side by Side Image Comparison
Manual Mode

Aperture Priority Mode
Manual Mode
Aperture Priority Mode

Manual Mode

Aperture Priority Mode


This Post Has 2 Comments
Thanks for this. I’ve only ever used AP, and I’ve never used a studio-and even though I get good shots, it always felt like cheating. Thanks for showing me it’s actually just using the tool the most efficiently
Outstanding, and very well explained straight to the point, with photo illustrations. I’m a very wise Newbie entry level photographer. YouTube is my Photography University. The amazing photography education I have acquired in two years, learning quickly note taking , video watching has excelled my advancement greatly. But, that could not have happened if it wasn’t for you Sal Cincotta and many other very experienced Photographers, who take the time to share and teach Photography Principles, Rules, and basic Guidelines on YouTube. Yes, you are absolutely correct. Thanks, and by the way your Portrait Photos are supremely Radiant with capturing glory.