
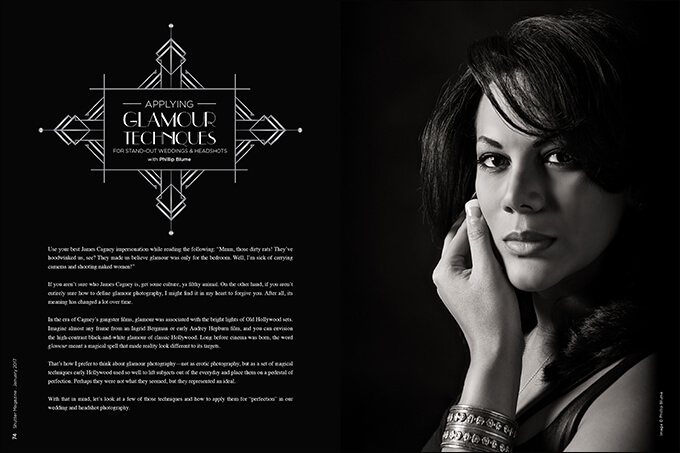
Applying Glamour Techniques for Stand Out Weddings and Headshots with Phillip Blume
Want more information on this article? Get access to video content and additional supporting images. Launch the January issue of the magazine by logging in or signing up for a free account by clicking here. Shutter Magazine is the industry’s leading professional photography magazine.
Use your best James Cagney impersonation while reading the following: “Mmm, those dirty rats! They’ve hoodwinked us, see? They made us believe glamour was only for the bedroom. Well, I’m sick of carrying cameras and shooting naked women!”
If you aren’t sure who James Cagney is, get some culture, ya filthy animal. On the other hand, if you aren’t entirely sure how to define glamour photography, I might find it in my heart to forgive you. After all, its meaning has changed a lot over time.
In the era of Cagney’s gangster films, glamour was associated with the bright lights of Old Hollywood sets. Imagine almost any frame from an Ingrid Bergman or early Audrey Hepburn film, and you can envision the high-contrast black-and-white glamour of classic Hollywood. Long before cinema was born, the word glamour meant a magical spell that made reality look different to its targets.
That’s how I prefer to think about glamour photography—not as erotic photography, but as a set of magical techniques early Hollywood used so well to lift subjects out of the everyday and place them on a pedestal of perfection. Perhaps they were not what they seemed, but they represented an ideal.
With that in mind, let’s look at a few of those techniques and how to apply them for “perfection” in our wedding and headshot photography.
- Greater Contrast Ratio
Old Hollywood largely relied on bright lights to illuminate stages for low-tech cameras that struggled to see in the dark. The result was that iconic high contrast, a mix of both dark shadows and well-exposed highlights in the same image. The glamorous light conveniently suited the melodramatic themes of classic cinema. What is exciting about today’s high-ISO cameras is that they allow us to achieve the same look, whether we use supplemental off-camera strobes or stick with natural light.
But where do you find that kind of light? You have to know where to look.
When shooting available light, look for naturally glamorous light anywhere indirect sun is filtering in from one direction. Look down an alley, under a low-hanging tree bough or in a large entryway. The important thing is to make certain the light is coming into your space only through a relatively narrow opening. An awning over a long walkway is probably no good since light is still coming in from all around. The point is to not block overhead light, but to leave your subject mostly in shadow and underexposed. Deep shadows create a sense of mystery in glamour photography. A singularly controlled light, then, allows you to draw attention only to the most flattering and desirable elements of a face or body.
Remember the inverse square law? It’s crucial to getting your lighting ratios right. As light travels, it loses its power a lot faster than you might expect. Wedding photographers pay homage to this principle in ugly getting-ready rooms every time they shoot a portrait by window light.
You learn quickly that if you want that trendy bright and airy bridal portrait, you have to move the bride farther from the window. If you’re too close to the light source, the front of her white dress looks blown out, even as the back of the dress (farthest from the window) disappears into shadow or ugly orange hotel light.
For glamour, though, you want that quick falloff. Move your subject closer to the light source and expose for the highlights. You’re not trying to show everything in your glamour portrait. Let the background go dark and crop away the unimportant bits. This is your perfect opportunity to light those glamorous details, too.
I love the control I get with portable strobes, which allow me to create glamour light in any environment. Don’t get confused: High-contrast light is not necessarily the same as “hard light.” In fact, I tend to shoot through an umbrella that is as close as possible to my subject. This creates softer, flattering, romantic light without a hard edge. But because the light is close to my subject, the falloff is still quicker. That means more shadows, more specific points of interest left in the light and more glamour.
- Higher, Faster, Farther
Now, where to place your light for a glamour look? Think “higher, faster, farther.” Subjects tend to look more glamorous under a more elevated keylight, which accentuates the shape of the face and cheekbones, casts shadows down the nose and neck, and brightens the eyes.
If you’re totally dependent on natural light, this might mean waiting until the perfect moment before sunset, or “golden hour,” when the sun is overhead at a 45-degree angle to your subject (or even higher, but never directly overhead). To complete the effect, have your subject face the sun, but turn her face aside until a shadow is cast along one side of her face. An overcast day will also get in the way of this look; the last thing you want is omnidirectional light filling in your shadows. Look for direct sunlight, and feel free to soften it with a diffuser—as long as you keep it directional.
As the sun drops lower, you can create a unique but equally glamorous shot using sunlight behind your subject. Now that the sun is near the horizon (too low to cast those shadows down the cheek and neck), turn your model around. Keep the sun itself out of frame to reduce flair, or place your subject’s body directly between your camera and the sun to obscure it entirely. Either way, your model is now glowing with a seemingly celestial light. You can bring in a reflector (high above your model’s eyeline but not so high as to leave her eye sockets dark) and direct the sun’s rays down across her face. For glamour, a silver cover on your reflector works wonders—it increases the power of the reflected light and magnifies your high-contrast look, plus it lends additional specular highlights reminiscent of Old Hollywood.
The point is to make sure the main light is farther from you, always coming in from a different direction than your shooting angle. Your camera and the light need to stay farther apart, so this is not a genre for on-camera flash shooters. (Well, that’s only partly true, as I’ll demonstrate in the video below.)
If you’re using a strobe, place your light farther around the side of your model than you’re used to. Get used to extreme light angles. Again, raise it higher and point it down more sharply. Have an assistant lift the stand and dangle it over your subject, aiming it at the ground in front of them. This technique, known as “tabletopping,” shapes cheekbones dramatically. If you use a softbox or umbrella, the indirect rays coming through the modifier will light your subject, while the middle of your light (pointed toward the ground or a reflector below) will bounce back up and help fill any shadows that are too deep with lost information.
The “faster” part comes into play with strobe, too. For manual strobe, you’re limited by your camera’s shutter sync speed. You can’t shoot faster than about 1/200 second on most cameras, so don’t shoot any slower than that, either. In general, you want to keep out as much ambient light as possible, guiding your viewer with the light you’re adding to the scene.
- Multilight Setups and Natural Direction of Light
I’ve heard it said that effective commercial photography is often the result of “more flashes, more specifically focused on more elements of the image.” That’s certainly the case for many old and glamorous films, and for cinema today. For glamour photography, it doesn’t hurt to get brave and make the big jump into multilight setups. For now, though, let’s just touch on the value of using at least two lights.
Glamour requires something the art world calls “sprezzatura.” Your subject should look unaffected, distant and transcendent. One way to make any model seem “above the fray” or even otherworldly is to subtly defy the laws of nature.
A photographer should generally position any off-camera light to illuminate his subject from the same direction as the natural light visible in the image. In other words, if the clouds and trees in your background are lit by the sun from frame left, you should also light your bride from frame left. Although the lighting now looks beautiful, it’s not too good to be true—you’ve created the illusion that all the light in the image is natural.
Glamour gives you the opportunity to learn the rules so you can break them. So mix things up and try a cross-lit pattern—a hair light from camera left, a keylight from camera right. Or, while shooting outdoors, set up so that the setting sun paints your background directionally from camera right, then light your subject from high camera left. The composition can be stark or subtle, but it leaves the viewer with that glamorous flavor in her mouth, as if the subject is unaffected by the laws of nature, illuminated by celestial light.
- Set the Scene (Props, Locations, Play of Light)
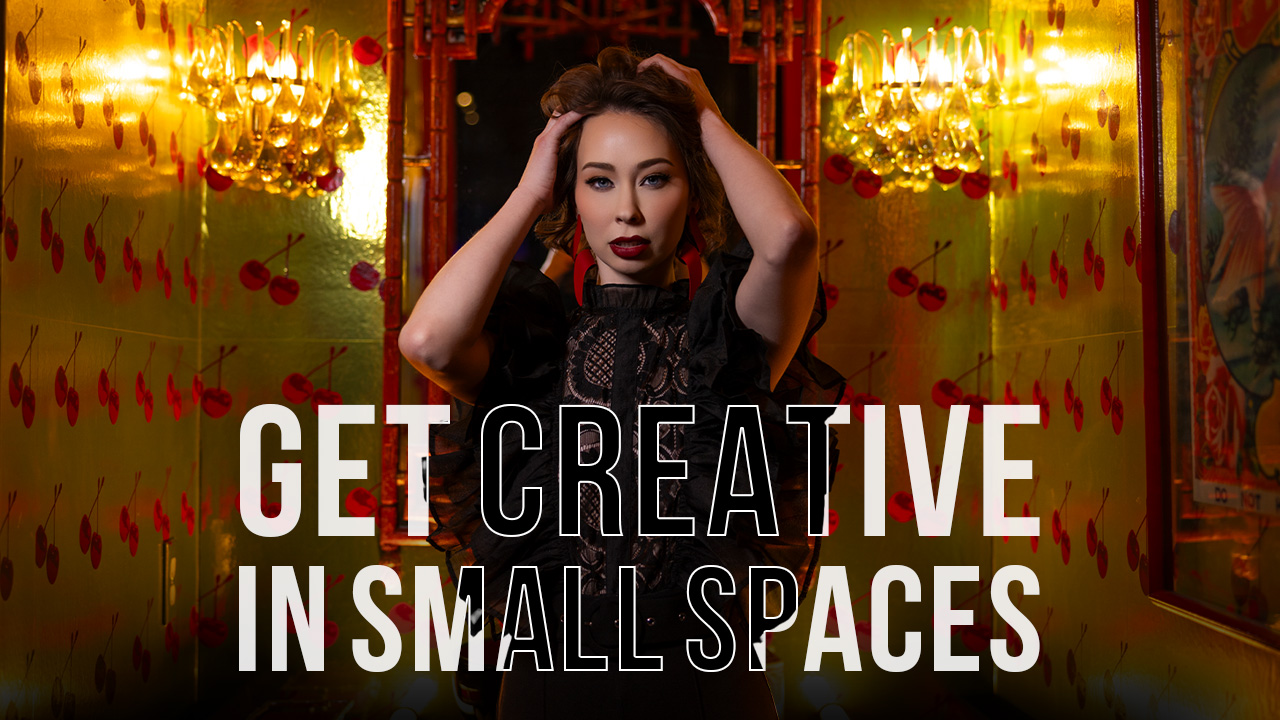
Finally, keep in mind that glamour techniques are not suitable in every situation. If you’re shooting portraits or a wedding at a classic art deco building, you want to pull these tricks out of your bag. But while shooting a barn wedding, not so much. I like to play with glamour style during the individual bridal portraits and groom’s portraits on a wedding day. During a headshot session, I always get my standard, well-lit money shots first. That’s what clients are paying for. But I never miss the opportunity to create more stylized glamour shots to keep myself creative and impress the client. These images aren’t about smiling at the camera; direct the expression (as I’ll show you in the video below) to add to the mood. The more glamorous shots are often what clients choose for book covers and album sleeves.
Glamour photography may sometimes seem like an advanced, unobtainable genre with too much fancy technique. It’s the very glitz and glamour of this style that makes celebrity look unobtainable. That’s the power of perception. But it’s one of the best genres in which to explore and perfect light. It is a bold and unapologetic genre, full of extremes. Learn this, and then you’ll be ready to move on to the nuance and subtle techniques of any other genre.
To download a free behind-the-scenes lighting video shot on location with Phillip Blume, visit www.blumephotography.com/light-live-demo (this month only).
Want more information on this article? Get access to video content and additional supporting images. Launch the January issue of the magazine by logging in or signing up for a free account by clicking here. Shutter Magazine is the industry’s leading professional photography magazine.


This Post Has One Comment
Hey Sal,
Great magazine!
I’m unable to download the light-live -demo listed in the Glamour Issue. I found the site, and joined their community. Still can’t find it even on the site.
Thanks so much,
Deborah Flowers