Join me during this workshop in London where we work on location with off camera flash during a bridal portrait session. In this tutorial, I will show you how quickly and easily you can use flash to create extremely unique looking portraits for your wedding clients and wedding portfolio.
Equipment Used:
Camera: Canon EOS R5
Lens: Canon RF15-35 f2.8
Light:Westcott FJ200
Team:
Photographer: Sal Cincotta
Model: Aistė
Hair & Makeup: Brandi Patton, Refine Beauty
Ready to do on location bridal portraits using off camera flash. Let’s get to it. All right, so we’ve got a lot of noise going on behind us. There’s people talking, they’re Nikon photographers, which is why they talk while we’re rolling. Ooh. Burn. So what we’re doing today is we are using the FJ200 with the trigger grip. That is not the official Westcott term for this, but we are changing it to the Sal Cincotta trigger grip. I like that term. Westcott, change your product name, you’ll sell more products. Okay, we’re going to do is we’re going to use this. We are in London. We’ve got a lot of traffic. We’ve got to move quickly. And so one of the things to shooting with off-camera flash when it’s daylight out is you’re going to more than likely kick into high-speed sync with your camera. So one of the things I want you guys to try at home, if you’re going to do this, is you don’t want to make your flash work too hard, is you want to put it to ISO low.
So for Sony, Nikon shooters and Canon shooters. Canon, it’ll typically be in your extended menu to extend your ISO range and you push it to 50, which is one stop less than 100. And the reason you want that is because it’s going to save you one stop of power on your lights. So your lights working less, it recycles faster, all those good things. But we want to be in high speed sync because I don’t want to photograph this at F11 F16 to get my shutter speed below 200th of a second. Anything above 200th of a second is considered high speed sync. And I want to do that because I want a shallow depth of field here. So I really want it to look milky and separate our subject from the background. So that’s what we’re going to do. Let’s stop talking about it. Let’s get to it.
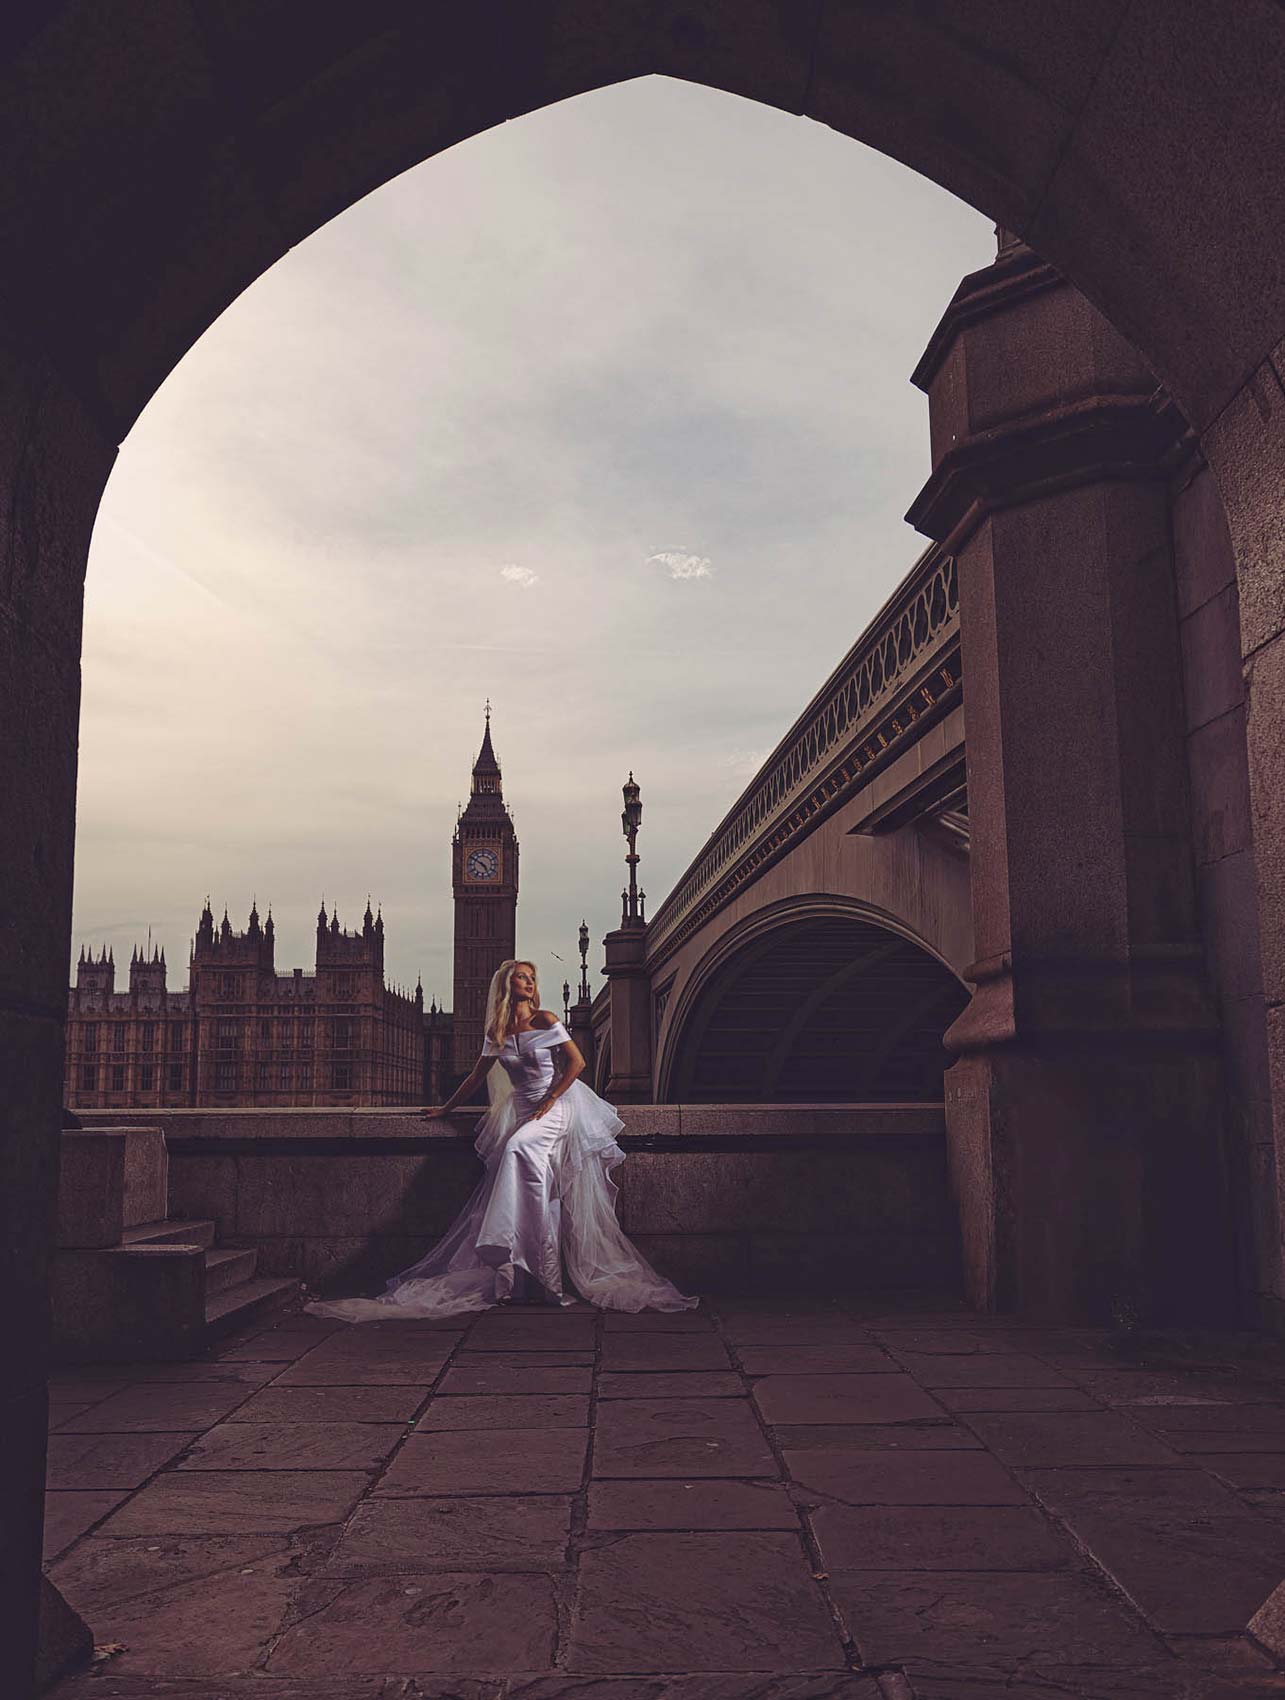
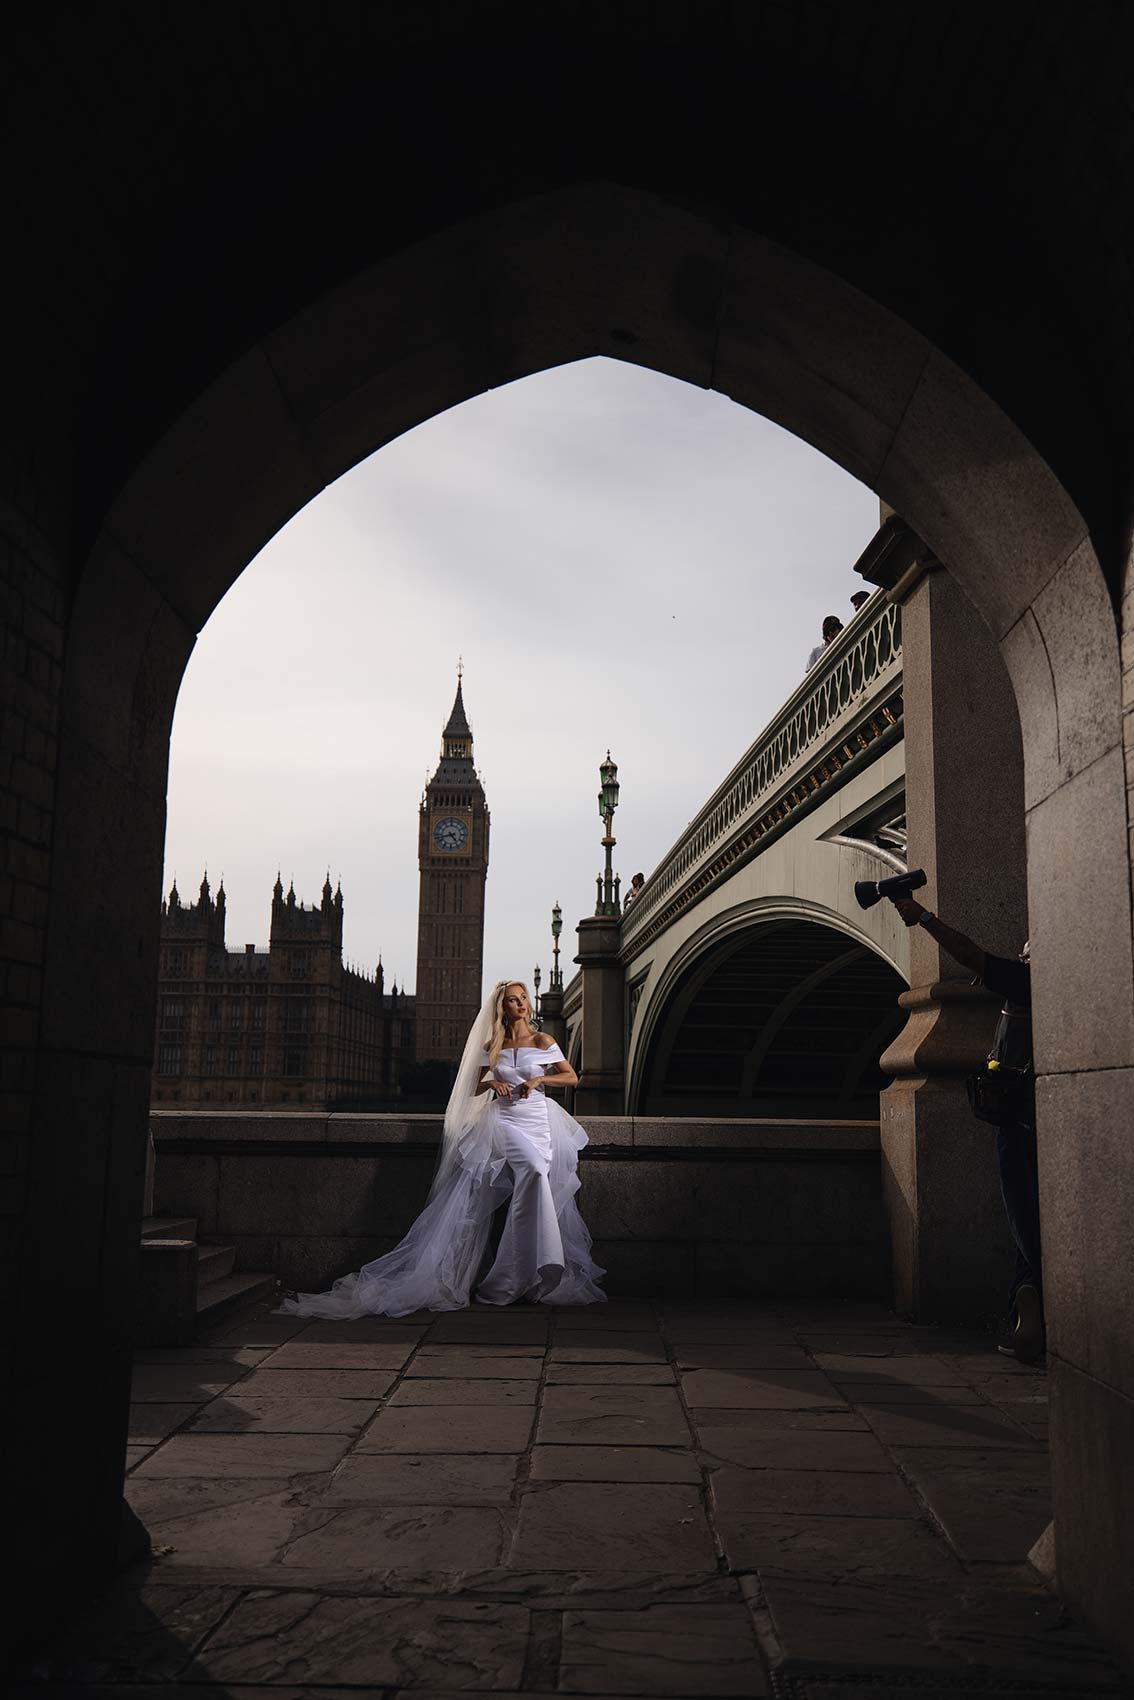
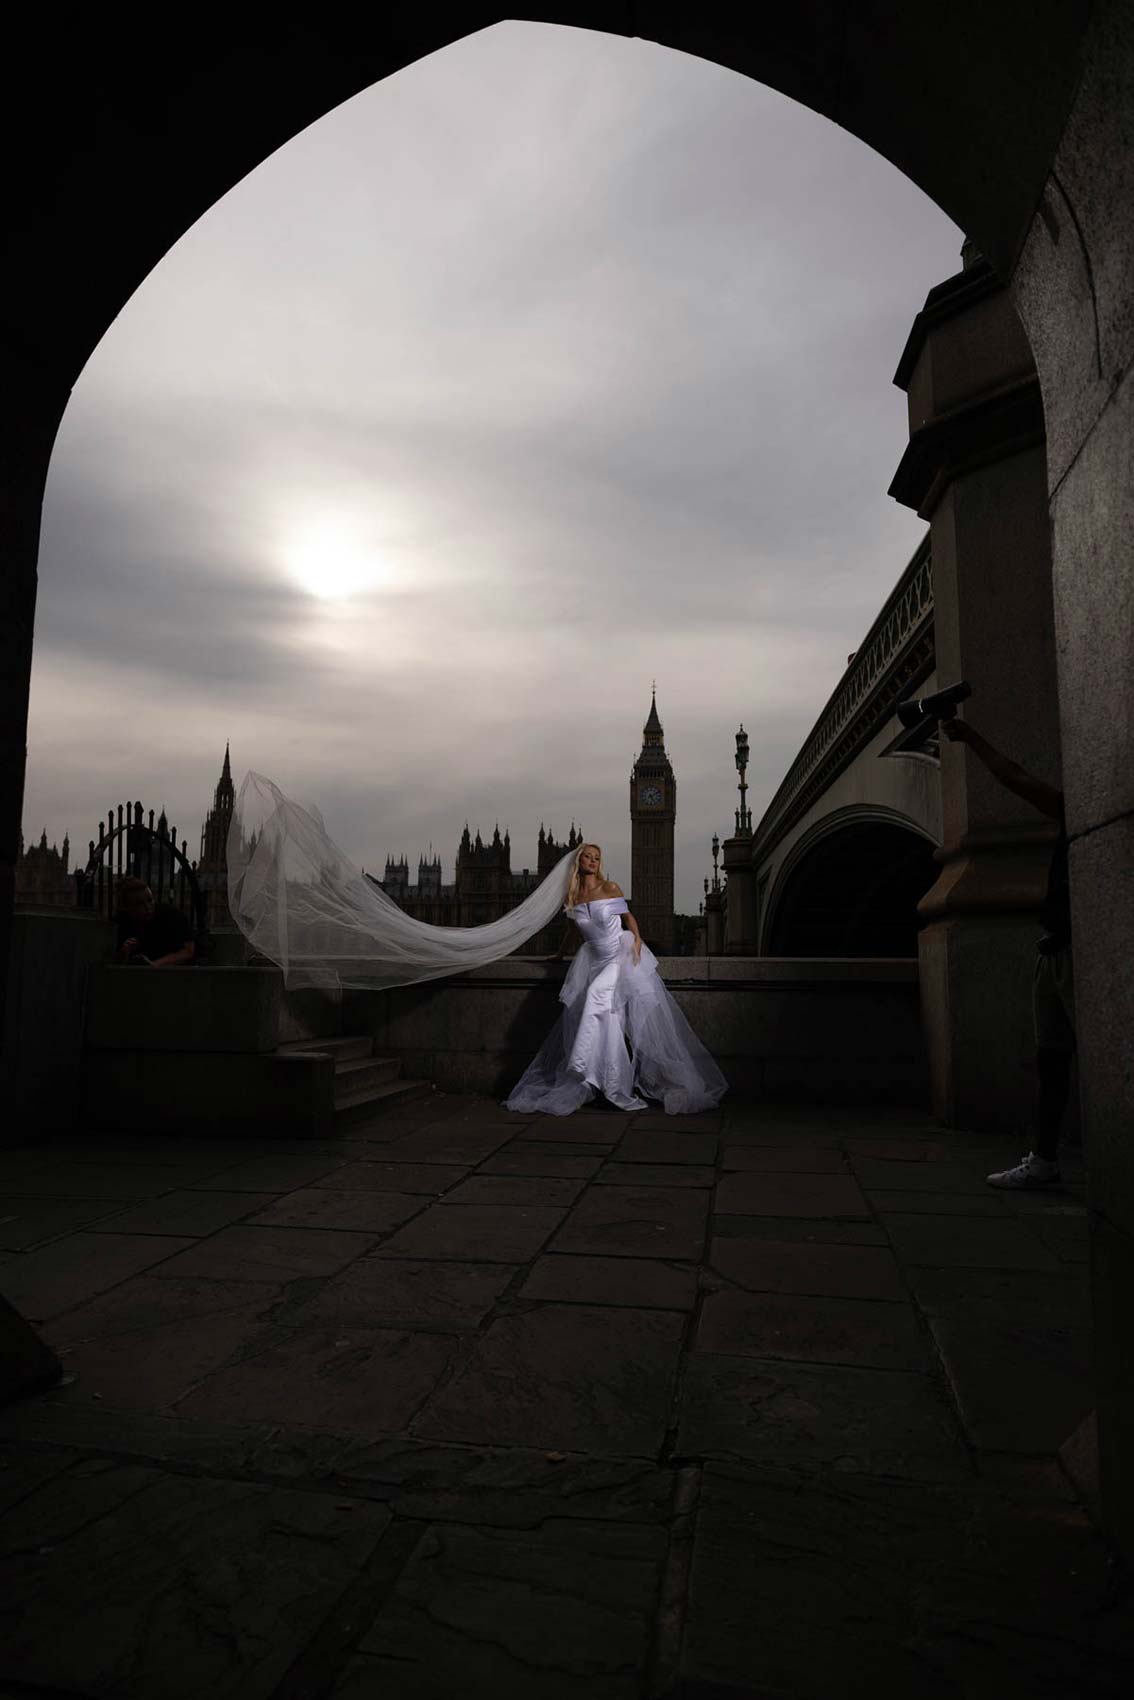
Underexposed 2 stops
Settings: f/2.8 @ 1/3200, ISO 50
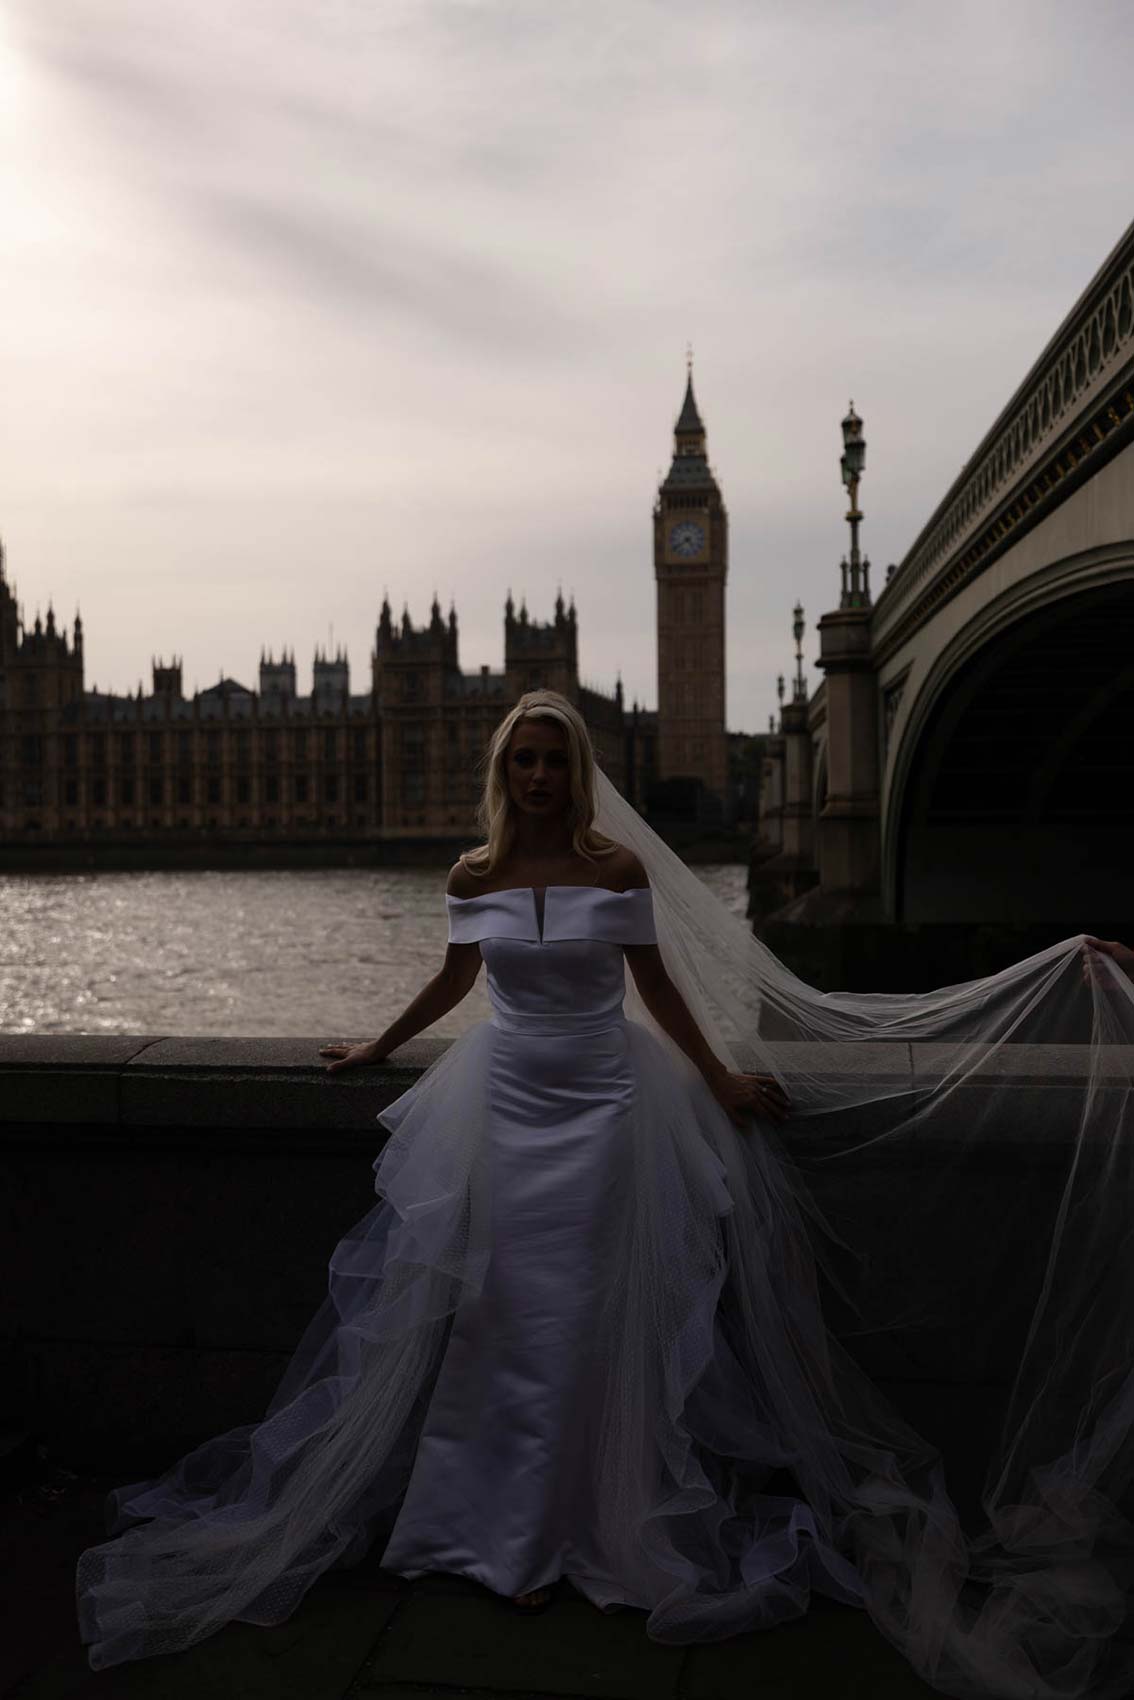
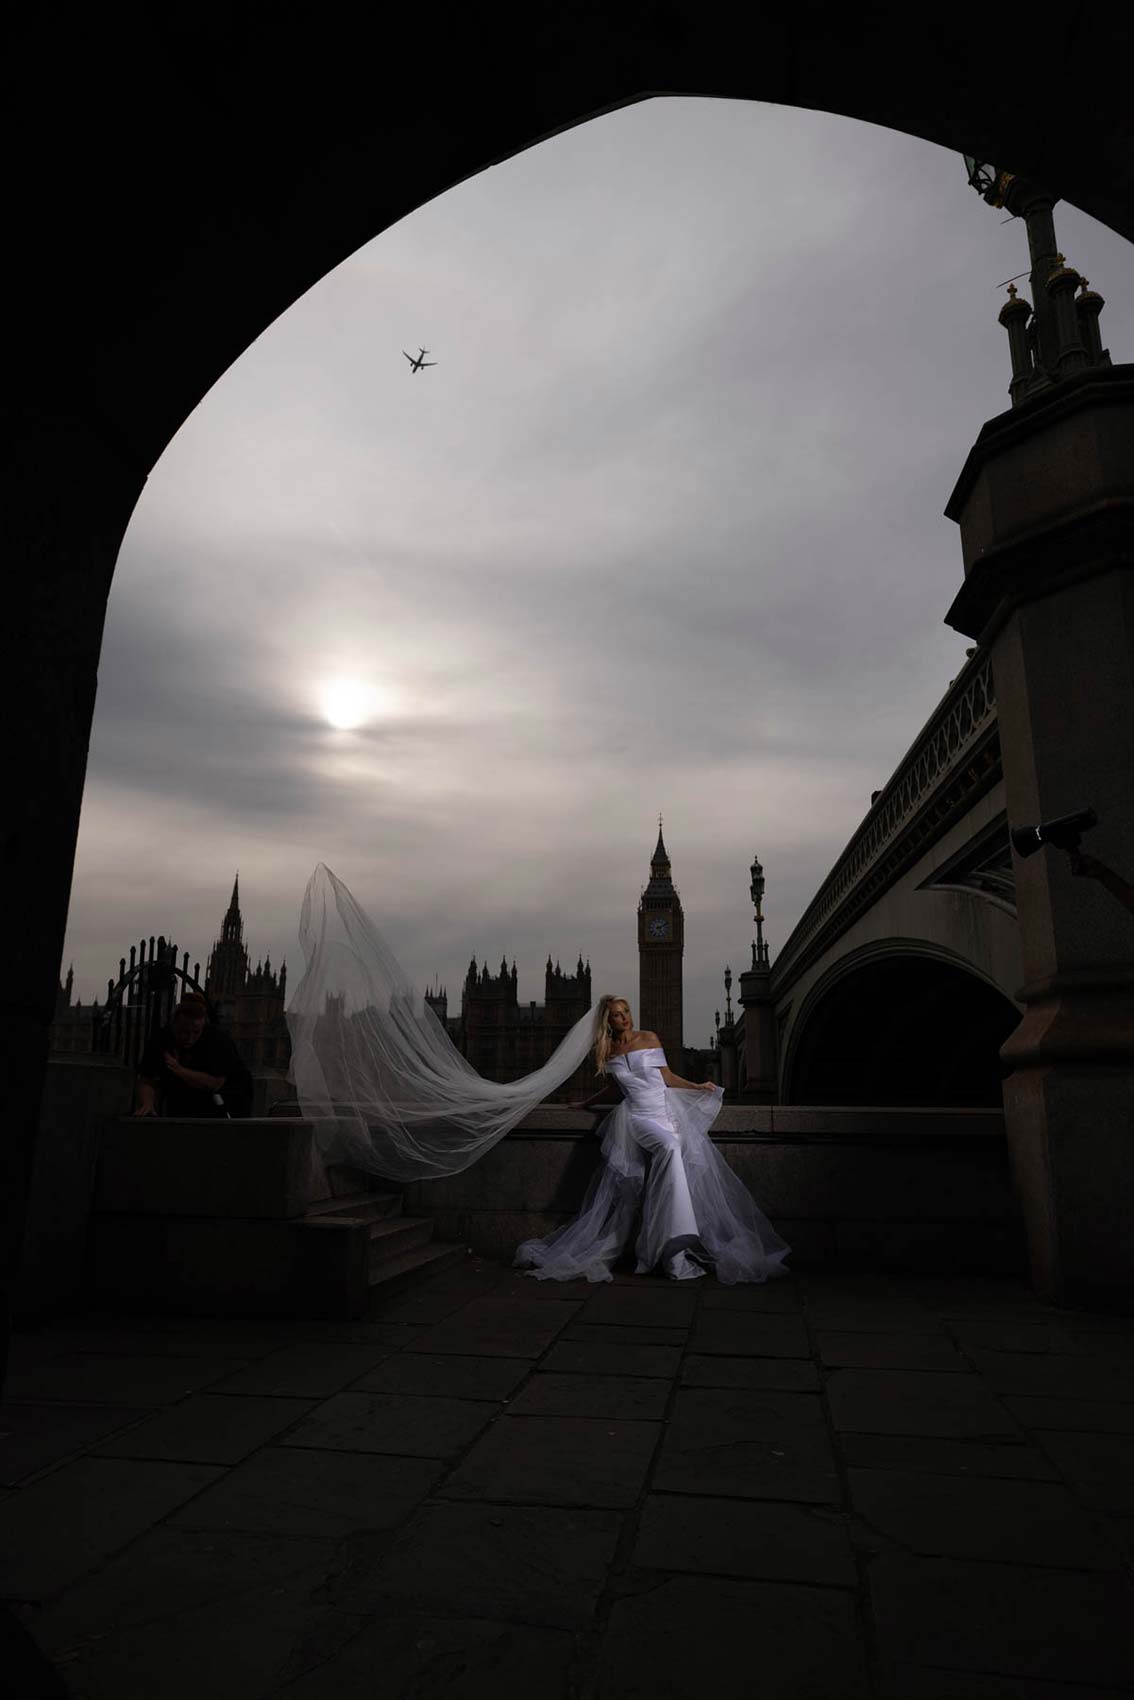
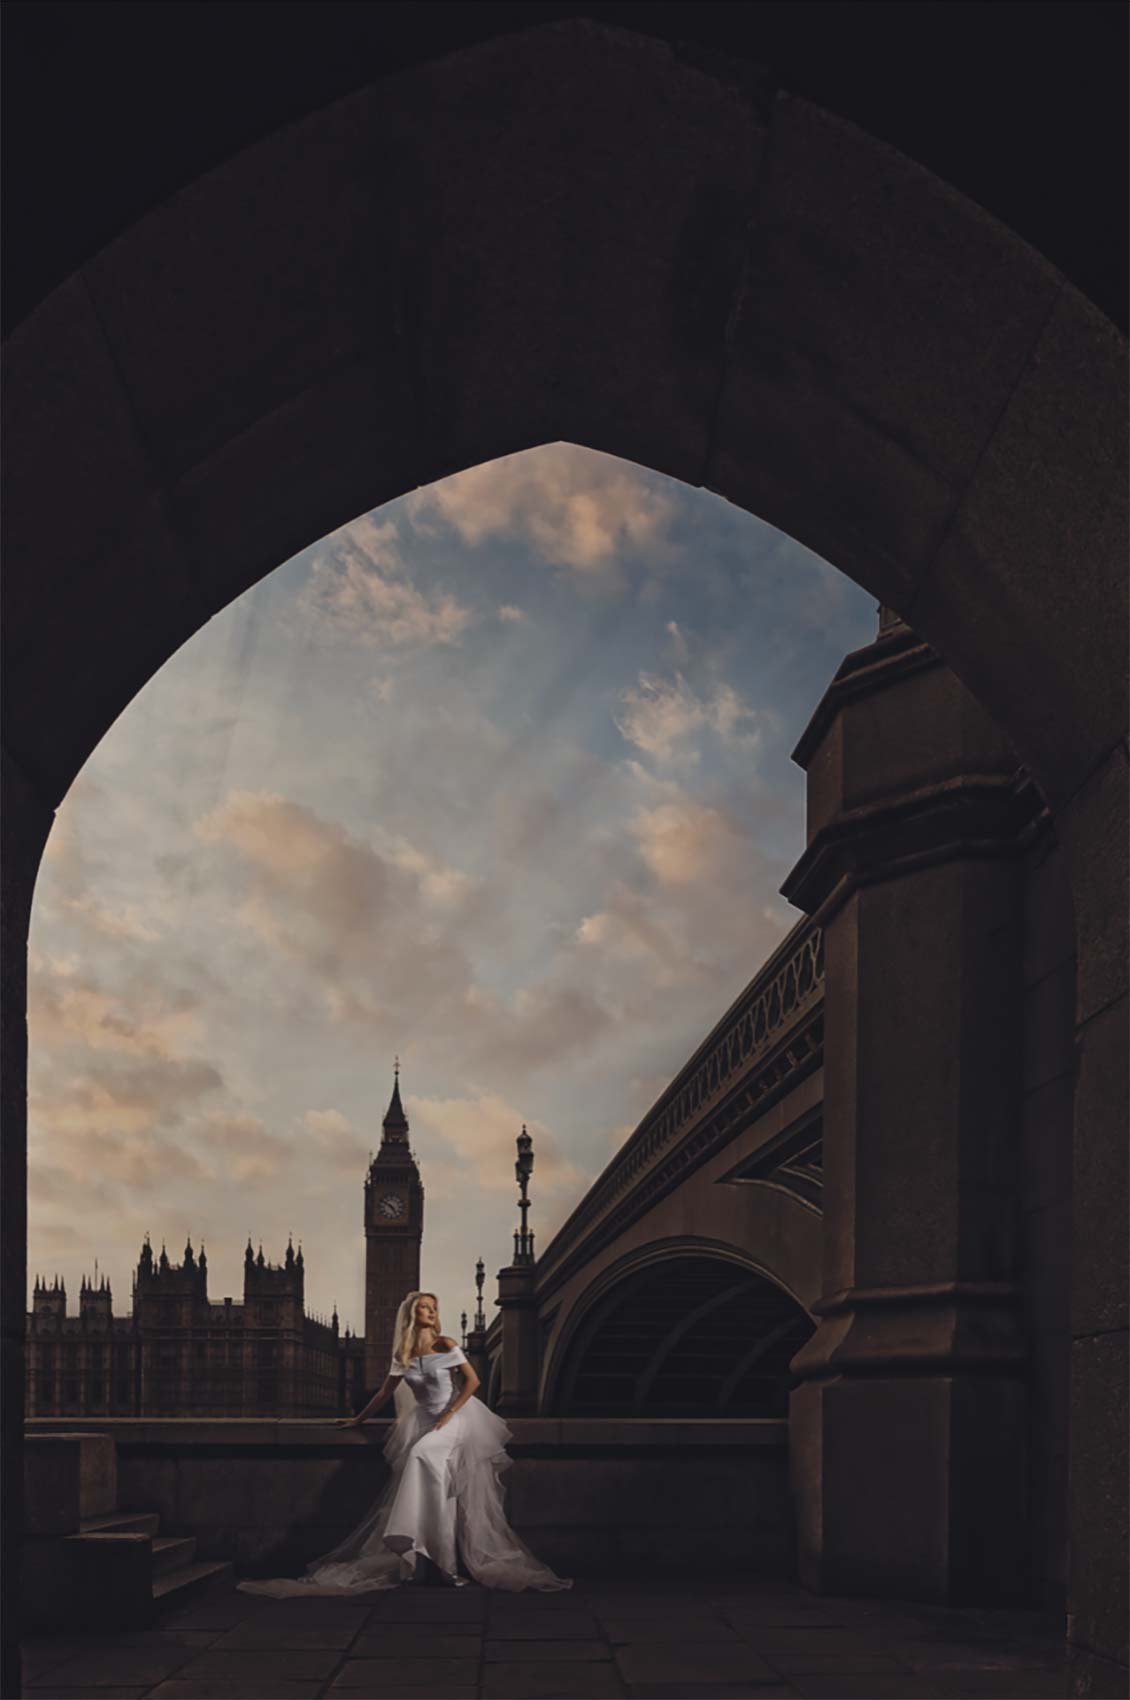
Underexposed 3 stops
Settings: f/2.8 @ 1/3200, ISO 50
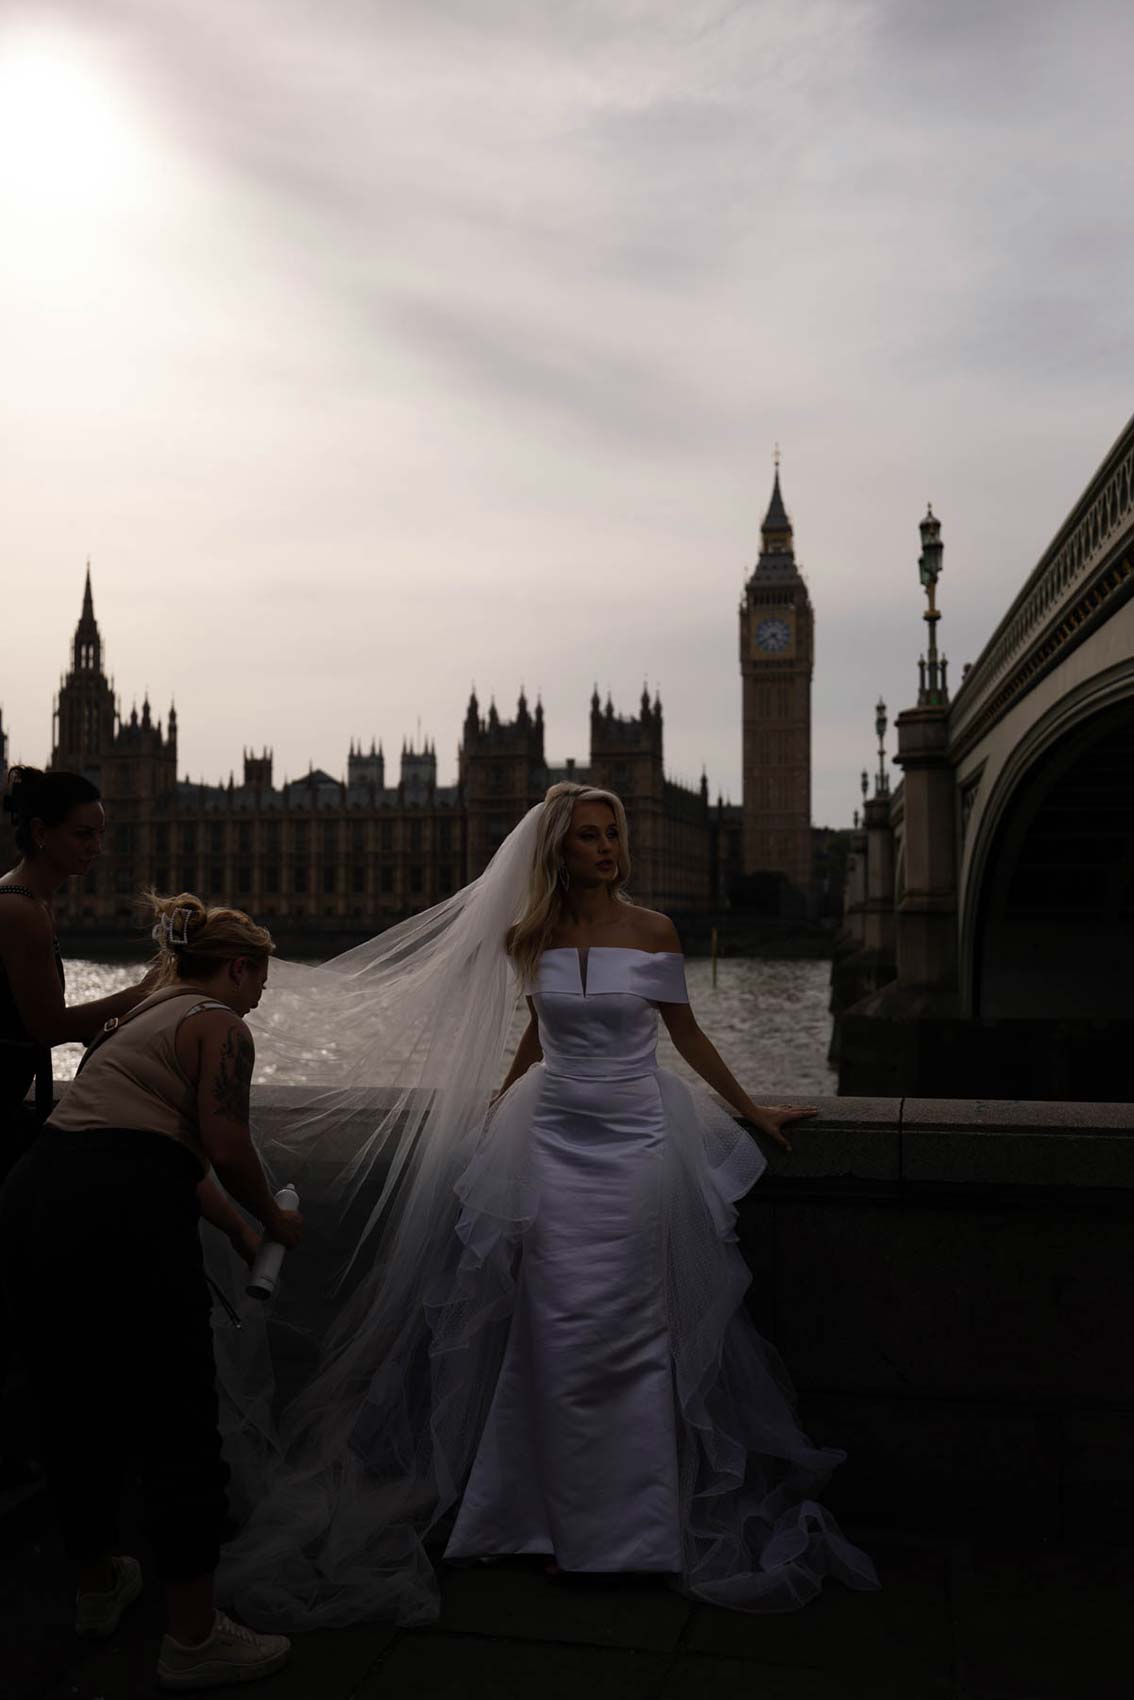
Settings: f/2.8 @ 1/6400, ISO 50
Settings: f/2.8 @ 1/6400, ISO 50
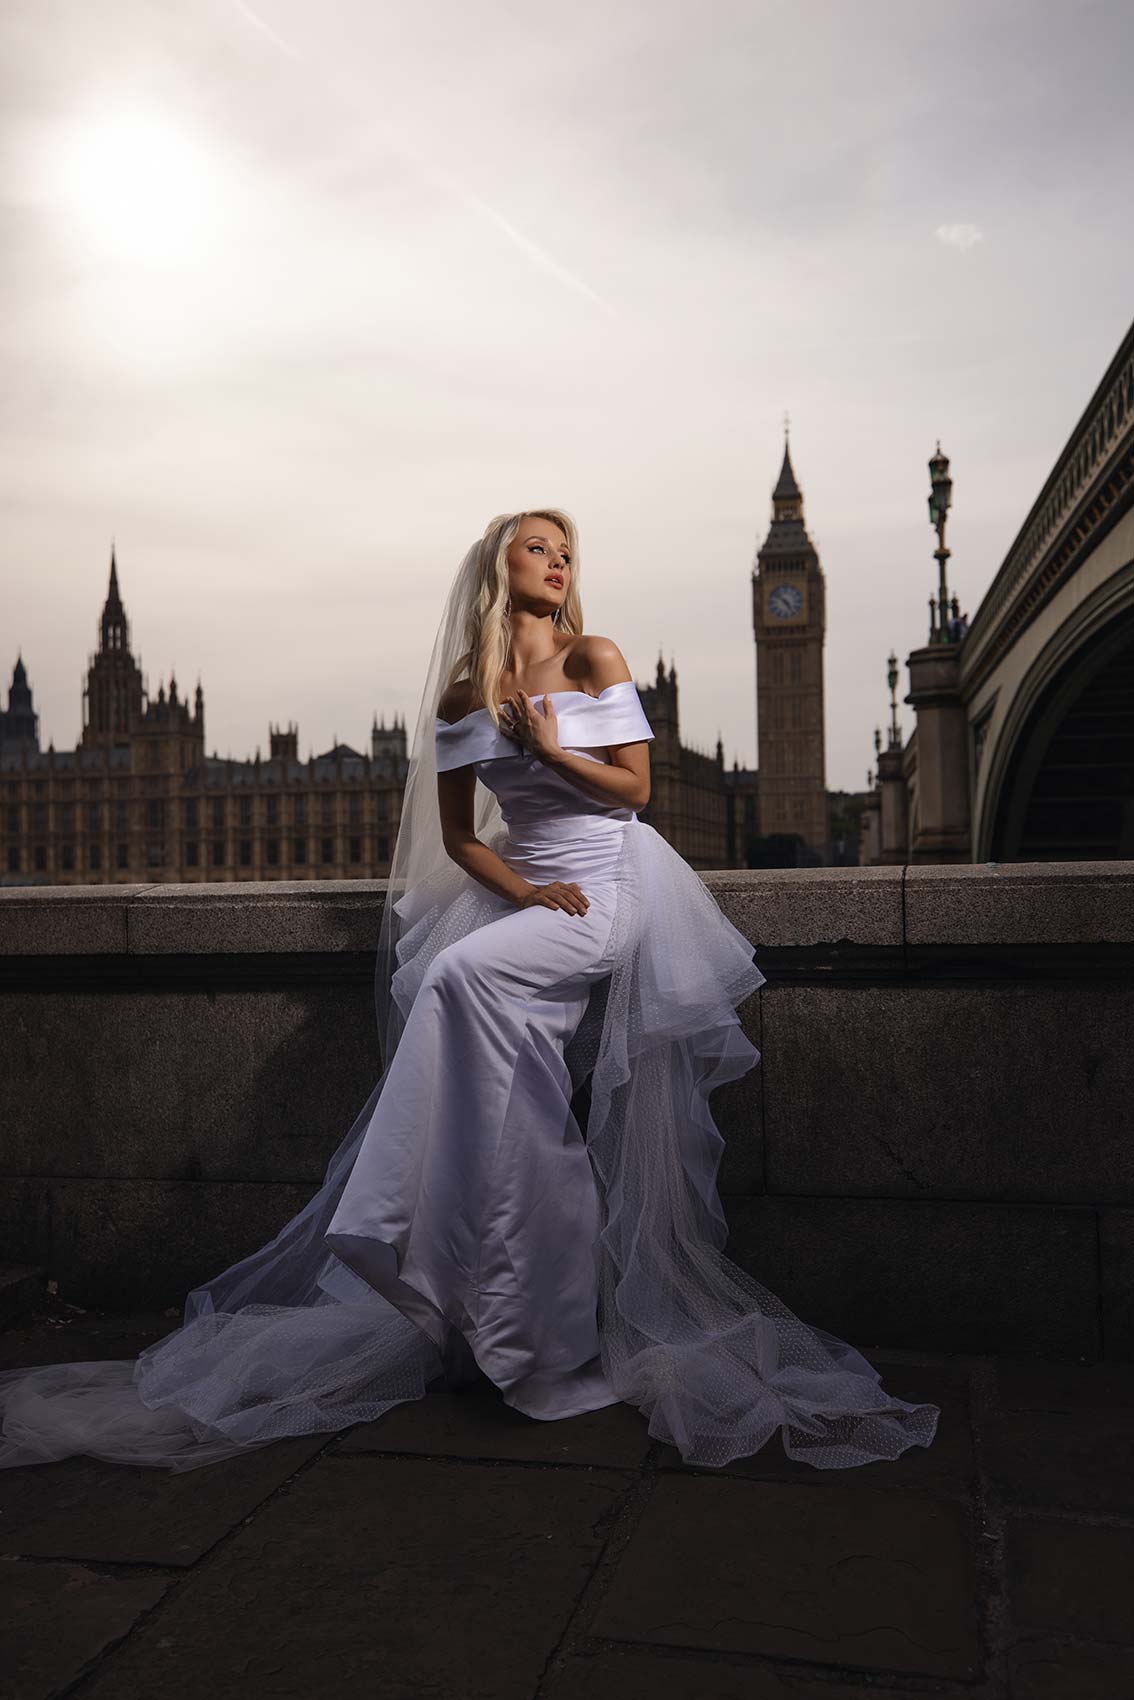
So the camera’s exposing for the scene, the sky, the secondary element, which is usually a mountain, a church or something in the background. And the flash is going to expose for your subject, which is going to be our bride in this case. Speaking of which, let’s turn around and our bride is taking selfies. Oh yeah, it’s not a selfie. She should take a selfie, flip the camera and take a selfie that you can give them. And so that’s what we’re trying to do here. So now that I’ve got my camera dialed in and I am an aperture priority, I love shooting that way, you’ll see it’s easier. Give it a try. All right. Ice, I’m going to have you right there. Let’s get somebody holding this flash. What we’re doing here is now we’ve got this light high.
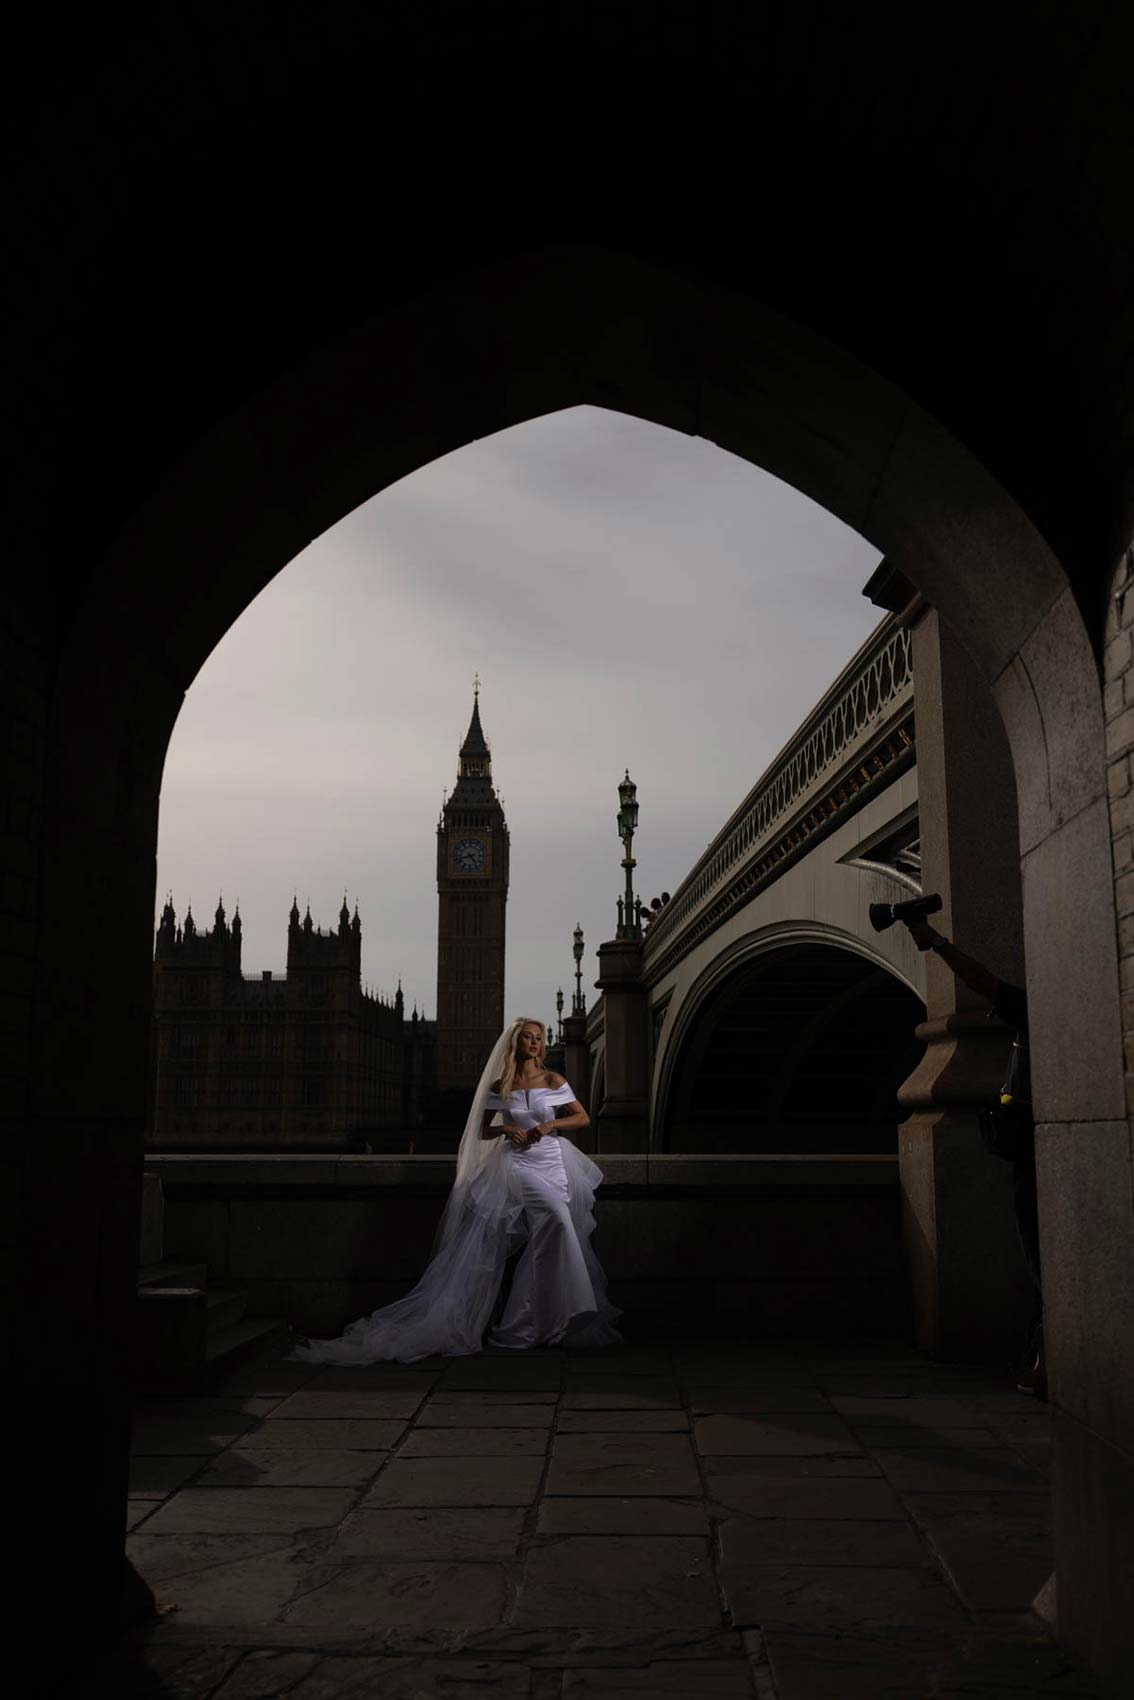
Settings: f/2.8 @ 1/2000, ISO 50
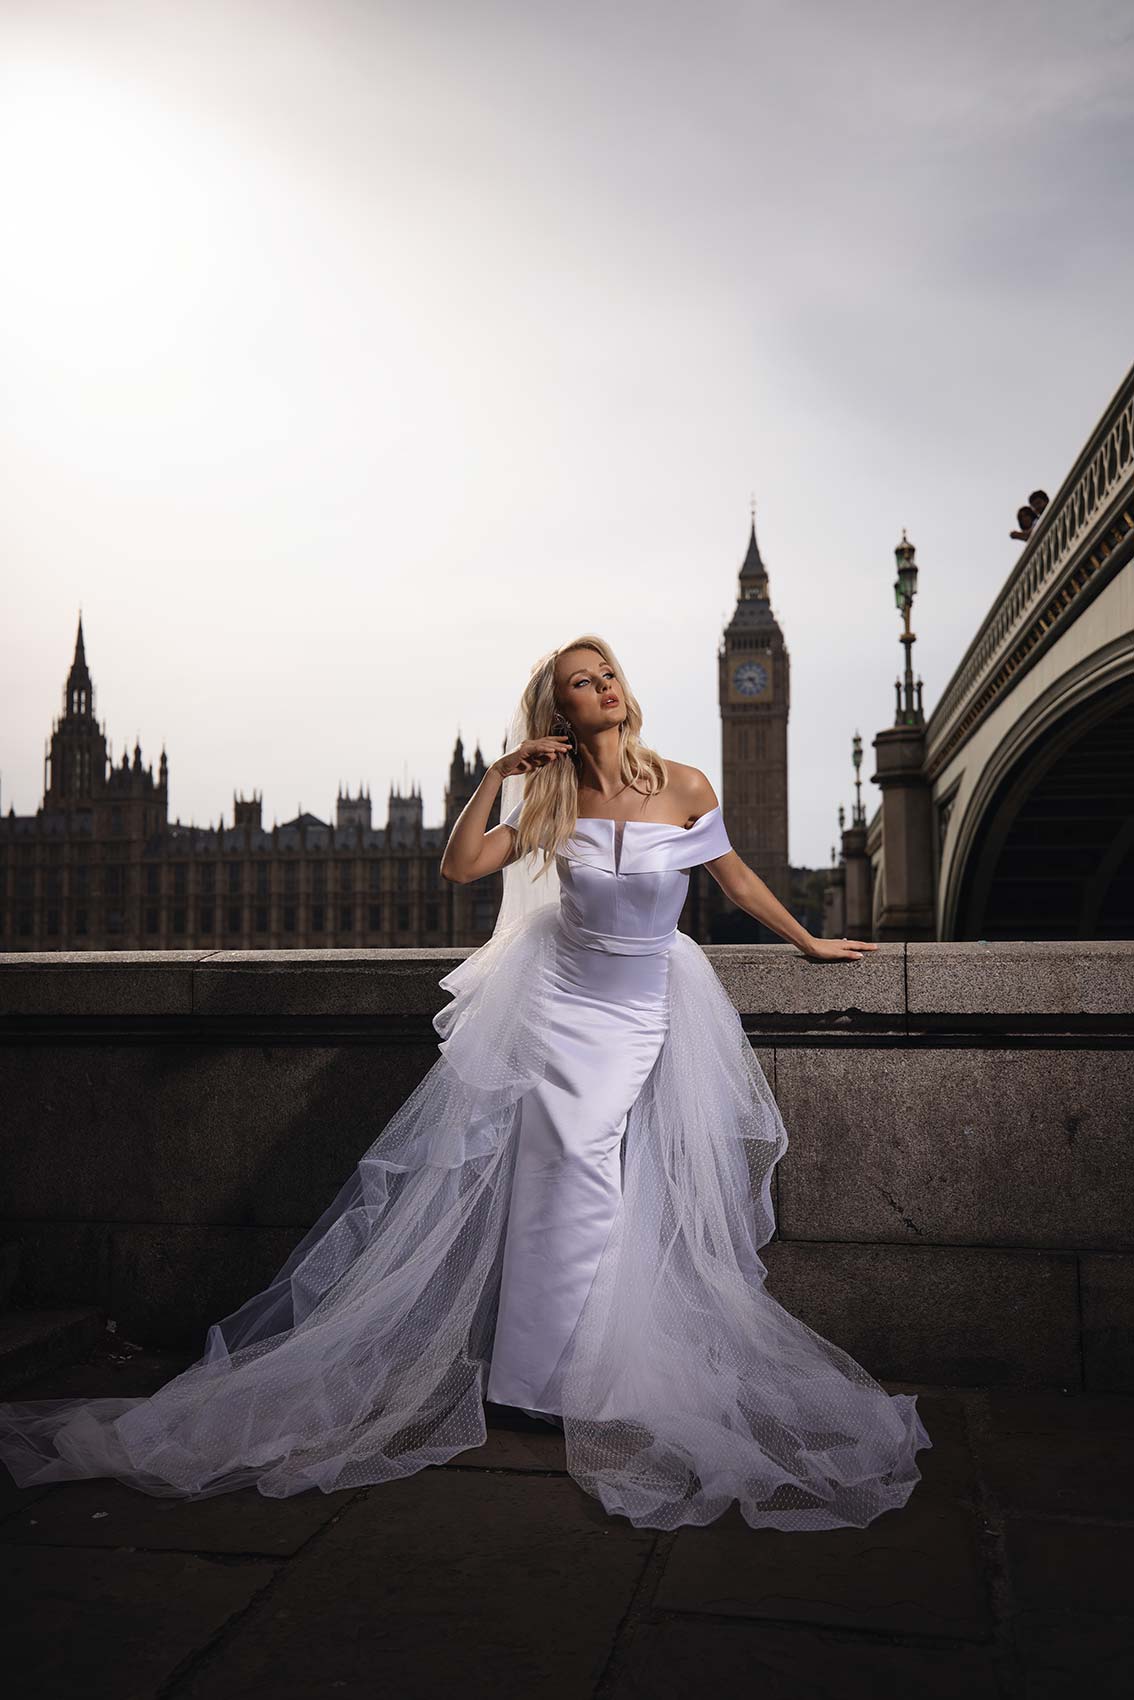
Settings: f/2.8 @ 1/6400, ISO 50
Settings: f/2.8 @ 1/3200, ISO 50
Settings: f/2.8 @ 1/2000, ISO 50
Settings: f/2.8 @ 1/6400, ISO 50