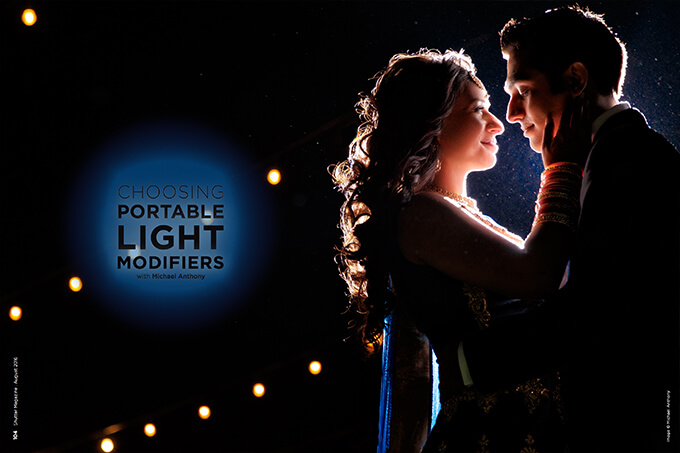
Choosing Portable Light Modifiers with Michael Anthony
We hear the saying all the time: Light is light. But not all light is created equal. The secret to natural and beautiful light is the right modifier for any given situation. While I love the thought of carrying a 5-foot softbox to every shoot, as a location-based wedding photographer, it’s not practical to carry around an entire studio kit.
Your gear should not be a hindrance to connecting with your client. I have always found that it is best to be able to set your gear up and break it down in a matter of seconds rather than take minutes to set up an off-camera lighting shot. While understanding your gear is very important to making sure you are able to quickly get the shot you need, the type of lighting modifiers you choose is just as important.
This article looks at how to choose modifiers for portable lights like speedlights and the Profoto B2 system.
How to Choose the Right Modifier
Before understanding when to use each modifier, it’s important to understand exactly how each modifier behaves. Modifiers increase or decrease the softness, output and fall-off of your light source. There are three basic things you need to understand about light modifiers before applying them in the field.
- The larger the light source in relation to the subject, the softer the light.
When you choose a large light modifier such as an octobox, your light will appear softer. By softer, I mean the transition between light and shadow. Softness refers to the amount of gradient between the two light points. Keep in mind that distance from the subject affects the softness of a light source. The sun is a huge light source, but because it is 92 million miles away from Earth, it causes hard shadows on subjects. If you placed a speedlight extremely close to a wedding ring, the light would appear softer because of the size of the speedlight in relation to the surface of the ring.
- The closer the light source is to the subject, the quicker the fall-off of the light.
This is simple physics, and can be illustrated with the inverse square law of light. As a light source gets closer to a subject, perceptive contrast may increase since the light falls off more quickly into the shadow areas. This is important to understand because the closer a light is to a subject, the softer it is. That is generally true, but contrast from fall-off can make a light appear harsh. Removing a light source a bit farther away from a subject, you are allowing the light to essentially wrap around them, which could give you a perfect blend of softness and correct fall-off.
- The color of light varies in different circumstances.
The color theory of light took me longer to understand than any of the subjects I listed above. The reason many images look unnatural when using flash is that the color of the flash does not match the ambient light in the scene. The key to good-looking flash images is to take into account hardness, softness and color. Color is one of the easiest factors to control with flash.
The Best Modifiers for Portable Flash
We use a variety of portable modifiers for our flashes. The key factors for me are portability and durability. We have used all of these modifiers, and through our experience, these are the best ones to use for wedding and location-based shoots.
- Walls
I don’t think you were expecting walls in my list of portable modifiers. At most locations, walls are readily available, and they don’t have to be carried from set to set. The way we use walls on location is to bounce light off of them to instantly soften an artificial light source. Because walls are attached to structures, it is easy to find ones that are large enough to create a soft light source. You won’t find a softer light source than this out in the field.
By placing your subject close to a wall and placing a light directly behind them pointing at the wall, you are creating beautiful short-side light on the faces of your subjects. If you are not doing this now, try it on your next shoot, and I promise it will blow your mind.
- Softboxes/Umbrellas/Collapsible Reflectors
Softboxes or umbrellas are the obvious choice when you are looking to soften lights in an open area where there are no walls. These work great in a park or natural area where there are not many natural places to modify light. Choose a softbox that is collapsible or small enough to be carried easily. I use the Westcott Rapid Box to modify speedlights, or the Profoto OCF 2-foot octobox if you are using the B2 system. Note that the latter is not collapsible and must be carried, but it is light enough to not cause too many problems. These light sources soften light enough to give you a good balance of portability and quality of light.
I often use five-in-one reflectors to add fill to my off-camera flash, or to modify natural light. I use a 42-inch collapsible model that easily folds up into the laptop area of my shoulder bag. Reflectors often require an assistant to operate correctly, so when I am shooting solo, I do not use them except when the client is willing to hold it underneath their chin.
- Grids
Grids are a necessity to help control light spill from your flash. While having an assistant available to feather light is wonderful, it is not always practical. The grids we use are part of the MagMod system. MagMods are an intuitive flash modification system that allows you to control the color and spill of speedlights. The trade-off is that they increase the footprint of your flash by adding large magnets to the head of the light, reducing portability. The gel system allows you to control the color of light, which we will talk about next.
- Gels
Flash gels provide color control of your speedlights and strobes. They are a necessity for creating light that is natural and matches the ambient light in a given scene. MagMod has created very useful flash gels as part of its modification system for speedlights. They allow you to use creative or corrective color. Get the MagWallet to organize your gels—they are very easy to lose and expensive to replace over simple Velcro gels. I also love the Profoto OCF gel system to modify the color of my Profoto strobes.
How to choose the best modifiers for a given situation
The answer to this question is both simple and complex. The simple answer is that you choose the modifier that best matches the conditions of the ambient light. For instance, if you are shooting on a cloudy day and there are soft shadows everywhere, use a soft light source to match the ambient light in the scene. If you are shooting at noon outdoors, use bare flash to match the hard shadows caused by the overhead sun.
The complex answer is that rules are made to be broken and the vision of the creative director takes precedence over general rules in any given situation. As the artist, you are making creative decisions daily based on your style, expertise and the needs of your client. If your style of photography consists of hard light and sharp shadows, you made the decision to use a harder light source in a softer ambient environment.
Another rule to consider is to match the color of your light with the ambient light in the scene. This is always more believable than the result you get using light at 5200k (the native color of flash). Outdoors, the sun is typically lighting a scene, and I prefer to use either a 1/4 or 1/2 CTO gel to match the color of the sun. In open shade, or when your scene is lit primarily with the blue sky, it is best to use the bare flash, but when you have sunlight in your scene, match the color of your light to that of the sun.
In addition, when you are indoors, pay attention to the color of the ambient light. You will be shooting with incandescent or fluorescent overhead lighting, so it’s important to have those gels available.
Like all rules, this rule can be broken. If you read my article on creative color balance in the lighting edition of Shutter last year, you saw how we use gels to completely change the color of ambient light in a scene.
Lastly, when purchasing modifiers, it’s essential to look into brands that are durable and consistent. Profoto, Westcott and MagMod are all high quality. While they can be pricier, I have found over and over again that it’s best to spend the money one time rather than twice because the first product broke when you needed it. Trust me on this.
For a more in-depth look into the modifiers we use, check out our video.