Color Gel Photography // How to Add Color to Your Studio Portraits

Want to add a little pop of color to your studio portraits? In this portrait photography tutorial Sal shows you how to quickly and easily add that pop of color using studio strobes and color gels. For this first shot, Sal is using the Westcott FJ200 as the main light and the Westcott FJ200 for the edge light. In addition, he is using the Manny Ortiz Beauty Dish from FJ Westcott. To add color to the shot, Sal doesnt change the type of lights used, he adds color gels to the lights and adjust settings accordingly. 

Want to learn three ways to add color to your studio portraits?
Let's get into it.

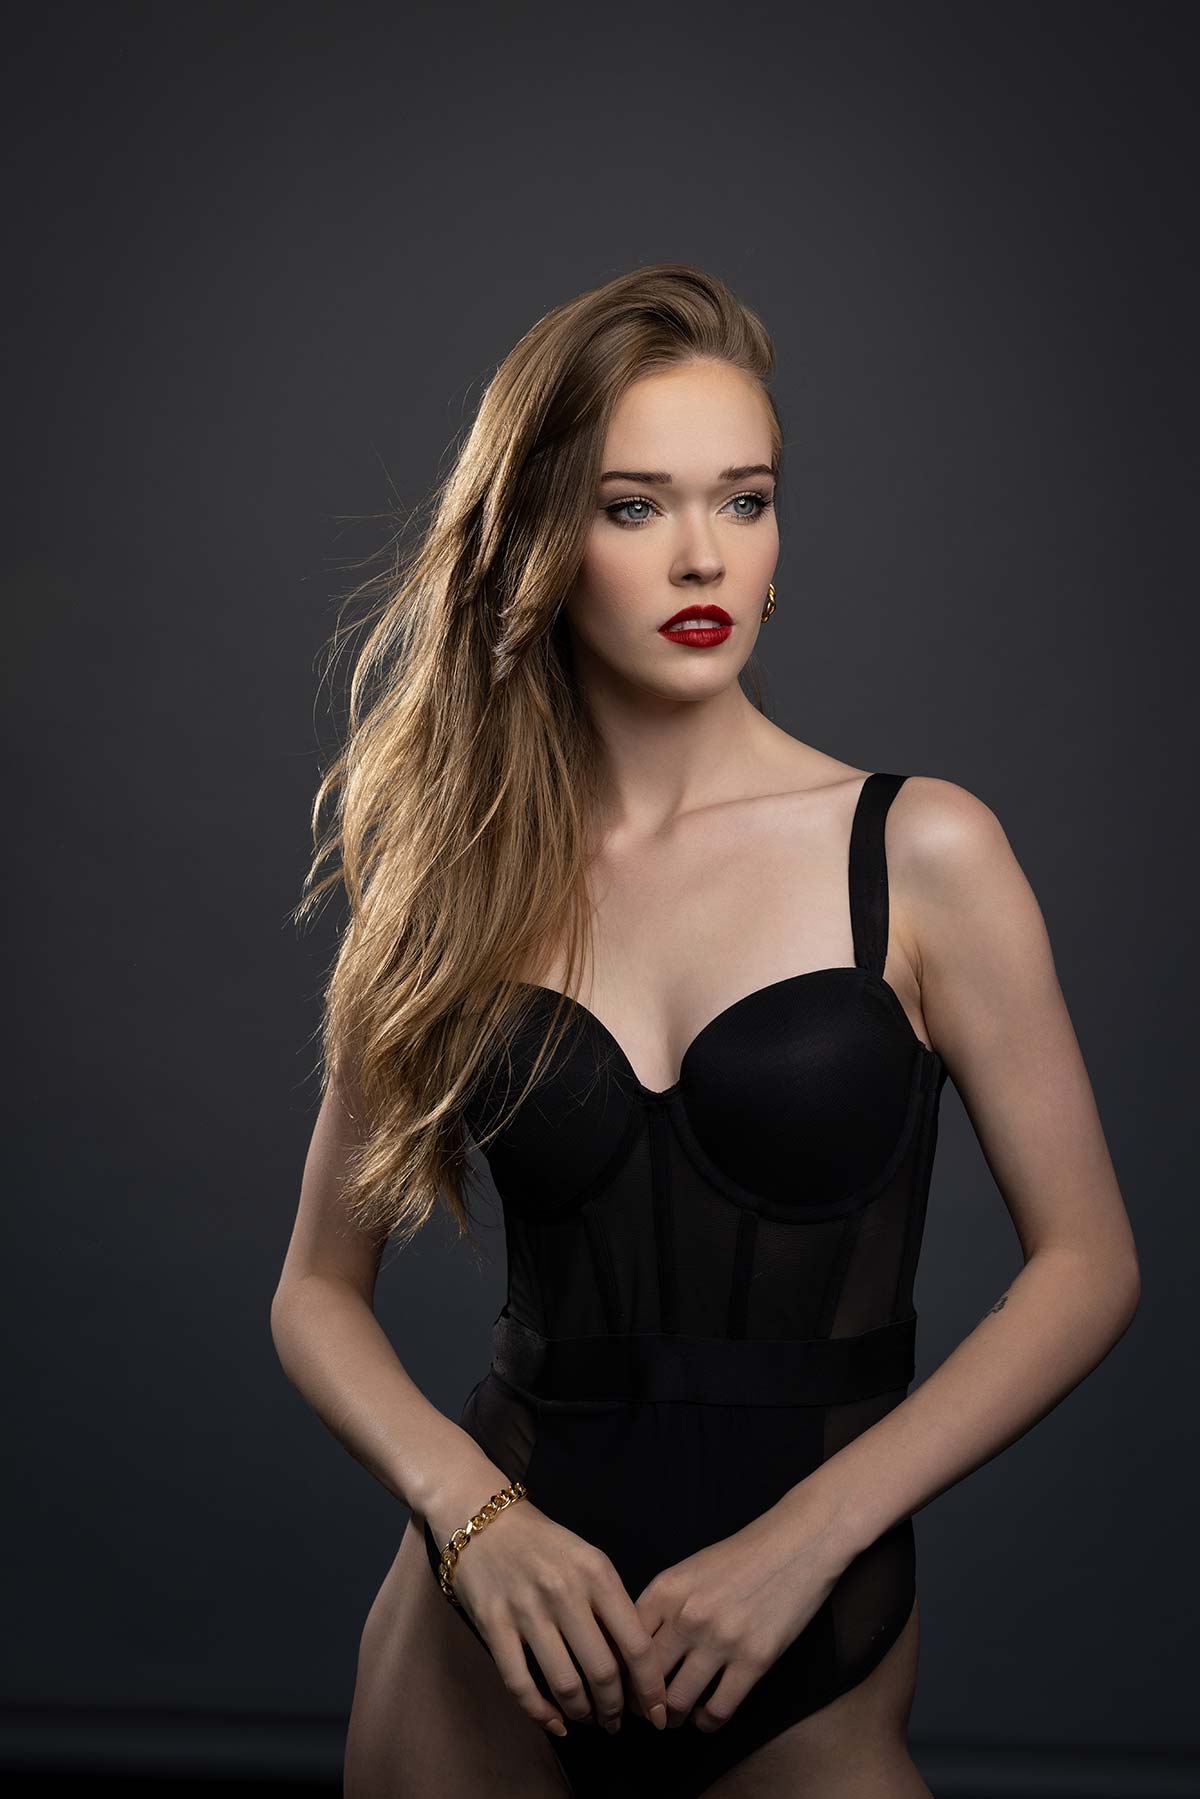
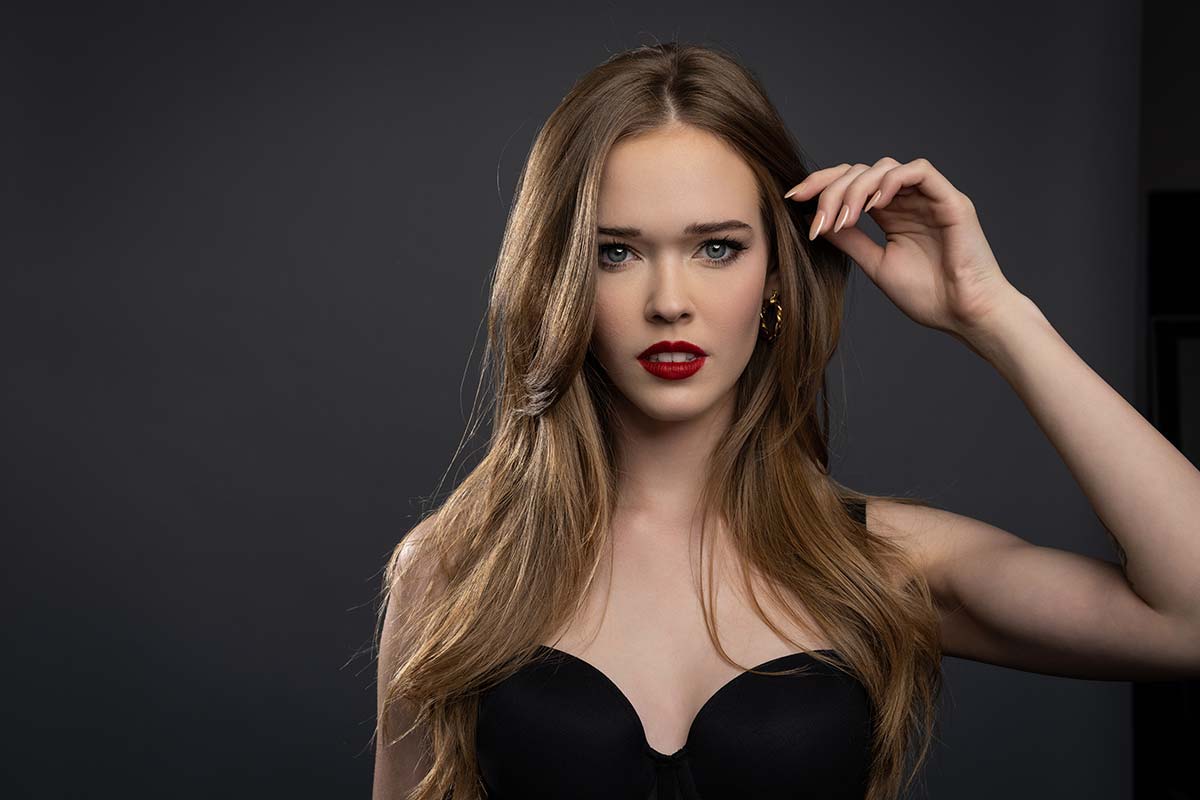
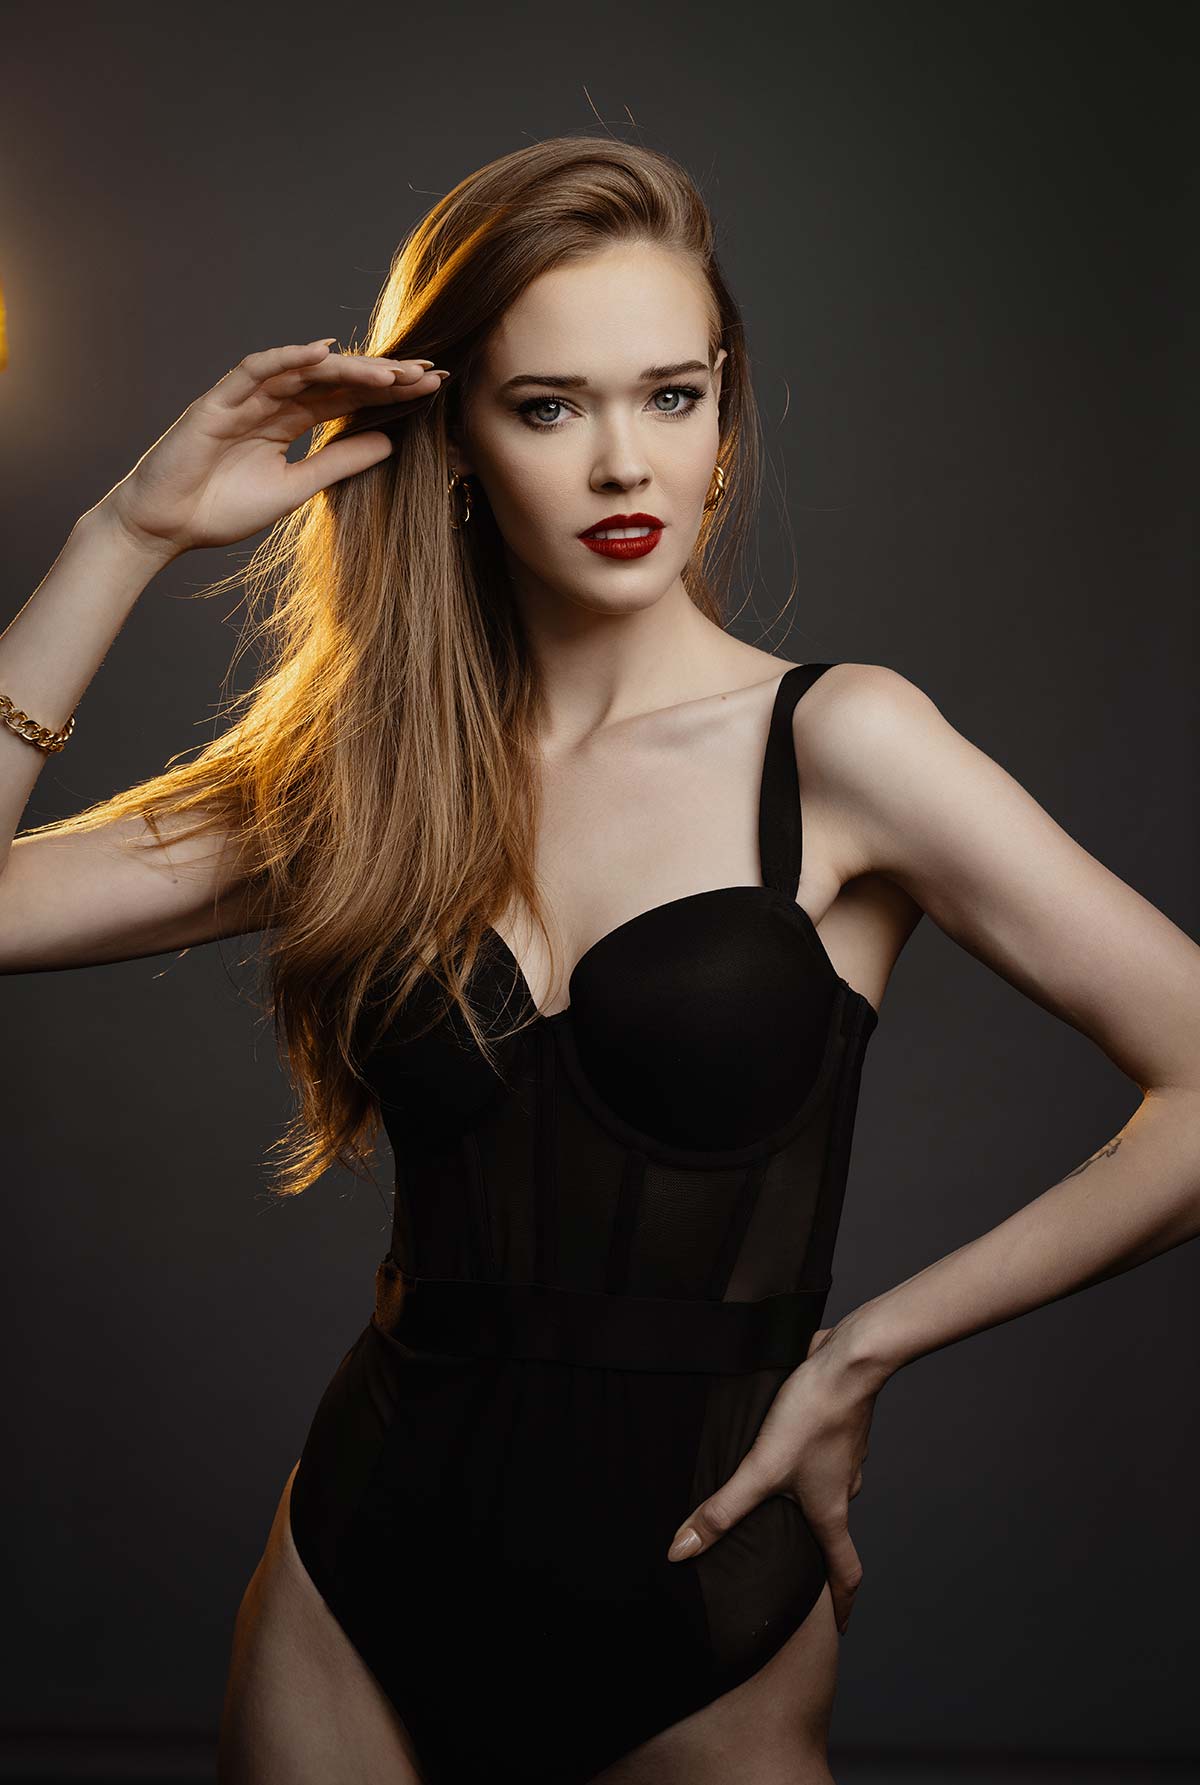
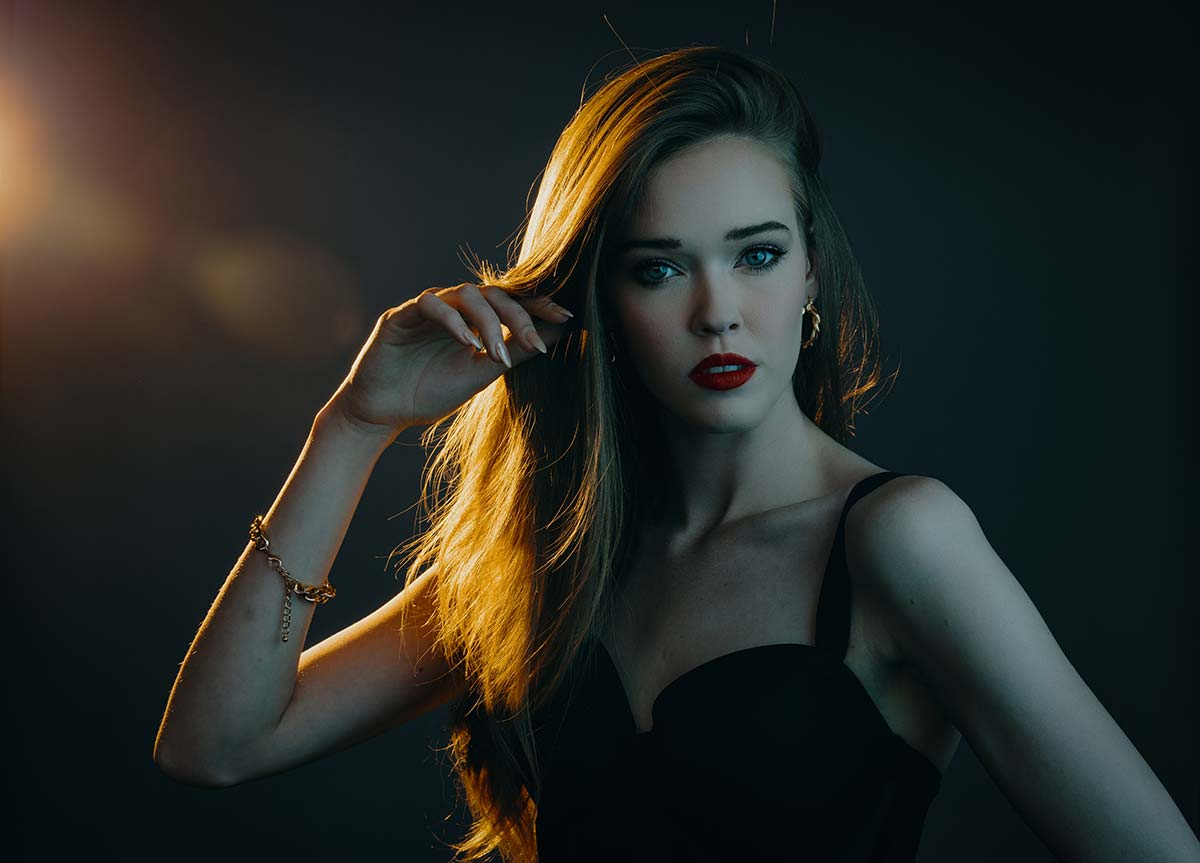
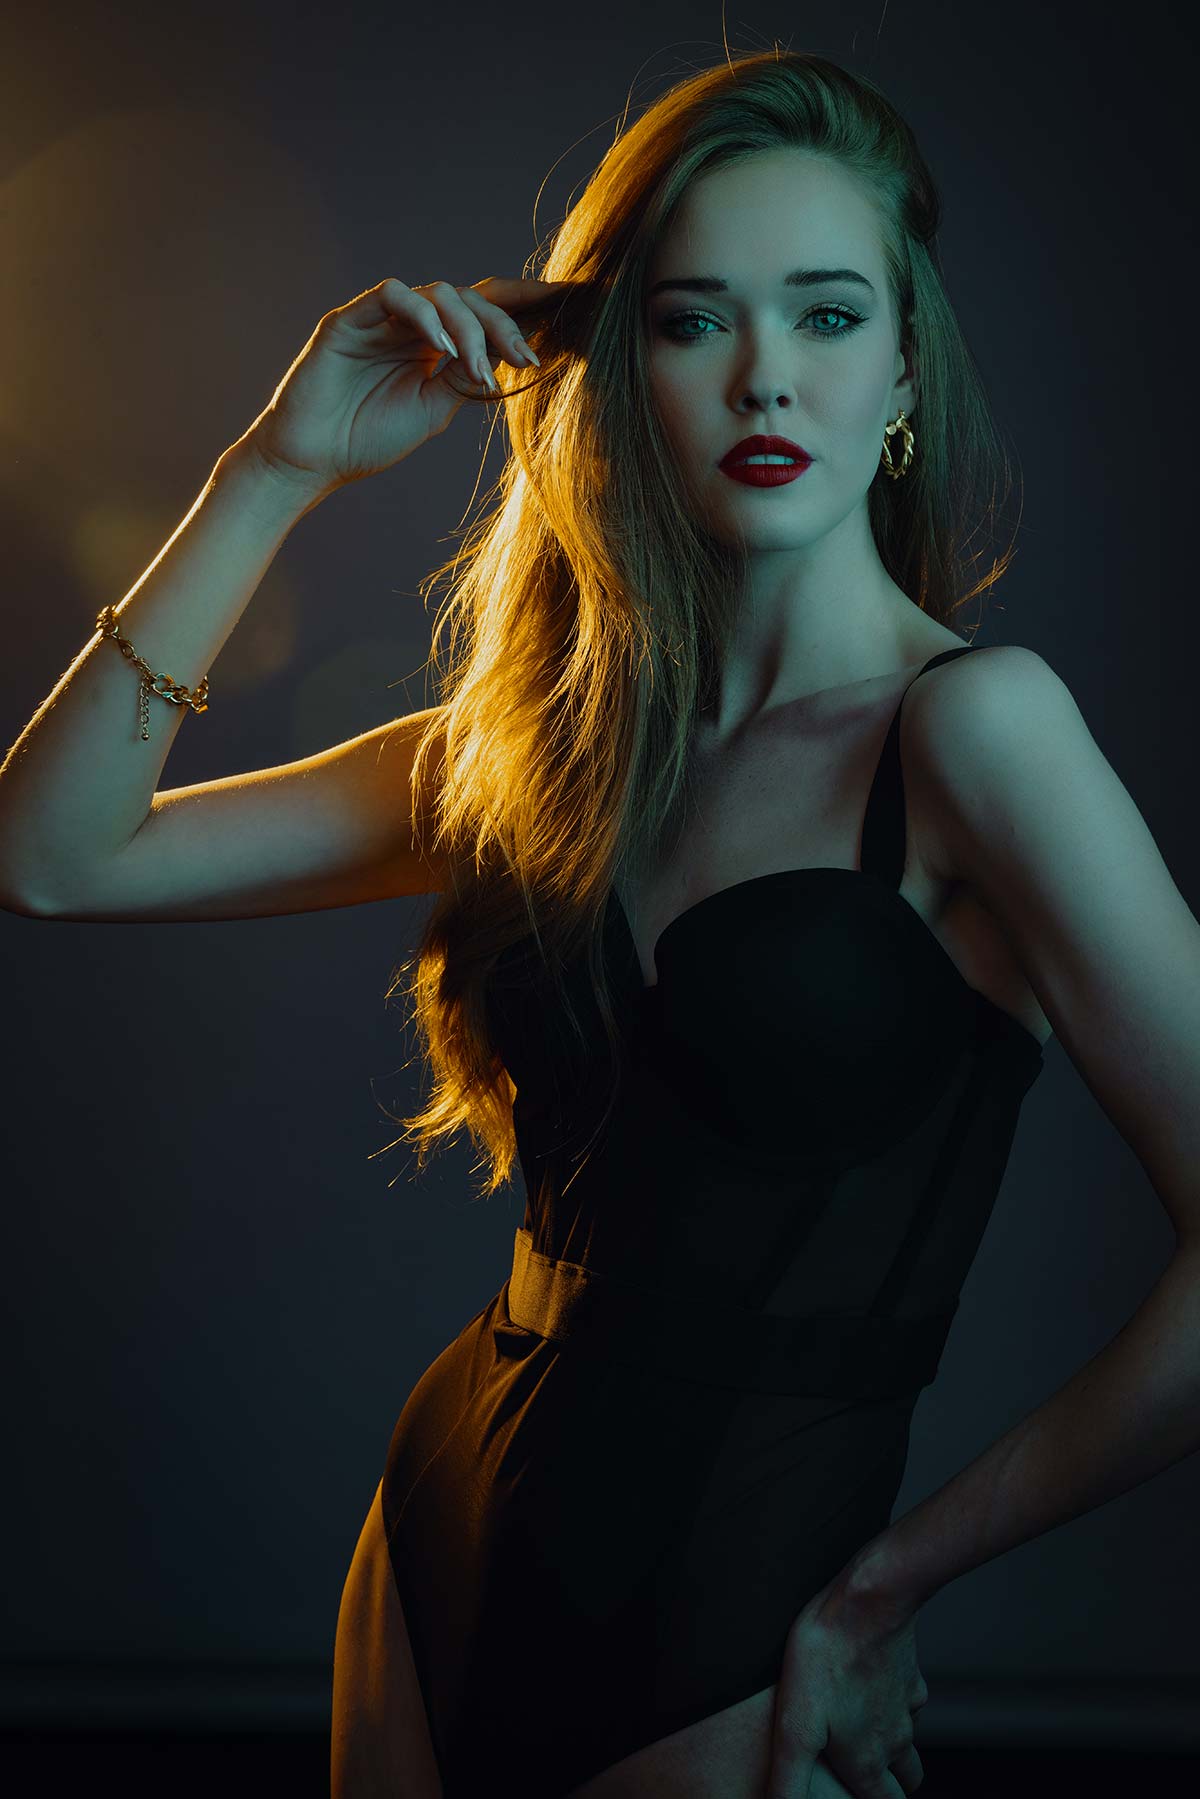
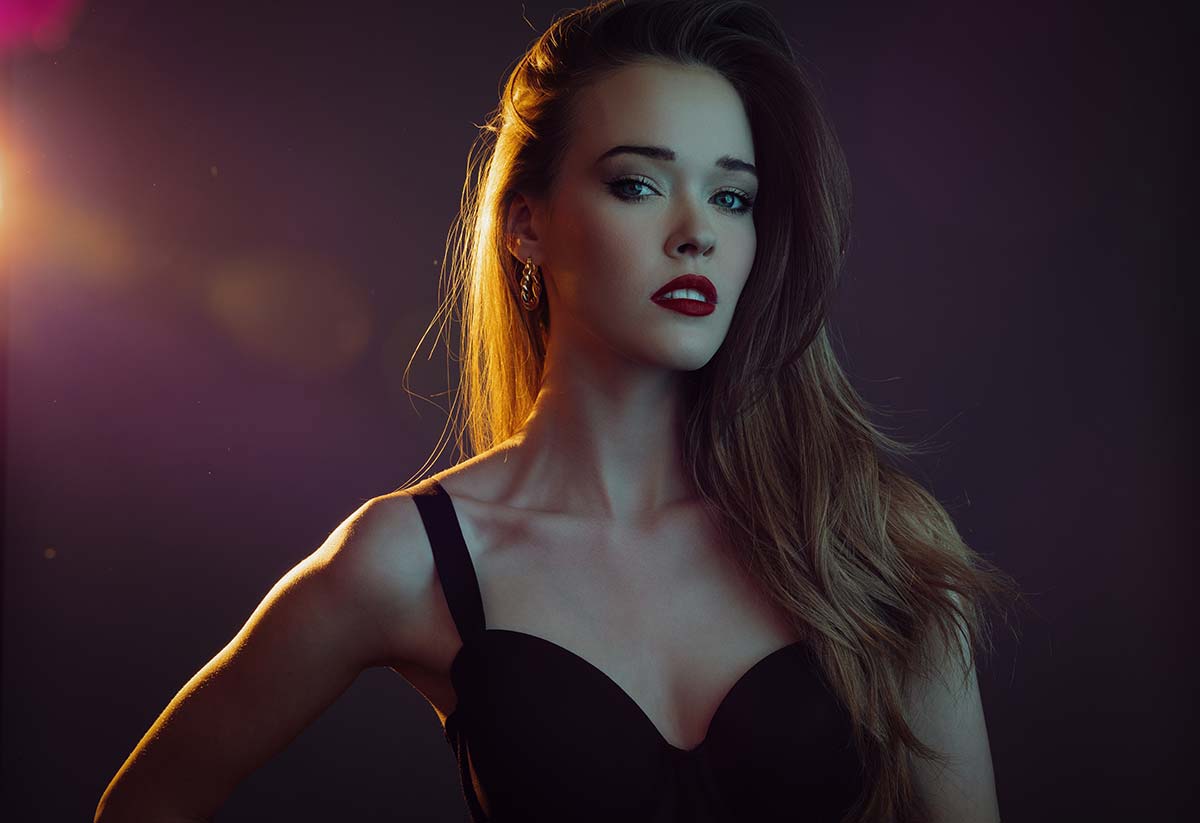
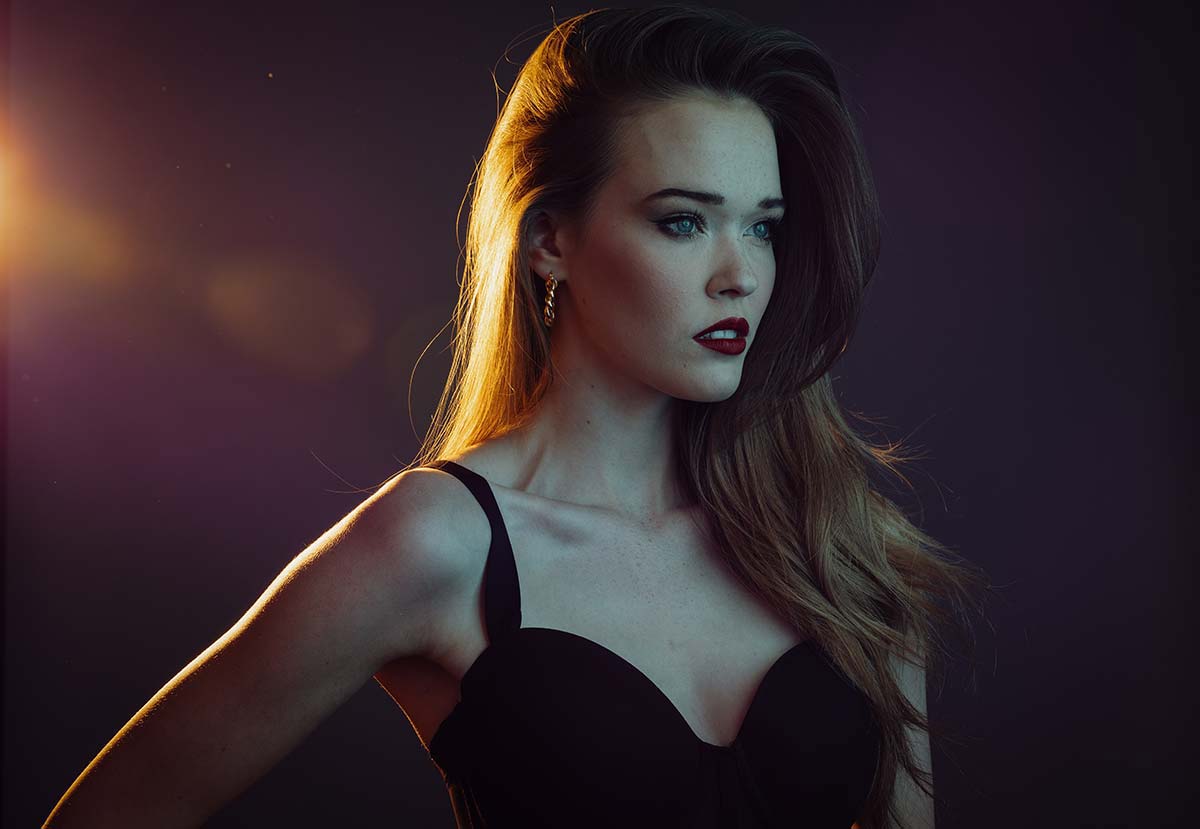
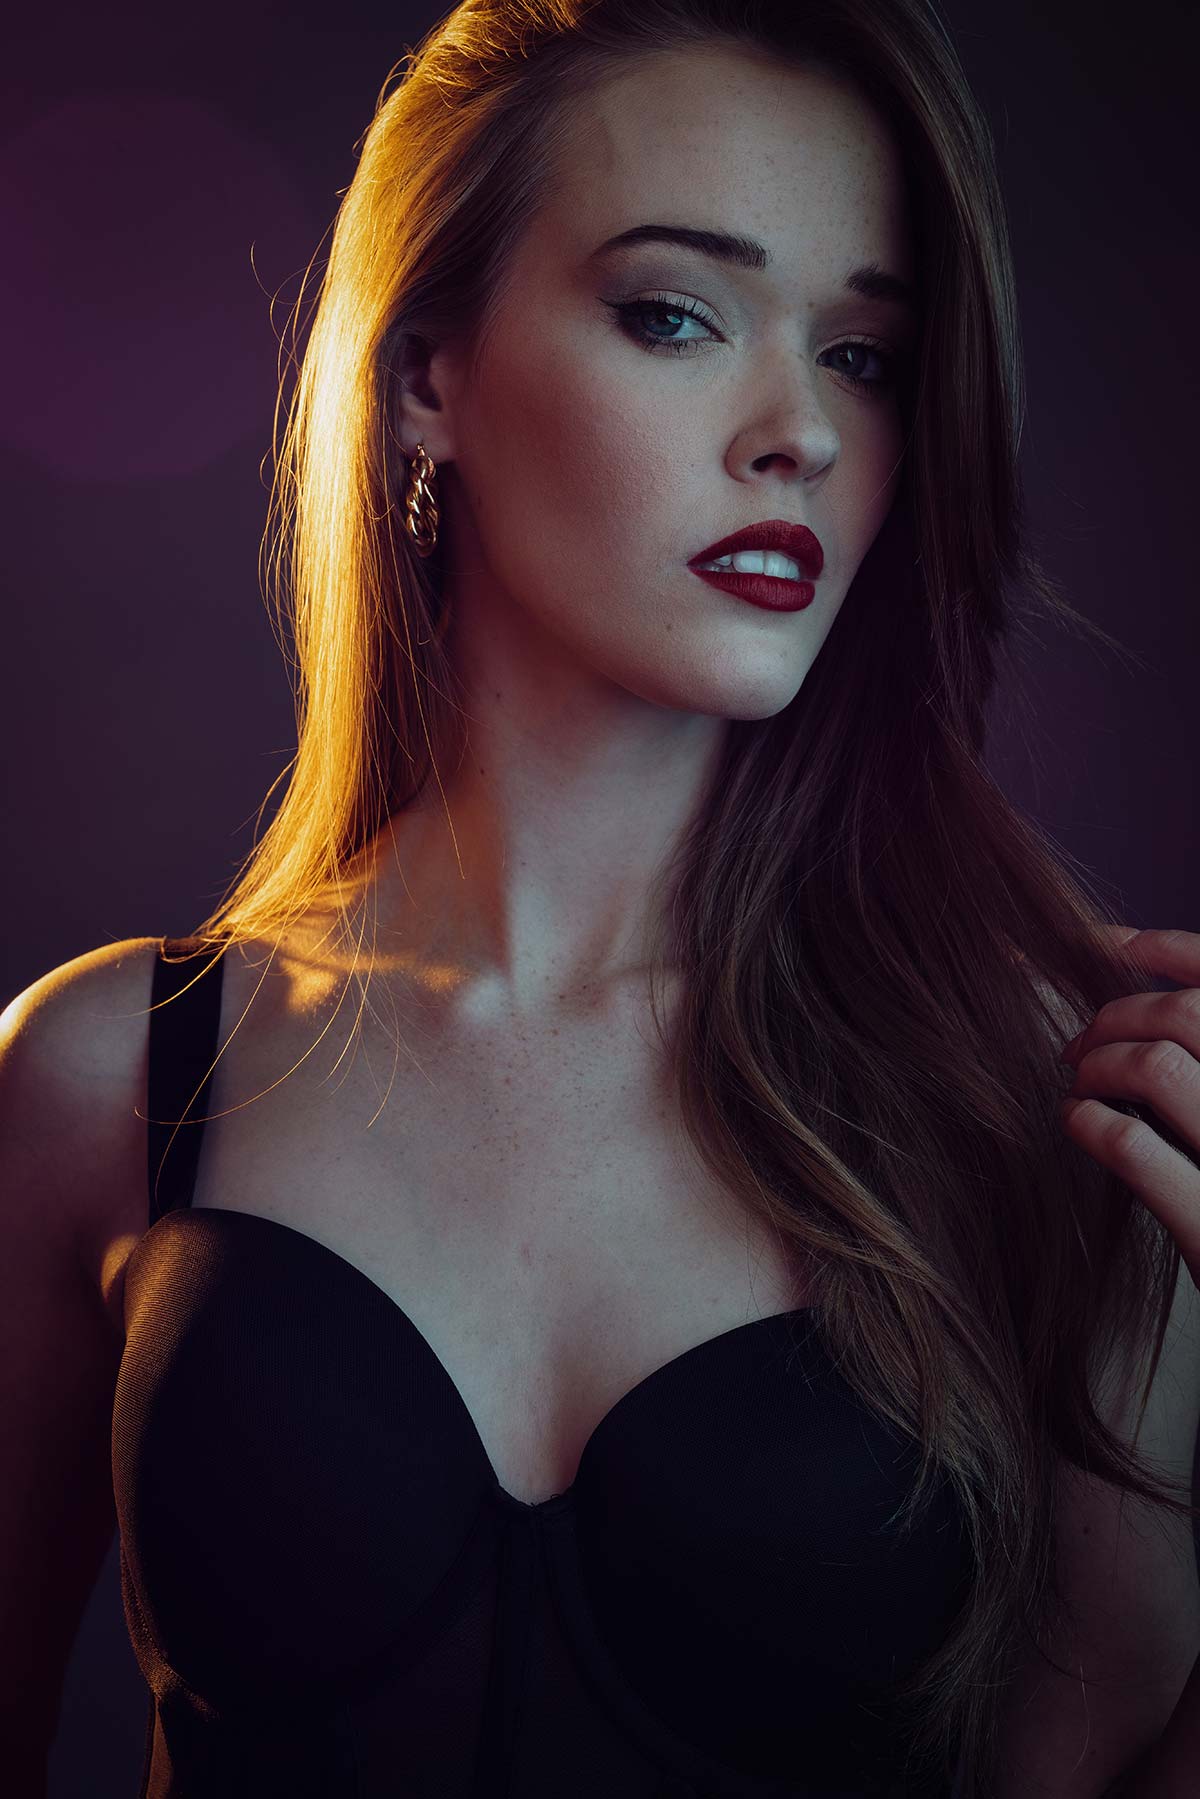
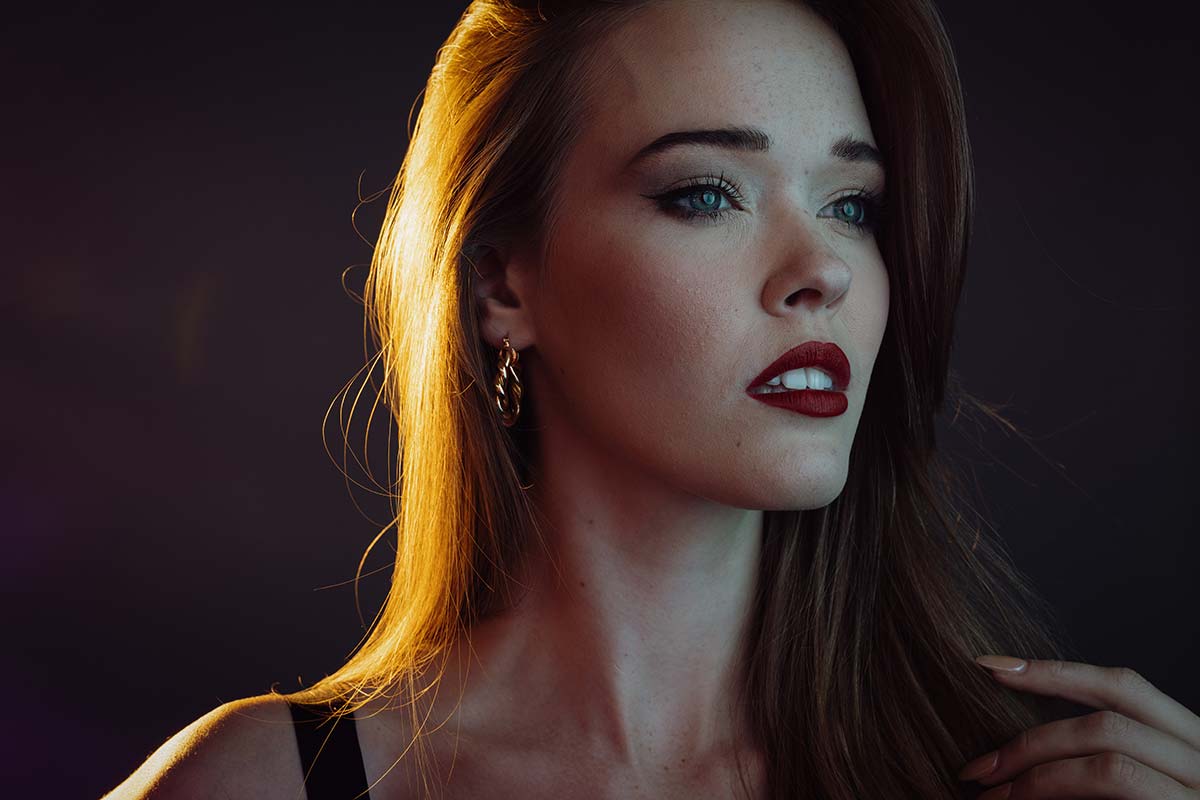
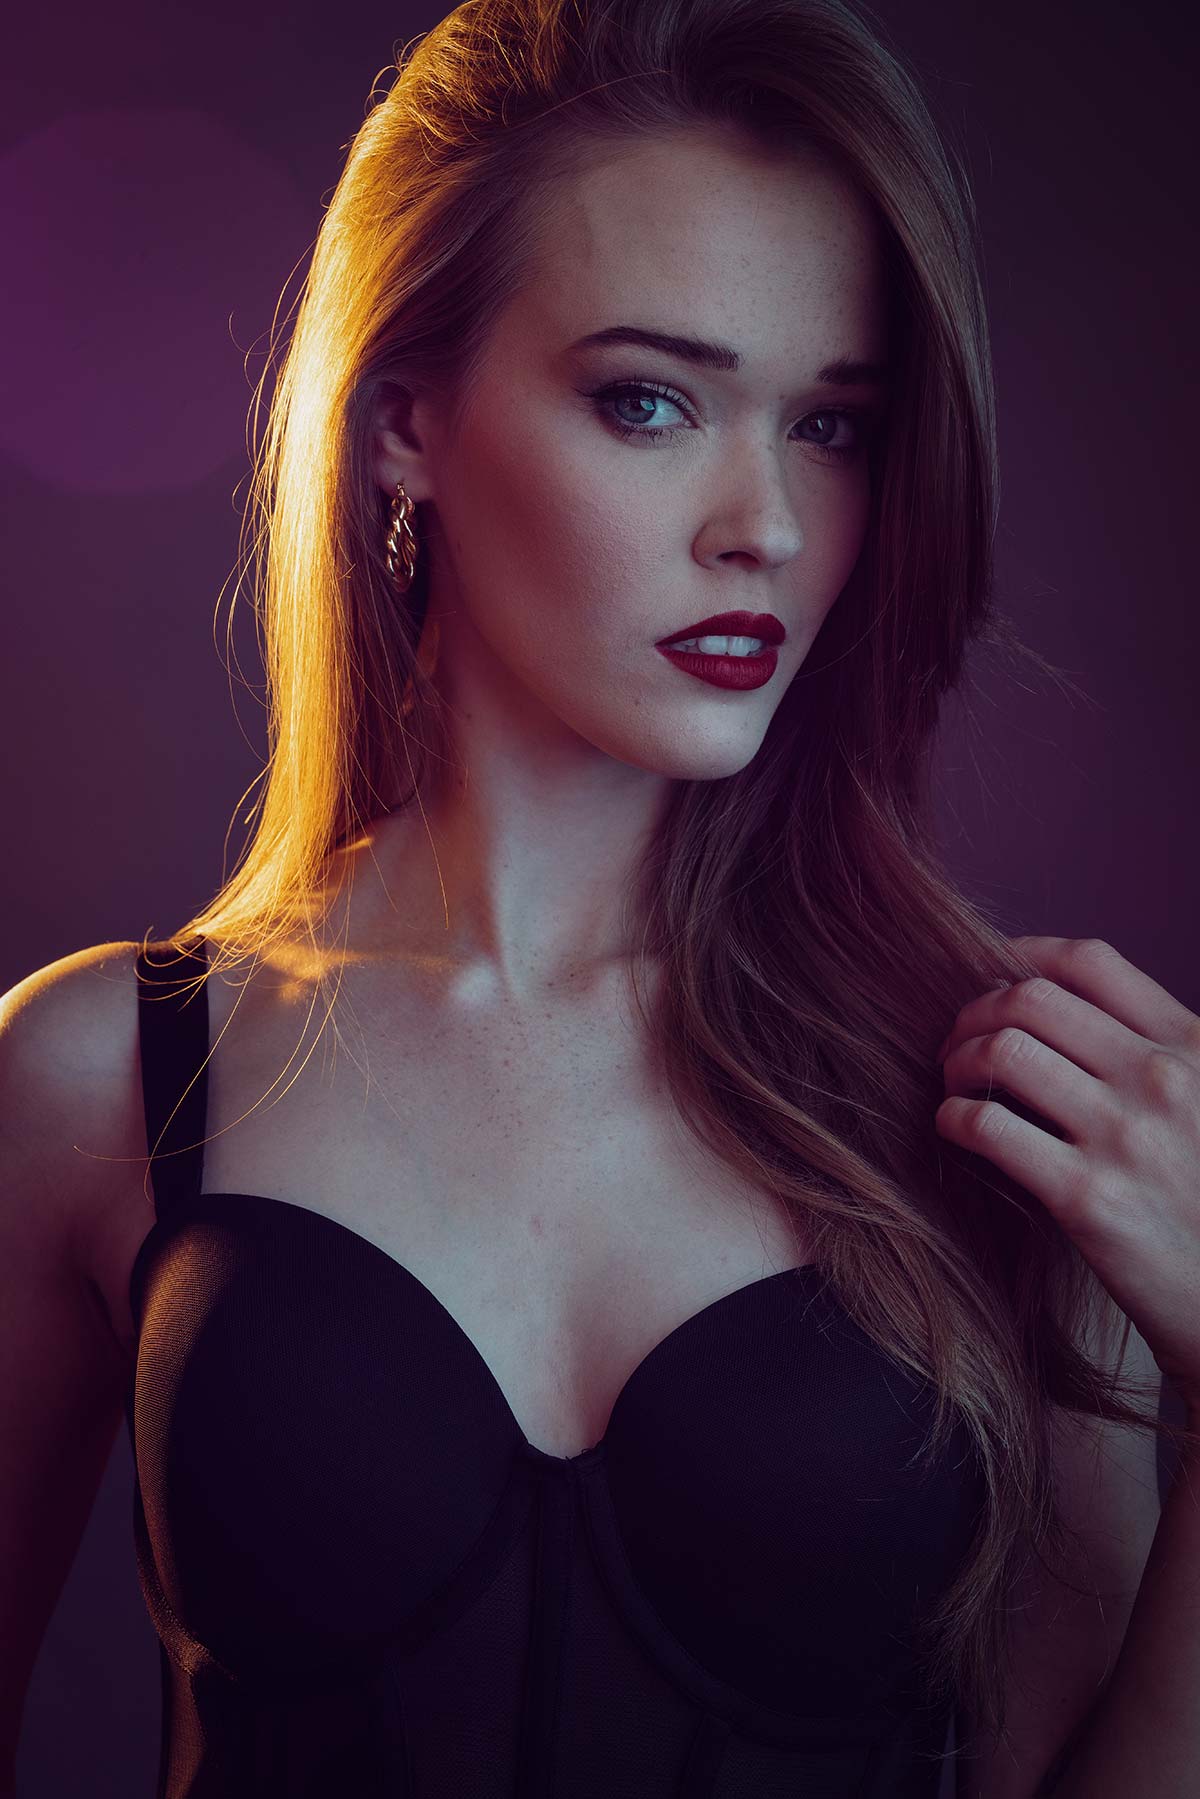
What’s up everyone? I’m Sal Cincotta, and today we’re going to have a little bit of fun with some color gels and adding color to your portraits. So, you can get in your studio, you’ve got a couple of lights there, and you’re going to make a beautiful portrait. We’ve got Violet here with us to model.

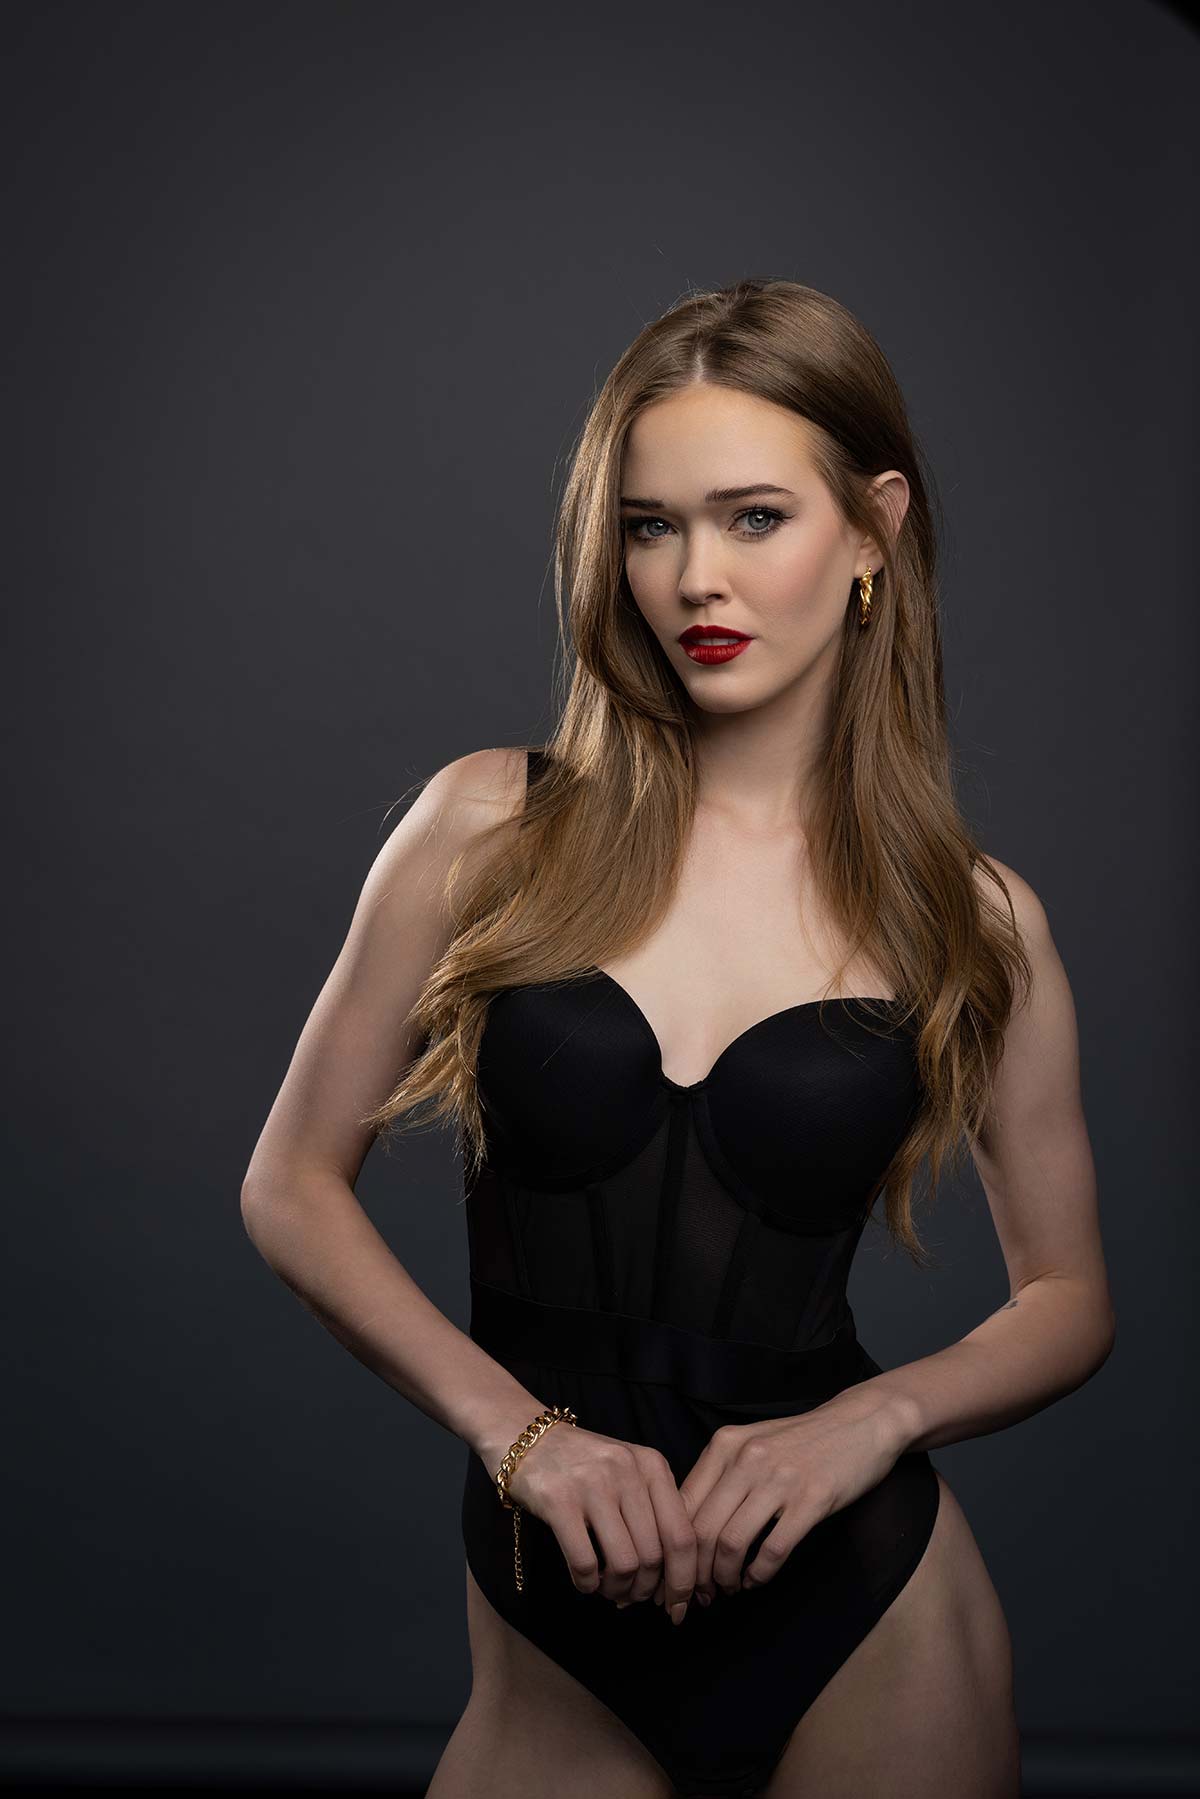
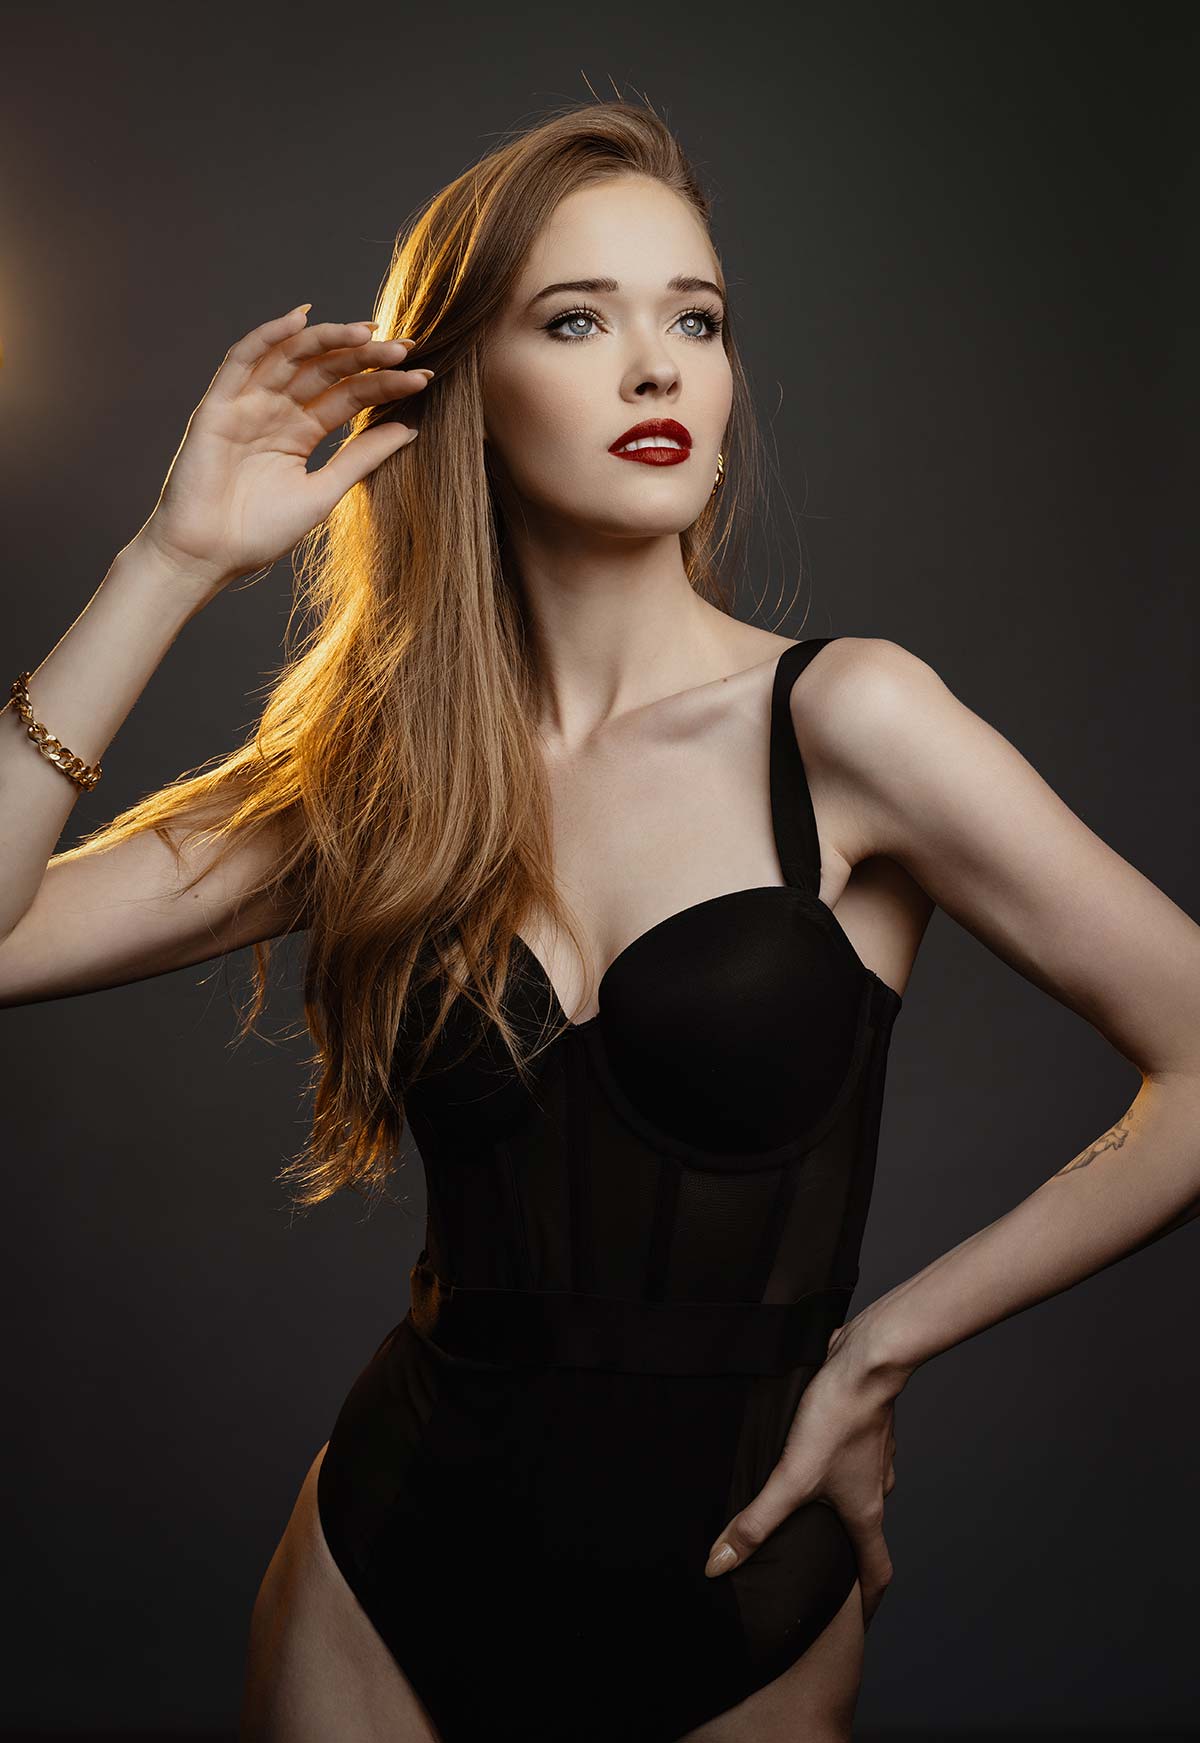
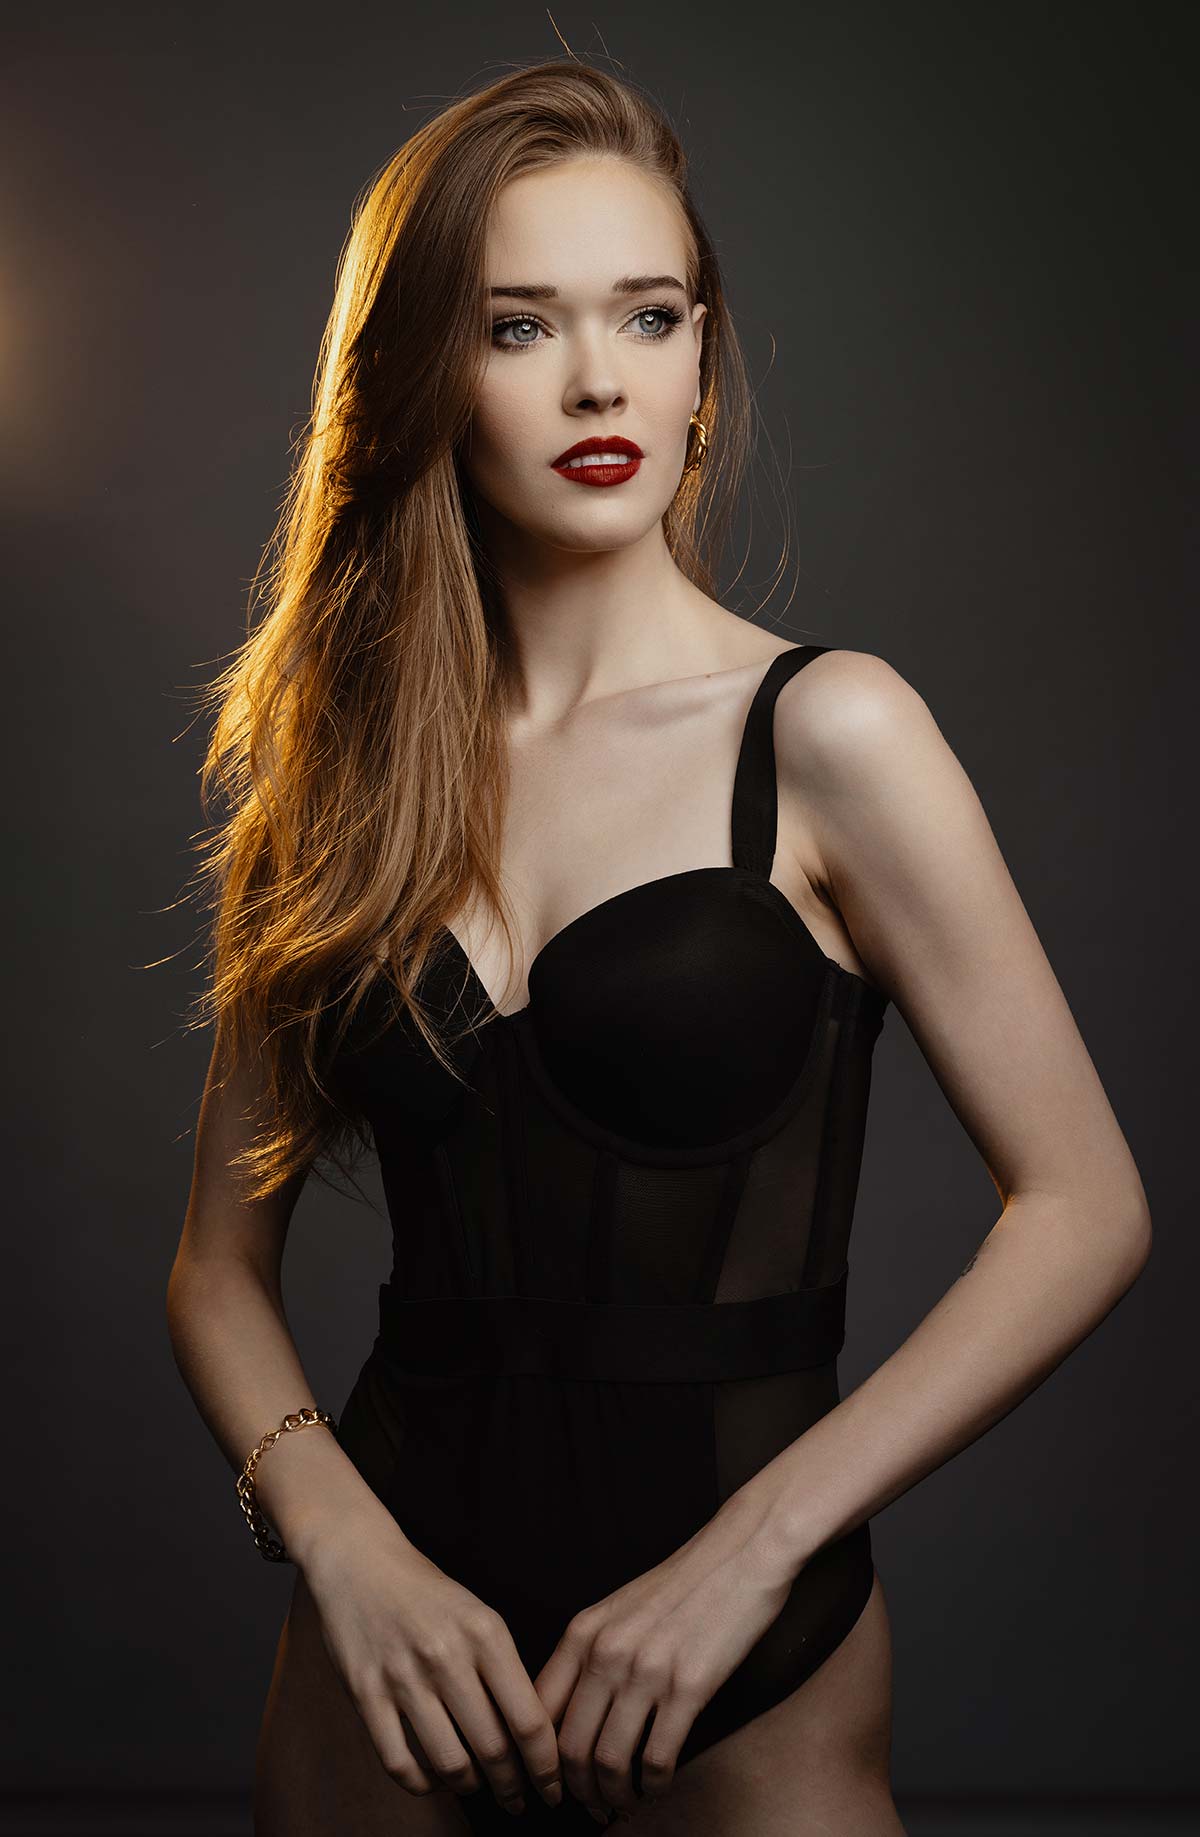
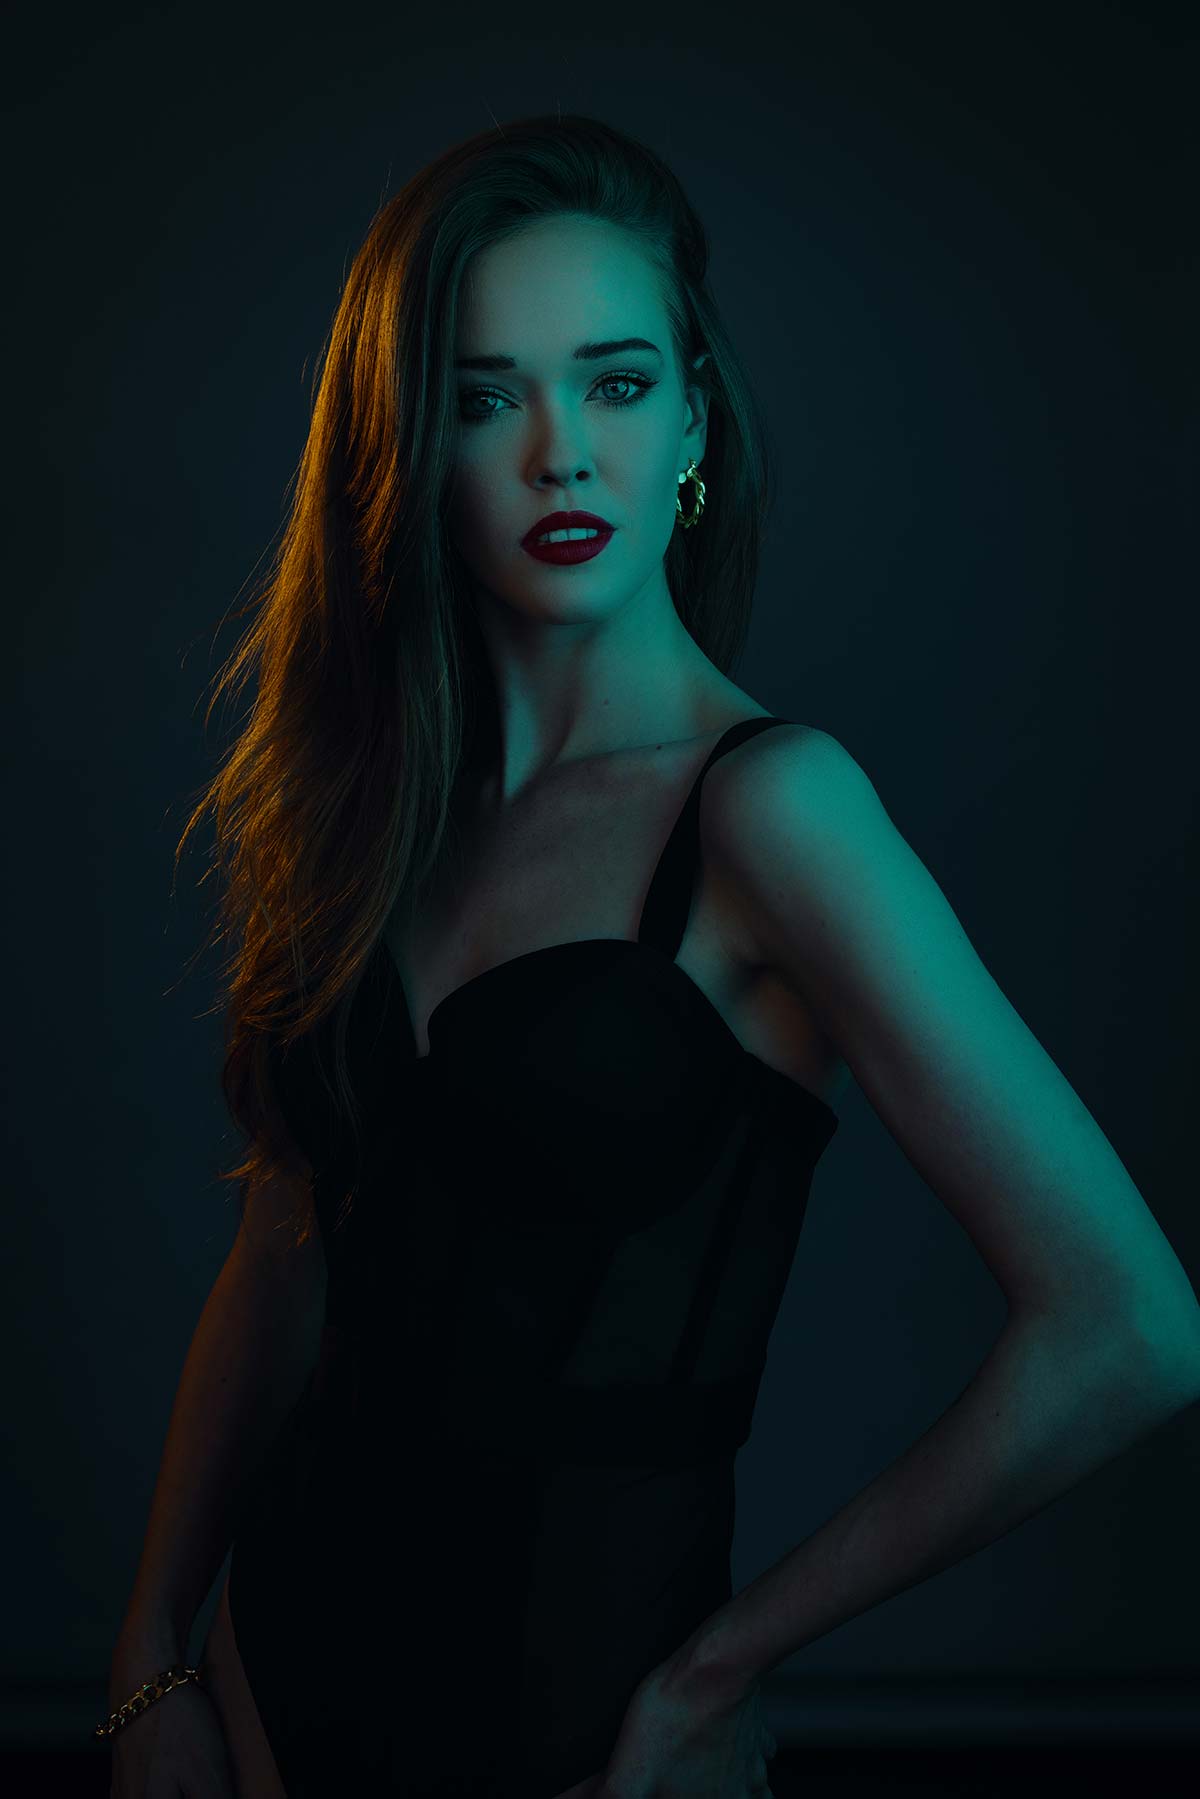
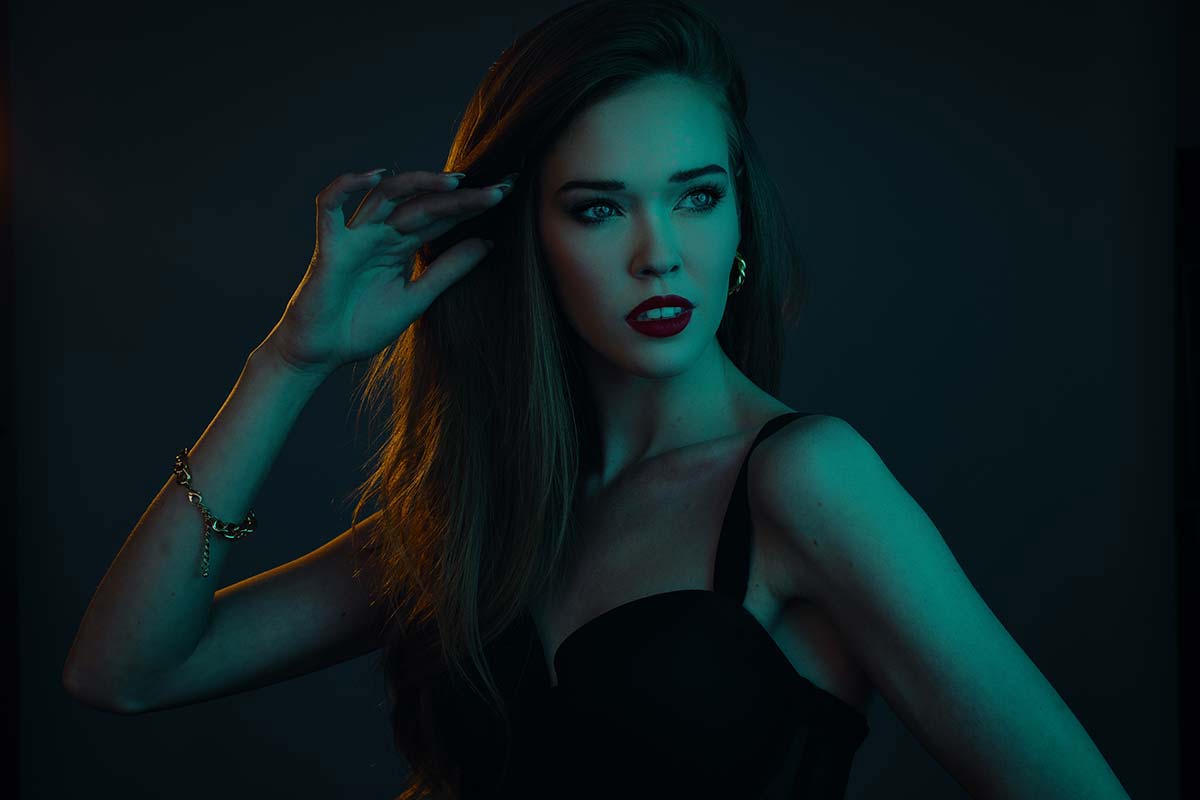
You can add color to your portraits in a really, really fun and easy way. So, that’s what we’re going to do. I’m going to show you three lighting setups. Let’s get started with this. I’m using the Westcott FJ200 and the Manny Ortiz Beauty Dish switch. I’ve got to give a little shout-out to Manny. He’s a YouTube content creator as well, and they created an incredible product for him. 

So, if we open this up here, it’s not your typical kind of octabox. I don’t know if you guys know this or not, so I just want to cover it for you. When you are working with softboxes, they’re not all created equally. A lot of times they don’t have this reflector inside. And that’s what makes a difference in the way the light is filling this octabox, this beauty dish. So, if I don’t have this reflector in here, the light is firing and the hotspot will be in the center of the softbox. It’s going to hit your subject a little differently. You’ll notice in some of my older videos, I have my softboxes tilted a certain way because I’m trying to light them with the edge of the softbox because it’s a much softer light.

With a beauty dish like this, when it fires into the reflector, the reflector pushes that light back, fills the entire box, and gives us a very consistent light source in the entire box. It changes the way those portraits look. So, well done, Westcott. Well done, Manny. This is a great addition to your studio.

There is inner baffling inside, but we’re not using it because that would soften up the light even more. So, you’ll have this inner baffling that you can use. You also have this kind of outer diffusion panel, which is all we’re going to use for this video. Alright, let’s seal this up.

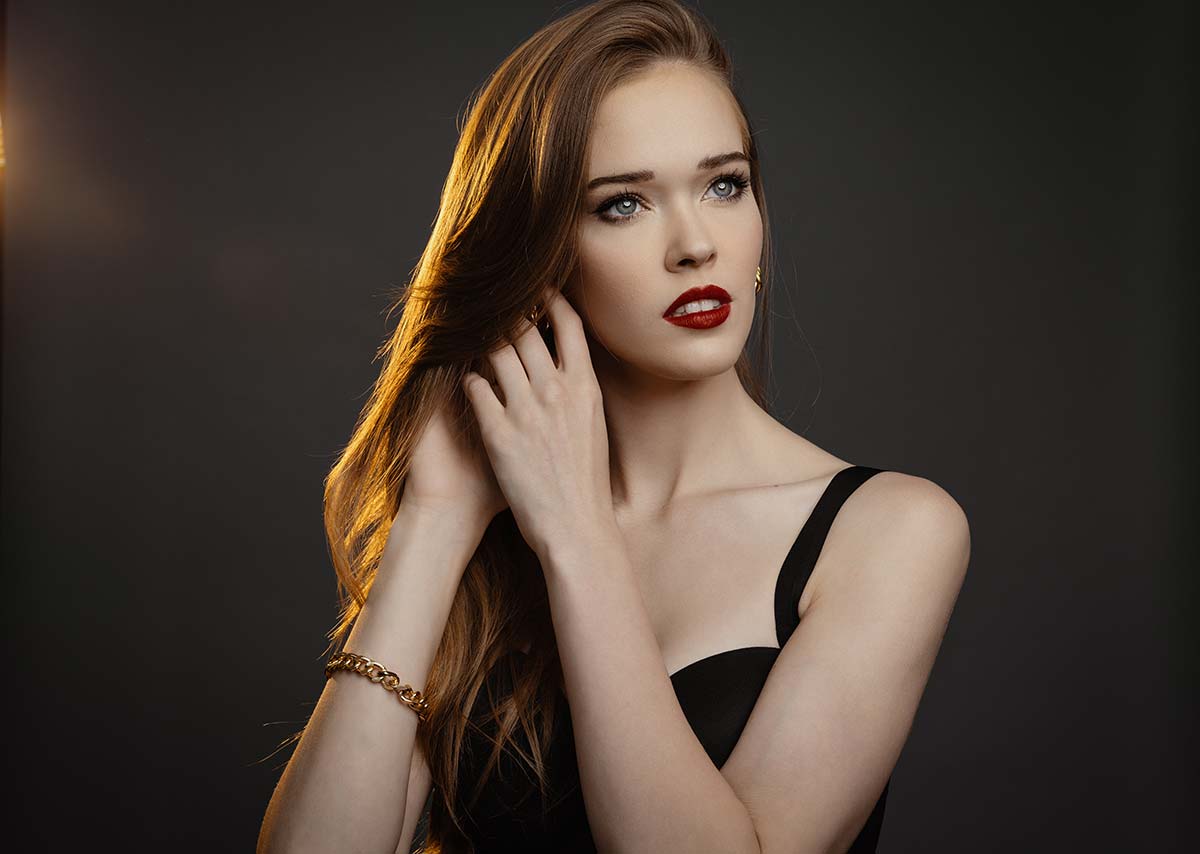
Remember, the first thing we’re going to do is just get a standard beauty portrait with straight light like 5500 Kelvin, then we’ll add color to it. So, we’re going to put the light here right over Violet with a nice angle down. Then I’ve got another FJ200. It’s kind of an edge light for her that we’re going to fire back here, so let me get dialed in on this. And I know I keep talking about this, but for you photographers out there who refuse to use a light meter, for (censored) sake, learn how to use one. I’m going to do a future video on it. Everybody keeps asking me to do it, but it will make your life a lot easier.


Lighting Setup #1: White Light

So, what we want to do is isolate the two lights in the studio. I’ll take a picture with no light because everybody watches our videos and they’re like, “Well, you got all this natural light.” No. We work that out with our exposure settings, but I’ll show you what it looks like with and without. I’m going to put this light meter right at her forehead. We are at 805, so think of it as eight and a half. I don’t want to be there because I’m approaching F 11. So, I’m going to dial down the power here by a half a stop, all remote controlled and try it again. 8.0 flat. So, our main light is 8.0 flat, ISO 200, shutter speed 200. I’m always in manual mode in the studio.

Now, on the background we’re going to measure this light hitting her on the back of her head. That’s at F 11, a little too hot for me. I want this to typically be one stop less. So if she’s being hit at F 8 on that main light, then on this edge light I’d probably like it around five or six. So, let’s come down just about a stop here. I could have done this on the remote, but I’m a creature of habit. I don’t know why. Yeah. I do like to make it more complicated.

You know what’s happening here? And I’m embarrassed to say this, but the trigger is overriding the setting. So, every time I change it on the unit and then I go measure it, I’m like, “Why is this still not adjusting?” So, even I make mistakes. Maybe we should cut that out and not put it in the video, but I know my wife’s going to, so let’s just work with this.

All right. So, this light is on group A, and then this one is on group B. This is where just old habits die hard, right? I’m so used to going to the unit and changing it there. So, I’m going to now change it on the unit. Now that I’ve adjusted it on the unit the way it was designed, voila, five six on the back. I’m going to make sure here one more time. All right, 8.0 flat. Finally we are set.

See, that’s why it’s so important, I think, to use a light meter so you at least know you’re getting the exact settings that you’re looking for. With the back of the screen of your camera there is really no way to tell. It lies to you. The LCD screens lie to you. They’re liars.

So, now let me get a test shot of Violet. Here we go. Beautiful. Our first test shot is just stunning.

White Light Images

Settings: f/8 @ 1/200, ISO 200

Lighting Setup #2: Pop of Color

I actually just want to pause there. When you’re working with clients, models, whomever, you have to understand the difference between short light and broad light. Short light is when they’re looking towards that light for the most part, and the shorter side of their face is being lit with light. Broad light is when they’re looking away and the majority of their face is being lit. We’re getting away with that with Violet. She’s looking away from the light because she’s a model, so she’s super thin and can pull that off. We can do a video on this in the future. Let me know in the comments if it’s something you’re even interested in on corrective lighting. So, for the average person, when they light more of their face, more shows and they look heavier. If you have them look towards that light, it’ll thin them out. If they’ve got bad skin, you typically don’t want directional light. Instead, you’ll want more flat light because then you don’t have the shadows for acne and things like that. So, let me know if that’s a video you’re interested in.

We’re going to progressively go through this and add a pop of color. Something I love to do is just warm everything up. So right now, we’re shooting at 5500 Kelvin, which is what all the lights are keyed into. It’s going to look very nice. Yeah, I can warm it up in Photoshop and things like that, but I can also do it on set. So, if you look here in my official rig, I tend to keep it pre-gaffed. I’m a pre-gaffer. I don’t know how many of you out there pre-gaff, but everybody should pre-gaff.

I’ll just put this on this light back here, so now I’m ready to go. And the reason I like working this way is because it allows me to move very quickly without having to look for things. So, in my head before the shoot I already knew what I wanted to do, so I tried to get everything prepared. Now, with this particular light, I’m going to move this a little bit more into frame because I want to see if I can get some flare in the lens, things like that. And this is just going to create a nice warm edge light around her. So, let’s shoot that now.

Orange Gel Images

Settings: f/8 @ 1/200, ISO 200

Lighting Setup #3: Teal and Orange

hat was super easy, right? Now that we added orange to this shot, this is where we can have some fun with color gels. I wouldn’t do this with every client. I wouldn’t do it with high school seniors or anything like that. And the reason I wouldn’t do that is because not everybody’s going to like this, which is why I like working this way. 

So we’ll get set up. Now knowing how easy this is to do in real time, you can get a bunch of different looks. So, what we’re going to do is change this big beauty dish, soft light now, and get teal. Teal and orange is a great color combination. Red and blue is a good color combination. Blue and orange is a good color combination. So you’ll pick your own flavor, but I really love doing this. 

So we’re going to open up this light and add the colored gel. You can buy these from B&H or anywhere. They come in big sheets, and I just cut them into four. It’s super inexpensive. Every light manufacturer, by the way, makes a gel kit and they’re well-made. But the problem is that I  have multiple lights like Westcott, pro photo, F J400s, and F J200s, so I’ve got to have different gels and lighting for each. So, this is so much easier and cost-effective.

All right, we were shooting at F 8.0. Adding that gel has dropped the exposure to 287, so roughly 4.0. So, you’re talking about a two stop difference loss of light. The reason I’m taking a test shot is to make sure the saturation looks right. With gels, the brighter you make it, the more wonky things start happening. Then some colors are going to be more vibrant than others. And so, with this teal, it’s a very light teal, I’m trying to find that balance. Where I’m ending up is at F 9.0, 200th of a second, ISO 200. 

So, I’ll show you guys what I’m seeing here. The straight out of camera looks really good. I love this teal, orange combination. It’s so moody. All we had to do was add the orange and the teal. Then, I’m going to show you a third version after this where we’re firing light into the camera. But let’s work this guy out.

Orange and Teal Gel Images

Settings: f/9 @ 1/200, ISO 200

Lighting Setup #4: Teal & Orange ADD Purple

Now for the last set up I’m going to take an F J80, and we’re just going to fire this into the lens. I’m going to keep the orange and teal, and my wife wants to add purple. So, I’ll be honest with you, I don’t like purple. We’ll see how this turns out. 

We’re going to go to max power, on this, and I’m going to have Alicia jump in, just pointing this right at the lens. I’m on group C. I’ve got A, B, C for groups, so that I can control the light individually when I decide to use the right way. 

Dude, are you loving that shot, that purple? We’re getting a little bit of the flare with it, with the teal, with the orange. Looks amazing.

Orange, Teal, And Purple Gel Images

Settings: f/9 @ 1/200, ISO 200

Guys, that is a wrap. Hopefully you love this video. Like, comment, subscribe. Let me know which lighting setup you enjoyed the most. But I’m excited because, I don’t know if you know this, but before the video starts we just have an idea. I don’t get three hours to practice this and set it up. We just ran with it. And so, I’m ecstatic about the results. I am excited to use this in some of my other photo shoots. Like I said guys, if you want to see more videos like this in the future, like, come, subscribe. We’ll see you in the next one.

Leave a Reply

Want more content like this?

Check out our recent posts

yt thumbnail portrait lighting and understanding rembrandt lighting

Understanding Rembrandt Lighting

Ever wondered how to nail that classic, beautiful lighting in portraits? Look no further! In this video, we’re diving deep into the wonderful world of Rembrandt lighting for your in studio portrait photography – it’s like painting with light!

Watch as we break down portrait lighting and understanding Rembrandt lighting in the simplest way possible. No fancy jargon here, just pure, easy-to-understand tips and tricks. We’ll show you how to create those gorgeous shadows and highlights that make your portraits pop!

Whether you’re a newbie or a seasoned pro, there’s something for everyone. We’ll walk you through the history, the basics, and even some cool practical demonstrations. Get ready to take your portrait game to the next level!

Read More »
new westcott fusion by salvatore cincotta thumbnail

New Westcott Fusion by Salvatore Cincotta

The new Westcott Fusion by Sal Cincotta is something I’ve been working on with Westcott for a couple of years now. It’s an incredible product that will give you more lighting possibilities than you could imagine.

Check out this on location shoot and how we use the product. More videos coming.

Read More »