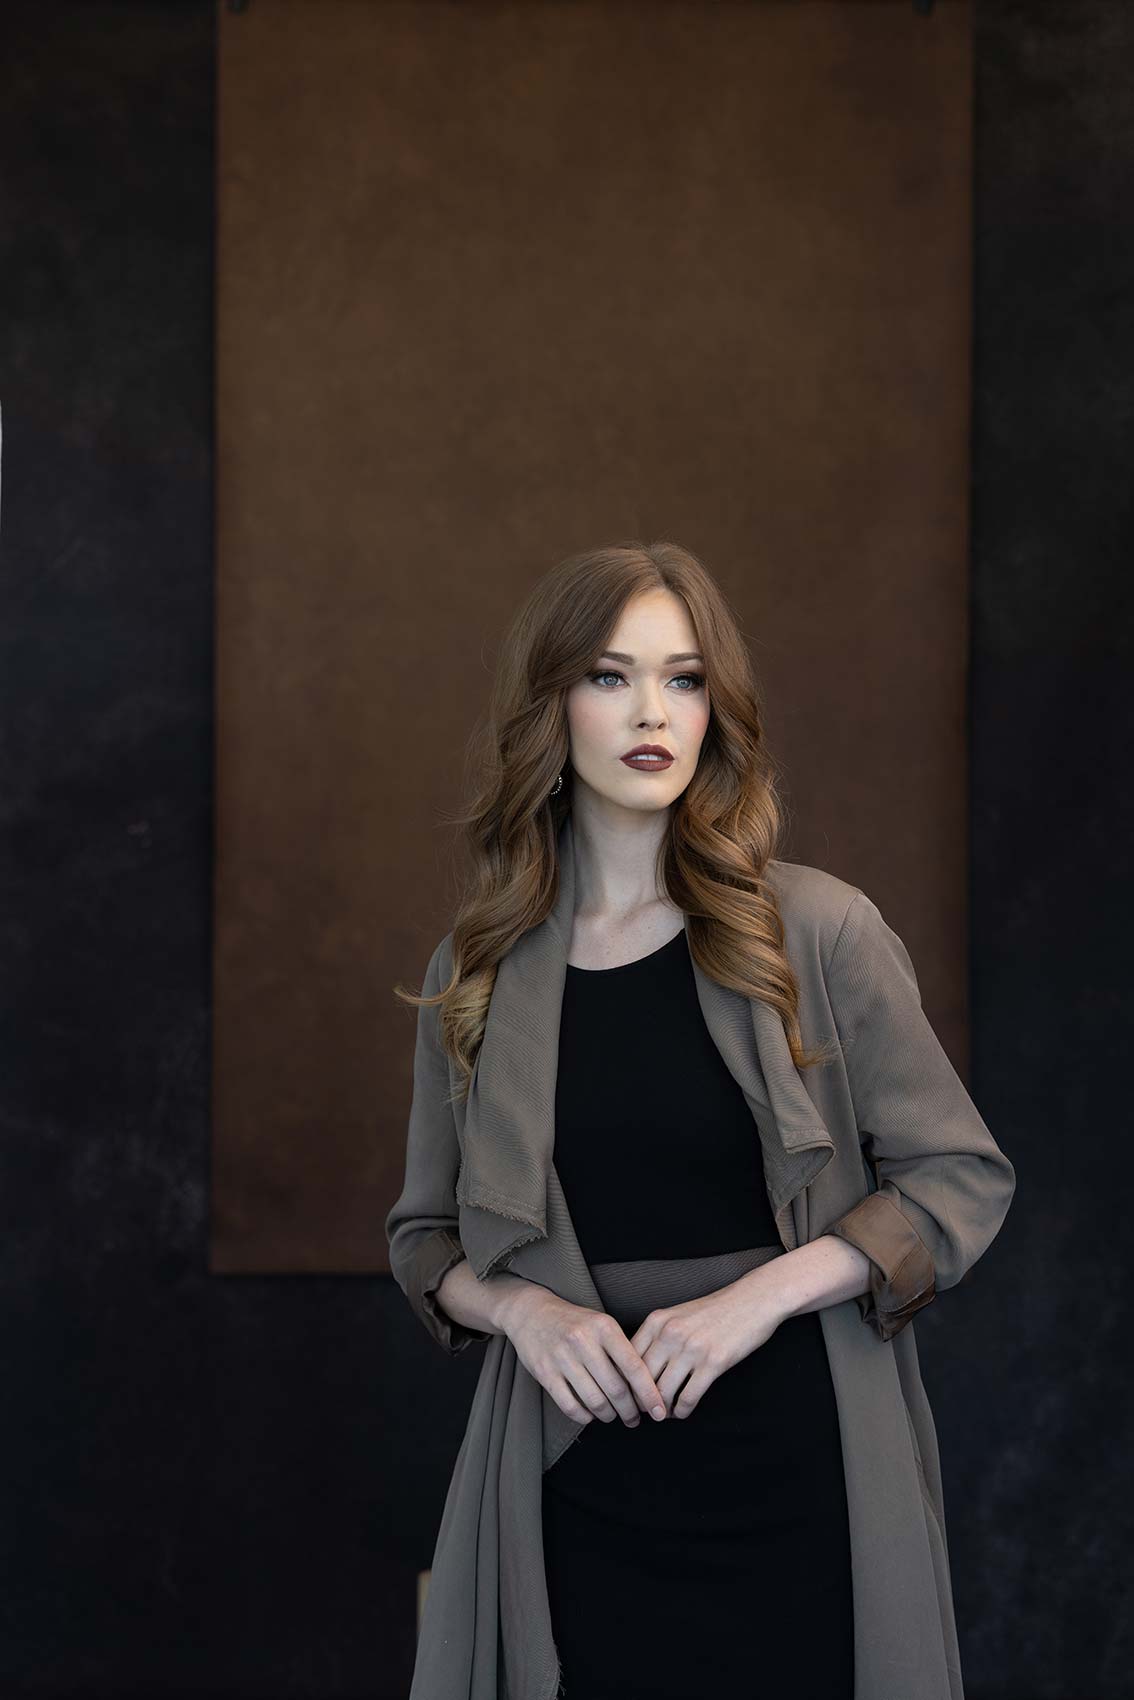
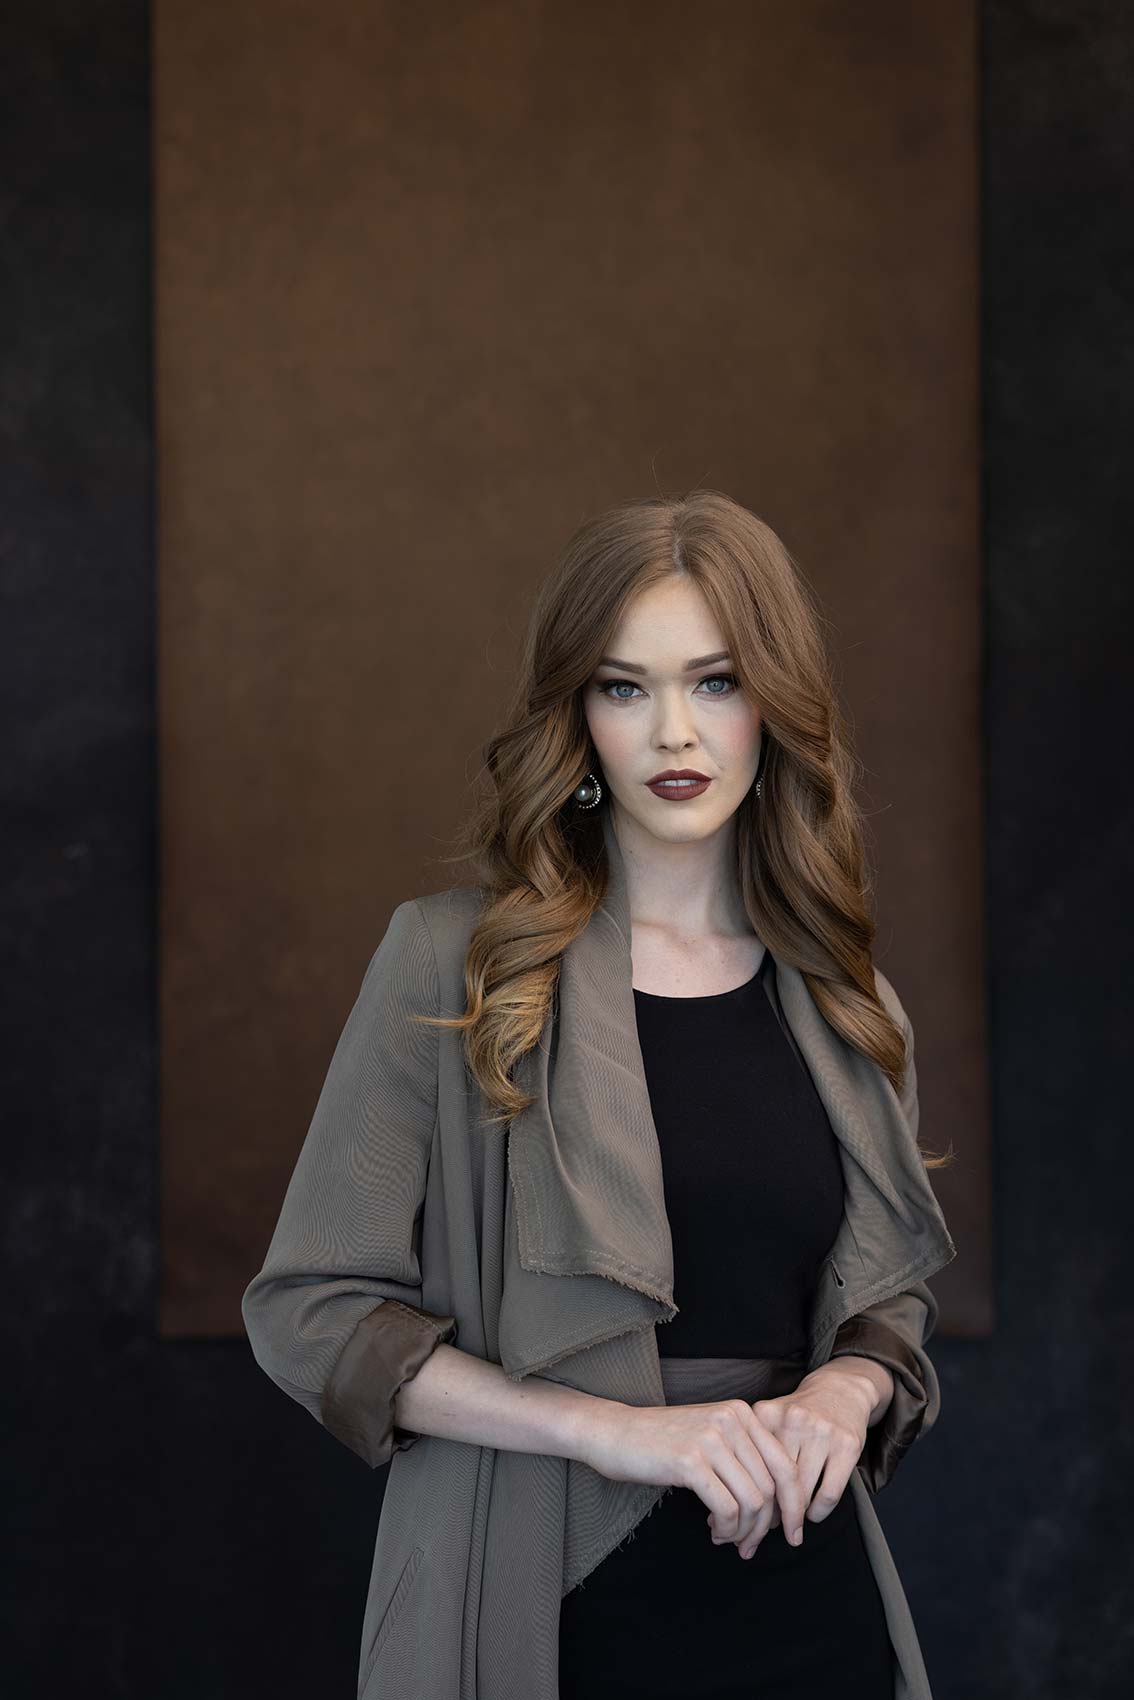
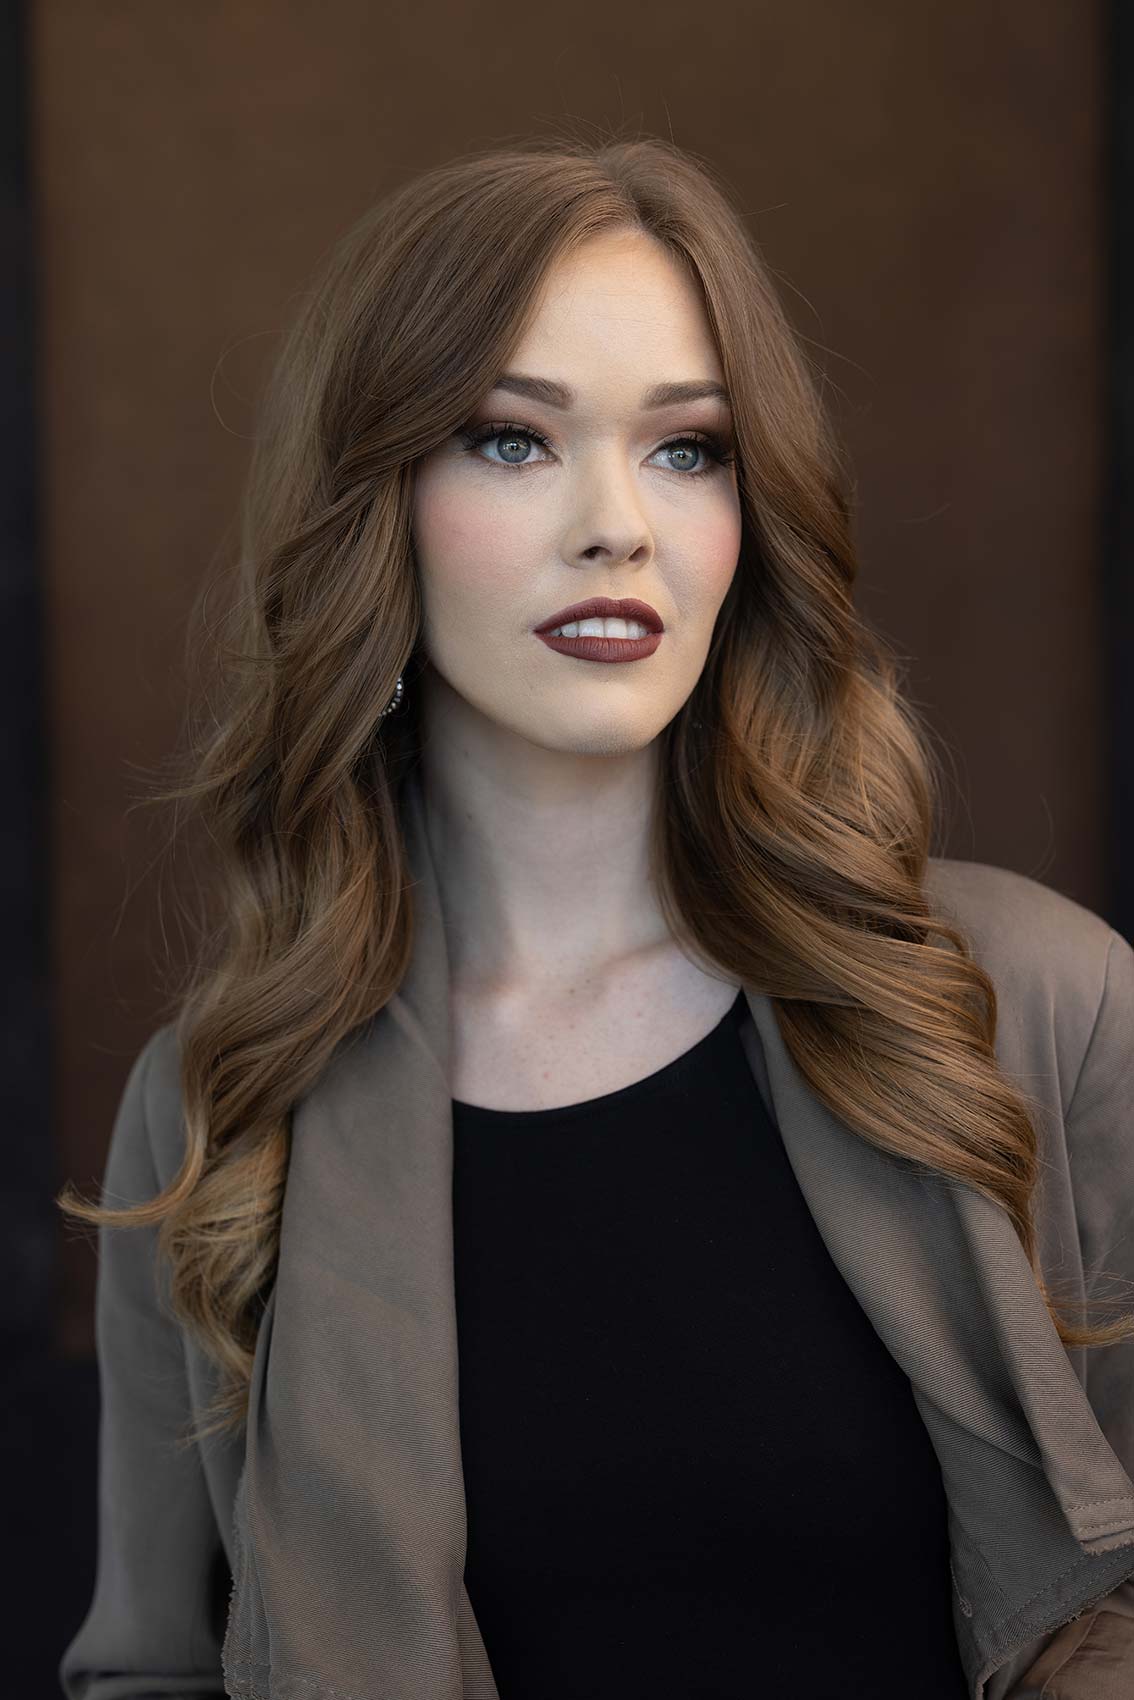
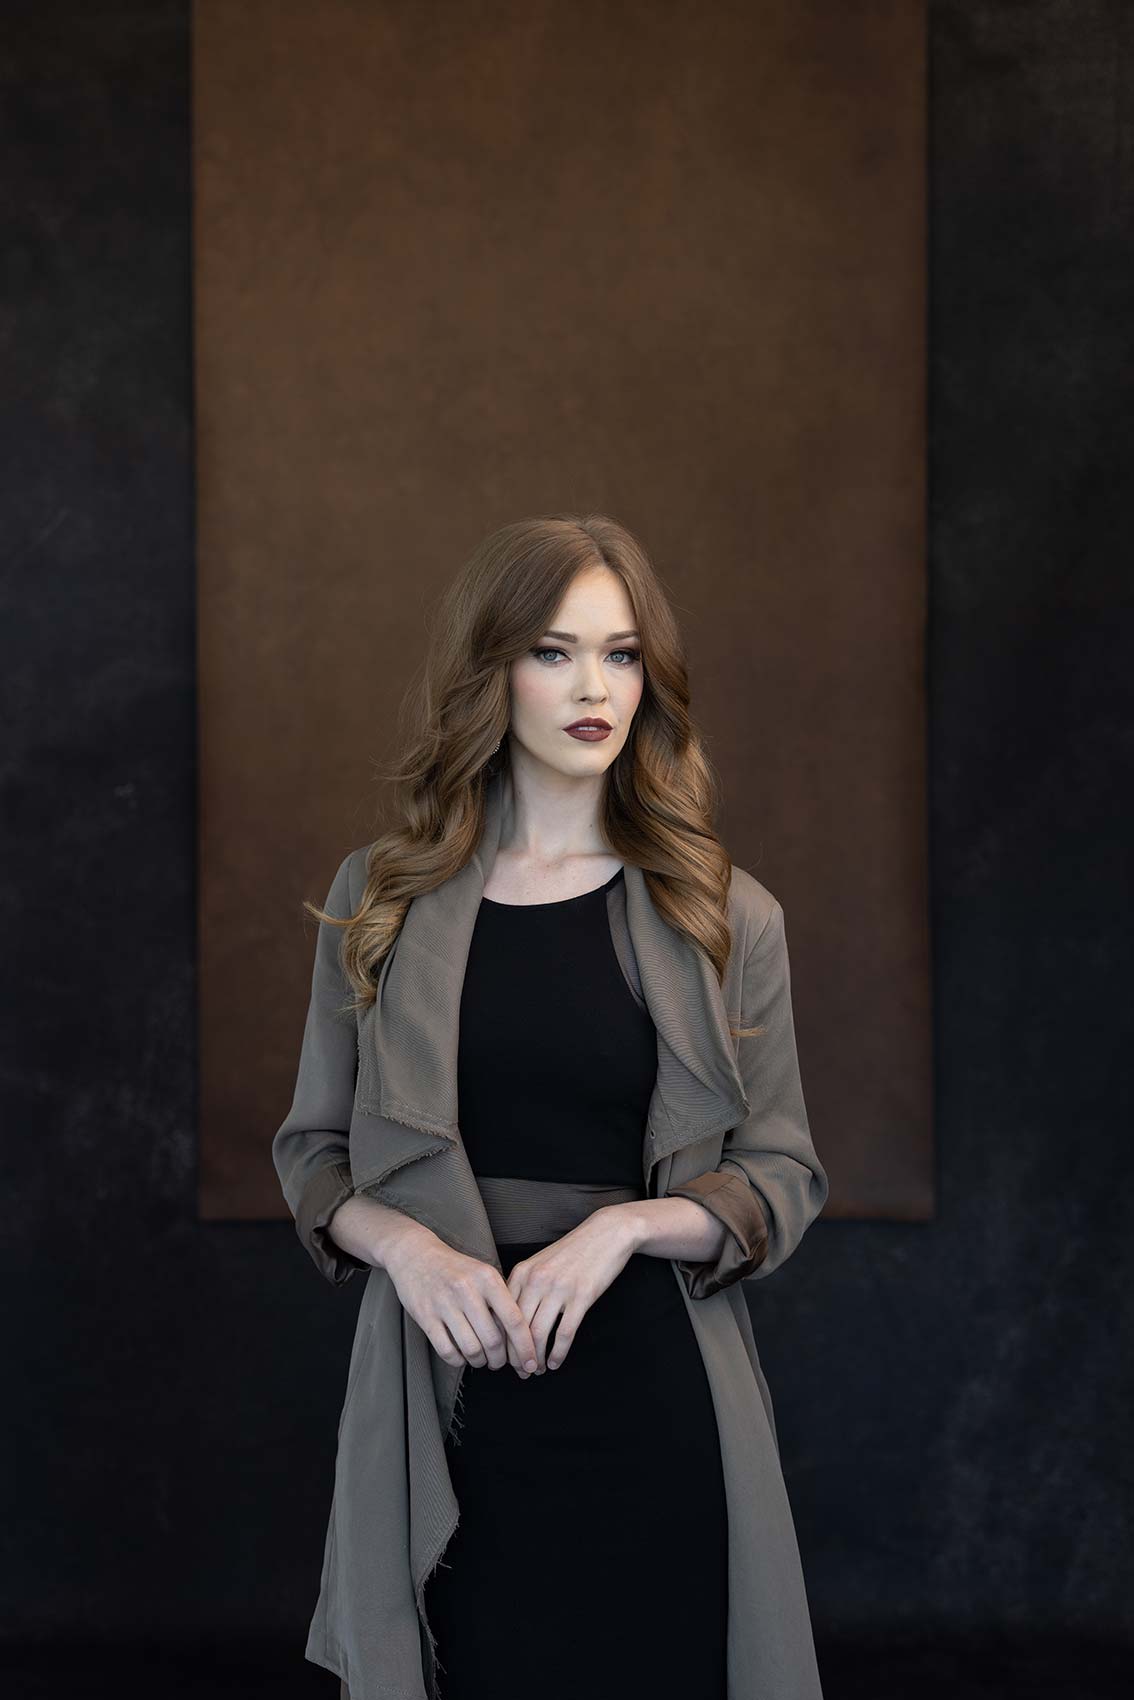
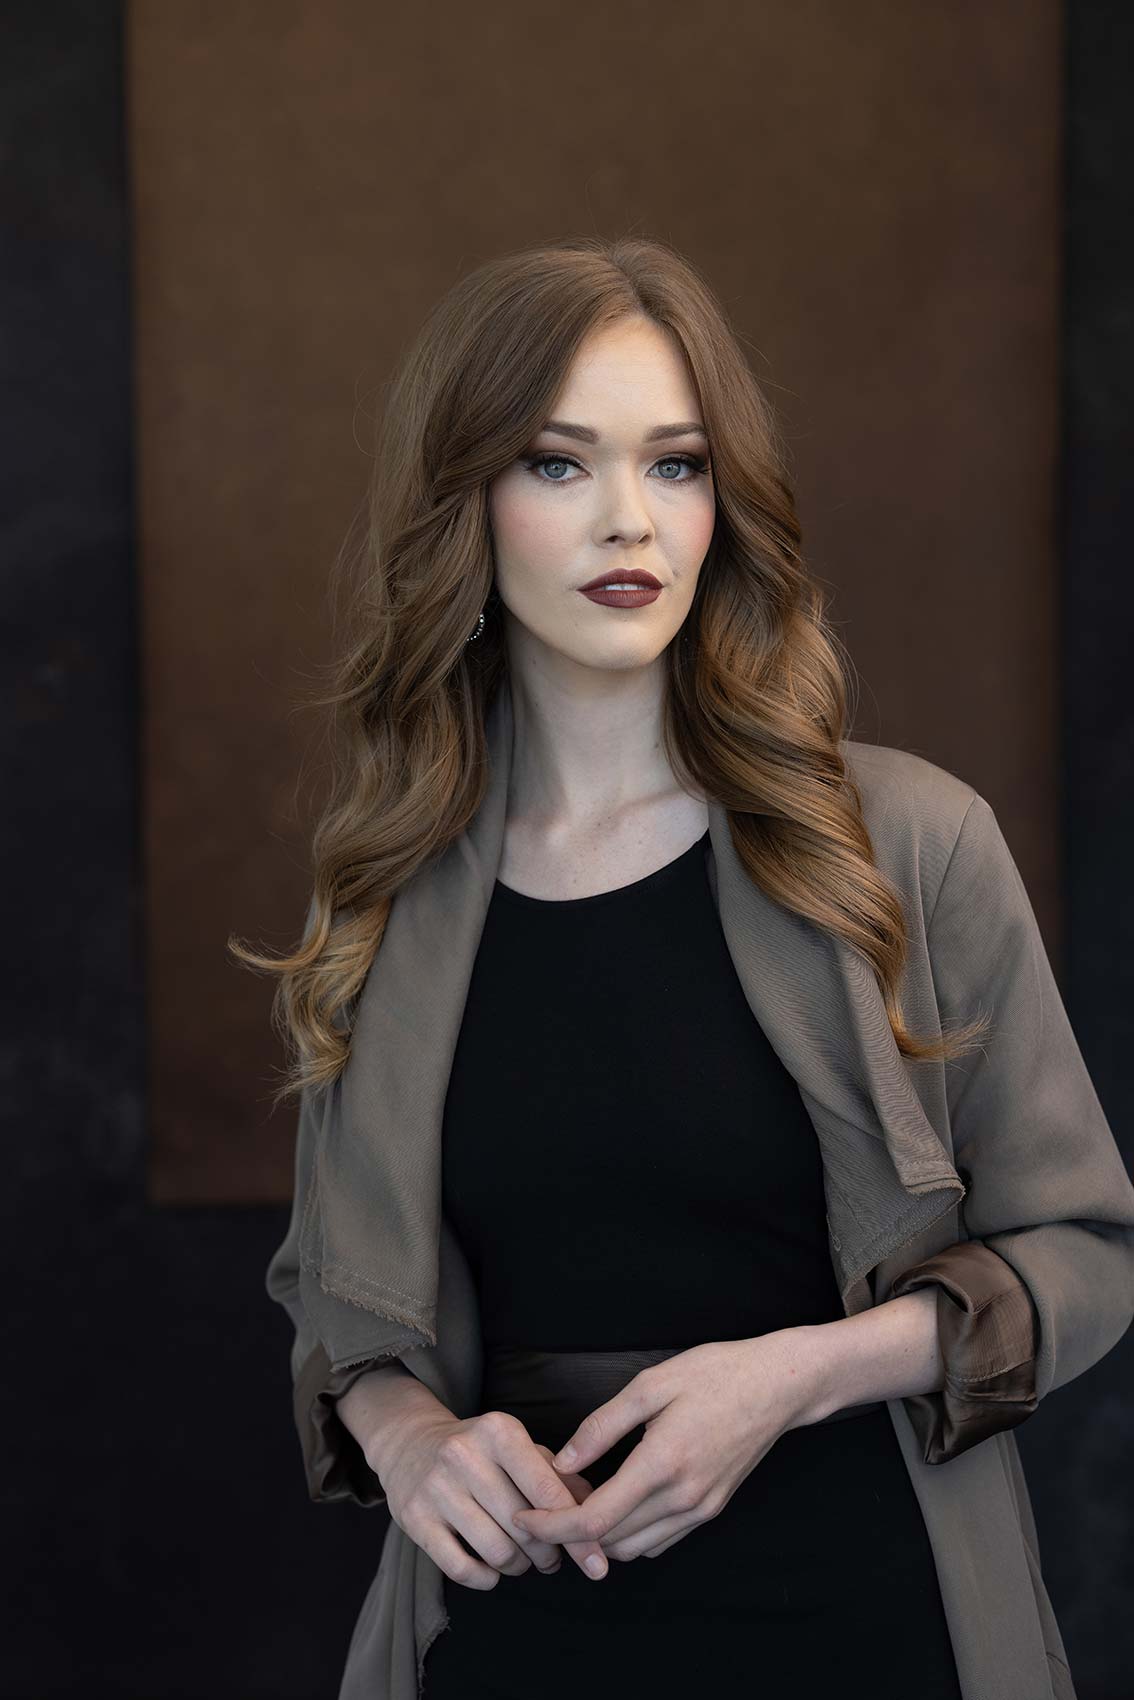
In this video, we’ll show you how to master the art of creating soft and natural light portraits using off-camera flash. Whether you’re a professional photographer or just starting out, this tutorial will provide you with valuable tips and techniques to enhance your portrait photography skills.
Equipment Used:
Camera: Canon EOS R5
Lens: Canon RF 50mm F1.2 Lens
Light: Westcott fj400 Strobe,
Modifier: Westcott Rapid Box Switch Octa-L
Team:
Photographer: Sal Cincotta
Model: Violet Deardorff
The One Light Setup
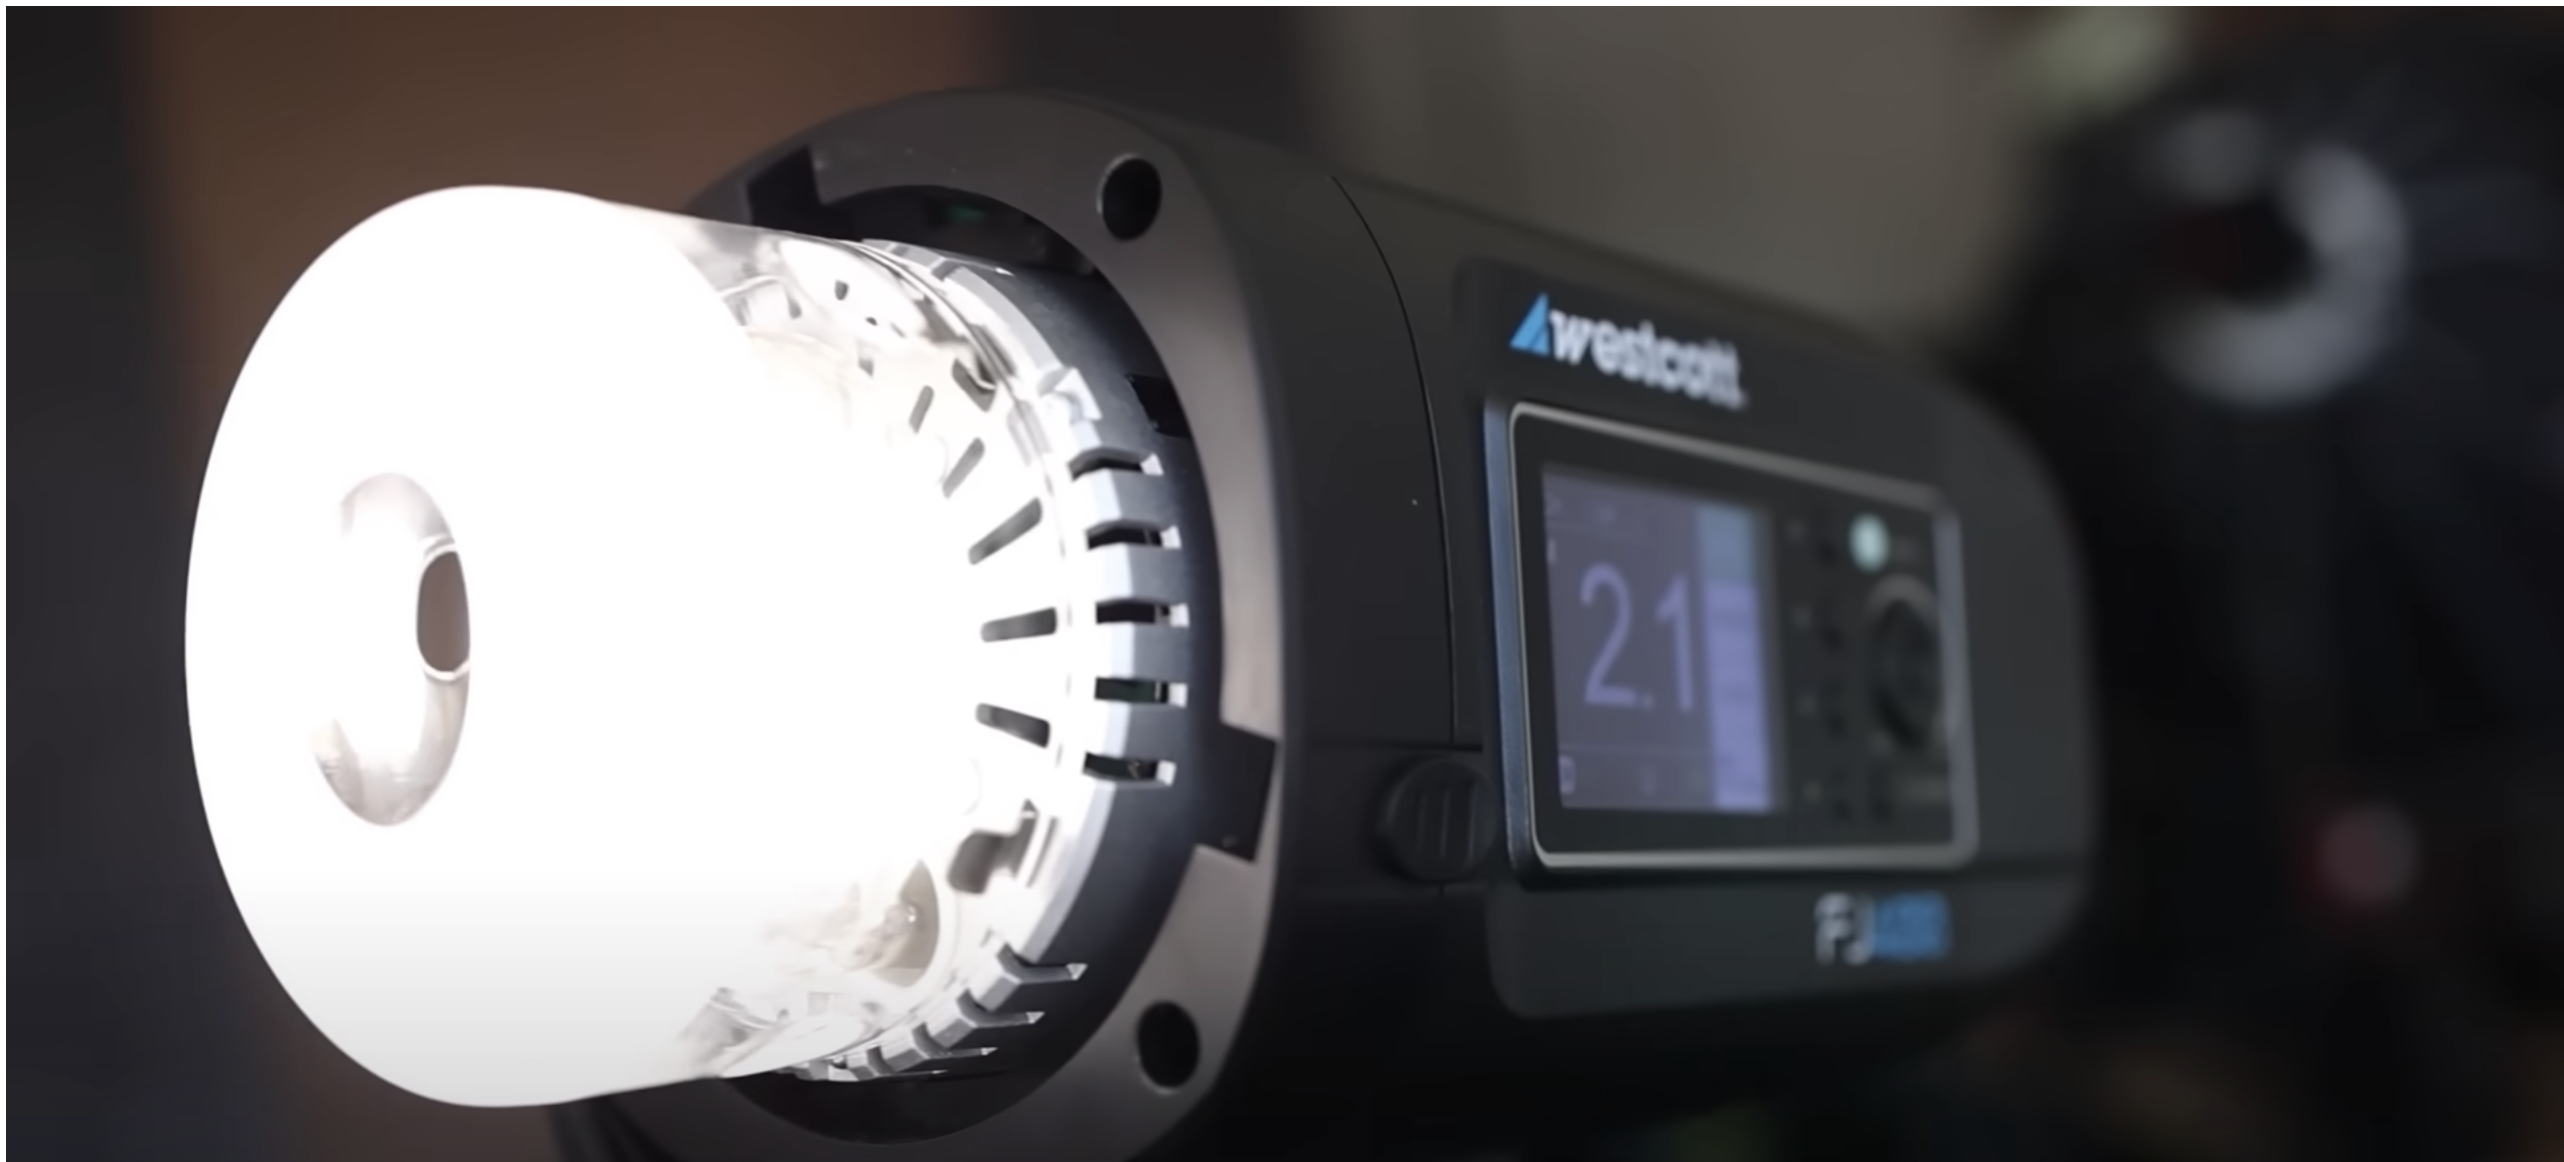
Today we’re going to create natural soft light, except we’re not using window light. We are going to be using one studio strobe. I’ve got a Westcott FJ400 as our main light. For a modifier I am using a Westcott Octa large switch. Their switch system just allows you to use your light modifiers on different light sources. It interchanges the adapter so you can use it. You never lose your investment. As far as I’m concerned, Westcott is one of the best light modifiers on the market. Inside the Switch, you will see there’s some inner baffling. The diffusion material will soften the light more, which is what we want. Now if we’re outdoors and we’re outside, natural light is not always soft. I’ve seen a lot of portraits where they use hard light and they look beautiful. It can be difficult to create a beauty-style portrait using hard light. Not impossible, but it’s just not what we’re doing today.
How to create soft light
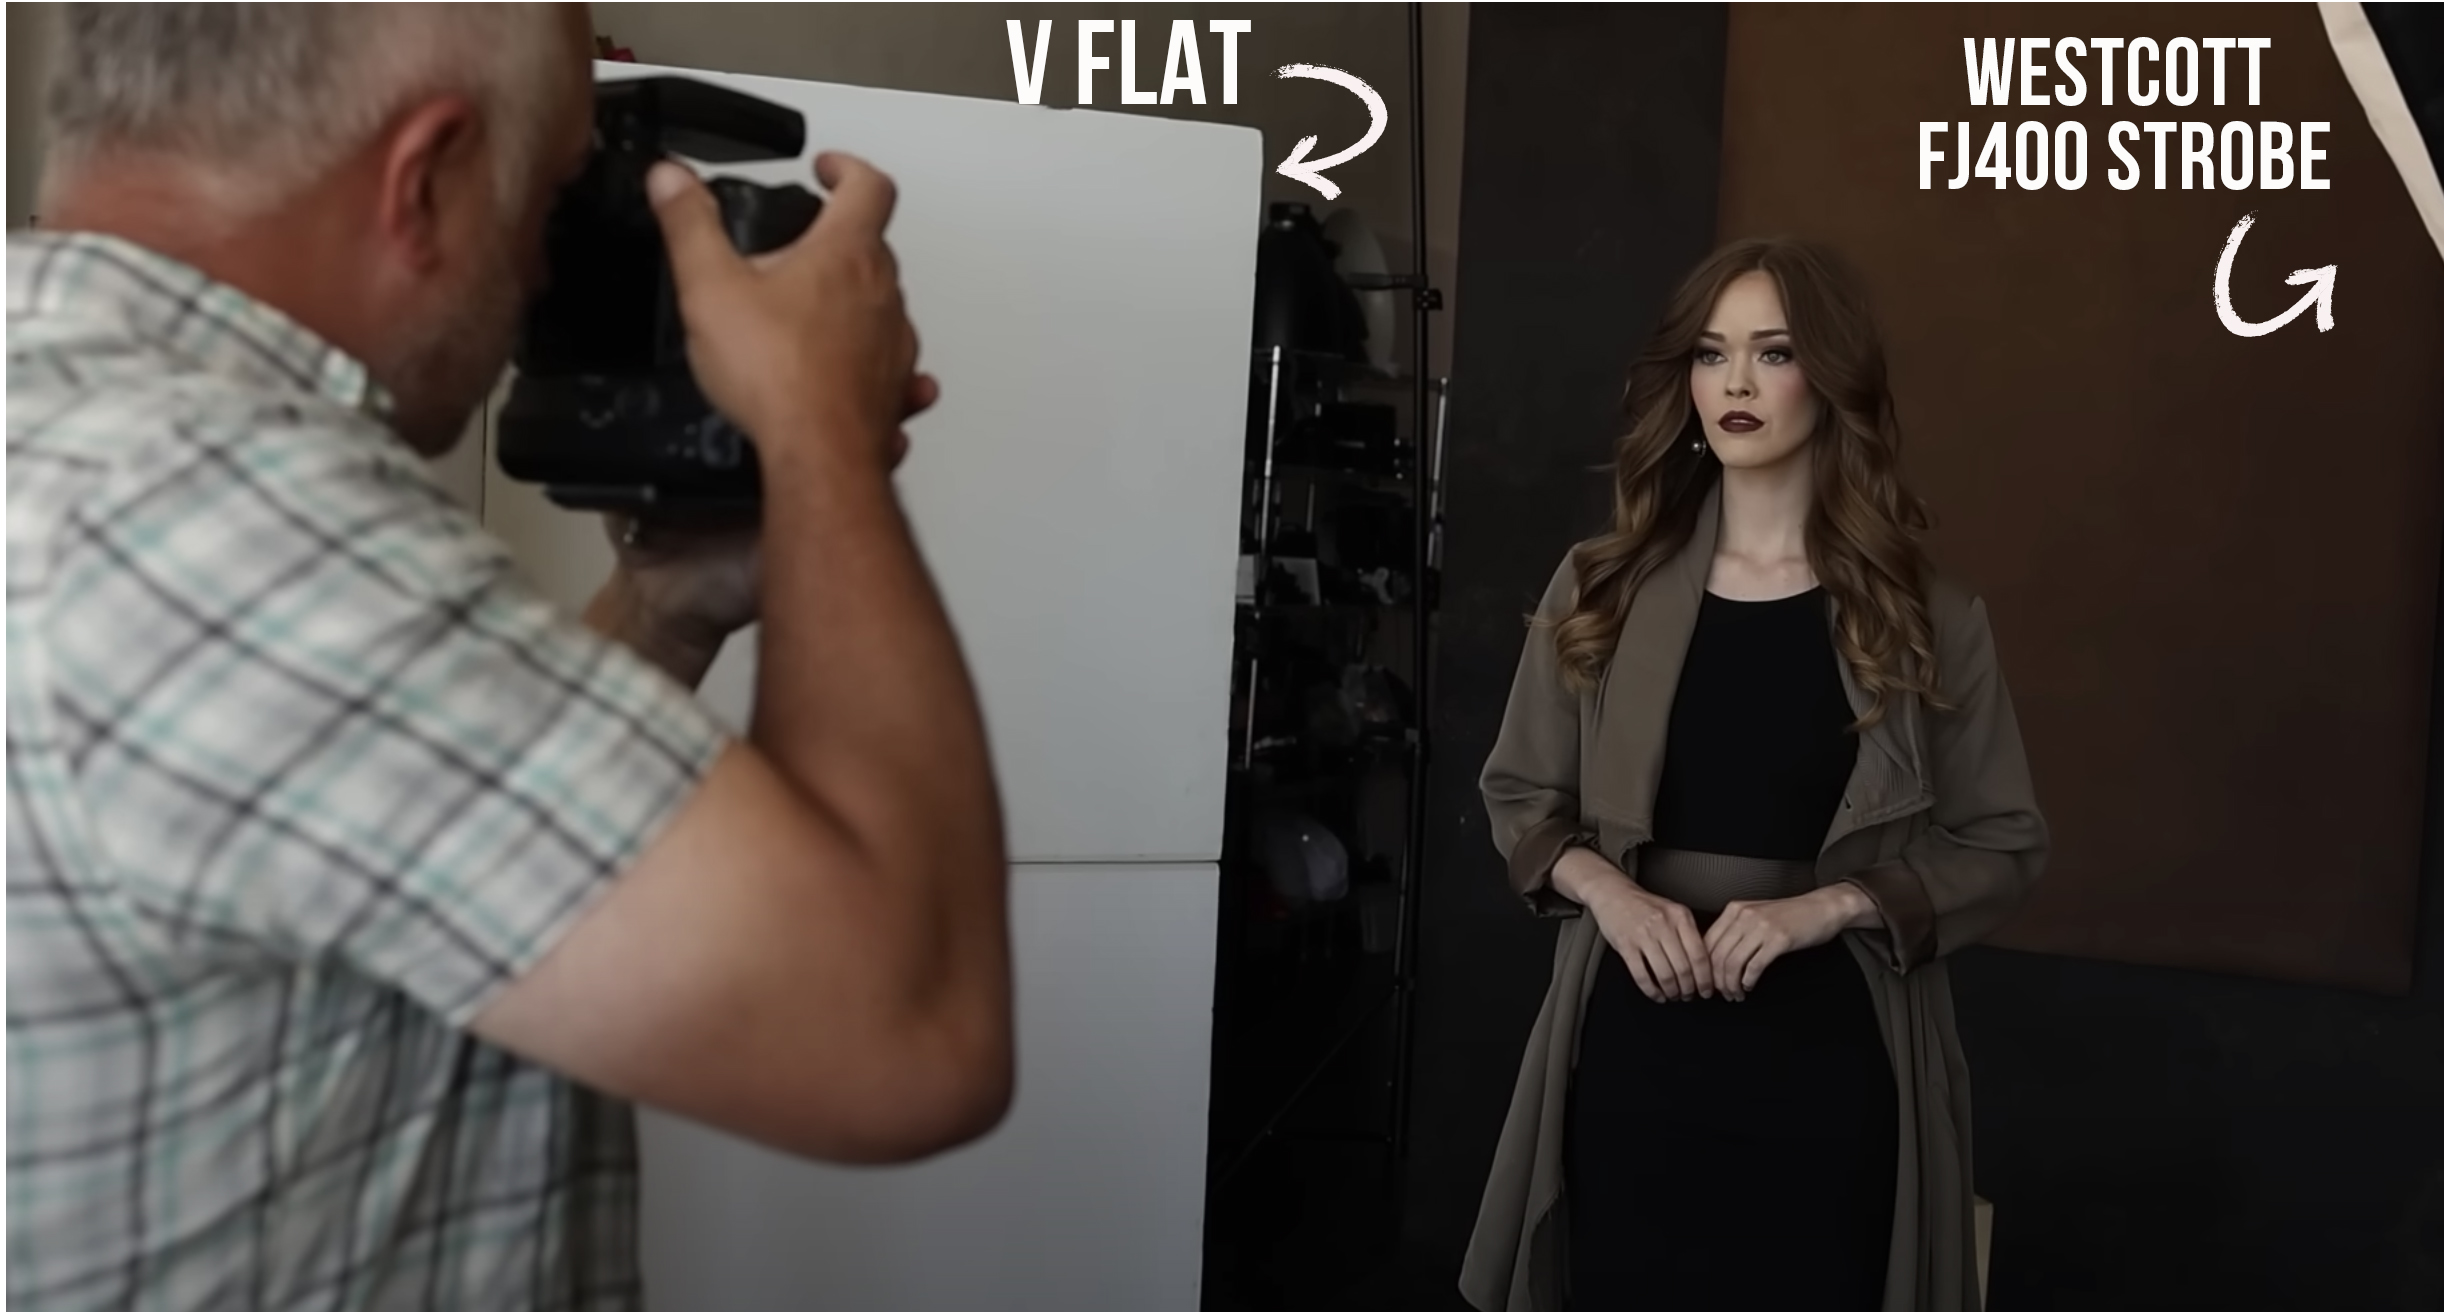
To create the softest light possible, I’ll use a large light source, put that light source very close to my subject, and bounce the light off of a v-flat to soften it even more.
Bouncing the light is one of the most important things to consider when you’re trying to create a natural light look with off-camera flash. True natural light is bouncing all over the place. Everything tends to have some light on it, unless it’s being shaped by a window, coming from a certain direction, if the sun’s high, or the sun’s low, or something like that.
In this portrait, the Westcott FJ400 is going to give a nice soft directional light, and we are going to reflect it using a white V-Flat. And the closer I put that V-Flat, the less the shadows there will be on the side of Violet. The further I move the V-Flat away, the harder those shadows will be, so you can season to taste.
I am also using the Sekonic LiteMaster Pro L-478DR-U light meter. The ambient light in the room right now, with no flash, is 1.0 of natural light, at ISO 200 and 1/250th of a second. So all I’m going to do to get rid of most of this ambient is set this up for about 2.8, maybe 3.2, or 4.0. And then I’m overpowering the ambient in the room so we’re using the flash to illuminate this portrait.
For gear, I am using a Canon EOS R5 and the 50 millimeter 1.2 lens, but I’m not going to be shooting at 1.2. I’m also using FJ Westcott 400 and their X3 M, their new trigger.
A little pro tip here, do not trust the back of your camera screen. Anybody who’s been a professional photographer for any amount of time knows this because what you see on these bright LCD screen, it’s just a lie. The true test to know is to look at the histogram of the image. That histogram is the absolute truth, telling you where the highlights and shadows are. So you’re seeing we’ve got more shadow than highlight detail.
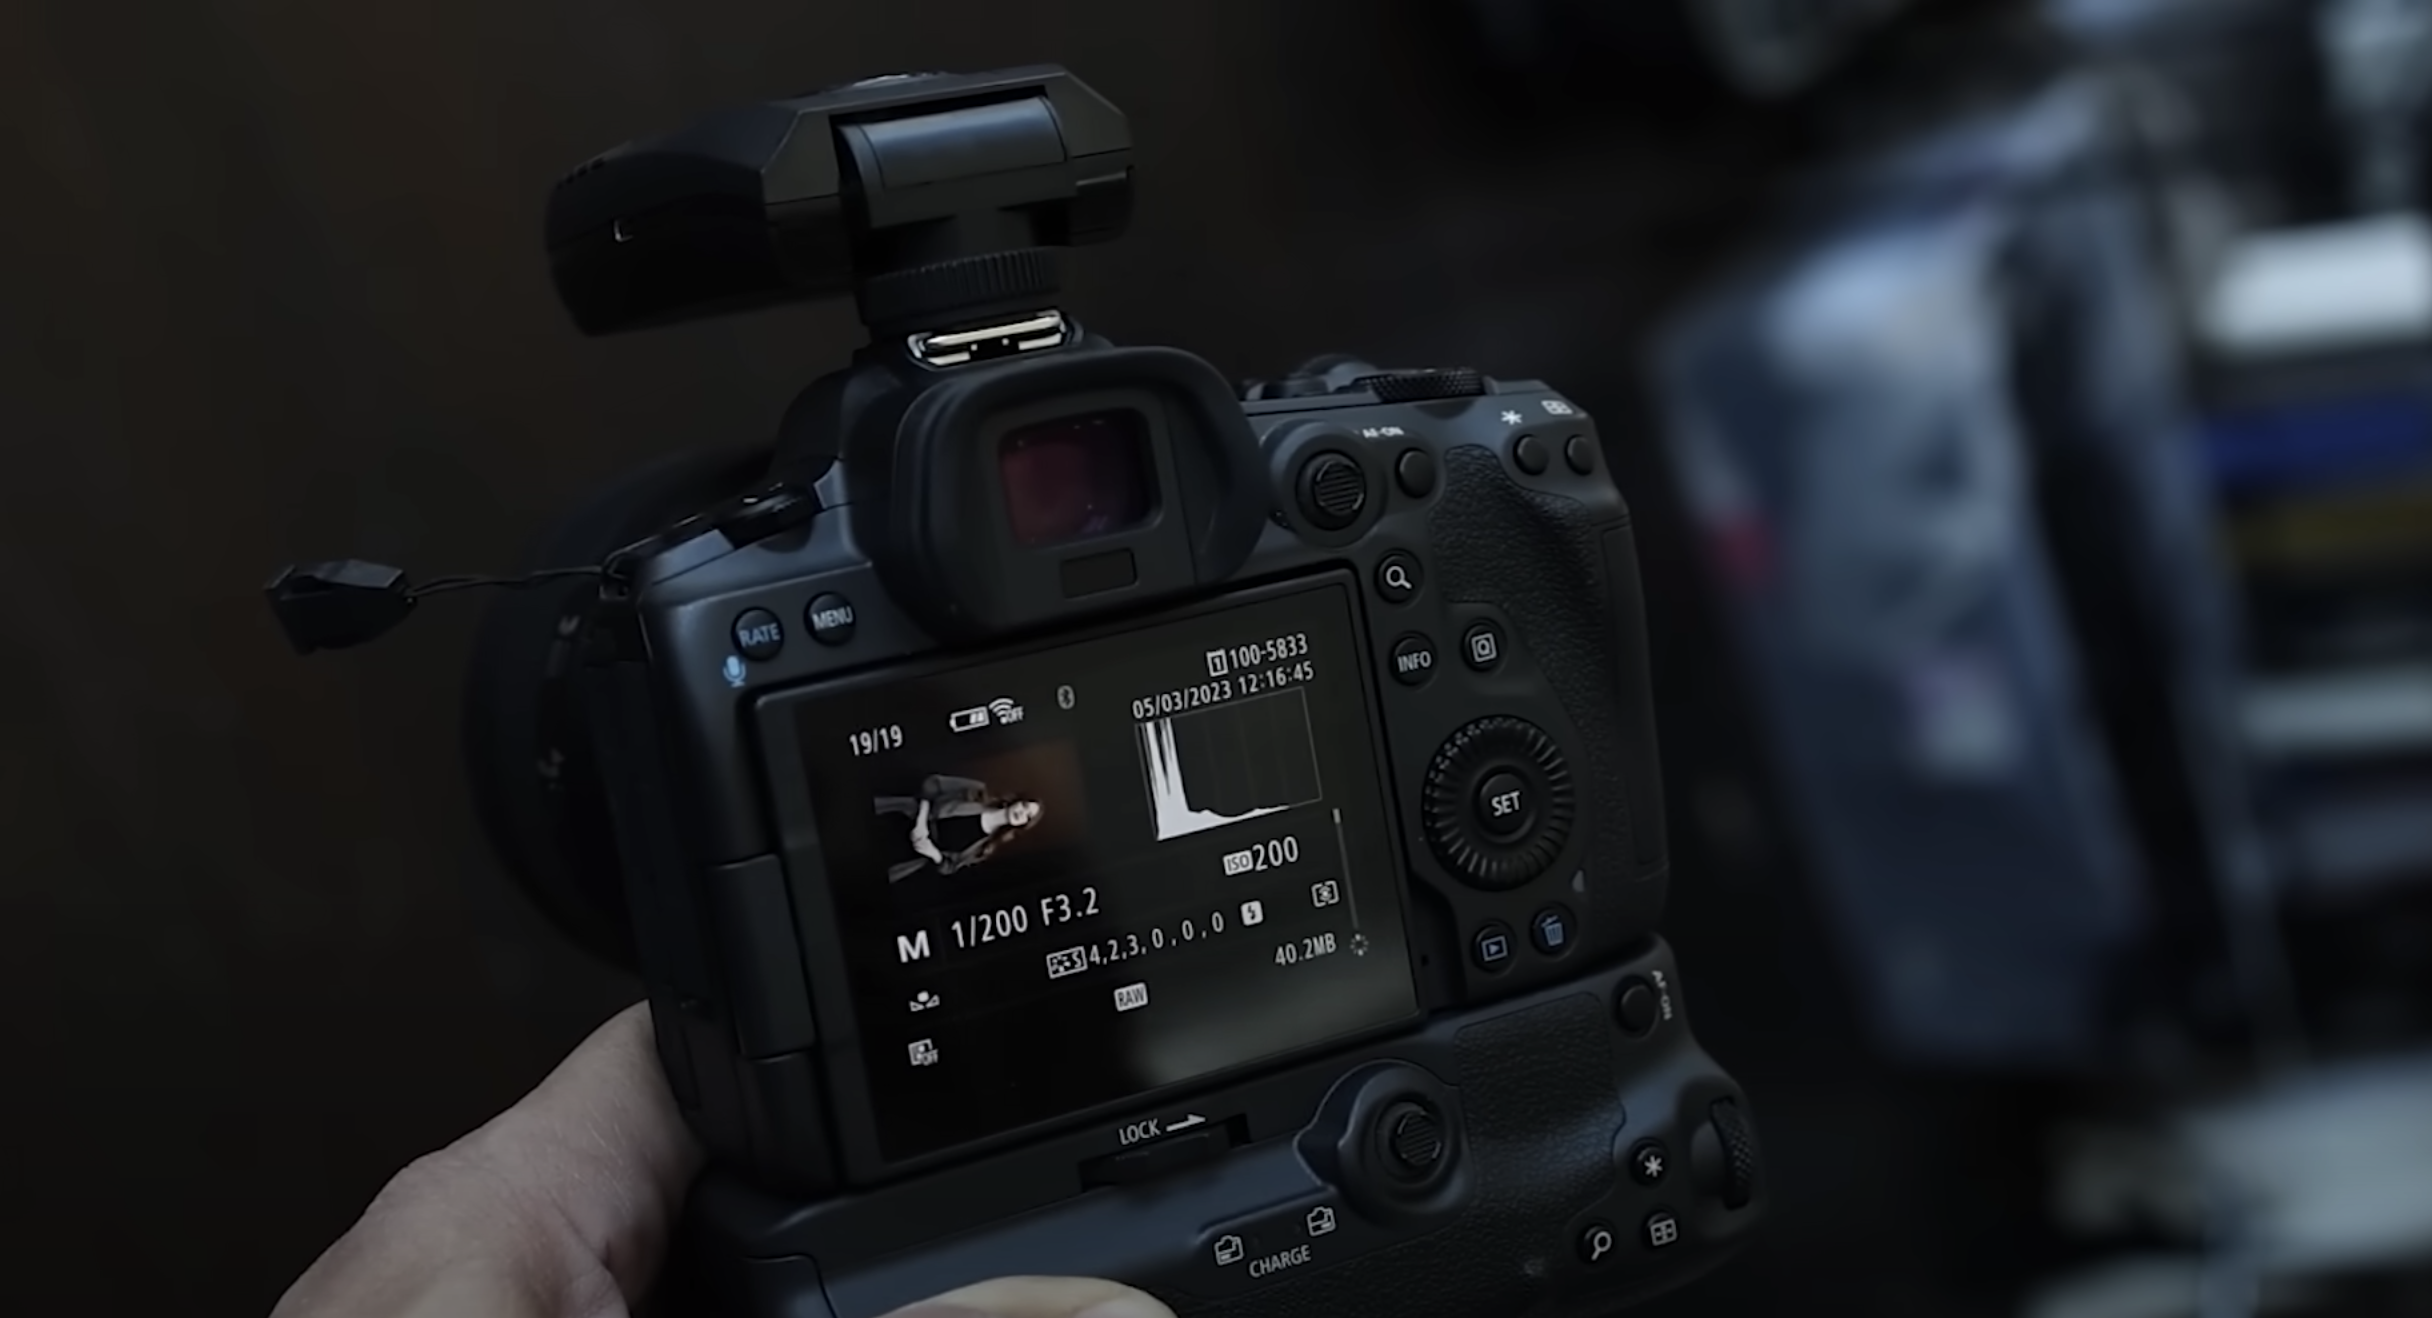
So you’ve got to use a little bit of the histogram, a little bit of a light meter, and really your own skillset to know what you’re going to do in post-production. Are you going to crush shadows? Are you going to bring down highlights? I don’t want a background that’s going to go black, so I do need some light hitting that background because I want kind of an evenly lit portrait except for her face. I want her face to pop.

