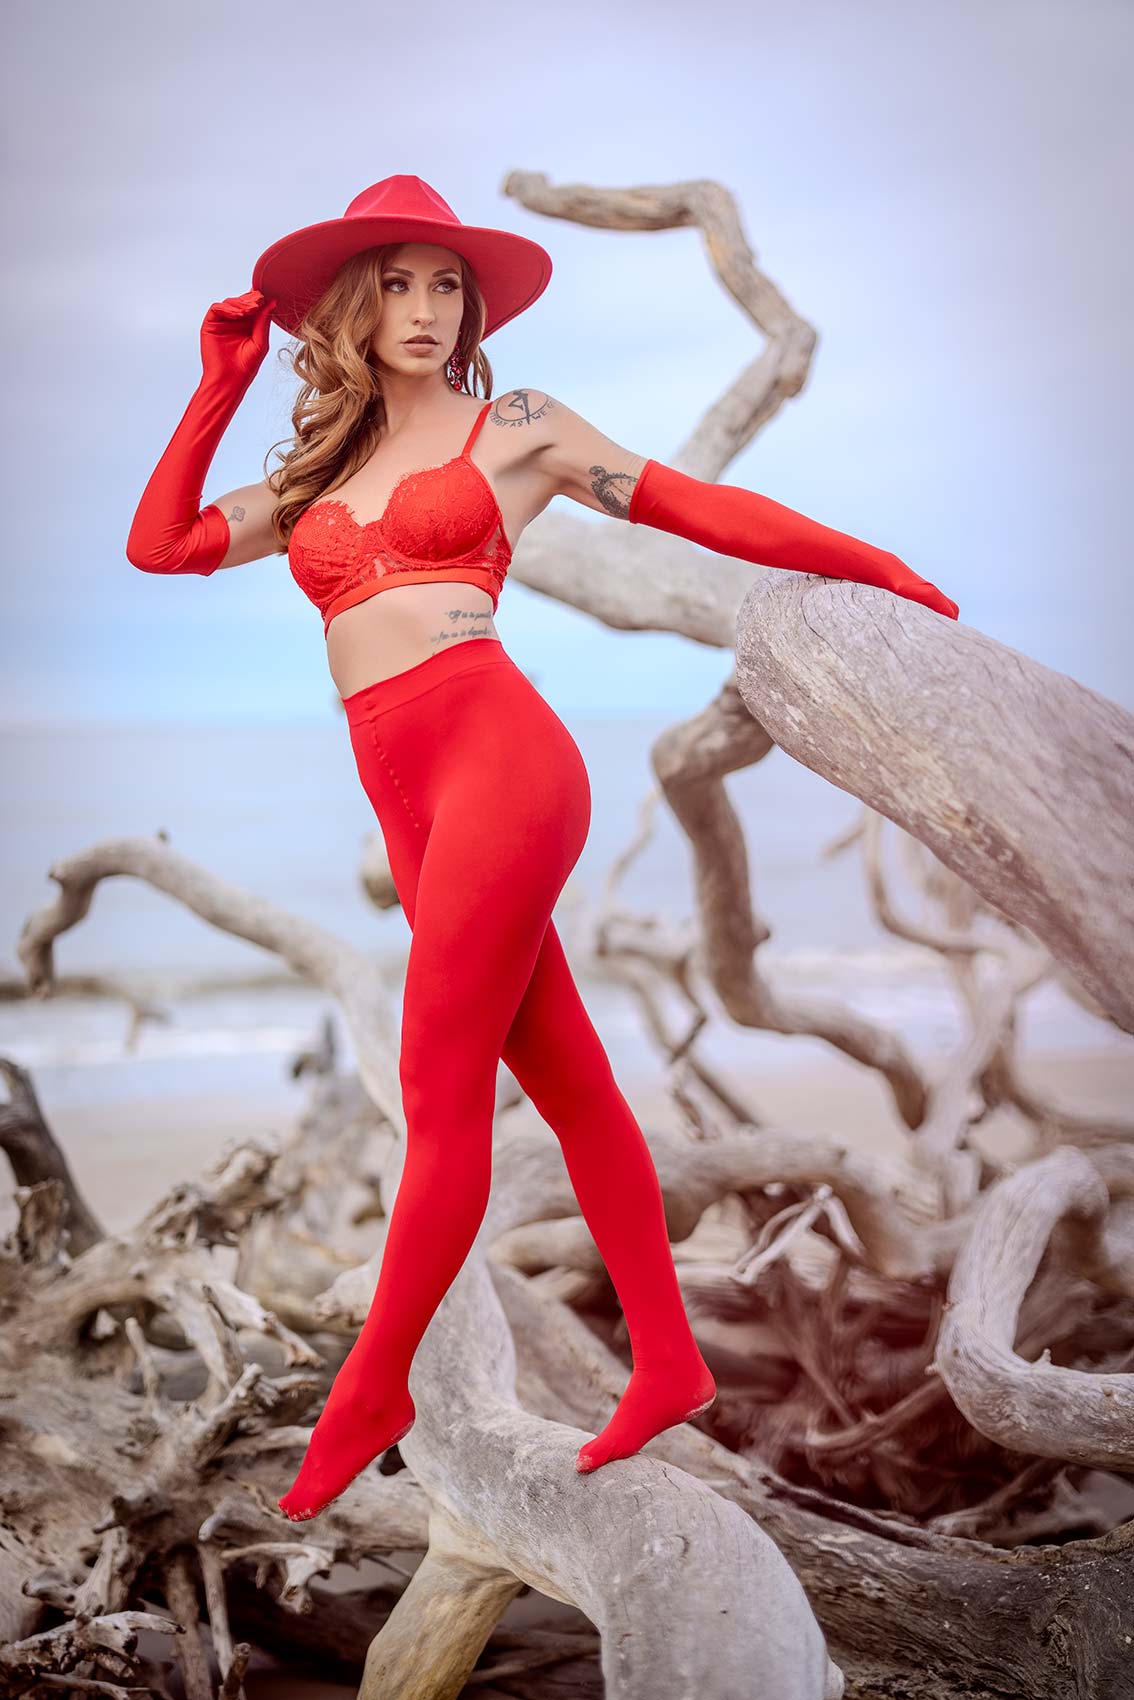
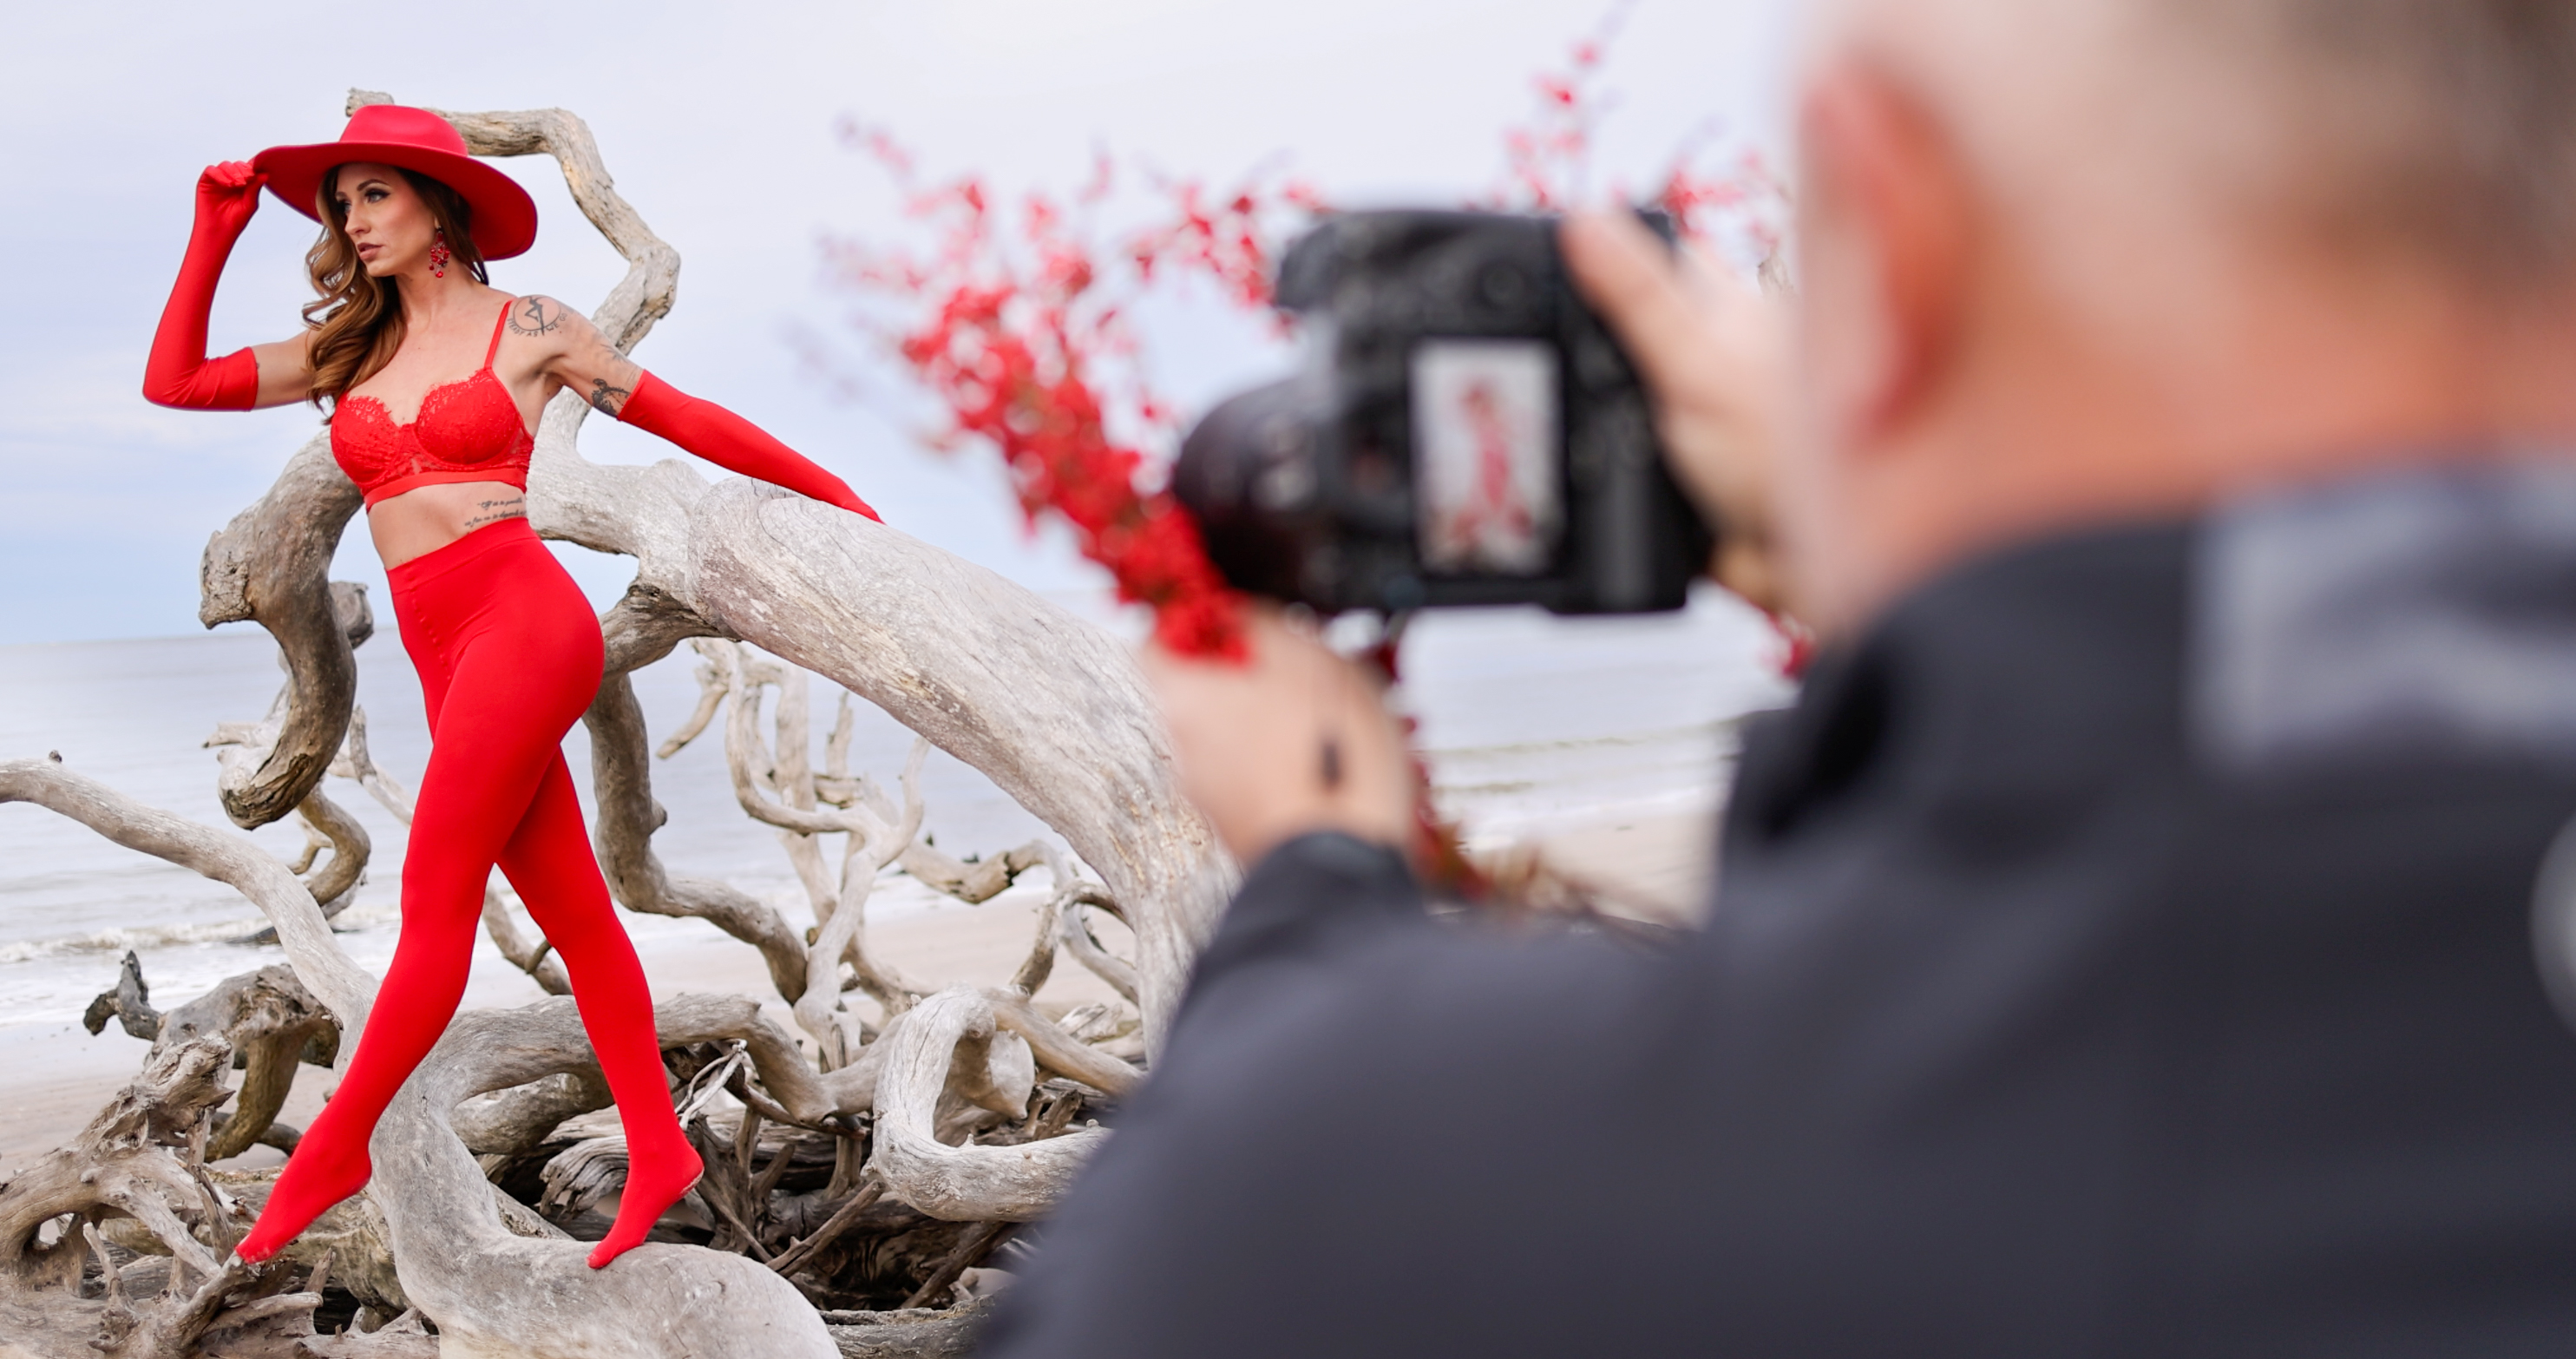
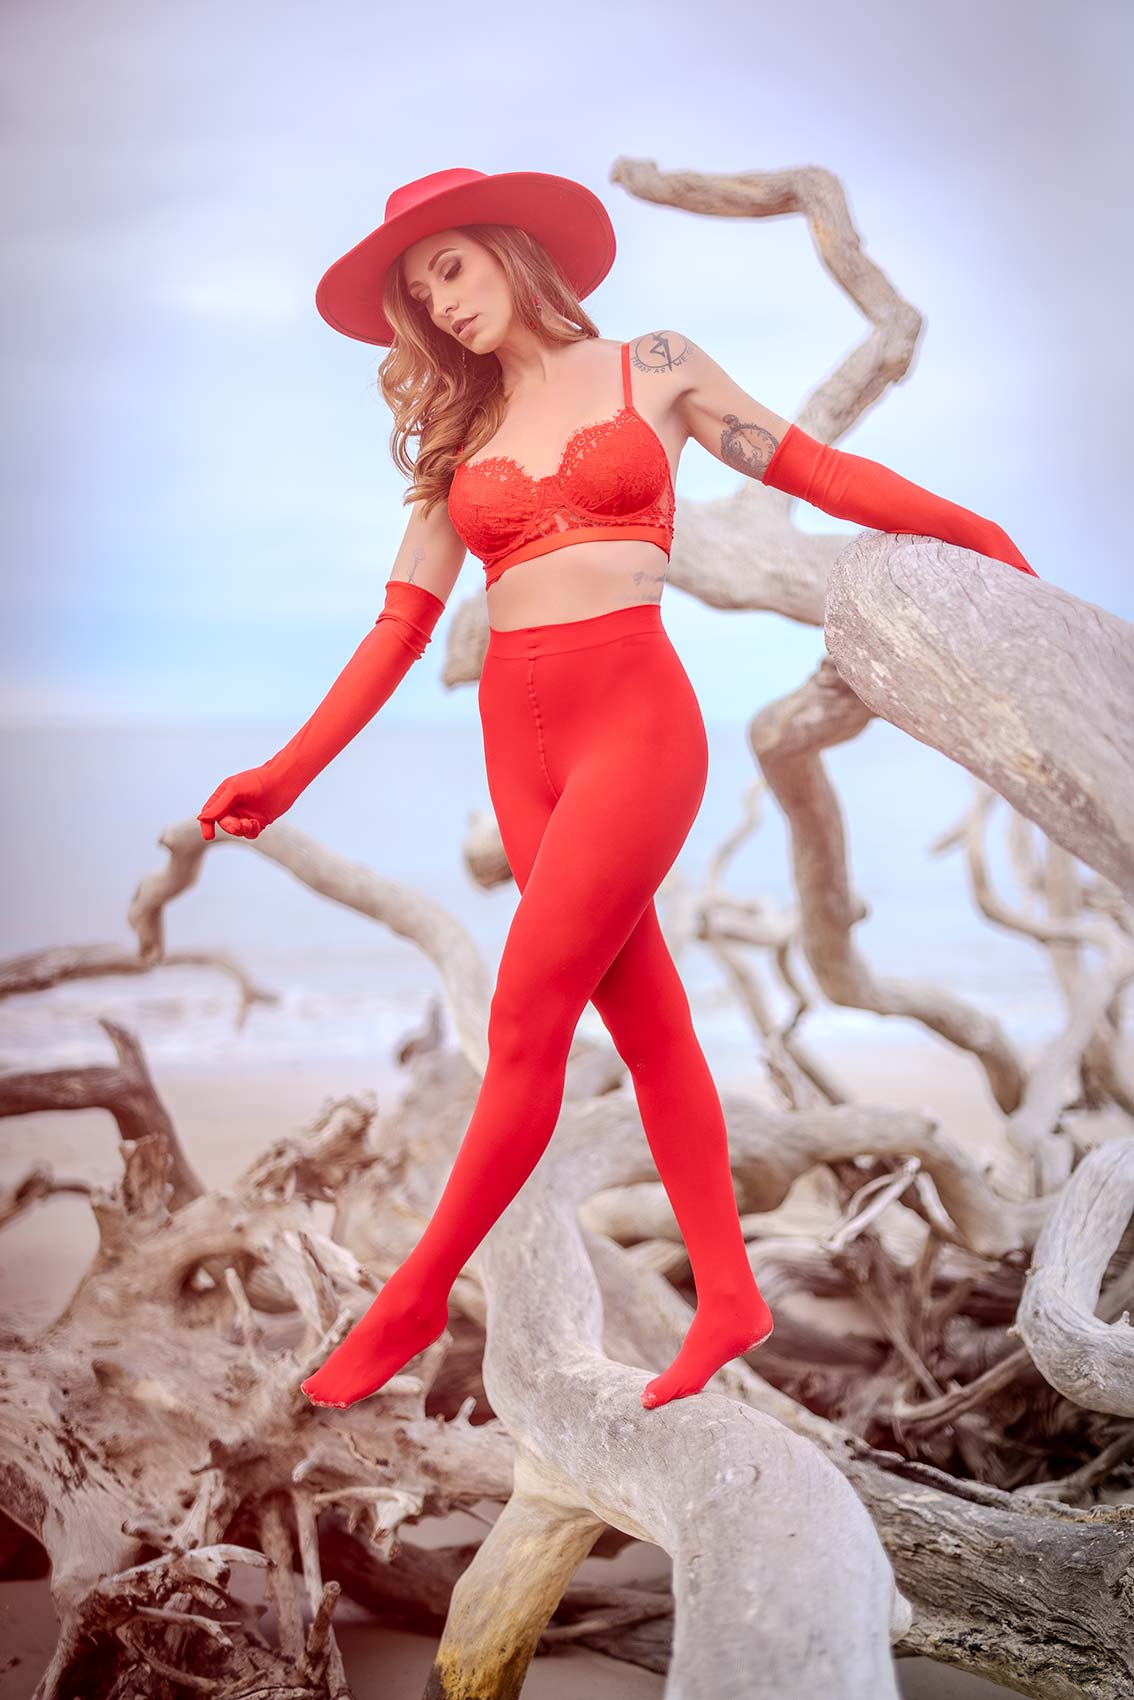
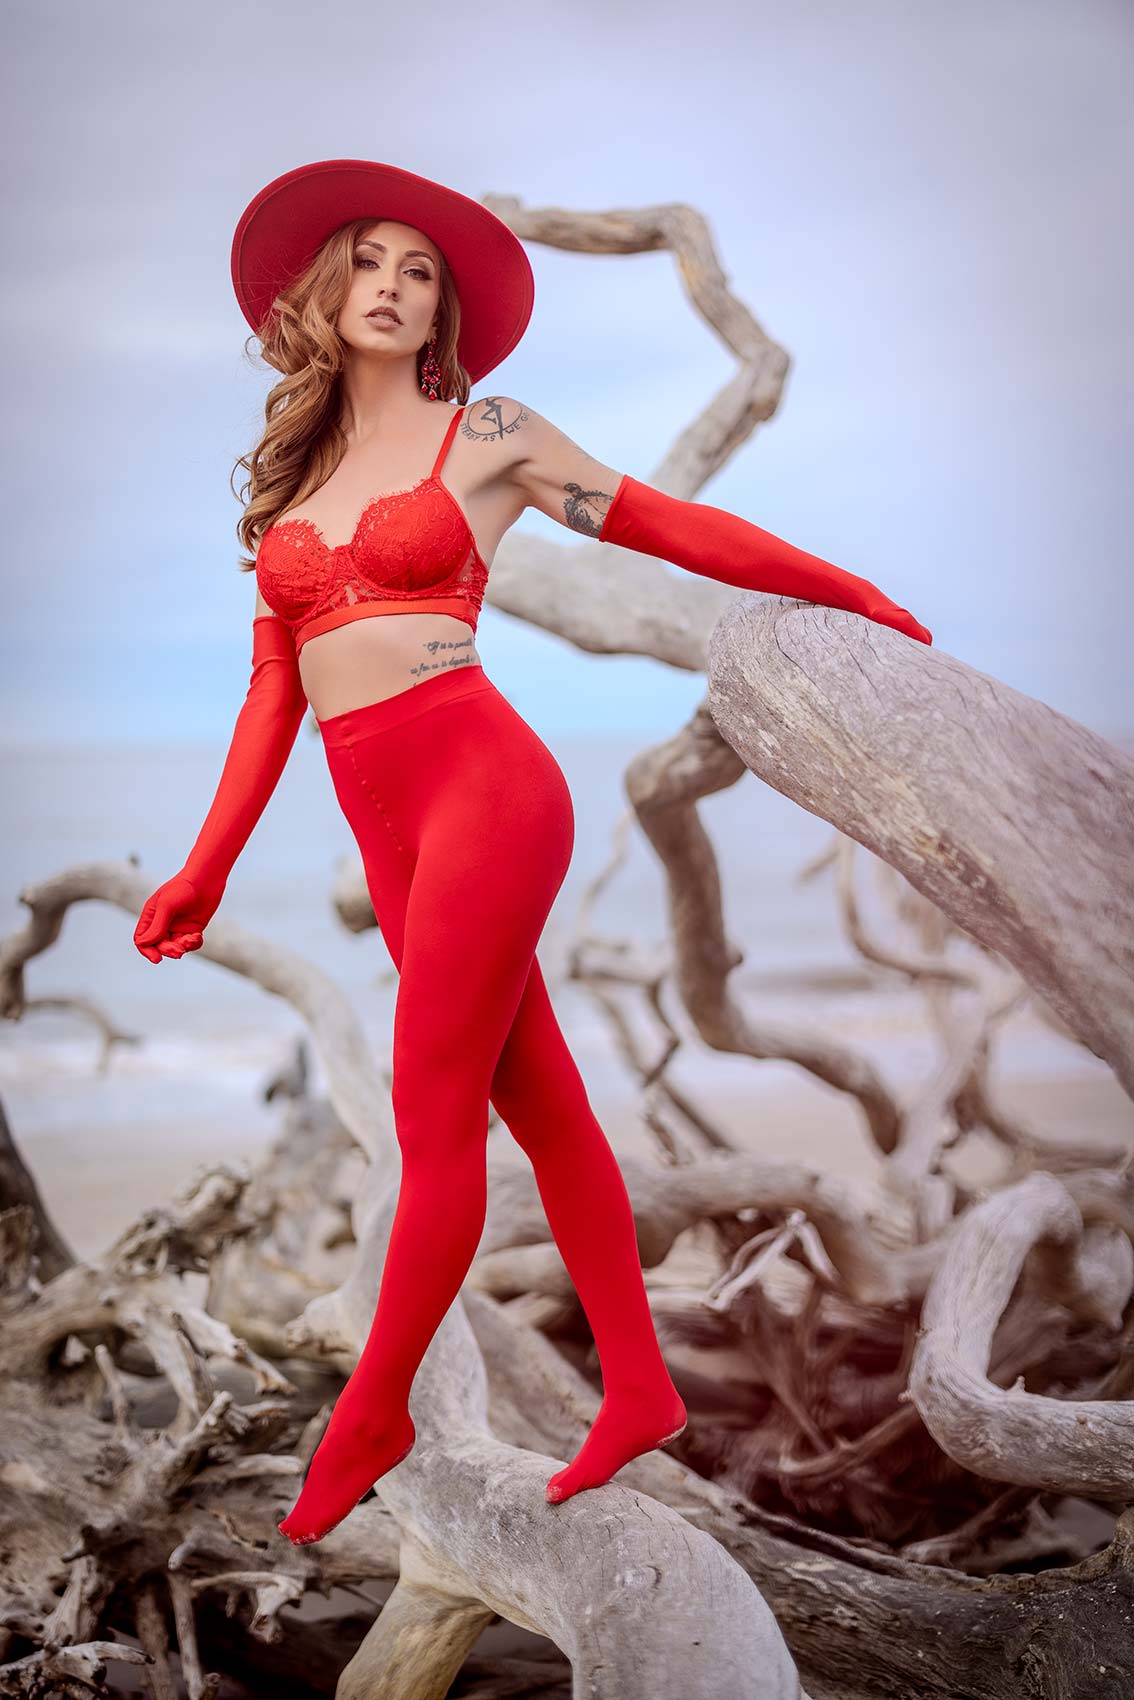
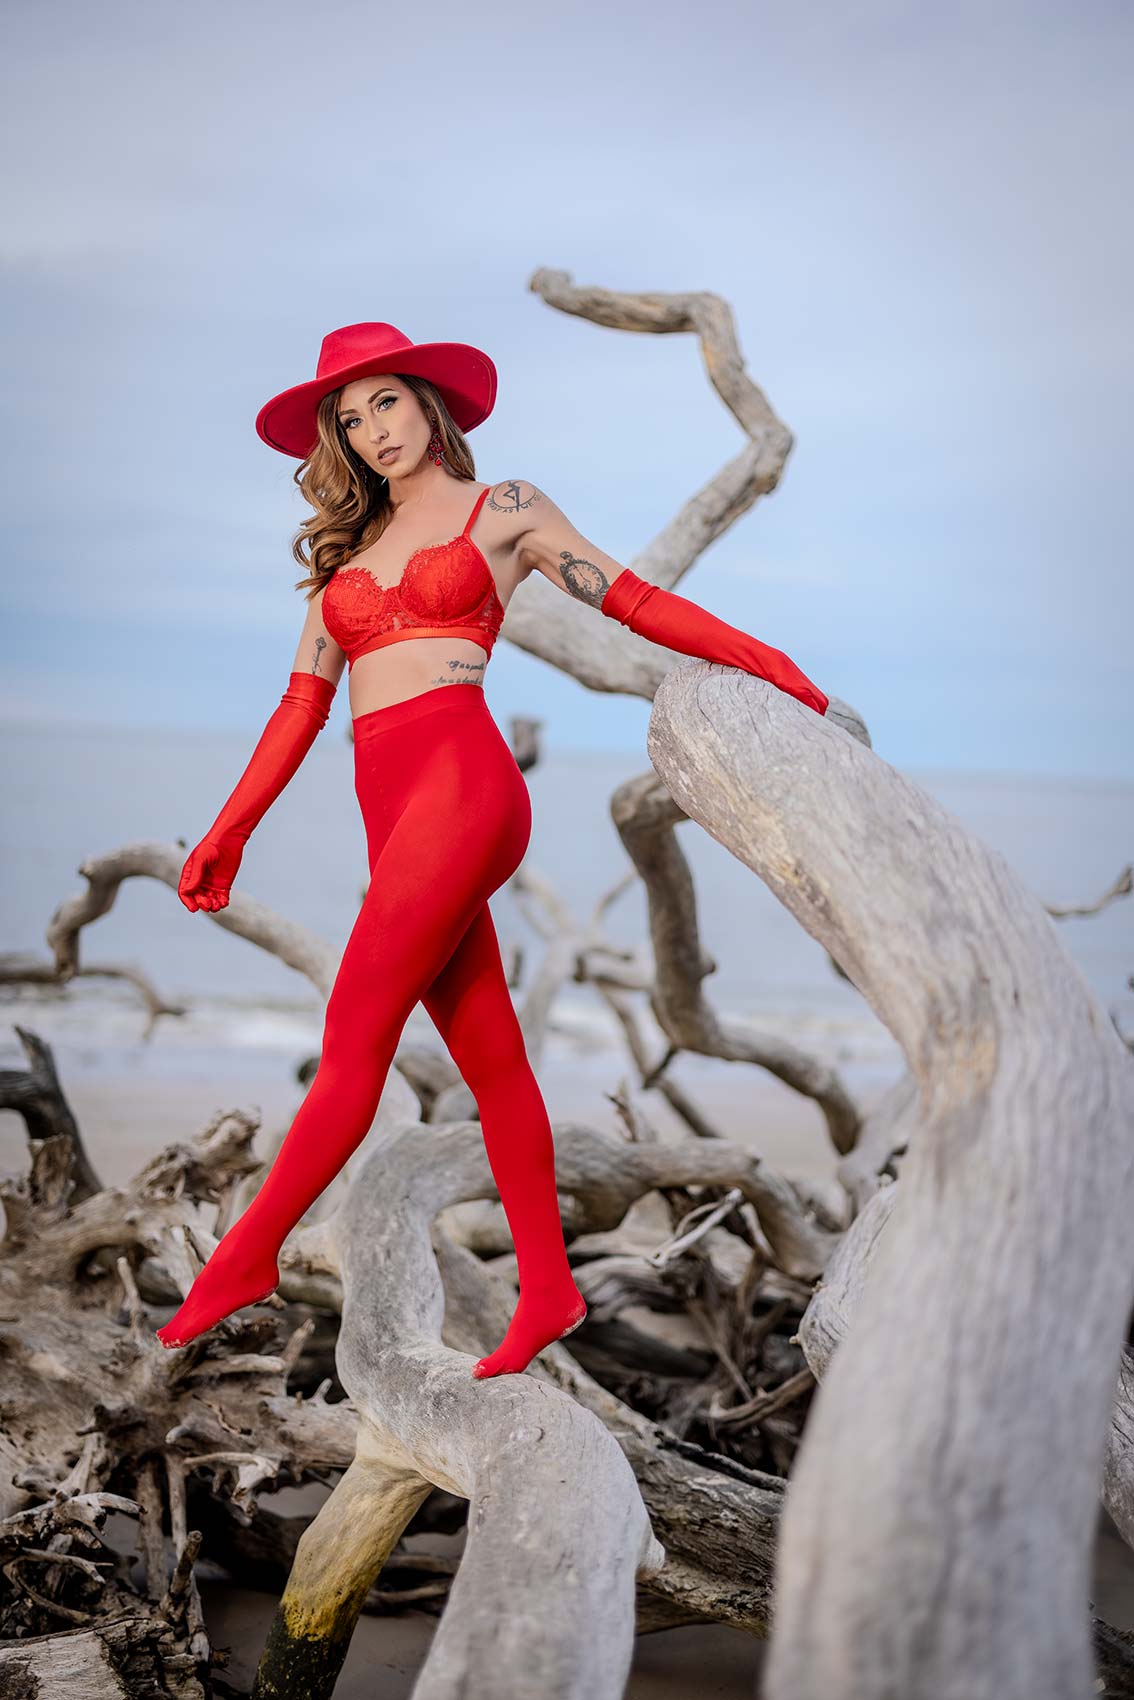
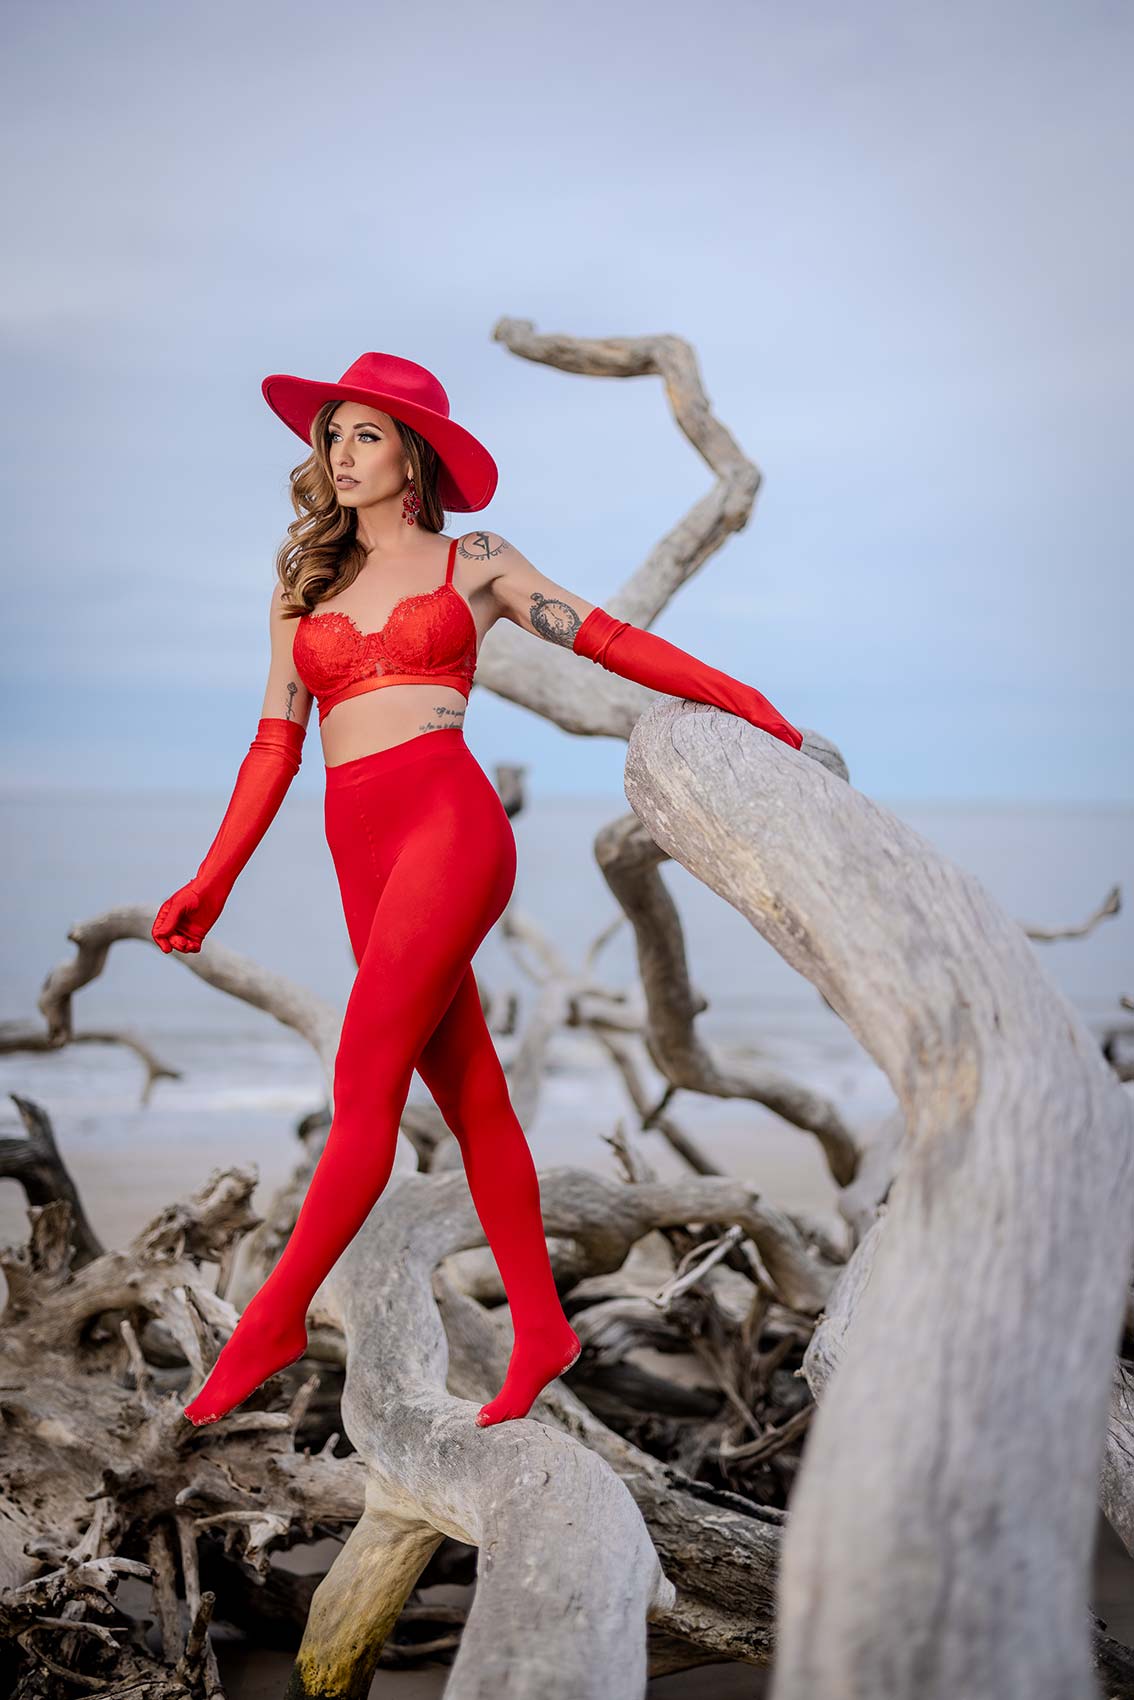
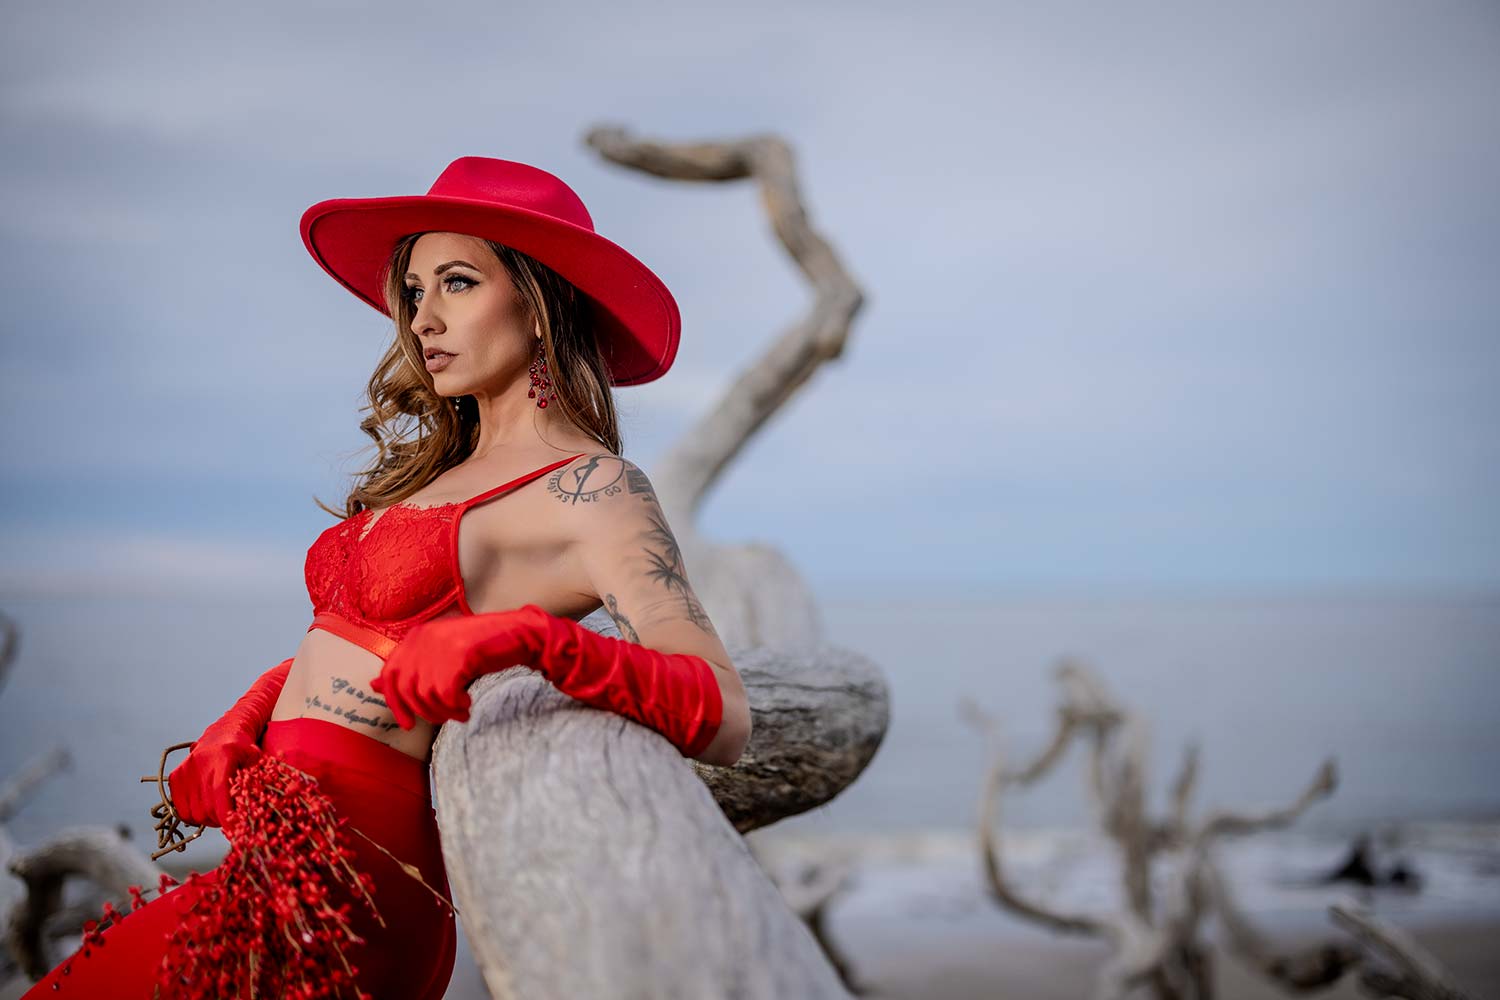
Ready for some creative beach portraits using off camera flash? In this photography training video, we are on a beach photoshoot using the new Westcott Fusion by Sal Cincotta. This product, among many other features, allows us to create a 6-ft softbox in the field with a free standing unit. This is a great photography tutorial for seeing how we shoot step-by-step in the field using off-camera flash.
Equipment Used:
Camera: Canon EOS R5
Lens: Canon RF 50mm F1.2 L USM
Light: Westcott FJ200, Wescott Fusion
Team:
Photographer: Sal Cincotta
Model: Lex Jacoby
Hair & Makeup: Brandi Patton, ReFine Beauty
What’s up everyone? My name is Sal Cincotta. Today we are going to do creative portraits on a beach.
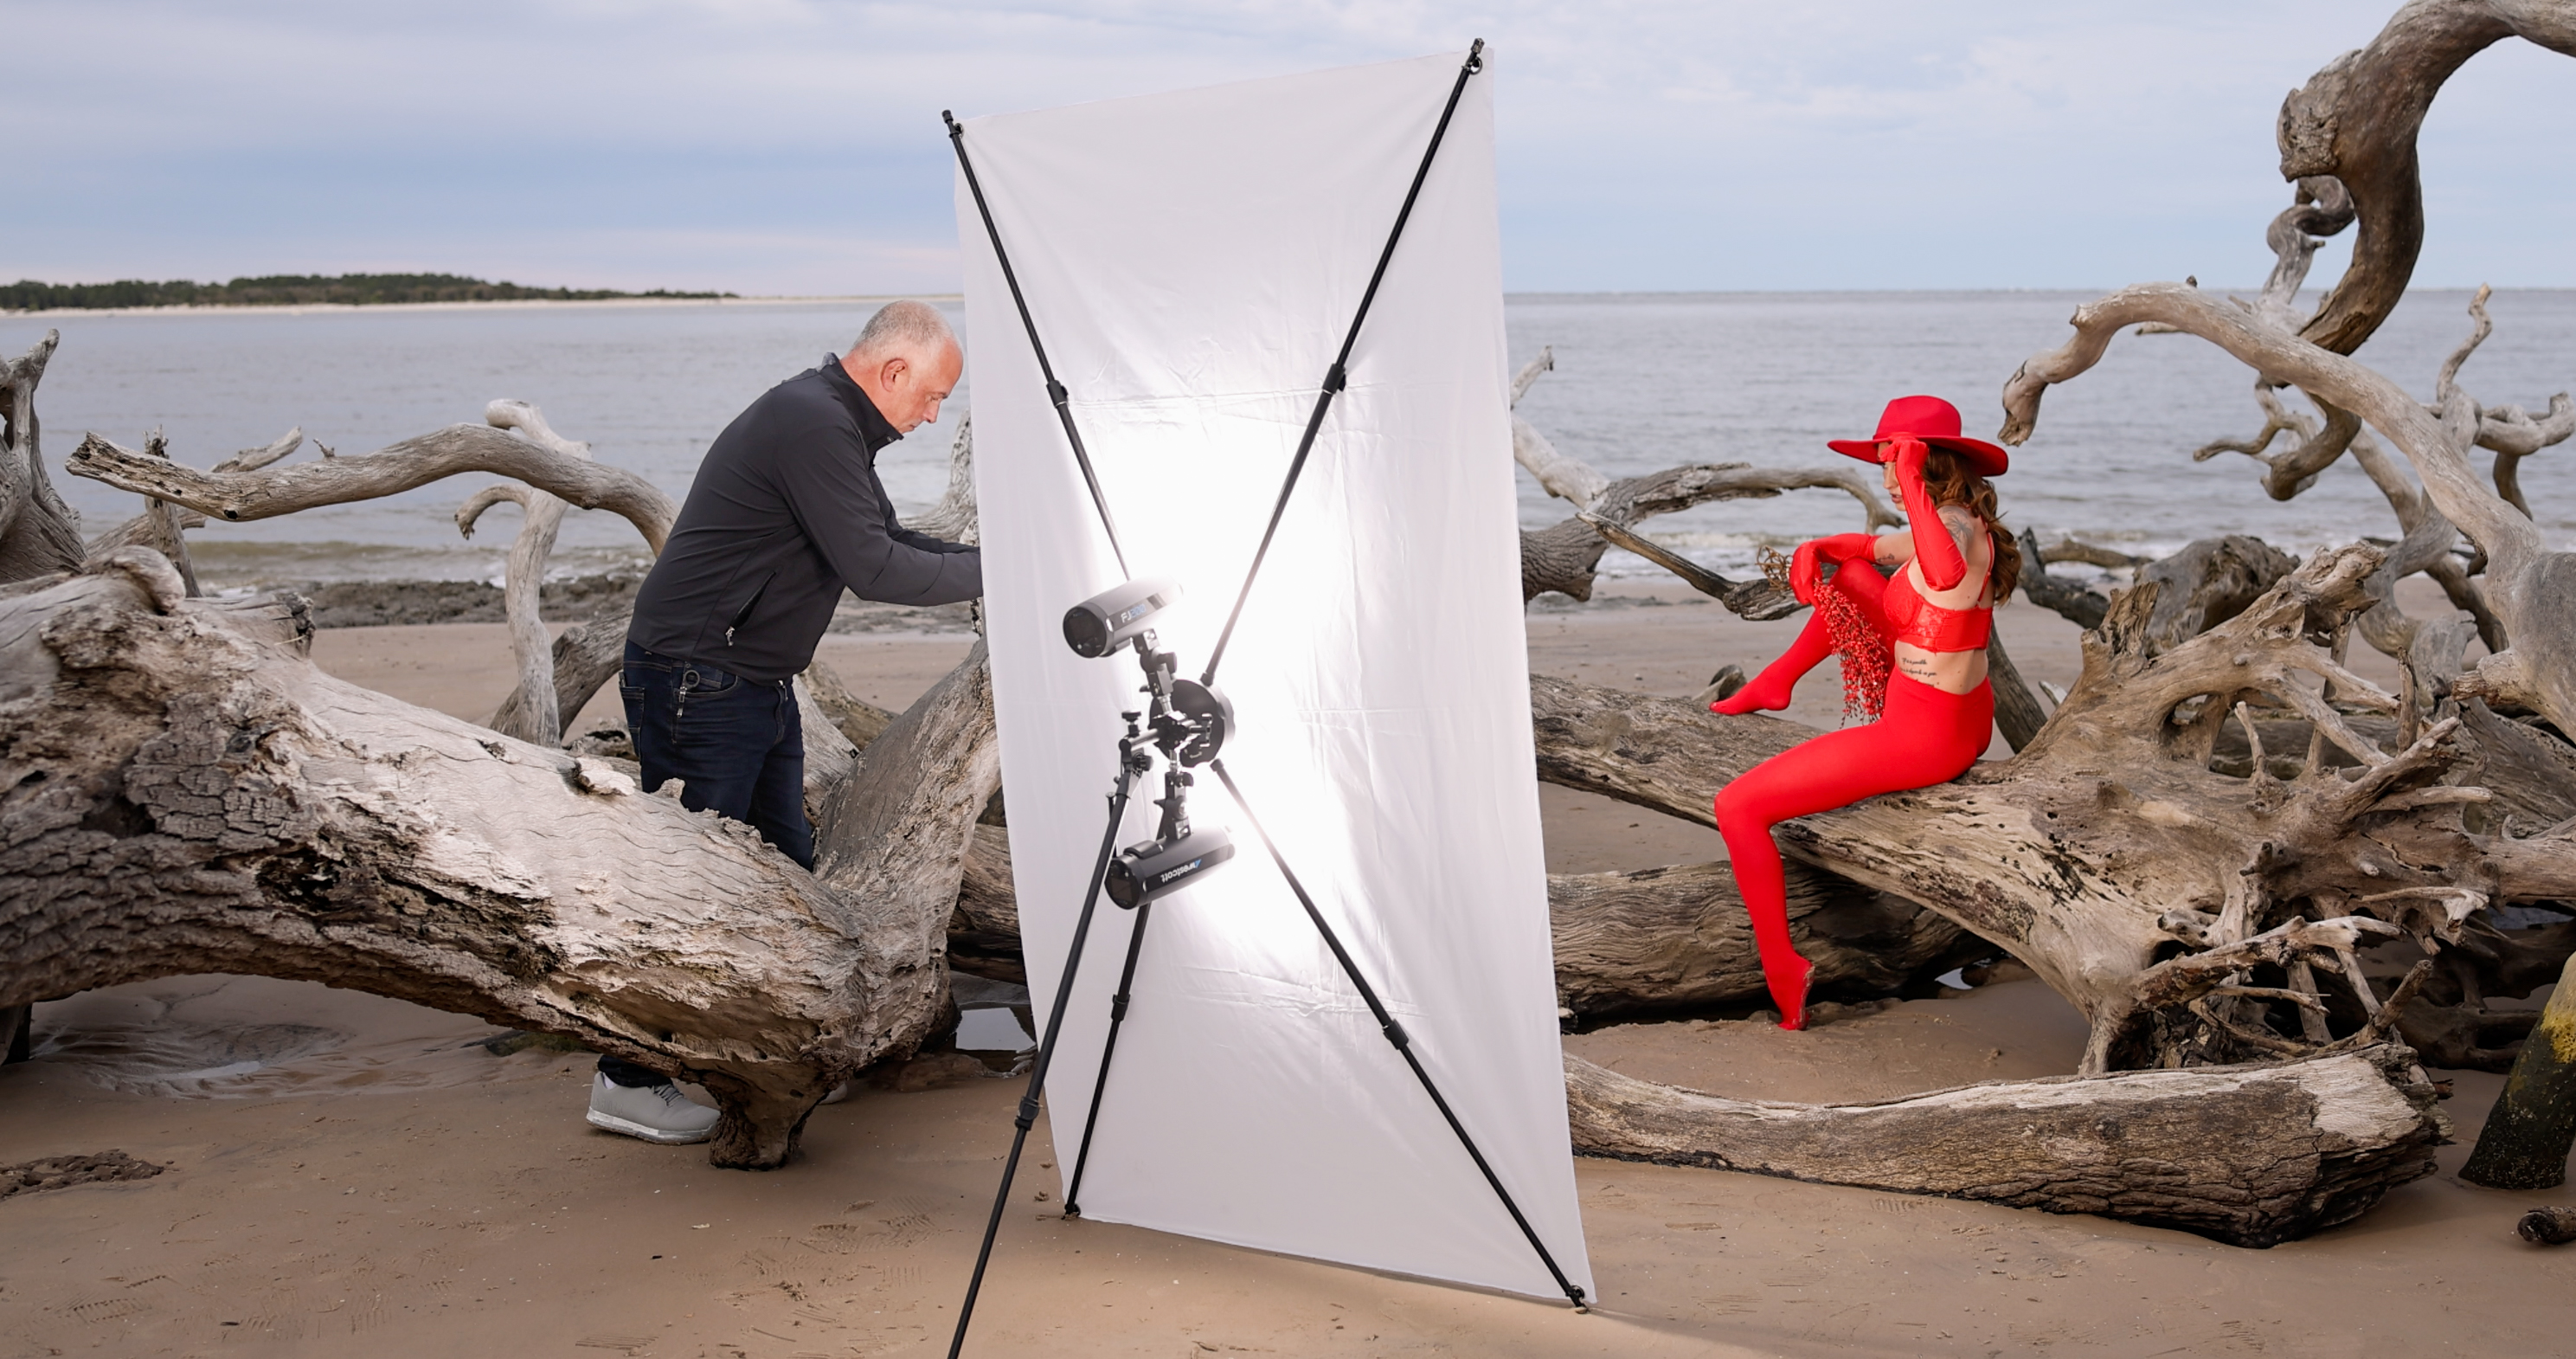
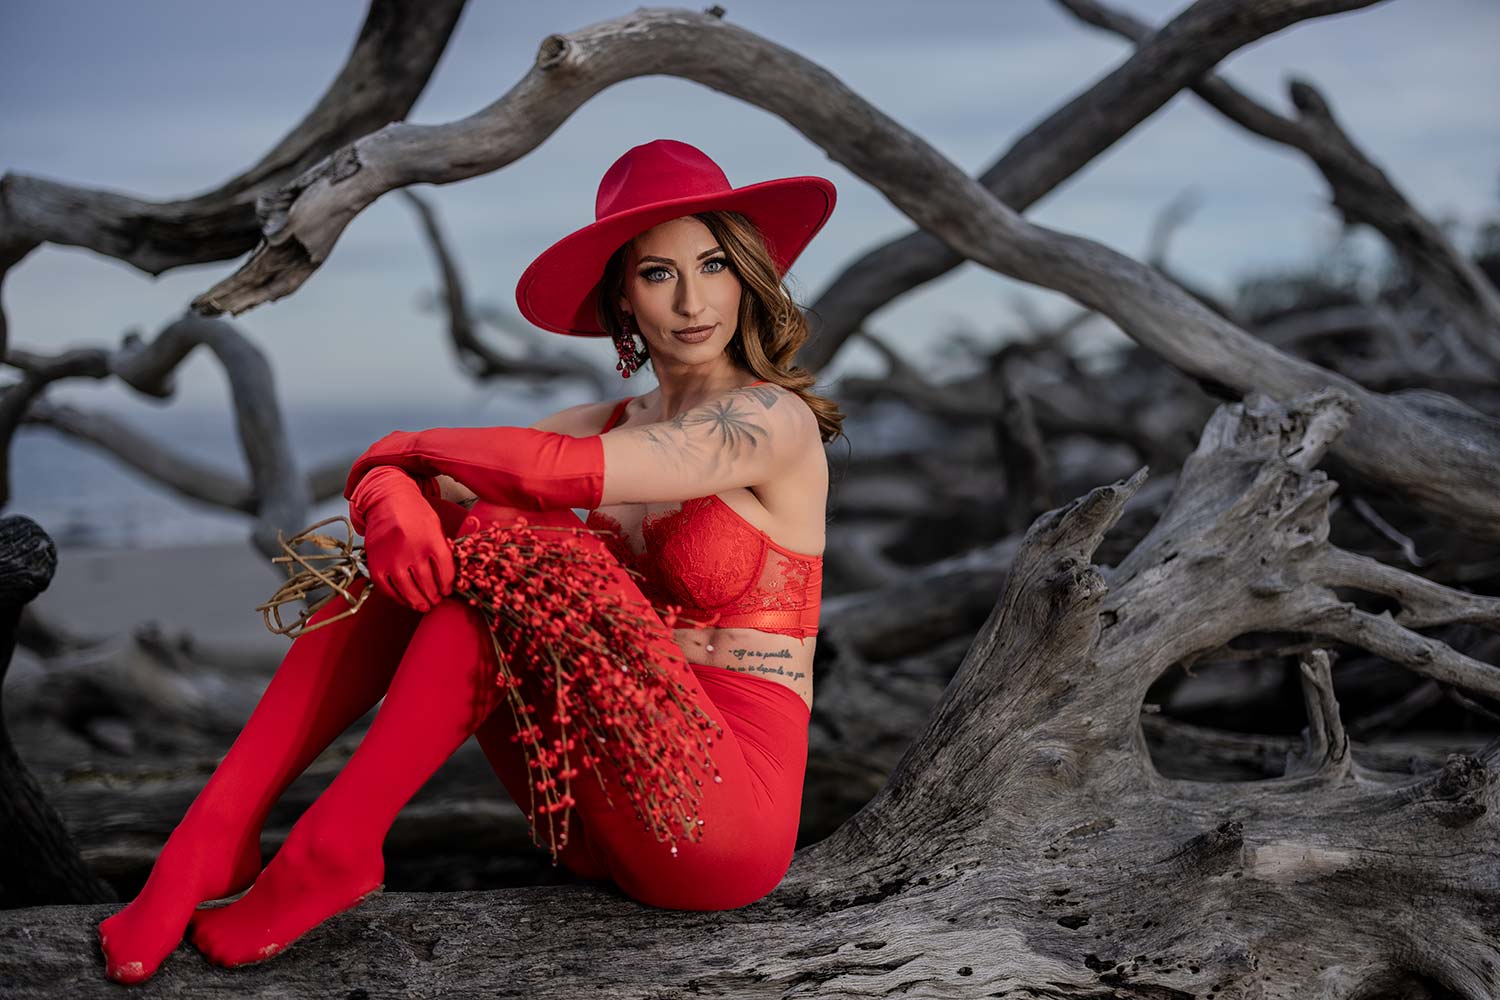
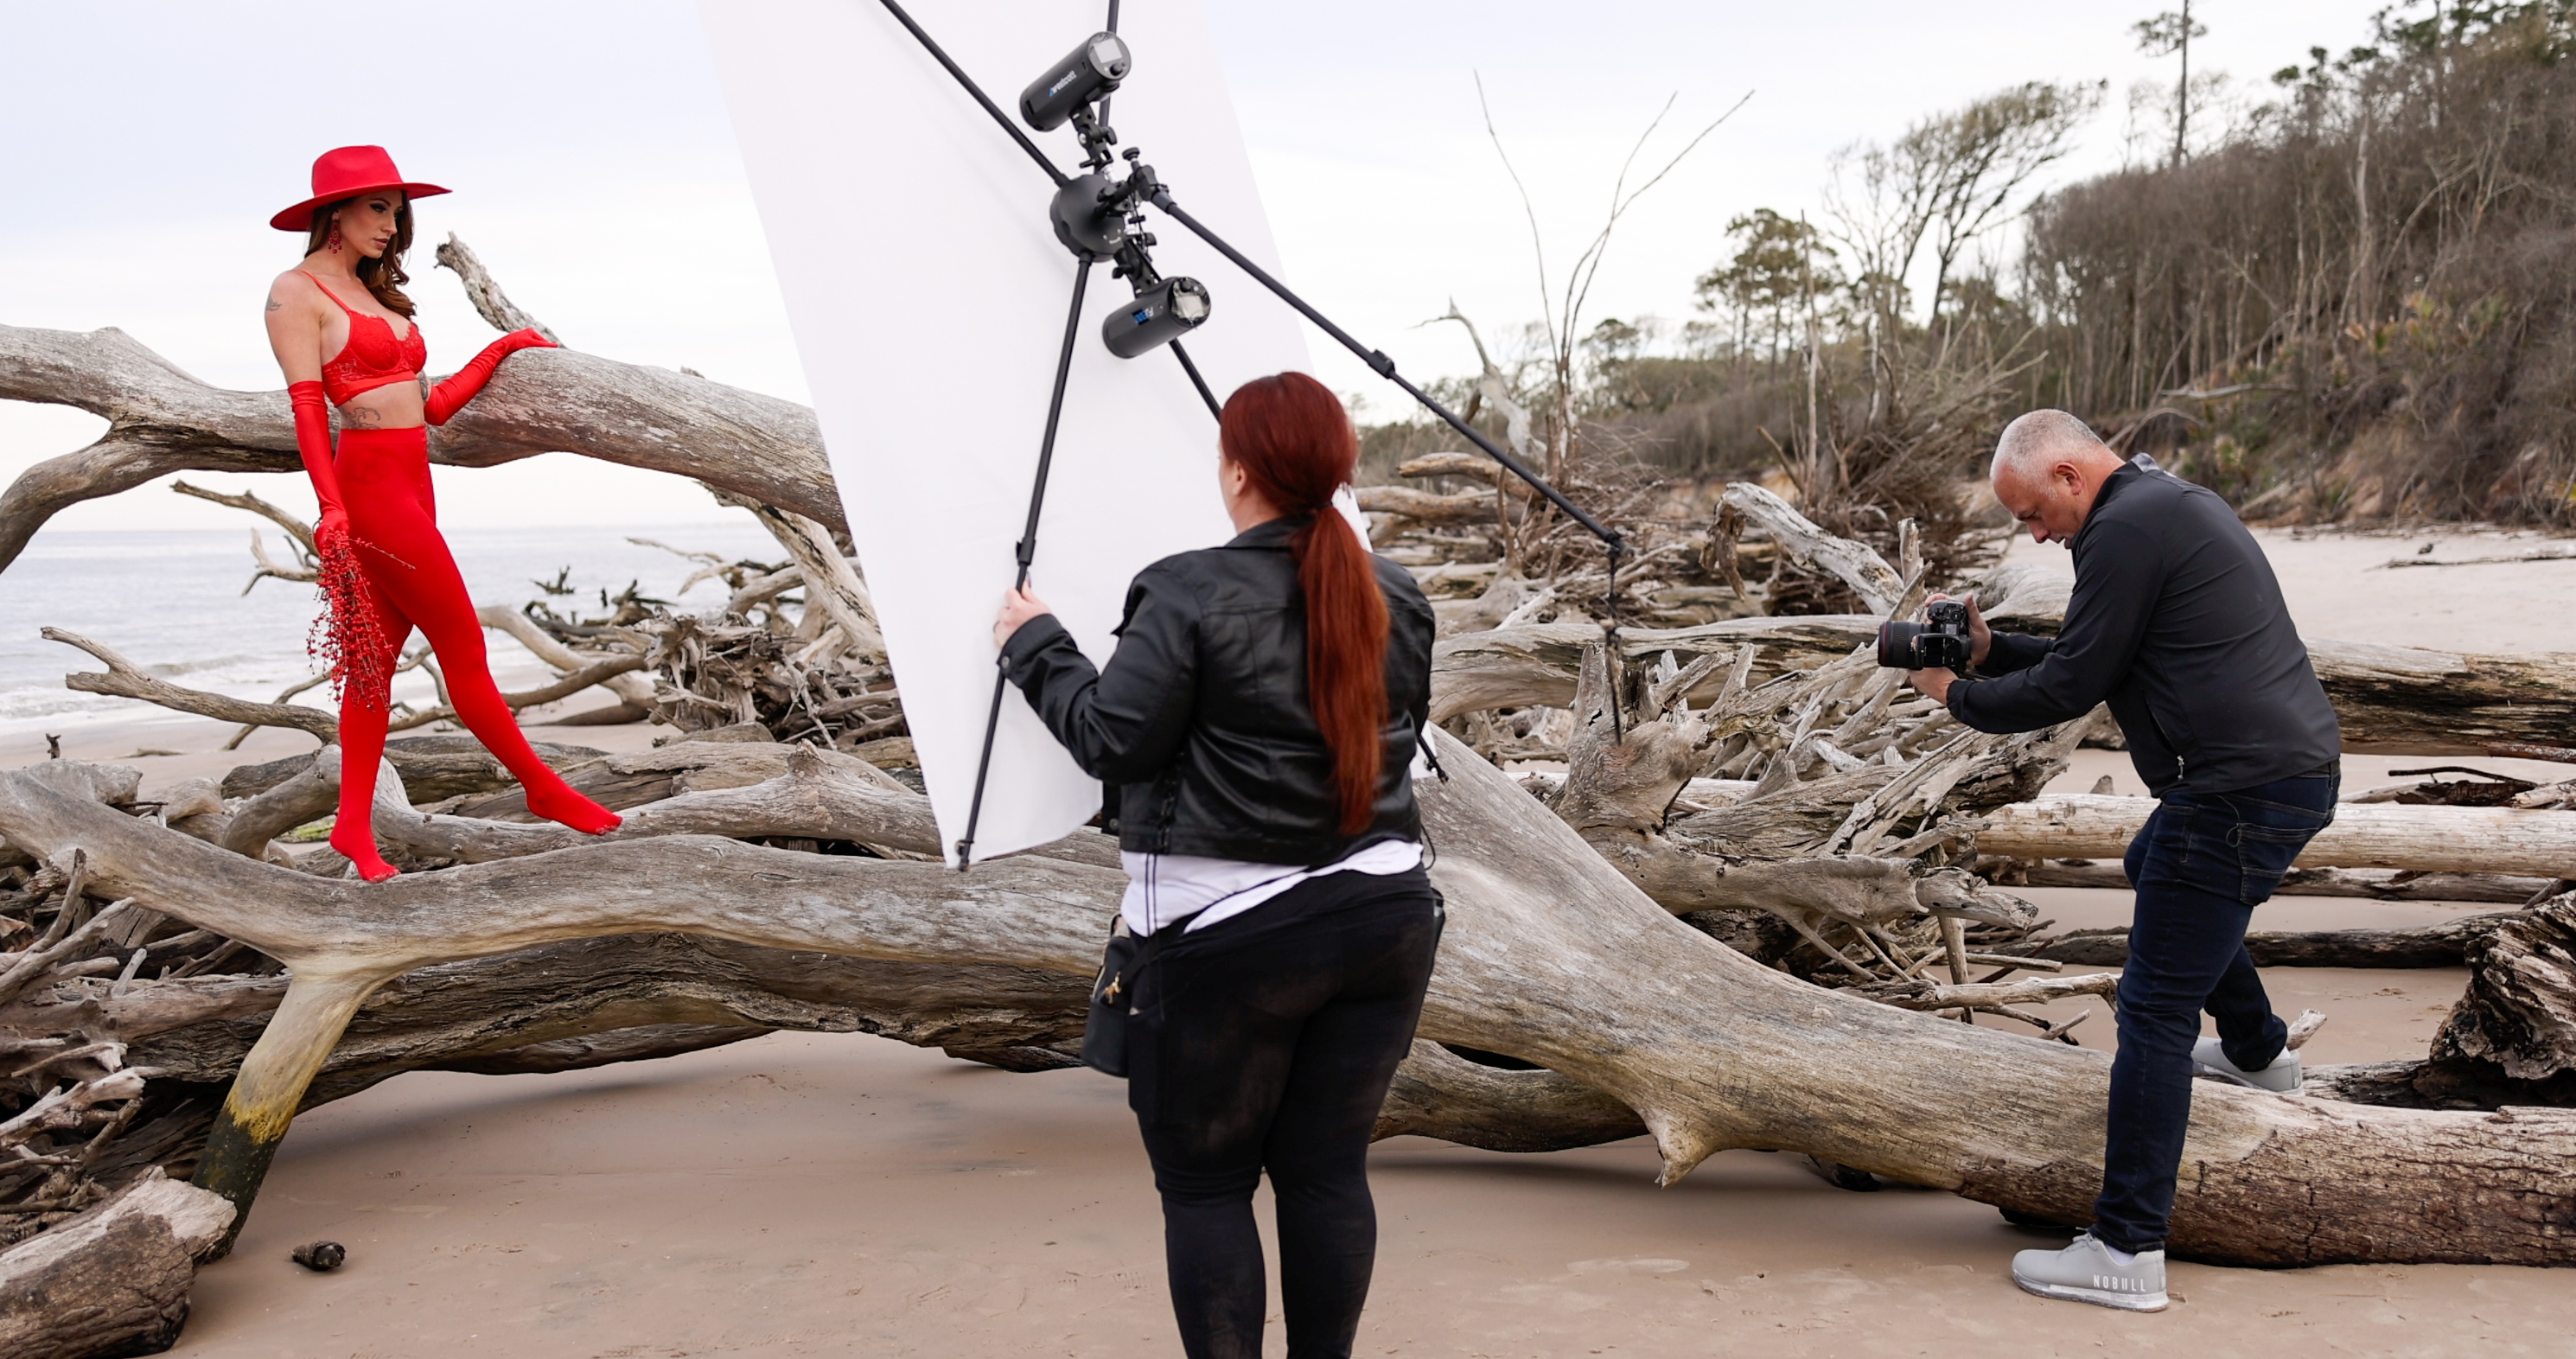
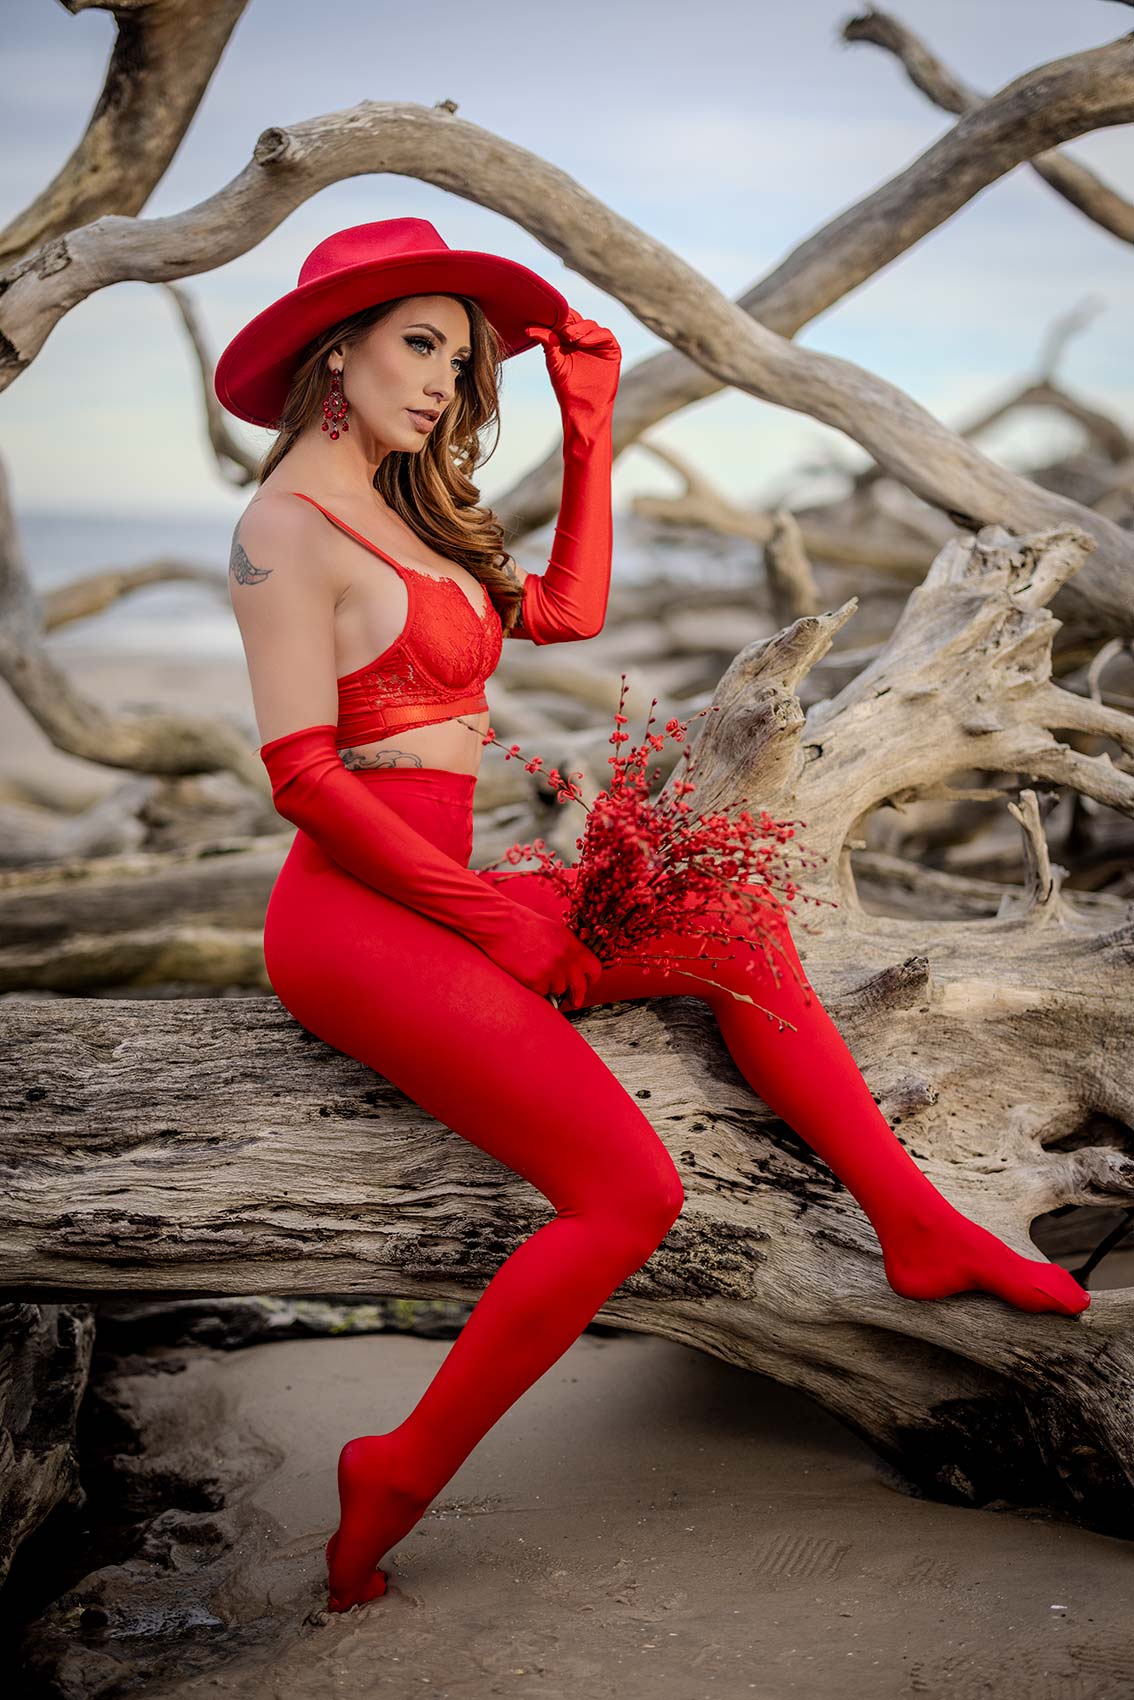
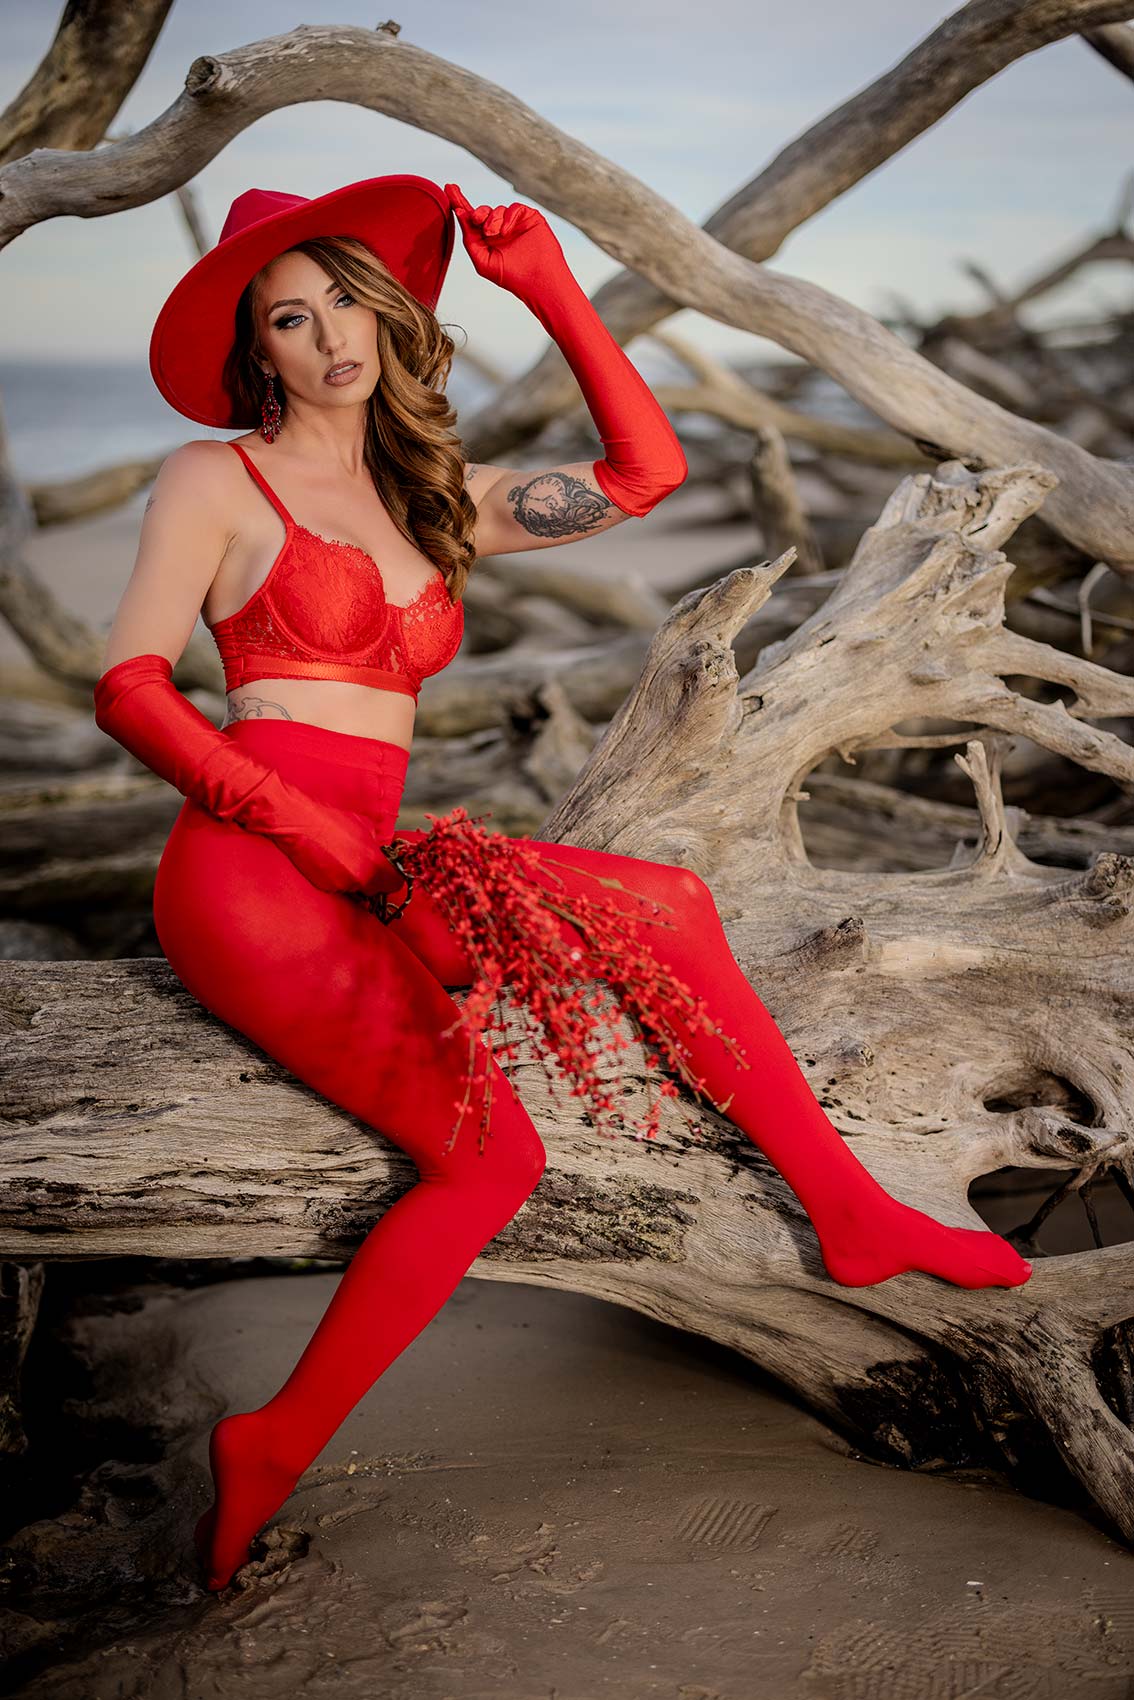
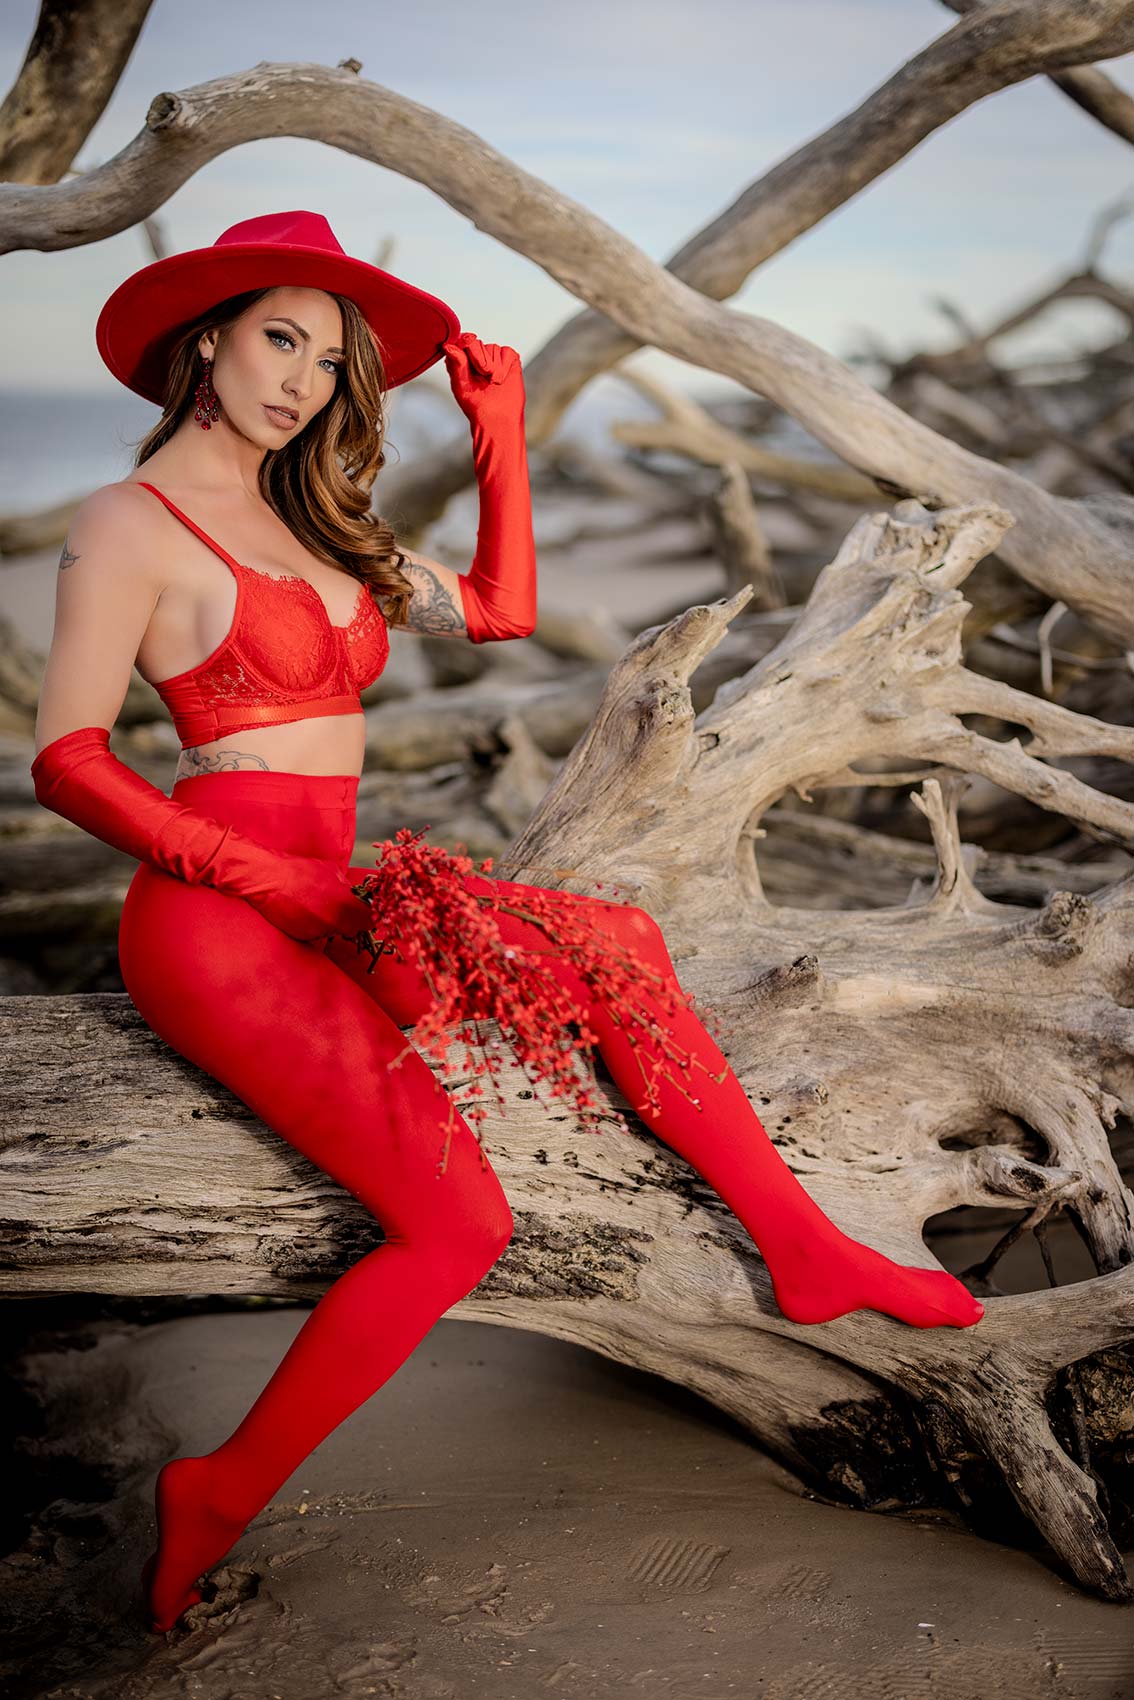
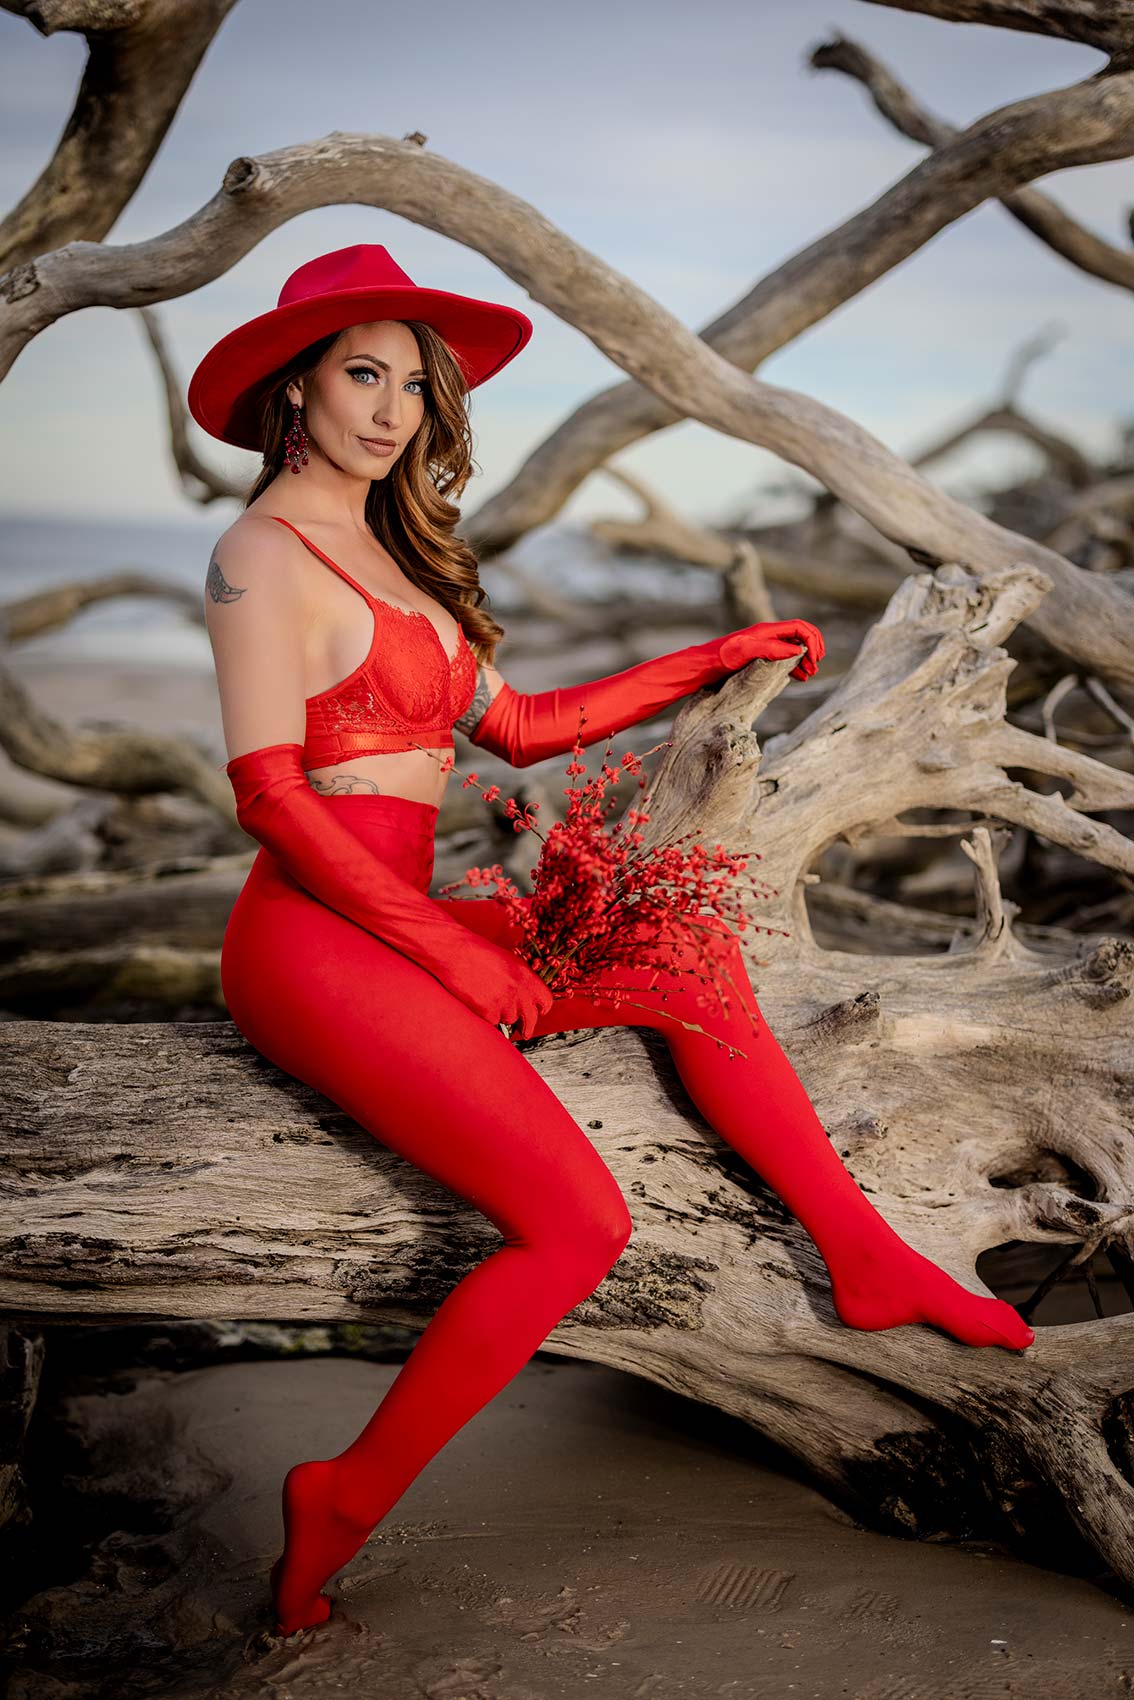
This is super exciting. We’re near the Driftwood Boneyard. It’s going to be cool. All right, so here’s what we’re doing. We have got an incredible shoot lined up with Lex behind us. And we are using the brand new Fusion from Westcott. So what we’re doing here is we’ve got it set up with a scrim and we’ve got it set up with two FJ200s to give us that light.
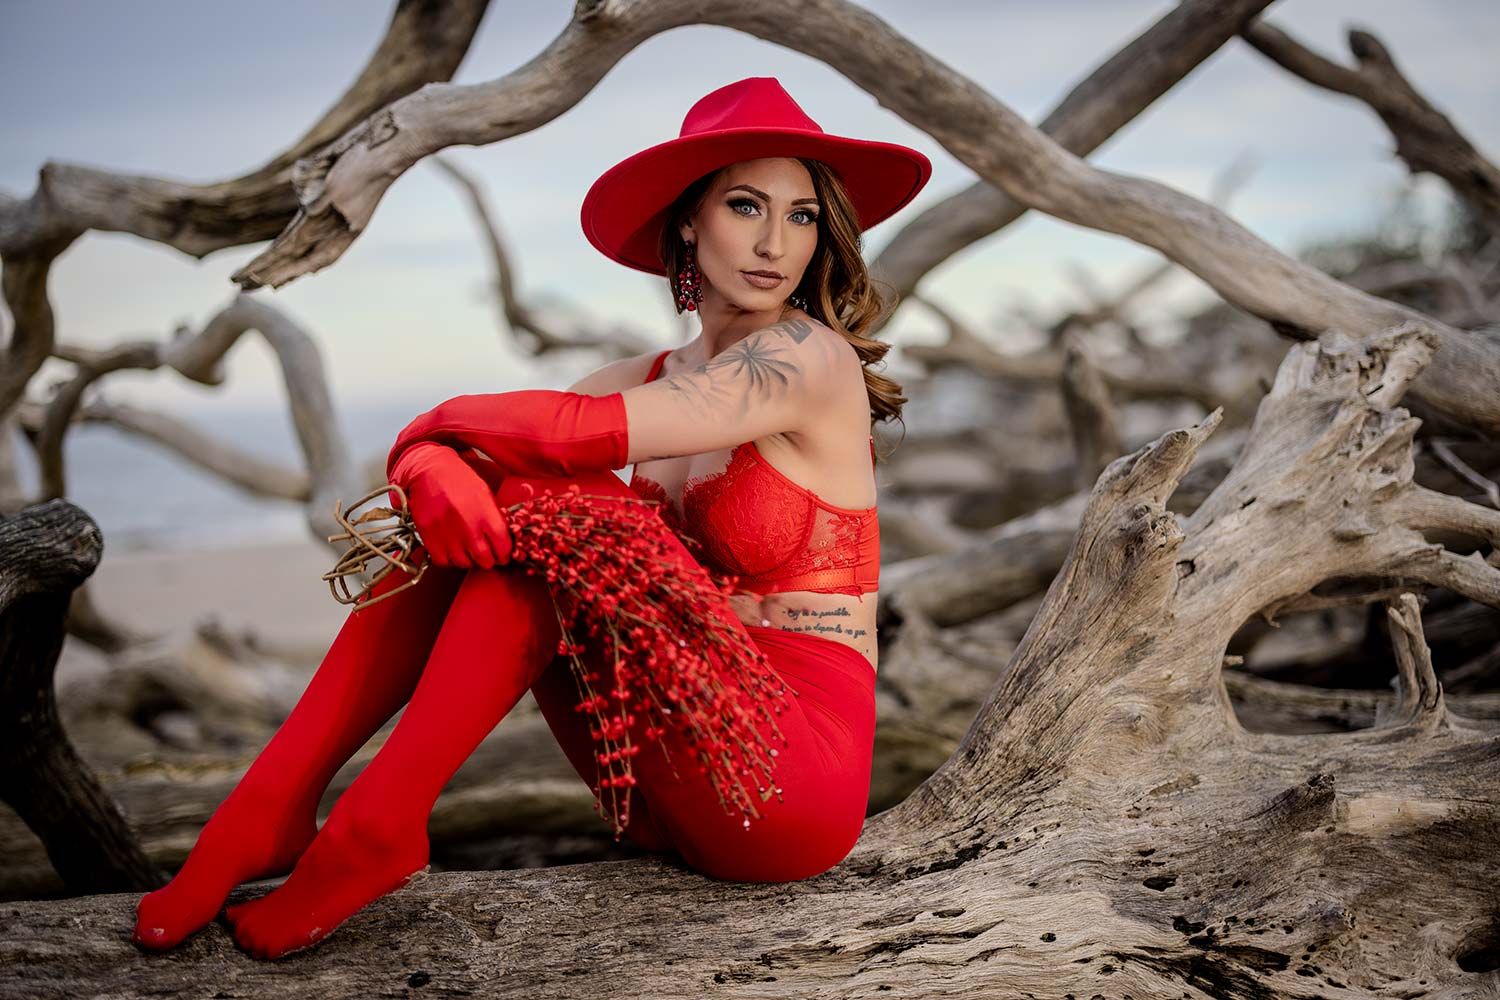
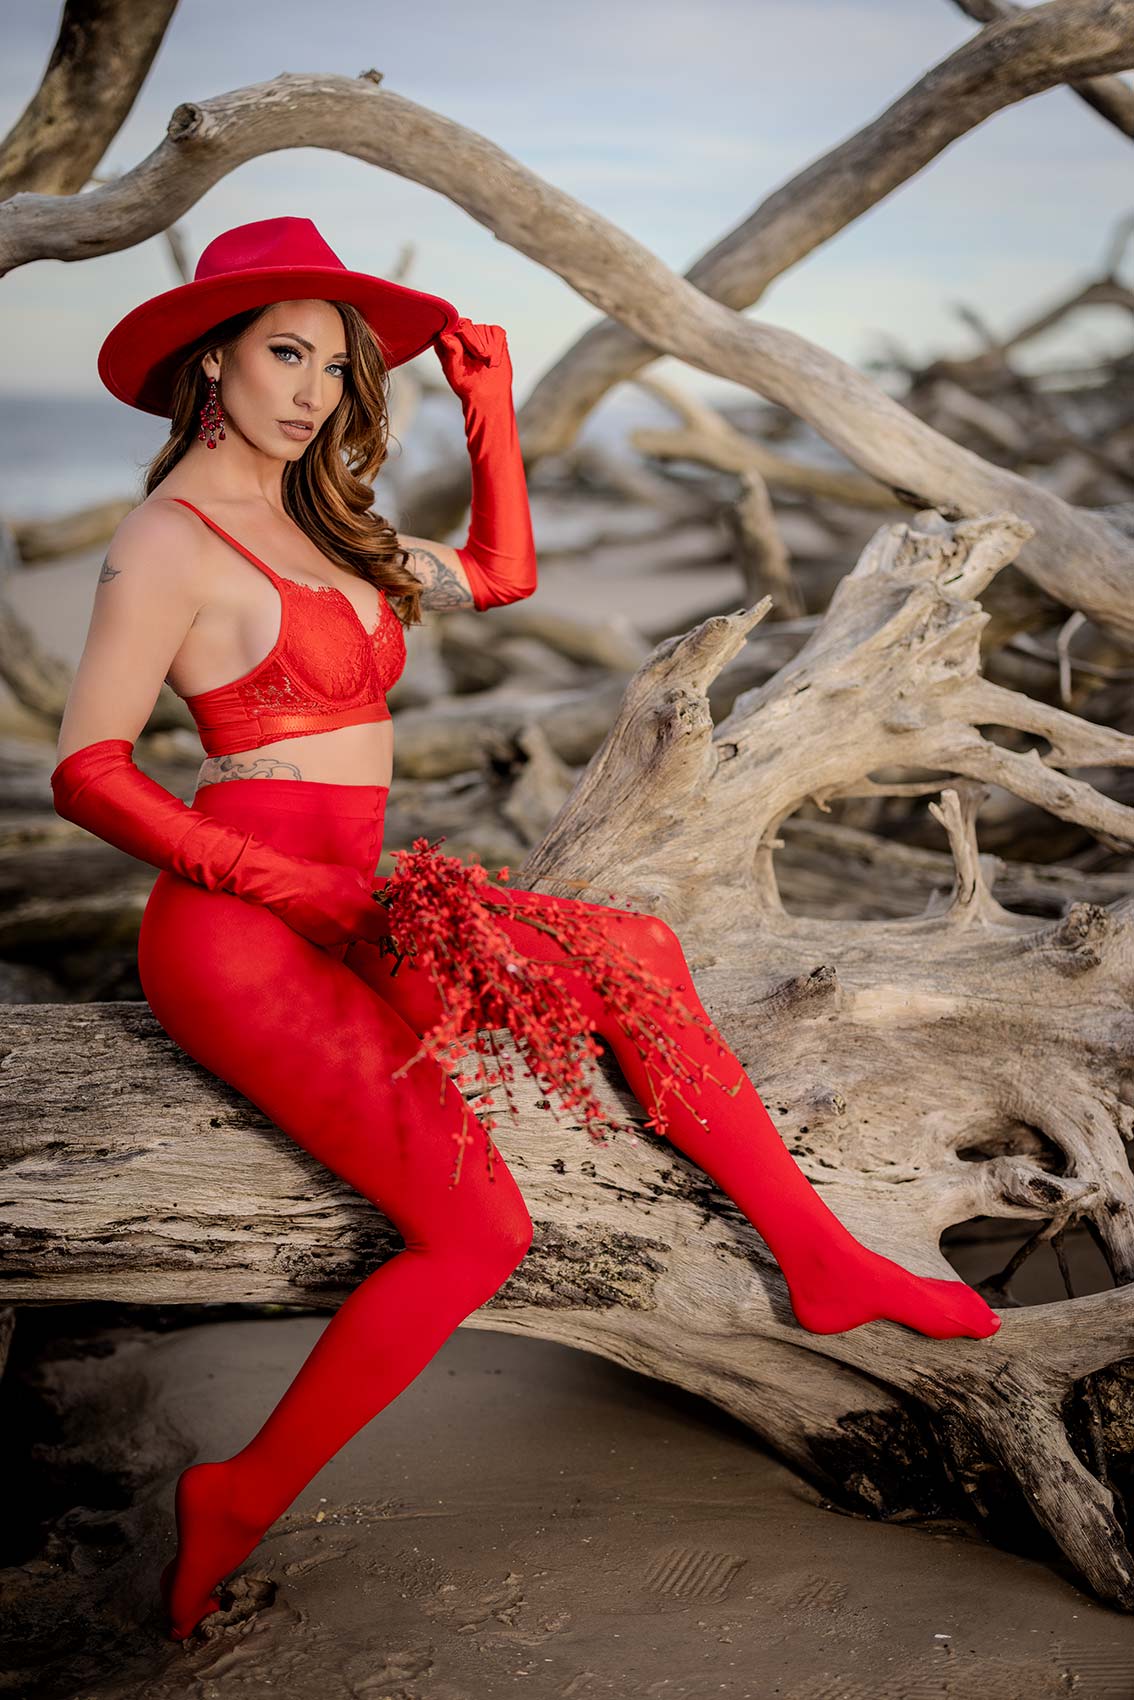
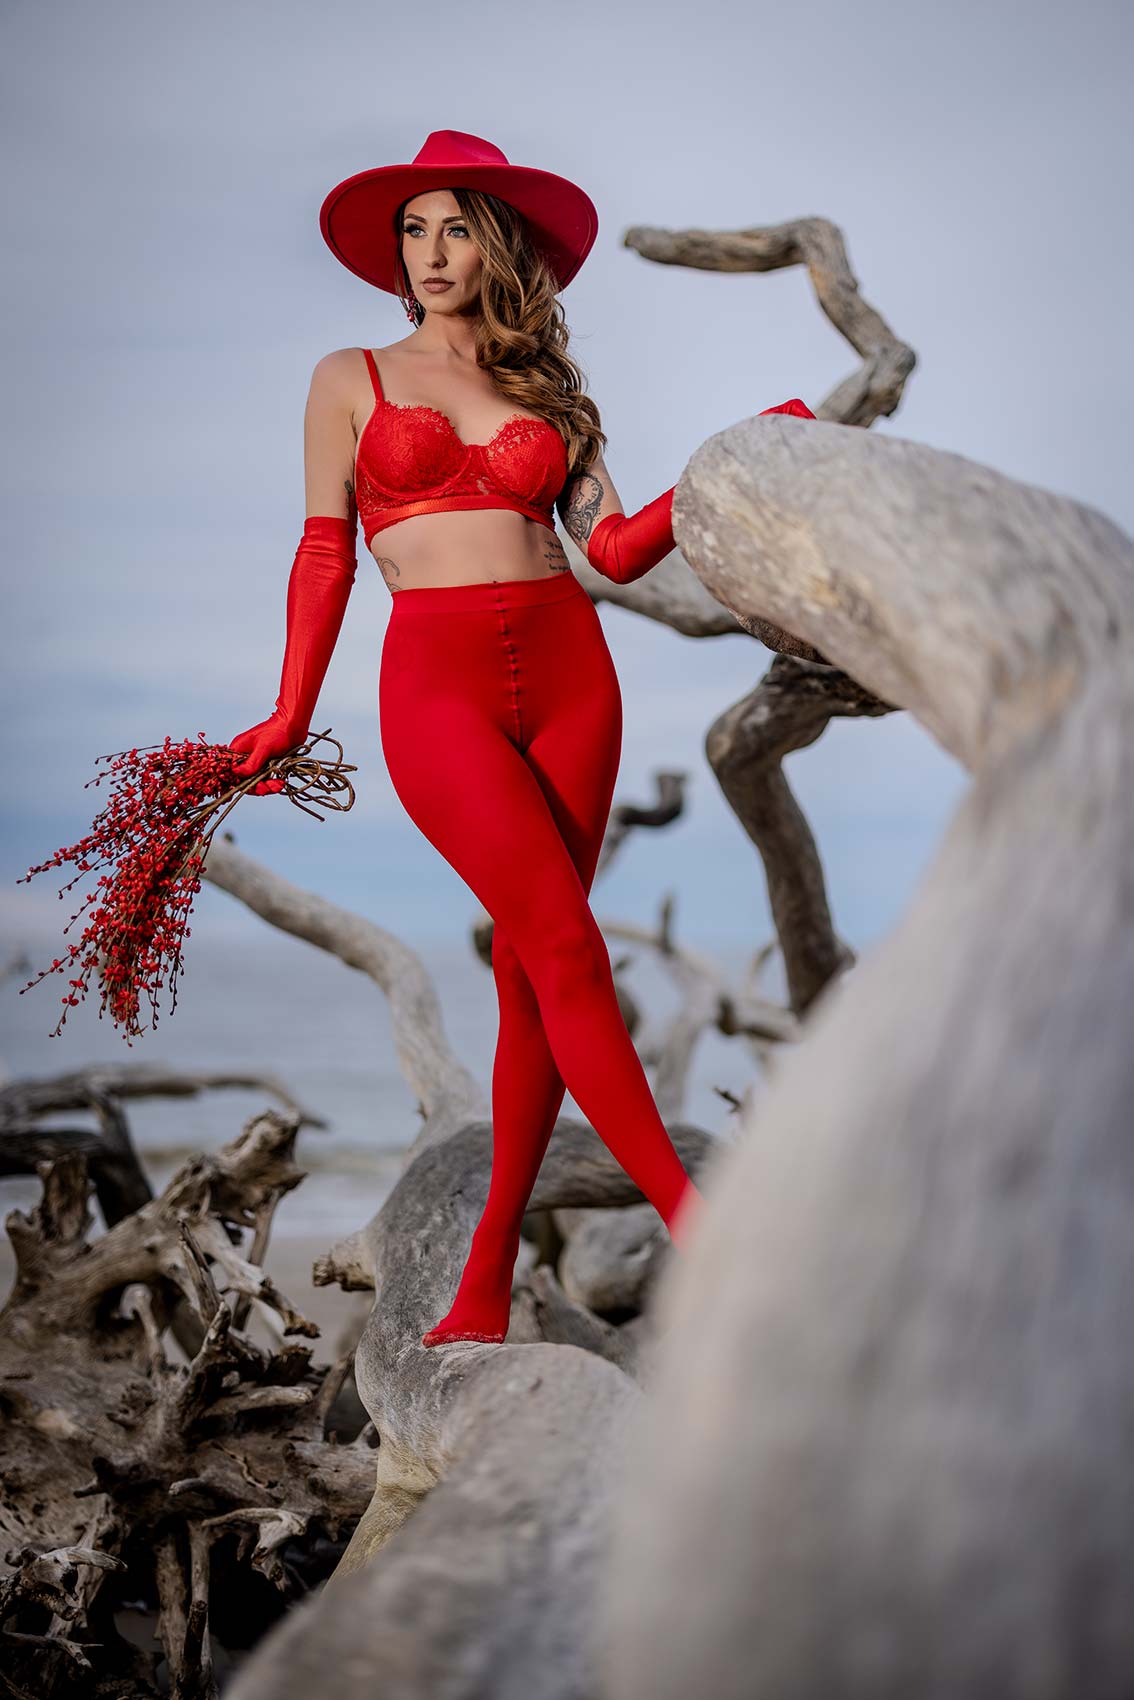
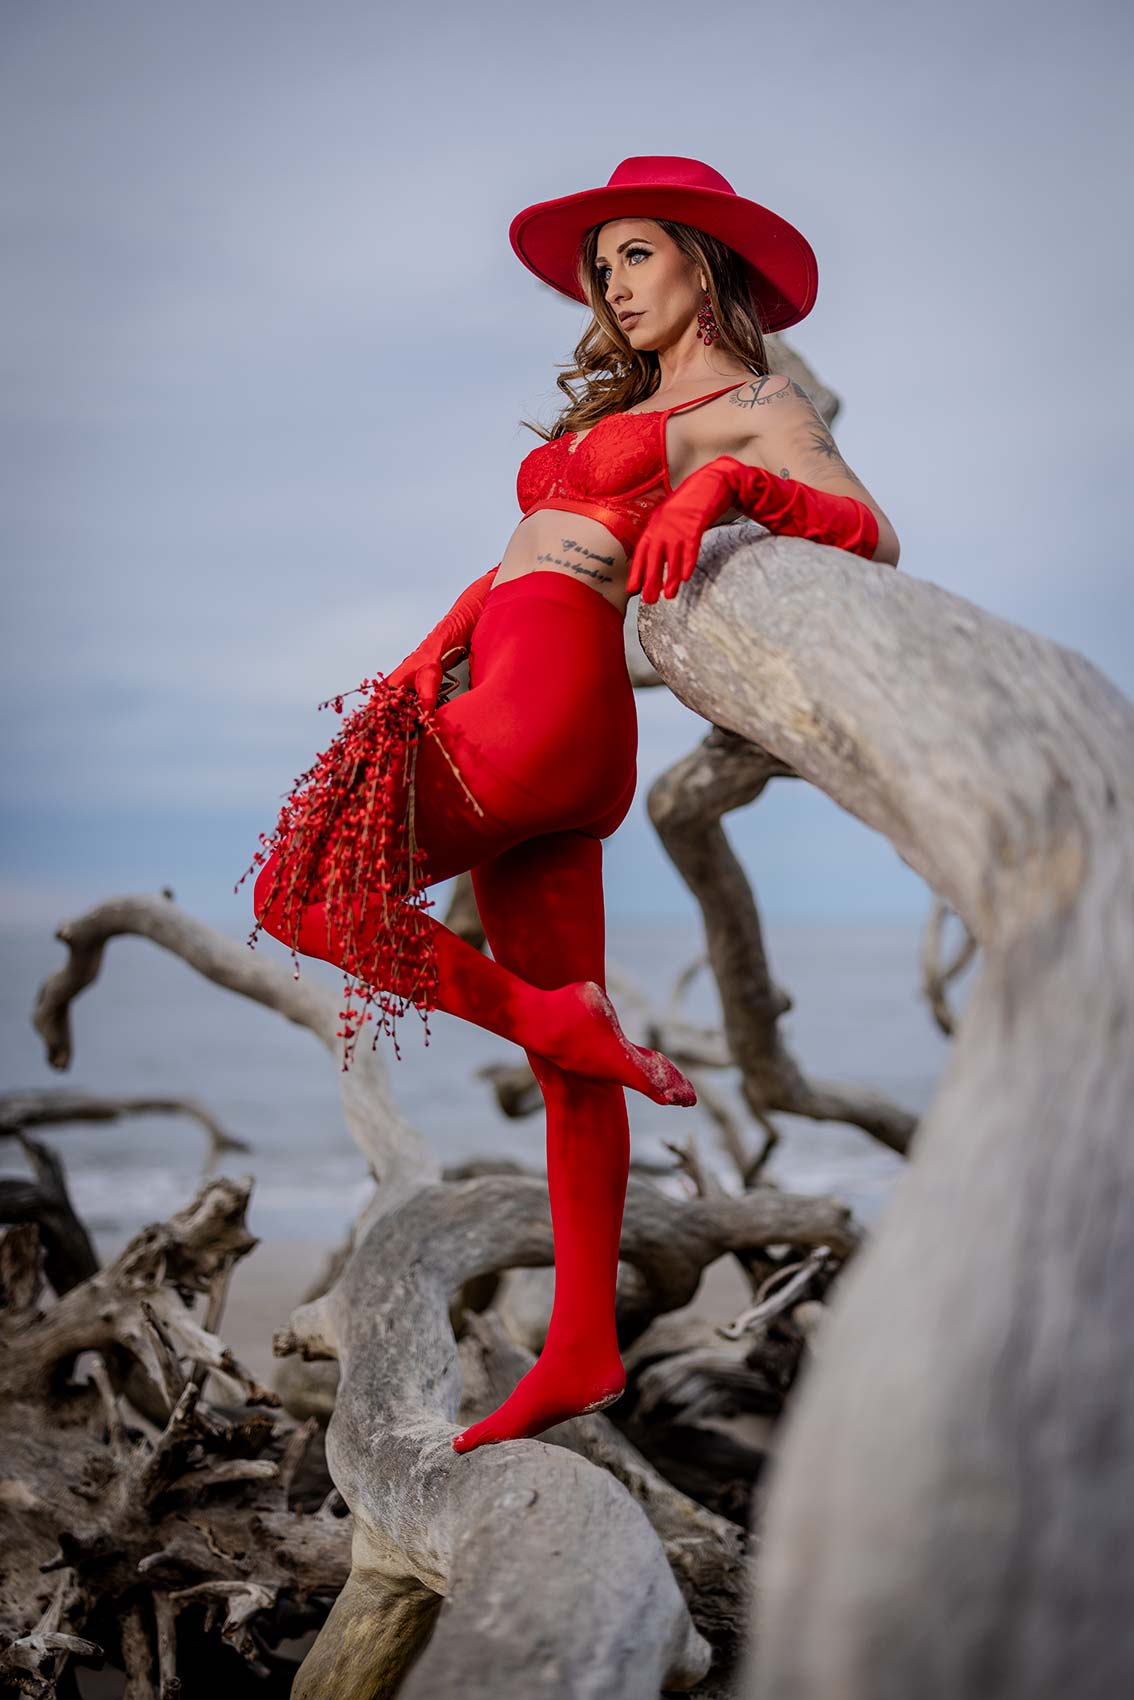
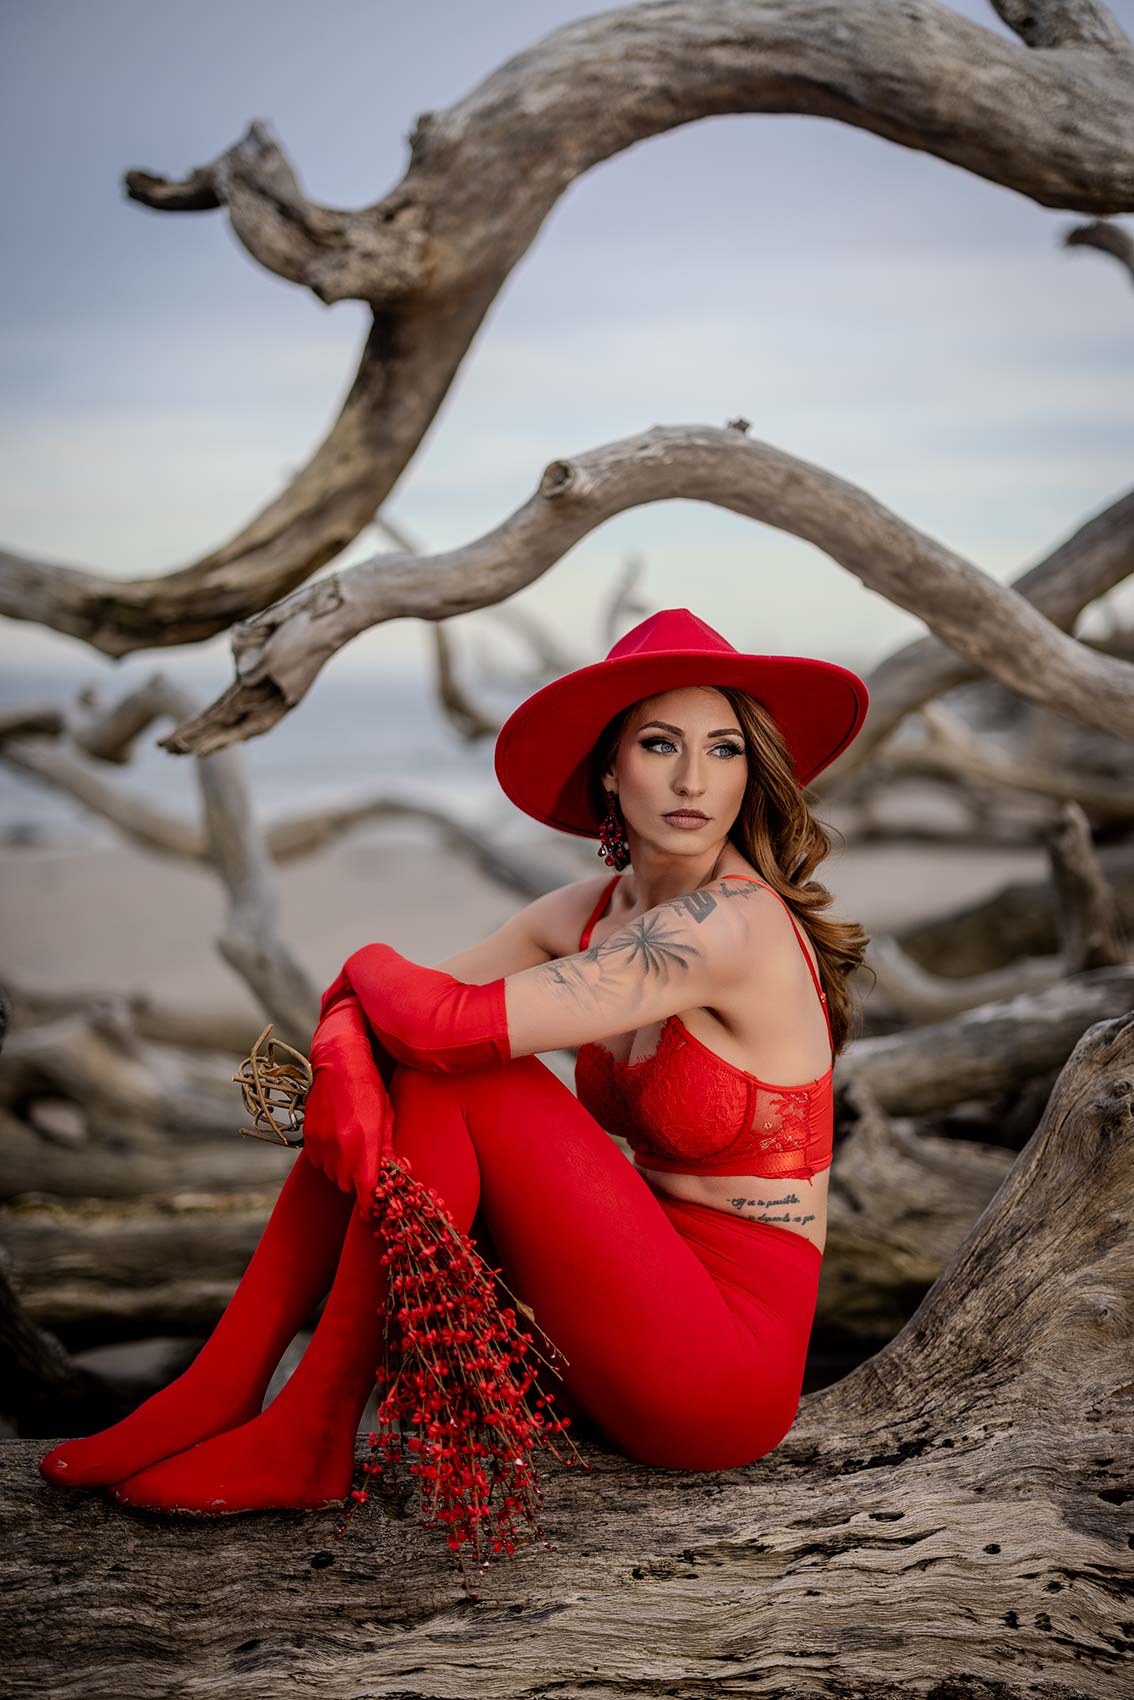
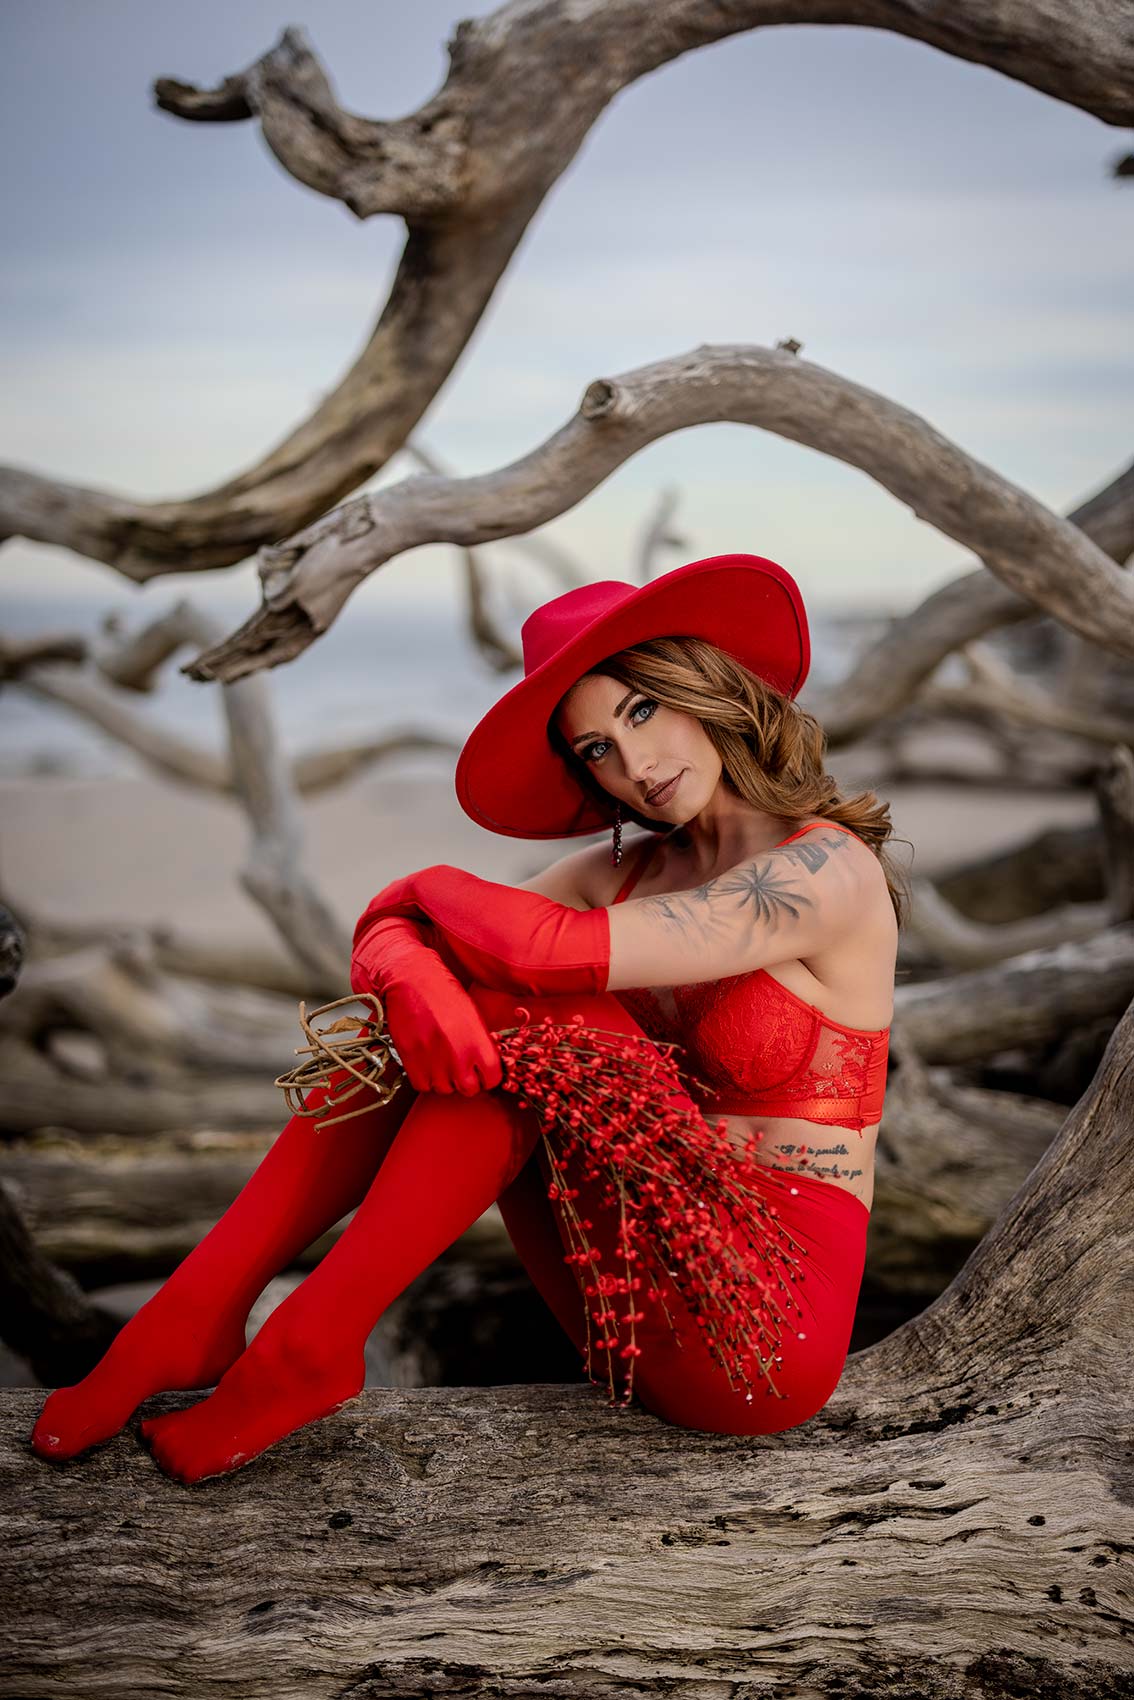
Now what I’m trying to do is not necessarily overpower the sun. There is ambient here, but what I want to do is give some shape and dimension to the light. And so it’s an overcast day right now, so it’s perfect to pop in some light here on camera using a Canon 50 millimeter F 1.2. And I am shooting this at F 1.2 because I want that shallow depth of field.
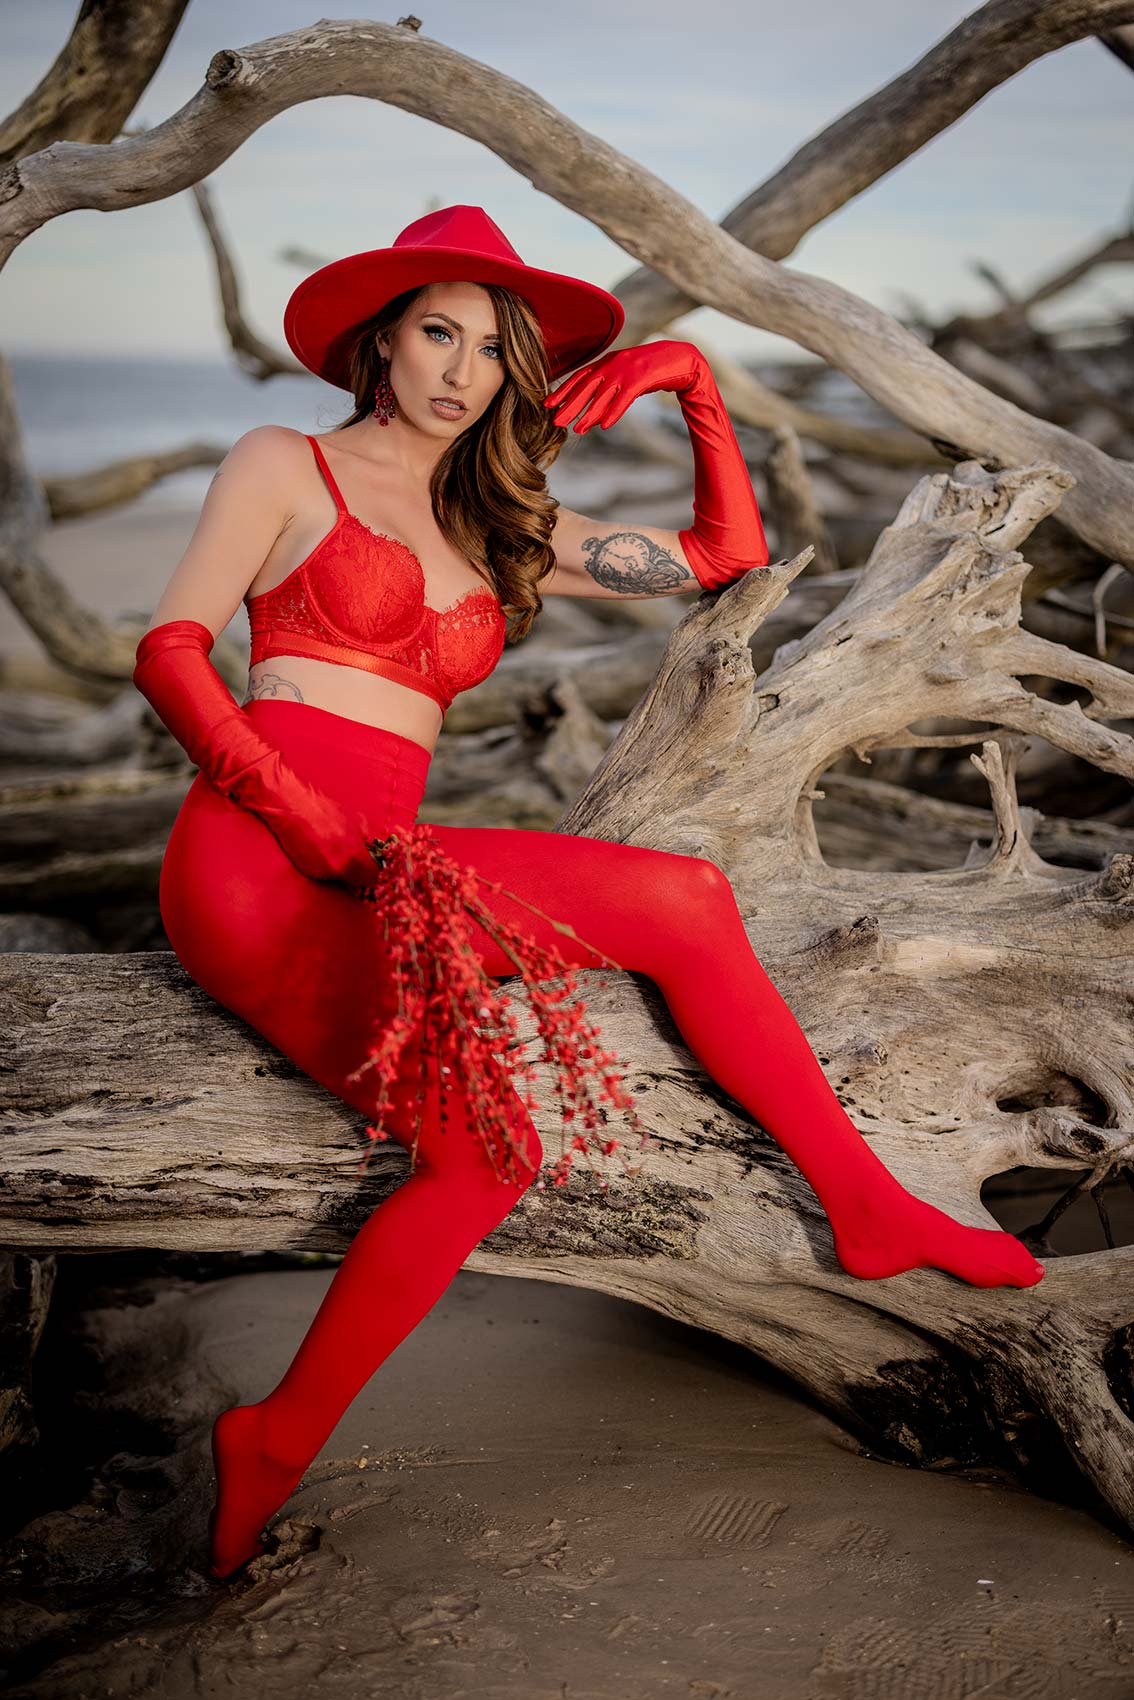
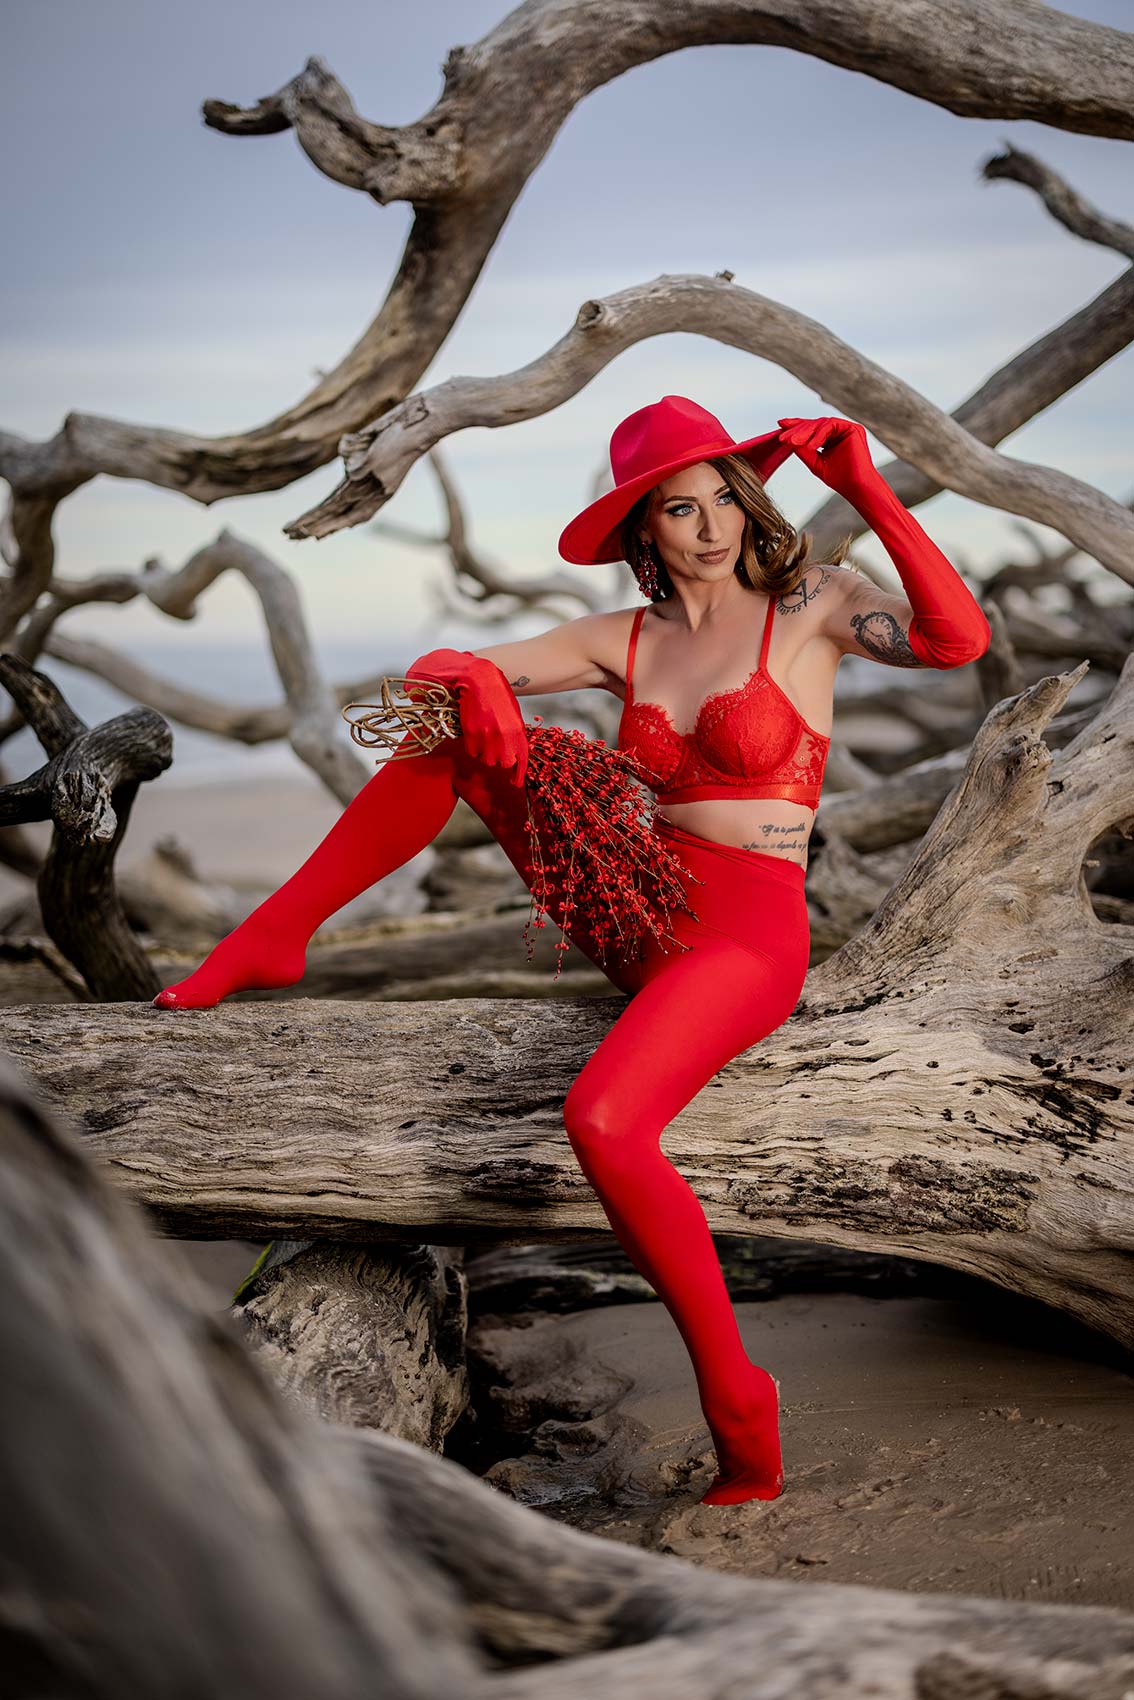
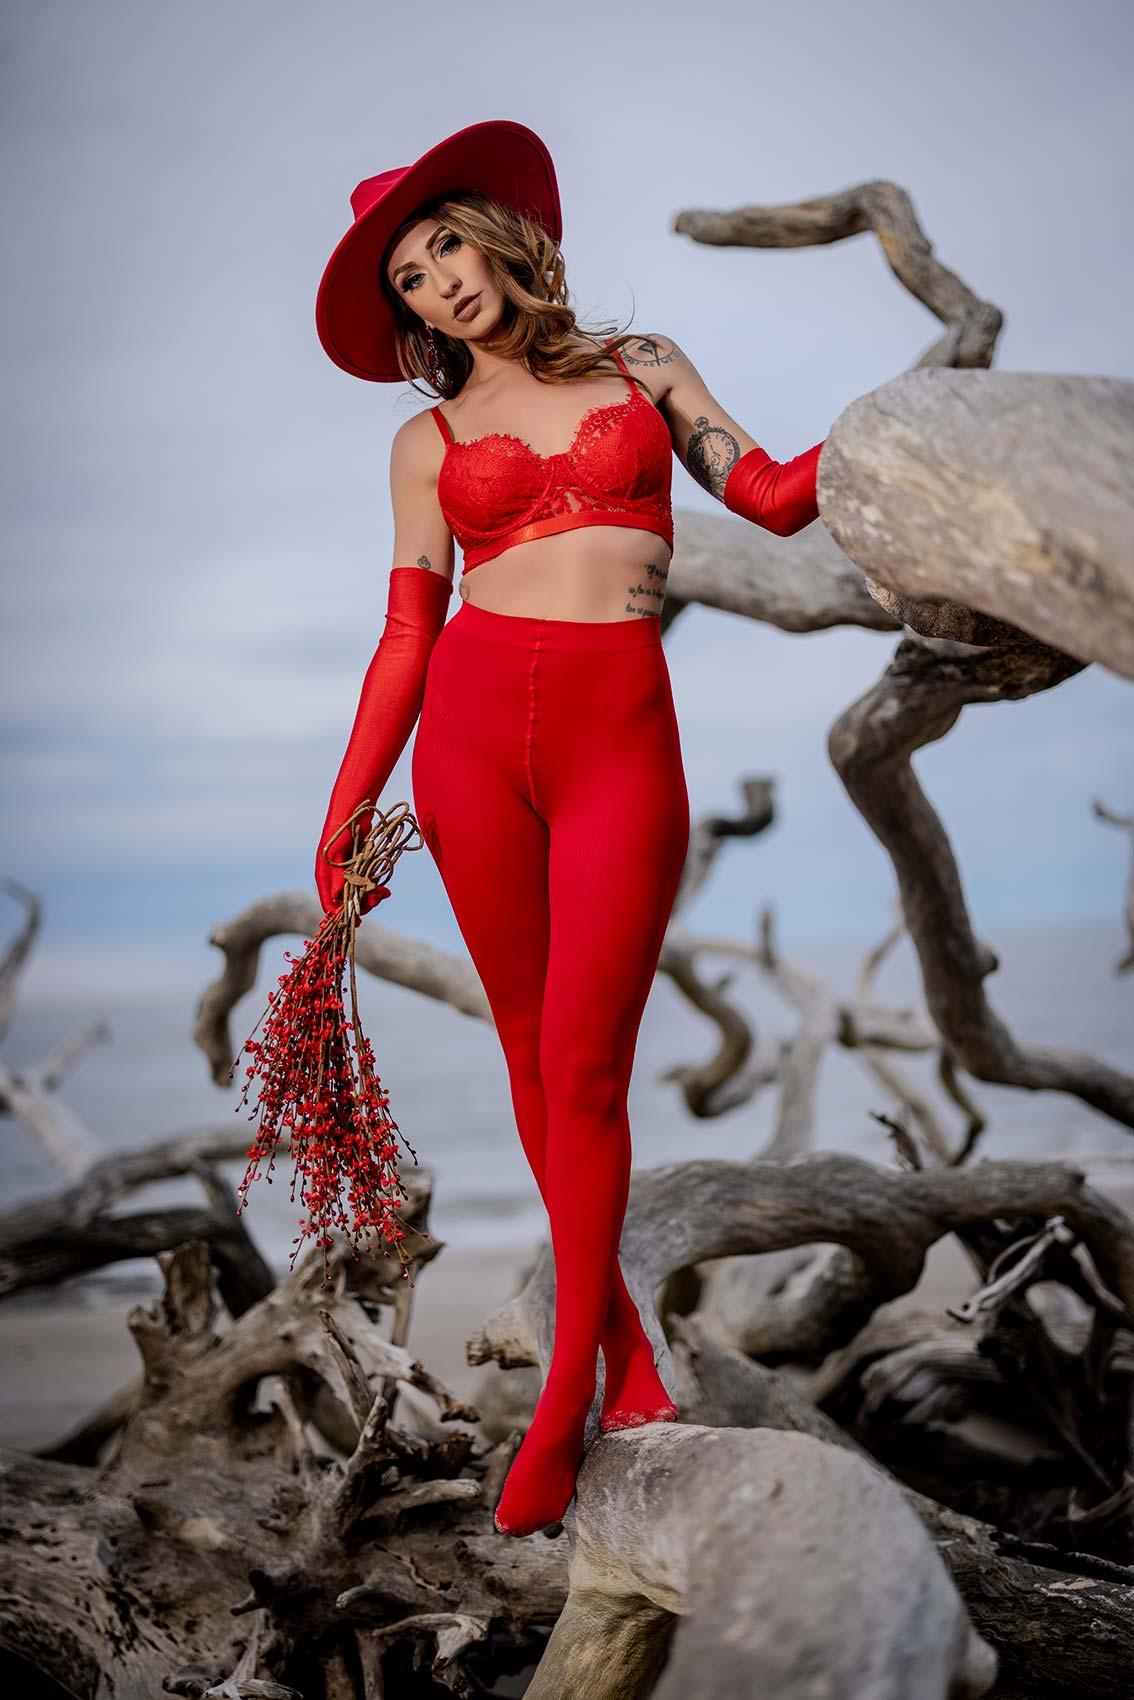
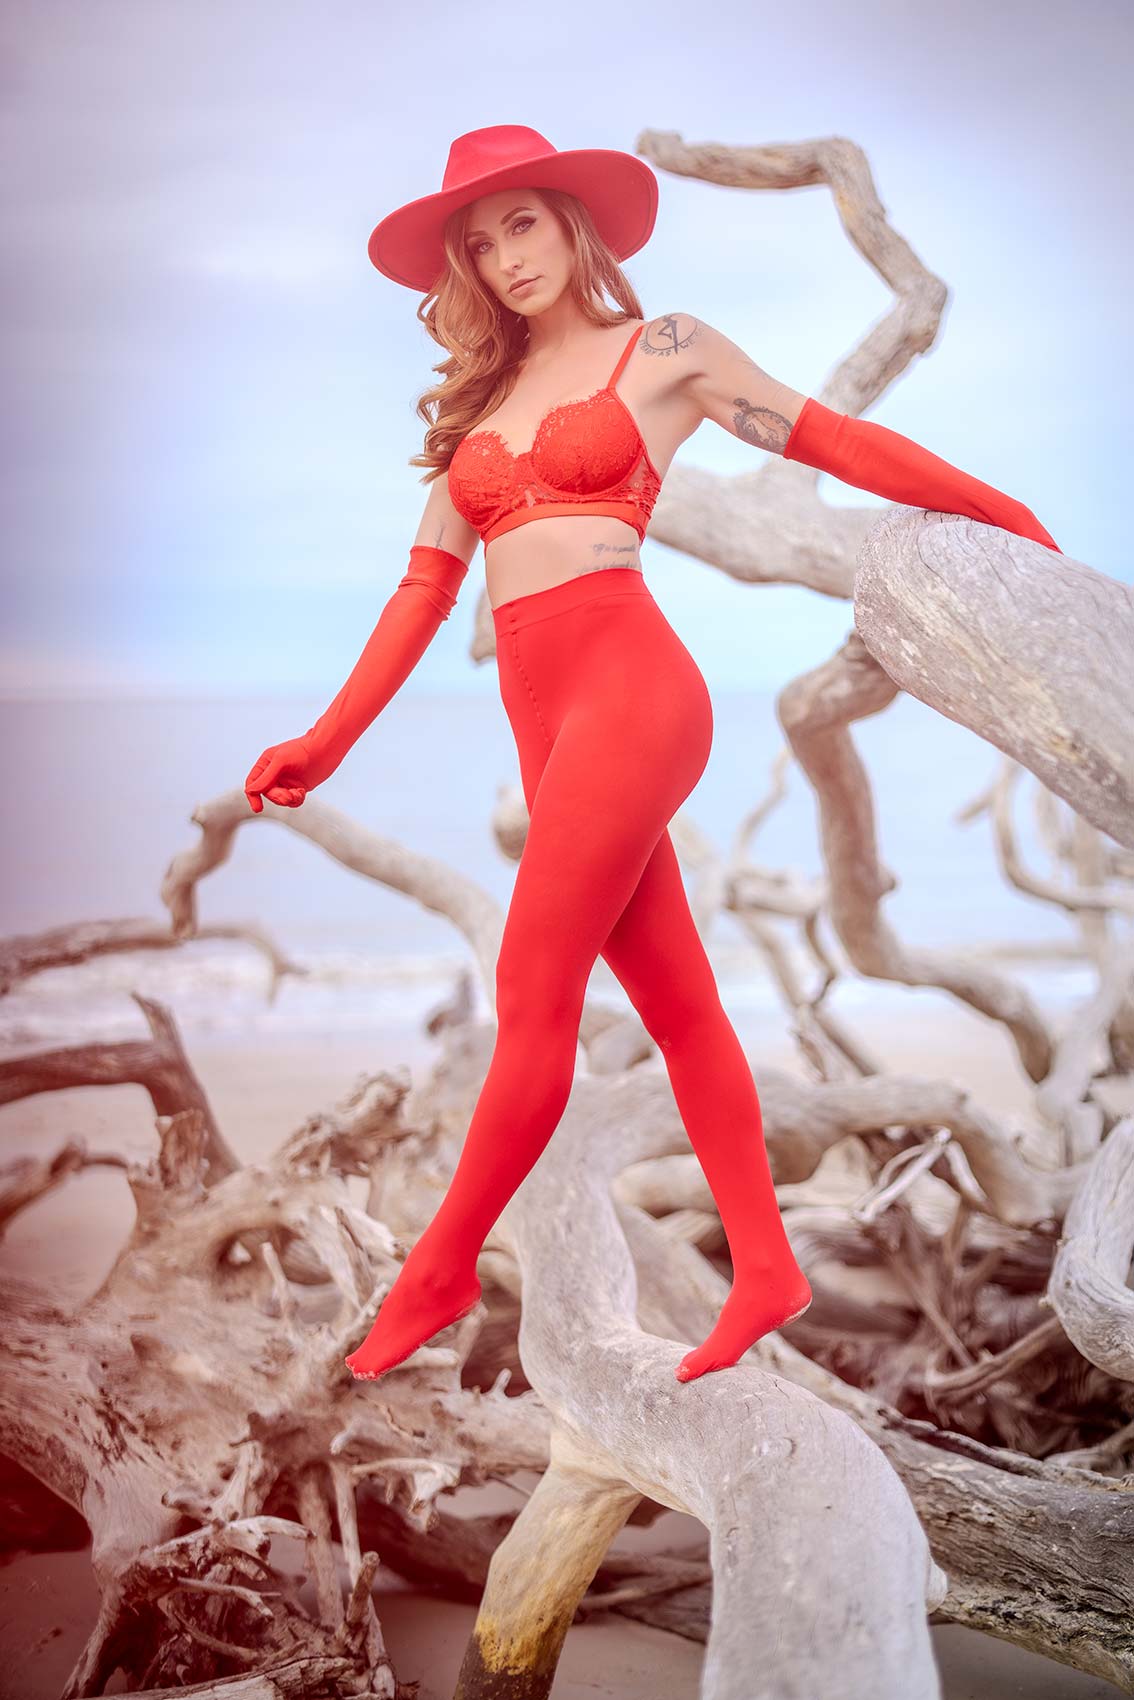
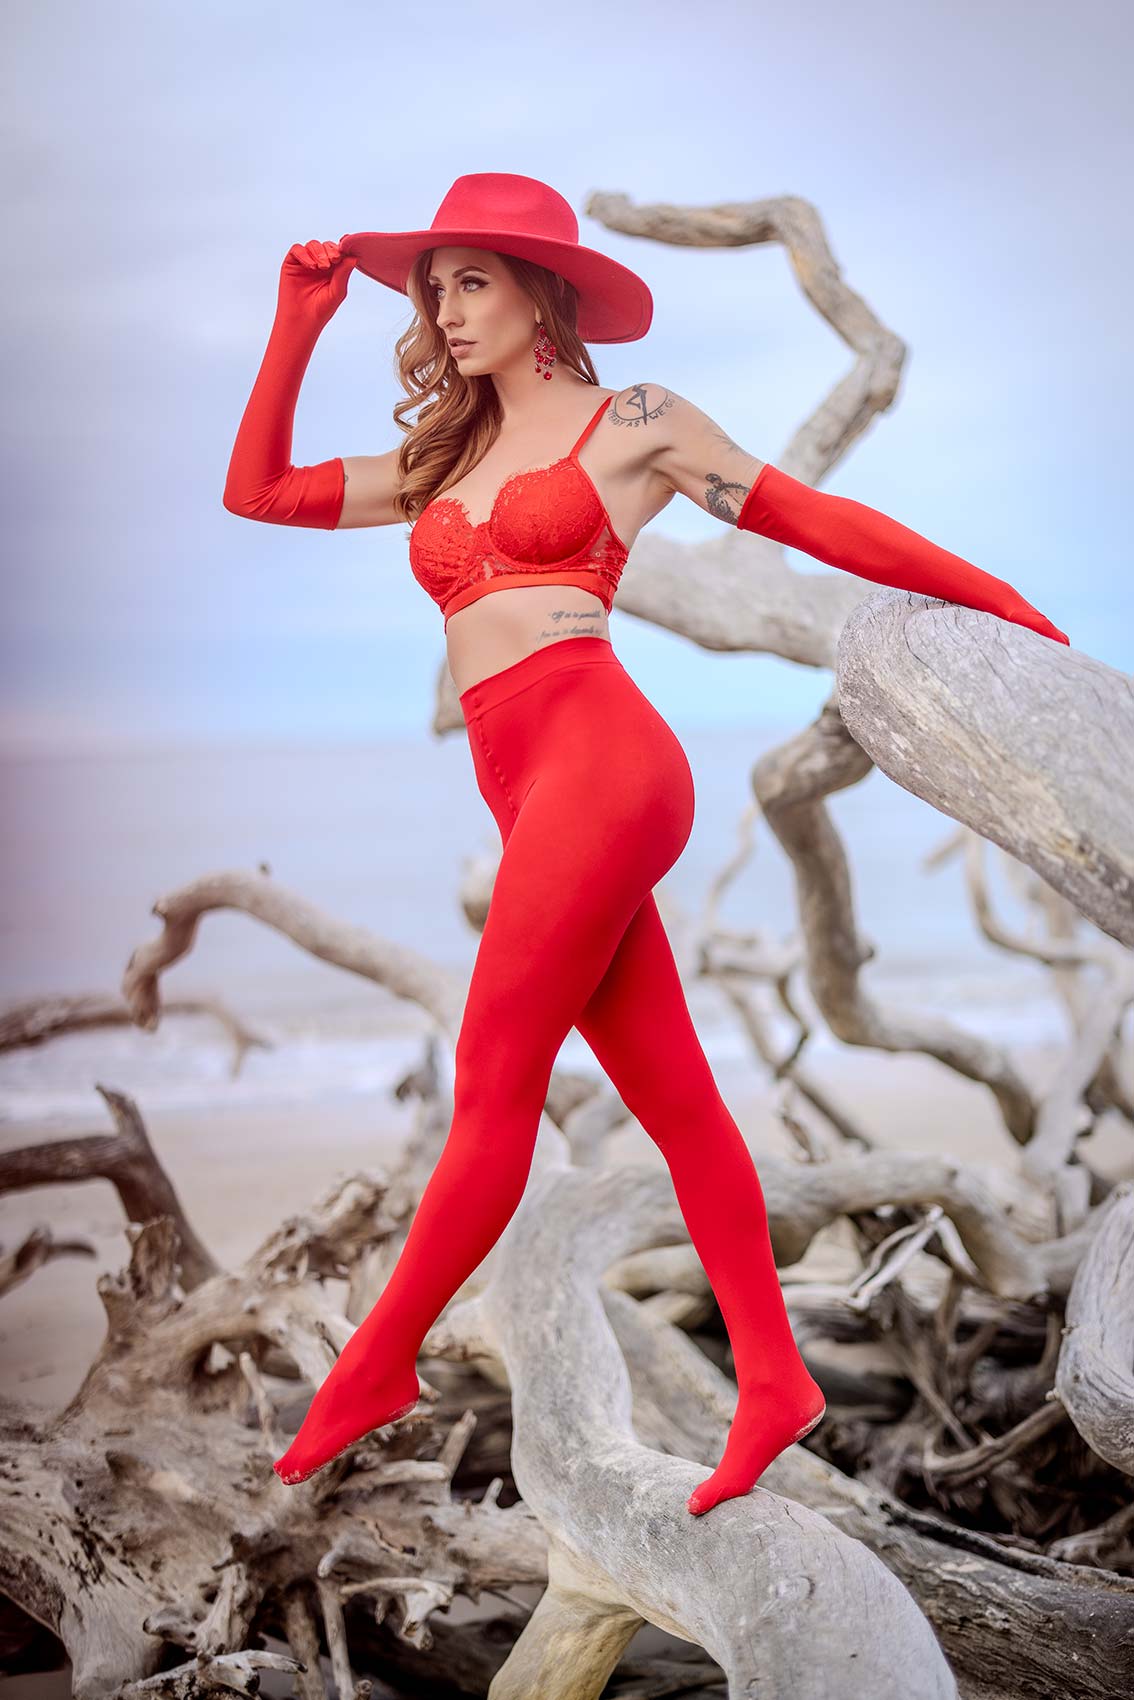
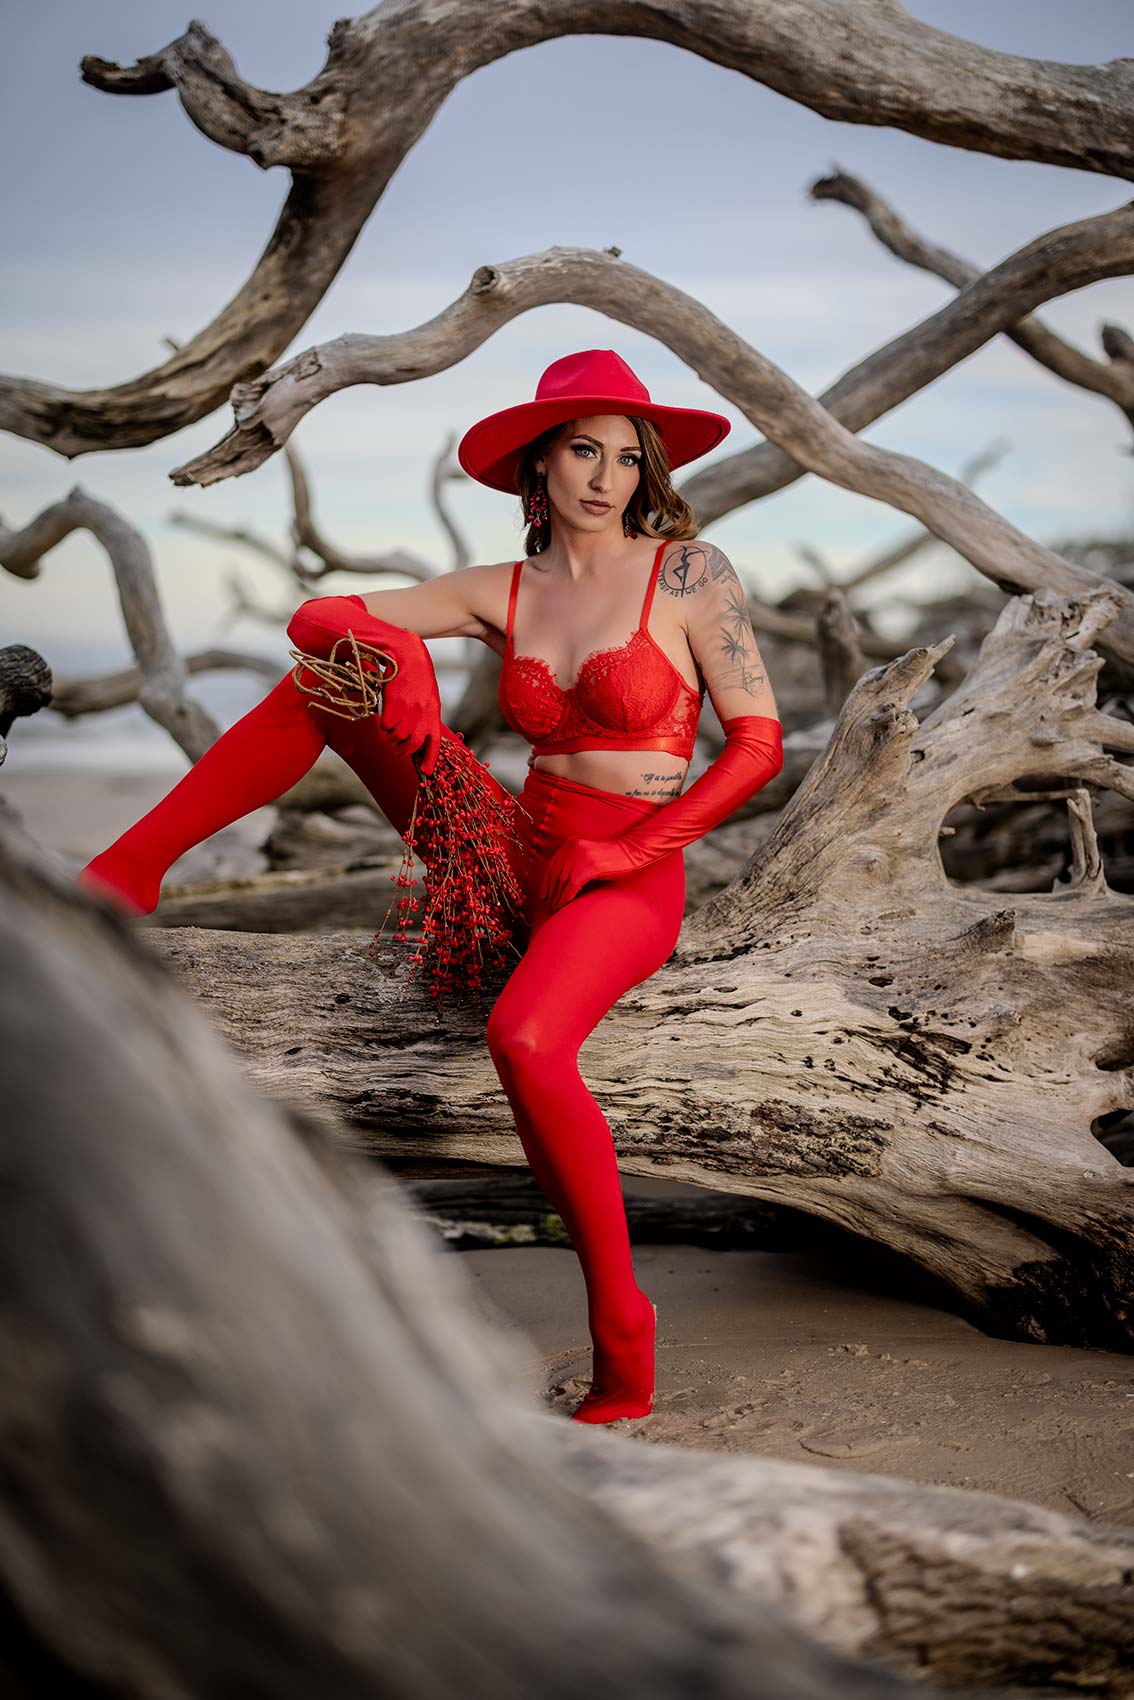
But what you’re seeing here on camera is all that kind of eye candy and layers behind her. And I think when you’re setting up portraits, it’s really important not to just shoot the first thing you see, right? So we’ve got all this really cool driftwood around us, but what’s really important in the shot is creating layers to the portrait. It makes it more interesting, it makes it look better than your competitors. And those are the things I want.
Now, adding light, that of course is going to add more dimension to the shot and all those things working together are what are going to create some great portraits for you. So let’s stop talking about it. Let’s get to it.
Off camera I’ve got two FJ200s firing through a scrim. So we’re basically creating a 6ft softbox here out in the field, and that is incredible to be able to have. You’re going to get this big soft light. And what you’re seeing in camera is I’m under exposing the scene a little bit, so it’s a little bit darker and moodier. And then we’re using flash to fill and illuminate our subject.
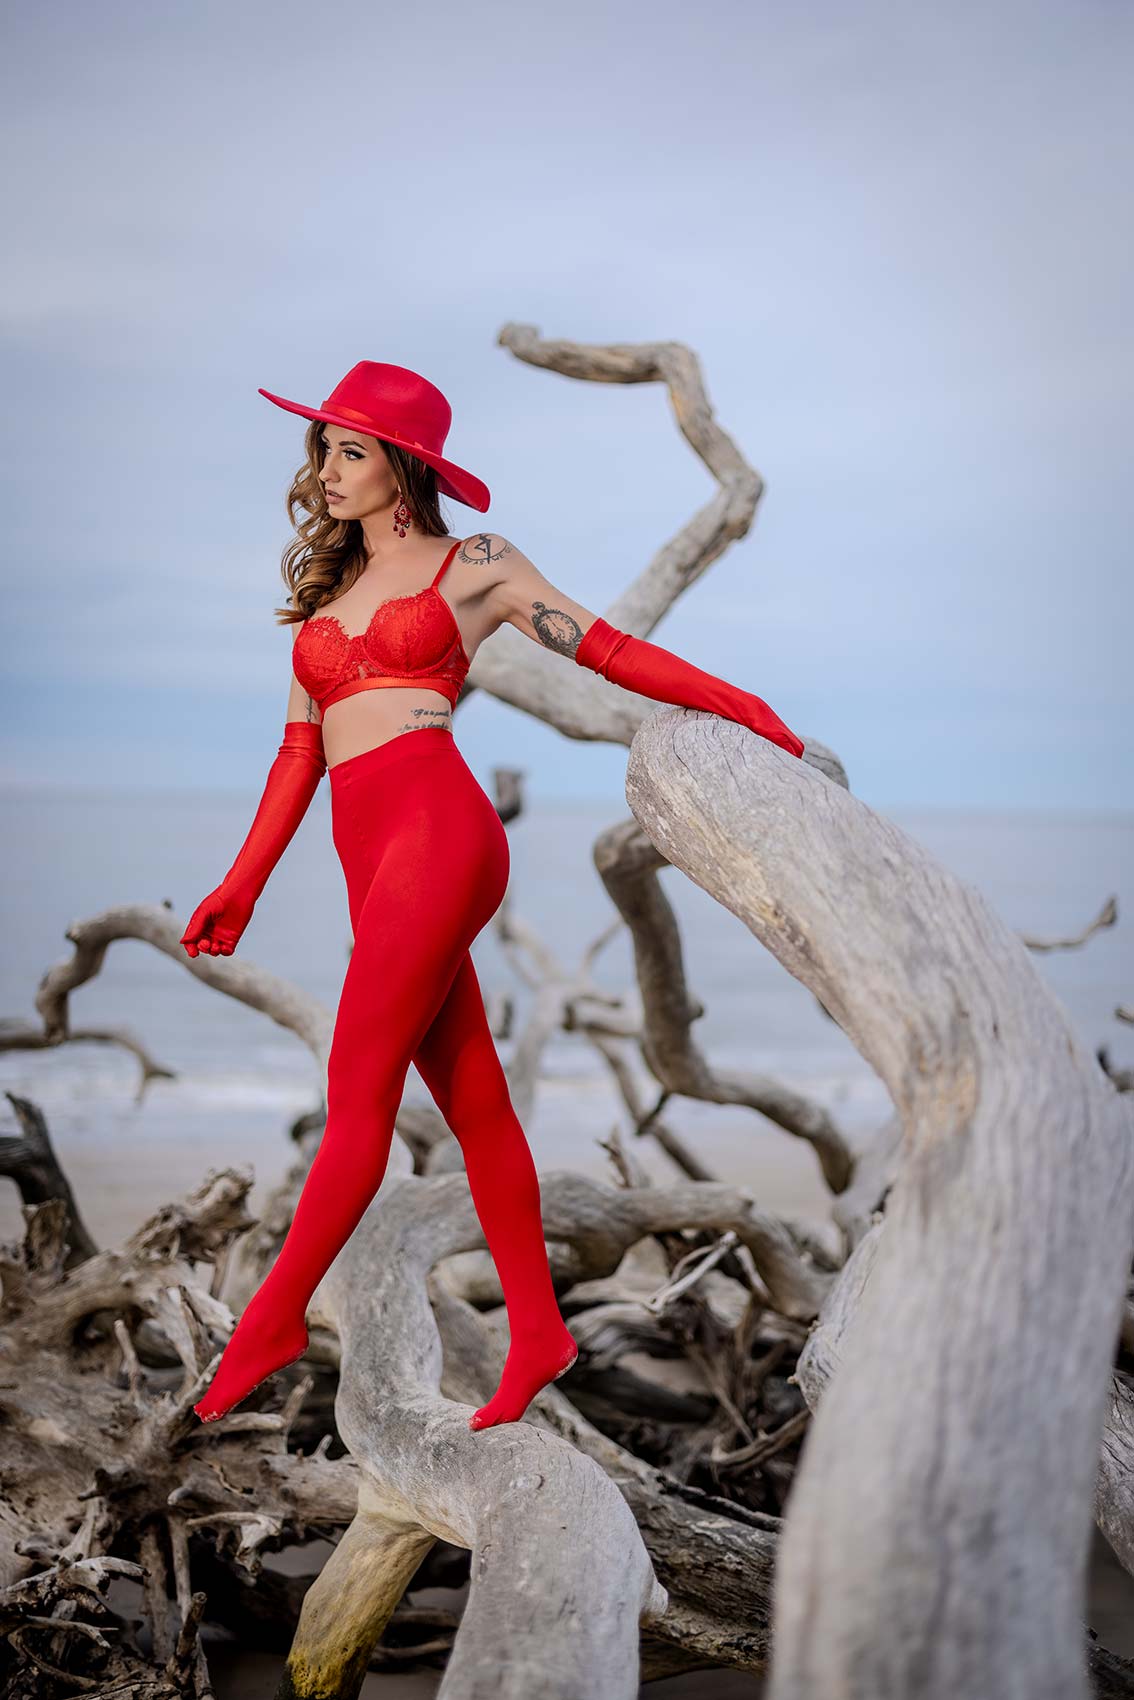
To give you perspective, the flash settings, were at a power of 7.5, but I’m also shooting at F 1.2, 1/1250 of a second. So we are using high speed sync. The reason for that is once you get above 200th of a second, you got to kick into high speed sync in order for the flash and everything to work. But I could get out of high speed sync and shoot this at F11 or something like that. But then you’re seeing all of this background and I don’t want that. I love the way this is looking where we’re kind of blurring everything out in the background.
And that’s because I’m shooting this at F1.2, so I just wanted to stop for a second to explain and break that down. Now let’s get back to it.
What I’m seeing here, you should be seeing on camera all these leading lines into her. You got to be careful not to have that branch out there on the right coming out of her head. We’ve got the light here off the camera left. I am going to raise that light so that it’s not shooting from below. And then I want to shoot from down here and use all these leading lines.
Everybody, that is a wrap. The last set of shots we were shooting through those red flowers and it gave everything this natural red filter-ish look, and I think it’s very, very unique.
Those came out really good. Lex, if people want to follow you online. Lex @ lex.jacoby. We’ll see you in the next video.

