
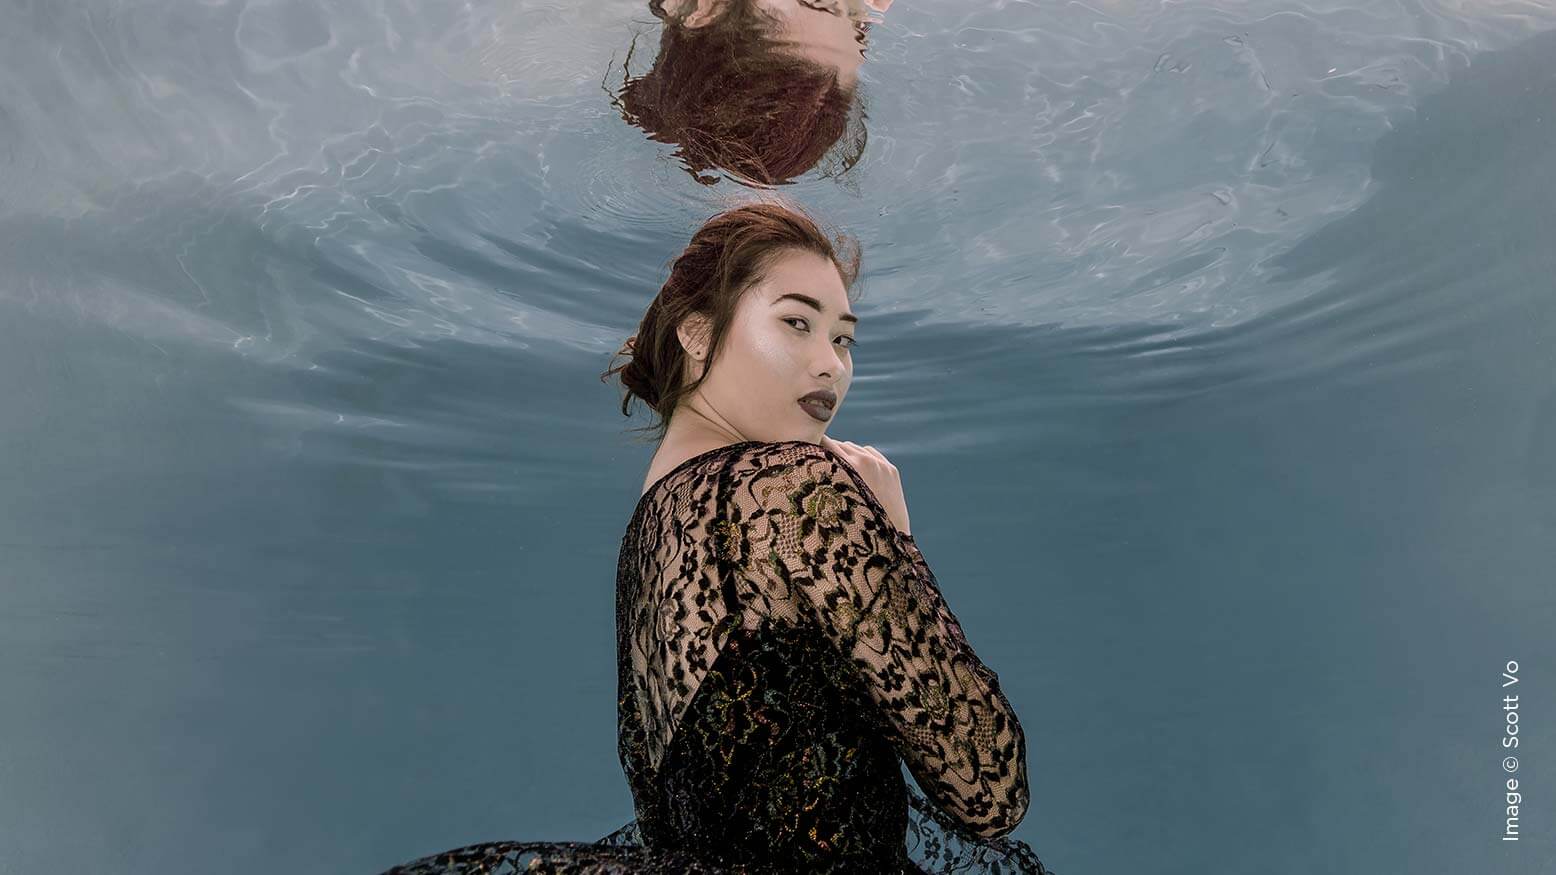
Dive Right In: Underwater Portraiture Tips with Scott Vo
Portraits capture the personality of the subject. One of the biggest challenges is to capture that personality in a photograph. With underwater portraits, there are a few more challenges you have to face. Here are a few things to consider before you dive in.
Safety First
The subject’s safety is the main priority during your session. You will have subjects who are strong swimmers and some who are not comfortable in the water. Getting certified in BLS (Basic Life Support) is a must. It will prepare you for emergency situations and add a level of safety to your session. You should also have extra help on the shoot. You can have a person stand by with a floatation device or in the water to help position the subject. Make your subject’s safety the top priority, which will help them relax before the session even starts.
Teamwork Makes the Dream Work
Assembling a group of like-minded professionals to work with you can be a challenge. Finding a talented and knowledgeable cosmetician who has experience with waterproof makeup was one of my challenges. You don’t want the makeup to run in the water and end up with a photograph of the girl in The Ring. Communication is key. If this is a collaboration, hear out what the professional cosmetician has to say about what would look good for your vision and the subject. Always be open-minded to your team’s input.
Have a few helping hands around to help you out. You will need a hand lowering equipment and outfits into the water. Jumping in with your equipment in hand can compromise the integrity of the case. Have it handed to you or have an area where you can place your equipment coming in and out of the water.
If it is a large body of water, have a few extra people with scuba equipment on standby if there are challenges with the depth. I hold my breath and come up for air between shots. It is inconvenient, but I enjoy having minimal equipment on me so I can be mobile and focus on the shot. The model comes up for air as well. This moment can be used to catch your breath and regroup.
Have a discussion with your team and subject before getting everything ready. This gets everyone on the same page, and if something was left out, someone might have additional ideas or concerns.
Understanding the Environment
Regardless of whether you are shooting in a controlled environment like a pool or a natural body of water, you should have some understanding of what you will face down there.
Photographing in a large body of water will yield some very blue results because water absorbs the red, orange and yellow wavelengths emitted by the sun. The more water you have above you, the darker and bluer the photos will be. Bring in a strobe underwater to clear out the blue and give you a more accurate color. If you have plenty of light but you want to reduce the blue, you can do one of two simple things. You can have a magenta filter on your lens to balance out the blue or you can go into post-production and correct it there. Some cameras have an internal setting that filters out most of that blue for you as well.
Being underwater can affect the sharpness of your photos. The more water between you and your subject, the harder it is to capture sharpness. It is like looking across a field on a foggy day versus a clear day. There are a lot of water molecules between the lens and the subject. Shoot with a wide-angle lens and get closer to the subject the best you can to reduce the amount of material between the subject and lens.
Gravity is fickle in the water. There is air in your lungs, and air rises. You can always exhale and descend into the water. Try adding weights to your subject and yourself. When you let the weights sink you down, you can focus on the subject and the task at hand instead of trying to swim and take pictures at the same time. Focus on the photography and let the weights do their job.
The type of water determines buoyancy. Saltwater will make you float more easily and chlorinated water is more neutral. Find a diving weight calculator online to determine how much weight you need to sink or be neutral in the water.
Fortune Favors the Prepared
Let me just say this now: There is risk taking subjects and equipment into the water. The key is being prepared and to assemble your equipment correctly. I am not saying you need the best underwater housing and a professional mermaid to accomplish underwater photographs. From bag-style housings to magnesium housings, all the equipment should be checked and serviced. Check for leaks, O-rings that need lubrication and debris before placing your camera in the housing and into the water. A simple check in your bathtub can save you time and frustration.
Prepare your camera settings before you place it into the housing. Most cameras have a specialty menu where you can create a custom setting to switch over to if the shooting scenario changes. Autofocus settings should be set on tracking and spot focus. The subject will be moving, so use continuous focus. If you have the setting that changes how fast the auto focus changes, set it at medium. If the camera adjusts focus too fast, it might focus on a stray bubble that comes in between you and the subject. If it is too slow, the subject might not be in focus. If you have access to the back button for focusing, set it up beforehand.
Pack your bags like a day at the beach. Bring plenty of towels, sunscreen and your favorite flip-flops for the day. Pack some cotton swabs, O-ring lube, lens wipes, defogger, silica packets and a multitool for your camera and housing. Have a towel to place your equipment on and have another towel that you can wet down to cover it when you are out of the water. Keeping your equipment in direct sunlight after being in cool water can cause condensation inside your housing. Throw that wet towel over it after you come out of the water if you plan on going back in. Place some silica packets in the housing and wipe down your lens with defogger to reduce fogging or condensation.
After everything is checked, let’s dive in!
Bringing It All Together
Start off with some breathing exercises to warm up your lungs. Ask your subject to slowly descend into the water to reduce the trapped air bubbles in the garment. While they are getting acclimated to the water, submerge the housing and take a few test shots. Depending on your location, there could be plenty of light or not so much. Meter your light. Have the subject warm up and start working toward your vision. Come up for air and discuss how that round went. Make some adjustments and go back into the water after both of you are ready.
These sessions take time and you have to be patient. There are a lot of variables. Here are a few tips and tricks that can help you capture your underwater image.
Tips & Tricks
- Do breathing exercises leading up to your shoot or become scuba certified.
- Take your time and don’t rush your subject.
- Use weights to help control buoyancy. Scuba weight belts are fantastic.
- If you want to use a flash, use optical slave mode to trigger or hard-wire. Radio signals do not travel far underwater. If you don’t have a built-in flash, try a wireless trigger and keep the flash very close to the camera. You can daisy chain the flashes if you need to. Let the first flash trigger the second flash via optical slave.
- If you want to take something underwater that isn’t waterproof, seal it with a food vacuum sealer. This works great for handheld flashes and light meters.
- Shoot with a wide-angle lens and reduce the distance between your subject and your lens.
- Find a cosmetician who specializes in waterproof makeup, which means less post editing and a more professional-looking result.
These tips also apply to film photographers (Fig. 1). Above all else, remember to have fun and be safe, and happy shooting!


