Have you ever tried in-camera double exposure with the Canon R5? In this how-to tutorial I show you step-by-step how to get started using the Canon R5. Double exposures can truly bring a sense of magic to your overall photography. Be sure to watch until the end where you can see me struggle through it. As creatives, to me, this is all part of the photography process. Don’t be afraid to experiment and fail. It’s how we all grow.
Equipment Used:
Camera: Canon EOS R5
Lens: Canon RF28-70 f2.0
Light: Natural Light & Nanlite PavoTube
Team:
Photographer: Sal Cincotta
Model: Marylyn Phan
Hair & Makeup: Brandi Patton, Refine Beauty
Ready for some in-camera double exposures with the Canon EOS R5? Let’s get to it. What’s up everyone? My name is Sal Cincotta. Back with the always stunning Marilyn.
Let’s do some double exposure. So most of you may or may not know this, but the Canon R5, and probably most digital cameras, have a feature built in for double exposures. And what this is going to allow you to do is some creative stuff. Now, you won’t use this every place, every day, but it is fun for landscape photography. It is fun to use it creatively for portraits, which not a lot of people do. So I’m going to show you how easy it is to do, and then you get out there, season to taste. Have fun with it. All right? So let me grab my camera.
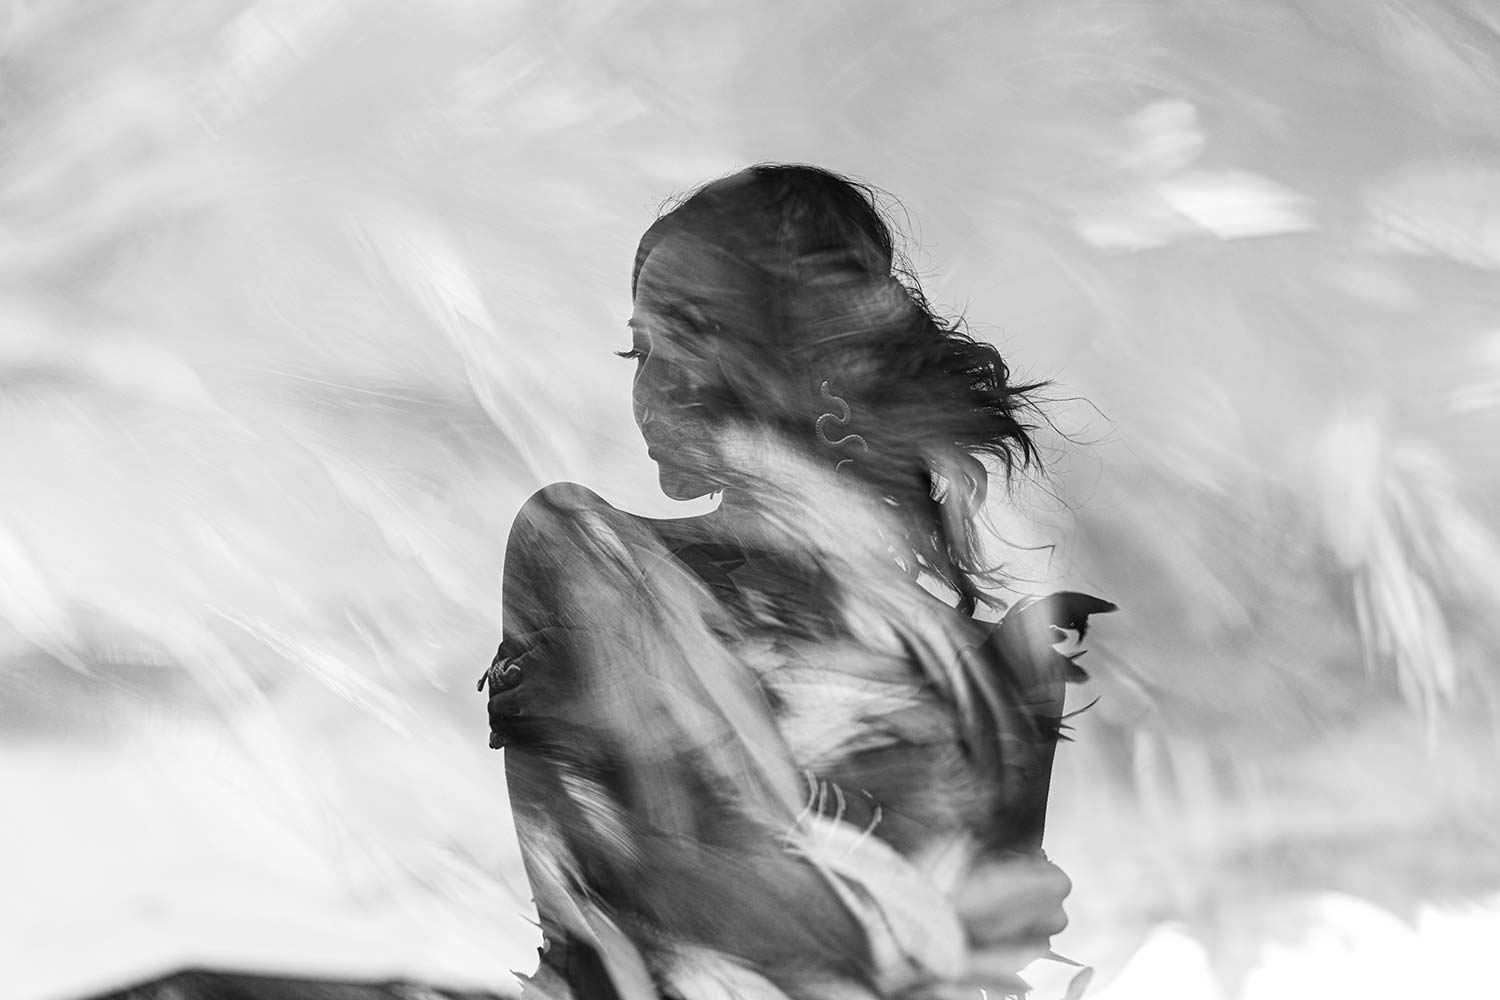
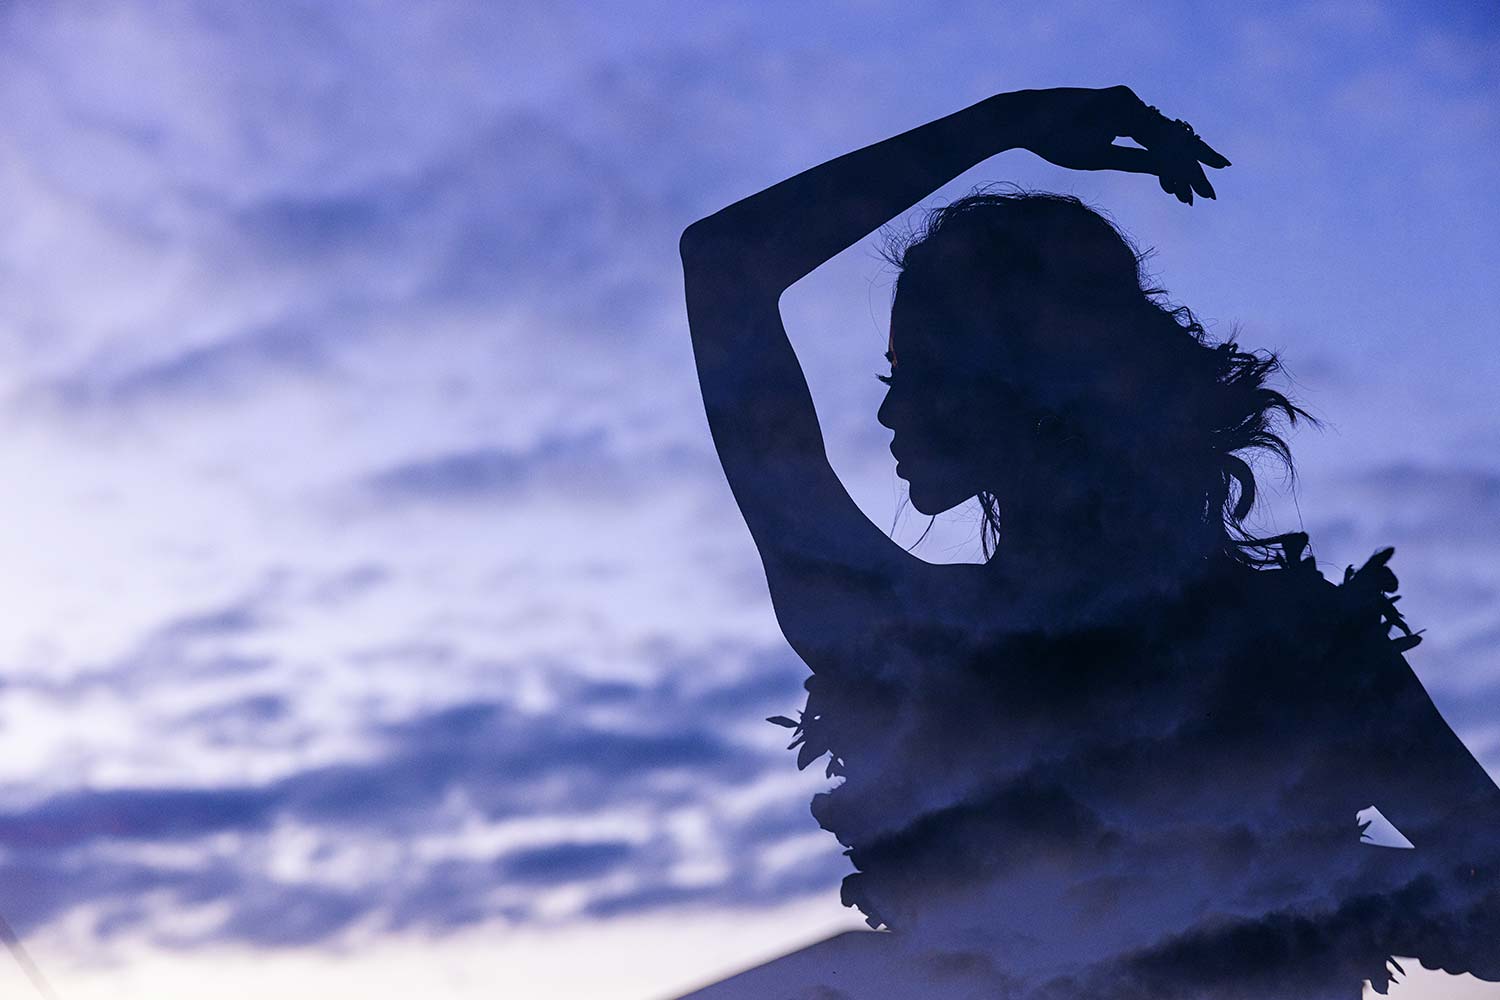
All right, so on the R5, you’re going to go into the red menu 5: that’s the only way I really know how to describe it. We are going to do a couple of different ways today, but we’re going to start off with additive. So you have additive, average, bright, dark. There is no right or wrong way to do this. It really depends on the lighting situation. And right now what I’m going to do is create a silhouette of her and then use another shot of the dress, the feather dress for Marilyn, to kind of merge into one frame.
Settings: f/2.8 @ 1/2, ISO 250
So we can do bright, we can do dark, and we’ll mess with a couple of them. But we’re going to start off just additive. Again, season to taste, play with it. Two exposures, you can do multiples: 2, 3, 4, 5. 2 is pretty much what we want to work with. And then I have it set up for continuously so that I can continue to work every two frames. Let’s just say for argument’s sake, I take my first frame I don’t like the way it looks, but I want to start over. Just clear it, hit another shot and start over. That’s why I like it set in continuous.
And the other feature I like here is, I’m just going to show you this for a second. So if I take a picture of Marilyn, so the first shot’s there, what you’re going to see now is you can see this ghosted image of her. Can you see that? And what that’s allowing me to do is see what the double exposure might look like when I take it. Now, of course that’s not what I’m going for, but that’s really how it would work. So you’re at least seeing that ghosted image on the back of the screen.
So I’m going to elevate her into the sky. So Marilyn, let me put you here. I’m going to try and avoid any of the buildings. So Marilyn, you’re going to be here. Get into that pose. And I want your profile looking off this way. So I’m going to pick this really low angle on Marilyn and shoot up so that I don’t see any of those buildings around her. So here’s my first shot. I’m shooting at an even exposure. Here we go. One, two.
And now what I’m going to do, now that I’ve got that first frame of her, you can see the ghosted image. I’m now going to adjust my exposure. I’m going to underexpose by one stop. And then I’m actually going to take a picture of her feathers and you can see it’s showing me what that’s going to look like. That’s kind of a fun.
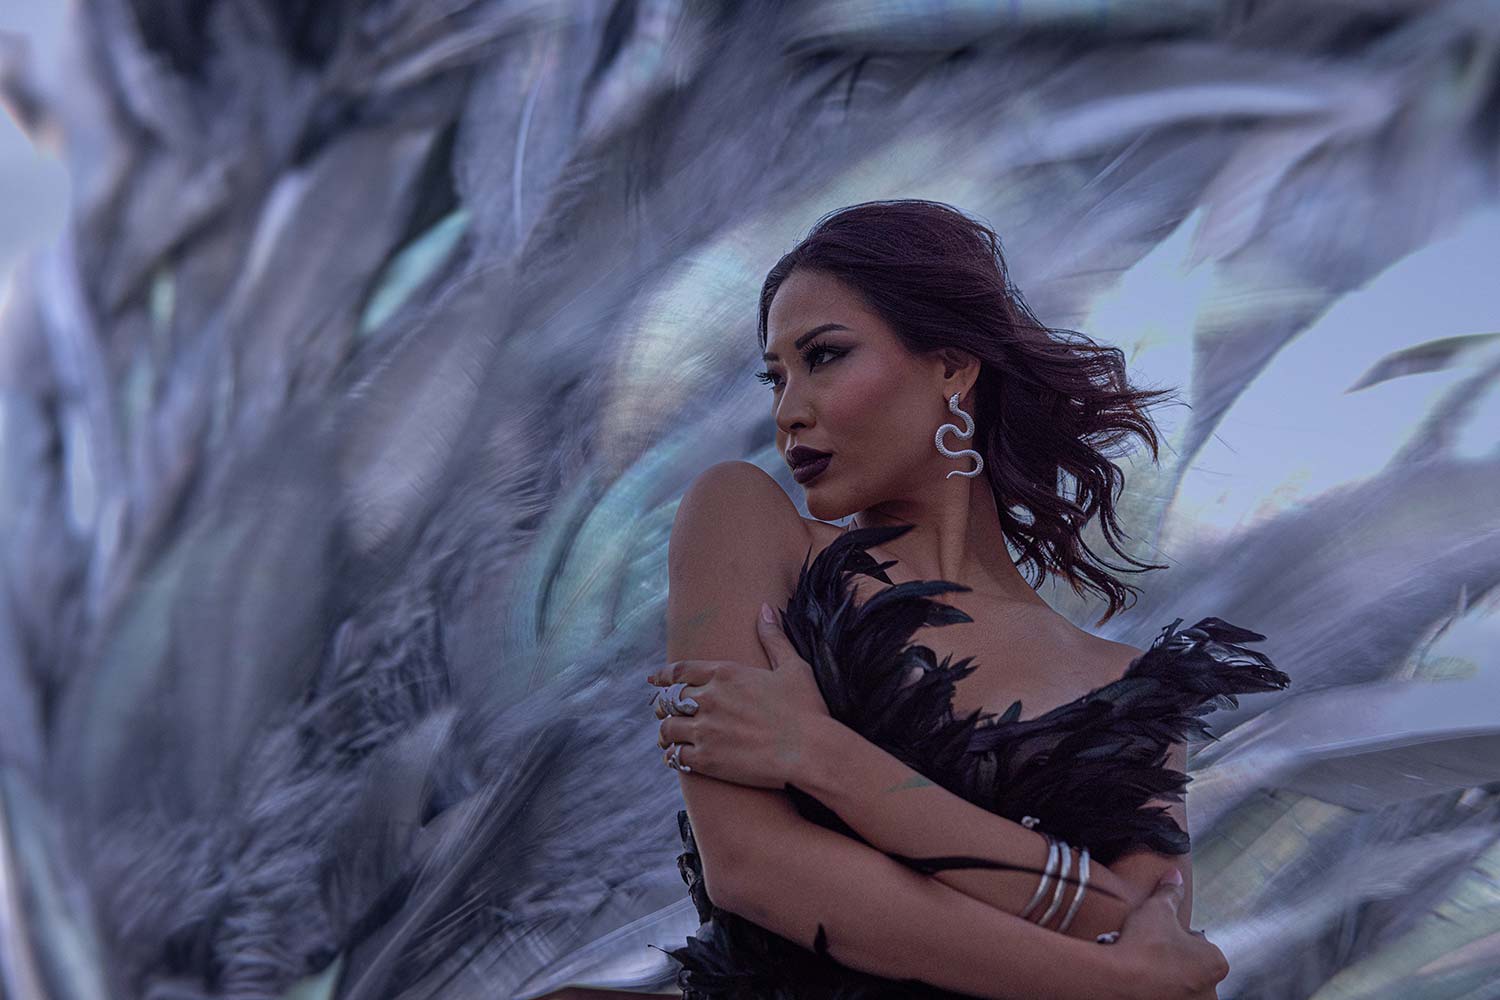
Settings: f/2.8 @ 1/.4, ISO 800
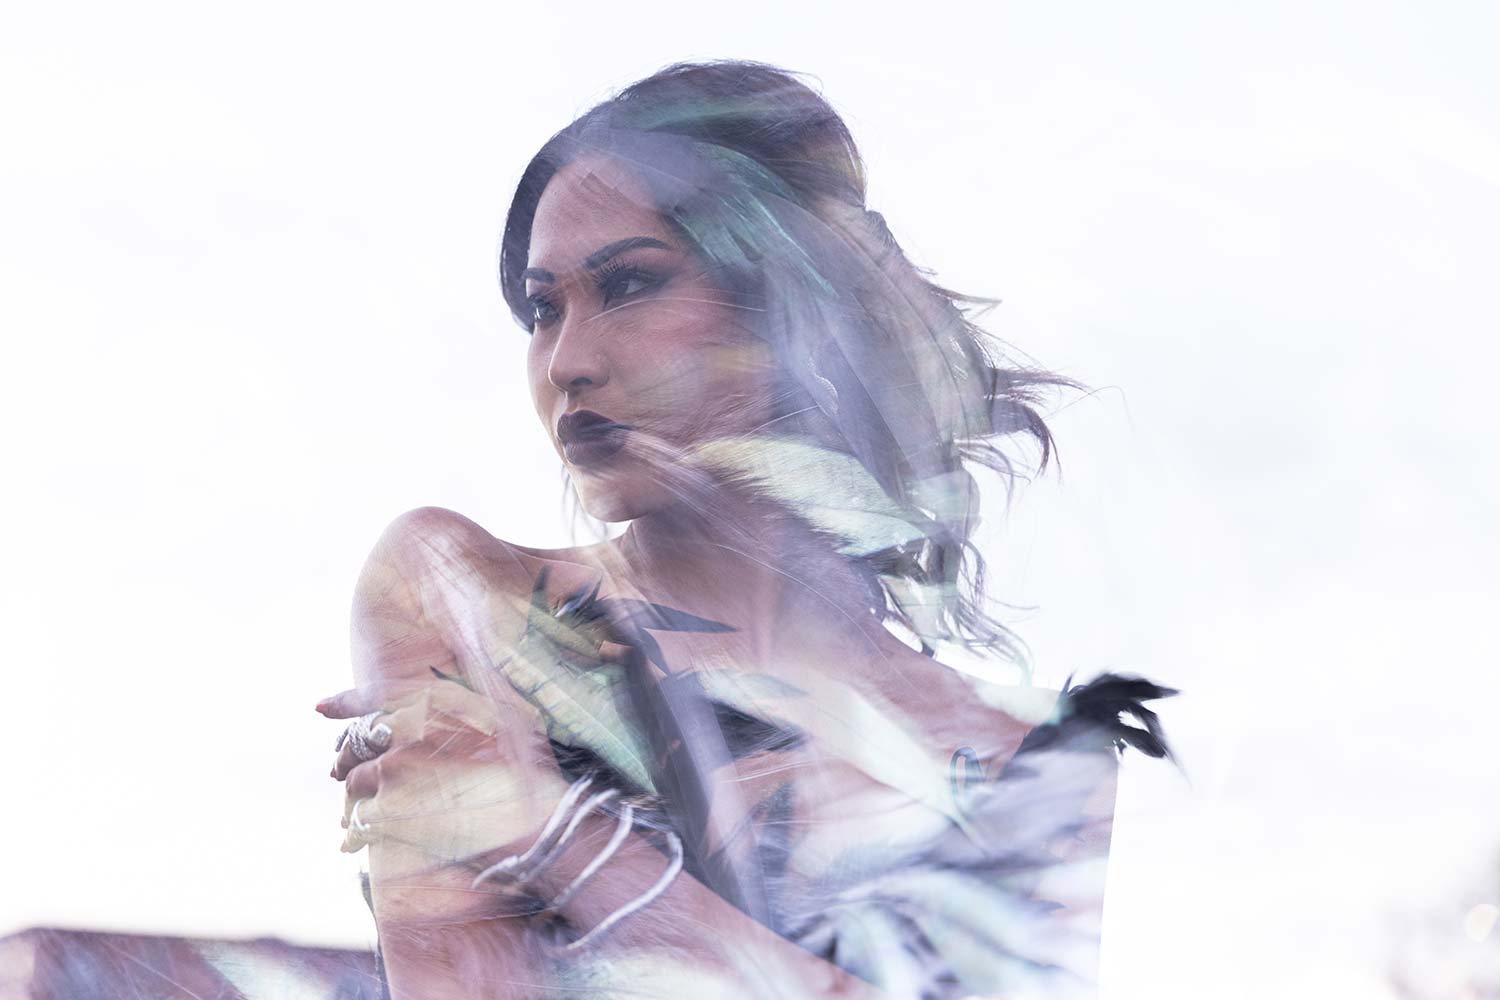
That is super cool looking. So again, that’s just a different technique. Let’s try that same thing. Bright. So same thing looking off. Okay, and now this will probably fill the brighter parts. that’s kind of a fun creative shot.
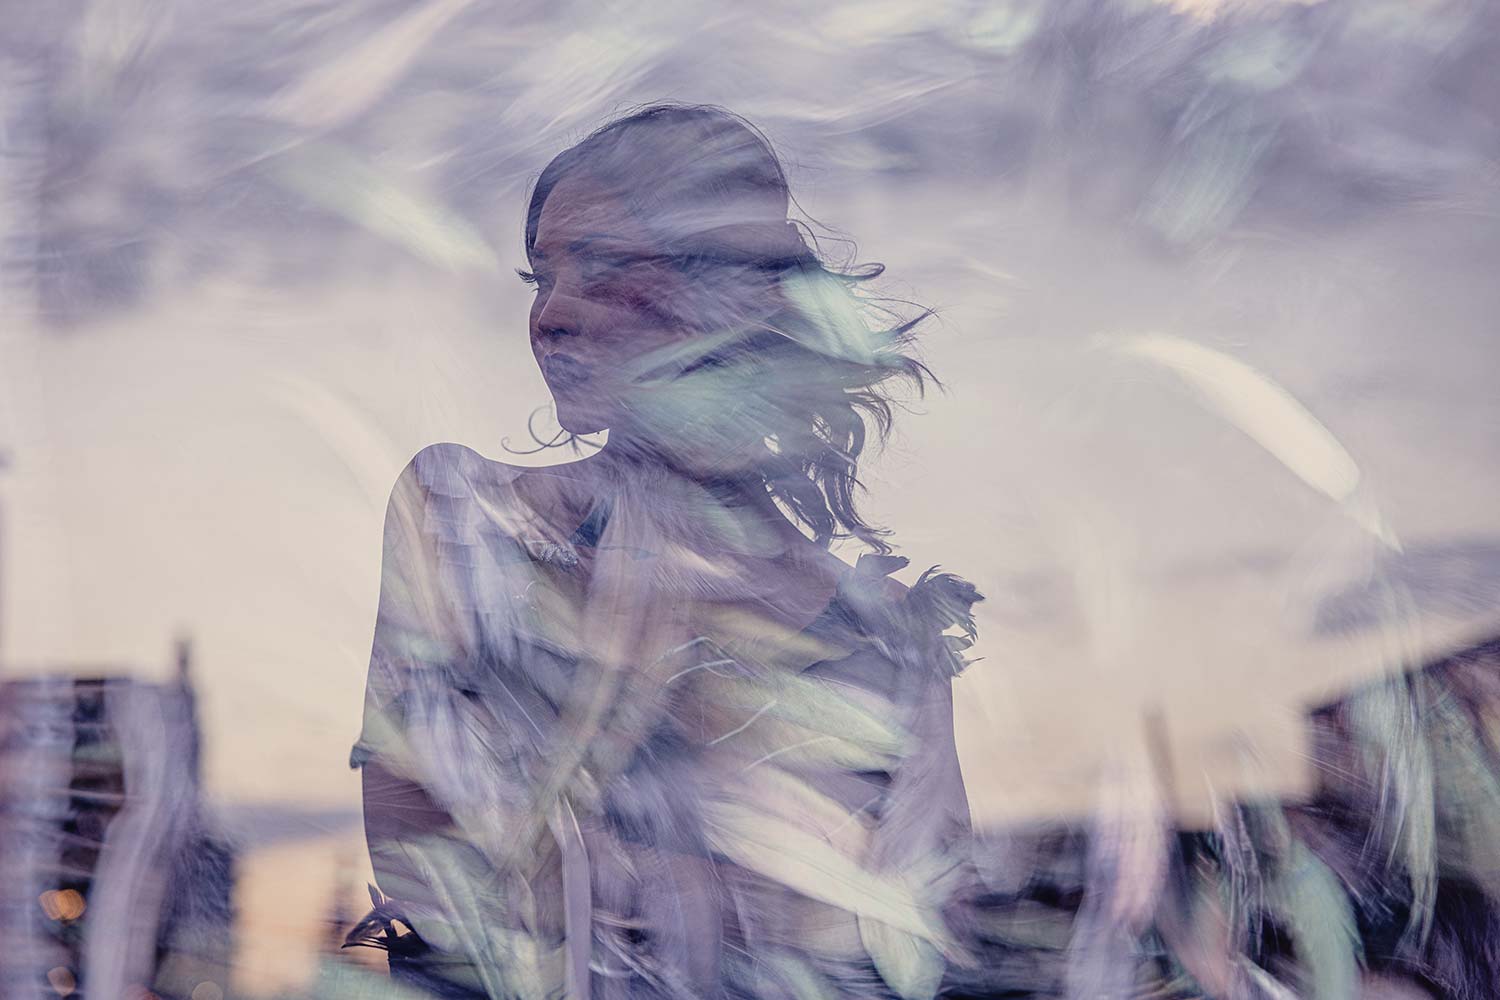
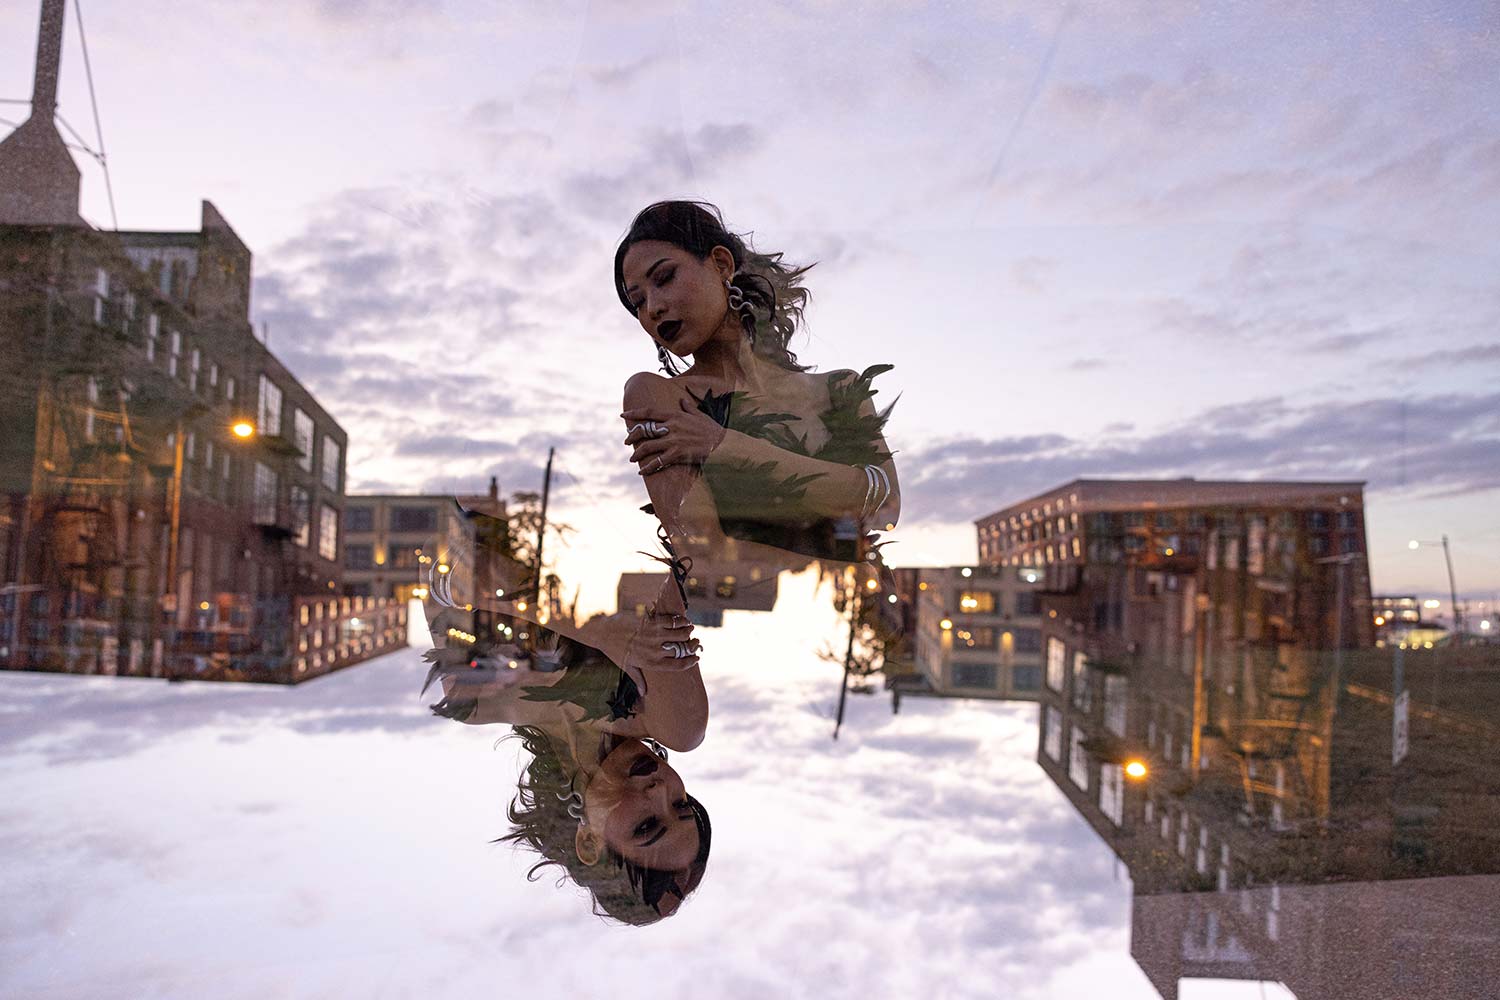
Now I’m going to switch this up again. And then I’m going to focus on the clouds and give it a much more surreal look. How fun is that? That is super cool looking. And that’s fun too. I actually want to do that now with a different method. So rather than additive, I want to try that with average.
Settings: f/2.8 @ 1/.6, ISO 400
All right, so for the last one we’re going to do additive, and I’m going to flip the camera over.
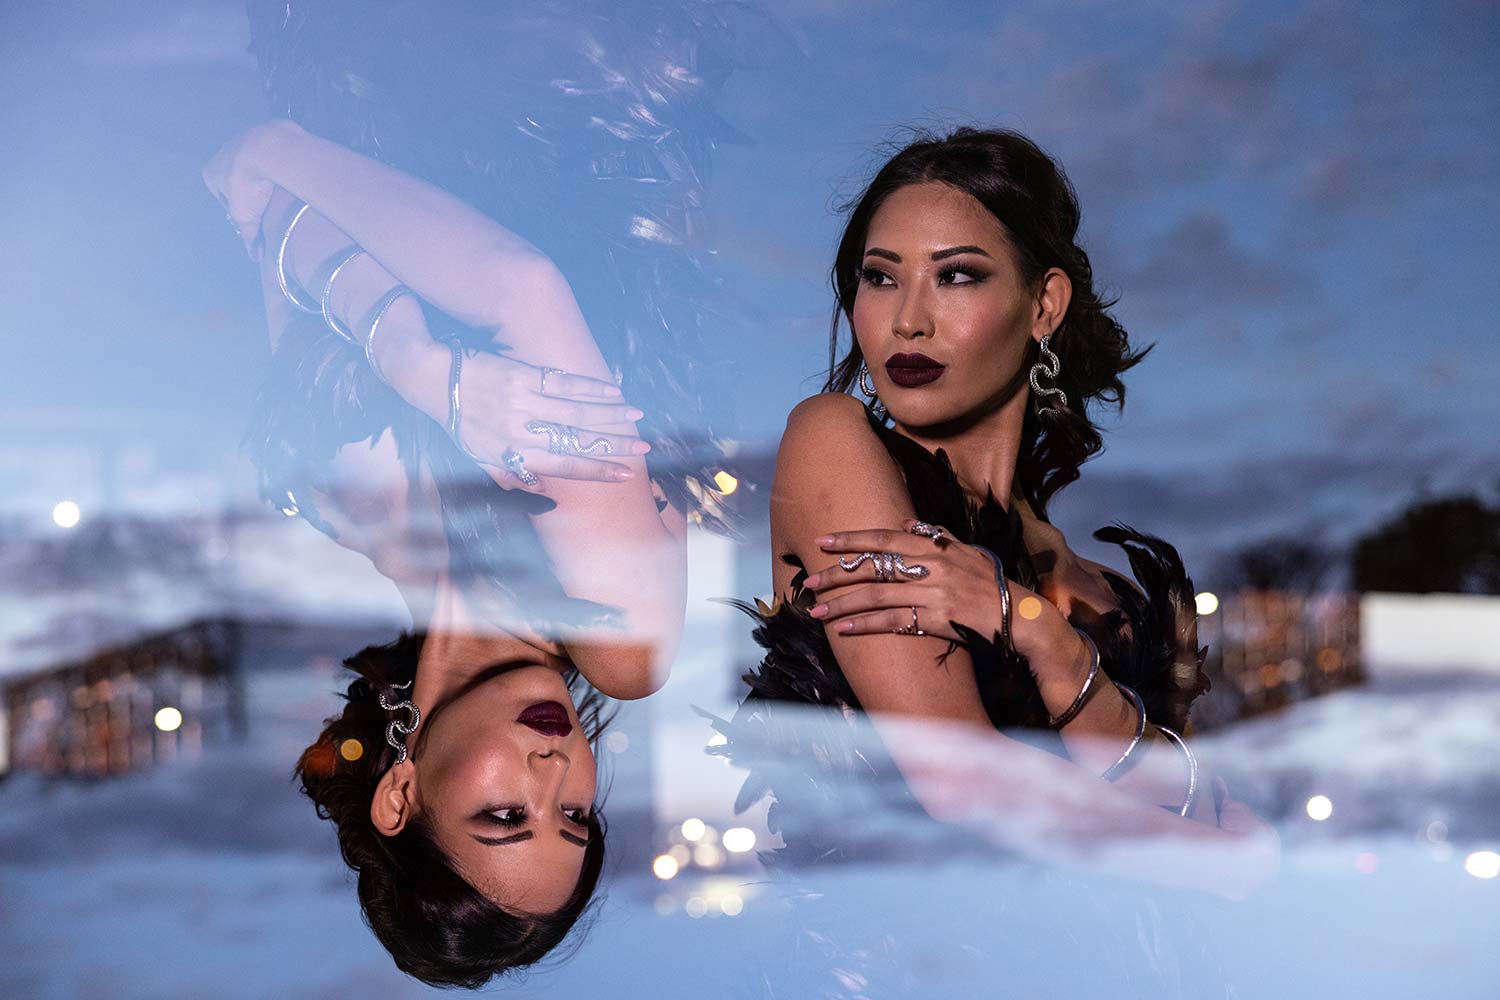
All right, so part of the way double exposure works is tie two light, shadows, additive, dark, light, right? Those are your modes. Well the problem was is as the sun was setting, normally we’d be doing this with much more light. So it started getting super dark on as fast as you can see on this video. But now I went in, got a Nanlite, we’re going to light her up and we’re going to do something cool.
So mode we’re in now is additive. And then what I like to do is I’m going to flip the camera. And so now that’s a super cool look of a double exposure.
Settings: f/2.8 @ 1/.4, ISO 800
All right, that’s a wrap. Give it up for Marilyn, man. She’s out here braving the cold. Meanwhile, it still feels like summer here, but all of a sudden tonight we are freezing outside here in St. Louis. But anyway, hope you enjoyed it. There is no right or wrong answer. This is about the art of photography and being creative and getting out there and experimenting. And you saw me, I was struggling through it to get what I wanted.
That’s the real art of it all. So get out there, enjoy, and create your own art. We’ll see you in the next video.
Settings: f/2.8 @ 1/100, ISO 1600
Settings: f/2.8 @ 1/50, ISO 1600