Elevate Your Photography with Better Lighting with Sal Cincotta
Photography is so much more than “What camera do you own?” If you understanding lighting, you are well on your way to conquering one of the most difficult aspects of photography. Without light, you are not making an image. We need light. We should crave light, in all its forms.
This concept of “golden hour” is such utter nonsense. I mean, give me a break. So, you are going to limit your shooting time to one particular part of the day? And you think you are going to make money in photography? At the end of the day, a professional photographer must know how to create great images at any time of day and in any lighting conditions.
For the record, there are no silver bullets when it comes to lighting. Yes, we will all gravitate toward a favorite light source or lighting pattern, but we must be committed to learning everything we can about the different types of light. This knowledge will open up a whole new world of creativity for you.
Below are some of the ways I use light to create beautiful images for my clients.
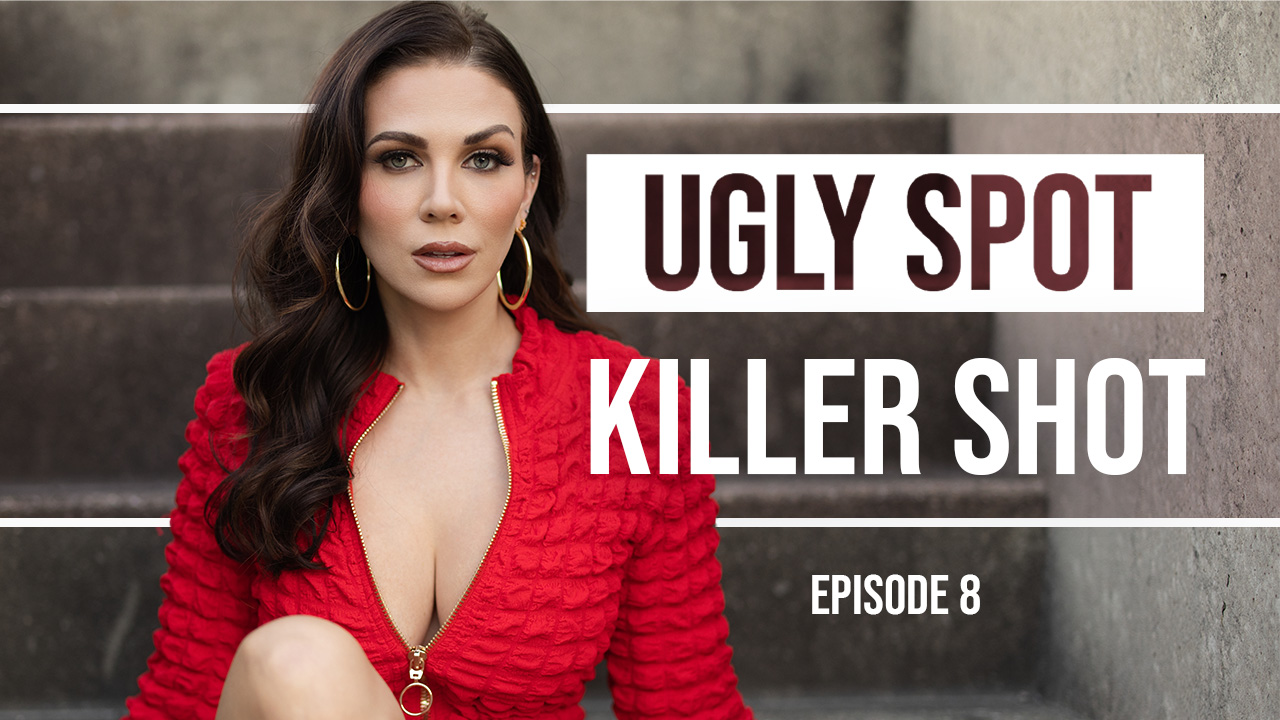
Hard light
As photographers, we tend to RUN from hard light. It scares the crap out of us, right? Well, just like I alluded to above, we need to learn how to use all light. Using only soft, warm, golden-hour light is easy. Anyone can do it. Step out of your comfort zone.
Hard light can be very easy to work with if you practice. Over the years, I went from being intimidated and avoiding it at all costs to embracing it and creating some gorgeous images with it.
Now, don’t get me wrong, hard light can be a disaster if not done right. You have to watch the shadows on your subject’s face. No one wants ugly shadows and racoon eyes.
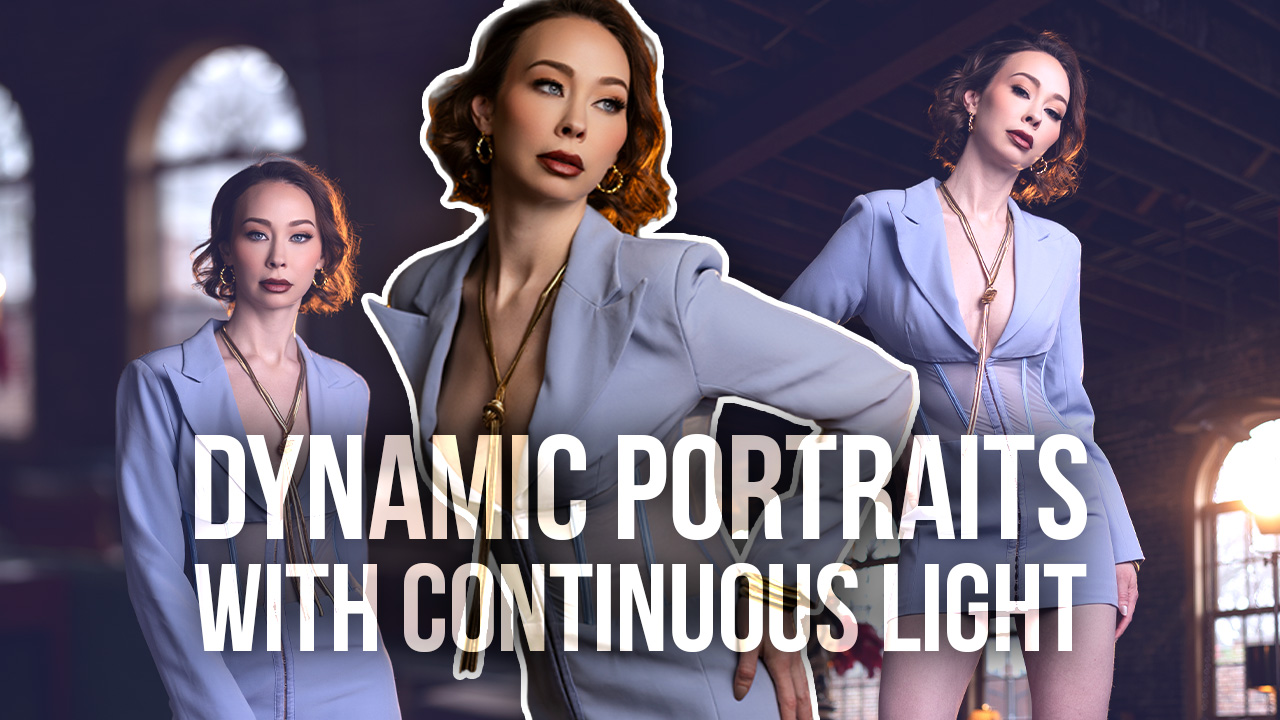
Continuous light
I love continuous light. Why? Because it’s EASY. Yes, even as a professional, I like easy. What you see is what you get. Now, it’s rarely as powerful as strobes, but that’s ok. It’s about having the right tool for the job.
It becomes very important that you pay attention to your lighting patterns here. That should be easy, since you can see exactly what it will look like in camera. Something else to consider: Don’t use a single light. Make sure you are using multiple lights where you can to create dimension in the image. I like to use a main light and a kicker light. This gives a very nice look with dimension. You would be shocked at just how versatile having just two lights can be.
Fill-light reflector
The reflector is likely the most under-utilized tool in your bag. If you don’t have one, get one now. I use my reflector as much as, if not more than, any other tool in my arsenal. Why? Again, it’s easy. Not only is it easy, it’s quick. No matter where I am, I can find a sliver of light. And even on cloudy days, I can add this right under my subject to get a nice bounce of light.
This is perfect for headshots in the field. This is my number-one light source when I am on-location in open shade. Your subjects won’t be blinded, and the light will look very natural.
My preference is a silver/white reflector. I am not a fan of gold or mixed, and white is rarely powerful enough to give me the light I am looking for in open shade. Try it—I think you will love the results.
Fill-light OCF
Now, this is where things start getting a little more interesting. Sometimes, I don’t want a heavy light, I want something that is a little lighter and blends with the ambient light in the scene. This is where you might want to use your OCF for just some subtle fill. What does that mean? It means that, other than a trained professional, no one should really be able to tell that flash was used. The color should balance with the scene, and the shadows should be very subtle.
I like to use this on an overcast day when my couple has dark circles under their eyes. The right pop of light can make the difference between a crappy-looking image and one that just feels right.
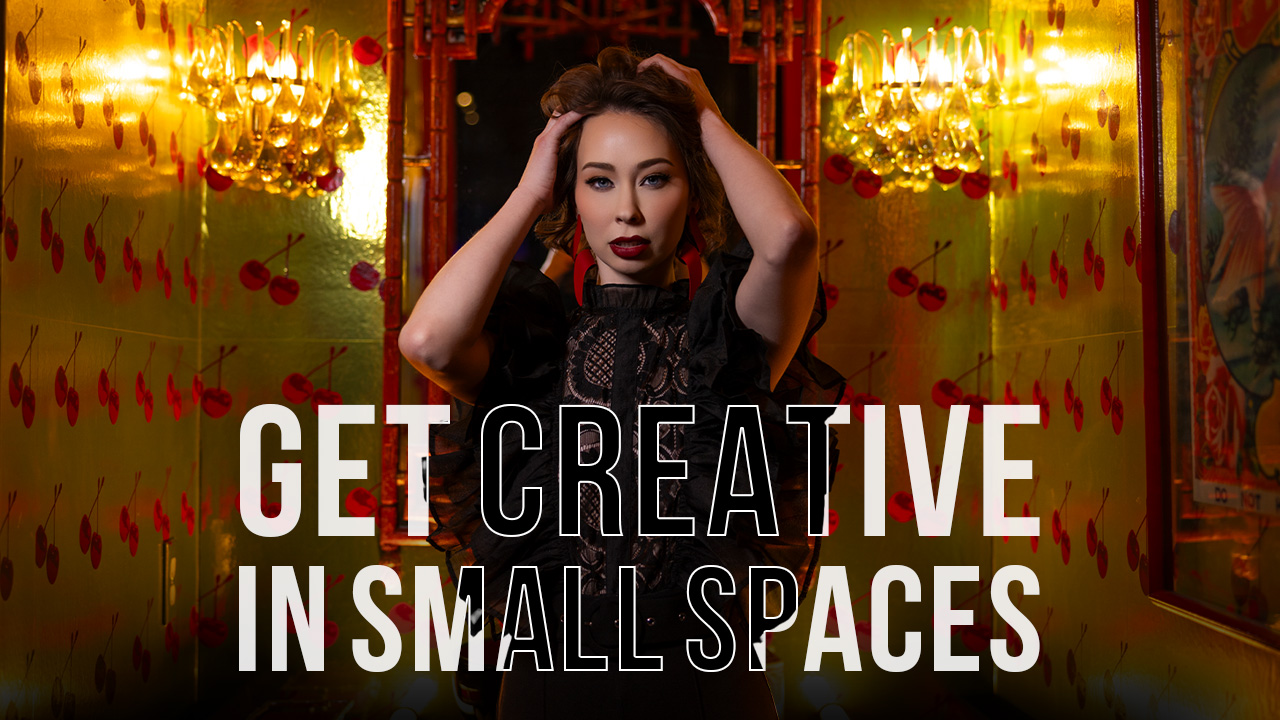
Dramatic lighting
This is where the fun really begins for me. I love a dark and dramatic look. My goal is to create something cinematic for my clients. In addition, I want to create something that no one else can do. This is a much harder shot. You are trying to overpower the sun with your flash. You want to darken the scene overall and use flash to illuminate your clients.
Think of this in two parts. Take your test shot without using flash. The sky should be a deep, dark blue, and the overall scene should be damn near black. Your subject will also be super dark. Then, once the scene looks the way you want, add light. This is where you will use flash to throw light on your subject and make them pop out from the scene.
My inspiration from this comes from many trips to art museums. If you look at paintings from different periods, the artists use light and dark to drive you through the frame. In addition, they use color very intelligently for the same effect.
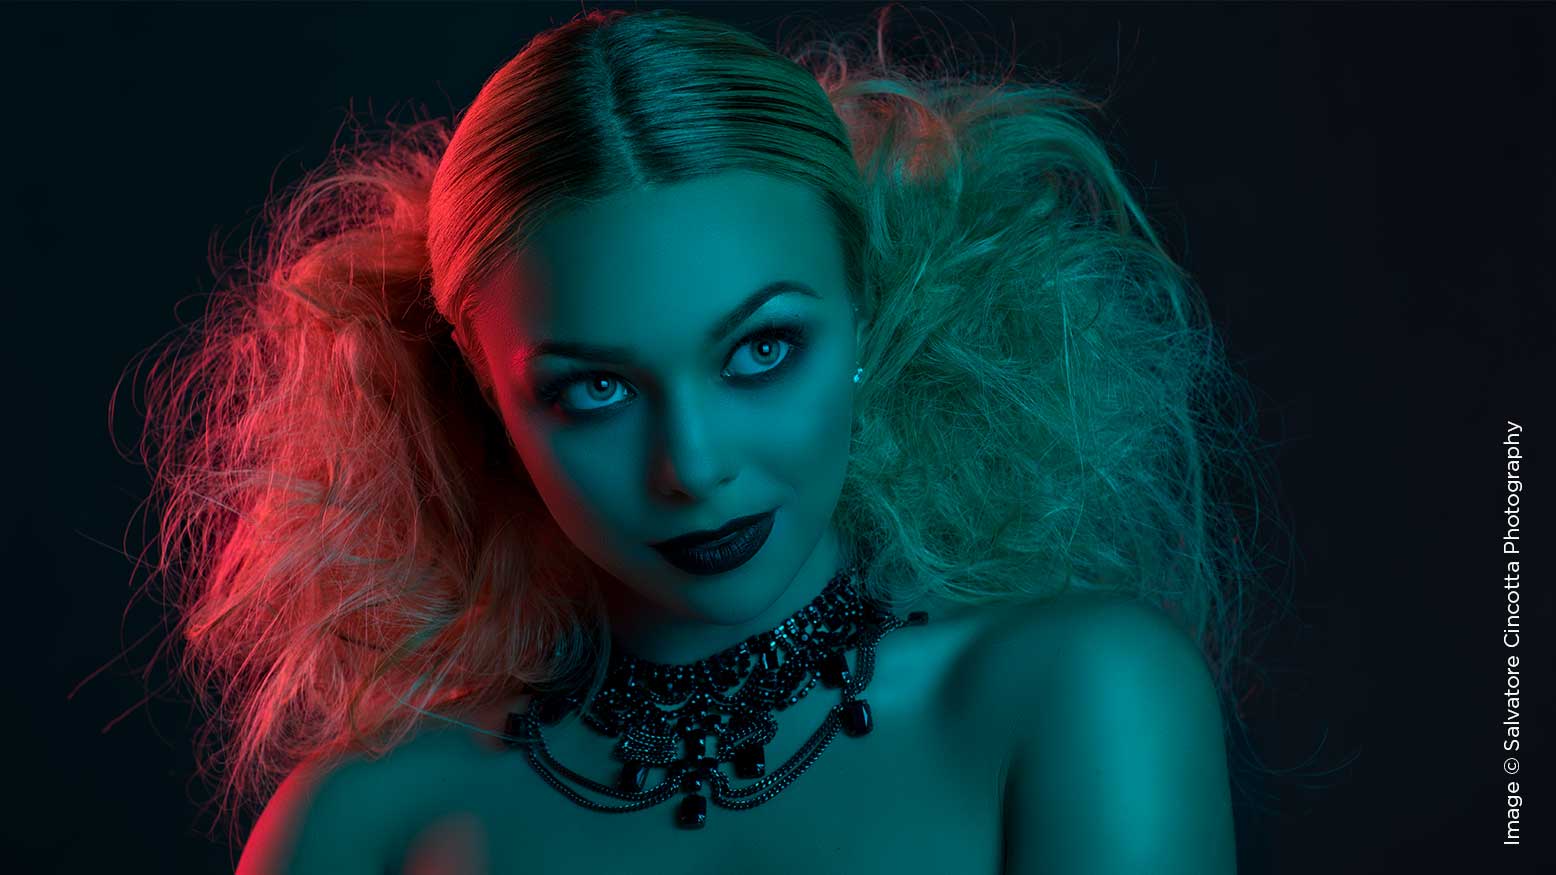
Gels
Gels are just fun. In the beginning, I was very intimidated by gels. Trying to make sense of them was overwhelming. Today, they’re just another tool in the bag. They can be used creatively or correctively. So, how do I use them? Well, it depends. There is no right or wrong answer here. It really is about the goal of the image you are creating.
In a corrective situation, you are trying to balance light with the scene. In a creative situation, you are using colors to create a unique piece of art. Word to the wise: Don’t overdo it. I love gels, but I am only willing to create a few frames with them. You never know what the client will want or like on their walls. Sure, on a commercial project, gels might be exactly what is called for. However, with weddings or portraits, you might find that one or two is all you need.
Have fun, and experiment.