
Environmental Portraits with Dan Brouillette
One of my favorite aspects of portrait photography is taking my lighting gear outside the studio and photographing people in their unique environments. Every location poses different challenges, but the results can be great when you get outside your comfort zone and work with a purpose. In this article, I will explain my creative thought process and cover the technical details I encounter when creating environmental portraits.
One of the first things I think about before shooting on location is what mood I’m going for with the particular subject. If you have time, I would recommend scouting the location, as it will help you visualize, but do not get too caught up in envisioning a final image. In my opinion, it’s best to let the shoot happen naturally and take what the location and subject give you. These variables will guide you, and the images will usually turn out more interesting than if you try to control everything from the start. Preparation is still a big factor in coming away with great shots, but once you’re on the shoot, just let it happen.
When it comes to photo gear, I use a Nikon D850 and typically carry three lenses in my bag. These lenses are the Nikon 70-200/2.8, 24-70/2.8 and 50/1.4. They cover the full range and give me options during the shoot. As for lighting, I use Profoto B10 strobes—I love using hard light, so the modifiers I carry are the magnum reflector, the 7” reflector with grids, the collapsible beauty dish, and a few Photek Softlighter umbrellas (36”, 46” and 60”) that I use for fill light. I keep my kit fairly simple and round it out with a few Matthews C-stands and some white and silver fill cards and flags to control light.
All artists have different mindsets and goals within their work. For me, I want my work to ask questions or cause the viewer to raise their own. I don’t want to give all the information. That’s where the cinematic qualities come in within the portraits. I strive for a sense of oddness and leave out context to let the viewer fill in the blanks. To do this from a technical standpoint, I enjoy lighting in a way that is just beyond what is natural without feeling over-lit and too perfect. I want a bit of grit. I will share a few techniques I use to get these results.
The first thing I do when I am selecting lighting is think about how bright I want the overall image. This will be my level of fill. To create this, I usually set up my Photek umbrellas and give the location even light. When working outdoors, you can adjust the amount of ambient light being let into the camera by using your shutter, aperture and ISO. If you are in a tight space, it is sometimes helpful to just bounce light into the far corners and let it fill the room to the level you prefer. I tend to shoot tethered to a monitor, which helps me adjust on the fly and get an idea of the overall image. Tethering during setup also gives me confidence so that when I am finally focused in and working with the subject, I know that the technical details have been worked out and I can give my full attention to the subject.
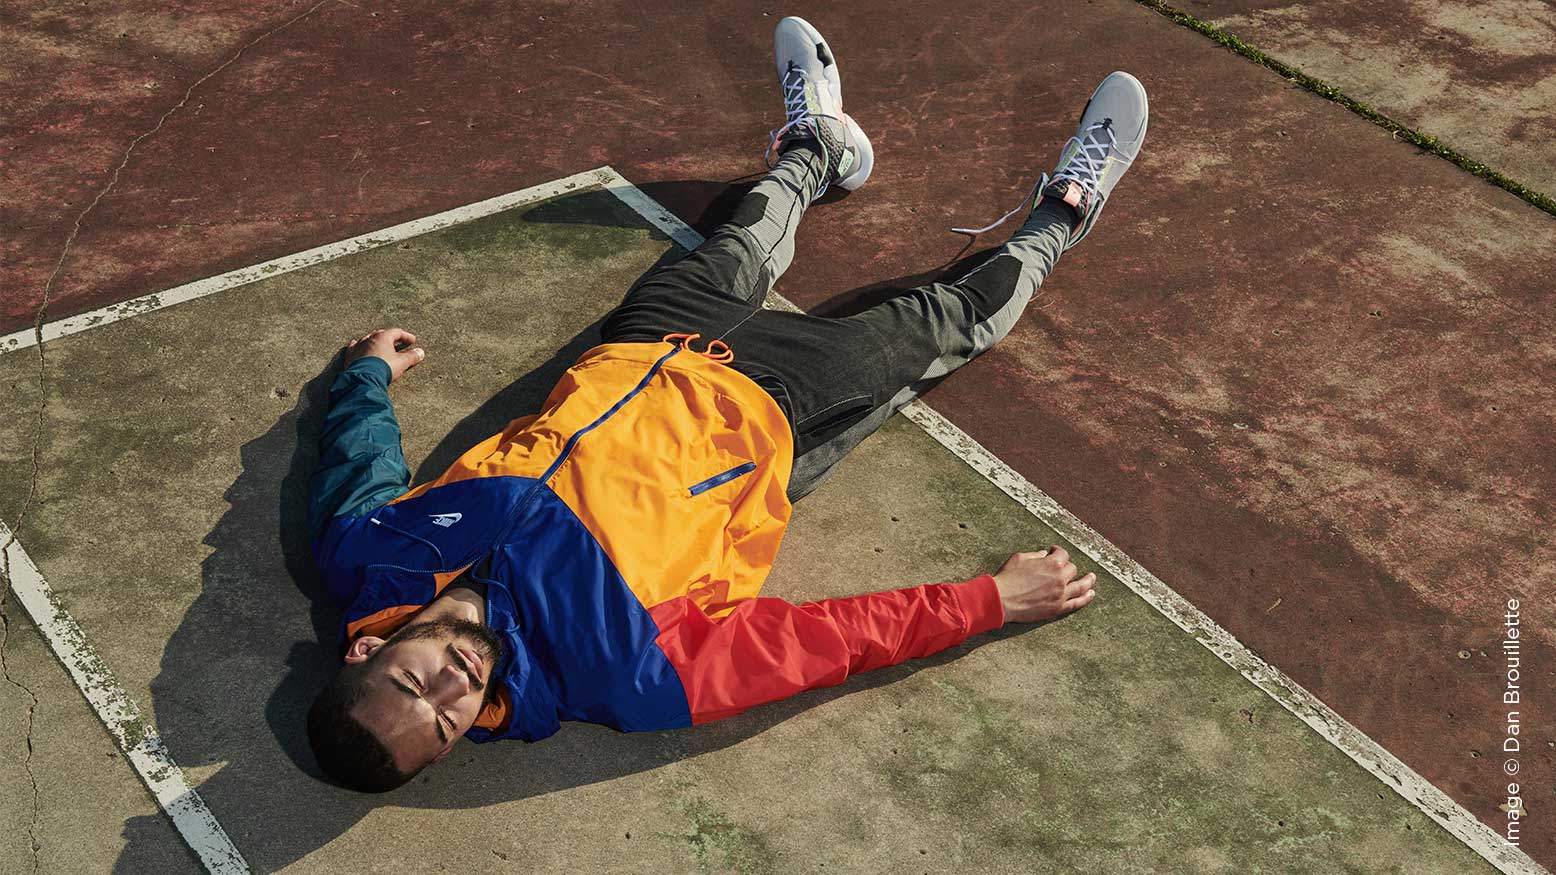
Next, I select my main light source. I worked with Dan Winters a couple years ago and he used the phrase “style vs. sensibility.” As a photographer, you have your style. It might be your color grading, editing, lens choice, etc. This is how you generate YOUR look. Sensibility, on the other hand, is how you adapt your vision to any situation. When selecting a main light, I consider the subject (age, gender, activity, clothing, etc.) and let that guide me. For example, if I am photographing an athlete, I might mimic the stadium lighting, which would call for hard light that is placed far from the subject. If I am photographing an older woman in her kitchen, I might mimic sunlight peeking in through the window and place a magnum reflector out in the yard. These are just a couple examples of my thought process.
The most important aspects of my lighting are not the lights or the modifiers but how I use them. I have been using studio strobes for over 15 years, and while I used to just blast the light right at the subject, I now use a much more nuanced approach. I tend to consider where I don’t want light as much as where I do. I rarely aim my lights directly at the subject but rather feather lighting up or away so they are just getting brushed with it in more subtle ways. I also mentioned that I place my lights far from the subject. This helps prevent the light from falling off too quickly and provides more even lighting.
When it comes to lighting on location, the basic things to remember are to slow down, allow your resources (subject, location, etc.) to guide you, and have a “Plan A”, but block yourself from letting “Plan B” happen, as that is where you’ll find the best photos.


