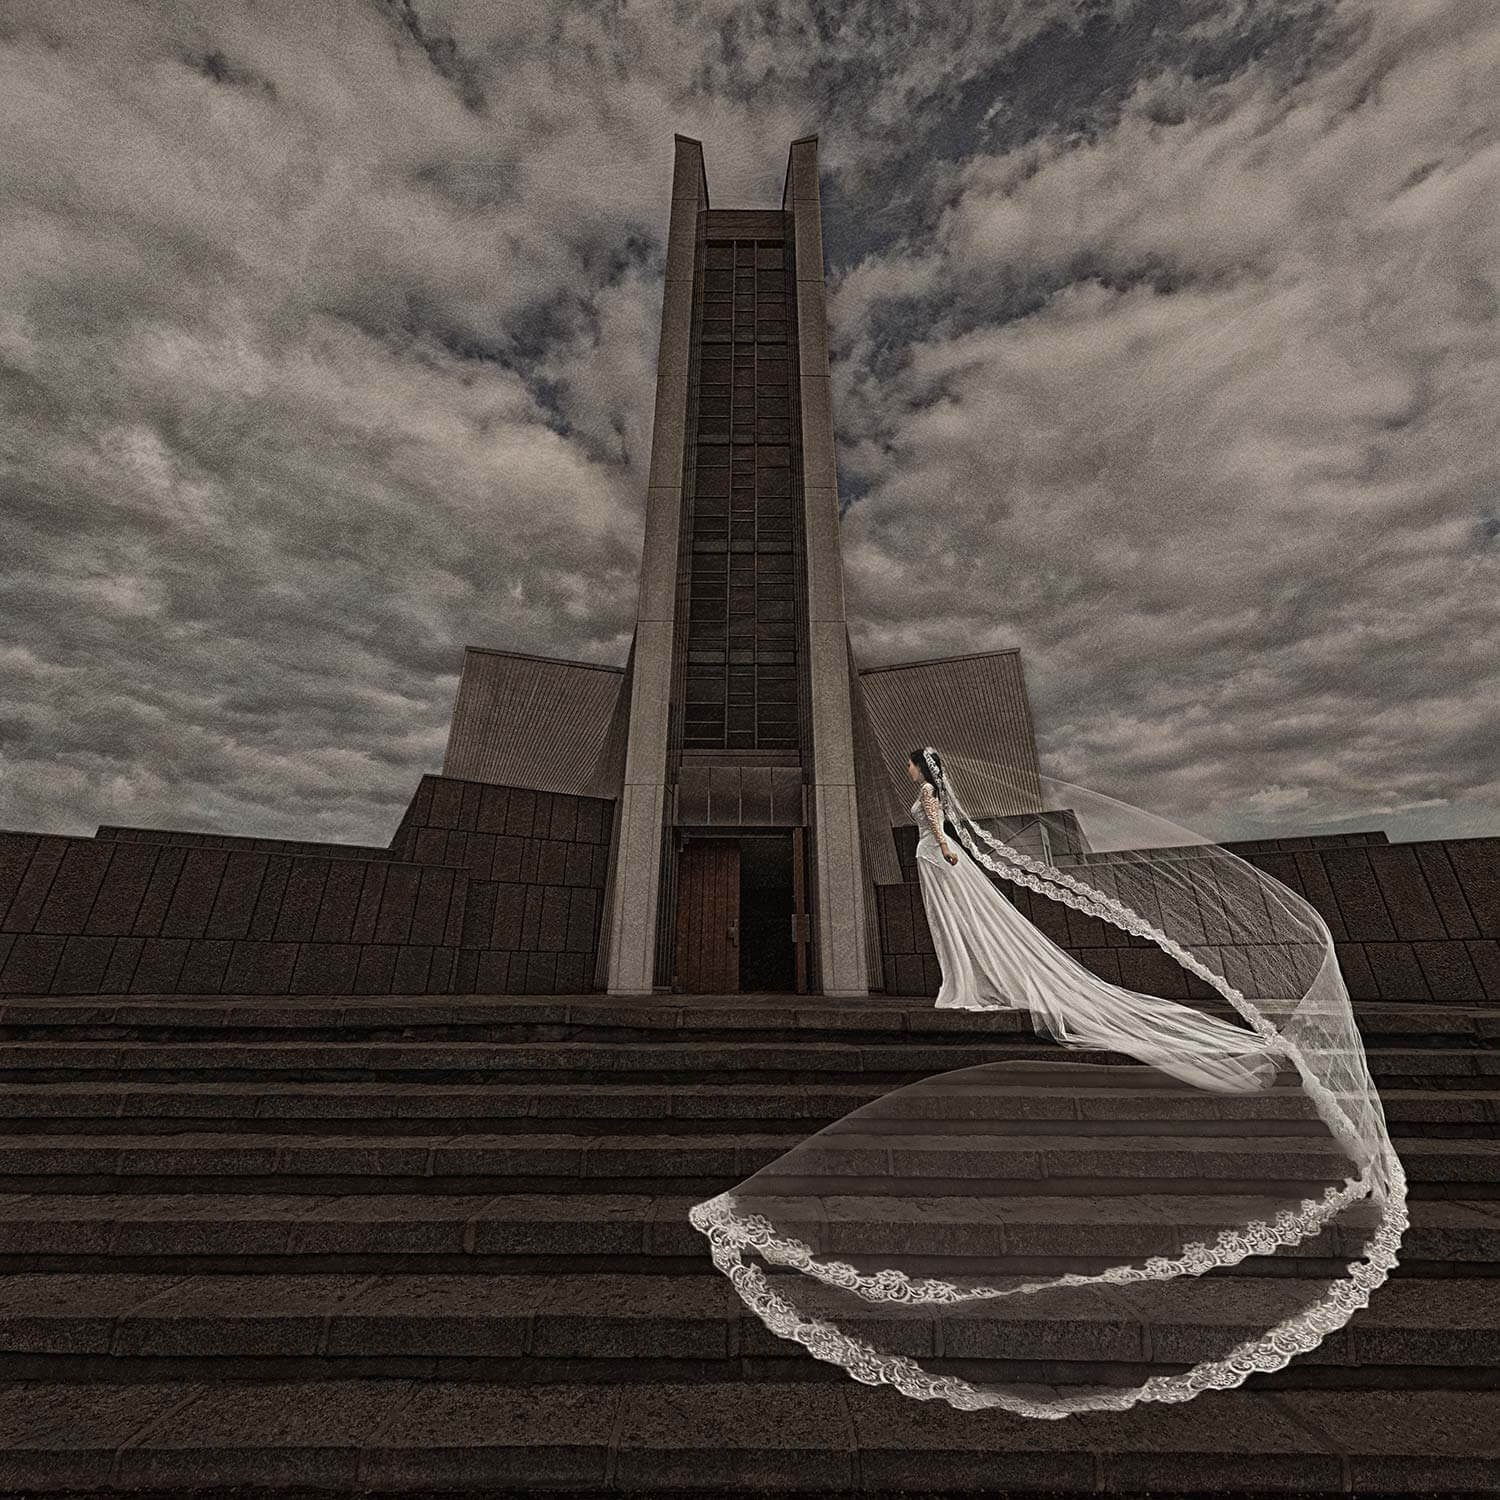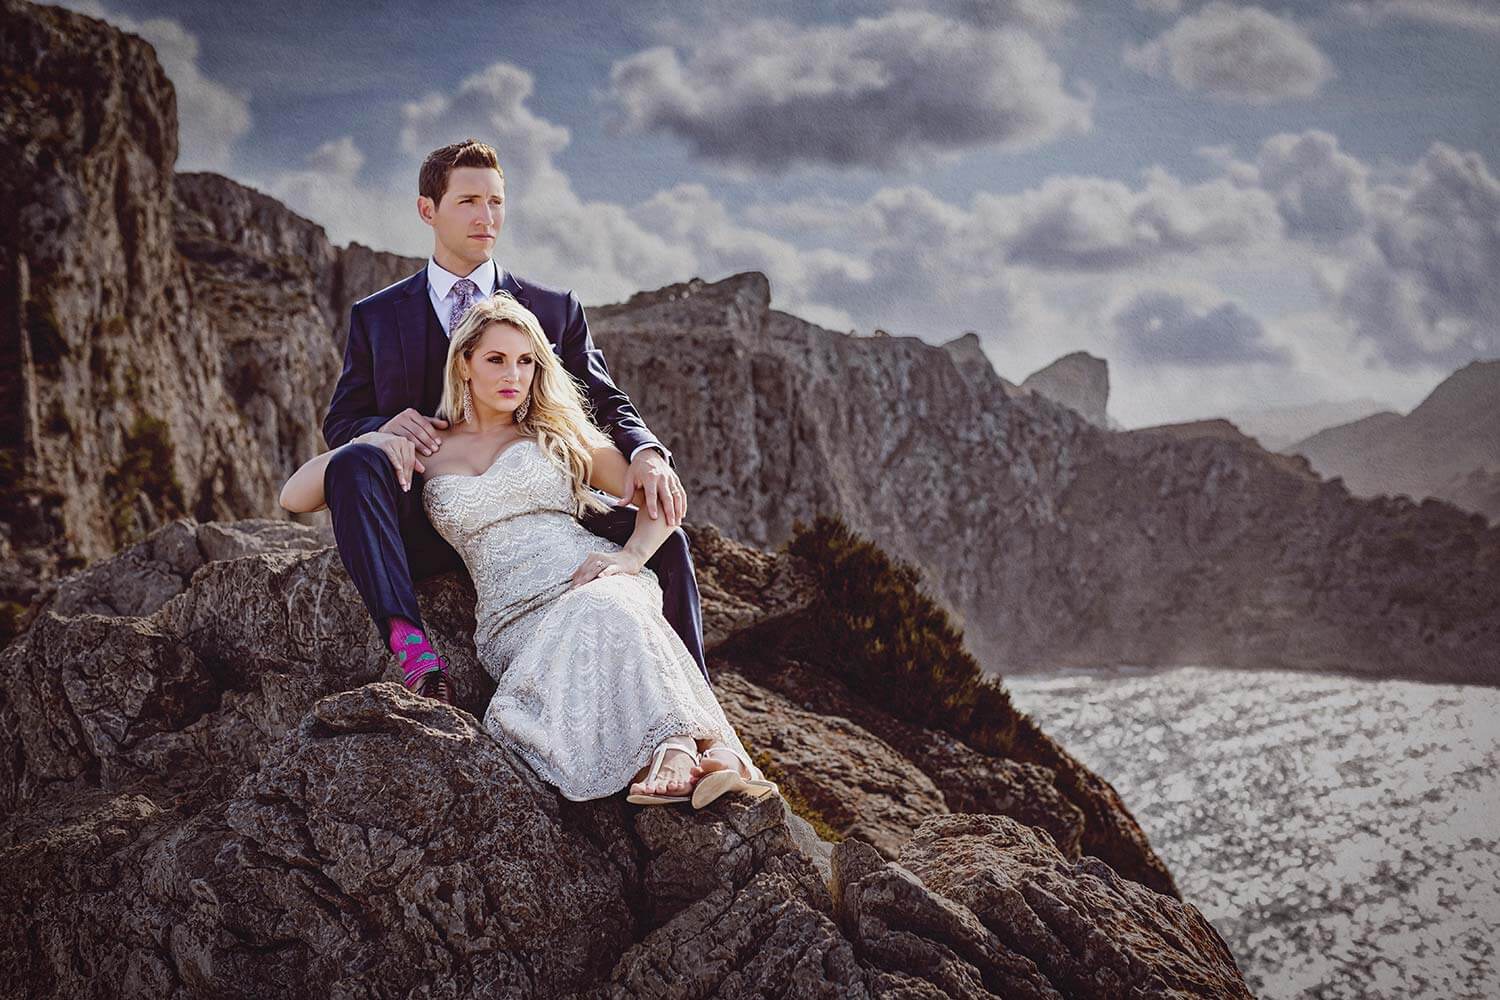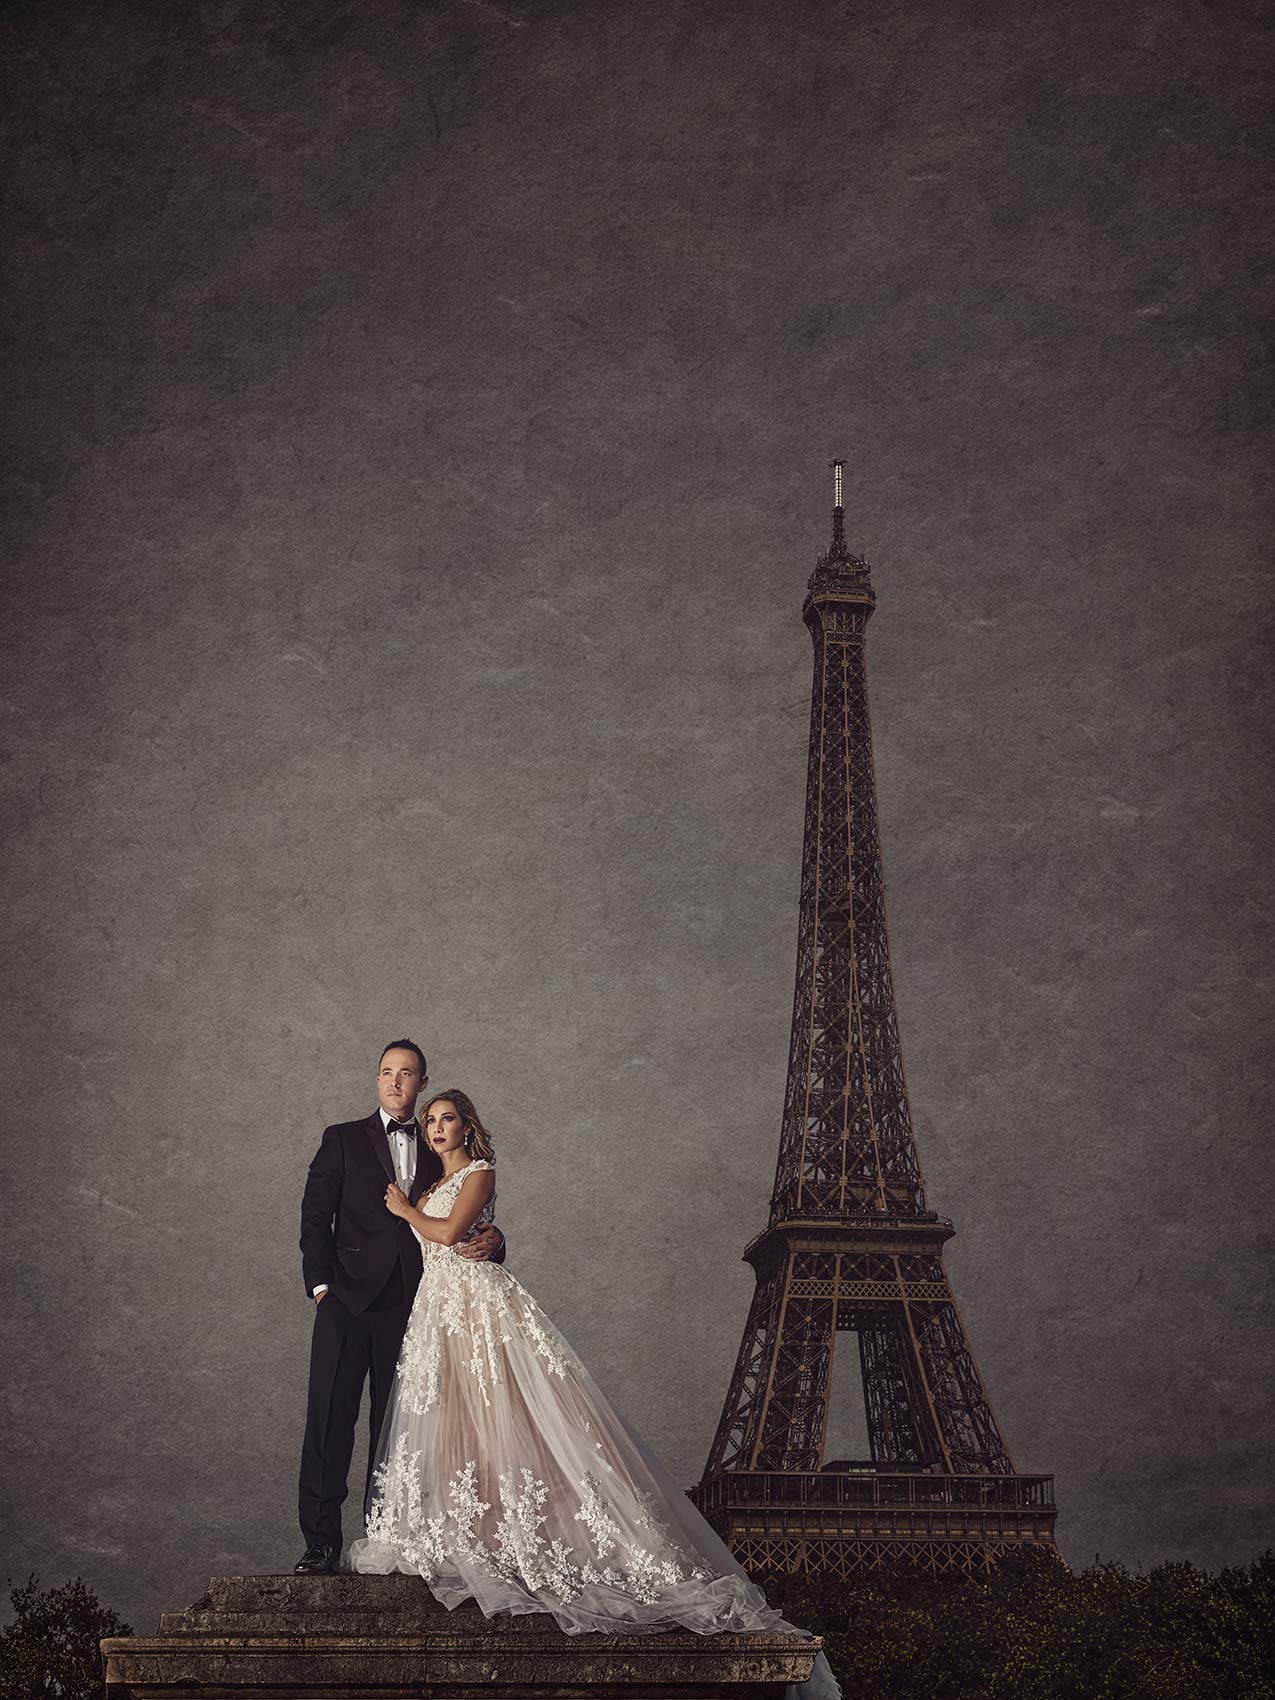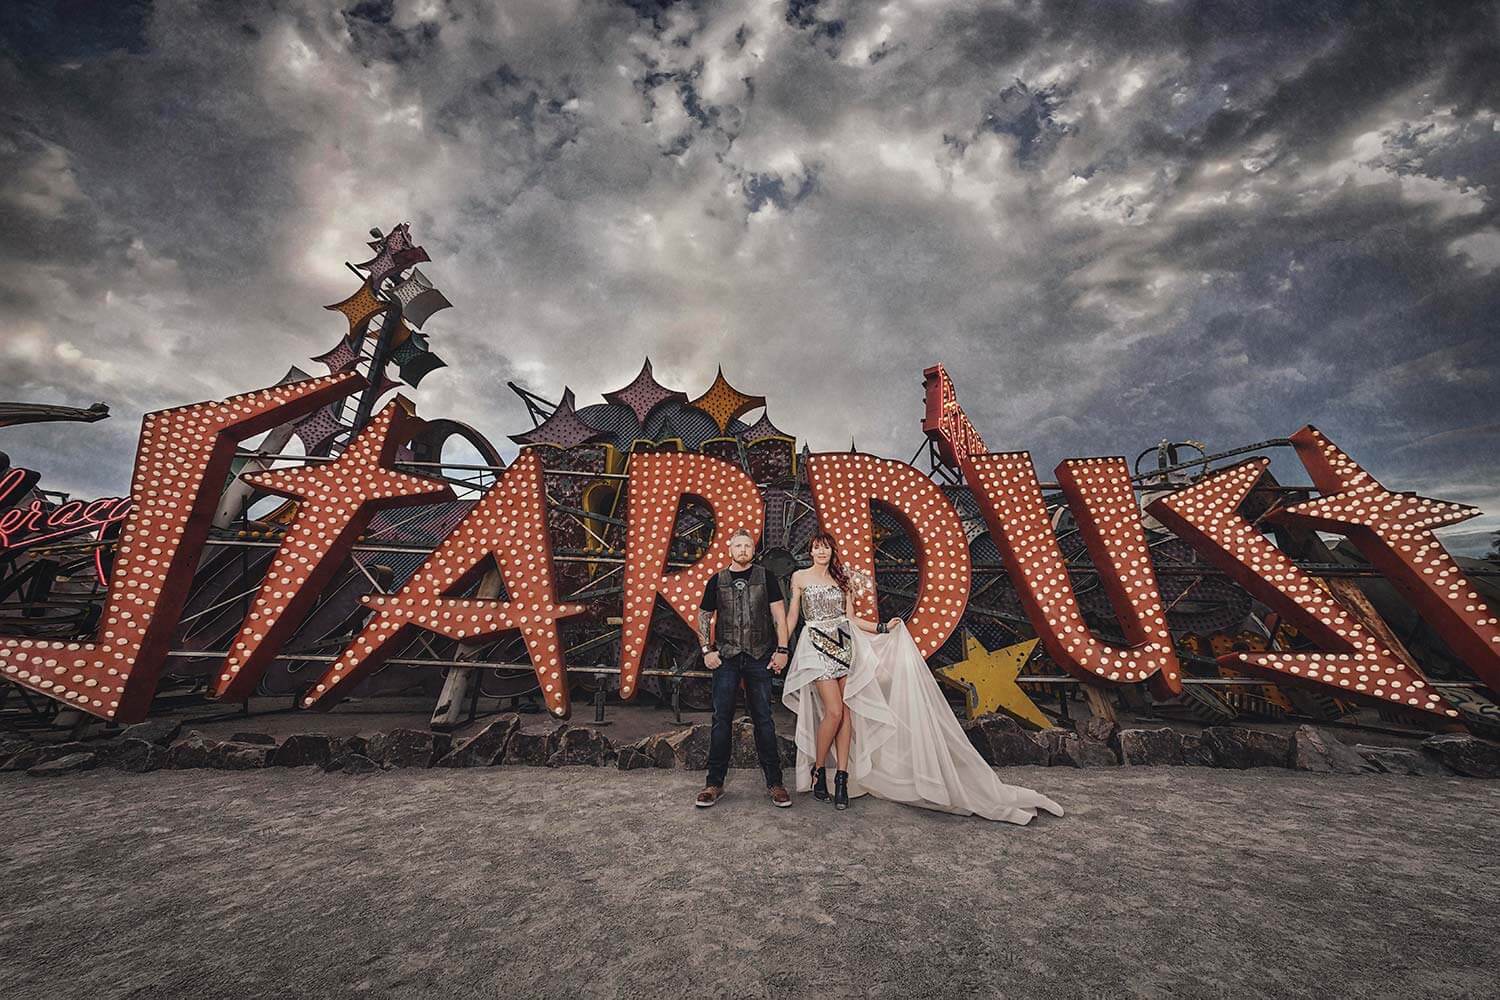

The Don’ts of Destination Photo Shoots
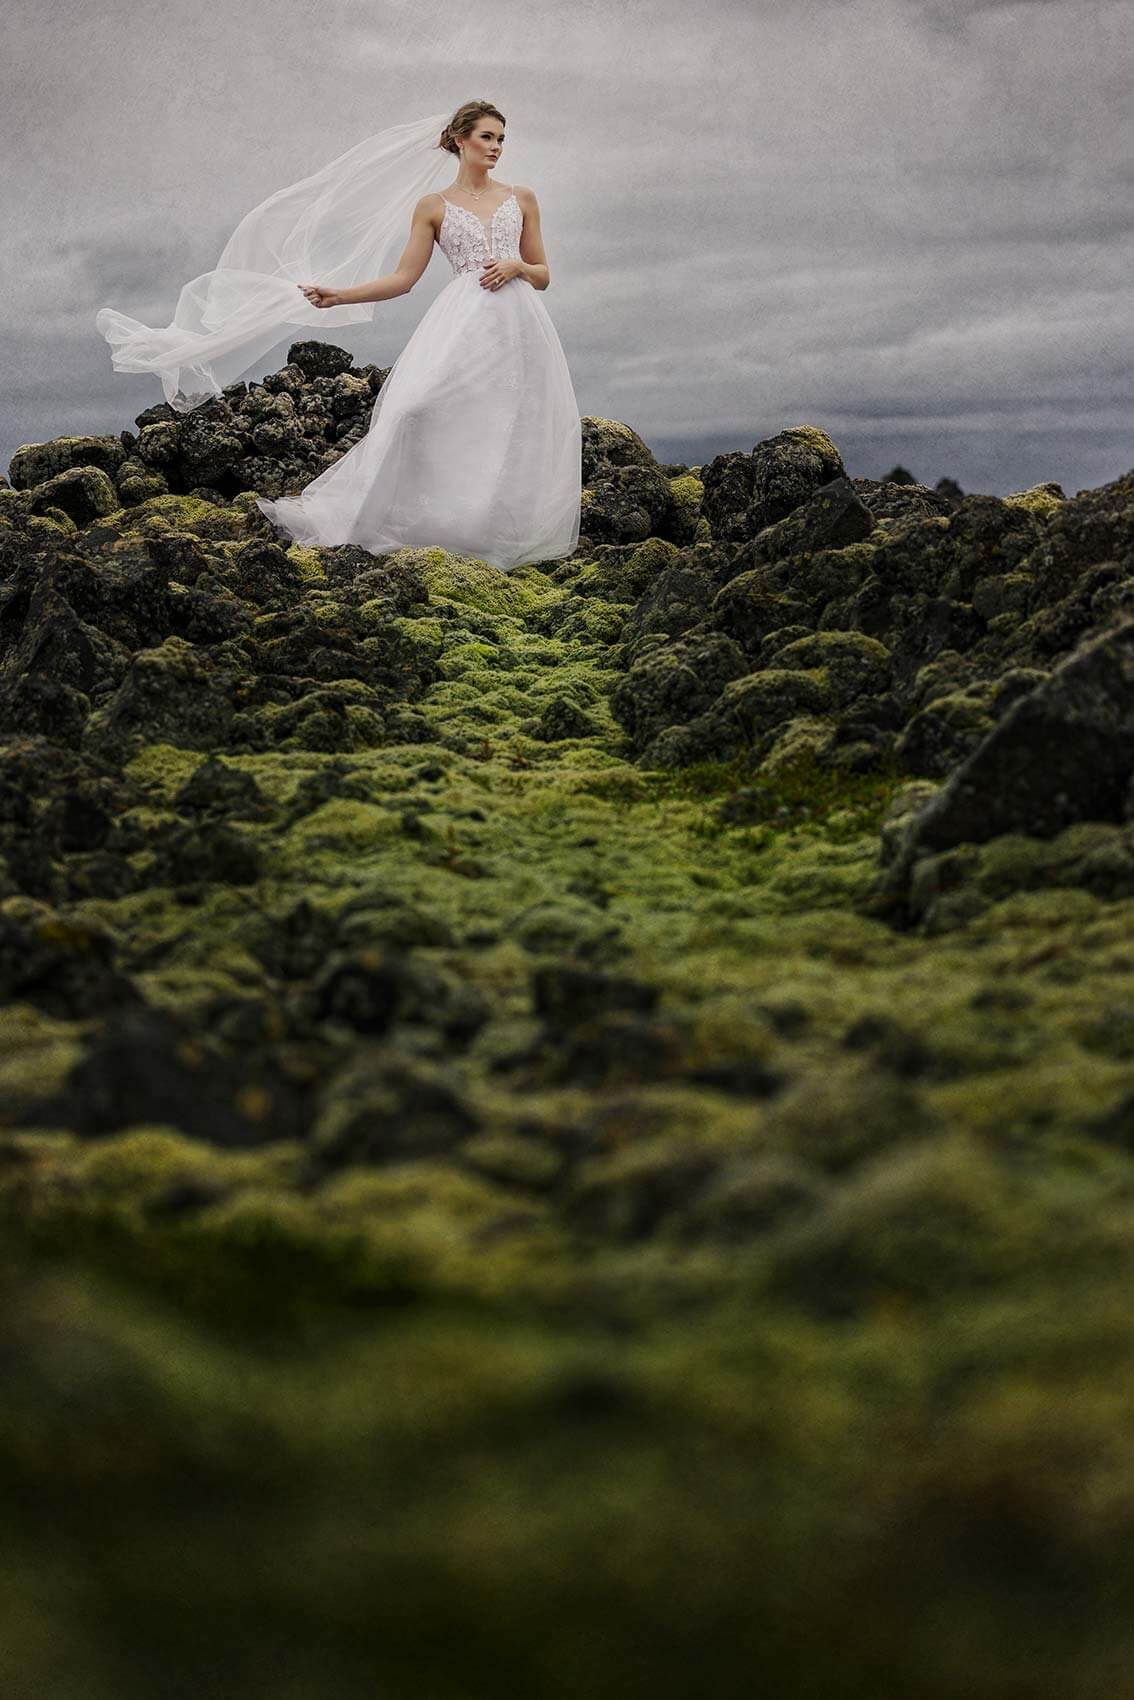
Planning a destination photo shoot can be extremely stressful, whether it’s a bridal session, a portfolio shoot or wedding. The devil is always in the details, and those details are even more important when you factor in the out-of-town and out-of-comfort-zone elements that go into planning these shoots.