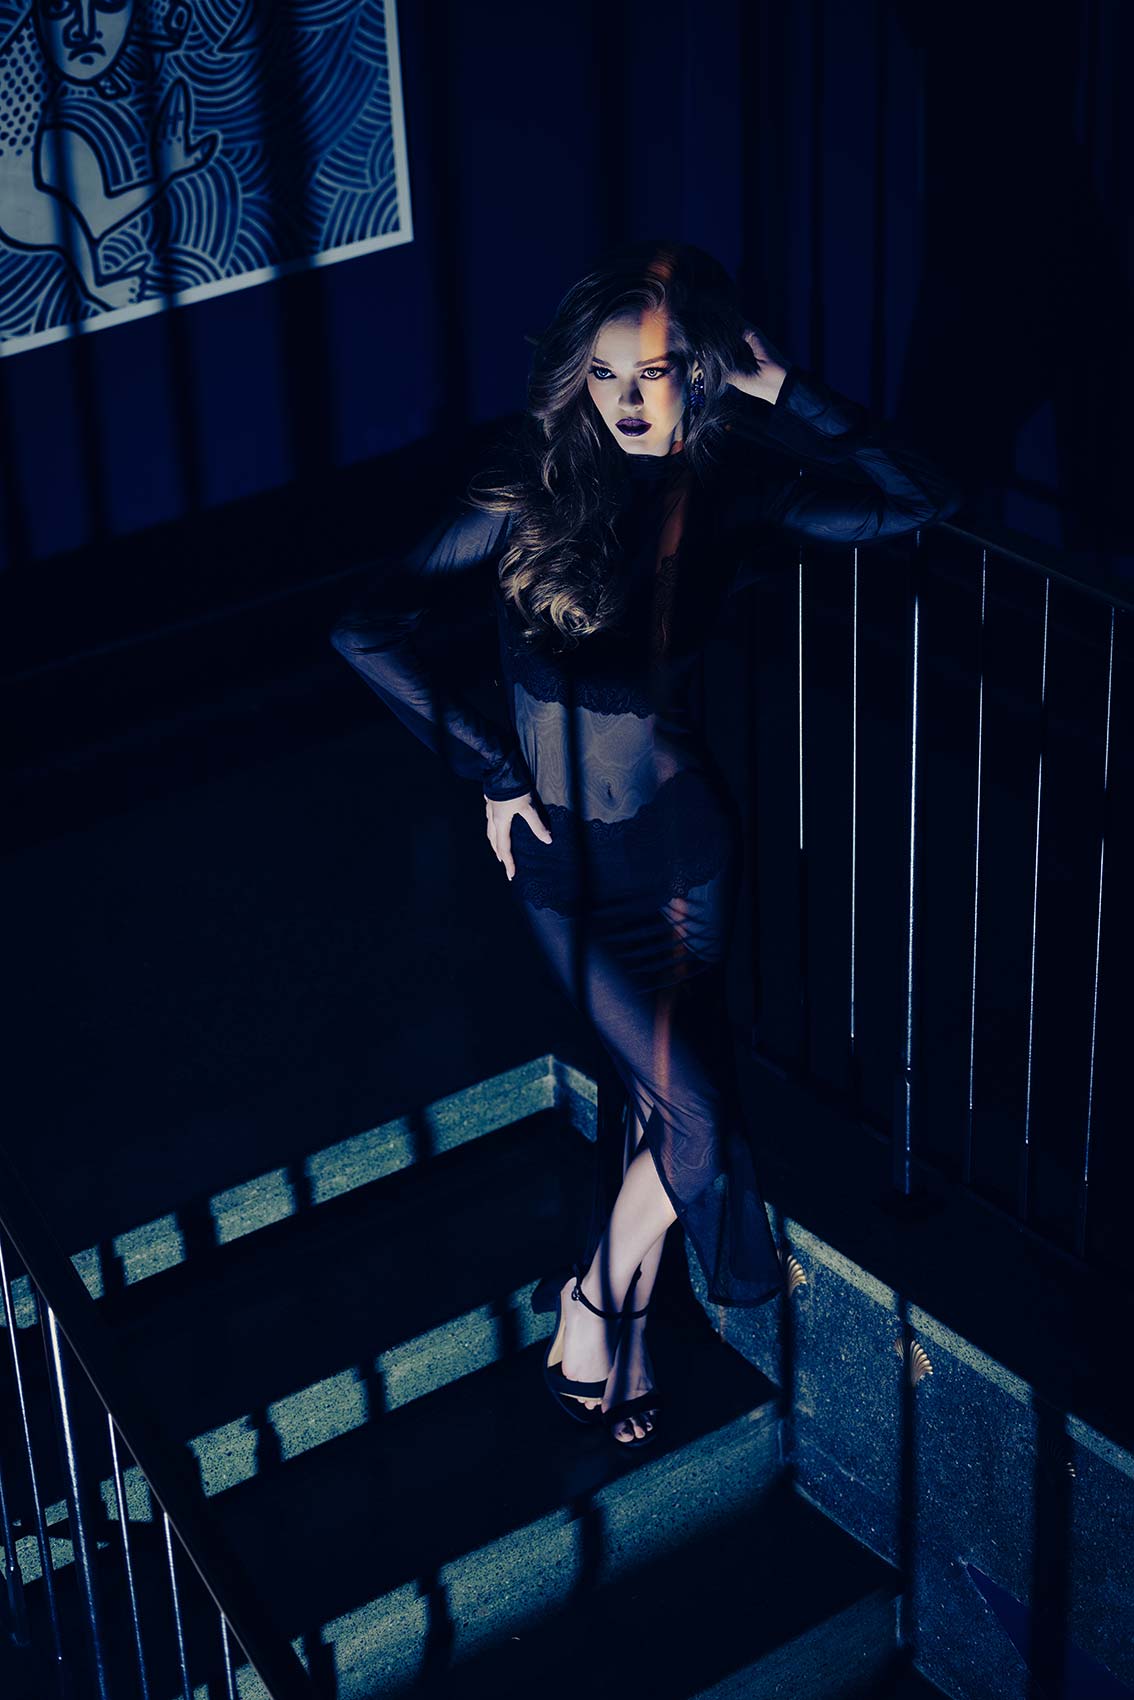
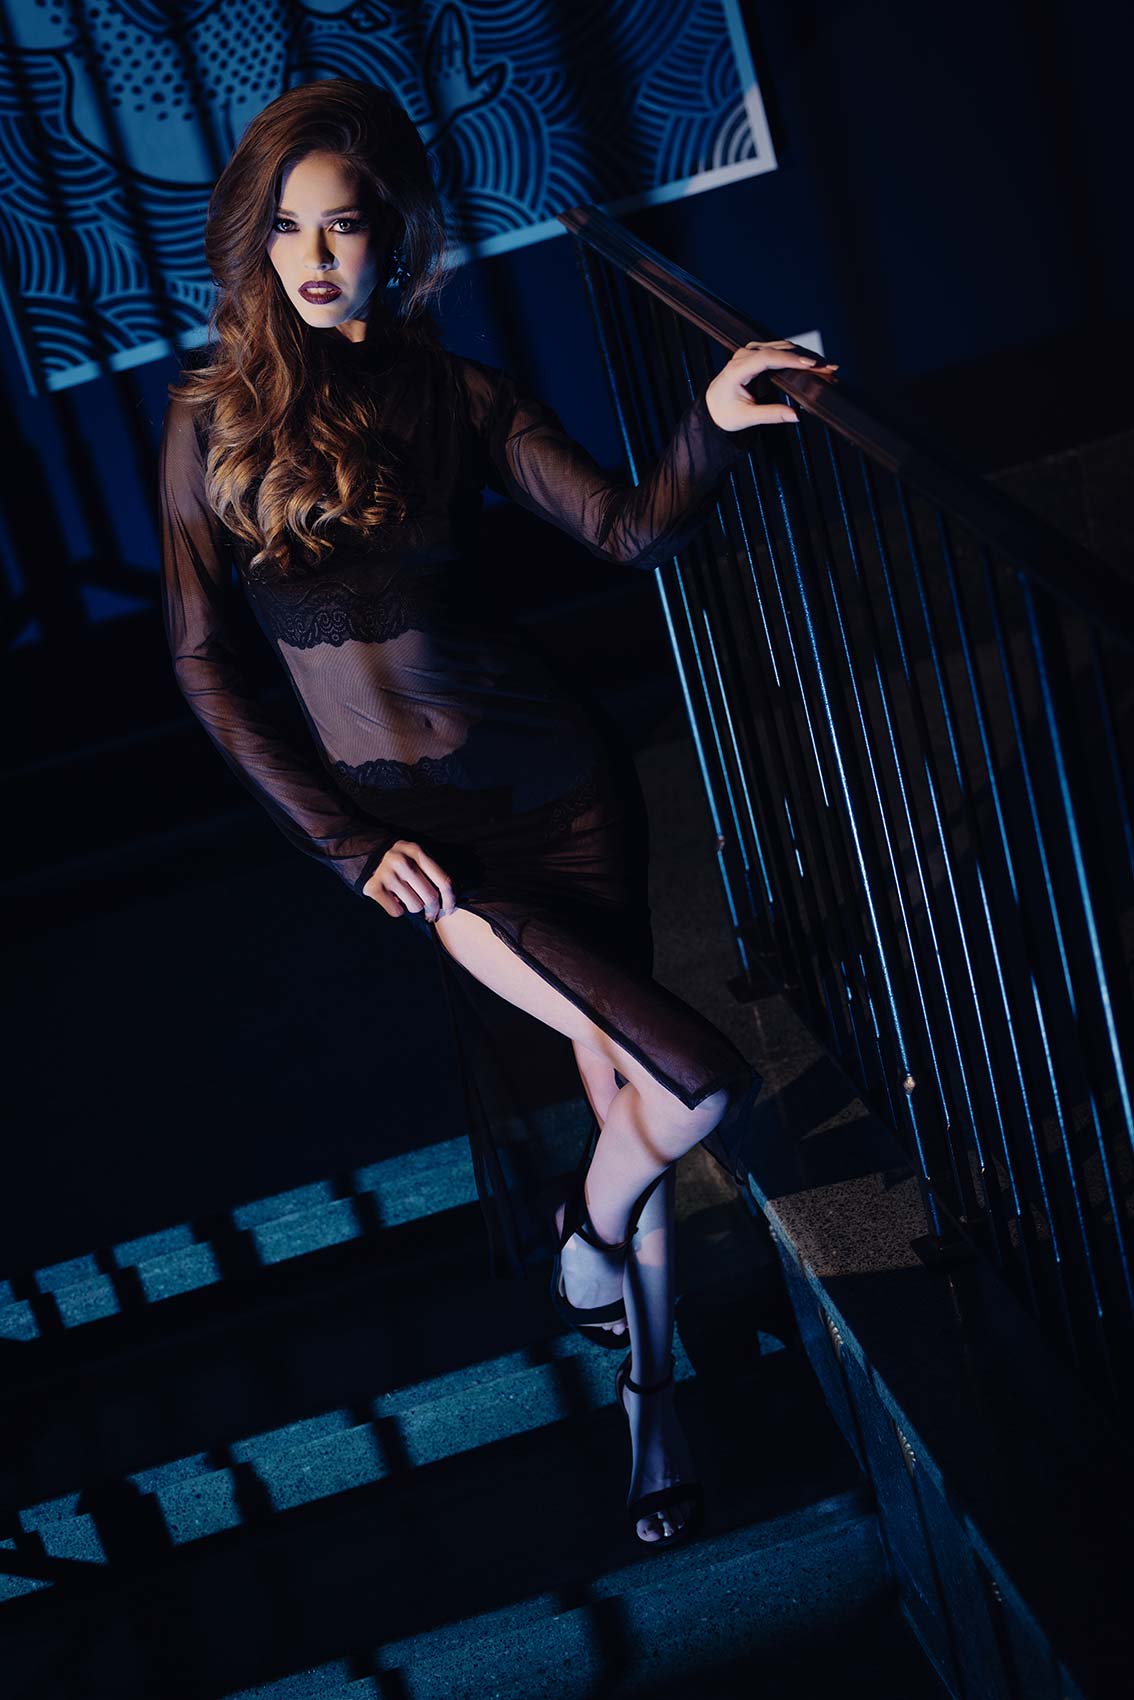
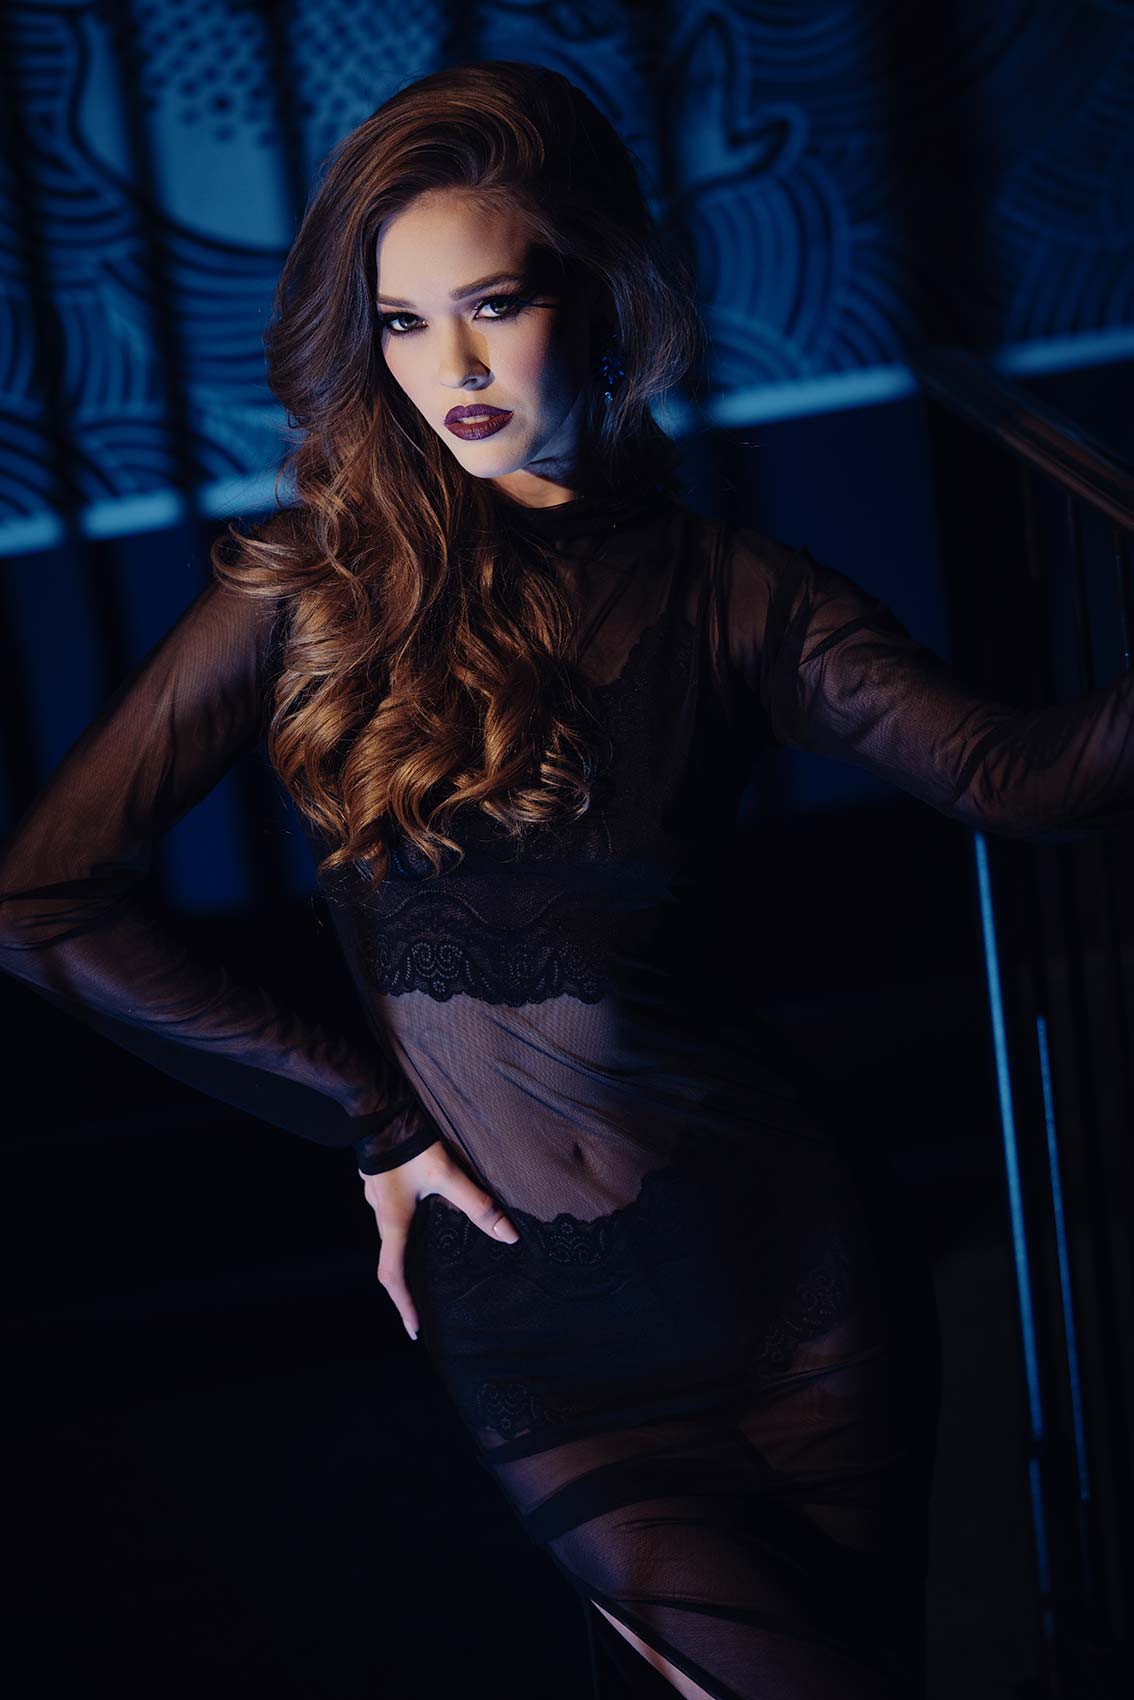
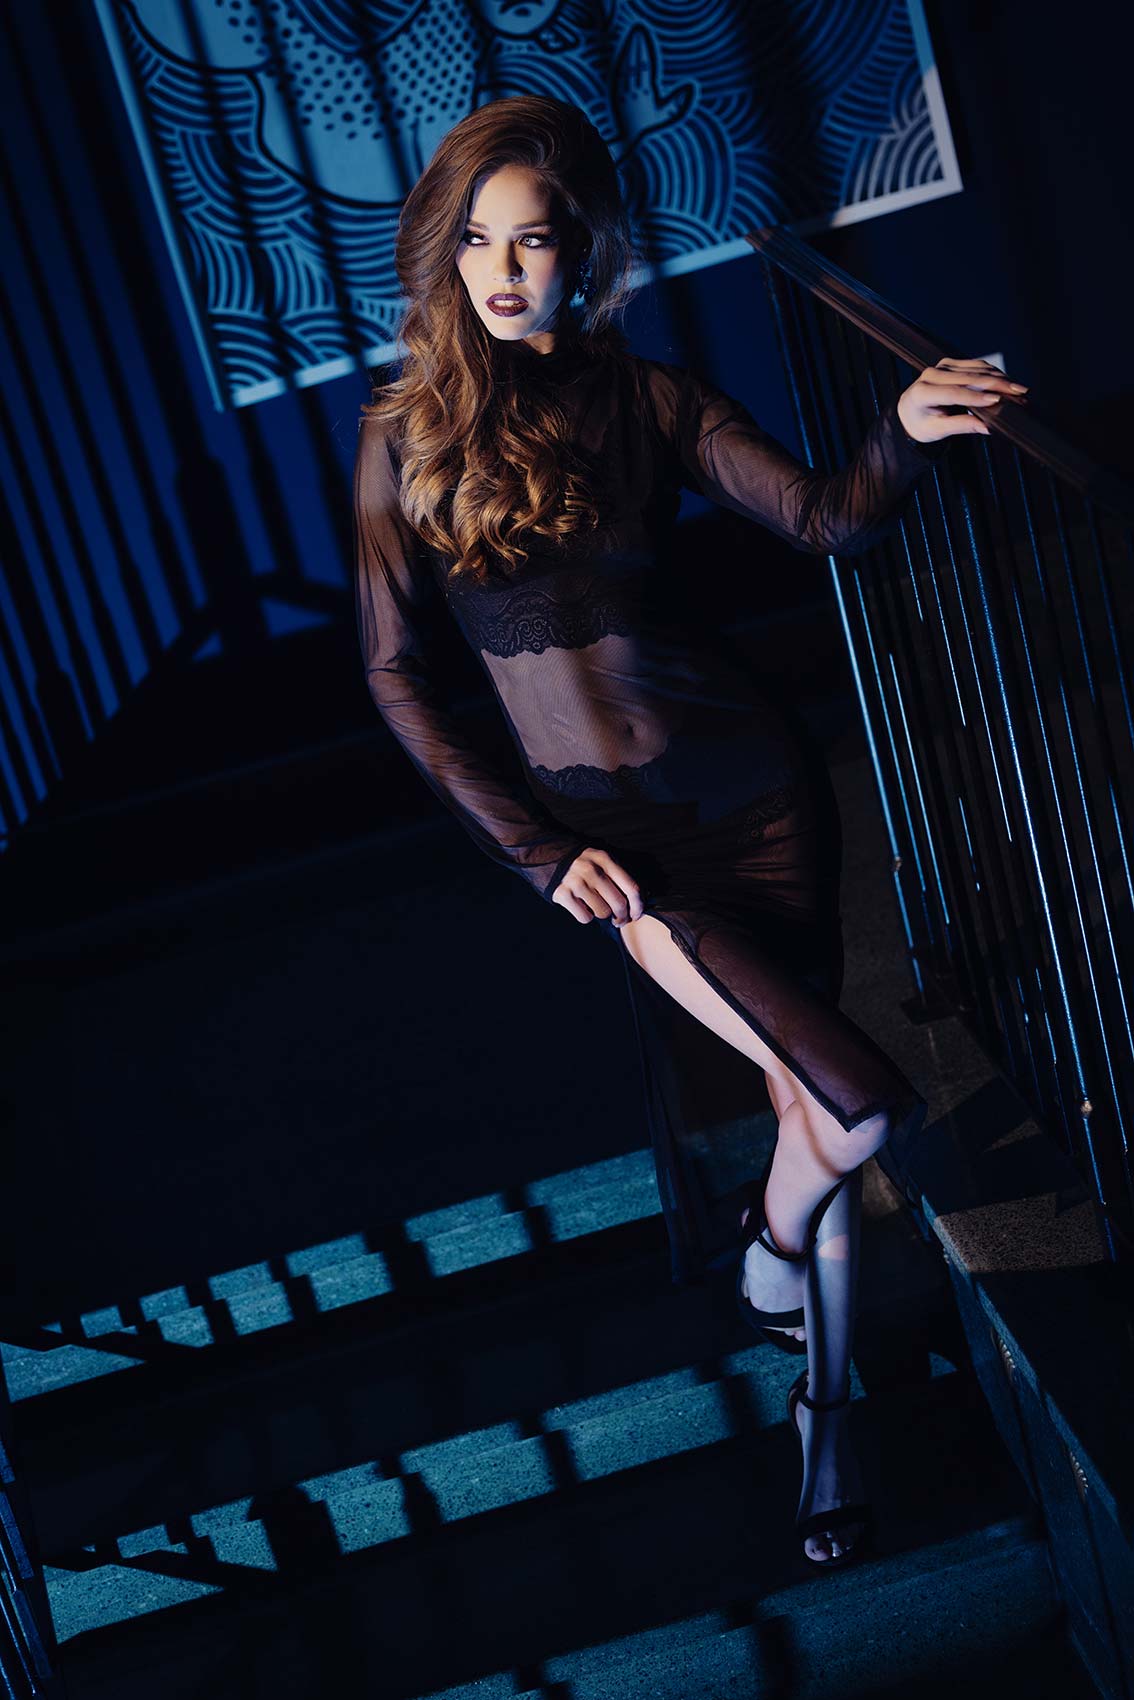
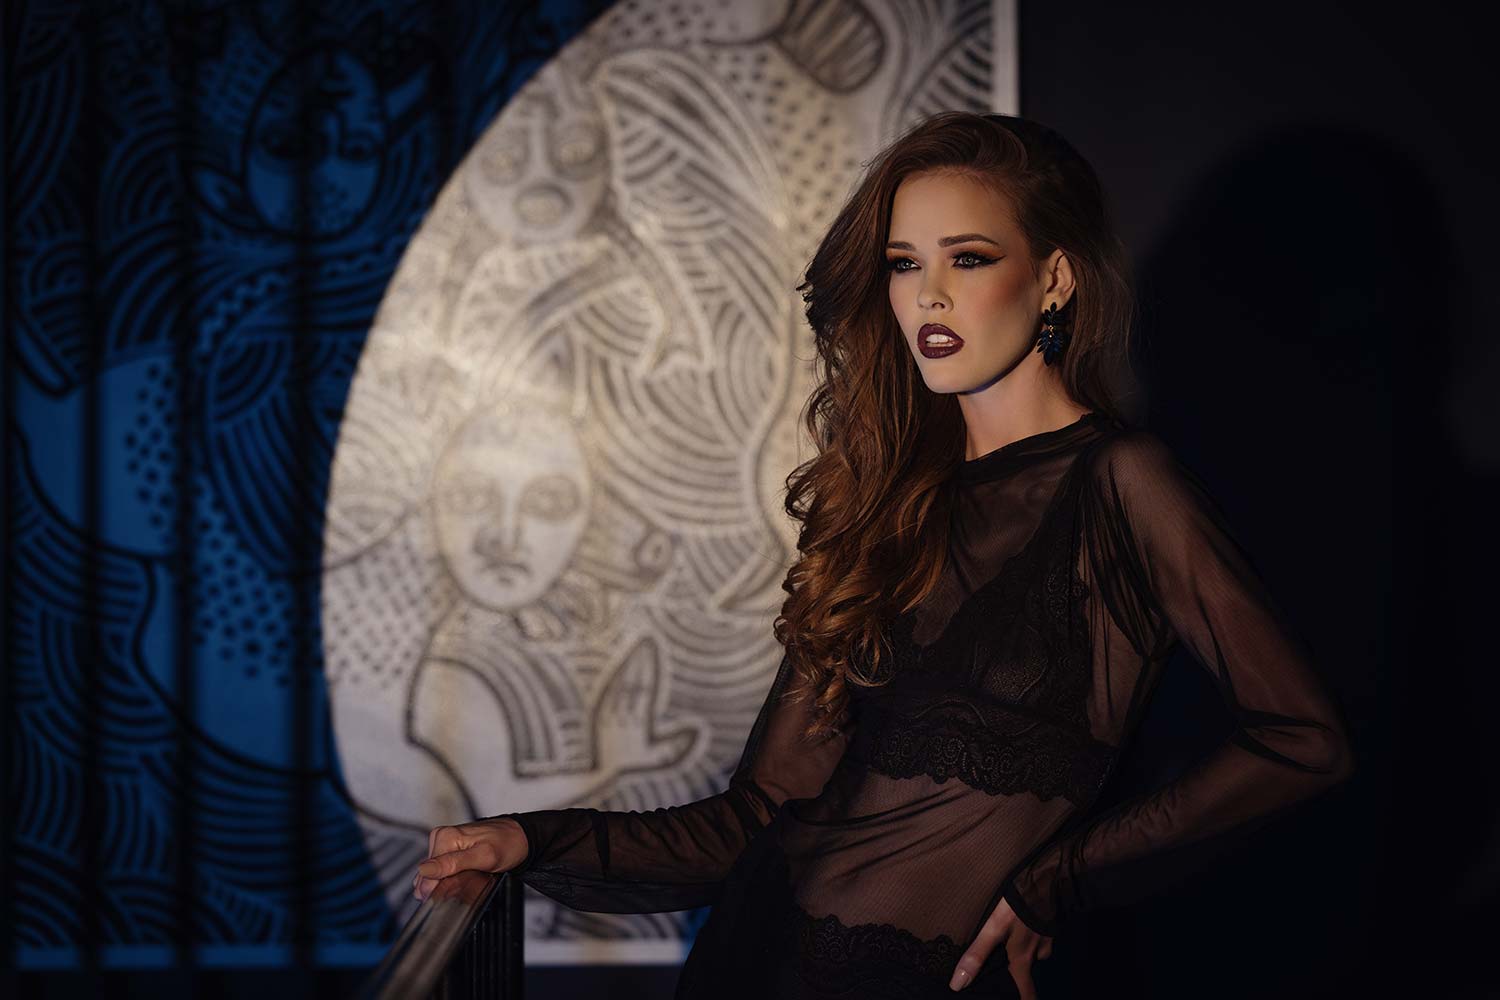
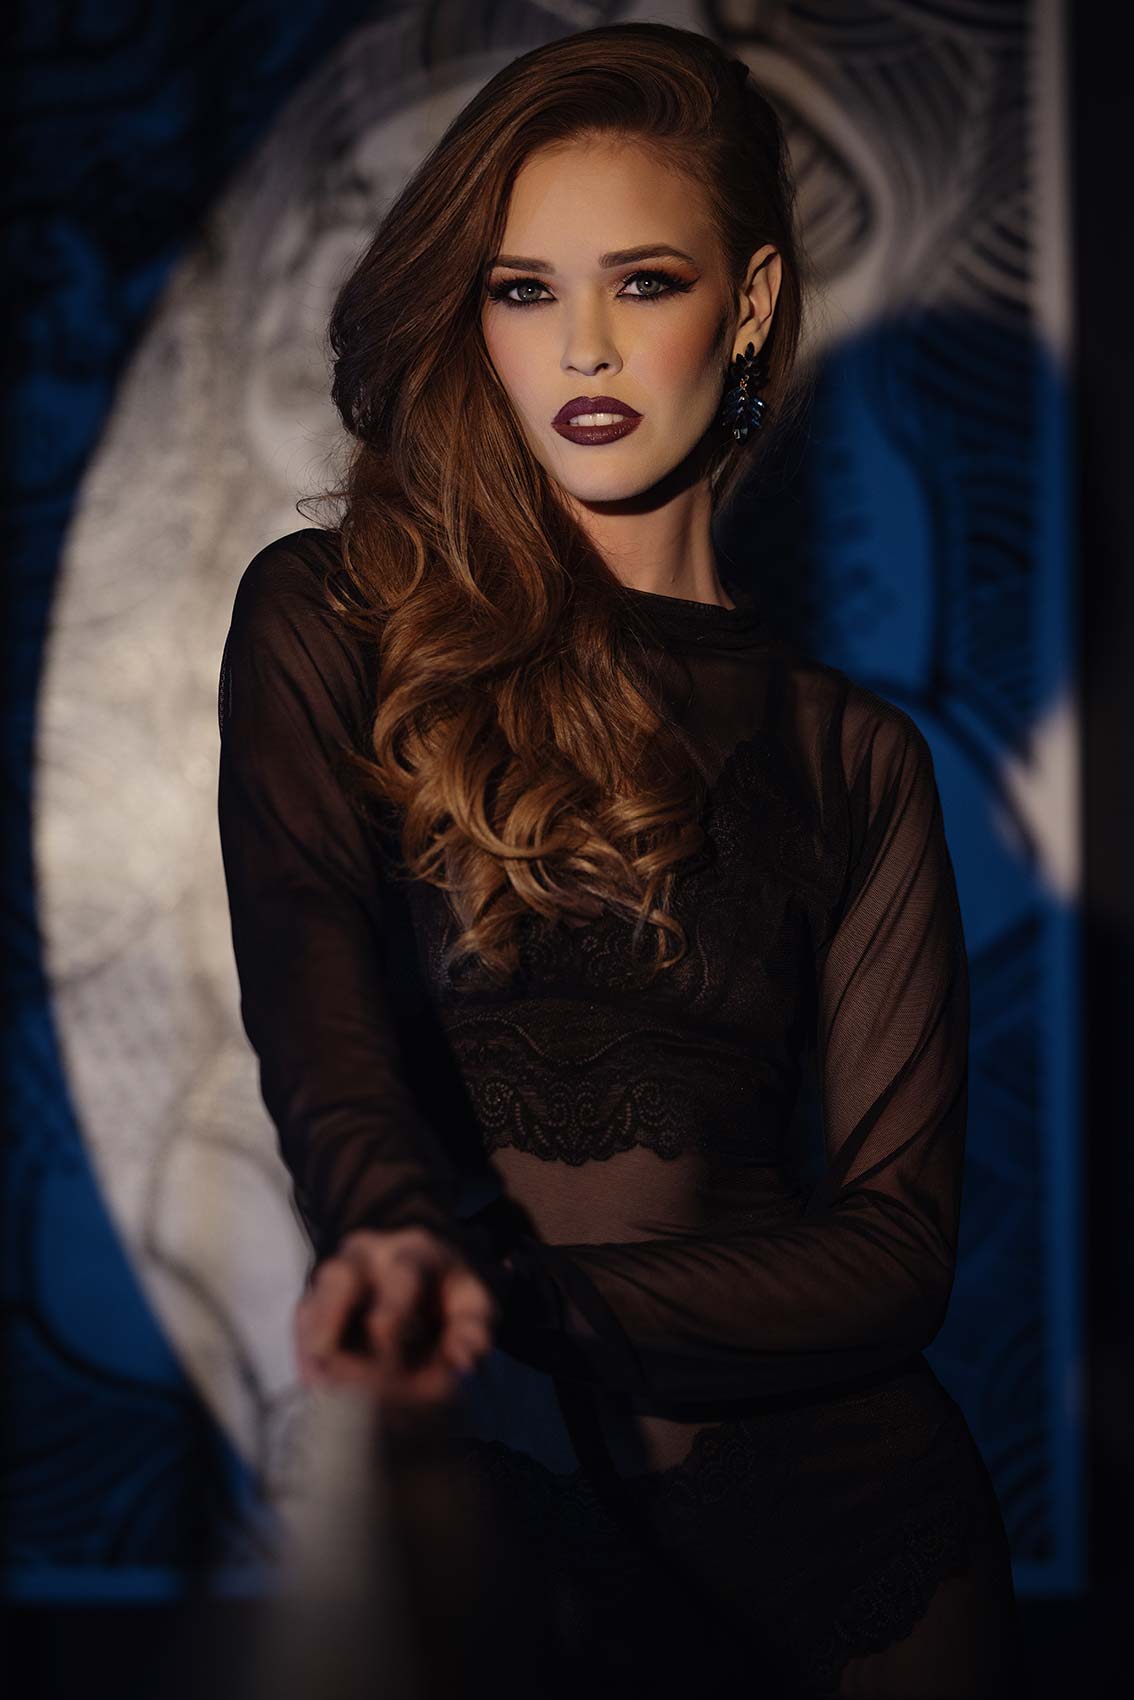
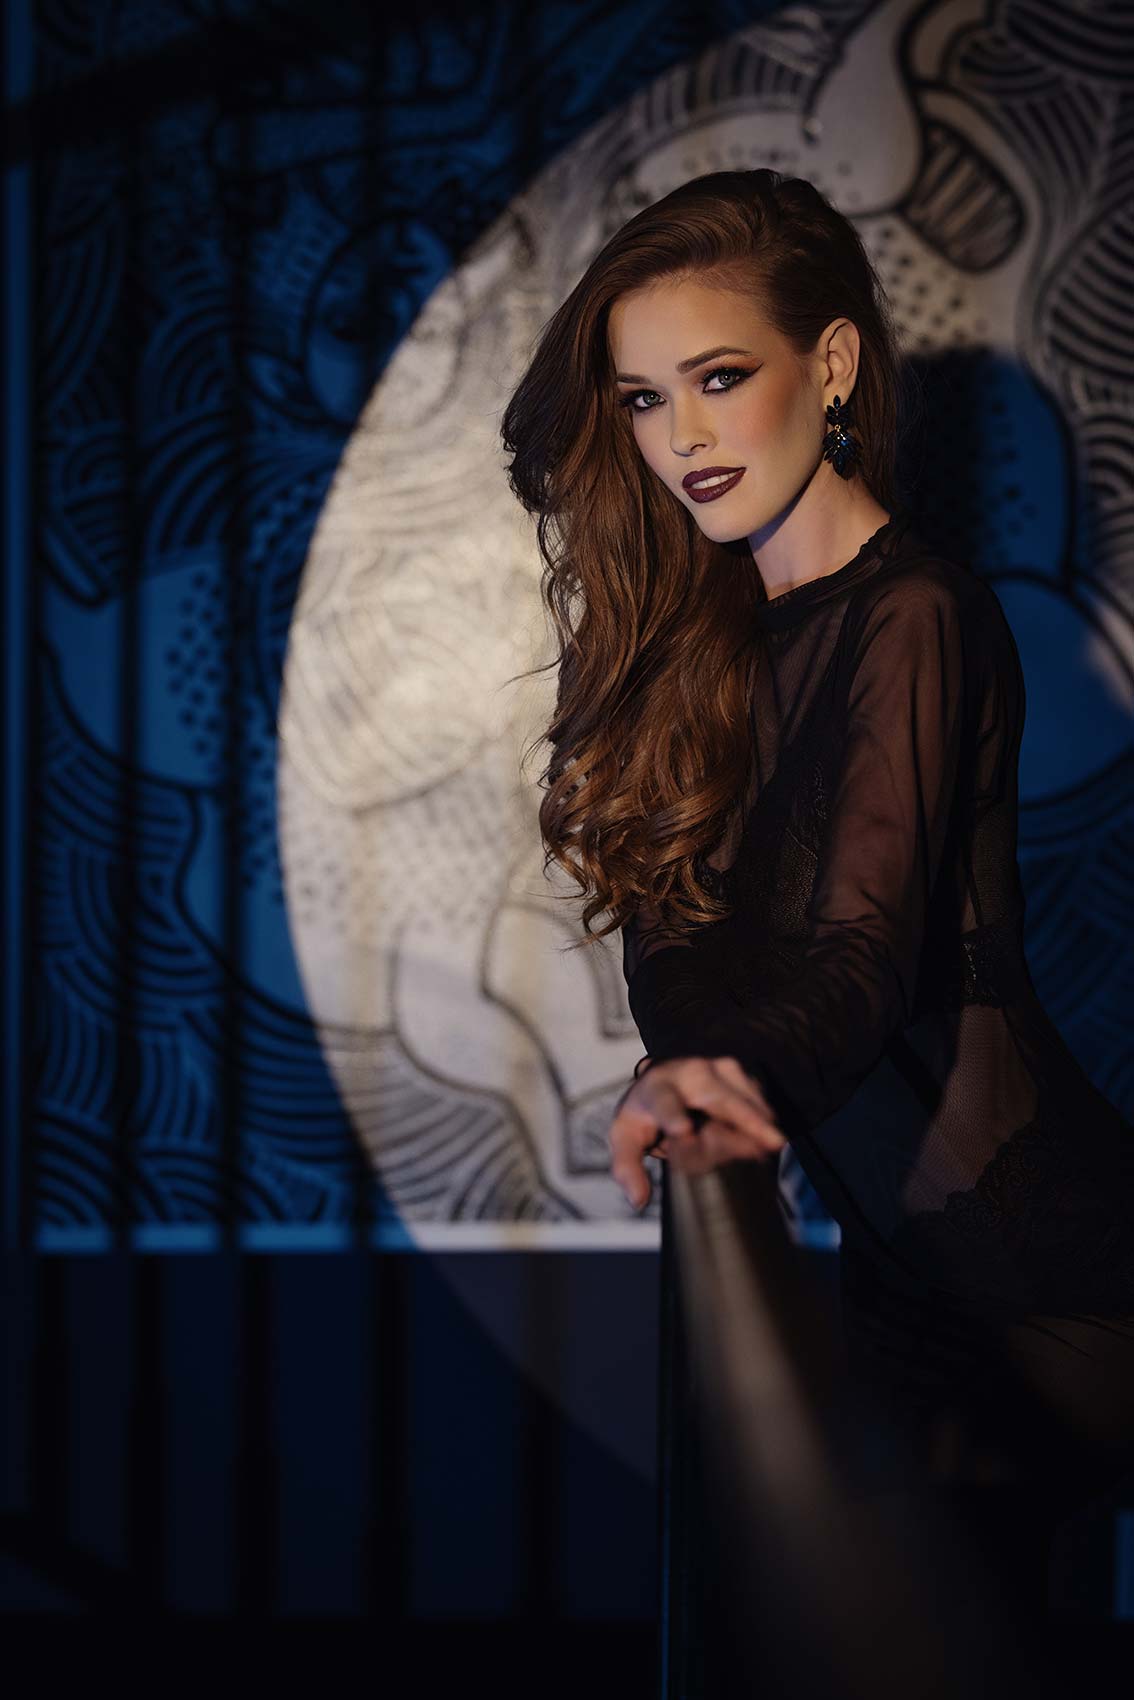
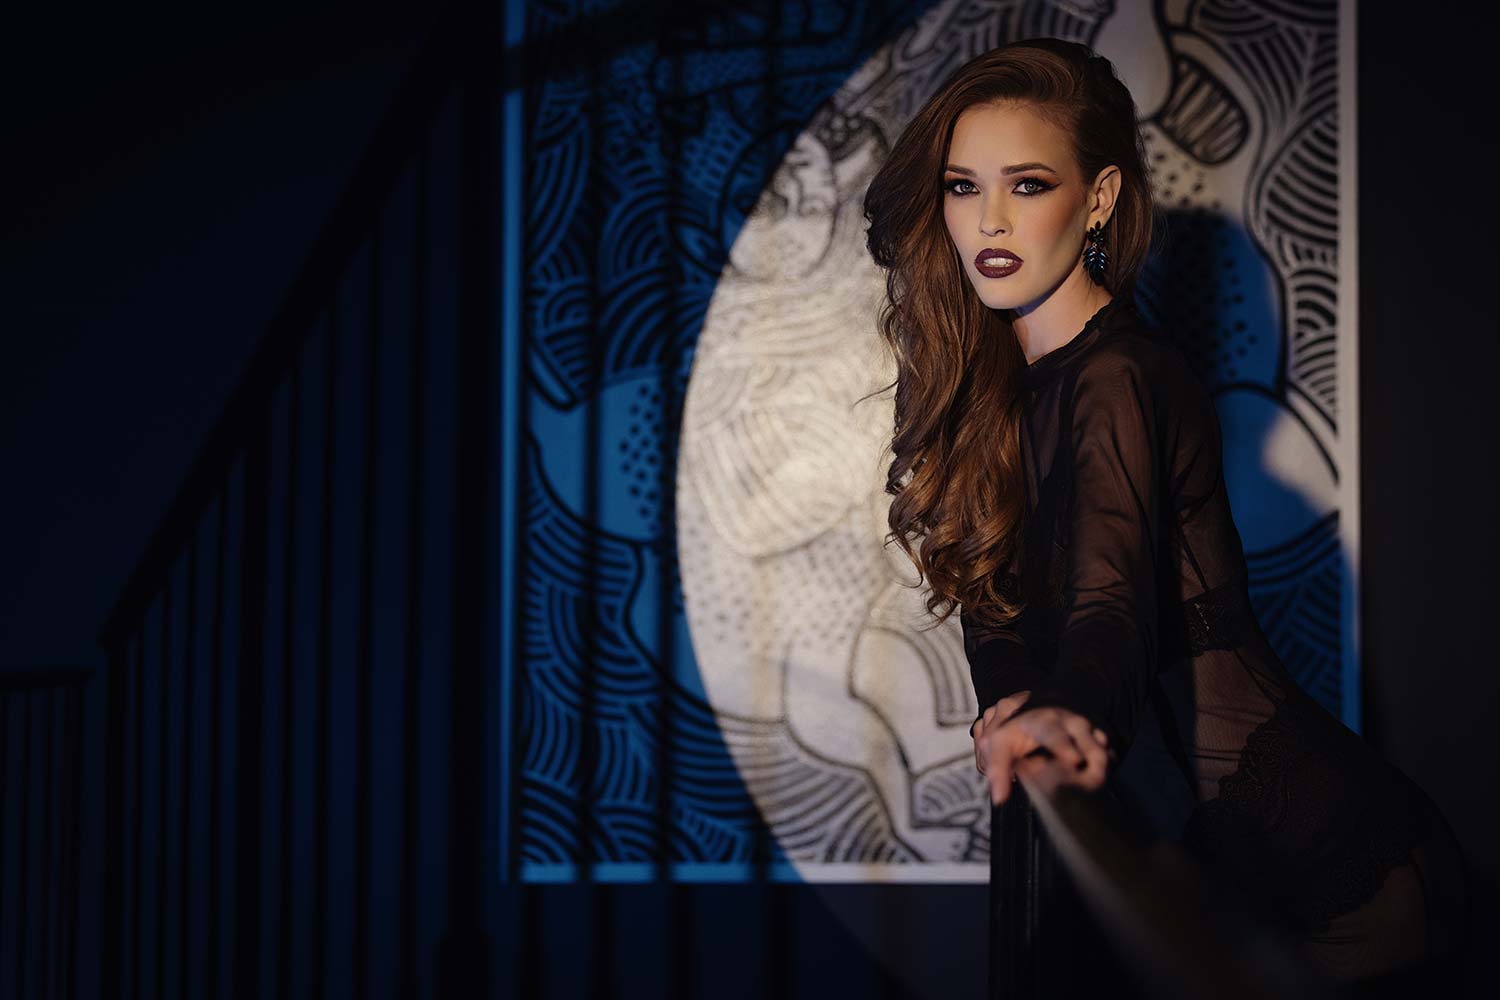
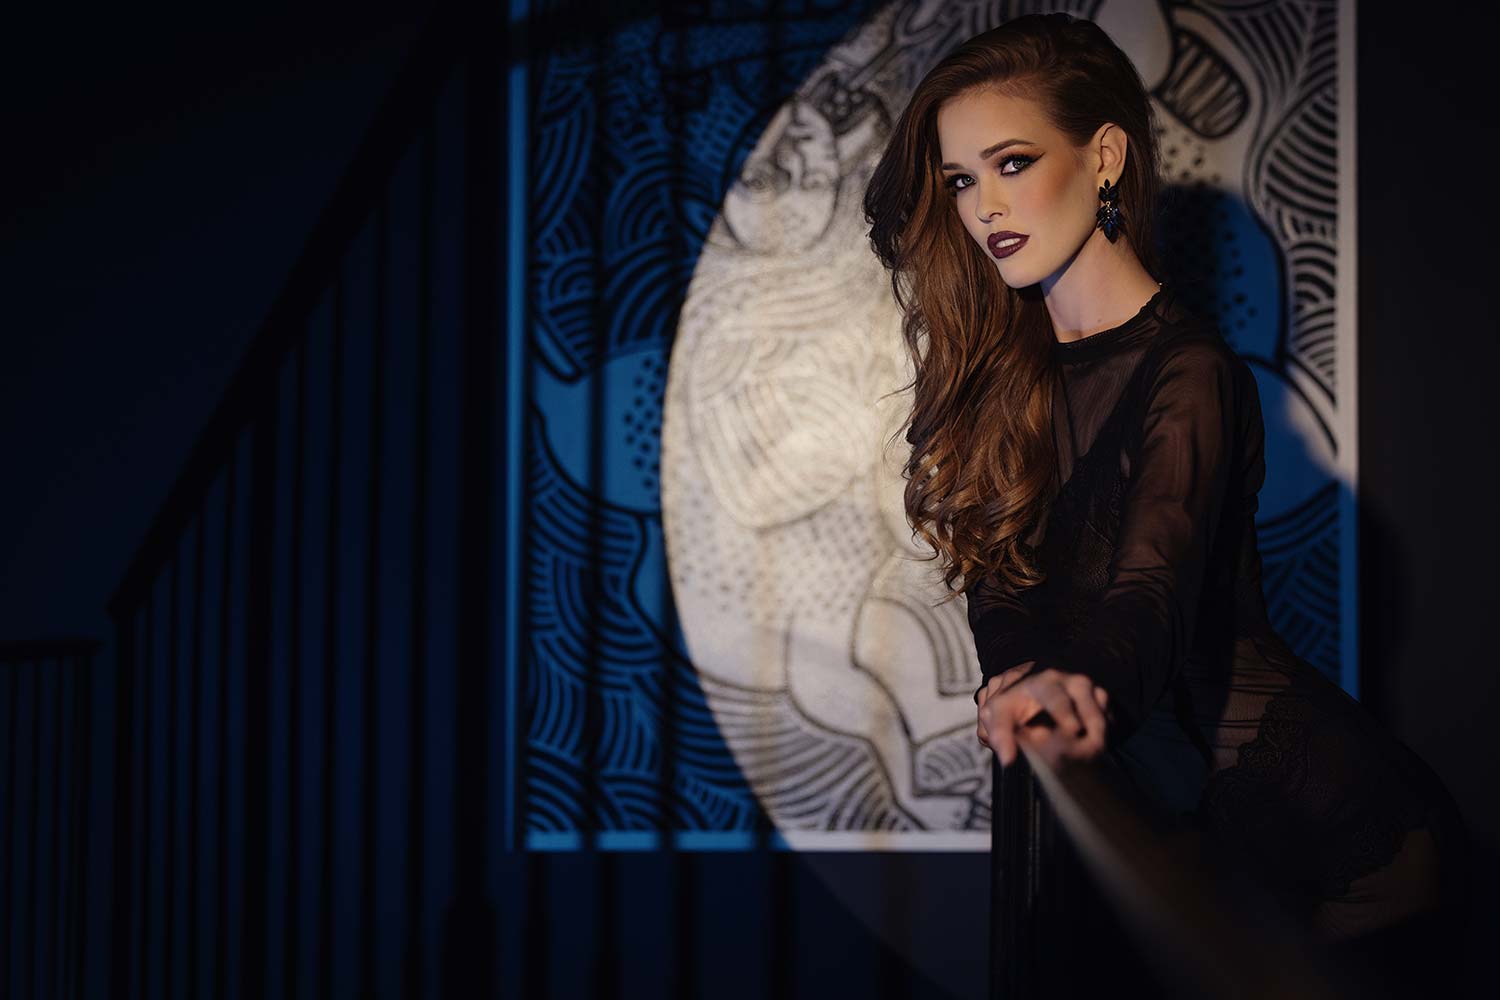
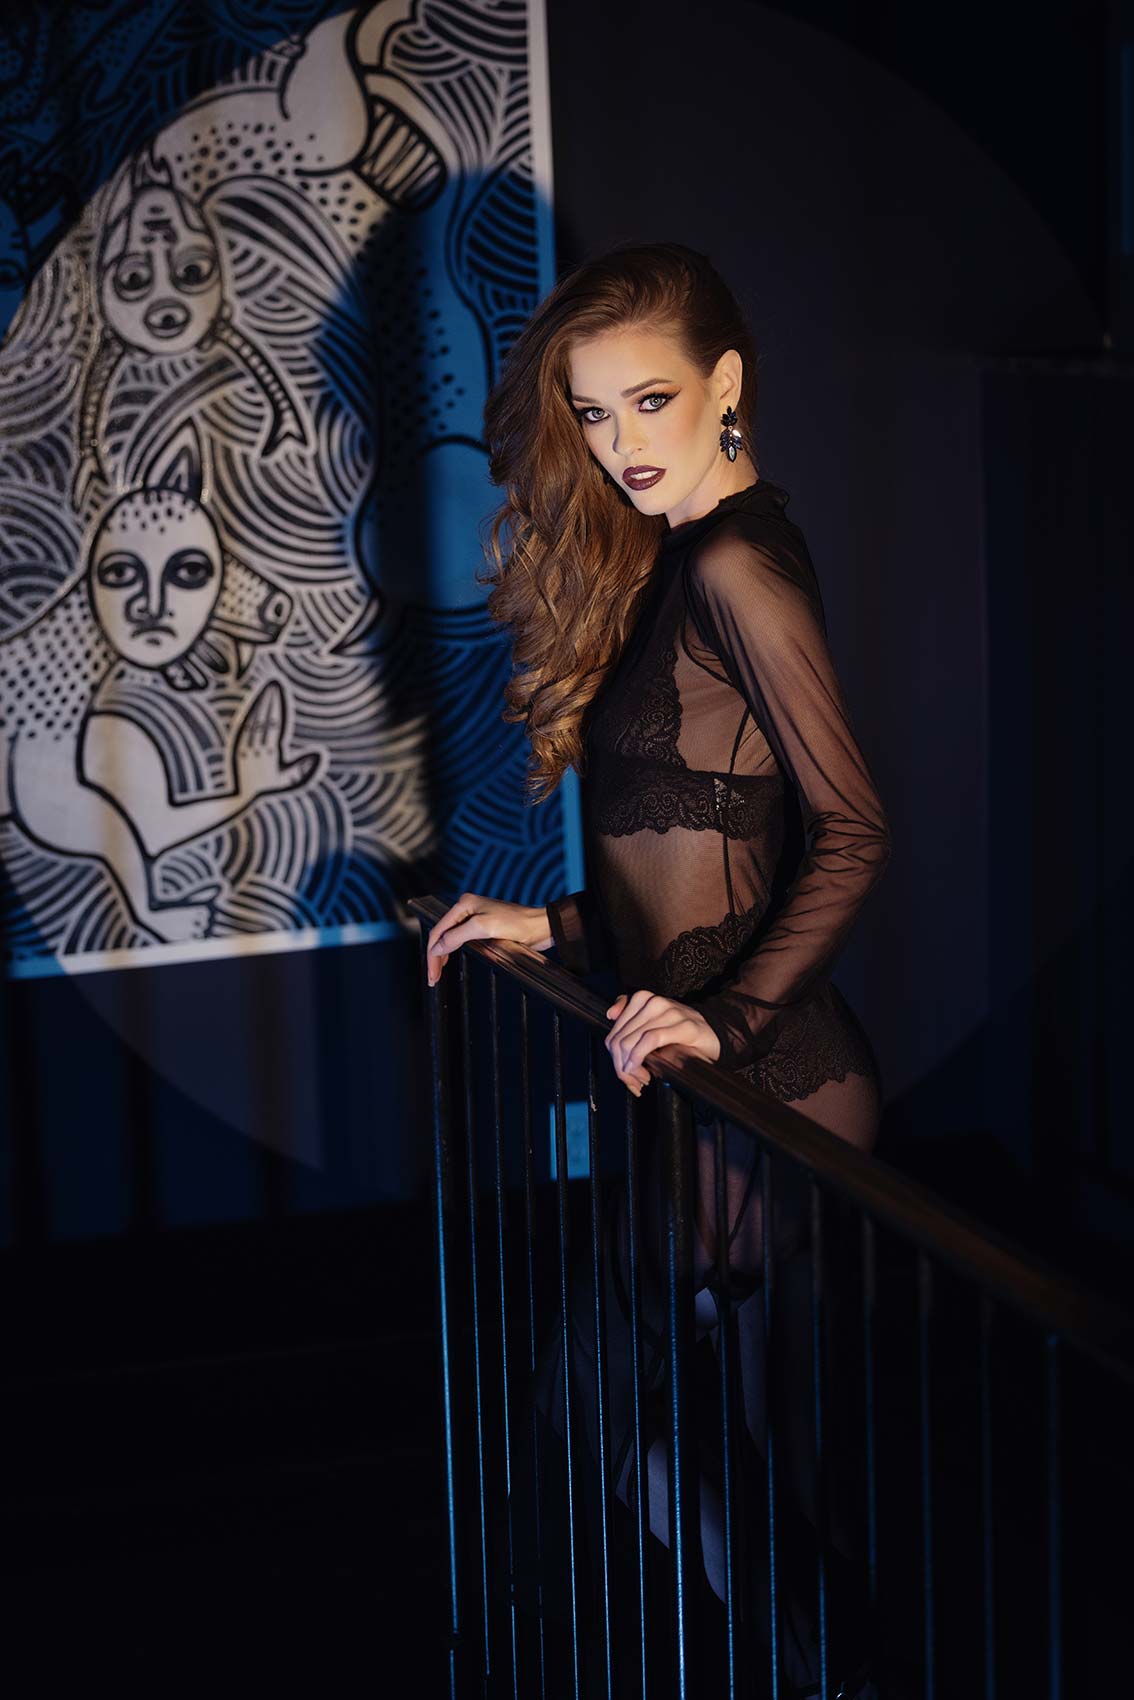
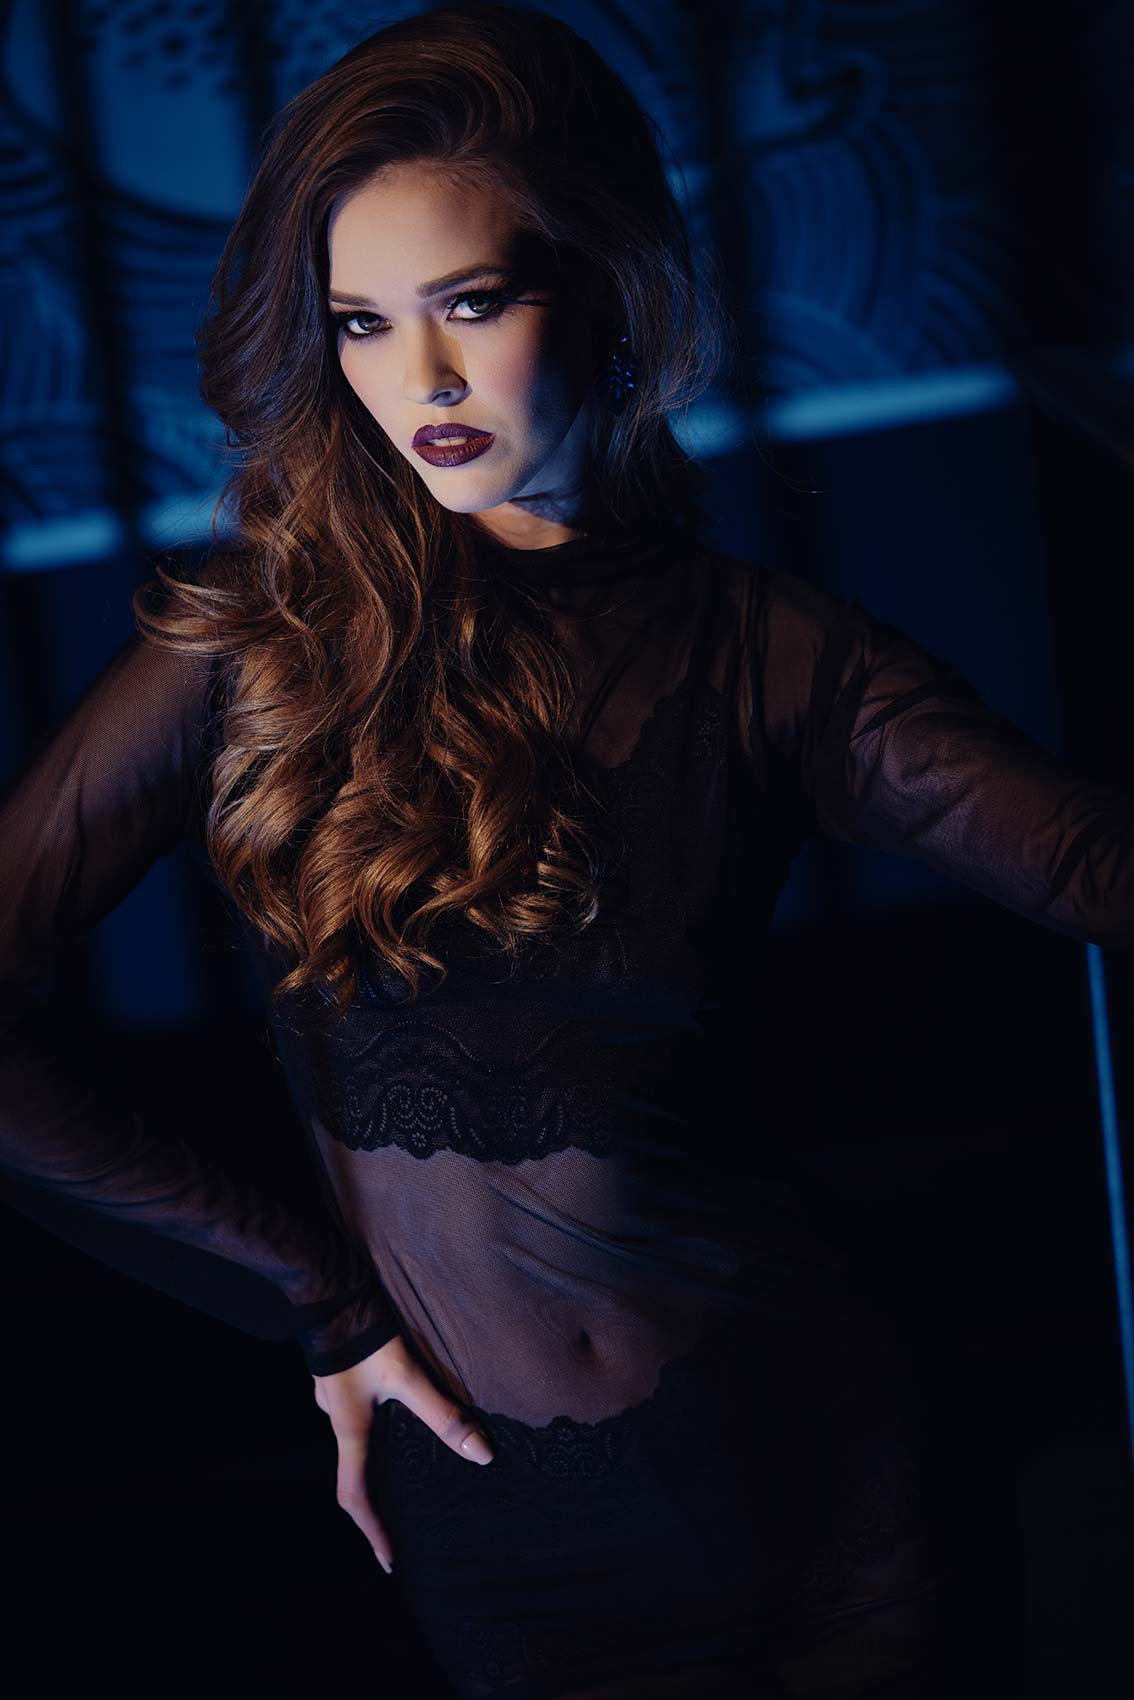
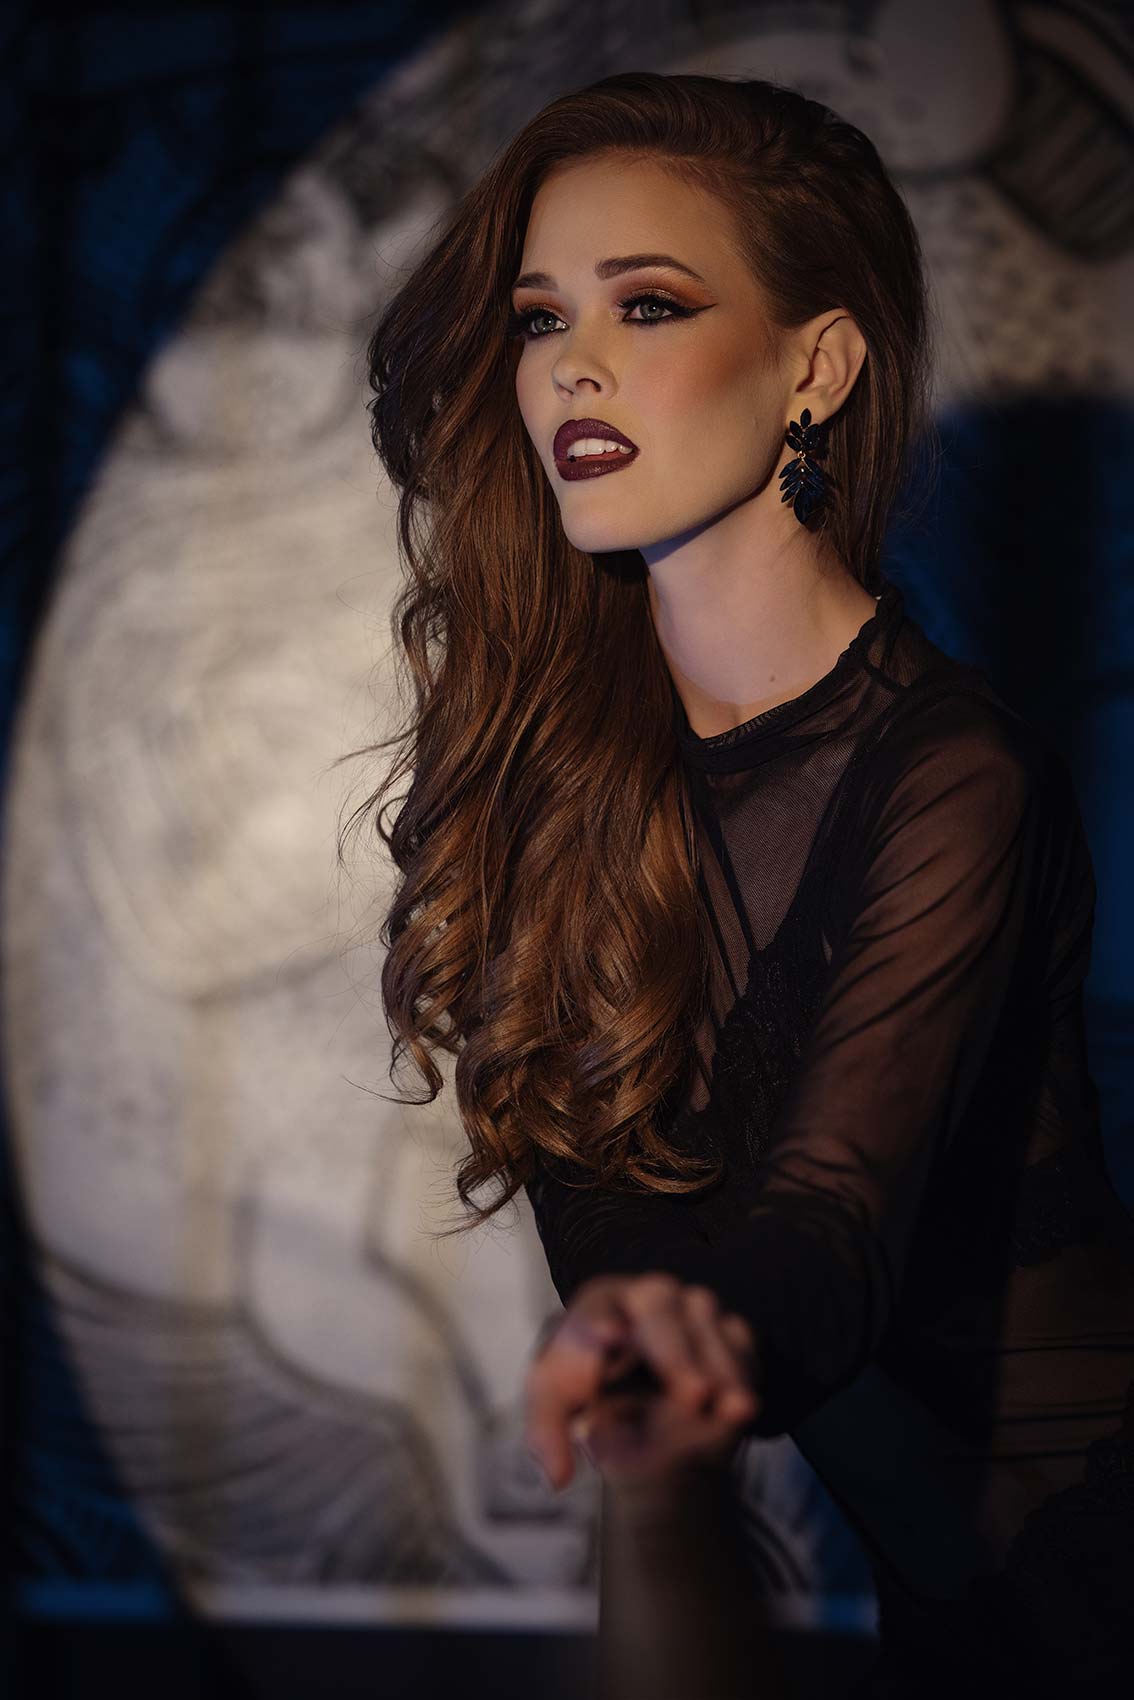
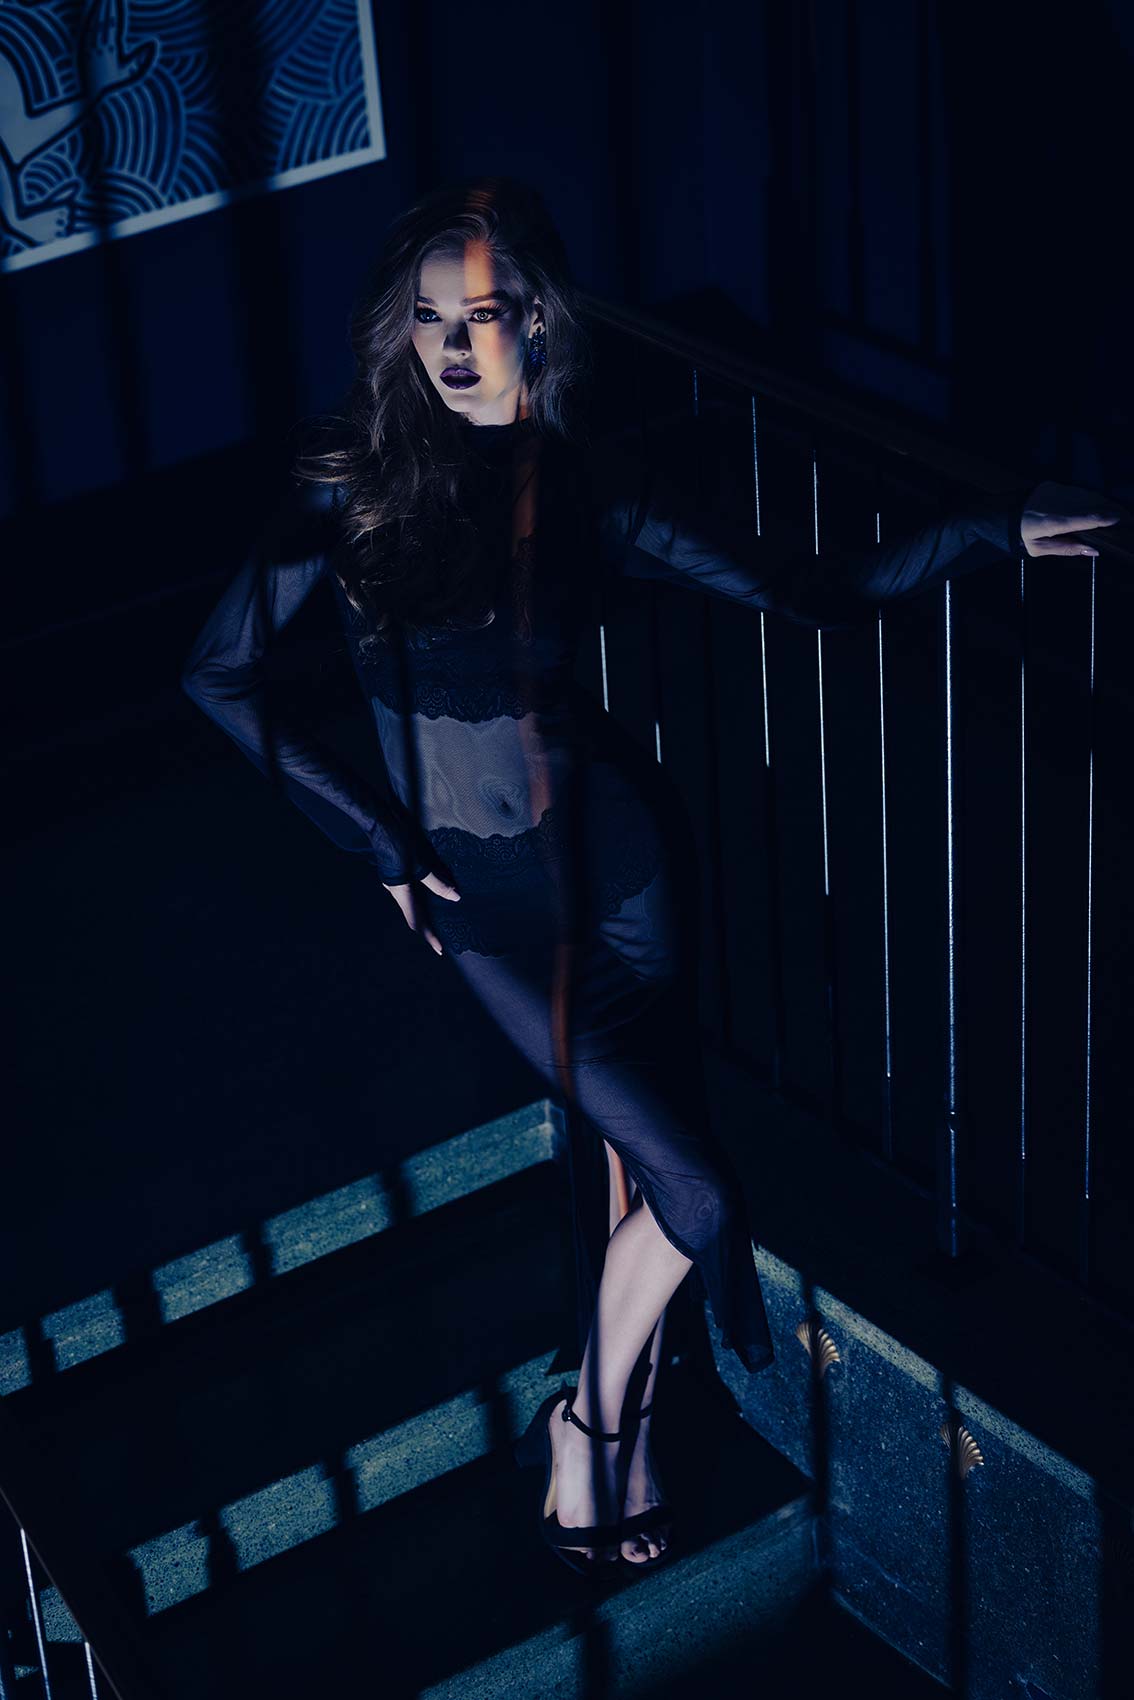
Ready for some hard light beauty portraits? In this behind the scenes photography training video we show you the tips and tools to make it happen. We photographed this photoshoot with Violet in St Louis in a gorgeous property. This lighting technique can be used both on-location or in-studio. People often confuse hard light portraits with Male portraits, but you can use this lighting technique in a variety of ways to create truly unique and stunning beauty portraits.
Equipment Used:
Camera: Canon EOS R5
Lens: Canon RF70 f2.8
Light: Nanlite Forza 150B, Nanlite FS-60B, Nanlite PJ-BM
Team:
Photographer: Sal Cincotta
Model: Violet Deardorff
Hair & Makeup: Brandi Patton, Refine Beauty
What’s up everyone? My name is Sal Cincotta. And today, or tonight I should say, we are doing hard light portraits.
All right, everybody. So we are going to do some hard light portraits, some will be beauty, some won’t. But a beauty portrait, we all know is going to be more about the face and the beauty, but we’re going to do a little bit more than that. We’re getting out on a ledge. So we are using, and you’re seeing this hard light come up here, the Forza 150B that allows me to control color temperatures. So I can go from 2700 up until the 6000s. The point is I can go from daylight balance to tungsten to really control the mood.
And so what we’ve done there, I’m going to walk you through this so you understand because these pictures are going to look phenomenal. We are firing that light through the railing to create that pattern that you’re seeing on the wall. Why? Because it’s kind of a boring hallway. This isn’t very interesting and I wanted to add a little bit of texture and dimension and I’m using that light bare bulb and it’s firing back into the wall. But now we need some light on Violet.
And so on camera, what I’m going to do is I’m going to use the Nanlite Forza 60B along with the projector mount. So this is basically like a gobo. So they’ve got attachments you can put in, but for this we’re going bare bulb, very focused light to create a circle. And you can’t see here because I’m in car lighting, but this snaps right in and we can turn it on and you’re going to see right behind me on this wall is going to be firing a pattern. When I move the blades out of the way we’ll get a perfect circle and then I can adjust the focus to get a sharper edge or not. So we want a sharp edge on that circle and that is going to be what we’re using to light Violet.
This particular light is set at 2700. My camera is set at 2700. So you need to understand how different light color temperatures are going to change what’s going on. I want all the shadows surrounding Violet to be blue. And that’s why that is set at 5500 and these are set at 2700. These are hard light portraits. Not everything has to be soft beauty light. You can get some really killer stuff using hard light. Let’s get to it.
You want to get that sharp. You see that right about there? Beautiful. And so what I’m doing, compositionally is using the kind of light as a little bit of a crescent on the circle and I’m using the railing and everything else, leading lines. What I like on this is I can even see shadows behind her and they’re cool.
I’m using a Canon R5 and a 7200 lens. The reason I chose 7200 is just compression, right? So I don’t want to see all the detail in here that the natural eye is seeing. I want to really compress it and focus on her. It’s not a traditional beauty portrait where you’re super tight, maybe more boss, because I do want to see that pattern on the wall. That’s the key, right? So if I zoom in too tight, it just looks like really, really hard light. Nothing wrong with that, but then I’m losing the environment that I’m creating by changing the color of light and creating that circle around her. I really think those geometrical elements, the circle and the lines from the railing really, really make this super interesting. I’m going to try one more thing, but hopefully you’re enjoying what you’re seeing.
All right, everybody, that’s a wrap. Hard light portraits. As you saw, just those two lights were able to really create some texture in this hallway and make the image super, super interesting. Again, unique is what gets your clients excited. It’s what gets you excited as an artist and really helps you elevate your work to that next level. We’ll see you in the next video.

