How I Got the Shot with Barbara Macferrin
I love creating fine art portraiture. For better or worse, I don’t usually visualize a final portrait ahead of time, or have an exact idea of what I want to create. Most of the magic just happens in the moment as I’m shooting, then I make the image come to life in Photoshop. I’m inspired by the paintings of the Old Masters, and I always wished I could paint like they did. But since I am not that talented of a painter, the next best thing is to “paint” in Photoshop.
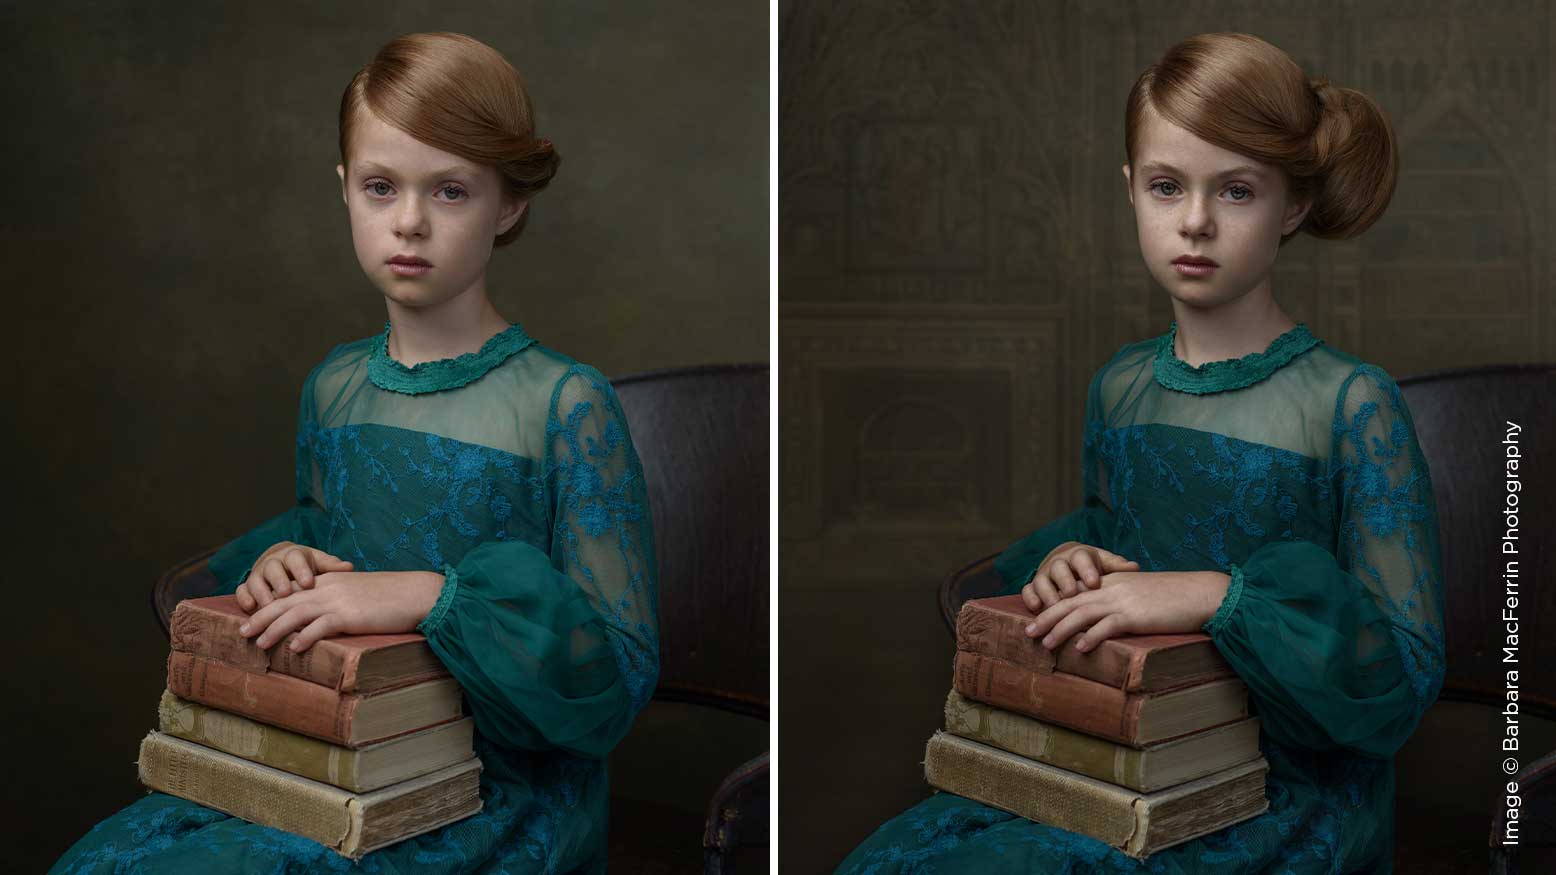
This image was taken during one of my fine art workshops. I wanted to create visual interest with the color of the green dress complimenting Alex’s red hair, then bringing the color red again into the books that were in her lap. Below, I will walk you through how I got the shot
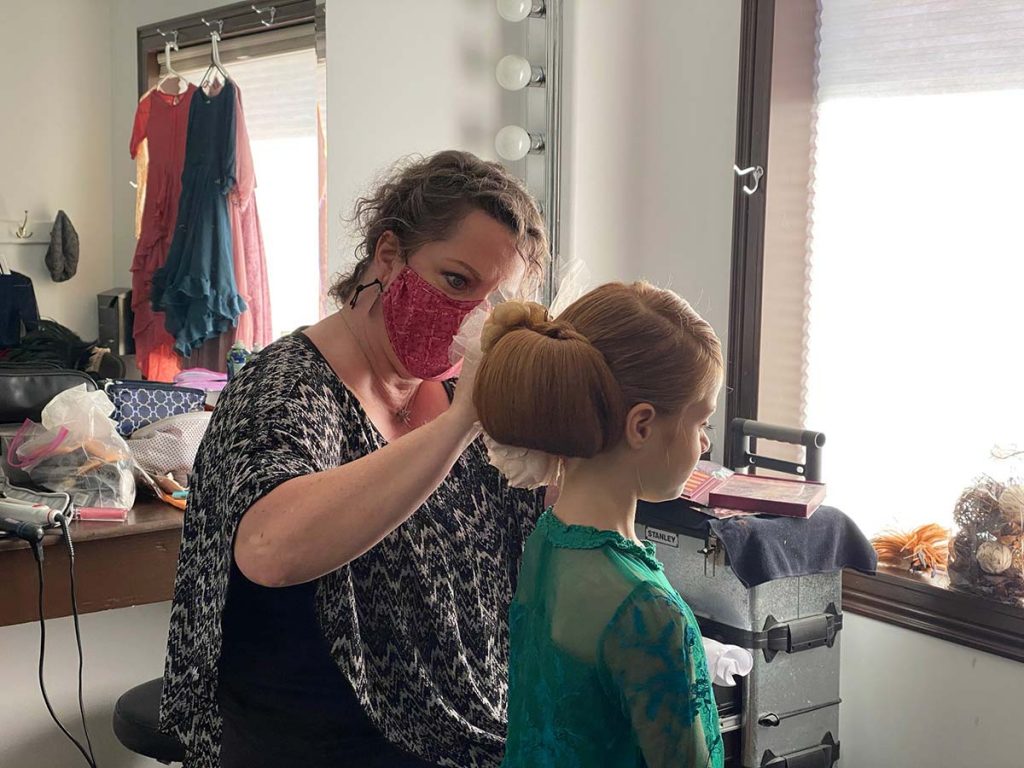
Preparation
I hired my hair/makeup artist, Theresa, to create a nice sweep with a side braid and a bun. The only makeup applied was mascara to bring out her lashes and some clear lip gloss. The dress is made by Trish Scully—a jewel-green color with a delicate floral embroidered pattern throughout. I chose this dress to complement her red hair and fair complexion.
The Shoot – Equipment
You don’t need the best and most expensive equipment on the market to create great photography!
Here is a list of the gear I used:
Camera: Nikon D750
Lens: 50mm Nikkor f/1.8
Lights: Flashpoint Xplor AD600 x 2
Modifiers/Reflector:
- Glow EZ Lock 60” Octa (double diffused)
- 7’ Westcott Parabolic umbrella with white diffusion sock (white interior)
- White V-flat
For the shot, I used the 60” octa as my main light on camera left and feathered it to create soft light without any hotspots. The 7’ parabolic umbrella was placed behind me slightly to the right to provide a subtle fill light to soften the shadows. I also used a white V-flat on camera right to bounce the light coming from the main octa, as you can see in the lighting diagram below. If the studio space had white walls nearby opposite the main light, I would not need the V-flat for bounce. Adjust your lights based on your shooting space.