How to Make Your Portrait Photography More Interesting

Want to make your portrait photography more interesting? Follow along on this photoshoot where I show you step-by-step some tips and tricks to creating more interesting portrait photography. This tutorial is easy to follow and uses basic items any photographer can get their hands on for a photoshoot.

Equipment Used:

Team:

Photographer: Sal Cincotta 
Model: Lauren Middleton
Hair & Makeup: Brandi Patton, ReFine Beauty

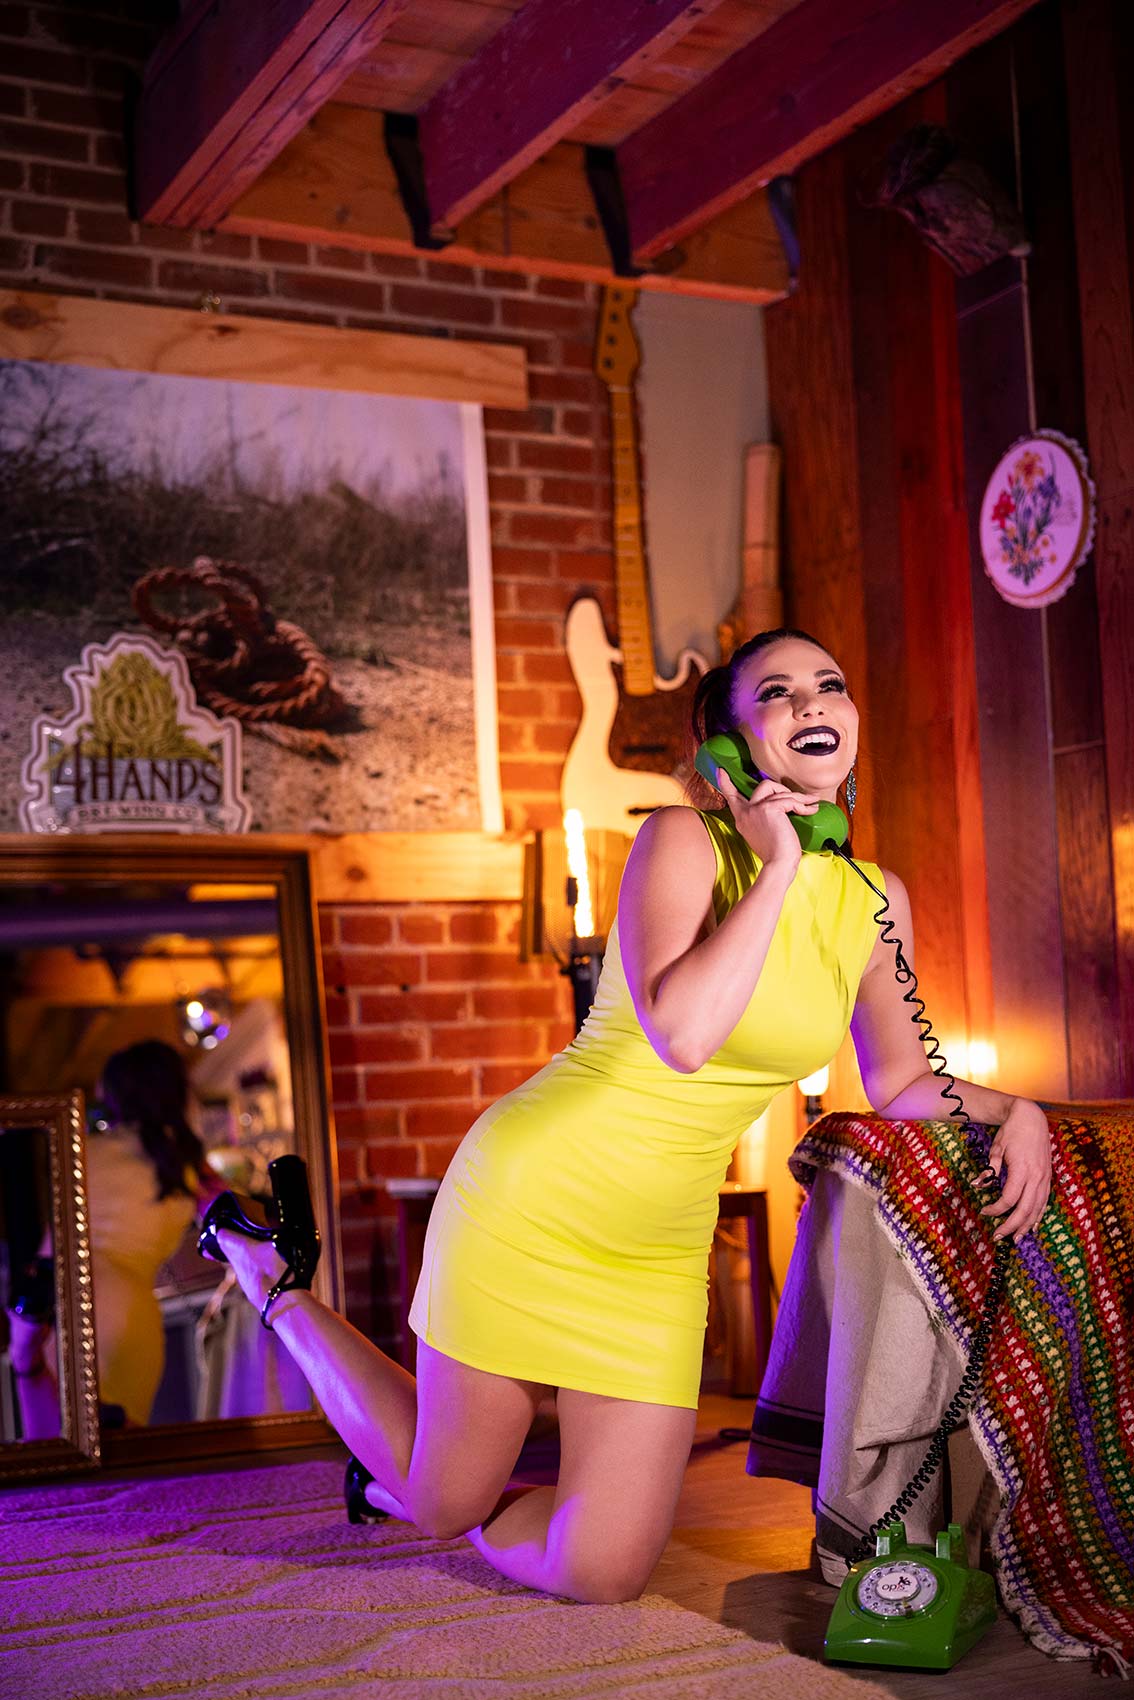
Ready to make your portrait photography more interesting? Let me show you how. What’s up, everyone? My name is Sal Cincotta. Today, we got a really cool set-up for you here in studio space that we are renting out. We are going to take… It’s a beautiful portrait. If we shot it just the way it is, it’s going to look amazing. But I’m going to show you other ways to jazz it up, church it up if you will. So let’s get to it. Follow me. We have got Lauren Smiles on set. And so we’ve got this ’70s vibe, ’60s vibe going on. We’ve got it lit with two Nan lite Pavo Tubes set to daylight balance. And then we’re throwing in a little bit of blue for an edge light on her. And then we’re leaving the lamps at tungsten, so they’re going to show up orange in the frame.

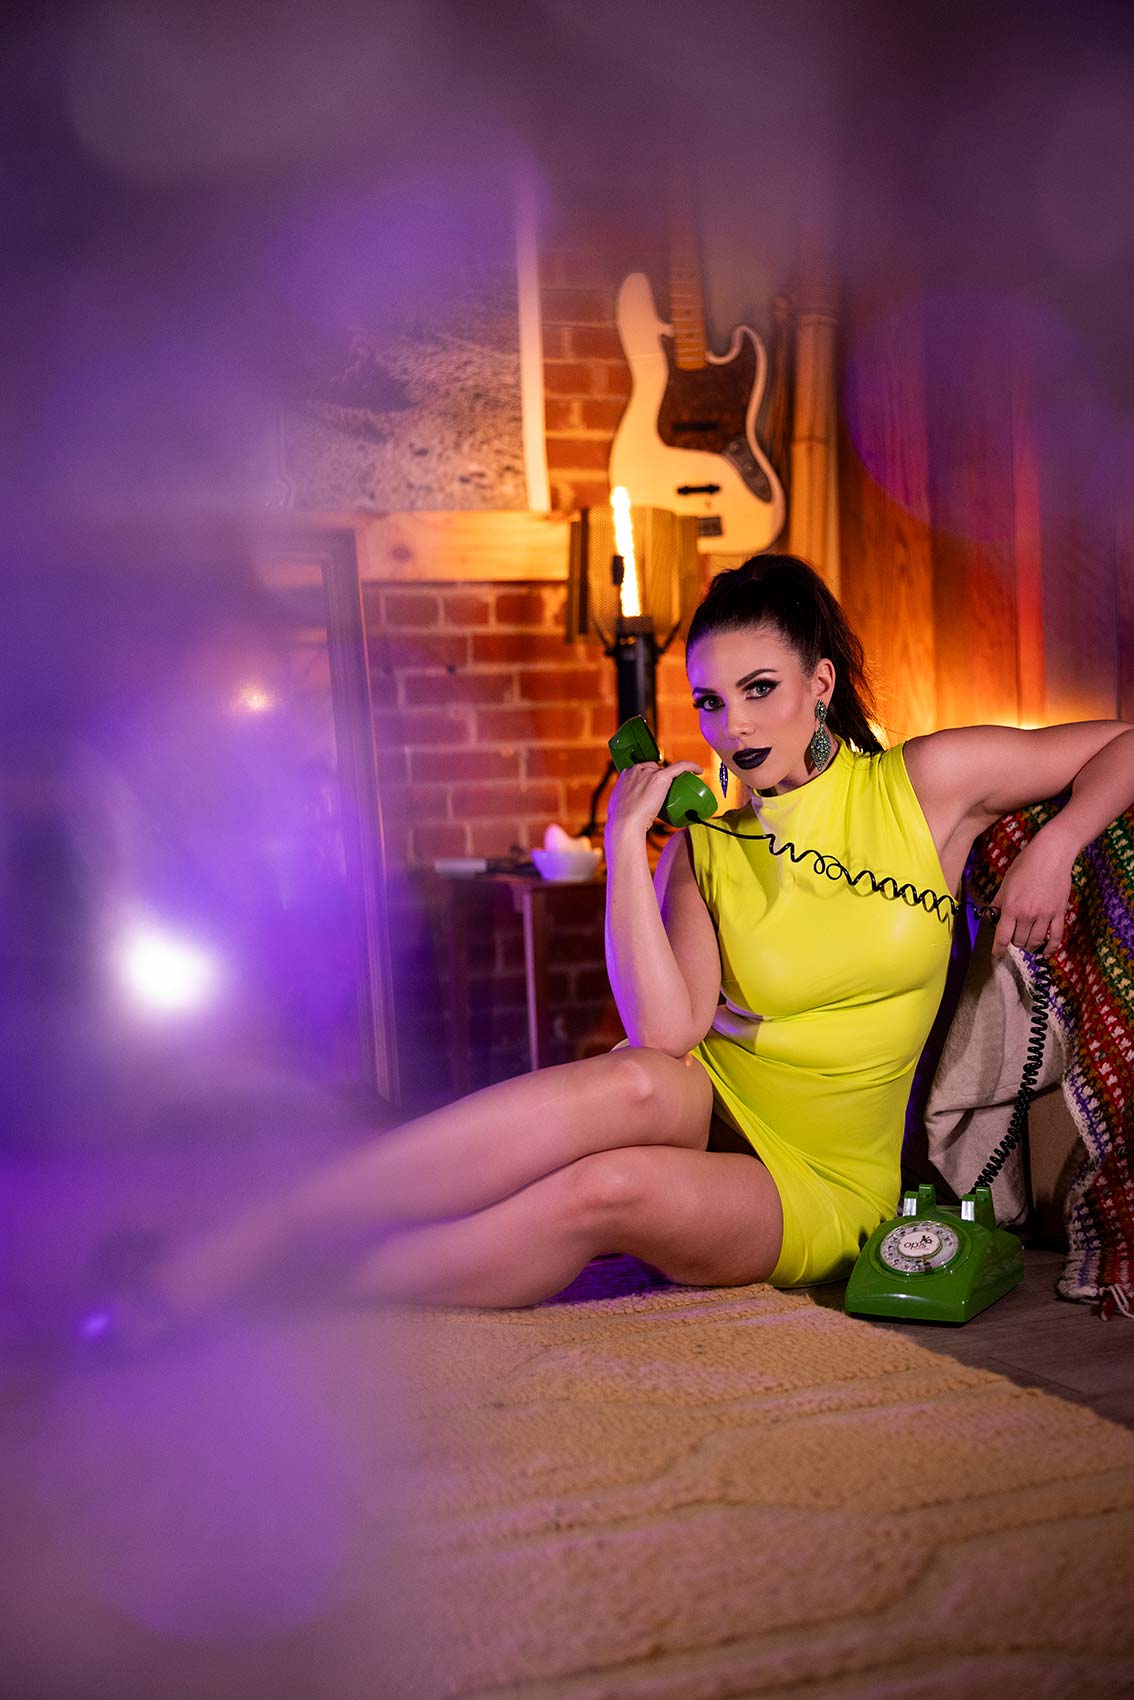
It’s going to be a beautiful killer shot, but how can we make it more interesting? So first, let’s just start with the base shot. So let’s get this. Love this whole theme. So on camera, I’m shooting with a Canon R5 in the 28-70 F2 lens just to give me the most versatility. For these, I am going to shoot at F2. Love the shallow depth of field here.

Settings: f/2 @ 1/80, ISO 800

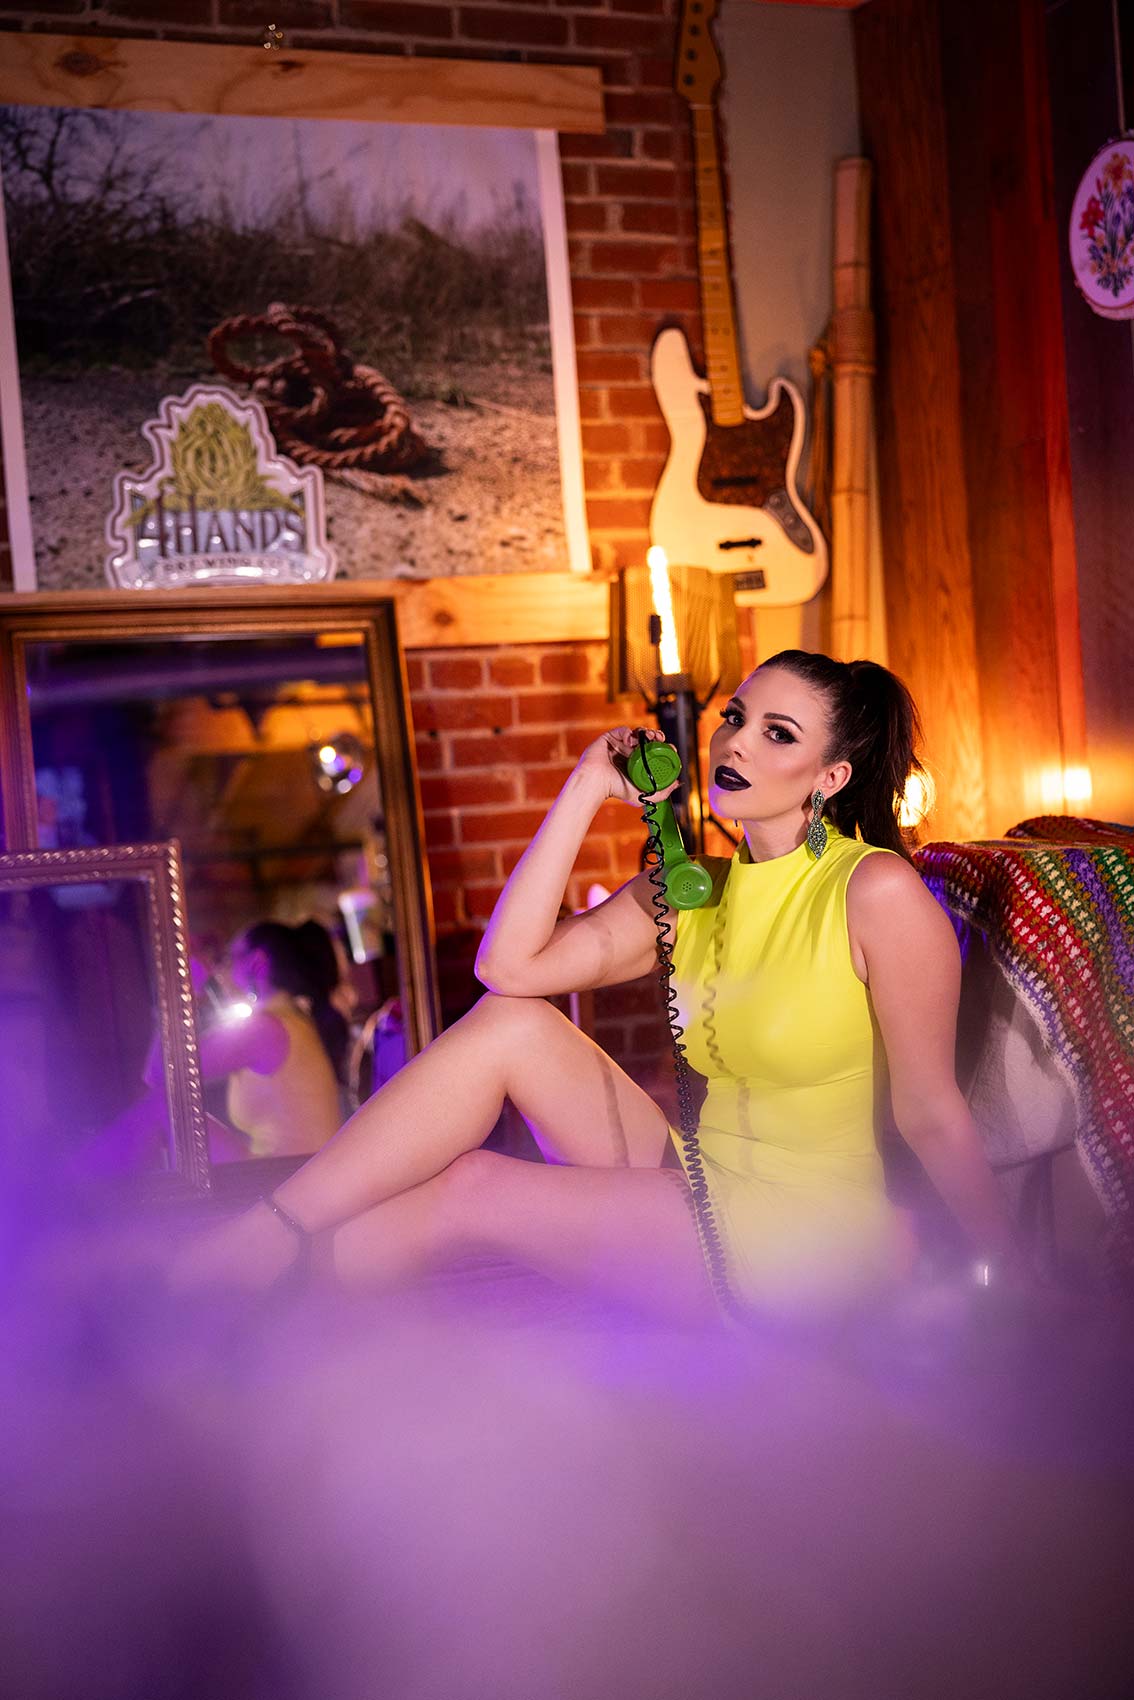
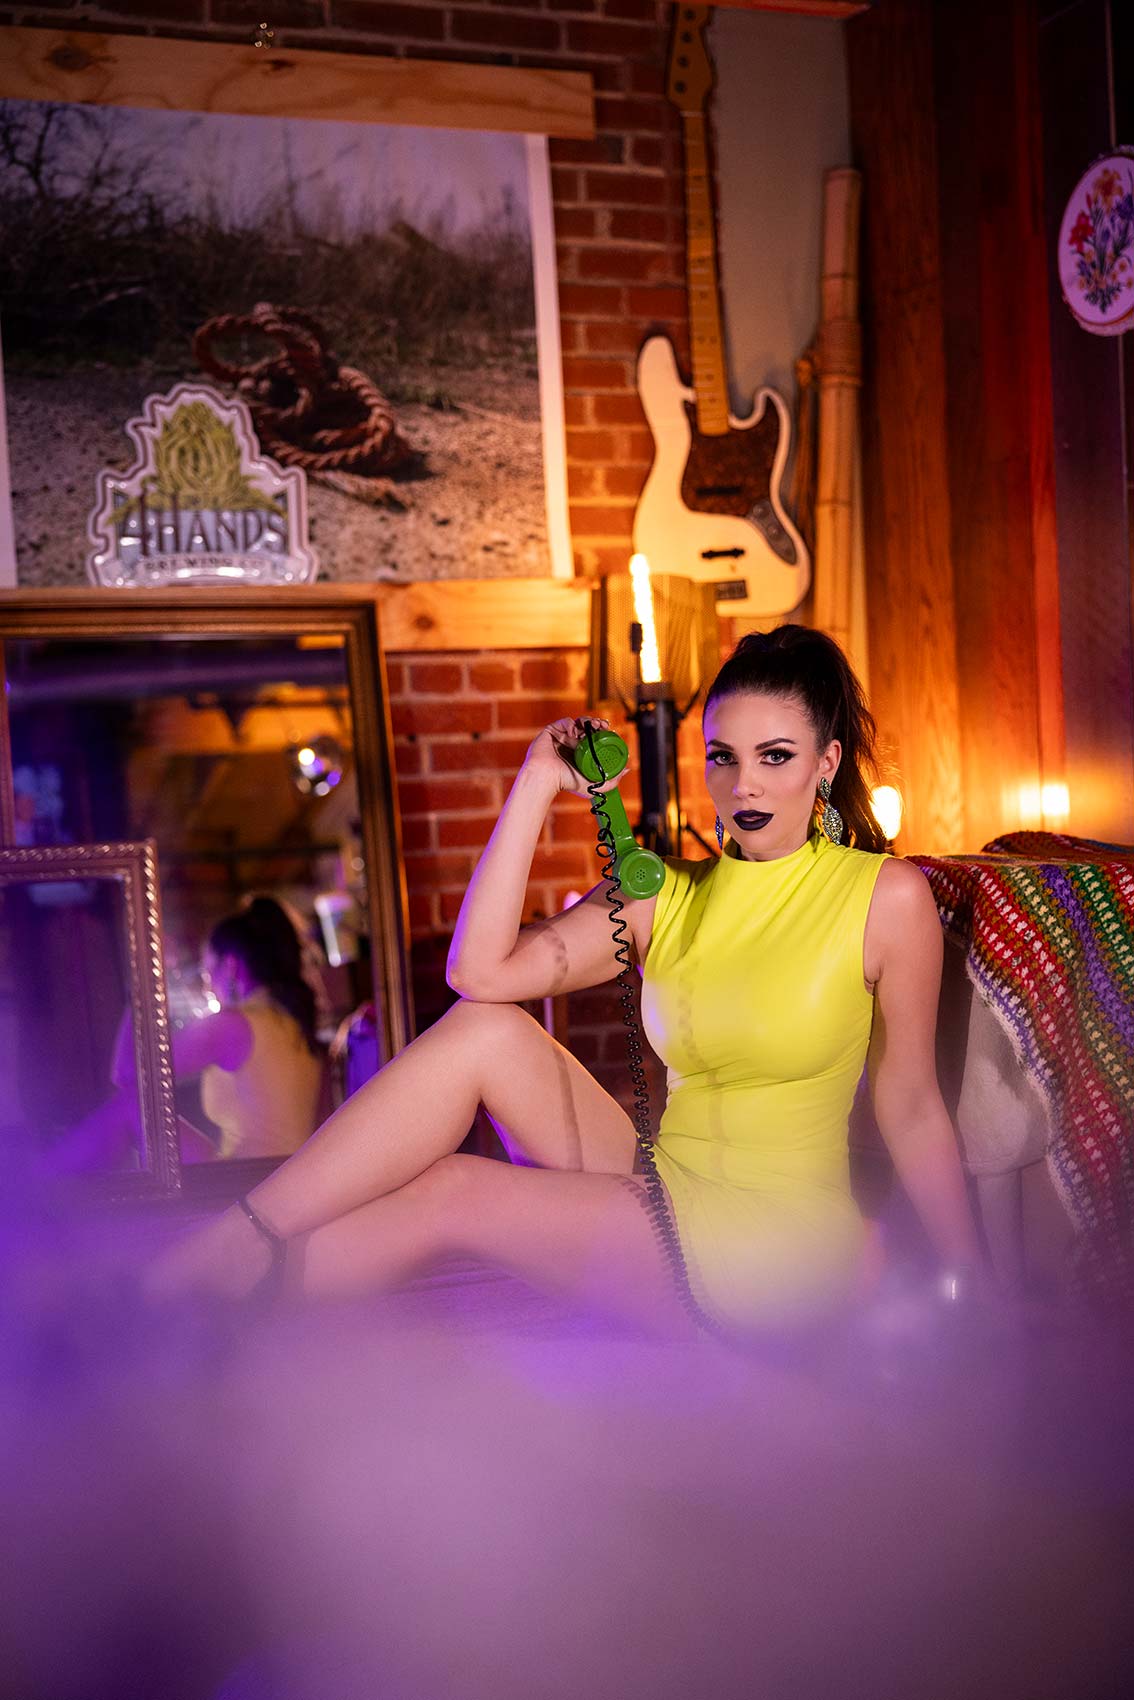
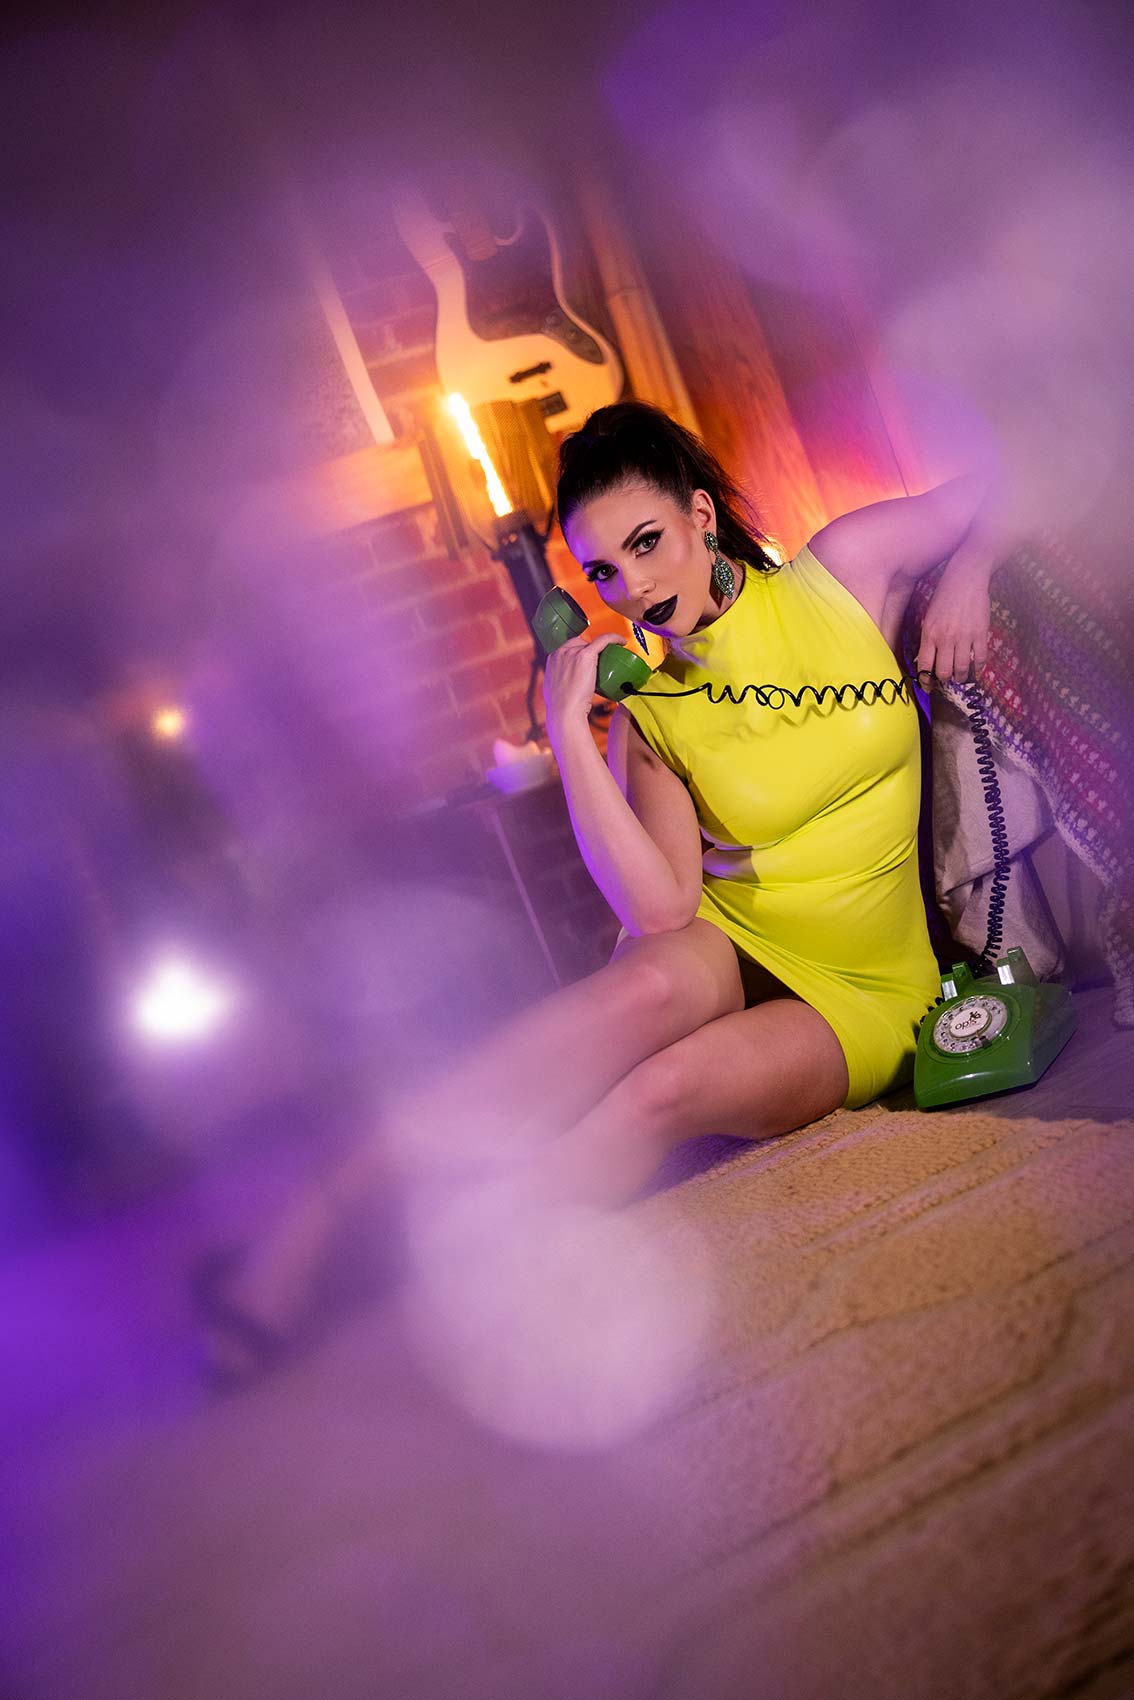
So I got some killer shots. How do we make this a little bit more interesting? So the way I like to attack my portraits, if you will, is to take the base shot, get that base shot out of the way, and then shoot through something. Add a little bit more element, blur to the frame. I call it eye candy. I love doing that to the front of the frame. So I’m in an environment now. I don’t know what I have. I didn’t bring something to shoot through, but I do have some bubble wrap. Let’s try that.

Settings: f/2 @ 1/80, ISO 800

All right. So now, what you can do here is take that same frame up and now what I’m doing is I’m putting this in front of the lens. Oh, that’s killer, Lauren. Stay there. Love it. Now, what I can do here to make this even more interesting is just wrap this around the entire lens, and it creates this… Film photographers will know this. Back in the day, if you wanted to get that blur around the lens, you would use Vaseline, believe it or not. They would do that back in the day. So this is fun. So I’m just wrapping this around. Again, you’re just experimenting. You’re having fun. There’s no right or wrong thing to do. Photography is art. You should be having fun with it. So that’s one thing we can do to church things up.

Settings: f/2 @ 1/80, ISO 800
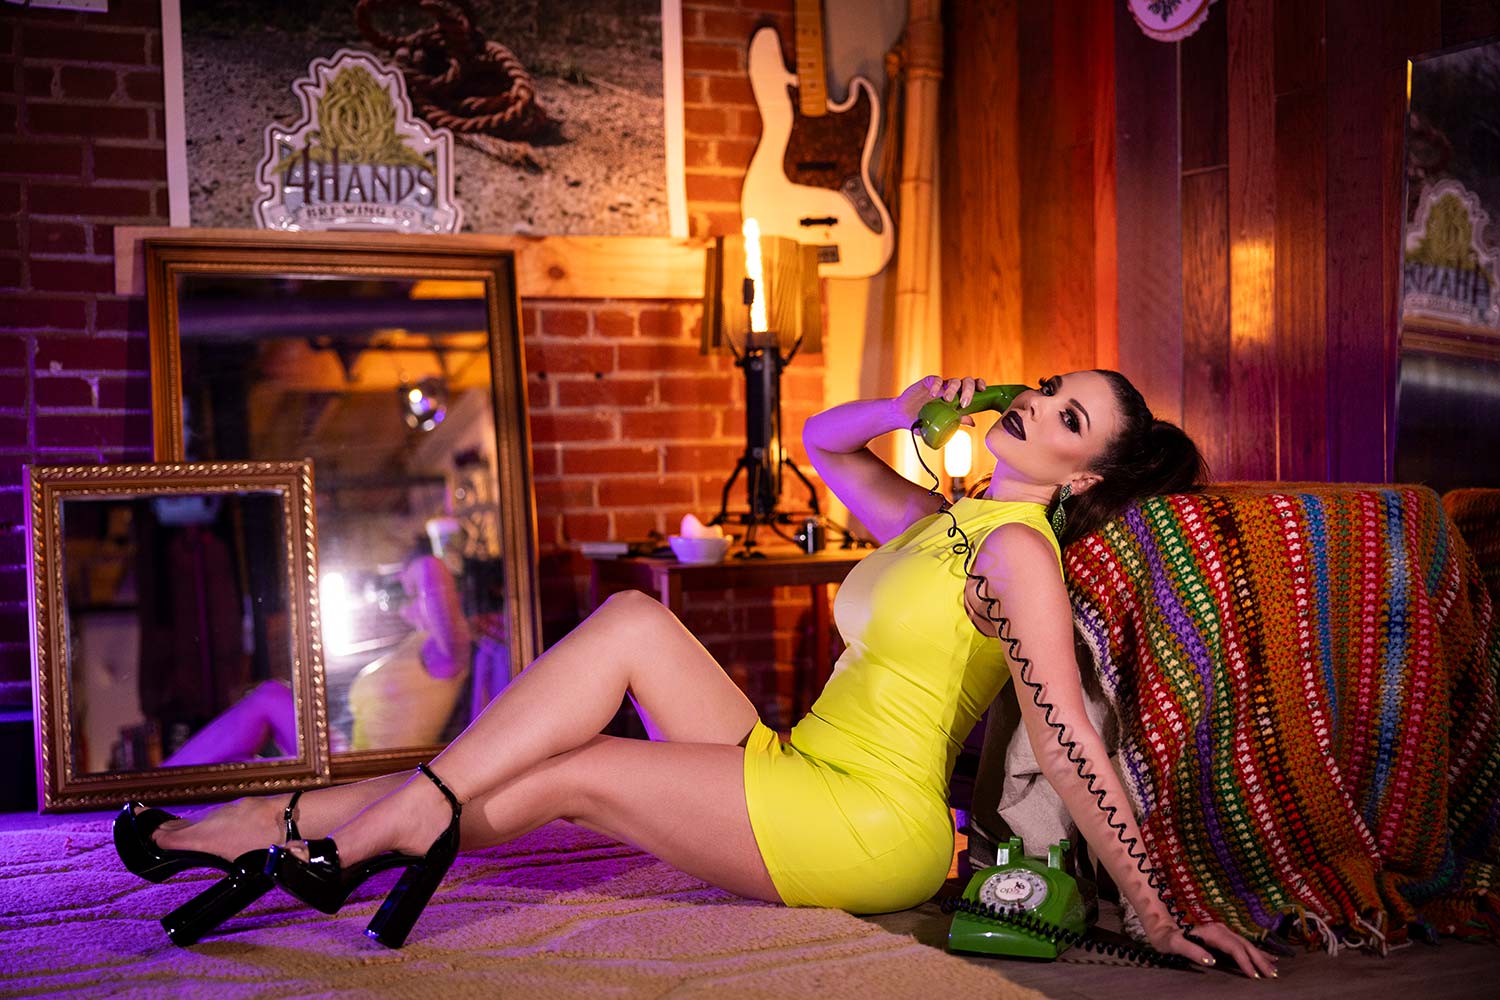
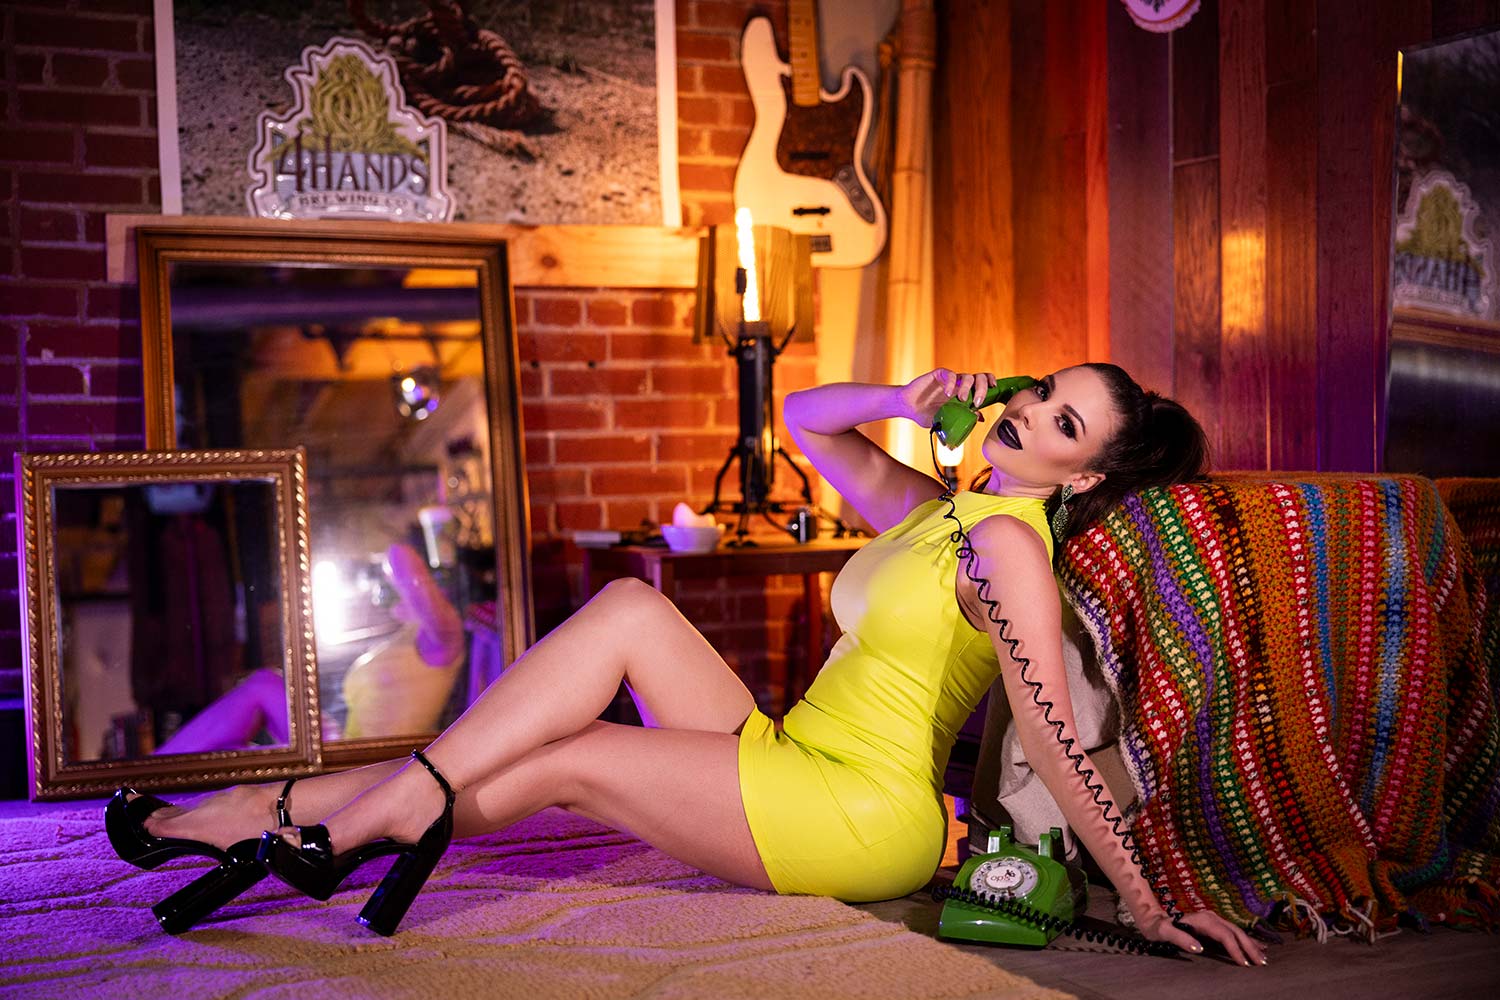
One of the things to understand what I mean by eye candy is you can shoot through things, you can put things in front of the lens, but it’s basically something in the foreground to create more visually appealing shots. So you can experiment with that. Again, there’s no right or wrong thing. I could shoot even with it laying here, or I could shoot through flowers. Sometimes, I’ll take a leaf and just put that in front of the lens. So you can do that stuff. But the next thing we can do is perspective to make your portraits more interesting. So if I’m shooting down on someone, that’s going to minimize them, make them look weak. If I’m shooting up on someone, that’s more of a hero pose and a heroic shot, strong shot for them. Lauren, with that, she’s been sitting down on the ground. It’s very feminine. It’s minimizing.
 
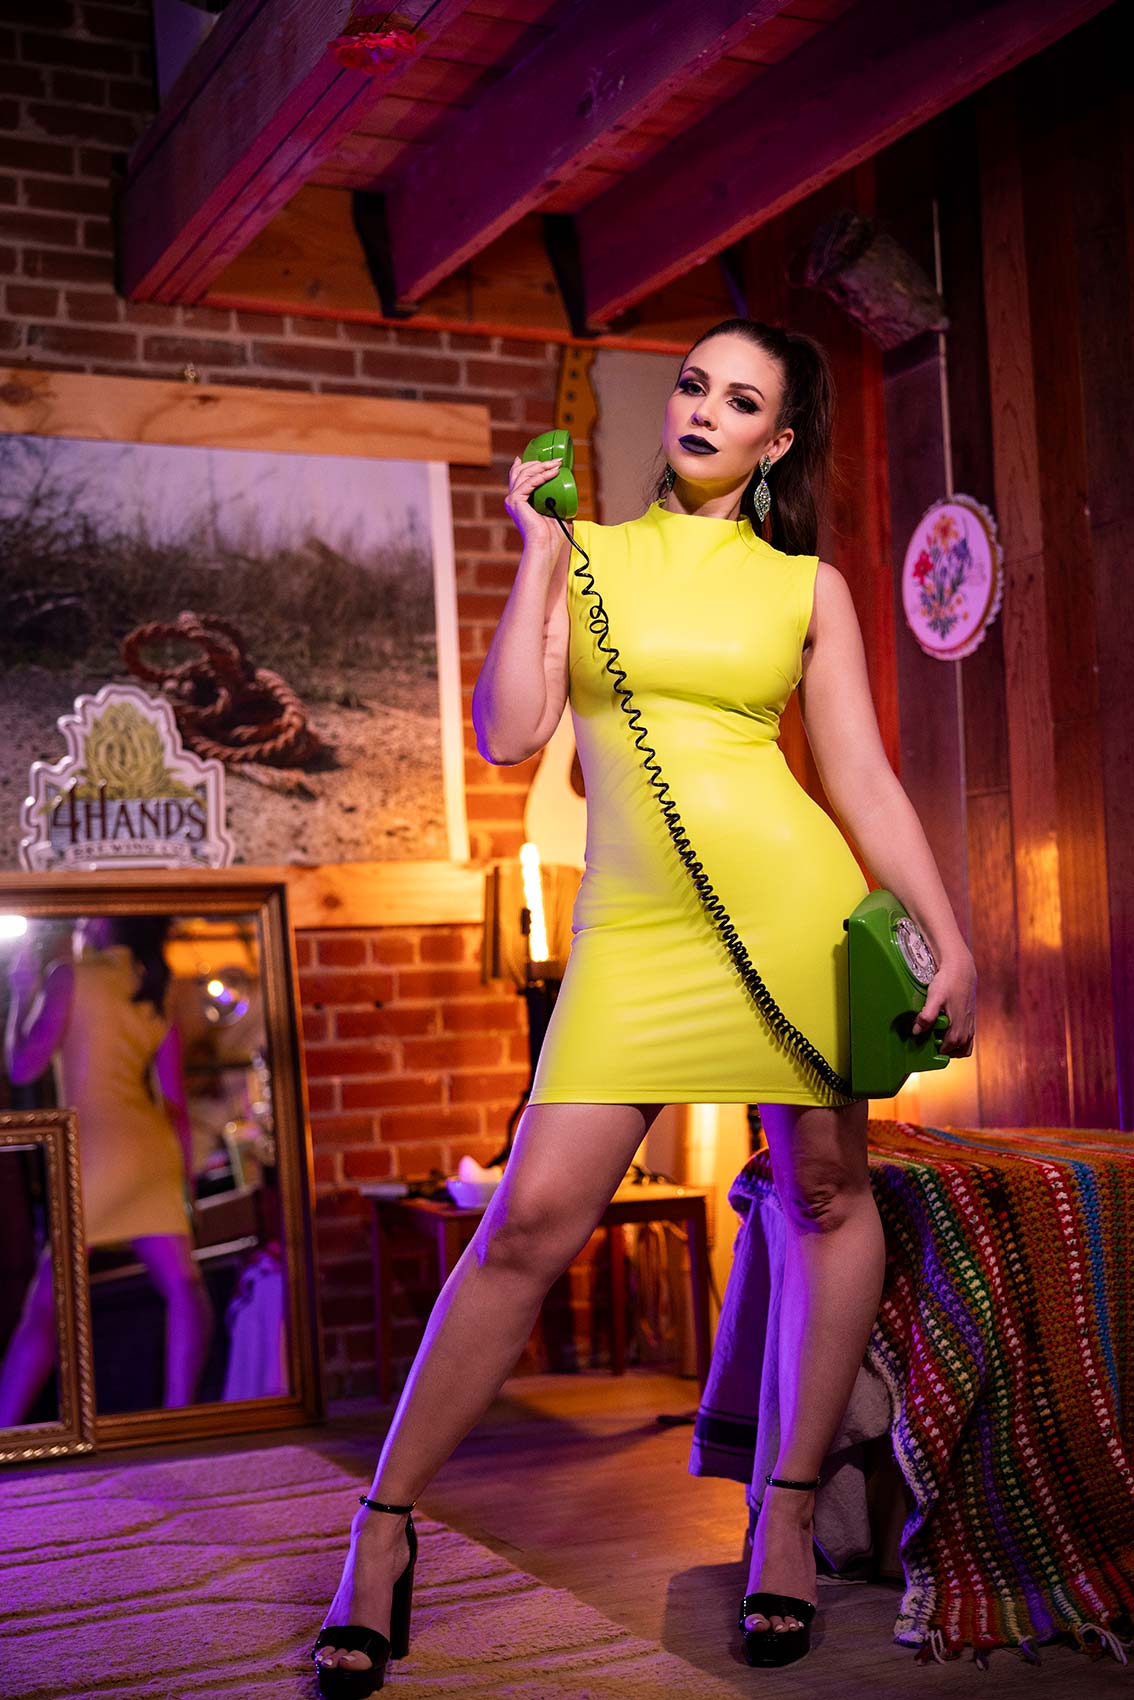
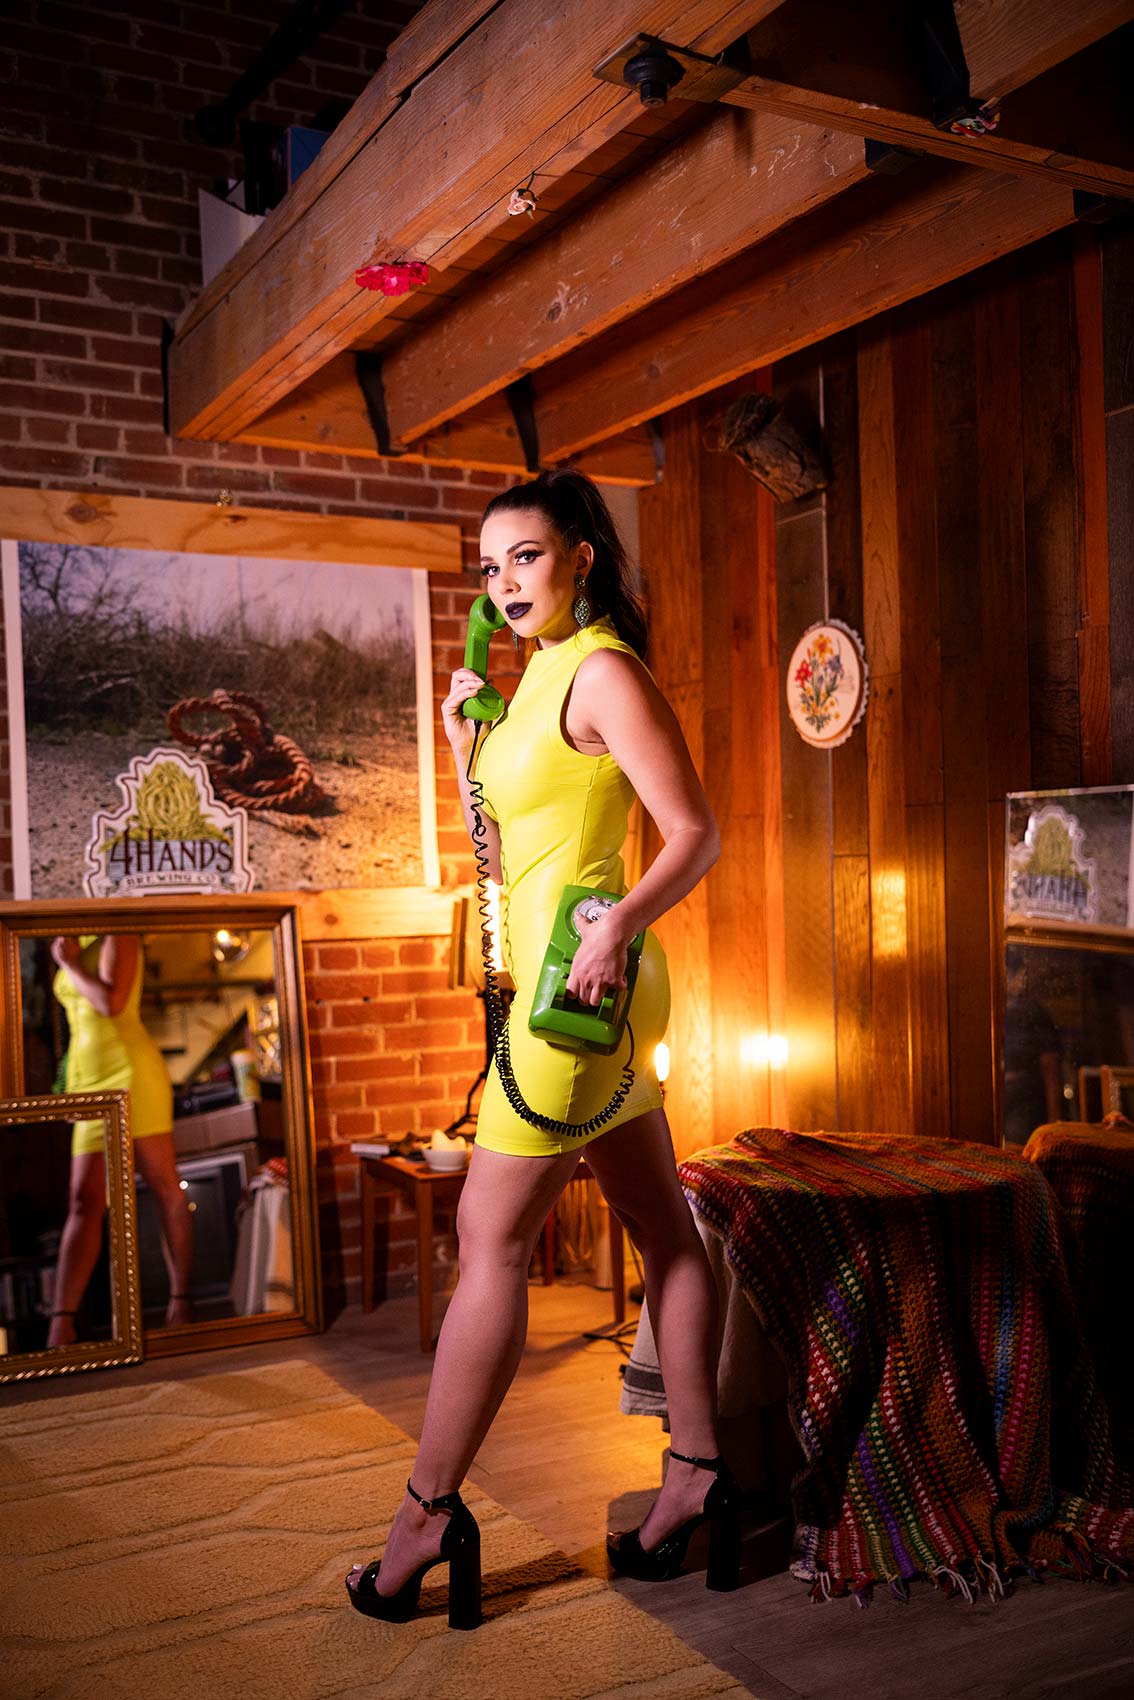
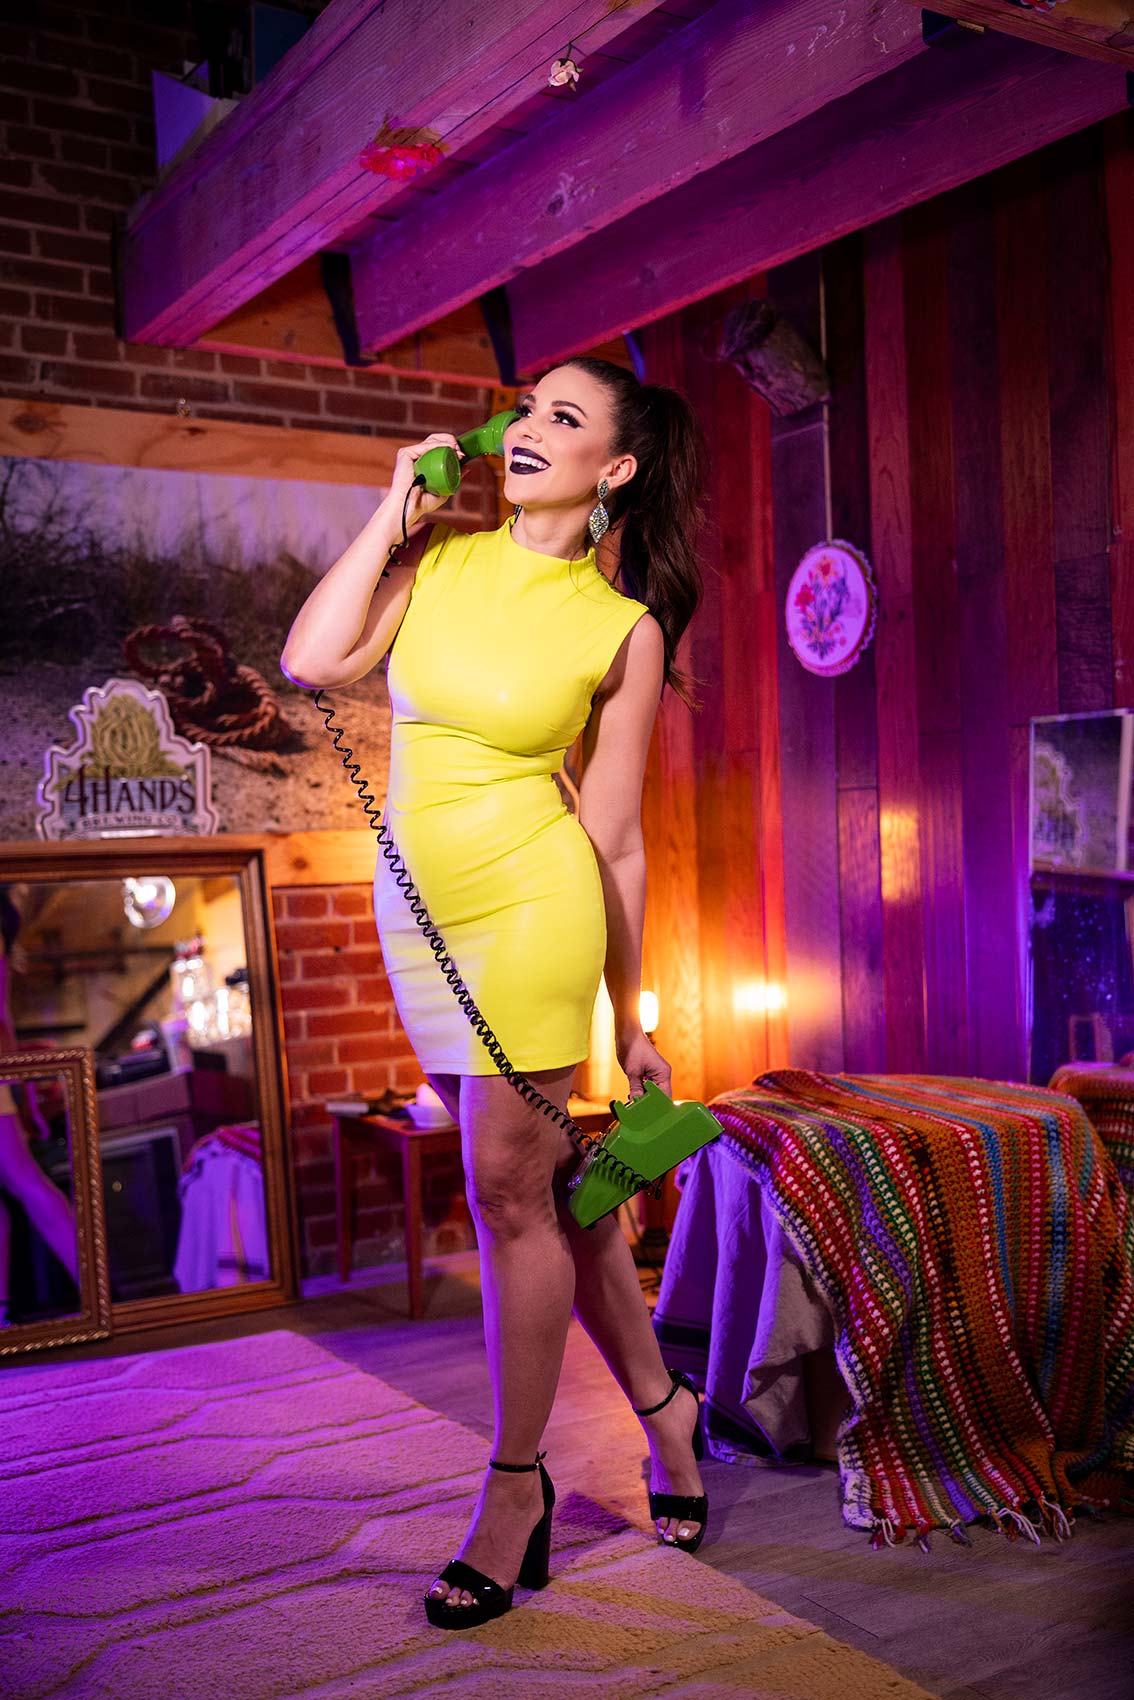
Now, I want her to be a little bit more powerful. So I’m going to have you stand up, Lauren, and I’m probably going to have you have that phone. And I’m thinking something a little bit more stronger now where you’re standing up, and you’ve got the phone like this, and it’s more powerful like this. So let’s see what that’s going to look like. So let me move you over here. Now, what you’re seeing is immediately this is a much more powerful shot of her. So just from moving her from the ground and shooting up at her, it’s so much more powerful.
Settings: f/2 @ 1/80, ISO 800
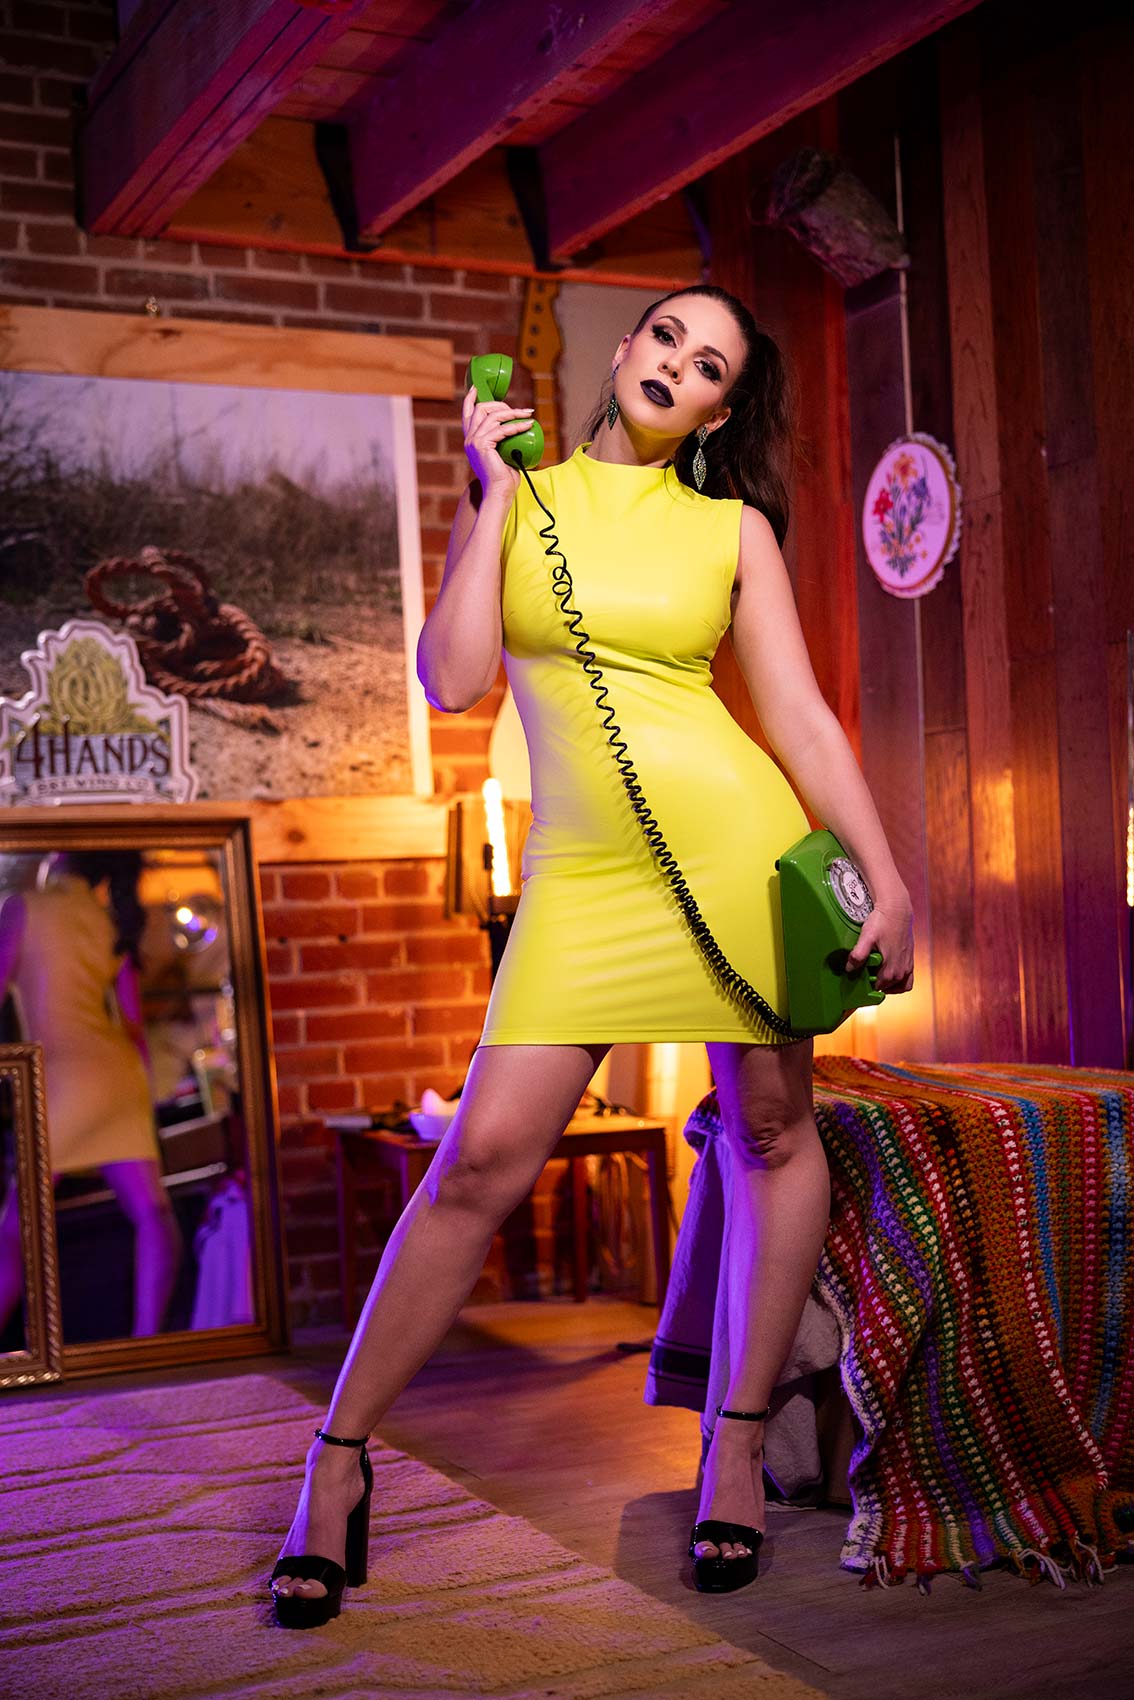
So now, you can see the angle I’m choosing of shooting up at her. And her being standing up, it’s this more heroic, stronger shot. So when she was laying down, you got to admit, much more feminine, softer shot. Her standing now is a more stronger female shot. So you’re making the choice as the photographer what to do. Now, the last thing you can do to enhance your portraits is add lighting for depth. Now, you’ve already seen the final shot because I’ve already added that lighting, but let me give you a sense of what I’m talking about here. The first shot we’re going to take would just be if I used one light. So let’s take that. So you can see this on video. I’m not saying that’s not a good shot. It’s a great shot, but how do we make it better? And so it tends to be that’s a little bit flat.


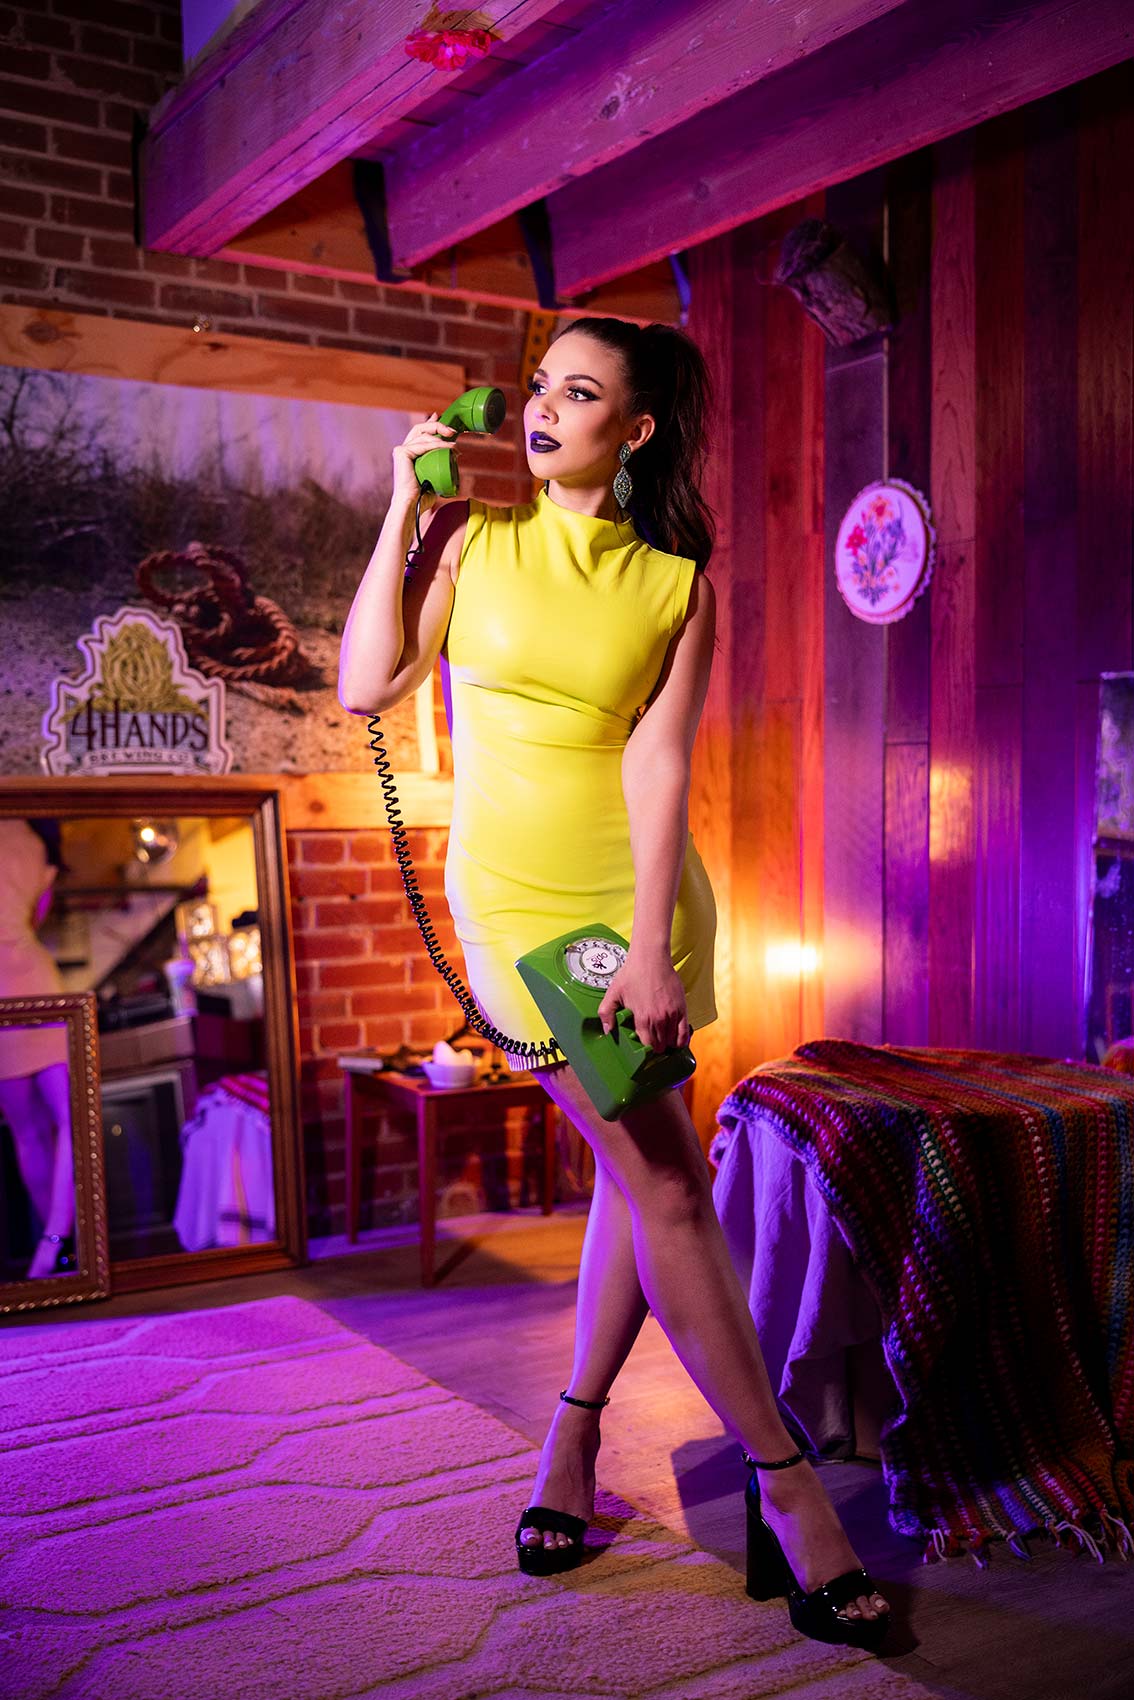
So what I’d want to do now is bring in another light source. And what we’re going to do is we’re going to add a little bit of color. So I want to add purple. Pick a color that makes sense. So orange blue, orange teal kind of makes sense. The purple’s working for me, so I’m going to stick with it. And this is just going to be for an edge light. I’m going to turn this up, and I’m just going to put this over here. And this is going to create a little bit more depth, which you should be seeing on her. So now, I’ve got a bluish-purplish light on her in that same post, and it’s fun. It matches the environment. It makes it more interesting by adding different lighting to it. So let’s take this, and I can immediately see on my camera the difference in these two shots.

One light

Settings: f/2 @ 1/80, ISO 800

Two lights

Settings: f/2 @ 1/80, ISO 800

Three lights

Settings: f/2 @ 1/80, ISO 800

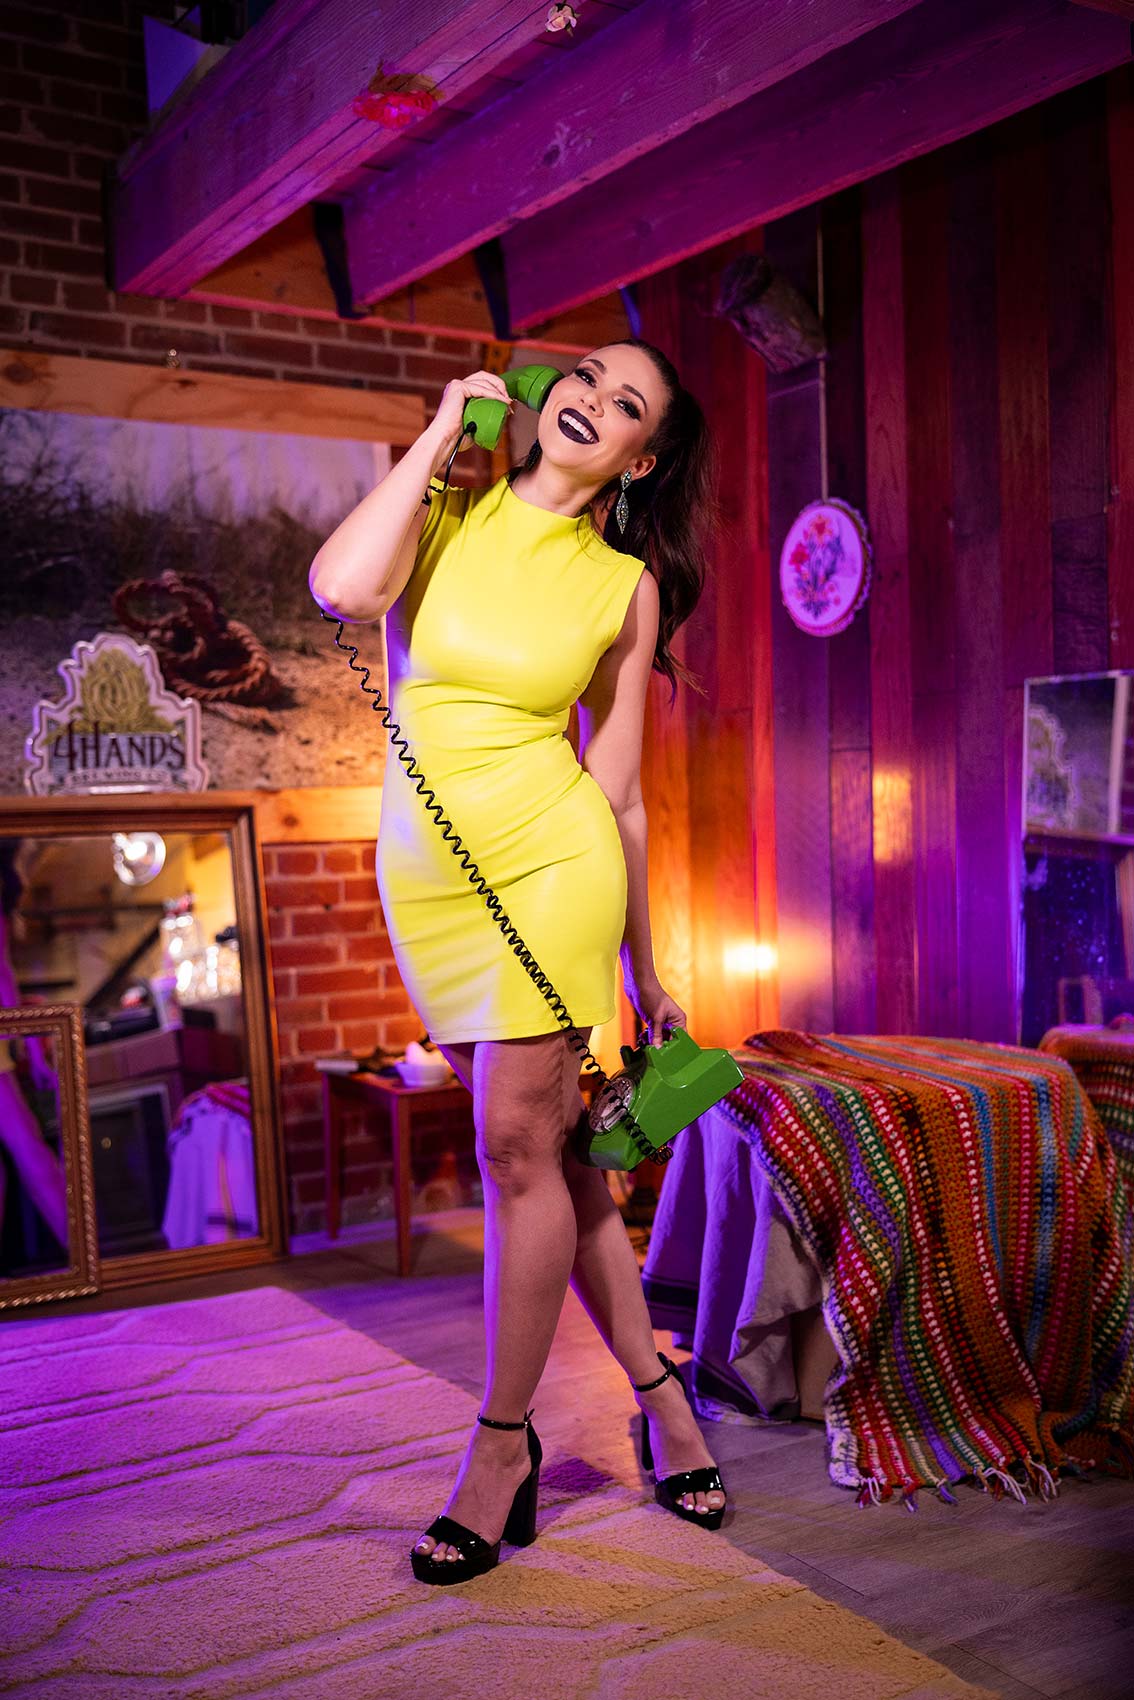
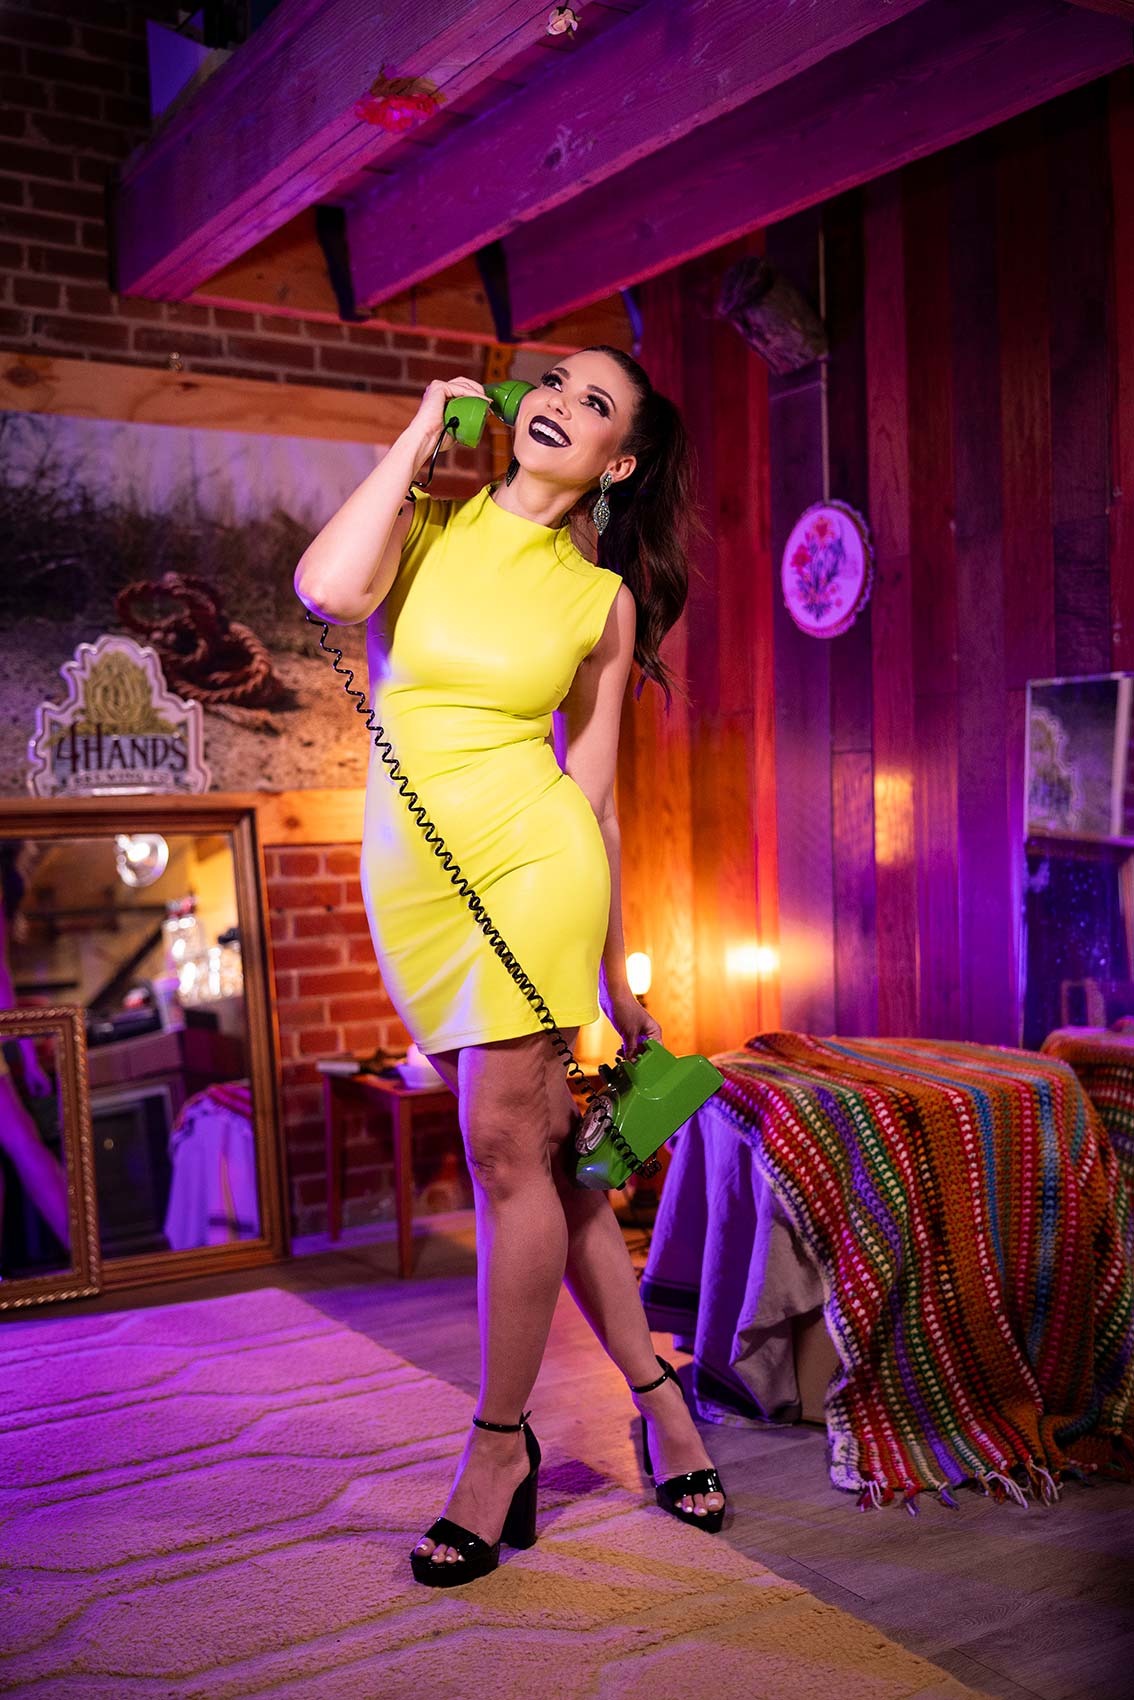
So even if I’m looking at it, I can now see all this purple in the shadows and in the rafters and in the floor. And on the edge of her, it makes the portrait much more interesting. So now, I’m going to add one last light here to create an edge light on her. And I’m just going to put this over here, and that’s now going to give me a little bit more edge light on her here. I could add another light, add a color to it. You’re the artist. You’re the creative. This is what you want to do. So now, let’s get this final shot. And you’ve seen all three of me building… Mix it up.

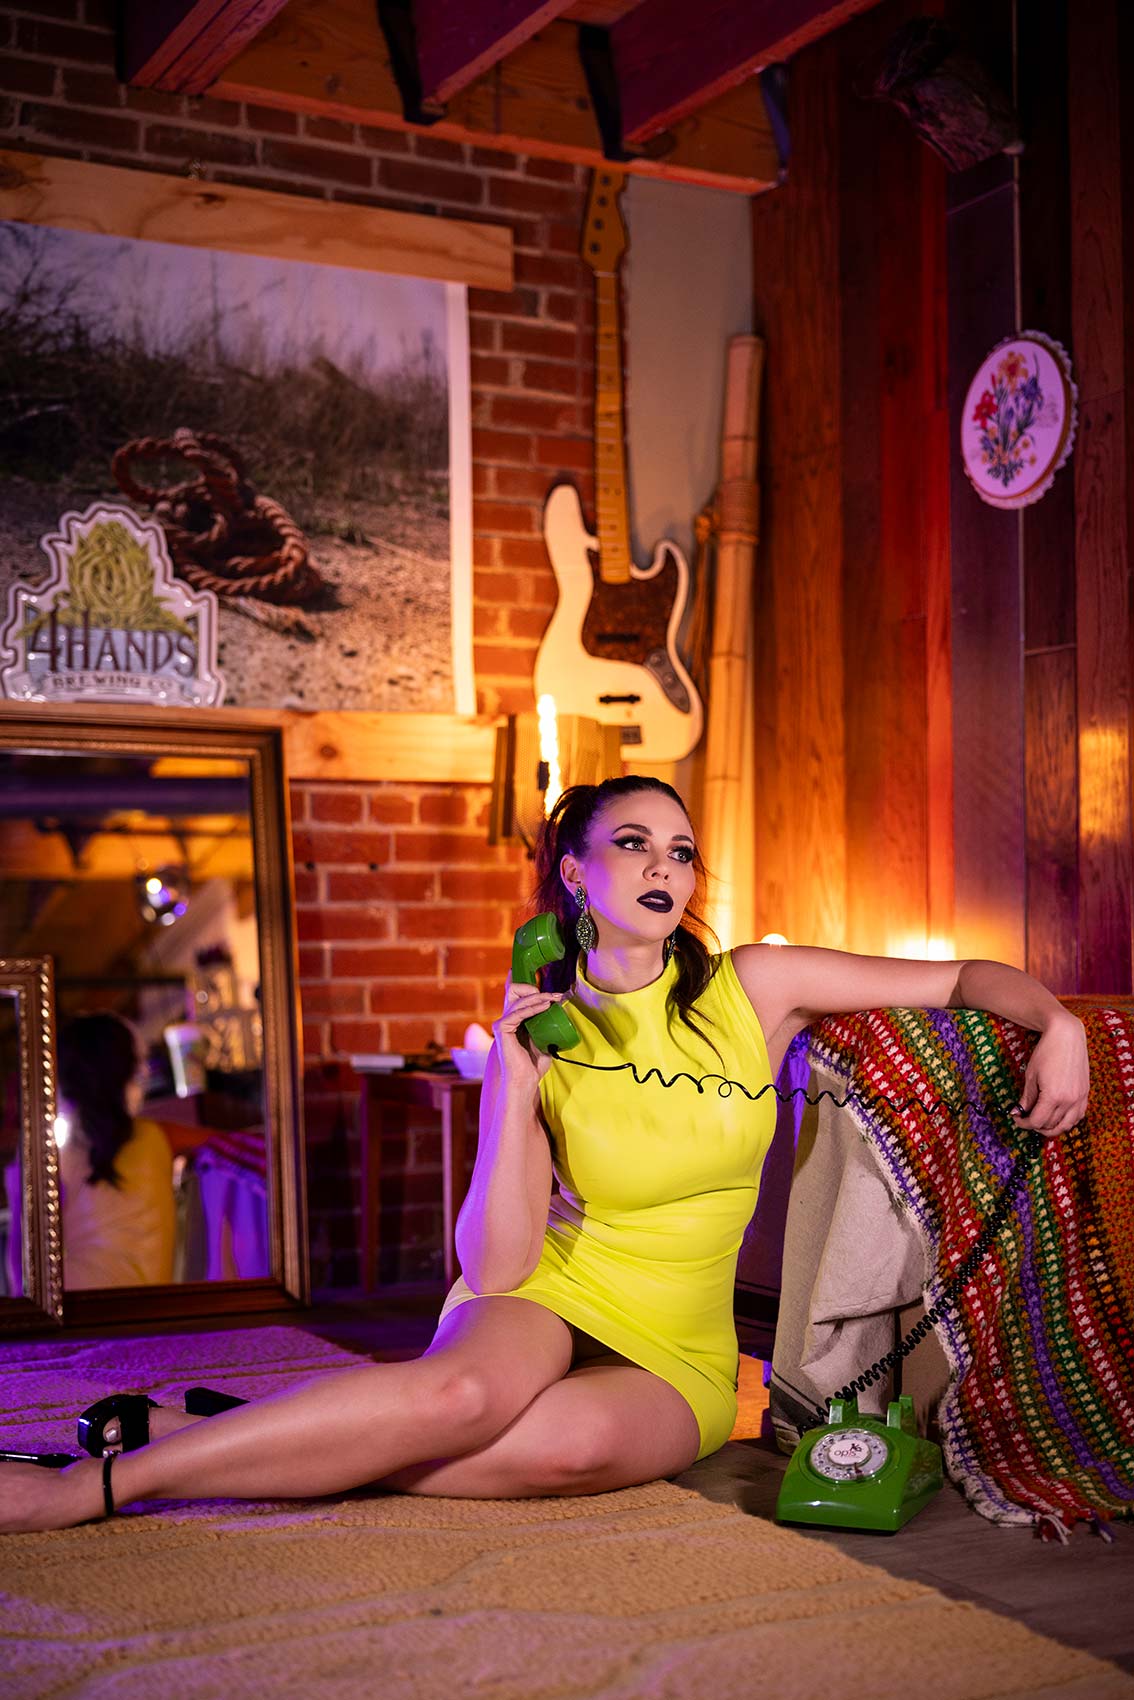
Settings: f/2 @ 1/80, ISO 800
So much fun. So that’s a wrap. Hopefully, those three tips give you ideas, incentives, gets your mind thinking on how to make your portraits a little bit more creative than just what you take vanilla out of the box. You’ll be on your way to being a better photographer. We’ll see you in the next video.
Settings: f/2 @ 1/80, ISO 800

Leave a Reply

Want more content like this?

Check out our recent posts

yt thumbnail portrait lighting and understanding rembrandt lighting

Understanding Rembrandt Lighting

Ever wondered how to nail that classic, beautiful lighting in portraits? Look no further! In this video, we’re diving deep into the wonderful world of Rembrandt lighting for your in studio portrait photography – it’s like painting with light!

Watch as we break down portrait lighting and understanding Rembrandt lighting in the simplest way possible. No fancy jargon here, just pure, easy-to-understand tips and tricks. We’ll show you how to create those gorgeous shadows and highlights that make your portraits pop!

Whether you’re a newbie or a seasoned pro, there’s something for everyone. We’ll walk you through the history, the basics, and even some cool practical demonstrations. Get ready to take your portrait game to the next level!

Read More »
new westcott fusion by salvatore cincotta thumbnail

New Westcott Fusion by Salvatore Cincotta

The new Westcott Fusion by Sal Cincotta is something I’ve been working on with Westcott for a couple of years now. It’s an incredible product that will give you more lighting possibilities than you could imagine.

Check out this on location shoot and how we use the product. More videos coming.

Read More »