How to Shoot Great Reception Details With Off-Camera Flash with Vanessa Joy
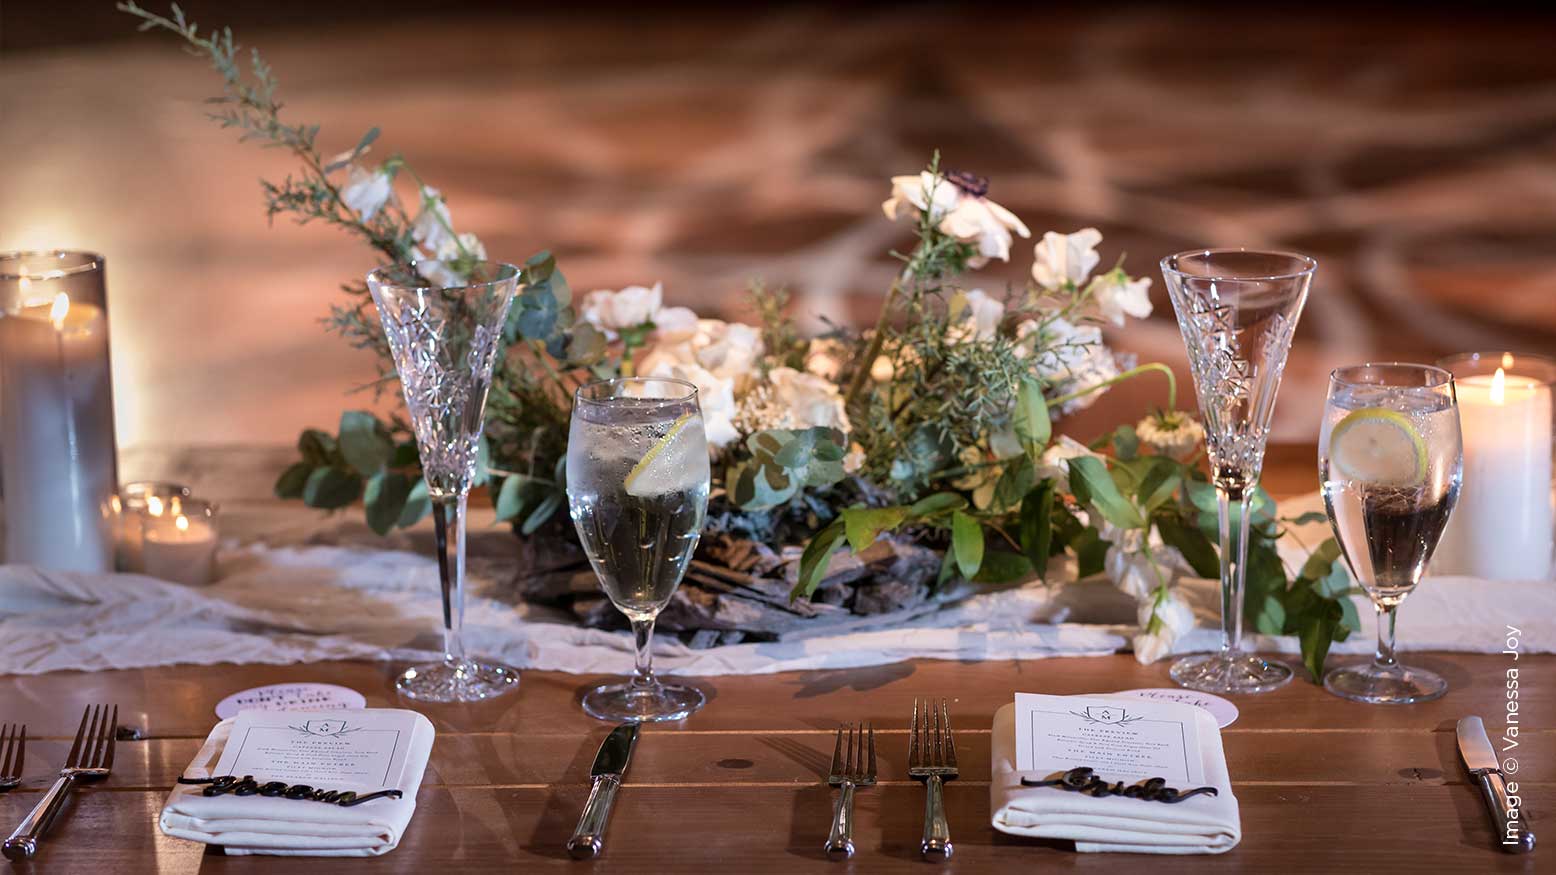
The details of a wedding reception are often the touches that distinguish a wedding and show the unique personality of the bride. From the flowers harvested from her sister’s personal greenhouse to the heirloom mismatched china to the handmade, DIY, clock-themed centerpieces… this is her chance to show off her creative side and make the reception unique to her, her family and friends, and her relationship with the groom.
Each detail represents a decision or a way of communicating for that bride, so you want to capture high-quality, well-lit shots of everything she’s worked hard to curate. You develop an eye for what may “fade into the background” for the guests, but which was lovingly selected by the bride. Part of wowing her when you return her photographs is capturing all the effort and love she put into the reception, bringing her back to the day of the wedding through thoughtfully-identified details.
It’s also a wonderful place to capture photographs that allow you to place your work in excellent magazines and blogs. When a magazine publishes weddings, a key component they’re looking for is the “it factor” of that particular wedding: the details and elements that make it a variation on the common themes for weddings.
Making those detail shots count can make your photographs stand out to a publication editor and help you get that valuable exposure. Often, the challenge is getting everything photographed quickly and with the perfect lighting, even as “the show must go on.” Here are some key tips for shooting great reception details with off-camera flash.
How to Pick the Perfect Lens
When photographing details at a reception, I’m using either my Canon EF 50mm 1.2 L or my Canon EF 85mm f/1.4 IS lens. The compression works well for this kind of photography, and it helps me focus on an area of detail. Another helpful choice is with my depth of field, which I set at 2.2 to 3.5. Choosing a shallow depth of field brings the viewer’s attention to the subject of the photograph while letting everything else be the canvas on which the detail is set. We’ll get more into that later.
I opt for the 50mm for the closest details, especially small items or elements. I keep the 85mm handy because it works well for cake shots and full centerpieces, capturing even intricate displays well. If you’re grabbing a full-room shot, a wider lens will likely need to be used.
Drawing Attention to a Detail
One way to bring the detail element of the scene to the forefront is to focus on the main object you want to photograph and increase the bokeh and softness of everything in the background. This can give a dreamlike style to the photo and draw the viewer into the item you most want them to see. This technique is highlighted by the light and exposure for the detail photos, which we’ll get into next.
Exposure Guidelines to Get Great Backgrounds
No matter how beautiful the details are, a greater distance from the background will enhance the overall feel of the image and make the subject stand out more. We don’t want dark, unclear backgrounds, even if we’re aiming for softness there. I specifically choose my background to have more light or candles so it creates a beautiful bokeh whenever possible.
I start by exposing for the ambient. For instance, in a dark hall, I might let my ISO go up to 1600 or 2000. Your ISO choice will depend on your camera’s high ISO capabilities. For me, with my Canon 1DXIII, I try not to let it go up over 5000, because I find that there’s too much noise in the image, and that’s not what I like to see.
I’ll set aperture to f/2.2 to f/3.5, adjusting it based on the subject of my photograph and how much of it I’d like to have in focus. Based on this process, I’ll then set my shutter speed to what I need to get a proper exposure, sometimes one or two steps darker. Because my subjects aren’t moving, I have no problem going a little bit lower on my shutter speed than I normally would.
The Miracle of Off-Camera Flash
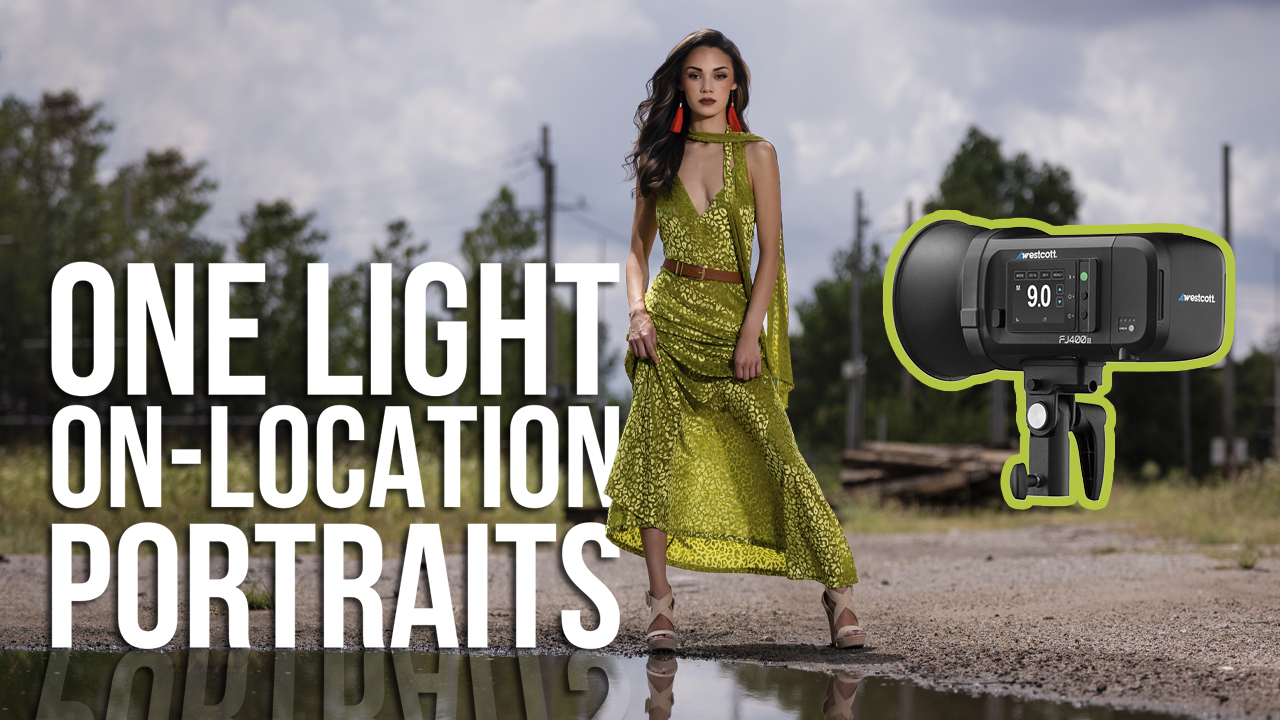
My off-camera flash of choice is the Profoto B10, starting with the “through the lens,” or TTL mode, which offers an automatic calculation of how much light to put out based on my distance to the subject and my camera’s exposure metering system. Starting with this gets me theapproximateexposure for the correct amount of power from the light, so I understand the ballpark of what I’m looking at before I flip over to manual. With Profoto lights, when you flip your flash setting from TTL to Manual, it locks in the flash power setting and then you can manually go brighter or darker from there.
The room I’m photographing has an impact on how I position my lights, so I’ll sometimes use one light at a 45-degree angle toward the detail I’m trying to capture, or two lights on either side of the detail. I also prefer to use a grid light shaper, focusing the beam of light because I don’t want a lot of spill-off. Light spilling off onto often white-colored tablecloths can create a quick overexposure, which will be distracting for the viewer.
Off-Camera Flash Helps You Quickly Shoot Multiple Items
Because I’ve set my camera and aligned my off-camera flash, I can actually photograph a whole table, both the larger tablescape look and then close-ups of individual details and angles, all without having to make a lot of time-consuming adjustments. This is very helpful if, and when, you don’t have much time to get those detail shots.
I’ve had those wedding days when I had to capture the whole reception room in only five minutes. When you know what you’re going to do ahead of time and use this method, it works great! You’ll be amazed at how quickly you can take in everything about the design and decor. If you do have more time, this just opens up your options to photograph items that are subtly mismatched or elements of the room that otherwise wouldn’t get to be center stage. You never know what might turn out to be your best photograph of the night, or your client’s favorite.
Think the Way a Magazine Editor Thinks
Alongside getting as many of these details as you can, try to put yourself in the mind of the magazine editor or publisher who you’d like to feature your wedding photography. For instance, getting a horizontal and a vertical shot of the items you think are most likely to appeal to them may already be part of your shot list, but doing it with all of your favorite details helps your work fit into a publication’s layout that much more easily.
Keep your ears open whenever you’re talking with the bride or hearing her describe elements of the reception to someone. This could yield a great short note to add to a photo, making it publication-worthy. Some details, after all, have a real story behind them, elevating their appeal, and editors love when you write the story for them a bit.