How To Shoot Indoors With Natural Light with Meg Loeks
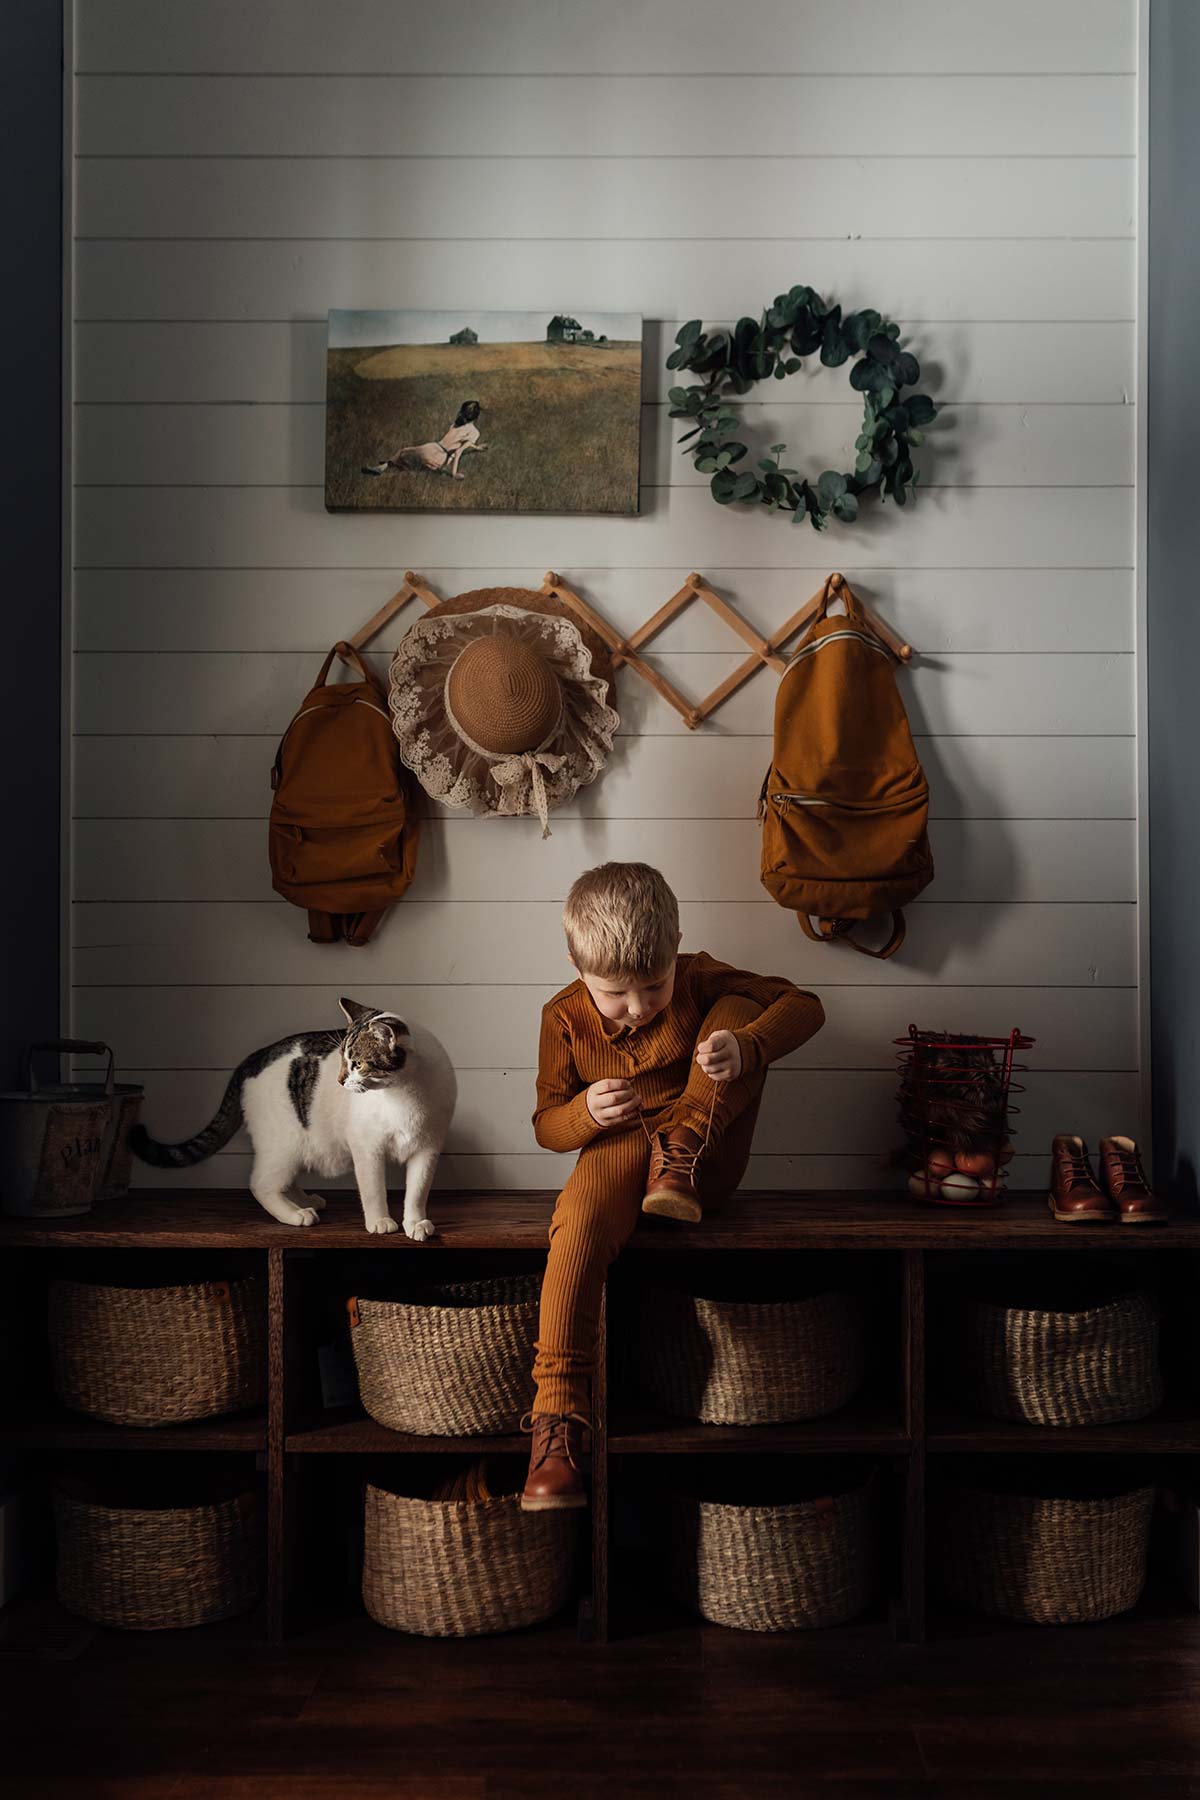
There’s something about low light that draws me in. Maybe it’s the romantic atmosphere it exudes, or the depth it can give an image to make it look three-dimensional. My work centers around the home and working with natural light to document my family’s everyday, mundane moments. Like many, over the years I’ve learned the importance of studying light within my own home. How it changes from hour to hour, day to day and season to season. How the shadows can shift and change in a room from sunlight filtering through a tree outside my window, or how in the dog days of summer, the early morning sun streams through the northeast-facing window in our dining room filling the space with warm light. I hope you find these tips and tricks I use when working with natural light at home useful and beneficial.
Studying the Quality of Light
Before you start shooting, study the quality of light in the space you are in. Watch how it changes and shifts hour by hour both in strength and temperature. How many windows are in the space you are working in? Where is the sun in relation to the window(s) in the room? If the windows are north-facing, you’re always going to have soft light. If the windows are east-facing, then you’re obviously going to have direct sunlight in the morning (weather permitting) and soft light in the evening when the sun is west. Which leads me to my next point: what is the weather outside? How I work with harsh light on a sunny day is very different from how I would work with overcast light. Of course there are other factors, like objects outside the window blocking the light, such as a tree or covered porch. This affects not only the amount of light shining through the window(s), but could possibly create color casts as well. Depending on the time of day, I have certain rooms I prefer to shoot in over others based on the quality of light.
Studying Your Environment
Take time to study the space you are photographing your subject in. Light paint colors are going to reflect light more than dark paint colors which absorb light. What colors are you working with in your environment? Bright colors like a vibrant red tend to create color casts whereas dark, muted colors tend to not. If you are dealing with a lot of color casts, the best advice I can give you is to place your subject as close to the window as possible.
It’s crucial to know whether the environment is important to your subject’s story or not before you start shooting. If the environment is important, the further you have your subject away from the window, the more visible the environment will be. The closer your subject is to the window, the darker the background and harder it will be to see the details within the space around your subject.