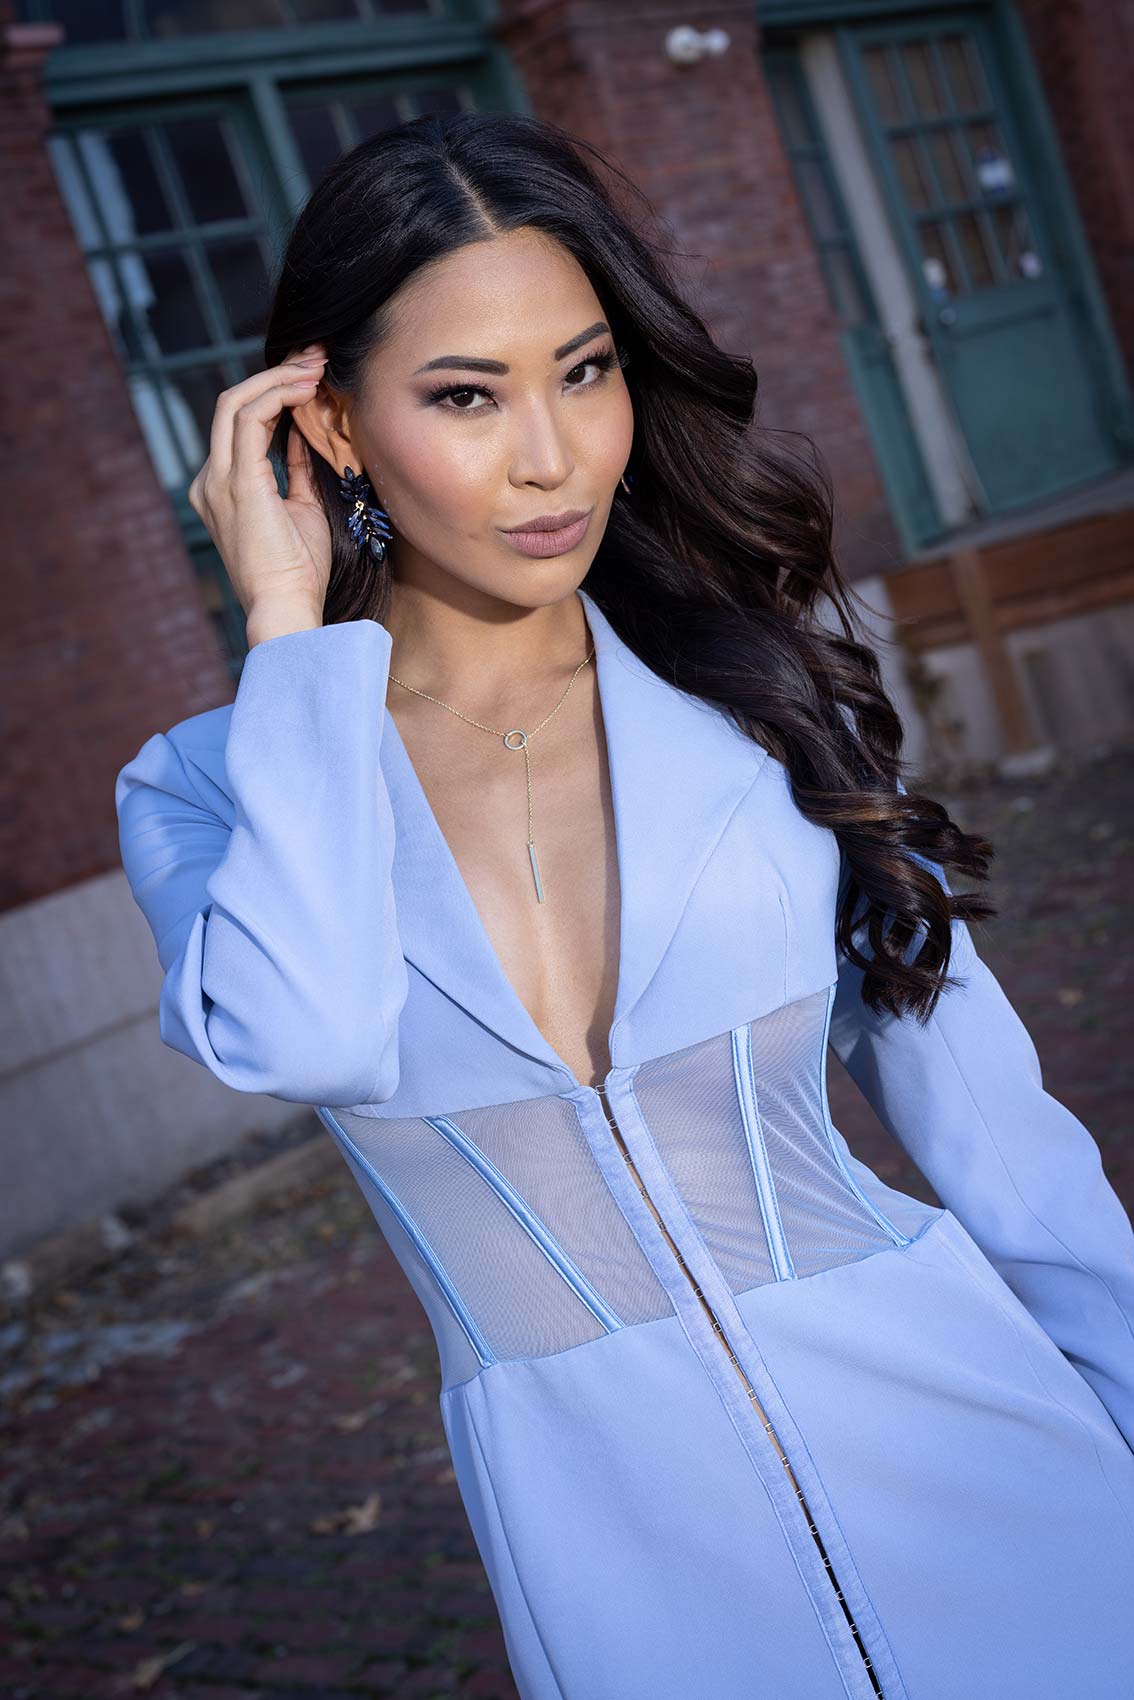
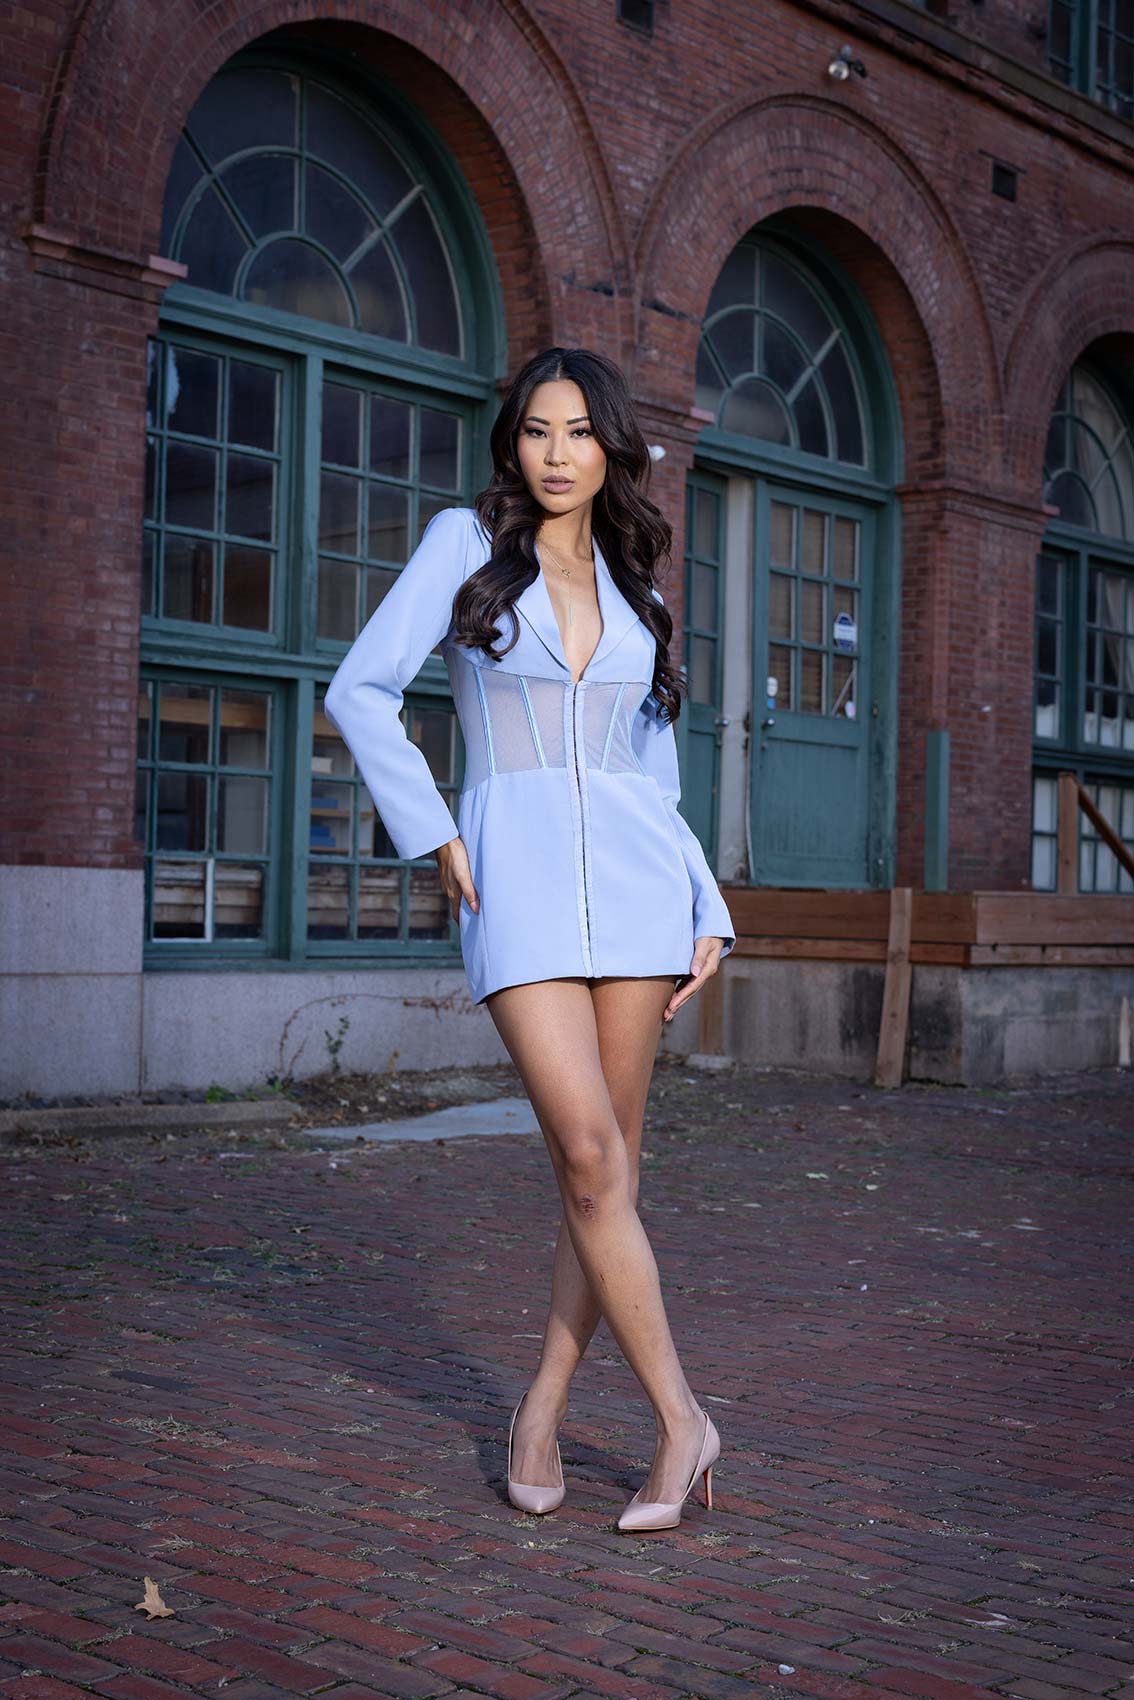
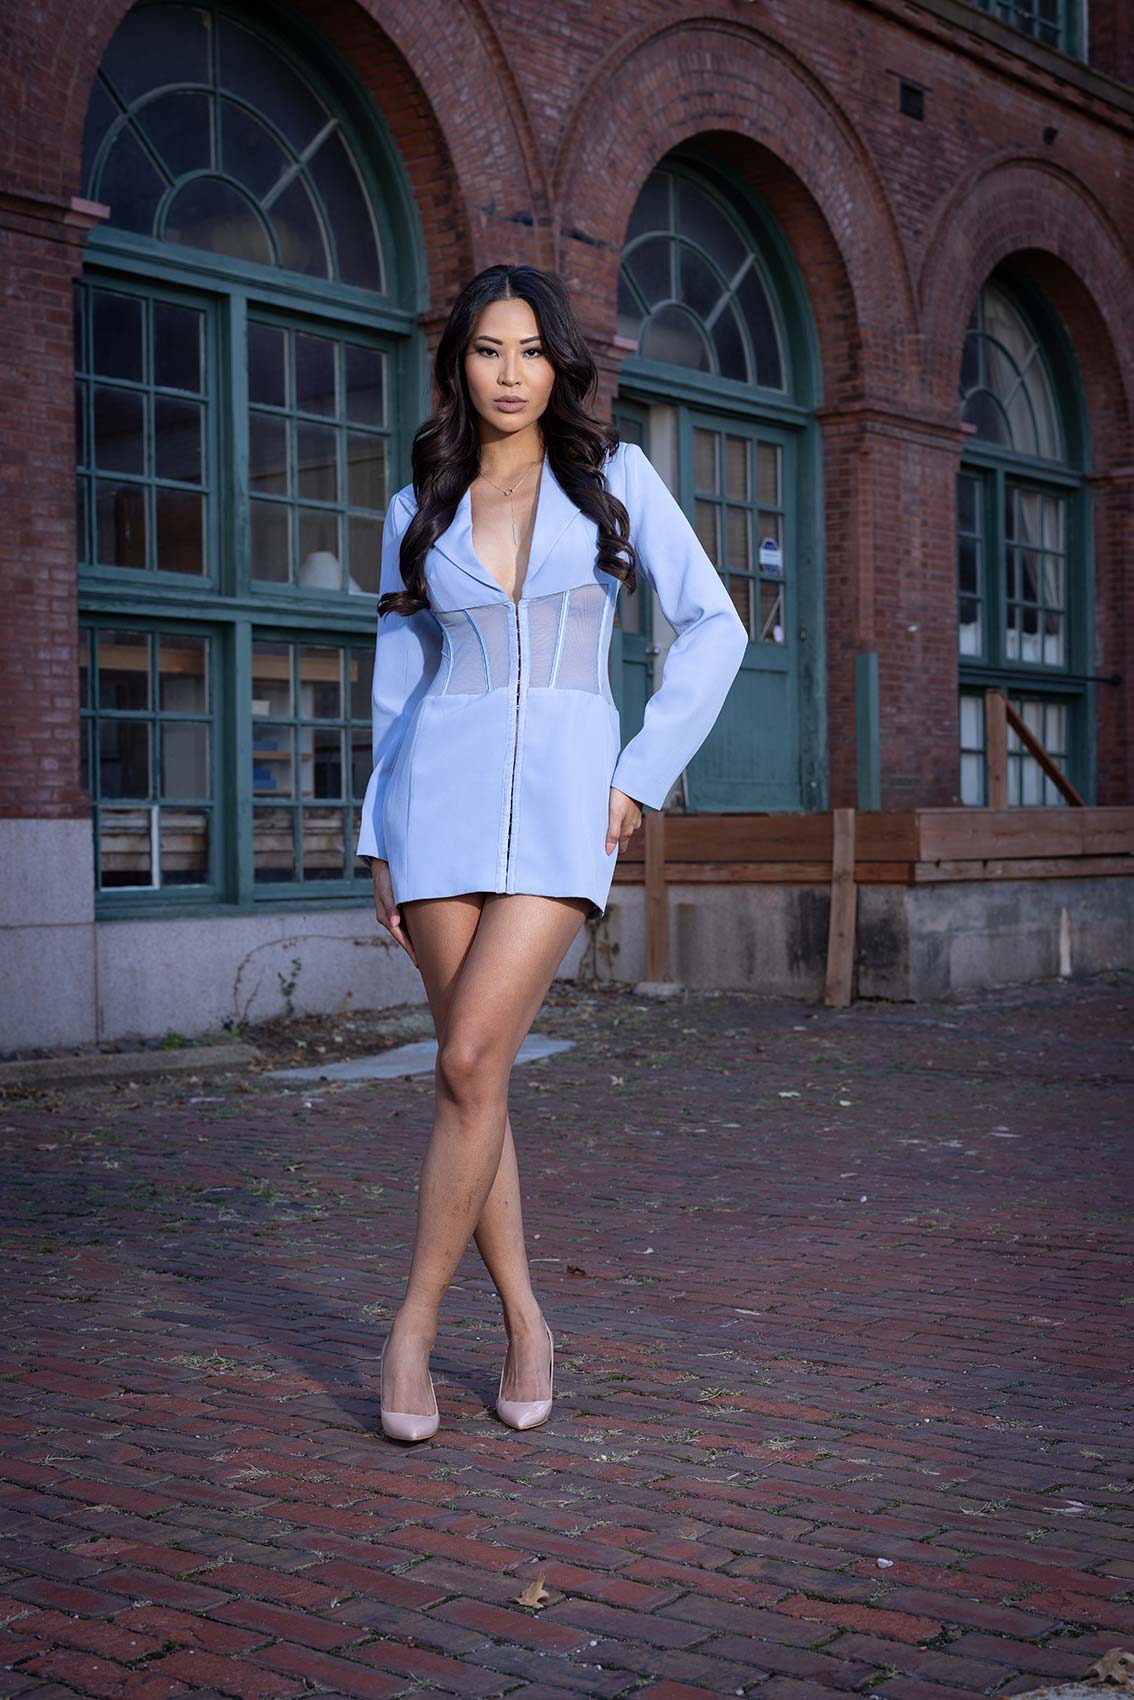
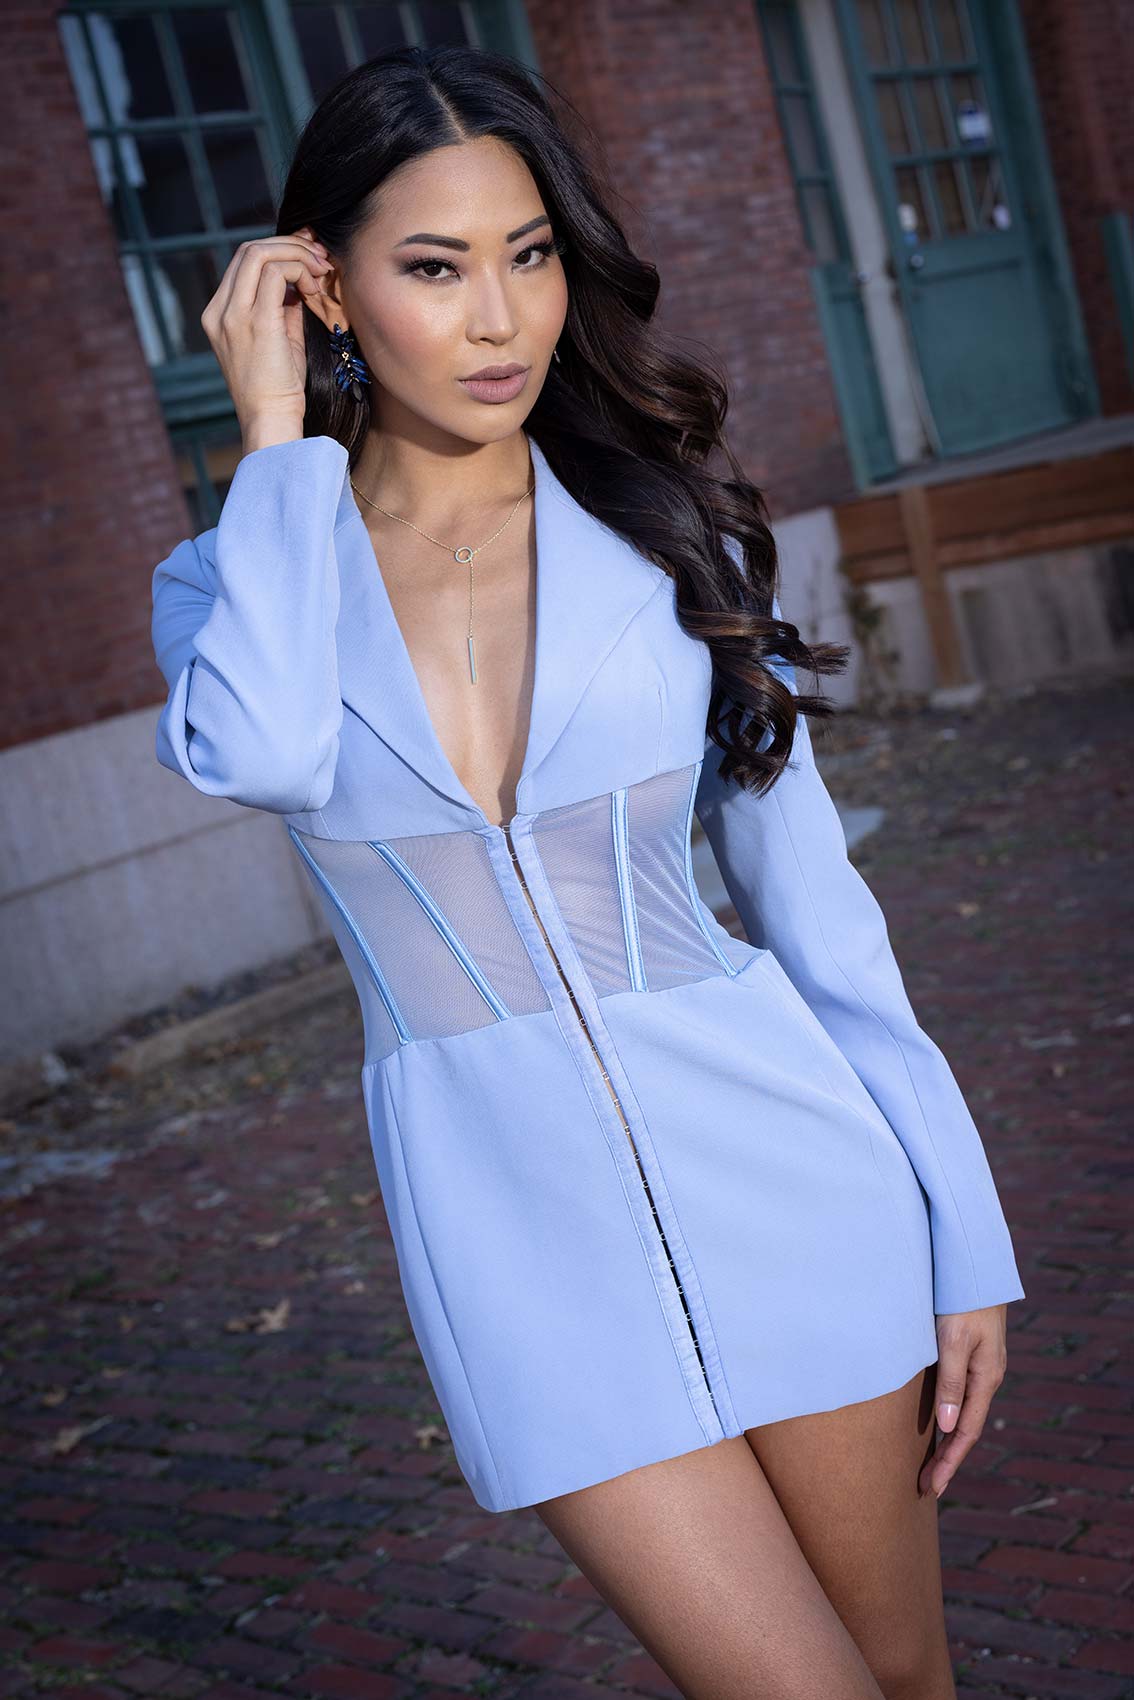
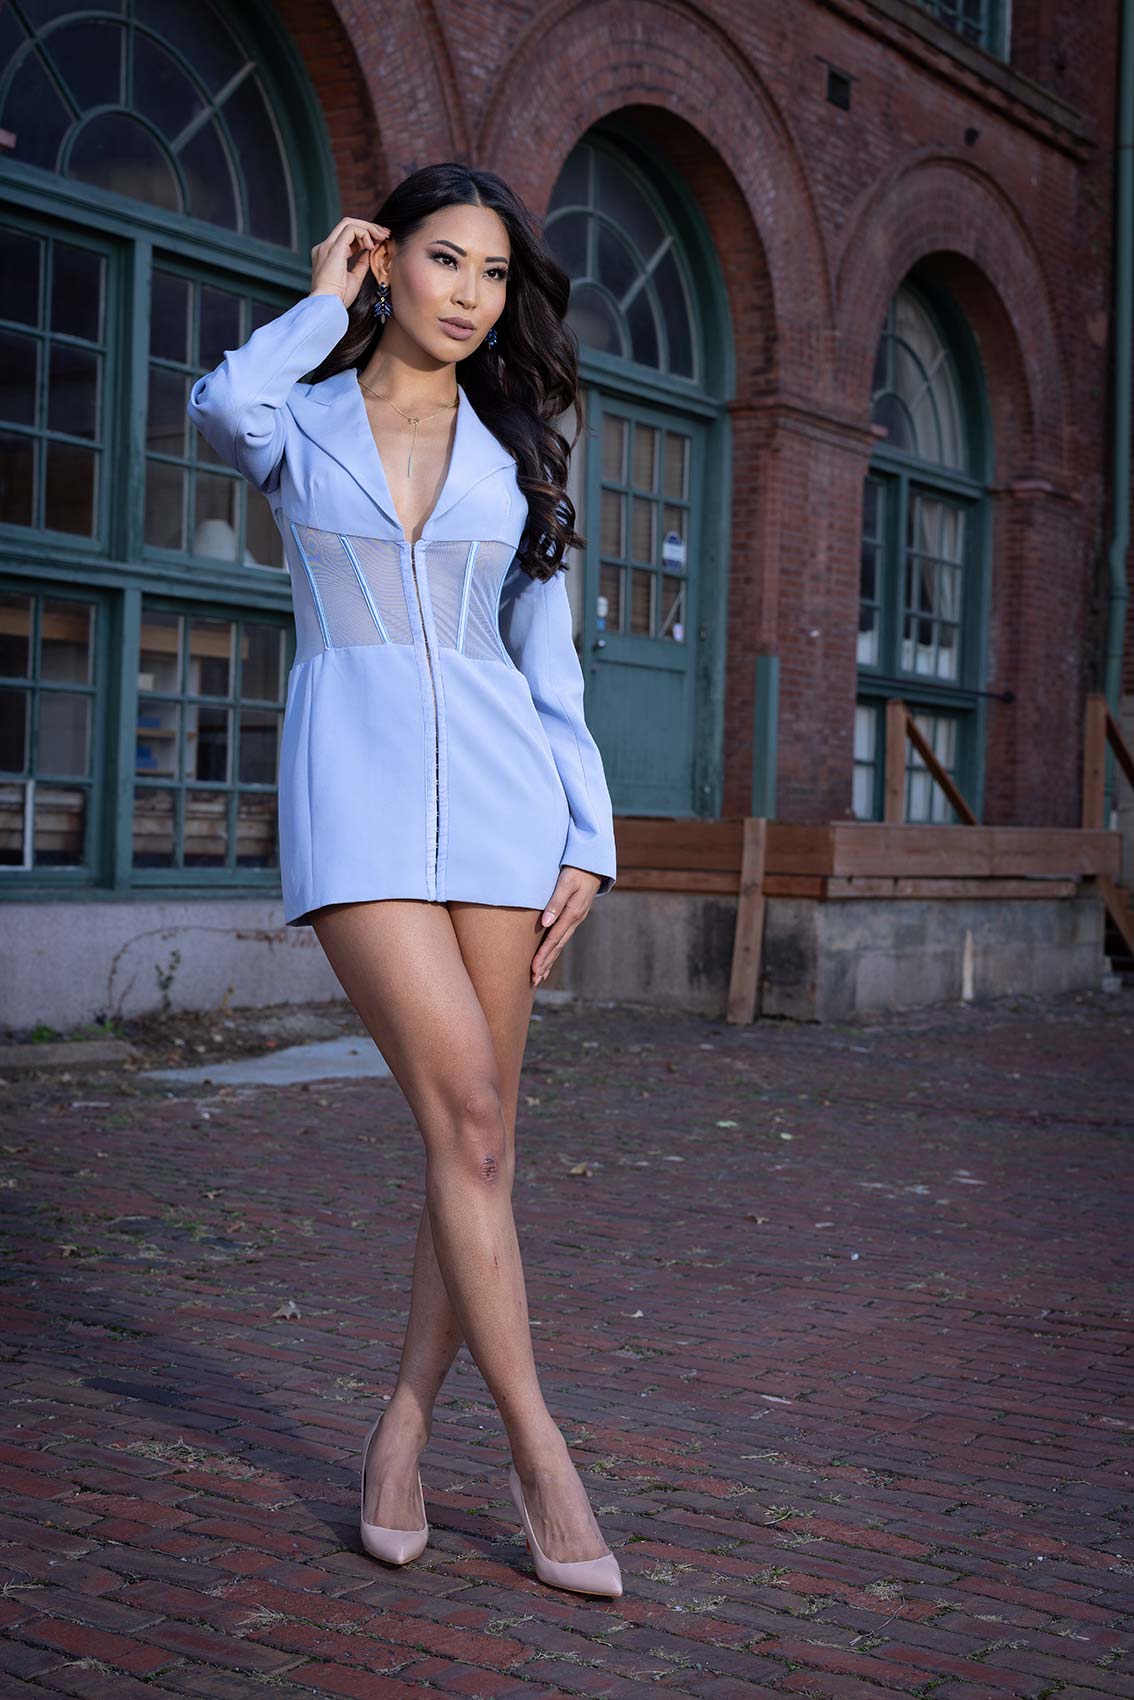
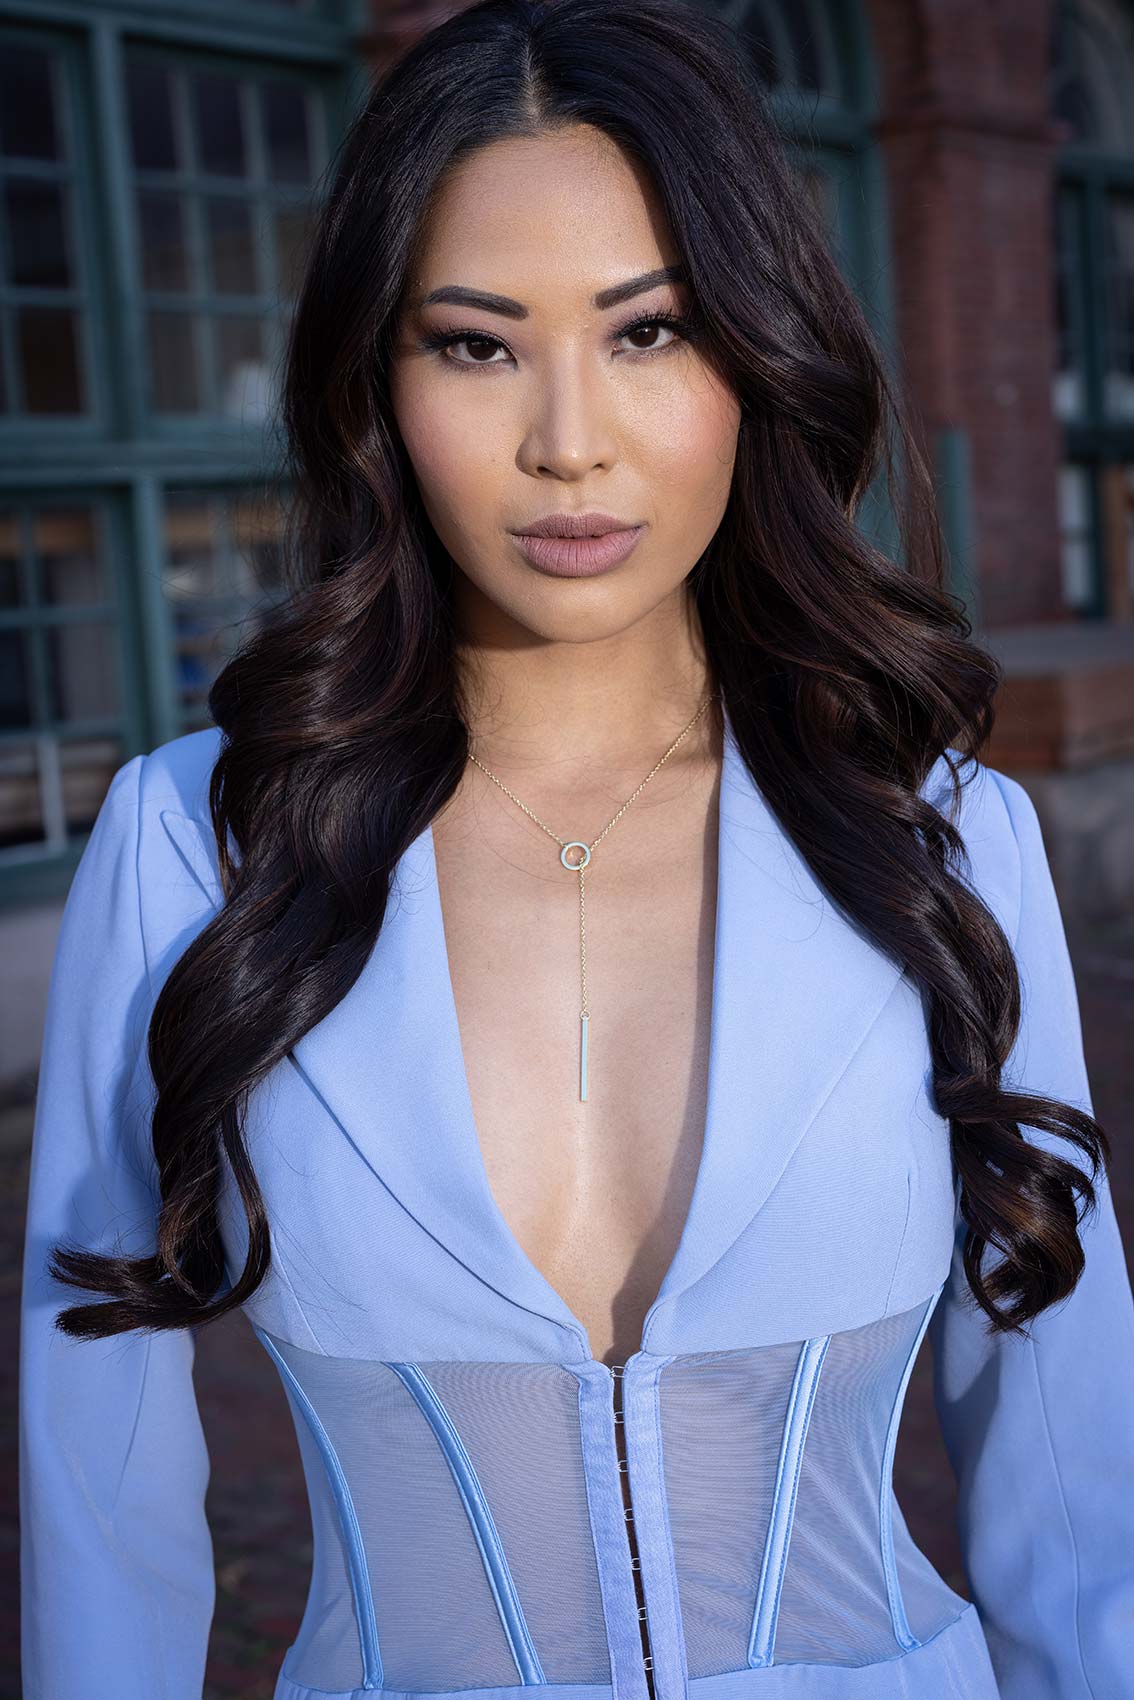
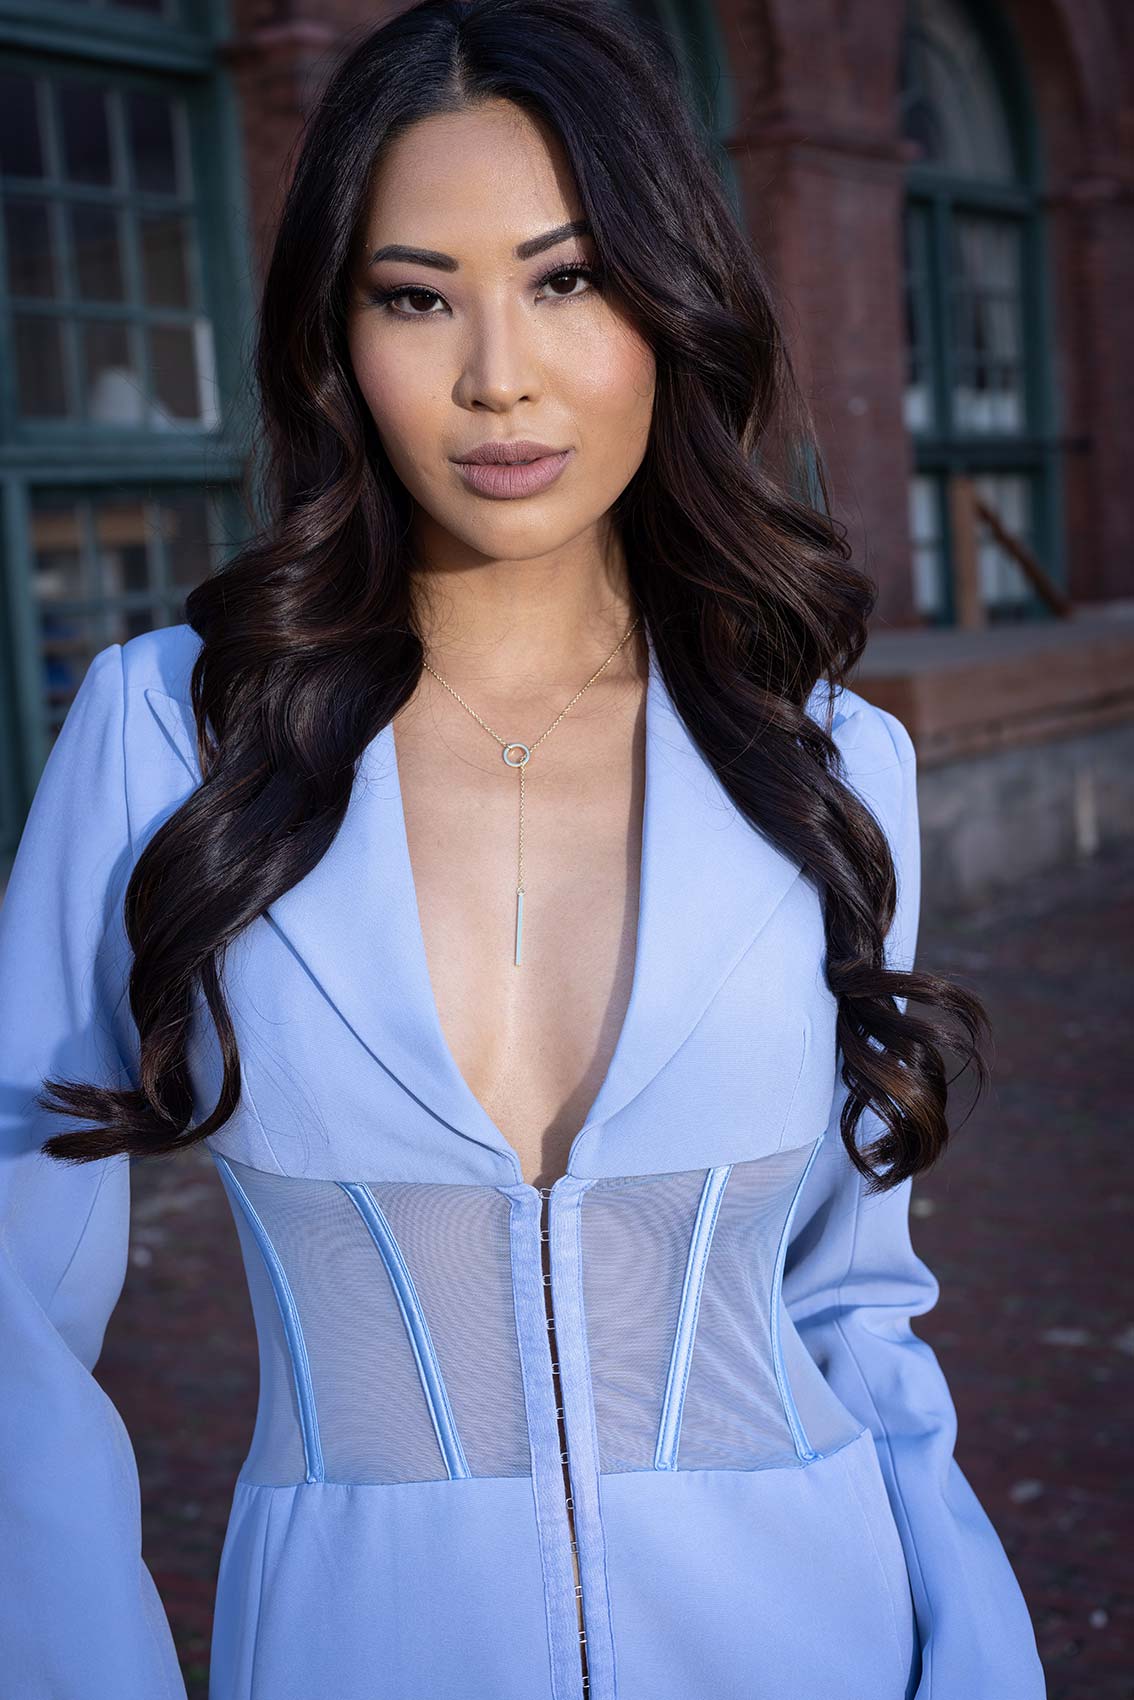
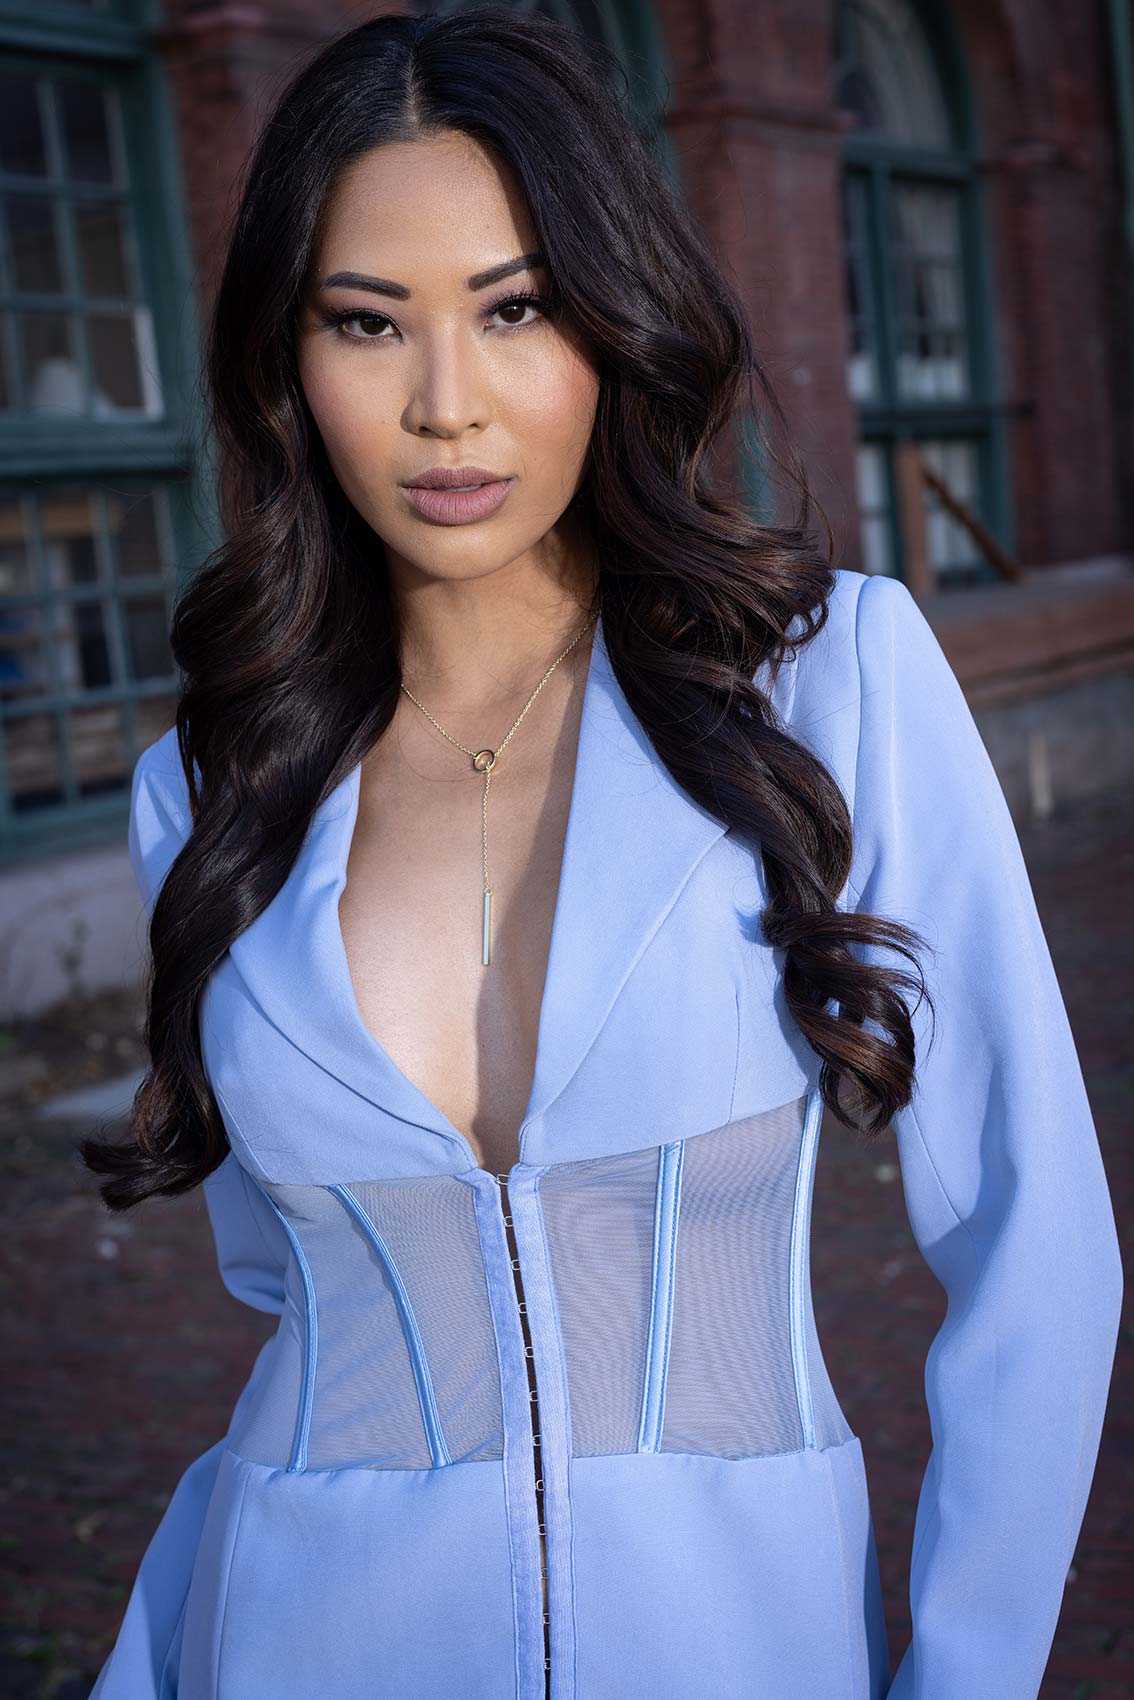
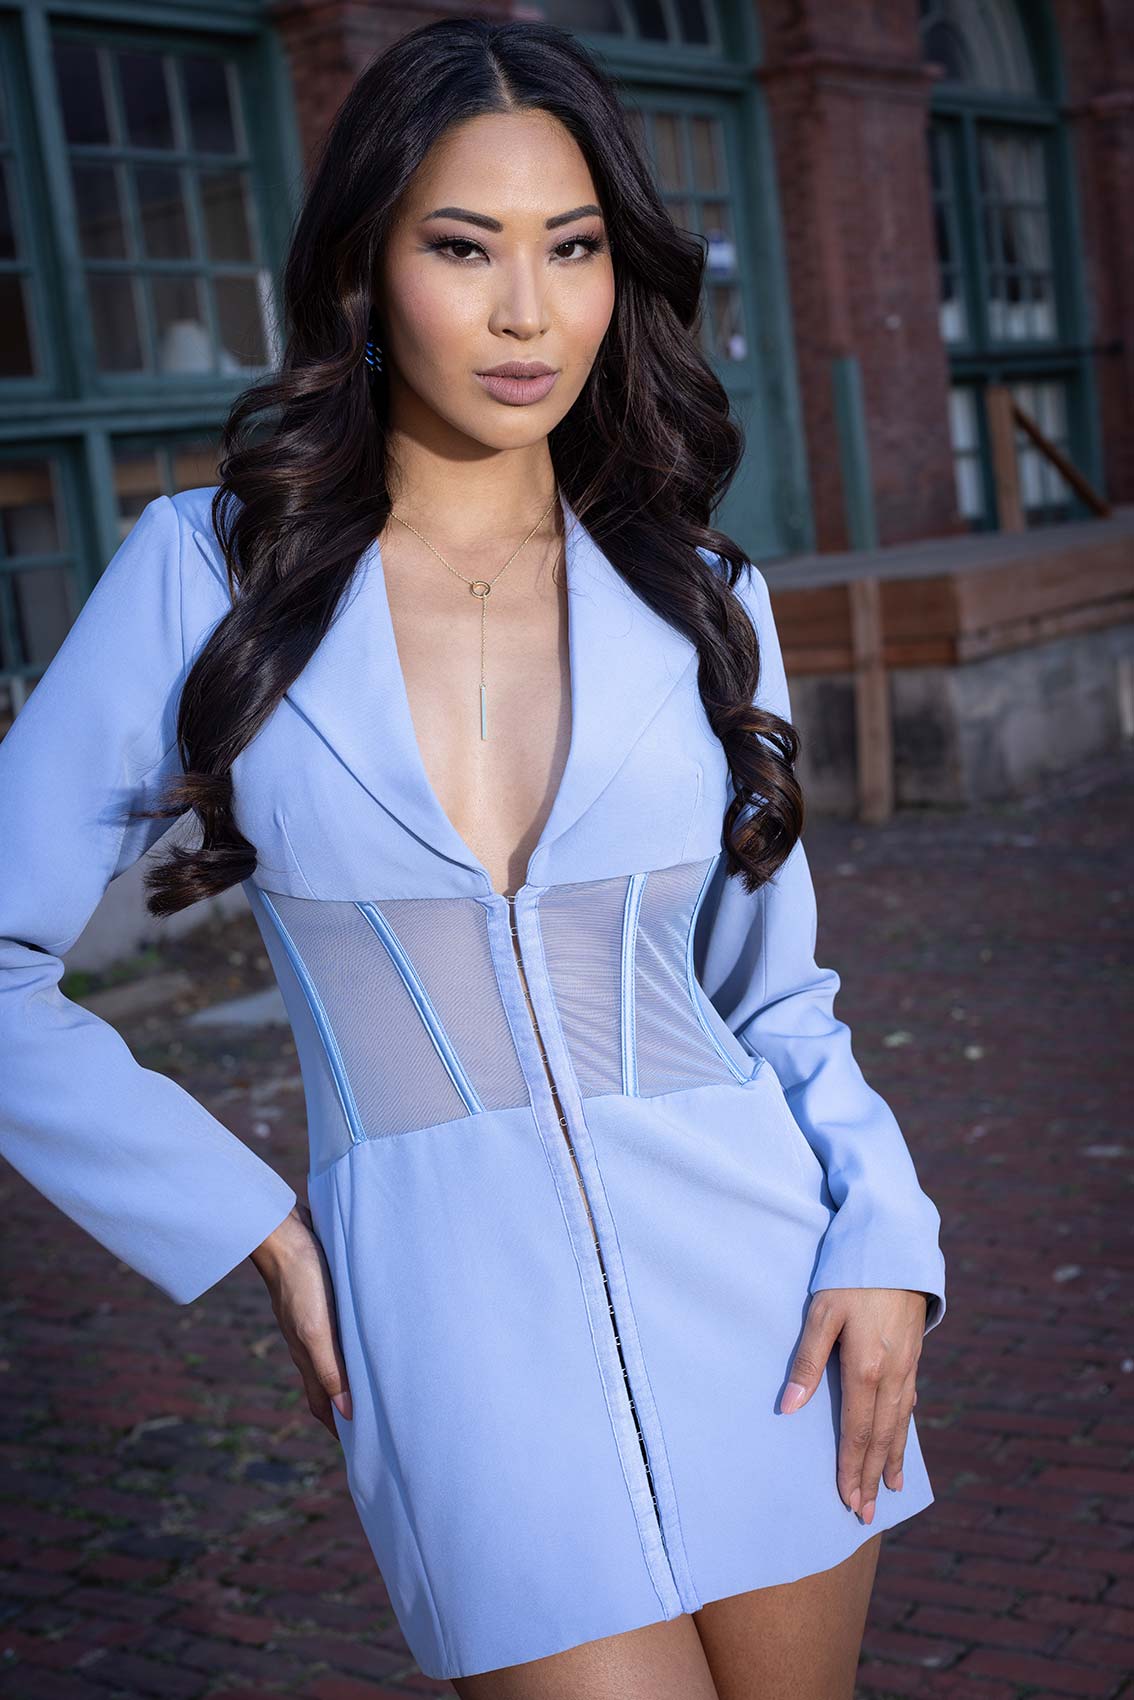
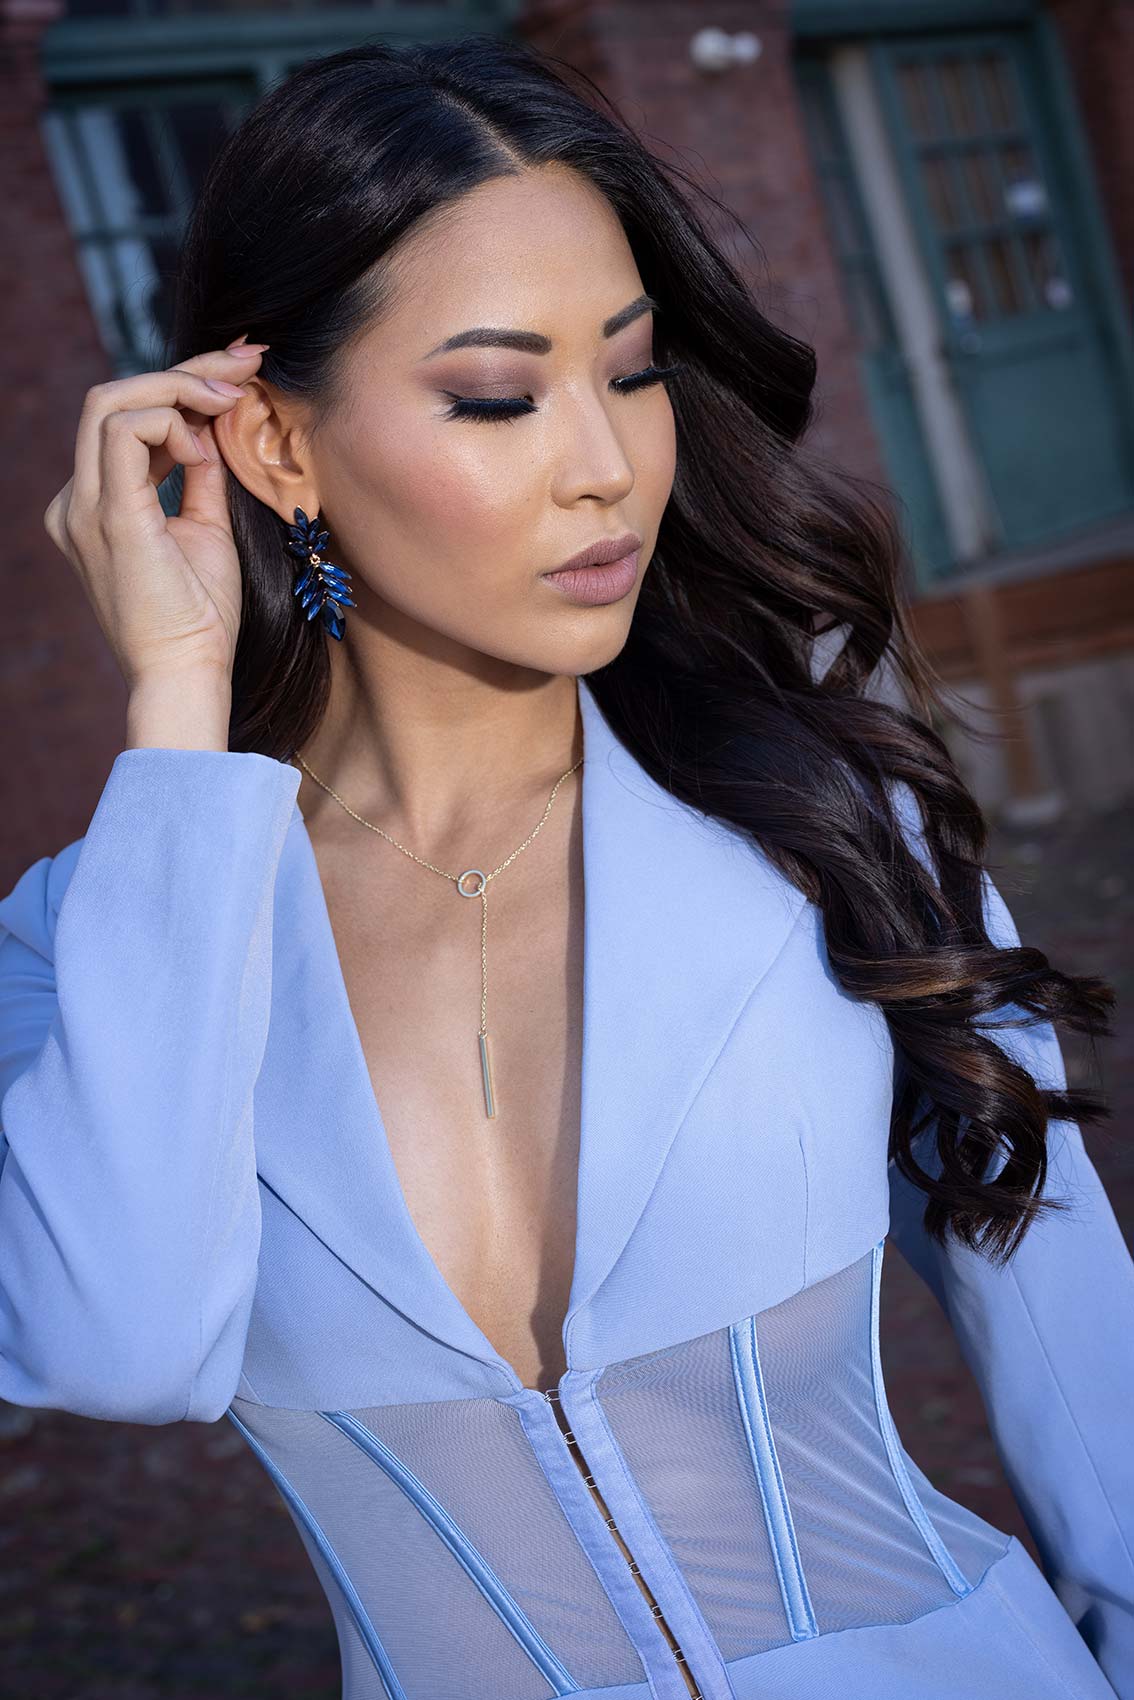
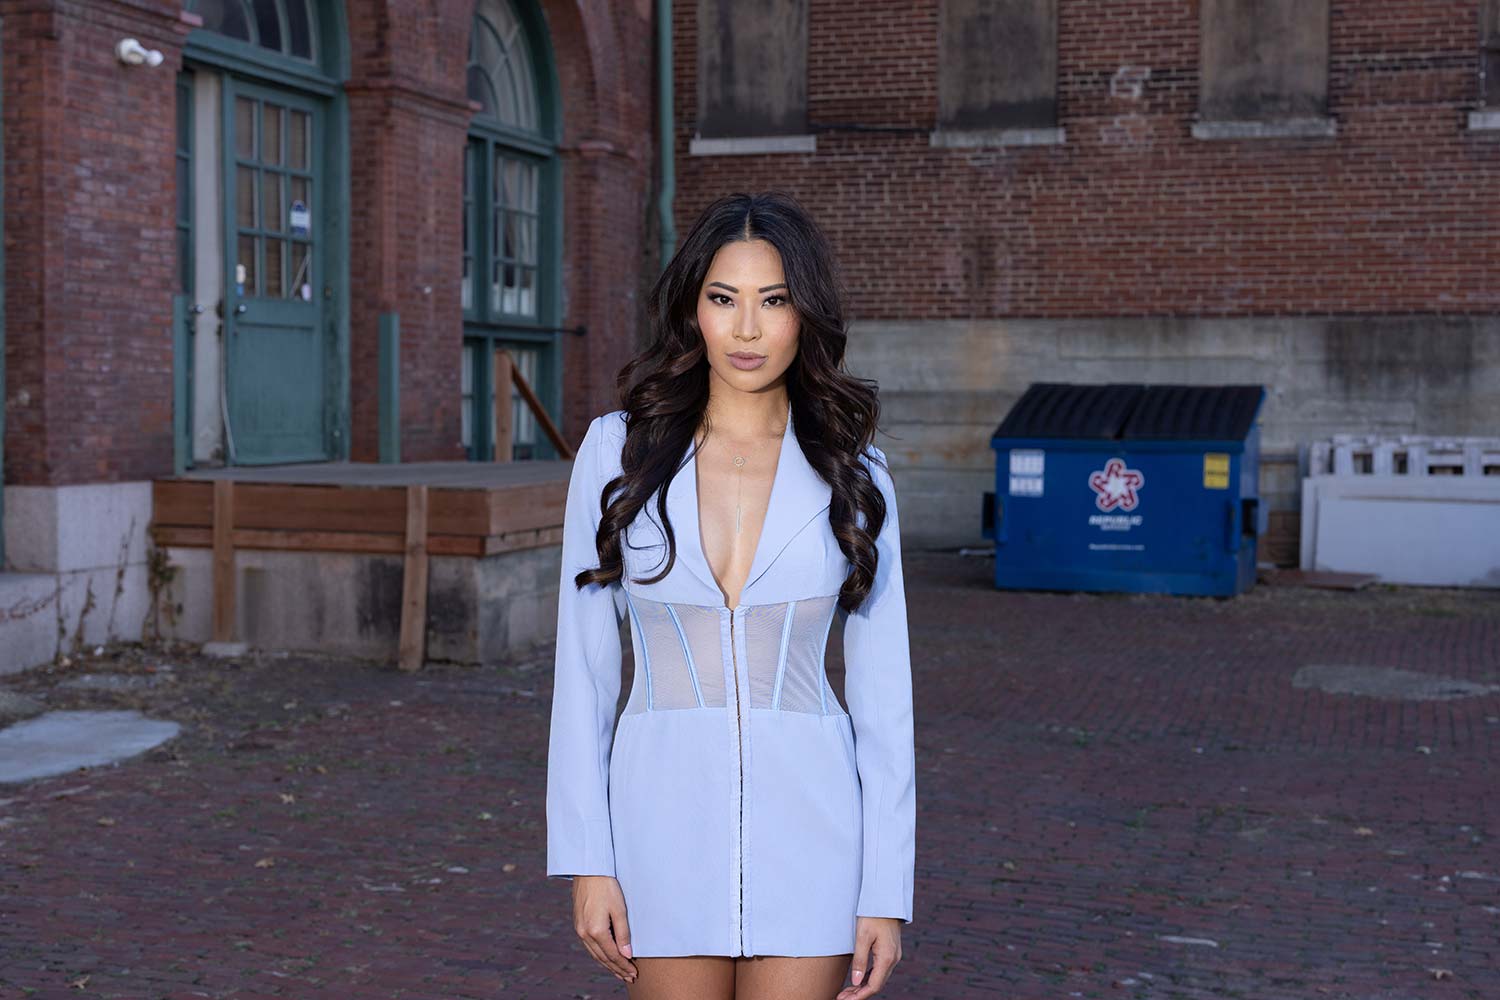
Want those moody outdoor portraits using flash? Well its a lot easier than you might think. In this video lighting tutorial I will break down how to use a light meter for outdoor photography. I will show you examples of images both with and without flash. We will talk about how to balance flash with the ambient light, as well as, how to create darker moodier portraits.
Equipment Used:
Camera: Canon EOS R5
Lens: Canon RF50 f1.2
Light: Westcott FJ400
Light Meter: Sekonic L-478D-U
Team:
Photographer: Sal Cincotta
Model: Marylyn Phan
Hair & Makeup: Brandi Patton, Refine Beauty
Ready to learn how to use a light meter on outdoor location portraits? Let’s get to it.
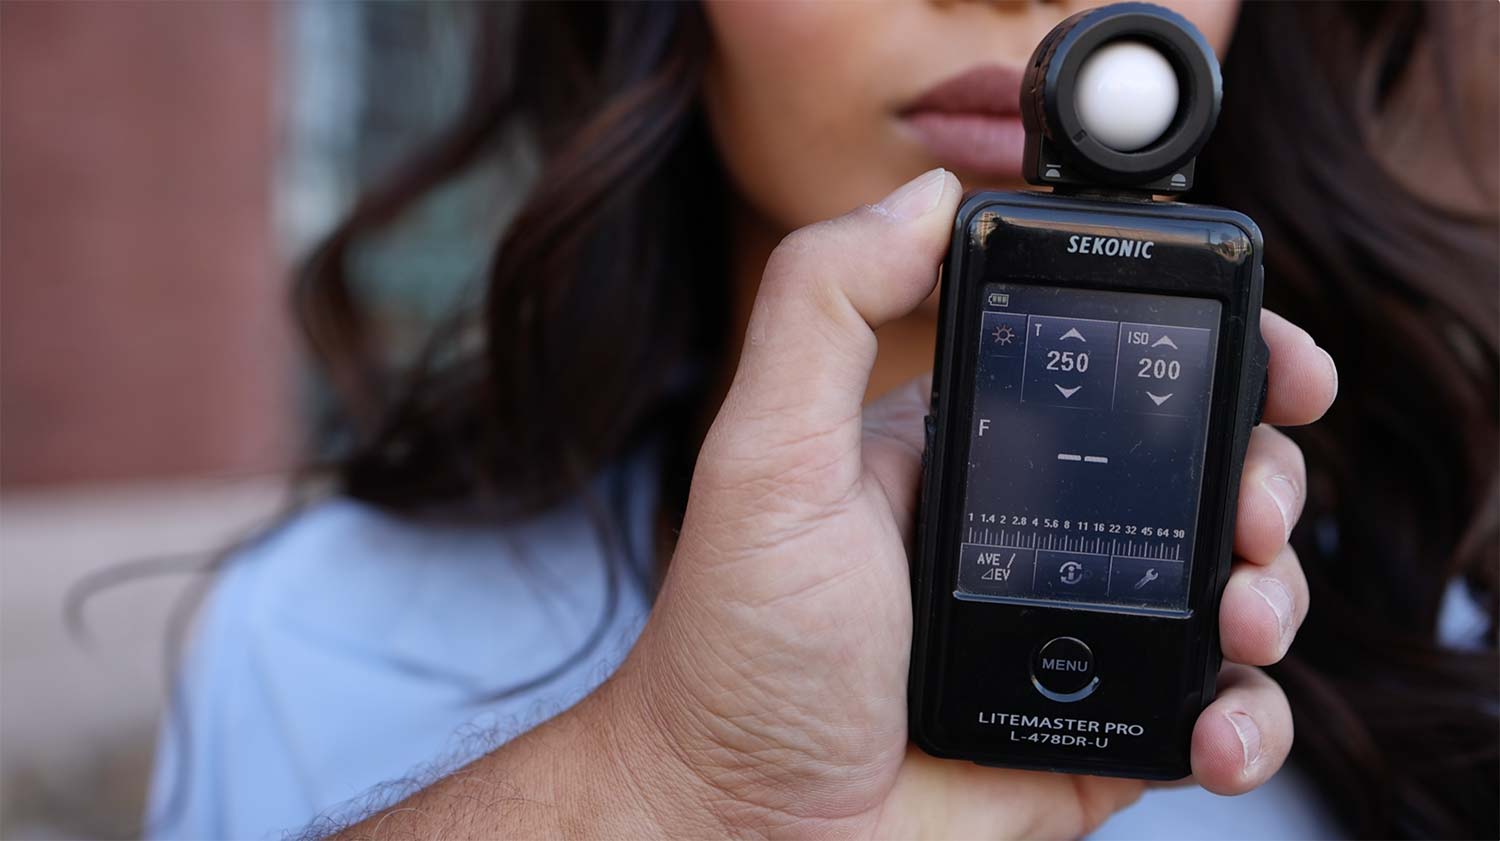
This has been your most requested video, is how to use a light meter outdoor. Now, I would know what you might be thinking if you’re just tuning into this, why do I need a light meter outside? Well, it’s to use flash on your outdoor photo shoots. I’m going to show you how to take your ambient light, reading your natural light and incorporate flash to get the look you want, from blending with the natural light to a more dark, moody portrait, which is something that I’m known for. But I’m going to show you how easy it is to do with this tool right here, that many of you are paralyzed by, a light meter.
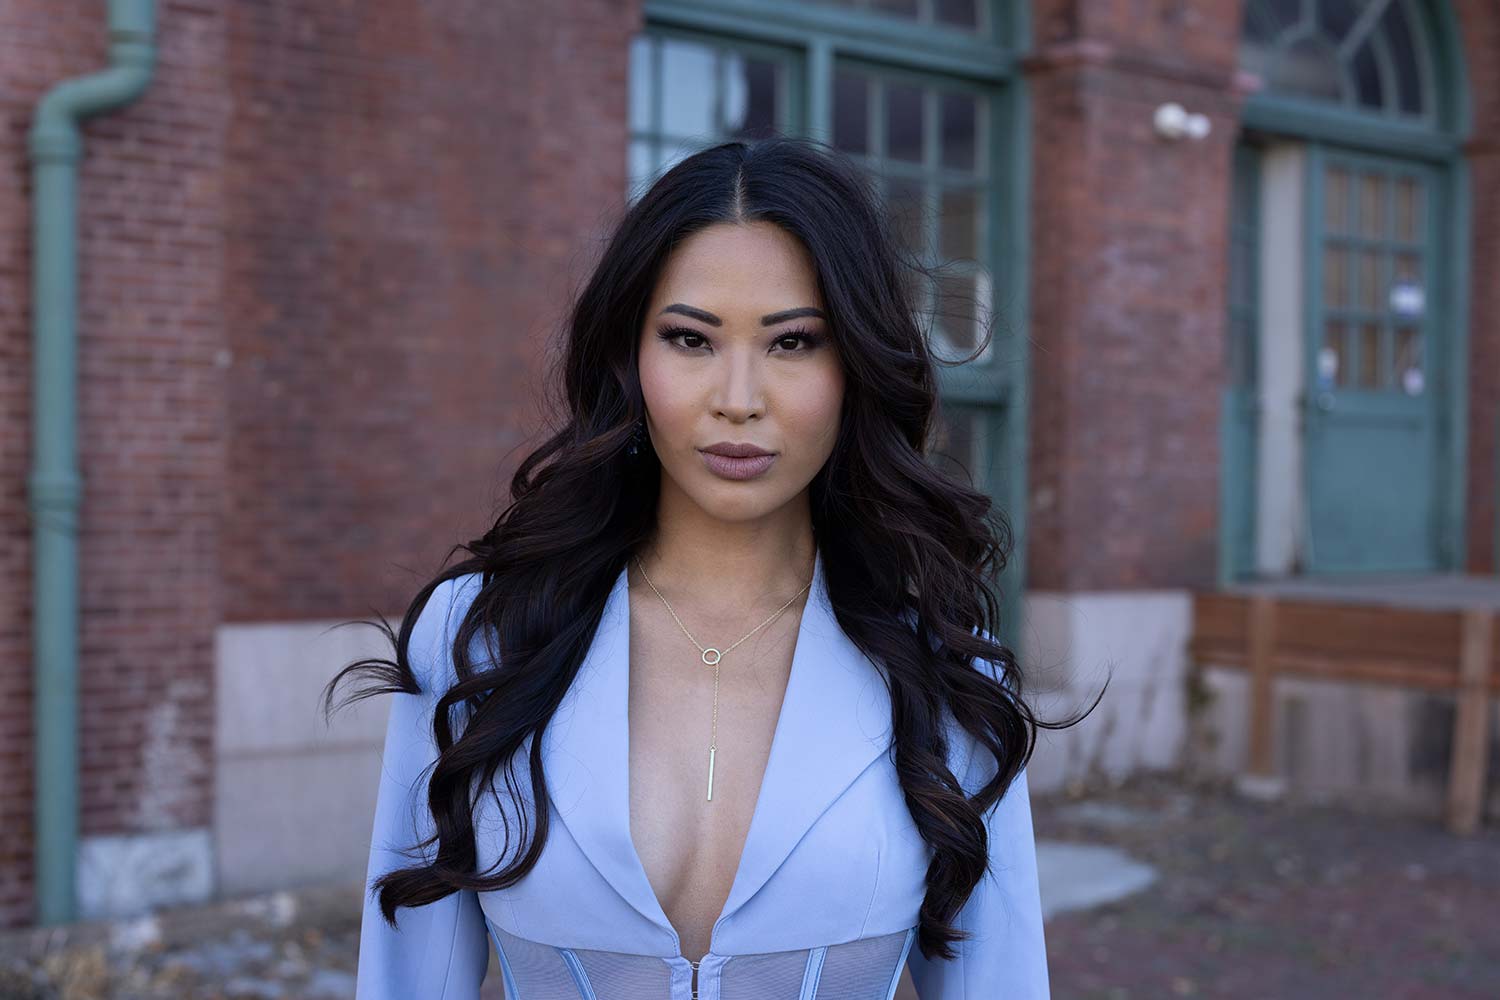
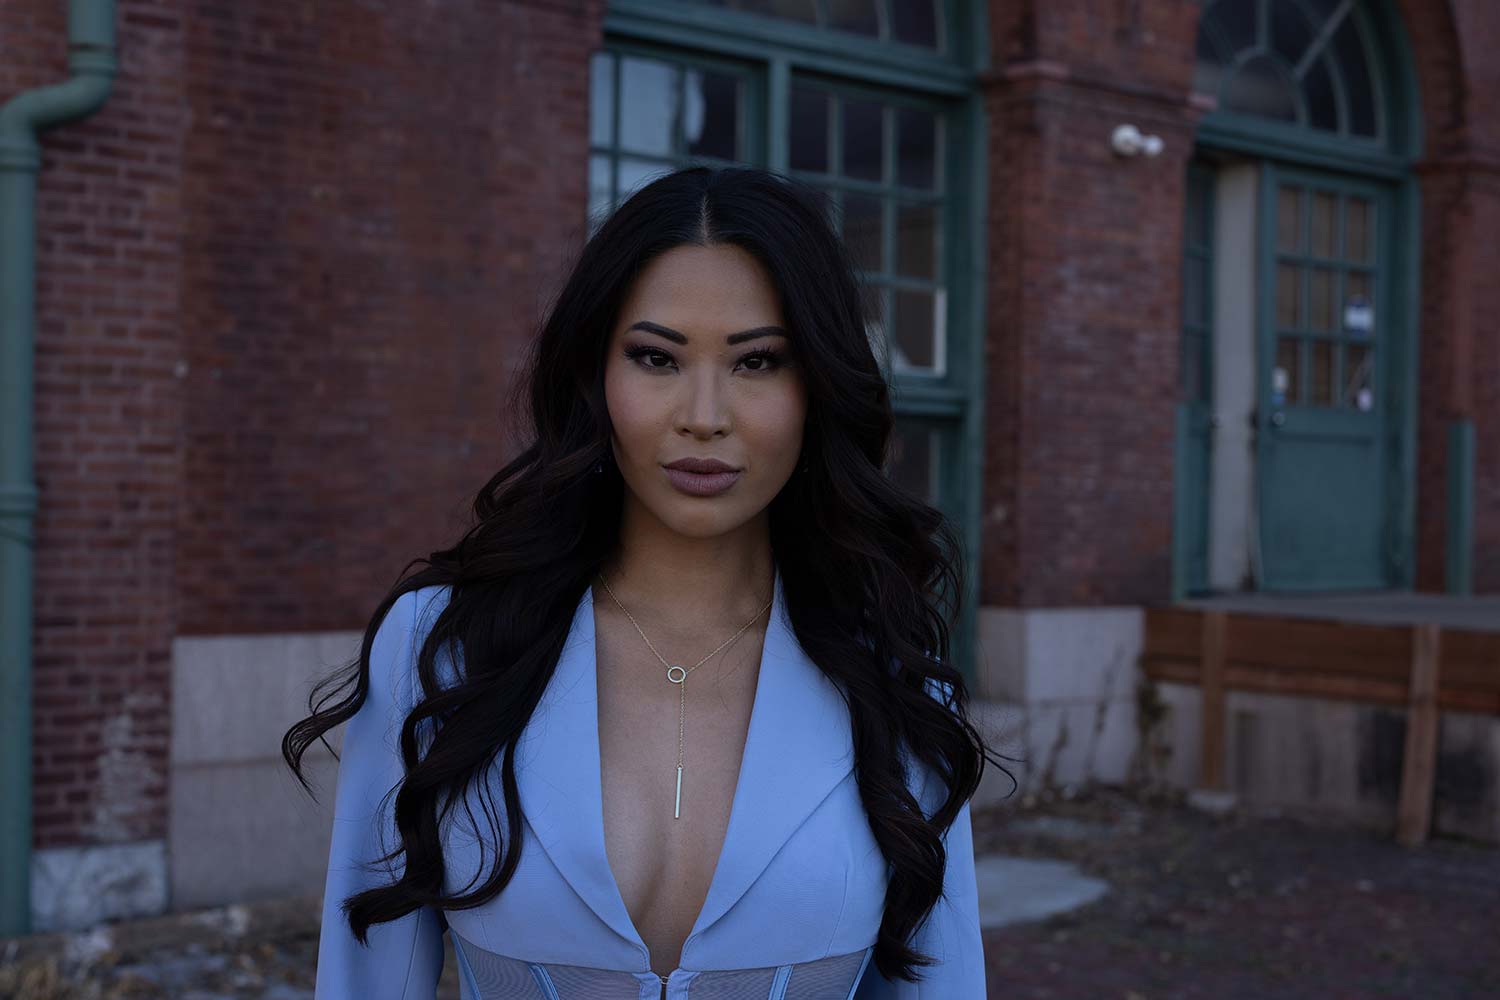
So I now know on camera I’m going to F/2.8 because we already know that’s the ambien and I’m going to match the ambien, and you can see the difference between a darker moodier portrait and one that matches more with the ambient. Okay, so now you might be thinking, well, if it’s matching with the ambient, why use flash at all? I don’t want any shadows on her face. I want to have beautiful even lighting on her face so that flash can just be a pop of fill or something like that. But you’re seeing the thought process in how we went. So we already know at F/5, this is giving me 5.6, 5.6 to 4.0 is one stop. 4.0 to 2.8 is one stop. So in theory, because these work in full stops, I should just go from five to three and I should be damn close.
Test Shots
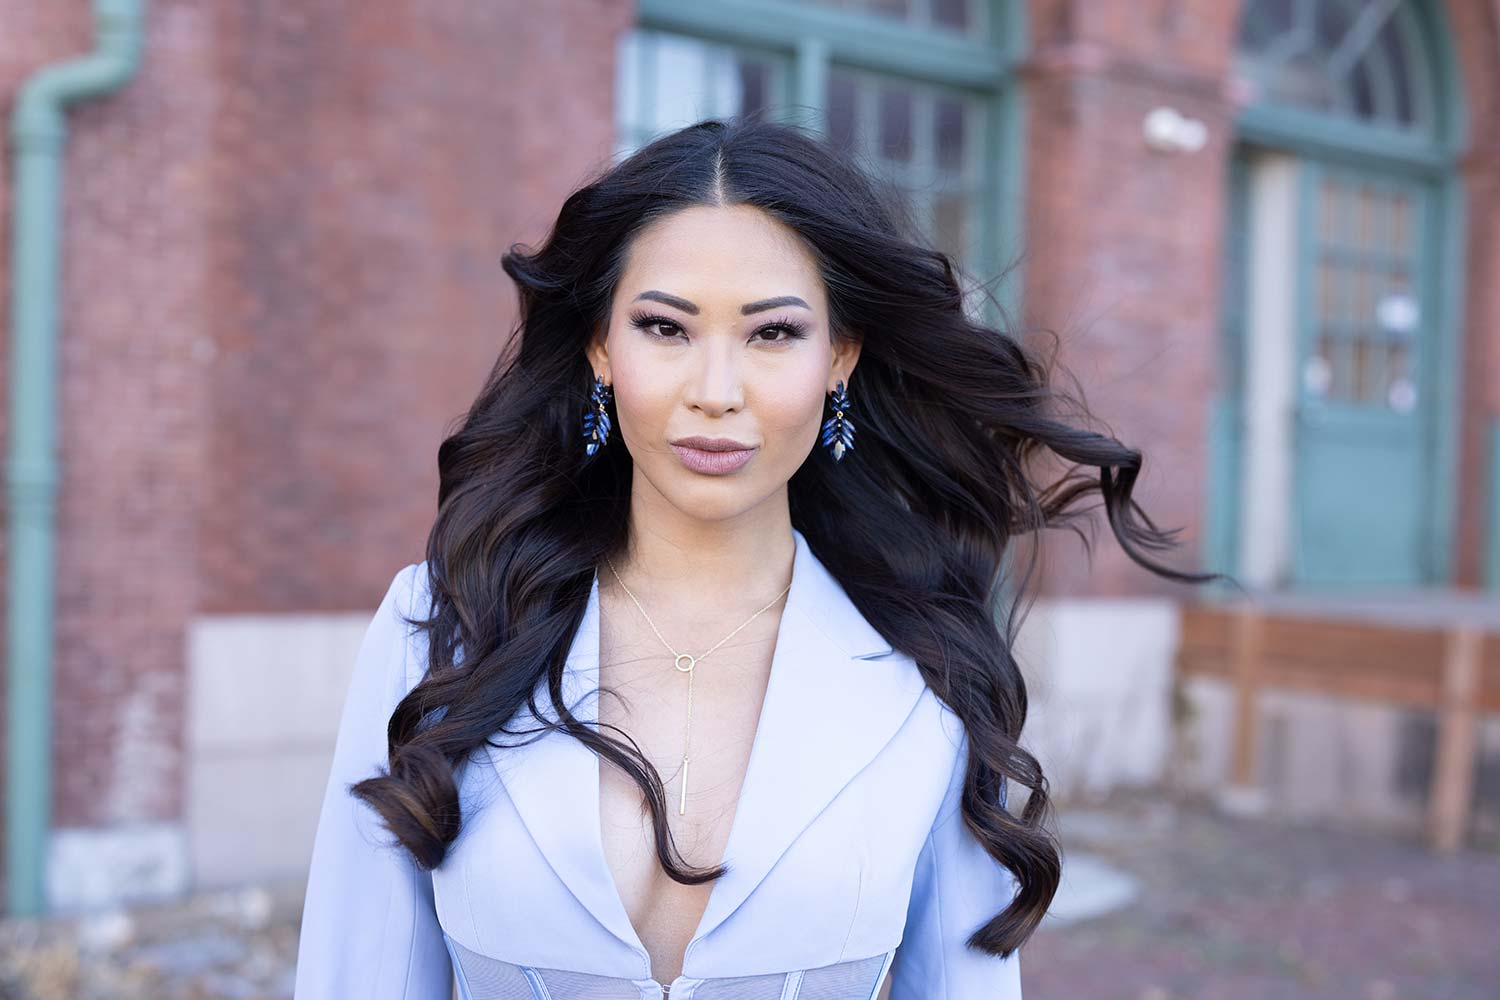
So let’s test it out. I’ve changed the power to three now and I’m going to meter her and it should be at 2.8, which is what we want. Now remember, you might be thinking, well, the natural light is two eighths out, so of course it’s going to meet her at 2.8. No, it’s not. I’m in flash mode on this, not ambient. So now I’m going to measure this. Okay, 4.01. Sorry, I got to come down one more. Maybe if I learn how to count. 2.8 test. At 2.8, you’re seeing the shot that looks completely balanced with the background, same brightness on her in that background. So that’s something that you want to start seeing and understanding on how to balance the ambient. So some of you may like that look, but notice on this, if I zoom in here, the shadows are just perfect on her face.
Now of course, Marilyn doesn’t have deep set eyes or anything like that. But let’s say you did, let’s say you had a client with deep set eyes in this type of light, even though there’s no direct light in here, they’re going to get those kind of raccoon eyes. You would balance your flash with the ambient, the natural light, just to give them a little pop in their eyes and bring their eyes to life, so that they have those catch lights. That’s what we’re able to do with this. Now, personally, this is not what I like. I like the darker background and them popping off. So I’m going to get back to that and we’ll show you some final images when we’re all done.

