As a portrait photographer, every choice we make has an impact on the final image. In this photography training tutorial, we show the differences between shooting at f1.2 and f8/f11. This is a great behind the scenes photoshoot to show you the difference in your choice of f-stop and the impact it will have on your final portraits.
Equipment Used:
Camera: Canon EOS R5
Lens: Canon RF85 f1.2
Light: Westcott FJ200, Manny Ortiz Beauty Dish
Team:
Photographer: Sal Cincotta
Model: Faren
Makeup: Colours by KitaRoche
What’s up everyone? Today we’re gonna talk about shooting studio portraits with a shallow depth of field. My name is Sal Cincotta and today I’m here with the beautiful Faren.
Today is a topic I thoroughly enjoy because many of you who are portrait photographers love shooting portraits at F8 and F11. And I’m not hating on you, I’m not throwing shade at you, but I love shooting portraits at a shallow depth of field: F1.2. I think they look buttery and I like the separation from the background. So in this video we’re gonna do a side-by-side, same equipment, same scene, same lens and camera. We’re gonna shoot some portraits at F8, maybe F11, and then we’re gonna do some at F1.2 and I will let you judge which one is the best. So let’s stop talking about it and let’s get to it.
All right, so let’s just cover equipment real fast. We’re using the Canon R5 85MM F1.2, my go-to portrait lens. For lighting, we are using the FJ200 on both the main light and I’ve got a kind of gel light in the background just to throw a color wash on the wall, we’re gonna throw it with blue. So we’re only using those two lights for this. You could use any strobe you want to. And then of course, controlling it with the FJ-X3 so that we can control all the lights and their power sources.
Shooting at F8
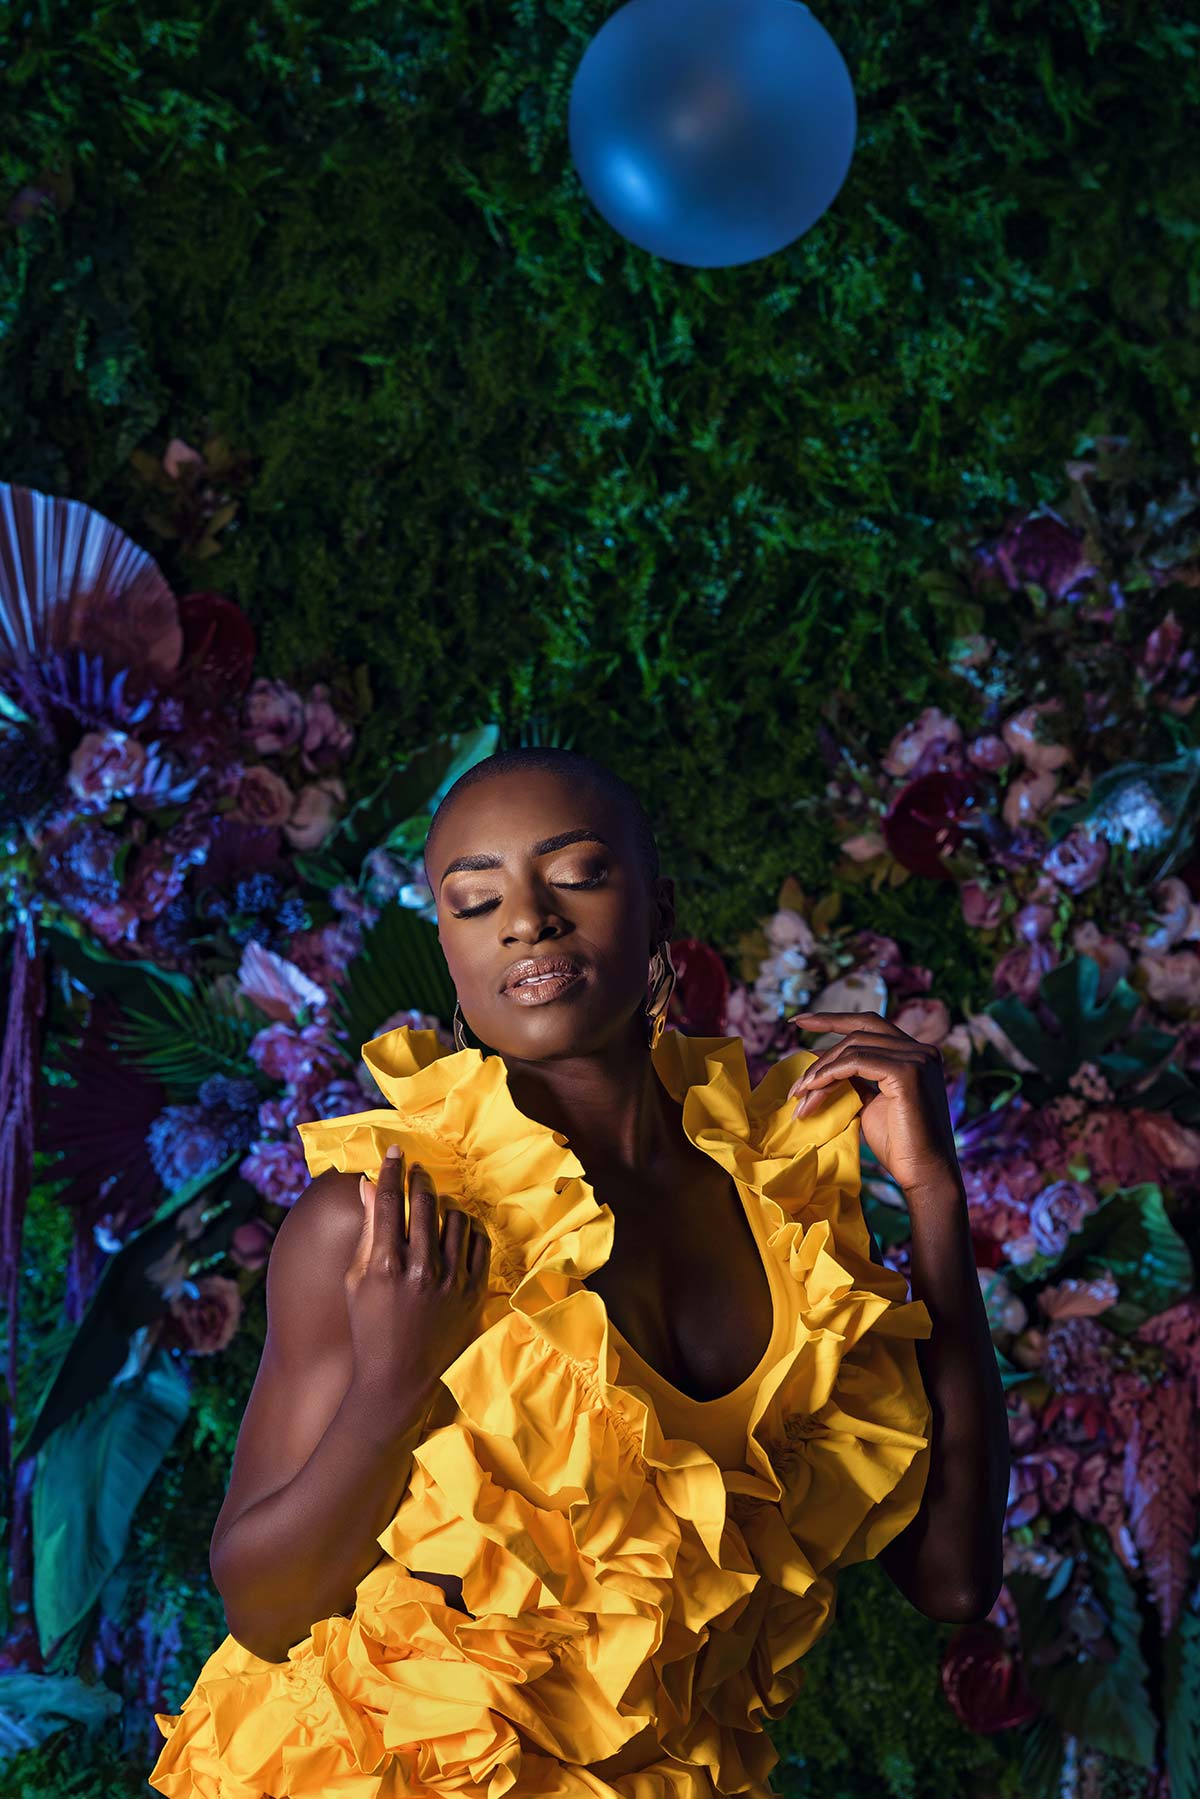
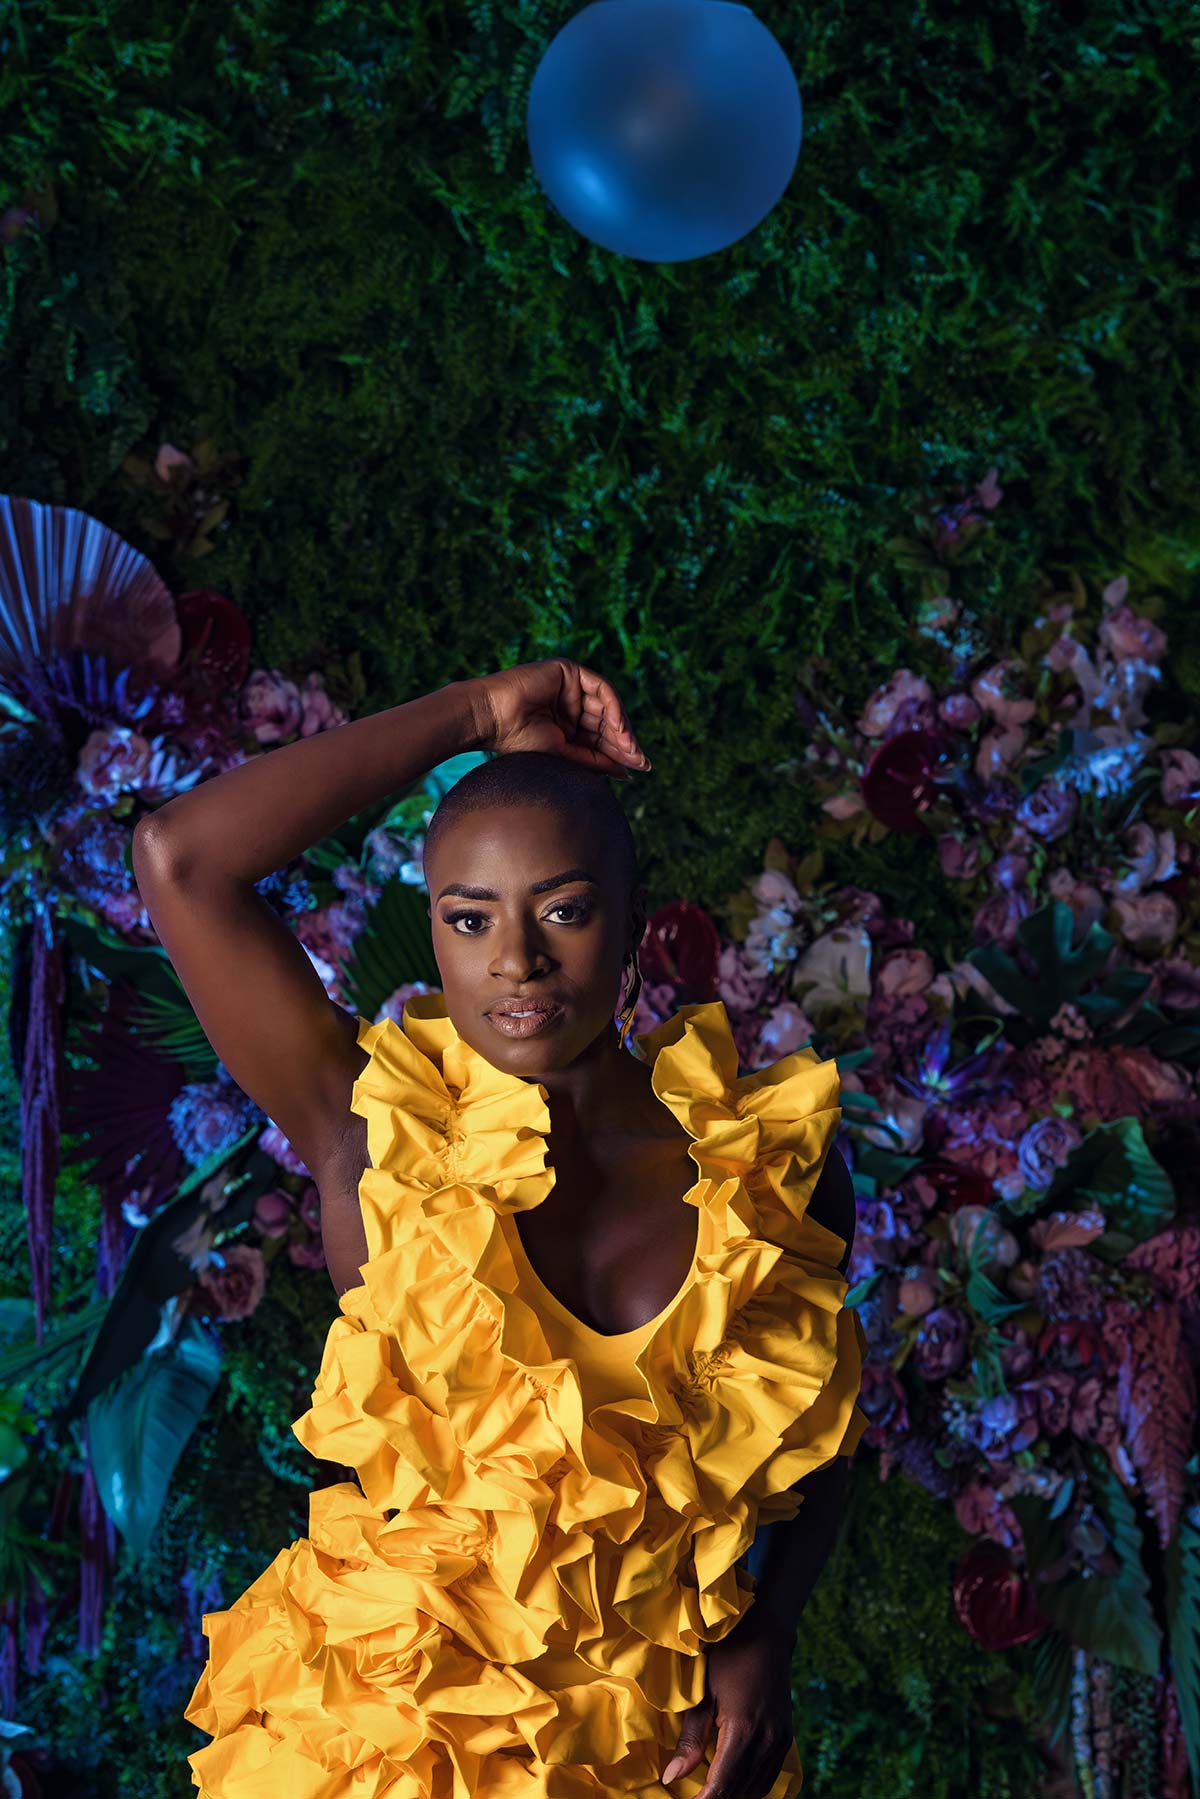
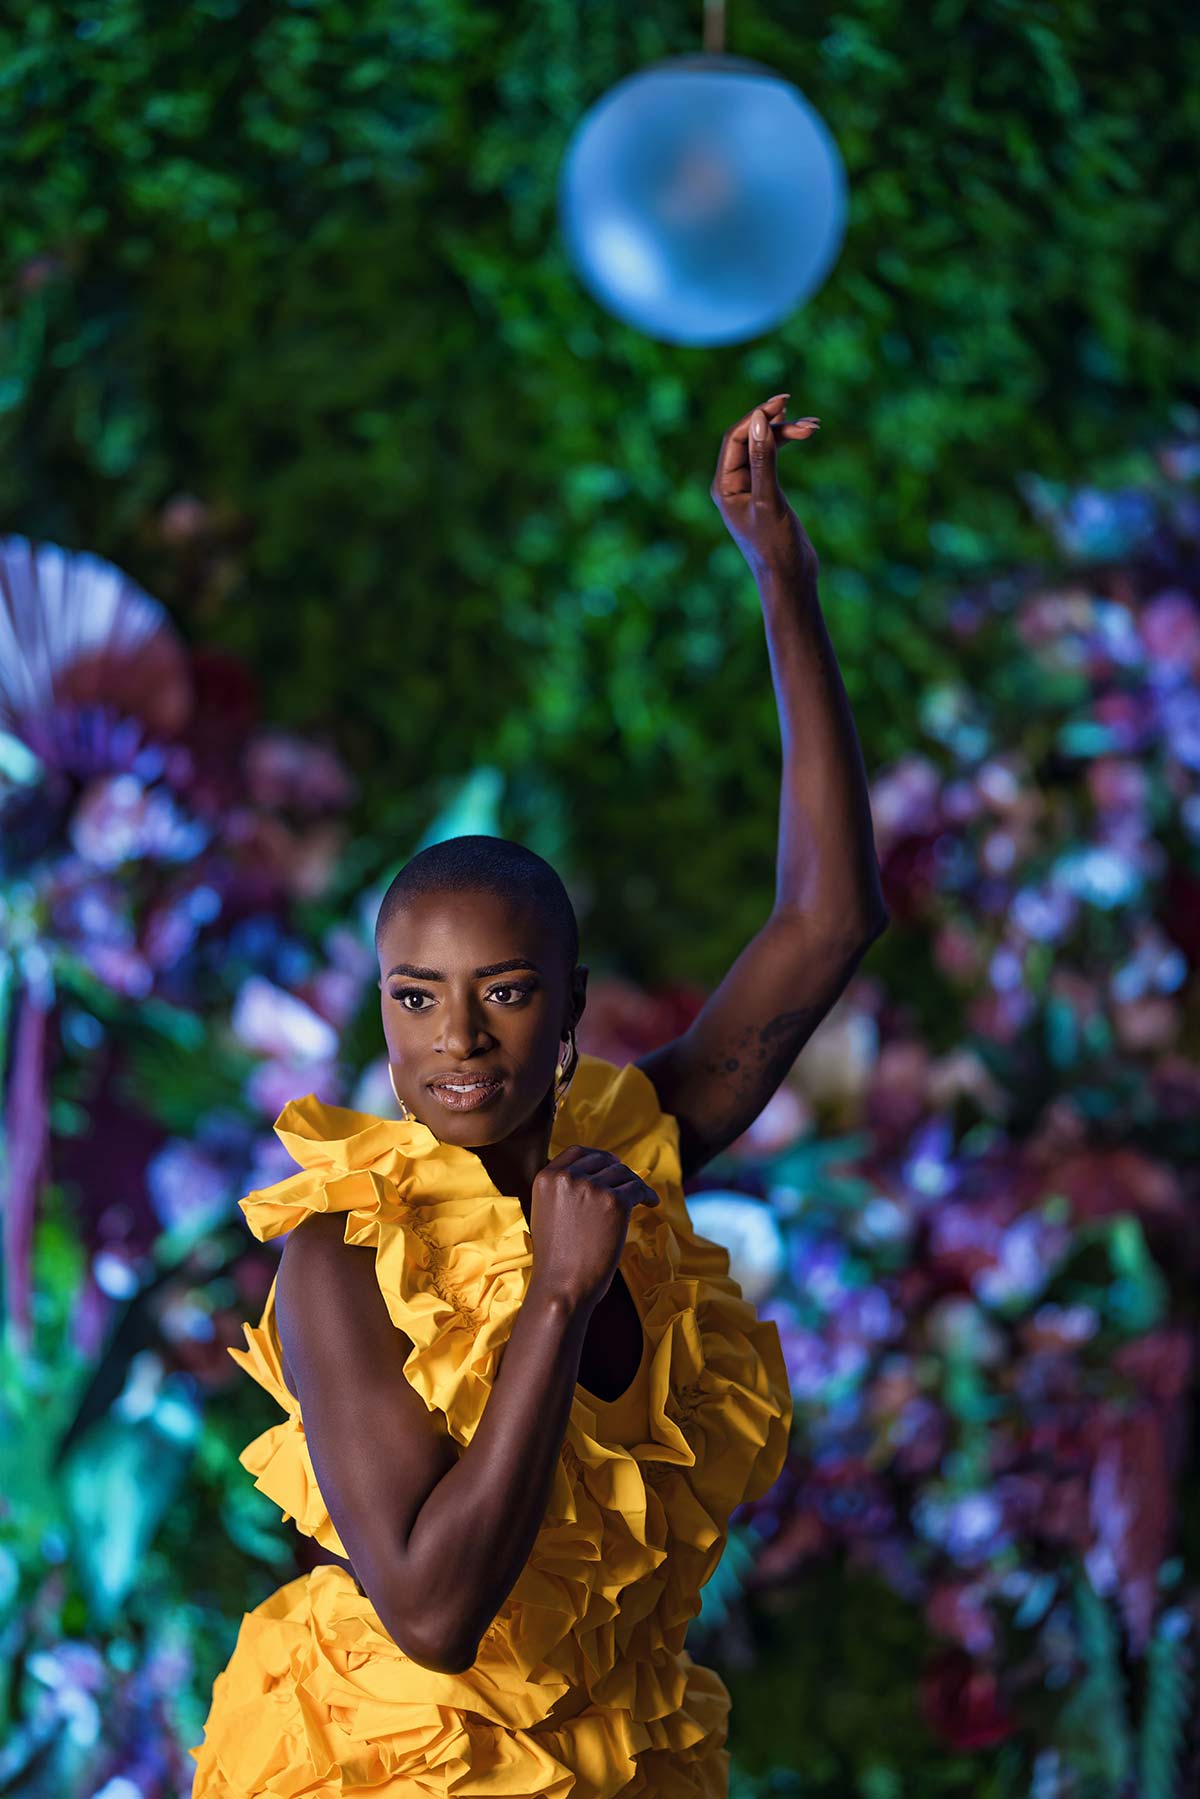
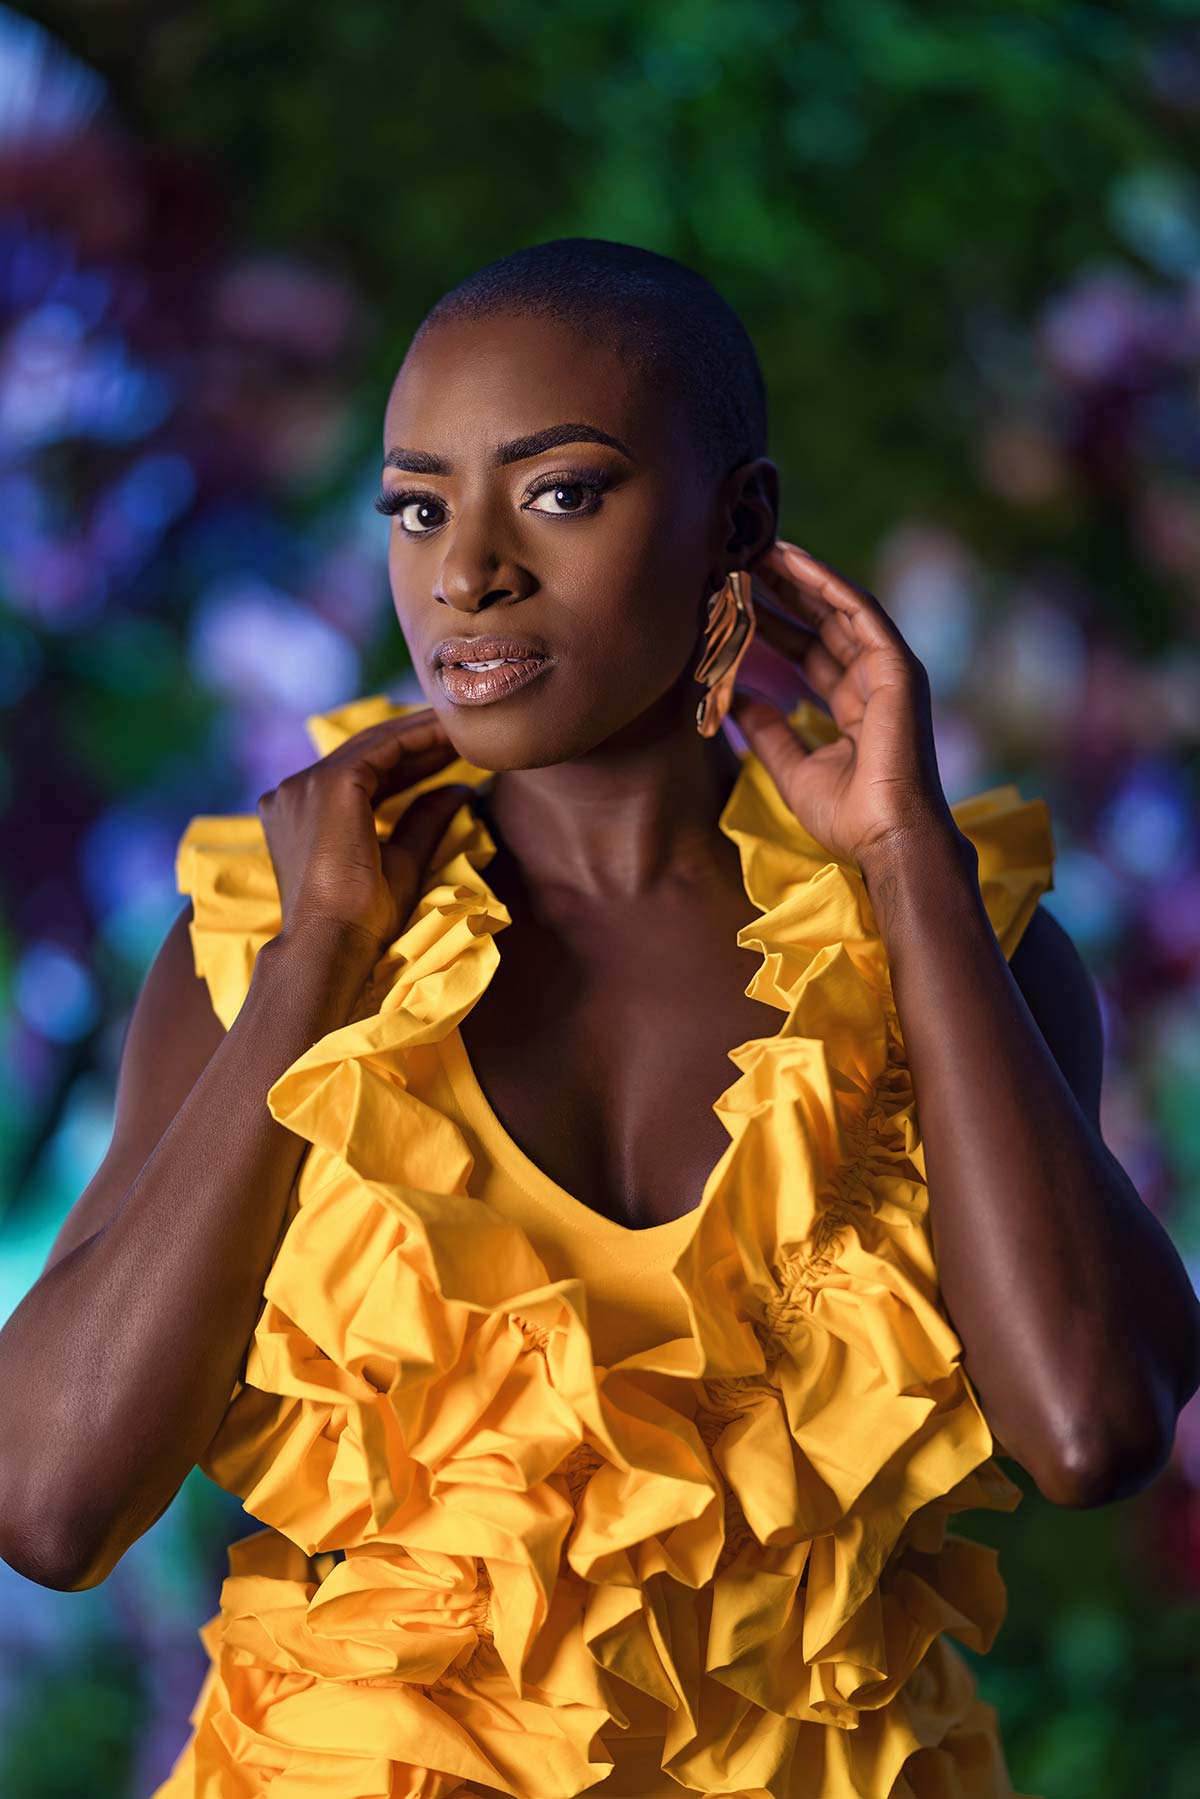
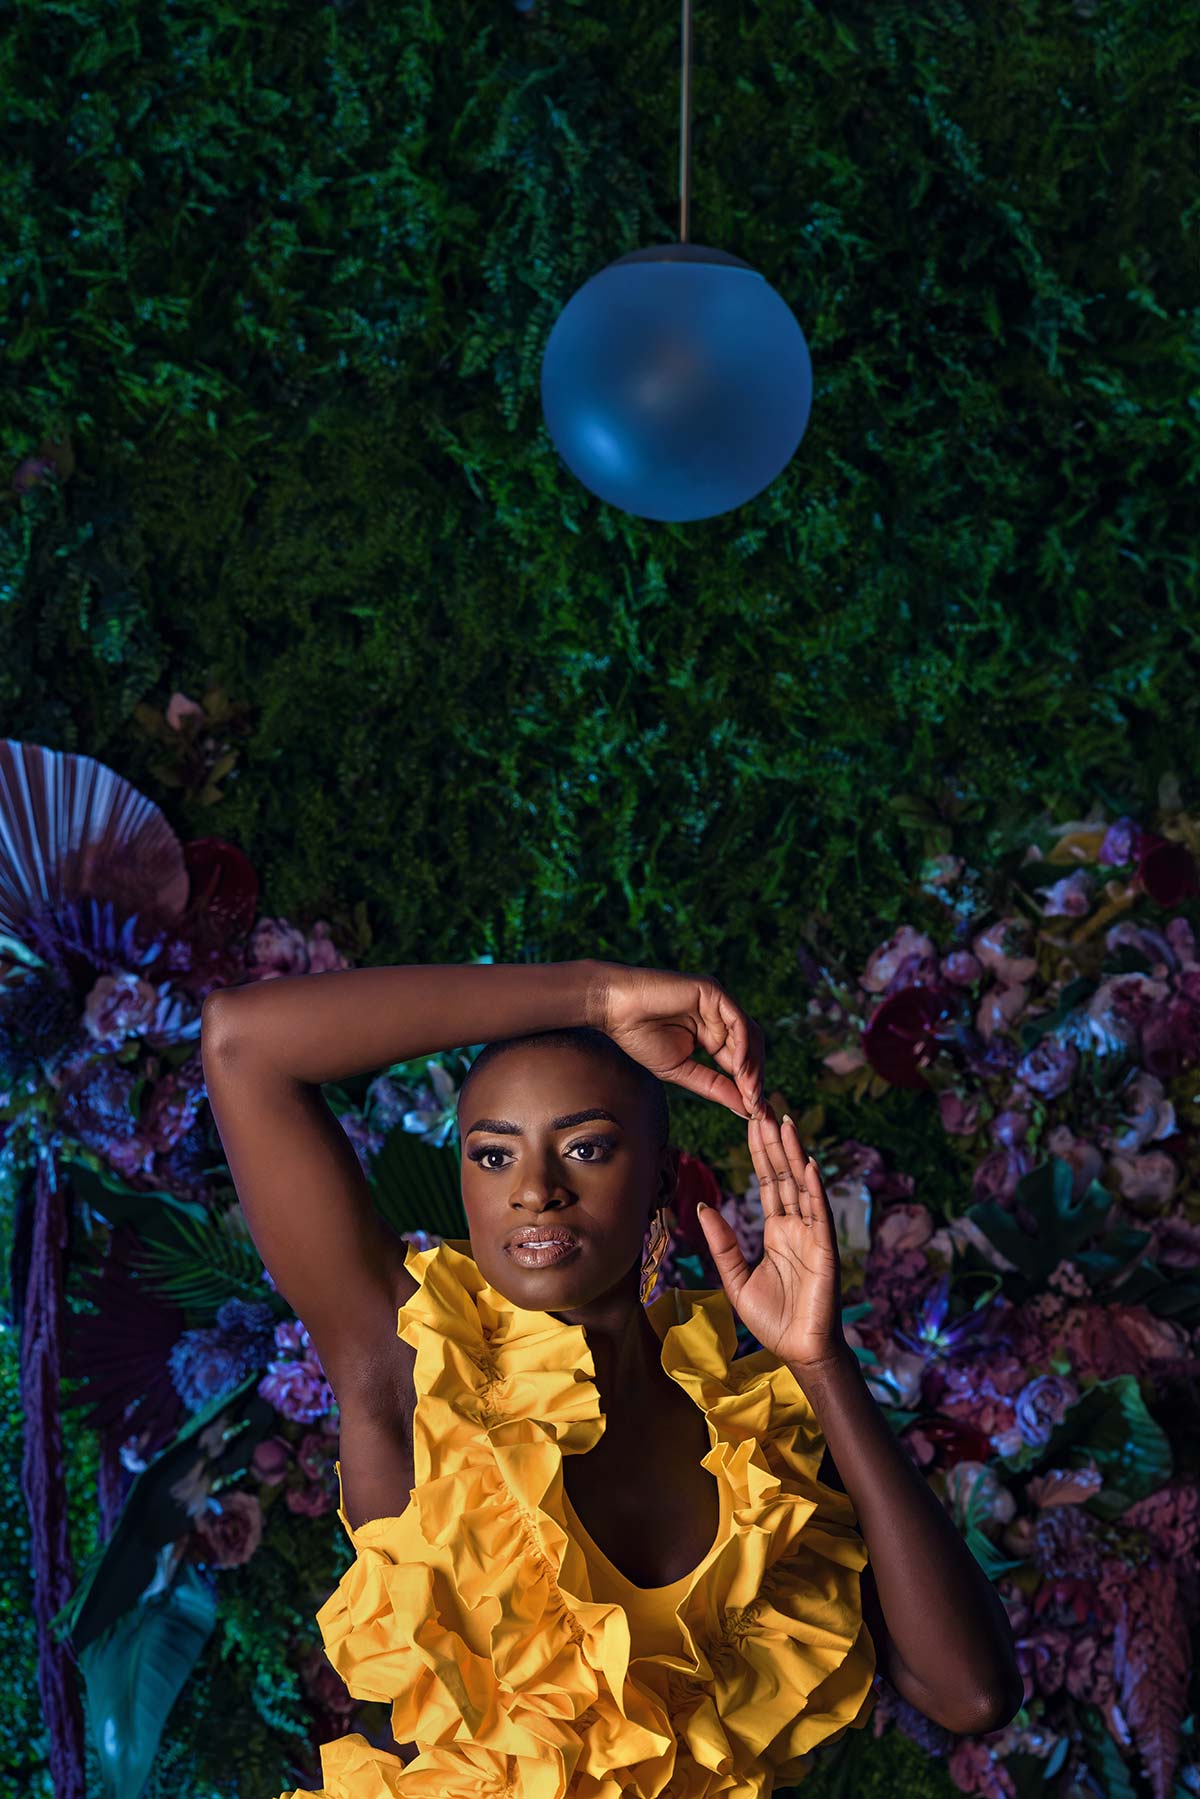
On camera I’m in Manual mode. I’m at ISO 200, 1/200th of a second, F8, and I’ve already metered in with my light meter and we’re gonna get going here. I do wanna bring something to your attention though that’s worth noting. I’ve got Brodie here on the light and instead of Brodie firing that light directly at her, which is gonna create all sorts of casting on the wall, you’ll notice the light’s kind of facing this way. And so we’re just kind of really glancing a blow if you will, with the lighting on her versus firing it direct at her and then creating a little bit too much hard light against that wall. We just really wanna skim the surface with her, it’s a softer looking light. So let’s get going with that. Lemme get a test shot, make sure everything’s still looking good. Gorgeous, love that. When I change my composition here and go a little bit wider on the vertical I’m picking up that bulb behind her, which has really got a, actually just has a light bulb in it, but it’s off now but it’s picking up the blue light and it’s giving me a nice glow.
Portraits Shot at F8
Shooting at F1.2
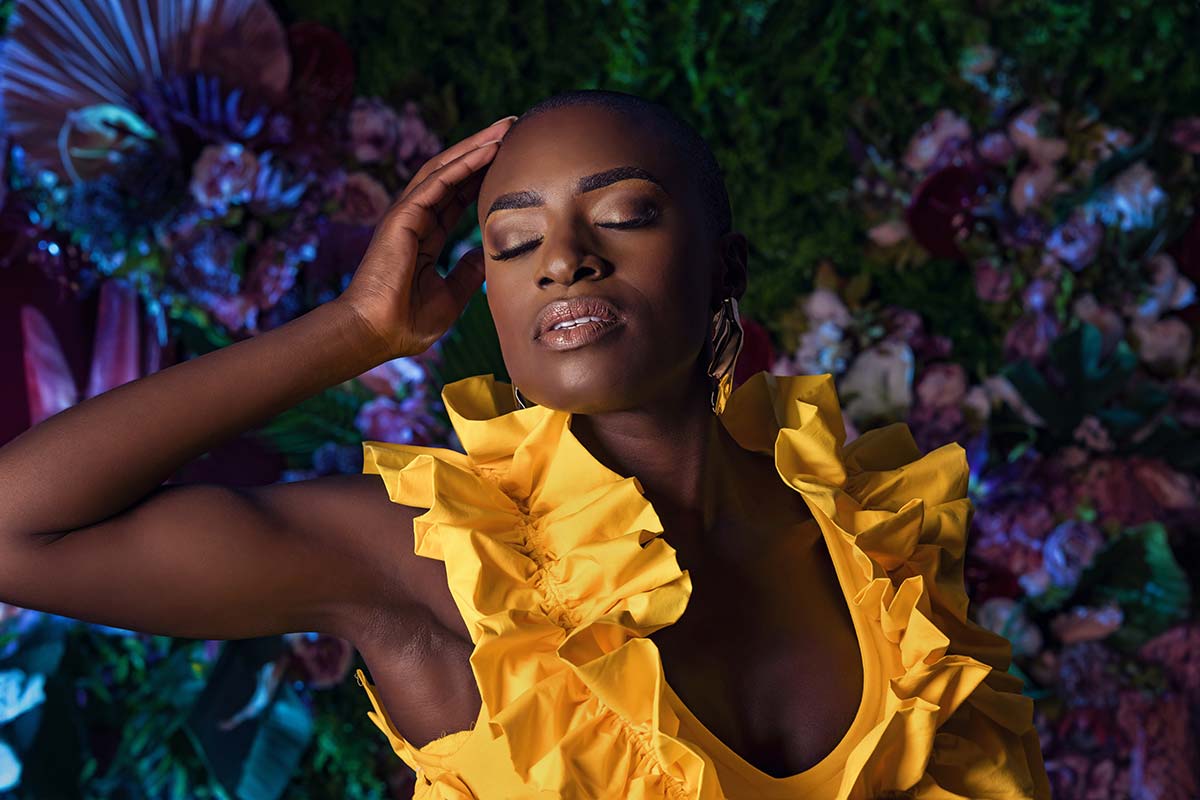
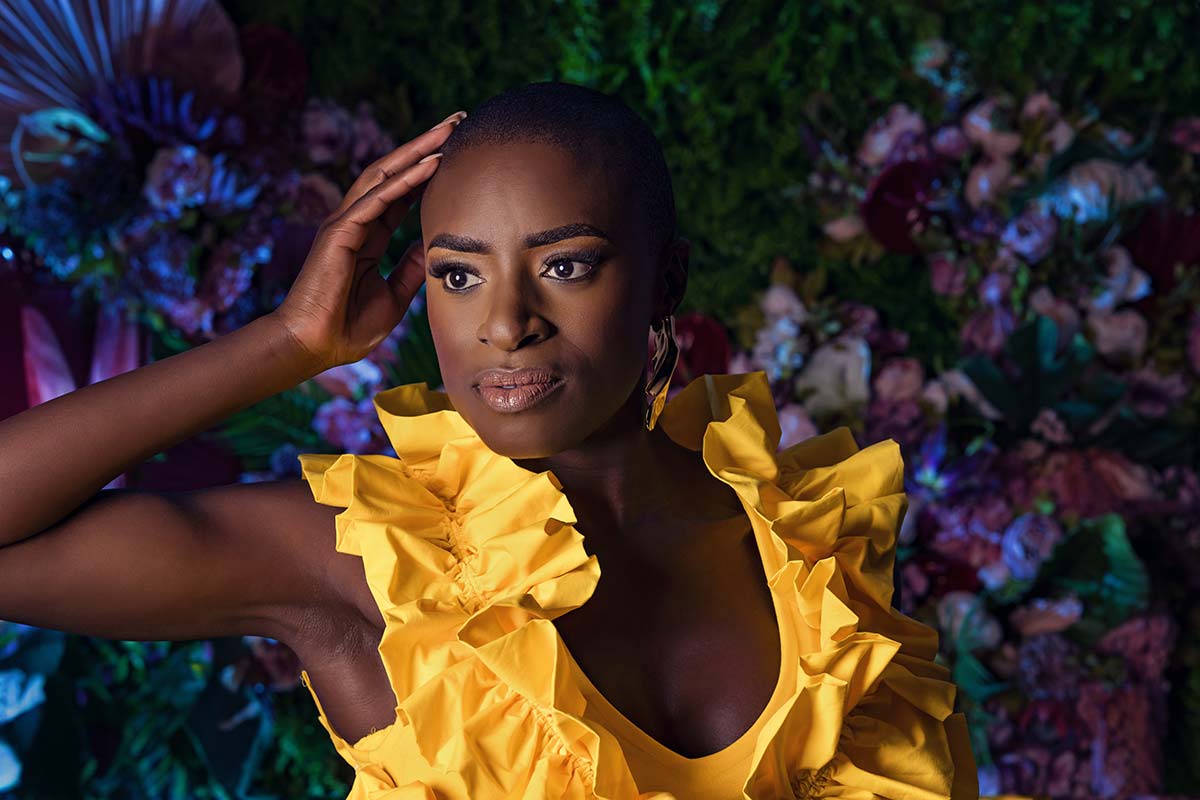
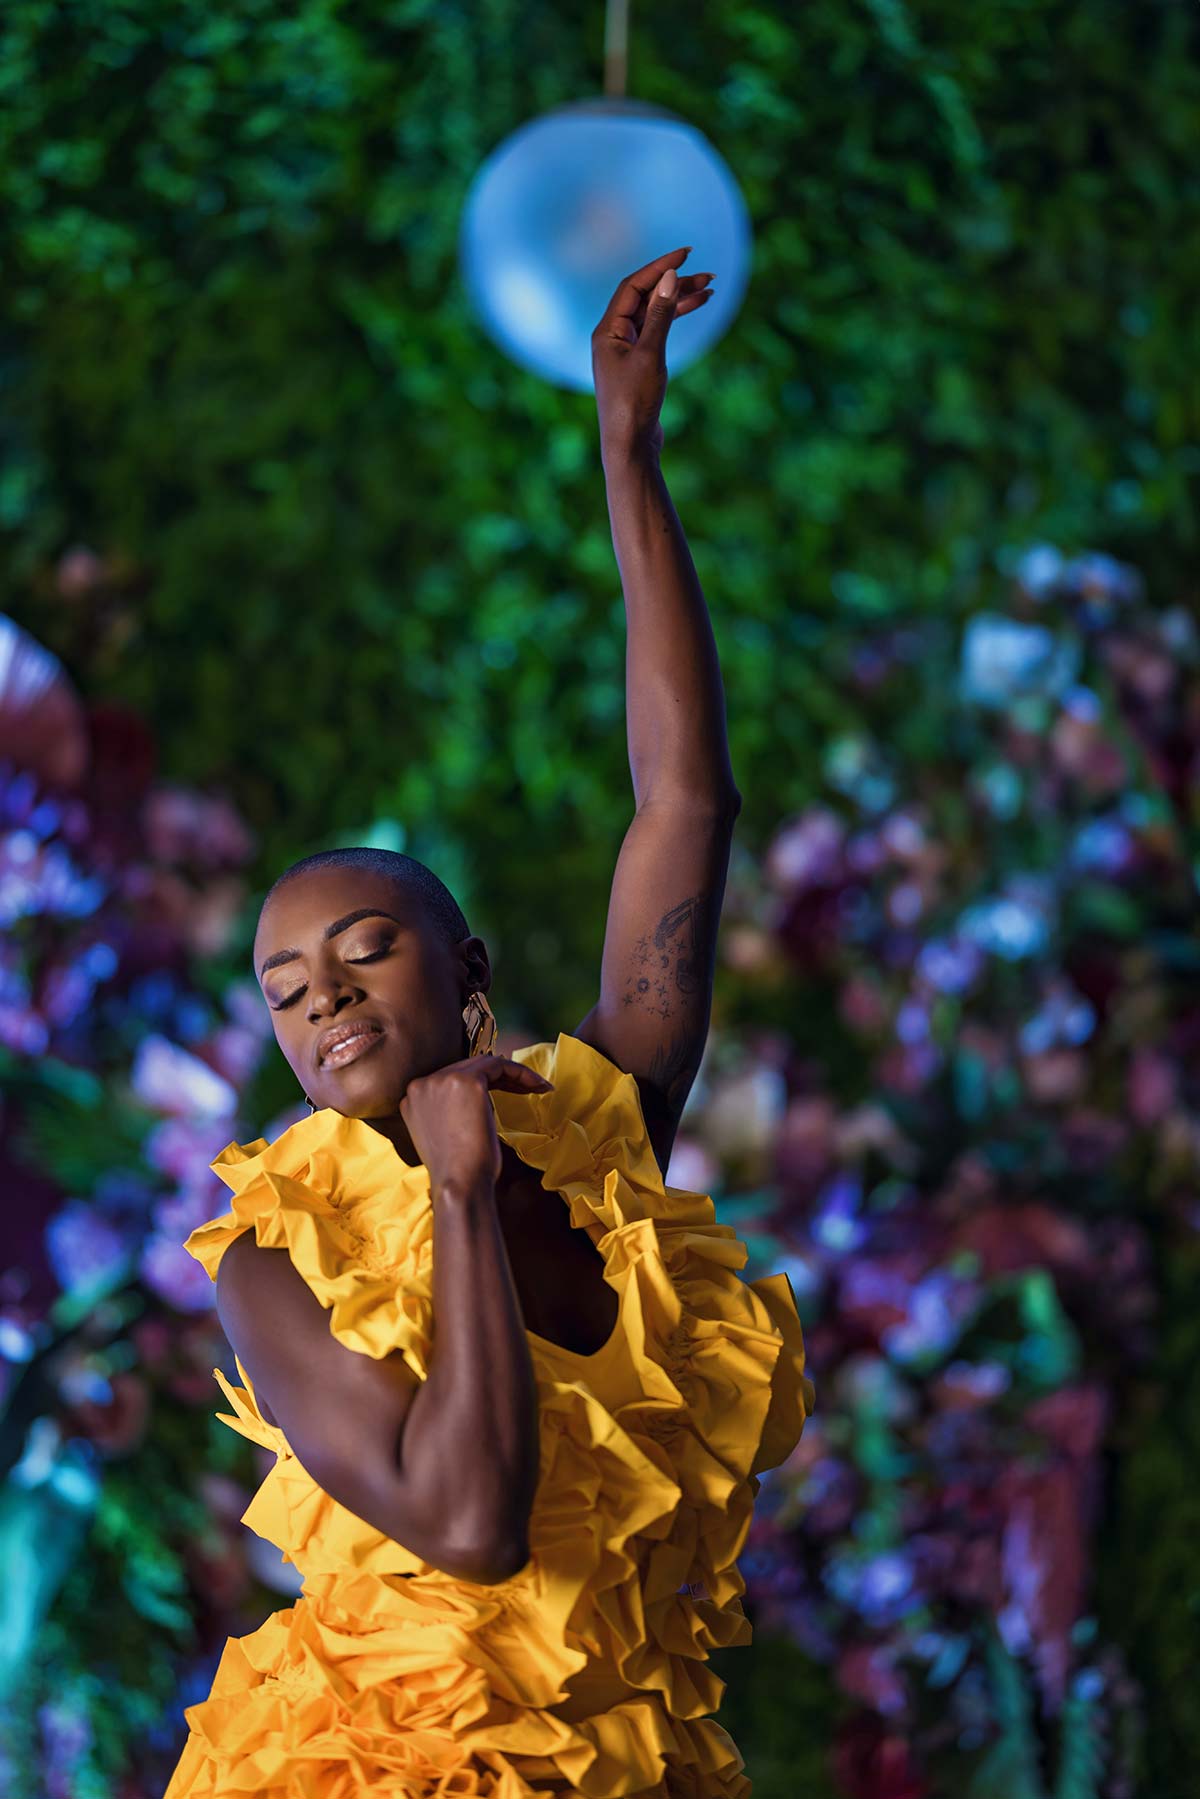
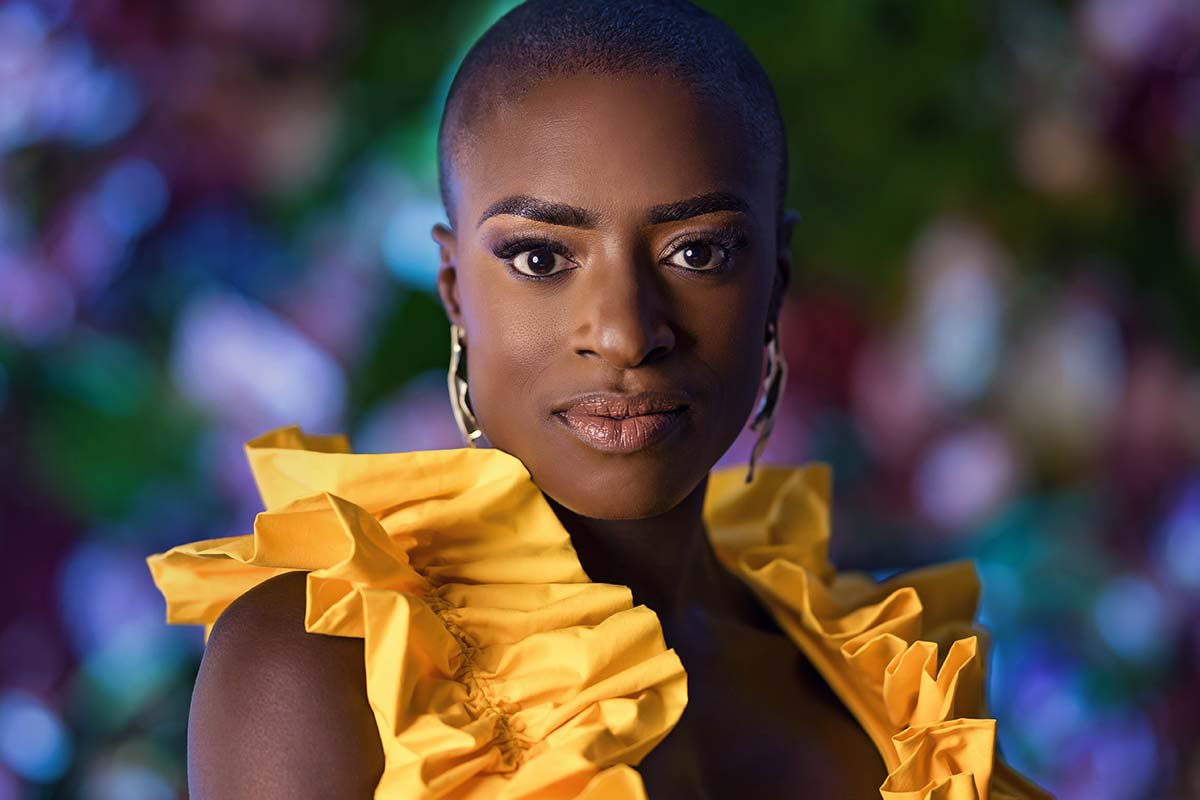
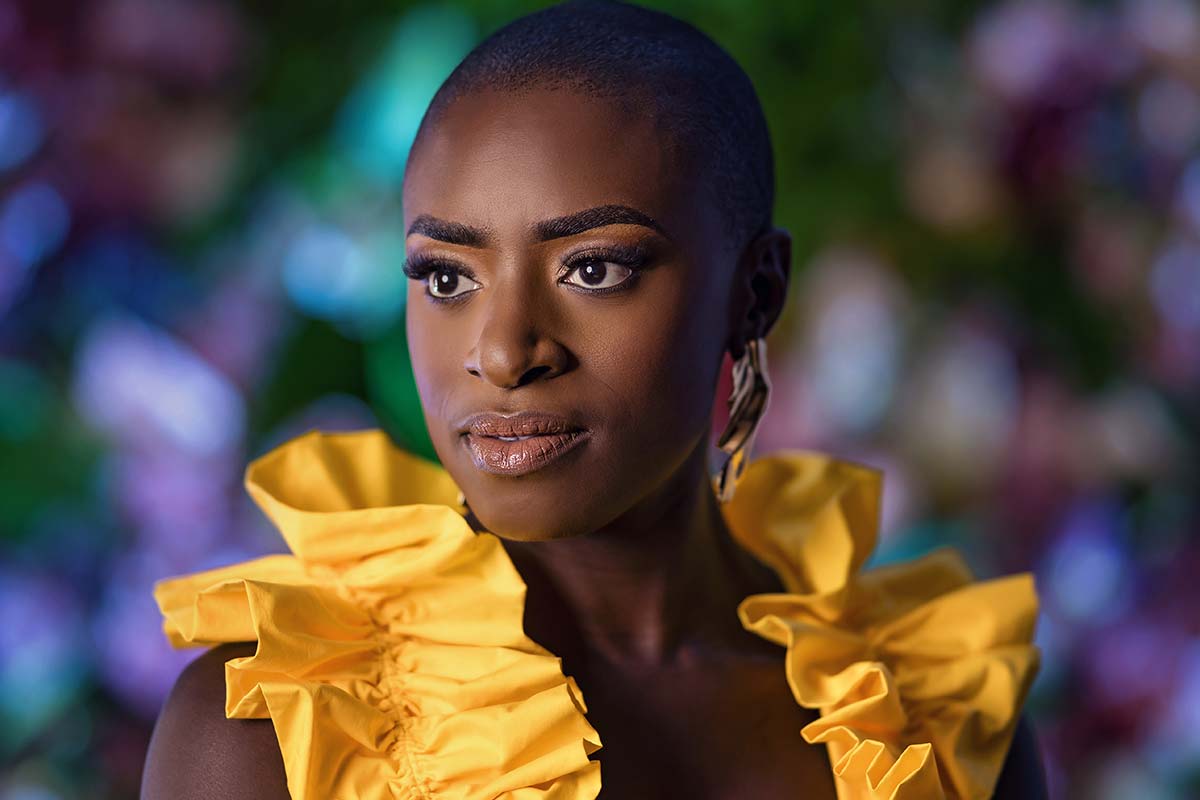
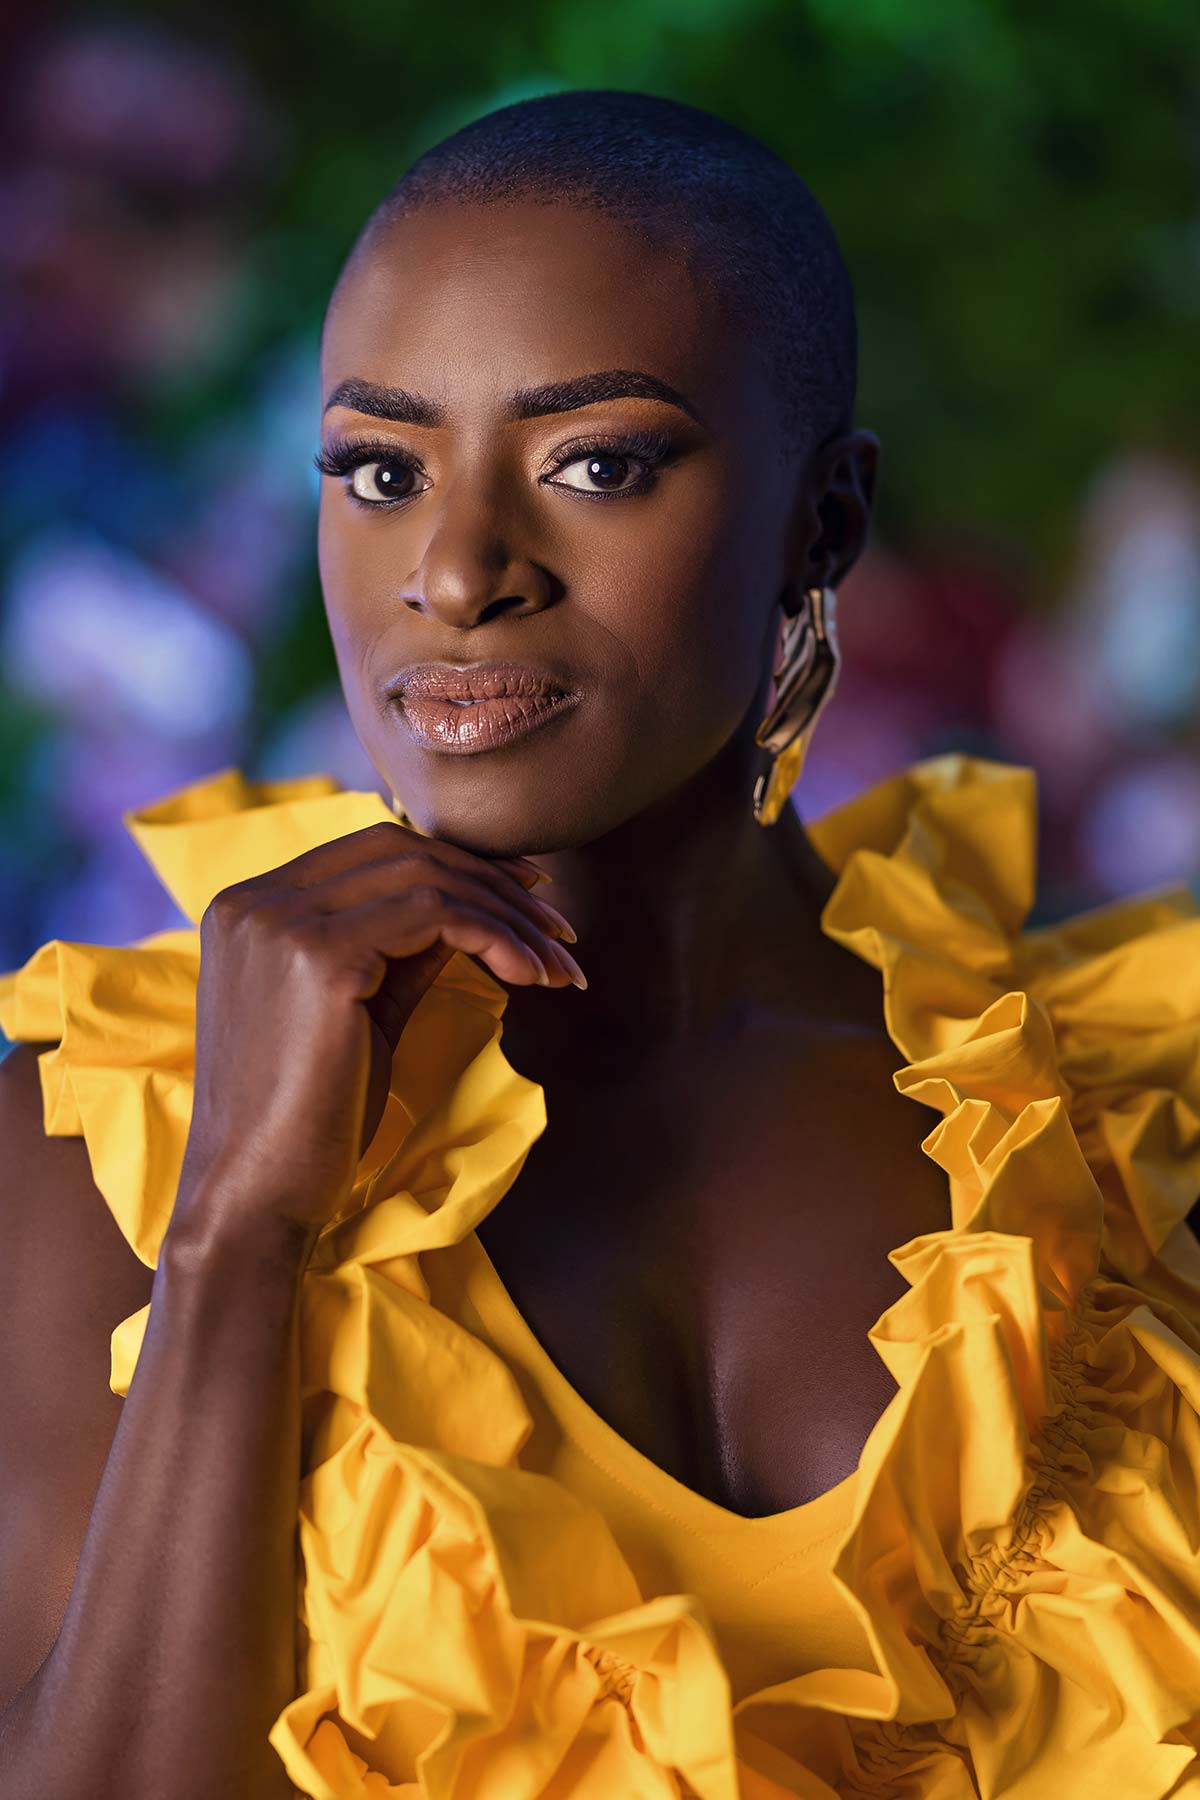
Those were all shot at F8. One of the things for me that I don’t particularly care for is everything seems to be in focus. I mean there is fall off, it’s probably gonna be at 5.6, but by the time it hits the wall everything’s in focus. And what I like to do when I’m shooting portraits and I think this is up to you as a photographer, season to taste I always like to say, is create some separation between her and the background. Now of course you can do that with edge lighting and other ways, but for me I like using depth of field to create that separation. So I wanna get this down to about F1.2.
The other added benefit is that, at F1.2, the skin starts to look really buttery naturally. So without Photoshop that skin’s gonna look really, really buttery. Now Faren has beautiful skin, beautiful hair and makeup by Kita. We need to get a little bit of Kita, she’s just hanging out here filming some behind the scenes. We’ll throw Kita’s information up if you’re ever in the Northeast. She’s out of DC and she came up here to New York City just for us. So we appreciate you Kita. So all that’s done perfectly but I still wanna create a little bit of that separation.
So what I’m gonna end up doing is dialing this light down all the way so I can do that from the trigger. I’m just gonna start it off at a power setting of one. Then what I need to do is actually take a meter reading to make sure that this is still gonna give me the light I’m looking for right on her face. So, and of course, we could move the light closer, move the light further away but I still want a softer light on her. I’m gonna bump this up to a power of three and that gets us where we want. Having that light meter is super helpful, it allows me to move quickly to get what I want here. So once again, now that I’ve changed my power settings I’m gonna test here at 1.2, and that looks super good just on my first shot. I am gonna lower the light on the background now. I’m just gonna come down probably about two stops on the background light. I’m gonna take one more test shot. I love it. So, we’re gonna work through this.
This is my particular style of shooting. So I’m gonna shoot this, I’m gonna show you before and after. I’m curious what you want as we go through this. But just know, the reason I’m doing this is I like the way it looks on skin, I like the separation from the background. I know those of you who are tried and true portrait photographers are twitching right now at the idea of shooting at 1.2. But if you’re using the Canon RF system of glass, I’m telling you at 1.2, it is tack sharp. If you’re not using the Canon RF system of glass, it sucks to suck. I’m just kidding, relax, okay? Everybody calm down. Okay, let’s work this Faren. This is looking really, really good.
Portraits Shot at F1.2
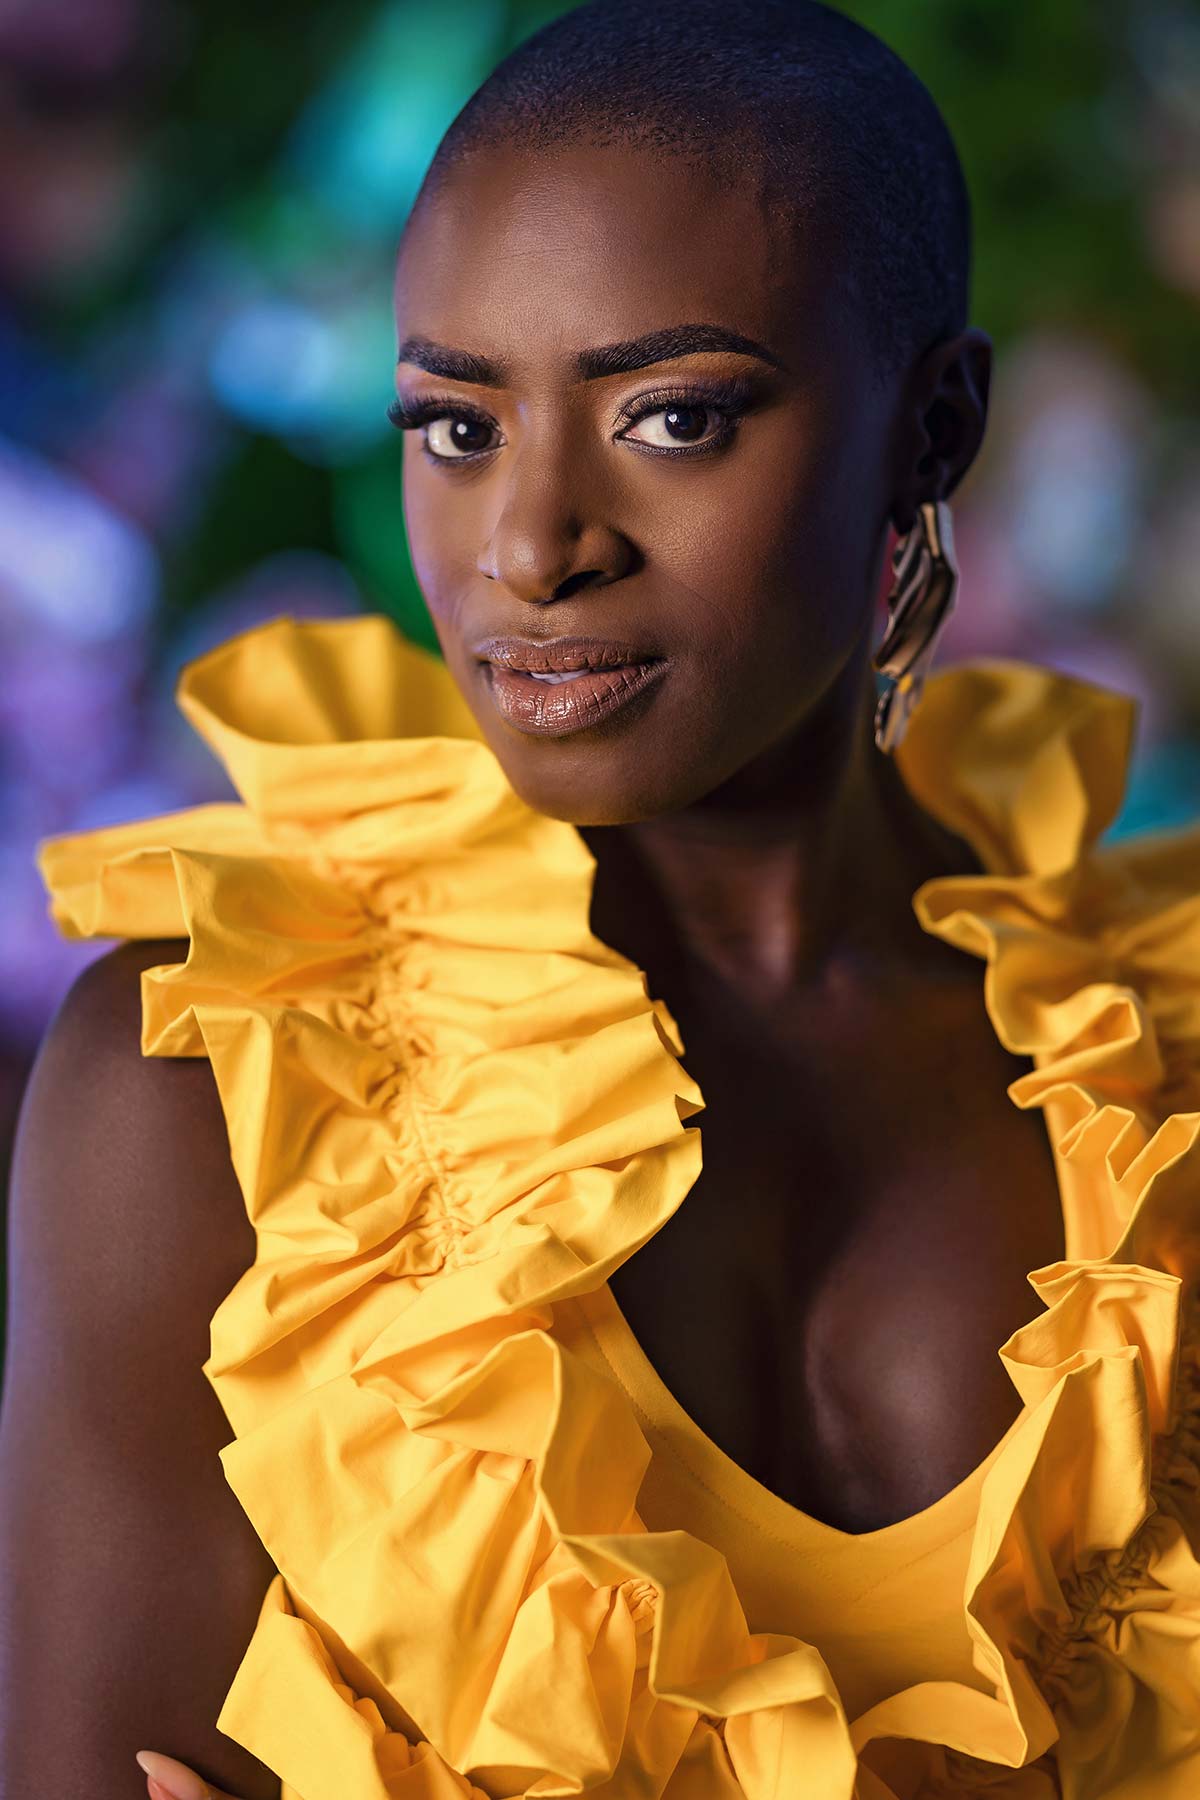
I wanna show you guys something that I’m not even sure most of your cameras do. On most of the digital cameras, the mirrorless cameras now, they have the ability to punch in or crop in on the sensor. So what does that mean? I’ve got an 85 millimeter lens at 1.2, but I’d like it to be more like a 135. There is no 135 1.2 at this point, maybe there’s a 1.8 or a 2.0, but probably not a 1.2. You can have 40 megapixels, 50 megapixels, you’re not blowing these images up in Times Square. What happens is you can actually punch in on your sensor. Check your cameras, but on the Canon it’s basically cropping aspect ratio. So in your menus I’ve got something called cropping aspect ratio. I can now change this to 1.6 and that’s basically gonna give me a 1.6 crop on the same image now all digitally. And so now this 85 is looking more like a 135 but the beauty of it is it’s at 1.2. All right, so here we go. Now I’ve got a beautiful headshot portrait of her.
Portraits Shot at F1.2 & Punched In
All right everybody, that’s a wrap. If you love this video, first of all, let us know in the comments which one was your favorite? Did you like the shallow depth of field or did you like the F8 style of shot? Of course they look completely different. But most importantly, if you want to hear from us in future videos, make sure you hit that bell. You’ve gotta hit the ding. Ding the bell to get notifications on the next video we go live with. All right, that’s it. Stay tuned. There’ll be more videos with me and Faren.

