Are you a passionate photographer eager to capture mesmerizing portraits that truly speak volumes? Look no further! Discover the crucial role that lenses play in transforming ordinary shots into extraordinary masterpieces, and learn why investing in the right glass is paramount to unlocking your full creative potential.
Equipment Used:
Camera: Canon EOS R5
Lens: Canon RF 50mm F1.2 Lens, Canon RF 85mm F1.2 Canon RF 70-200mm F2.8
Light: Natural Light
Team:
Photographer: Sal Cincotta
Model: Violet Deardorff
Are you a photographer looking to get started in portraits? Well, these are three must-have lenses.
All right, everybody. So as a portrait photographer, as a photographer in general, we all know that there is an endless supply of lenses and focal lengths and speeds. But what do you really need to get started? So in this video, we’re going to talk about three lenses that I think are essential, crucial to getting started as a portrait photographer. Actually, one of the things you have to consider is focal length. So focal length will change the way a portrait looks, right? So if you were to shoot your subject with a fisheye lens, that’s going to look completely different than if you were to photograph them with let’s say a 400 millimeter lens. Now, of course, those lenses are on the extremes, but you get my point. And so it’s very important to understand that these three lenses are really good for faces, right? So we don’t want to skew features like nose, ears, eyes, but to that point, maybe you do, right?
So in commercial photography, you’ll see them do things like super wide angle lenses. They make a subject’s foot look super big or their legs or bodies look elongated. Those are more niche types of shoots. But in general, for portraits, you don’t want to exaggerate your subjects features, and that’s why I like these three lenses. And so the other thing you’re going to want to consider is, of course, the speed of the lens. And when somebody’s talking about speed of your lens, that’s your aperture. Your F stop, is that 1.2 or is that going to be a variable, which is like f/4 to f/5.6, right? Meaning if you’re wider, it’s one speed. If you zoom in, it’s another speed. Quite frankly, I would encourage you to spend as much money as you possibly can on your lenses because your lenses will last, right? Cameras every year, every six months, there’s new megapixels, more megapixels, too many megapixels.
Canon RF 50mm
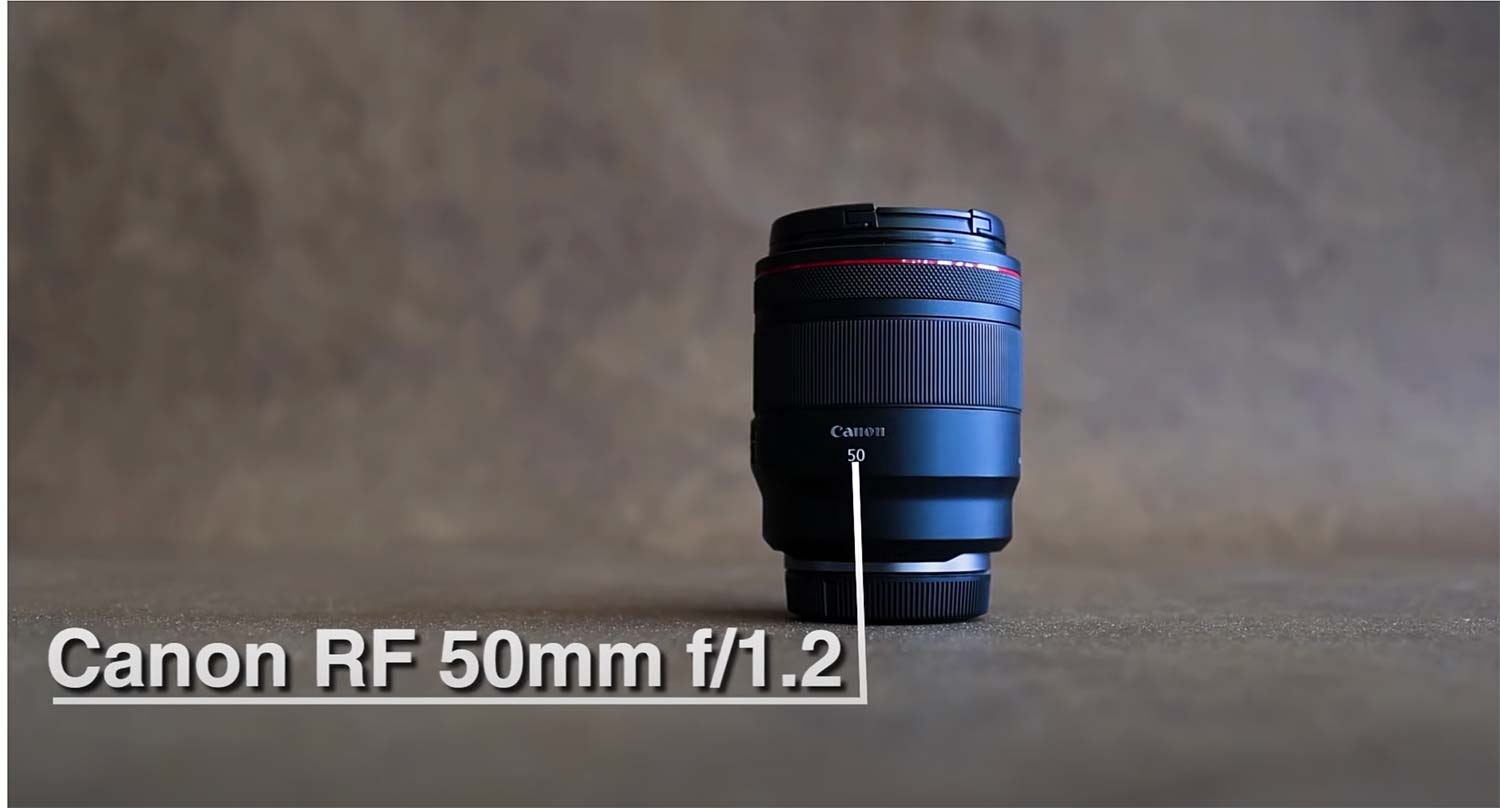
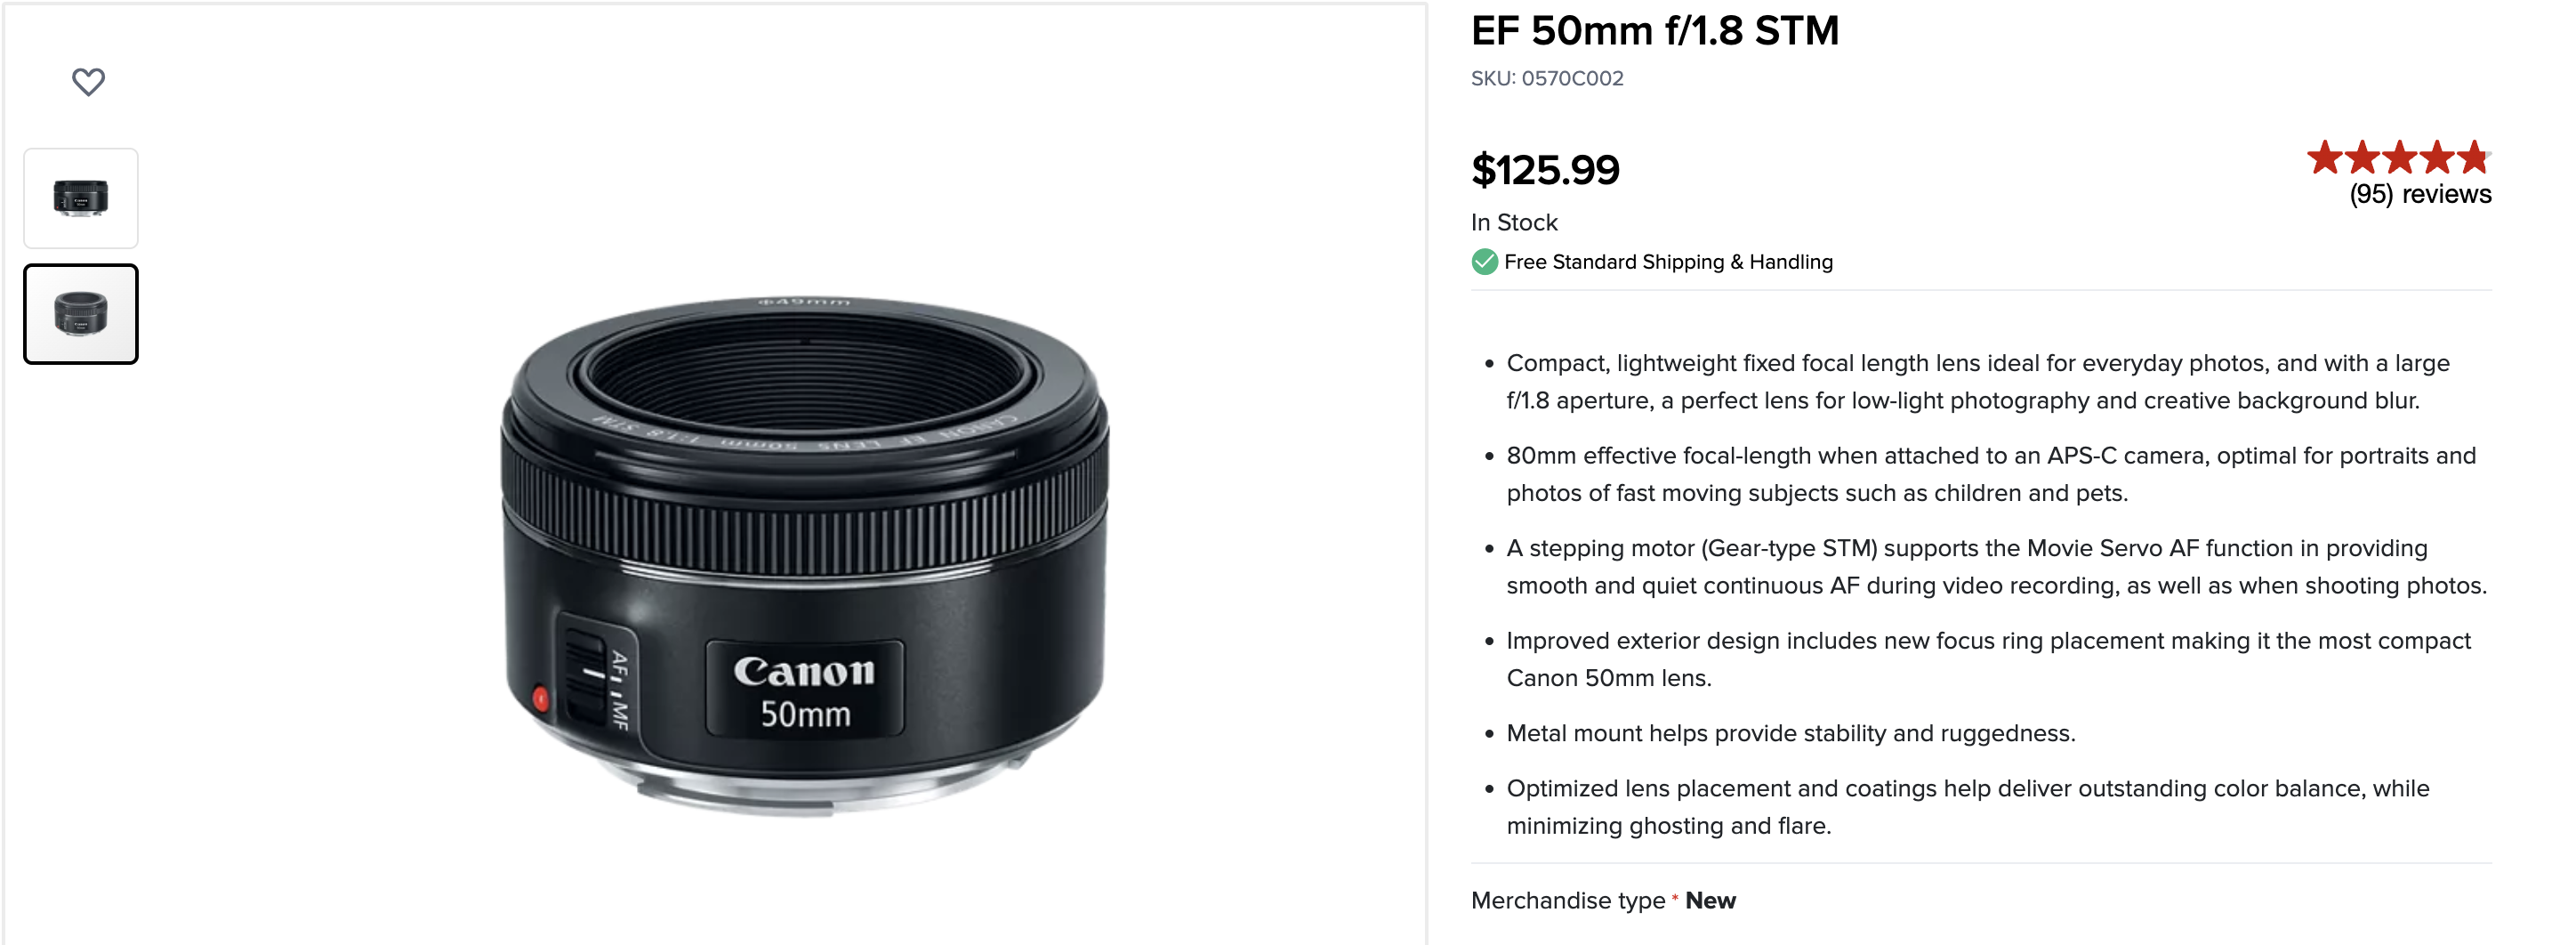
And so with a lens that’s going to move with you from camera body to camera body. So buy as much glass as you can afford. I use a 50 millimeter. That’s the first lens we’re going to talk about. I use an f/1.2. It’s an RF lens from Canon. Now, that’s an expensive lens. The alternative of that is an f/1.8. Almost every manufacturer has it. Third party companies like Tamron and Sigma, they make those lenses as well for most camera bodies. That’s a great place to start. It’s an inexpensive lens, but what you’re going to see are the results. So 50 millimeter is more on the wider side of what I’d recommend for portraits. So it’s a great lens. You’ll be able to get mid-length portraits, kind of waist up. You can get tight, but if you get too close, it’s going to change the way it looks.
Alternative
And if you want full body, you’ve got to back up. So your feet are acting as the zoom, but the nifty 50, as we like to call it sometimes, it’s a great all around all-purpose lens, especially for portraits.
Canon RF 85mm
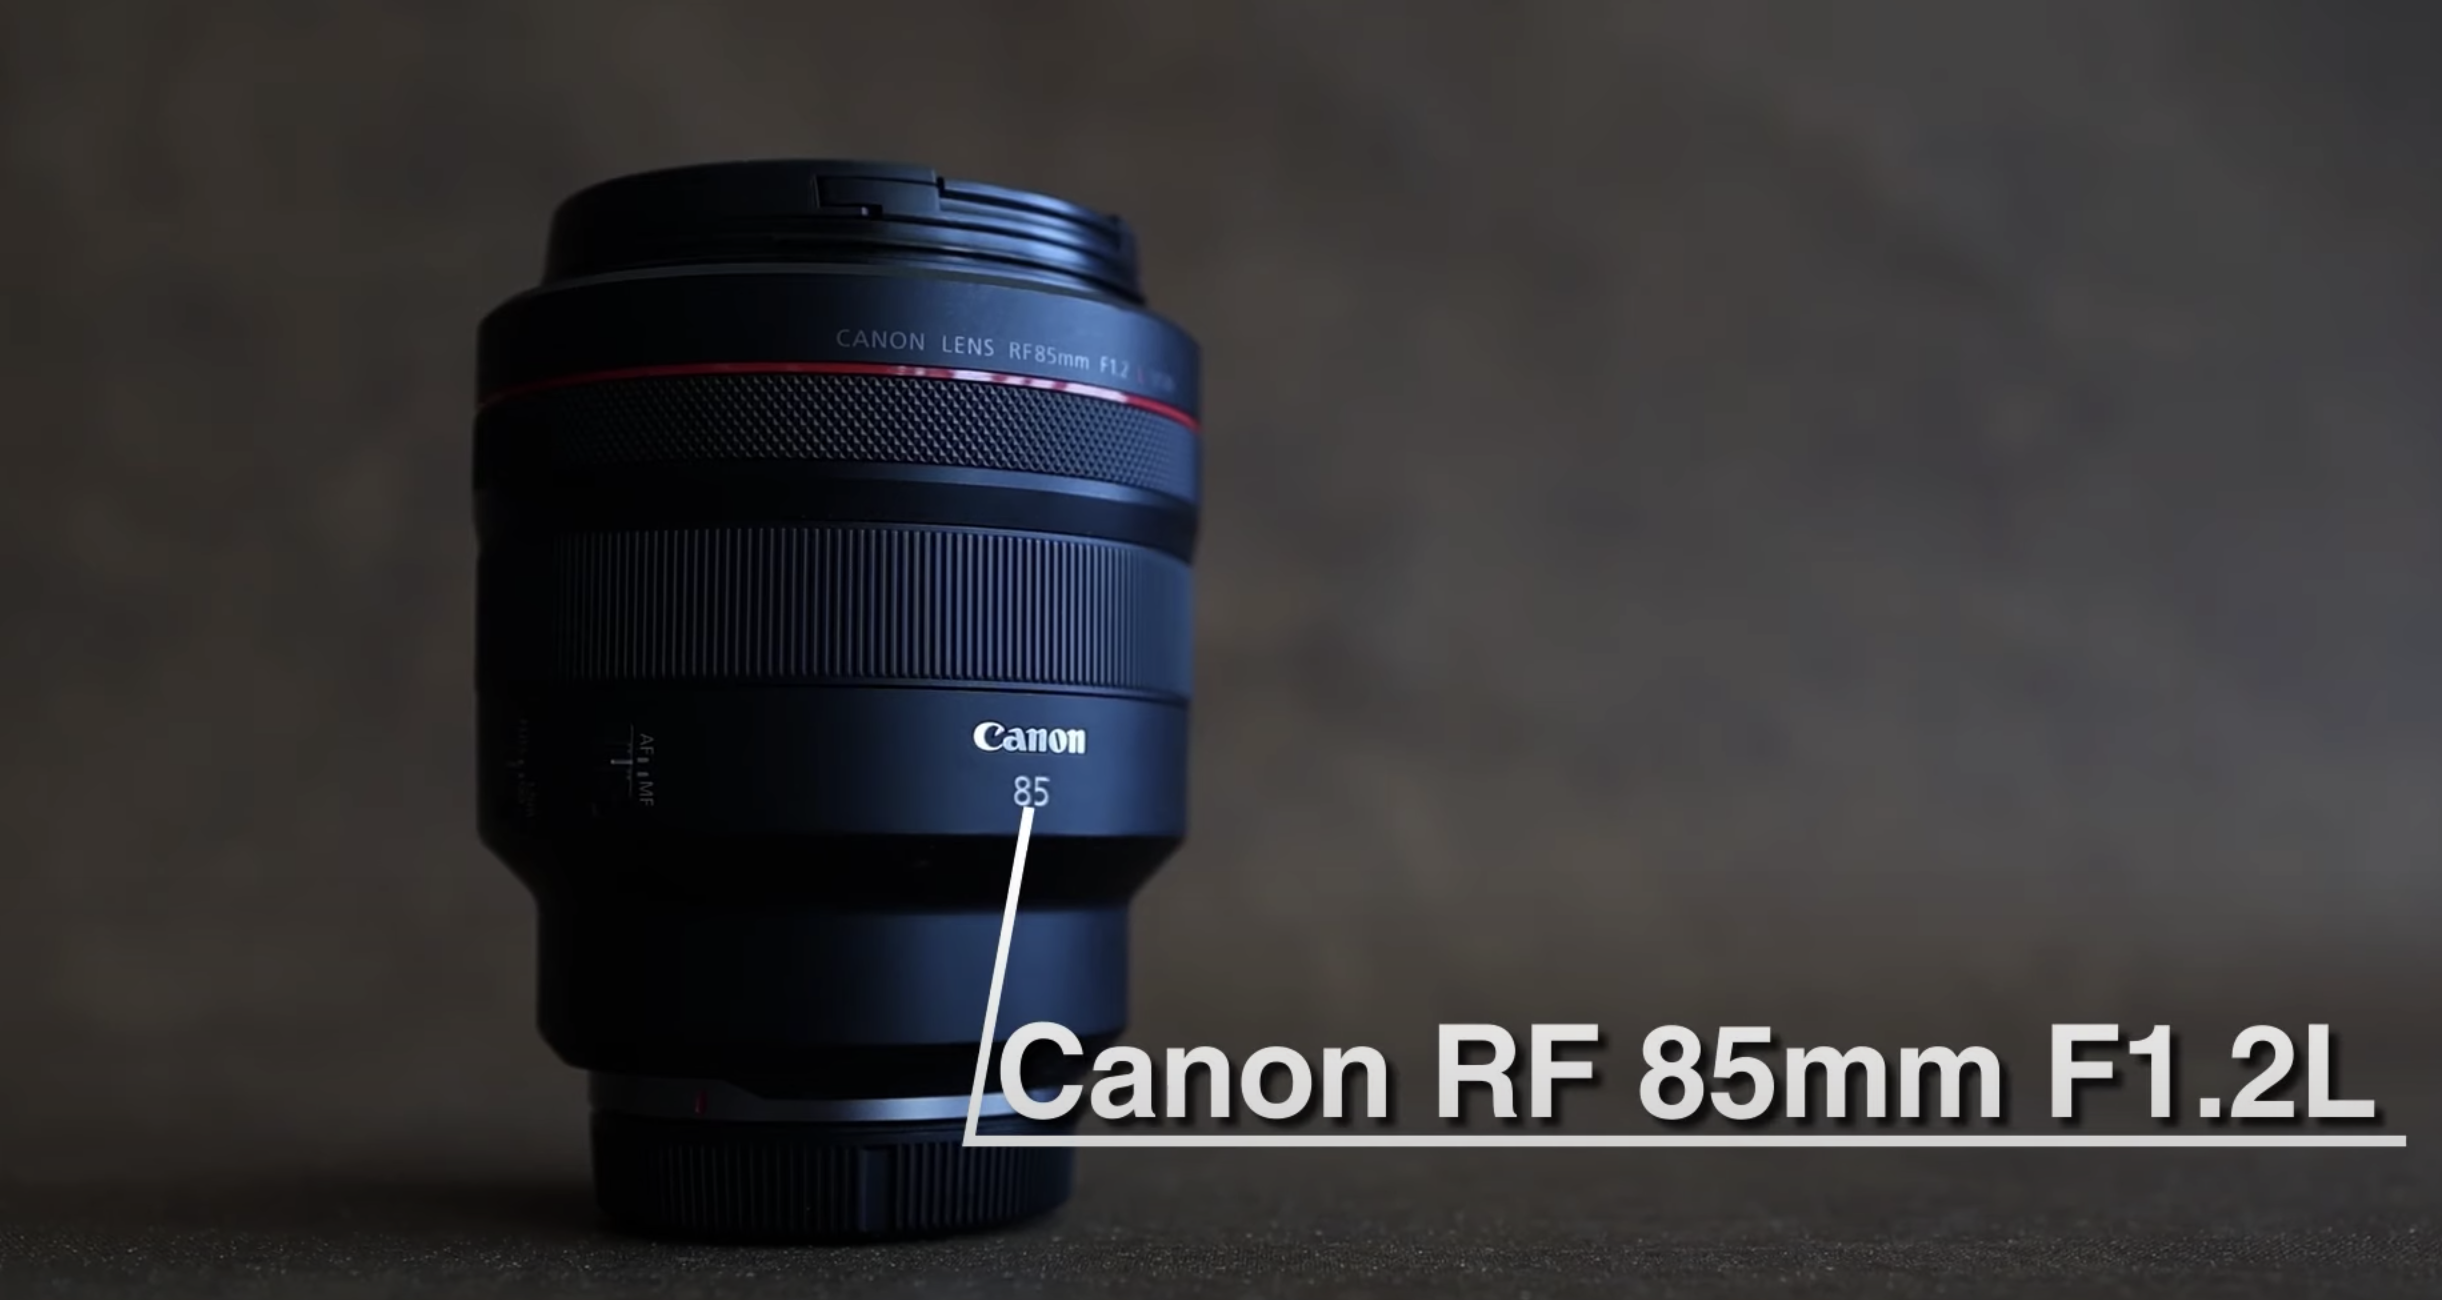
Now, the second lens up, I would consider this a classic portrait lens. It’s the 85 millimeter f/1.2 or f/1.8. Either one is going to give you some really good results. Now, the reason this is a classic portrait lens is because of it’s going to give you a little bit of compression, but it allows you to kind of work at a reasonable distance from your subject. So for a 50 millimeter, you’ve got to be a little bit closer to your subject. Sometimes it’s just a little awkward. It’s tension that’s not needed. 85 millimeter allows you to be a nice distance, but still get this compressed kind of portrait, a nice beauty headshot, whether you’re going vertical or horizontal.
And the results are just stunning. When I’m in studio, the 85 millimeter is my number one portrait lens that I love to use in studio because in most spaces, you’ve got enough room to be about four, five feet from your subject and get a nice lens. Now, of course, if you want full body, 85 millimeter is not going to give you what you’re looking for because you’ve got to really move far back where maybe a 50 millimeter would be more appropriate for that situation. But as far as results go, 85 millimeter at 1.2 or 1.8, what you’re going to notice is the eyes will be sharp. If they’re not, then you might have an equipment problem, but that’s a conversation for another day, and the skin will start getting a little bit soft. And that’s mostly because of the optics. It’s going to soften that skin.
You want that. You want softer looking skin. The average person wants to have a… They want to have good looking skin. And so that in combination with the way you light your subject can really have a pleasing effect on the skin. You’re a bouquet, whatever you decide to call it, your shallow depth of field, that’s going to have a really pleasing effect. All right. And the 85 millimeter 1.2, chef’s kiss, as my wife likes to say all the time. Now, something to keep in mind is both the previous lenses I’ve mentioned, the 50 and the 85, those are primes. They have less glass in them, they are much sharper. And as far as I’m concerned, when possible primes are the way to go. You are going to get the sharpest image you possibly can from an optical perspective, because in a zoom lens, there’s more movement, there’s more mechanics in the lens, more places for things to go wrong on you.
Canon RF 70-200mm
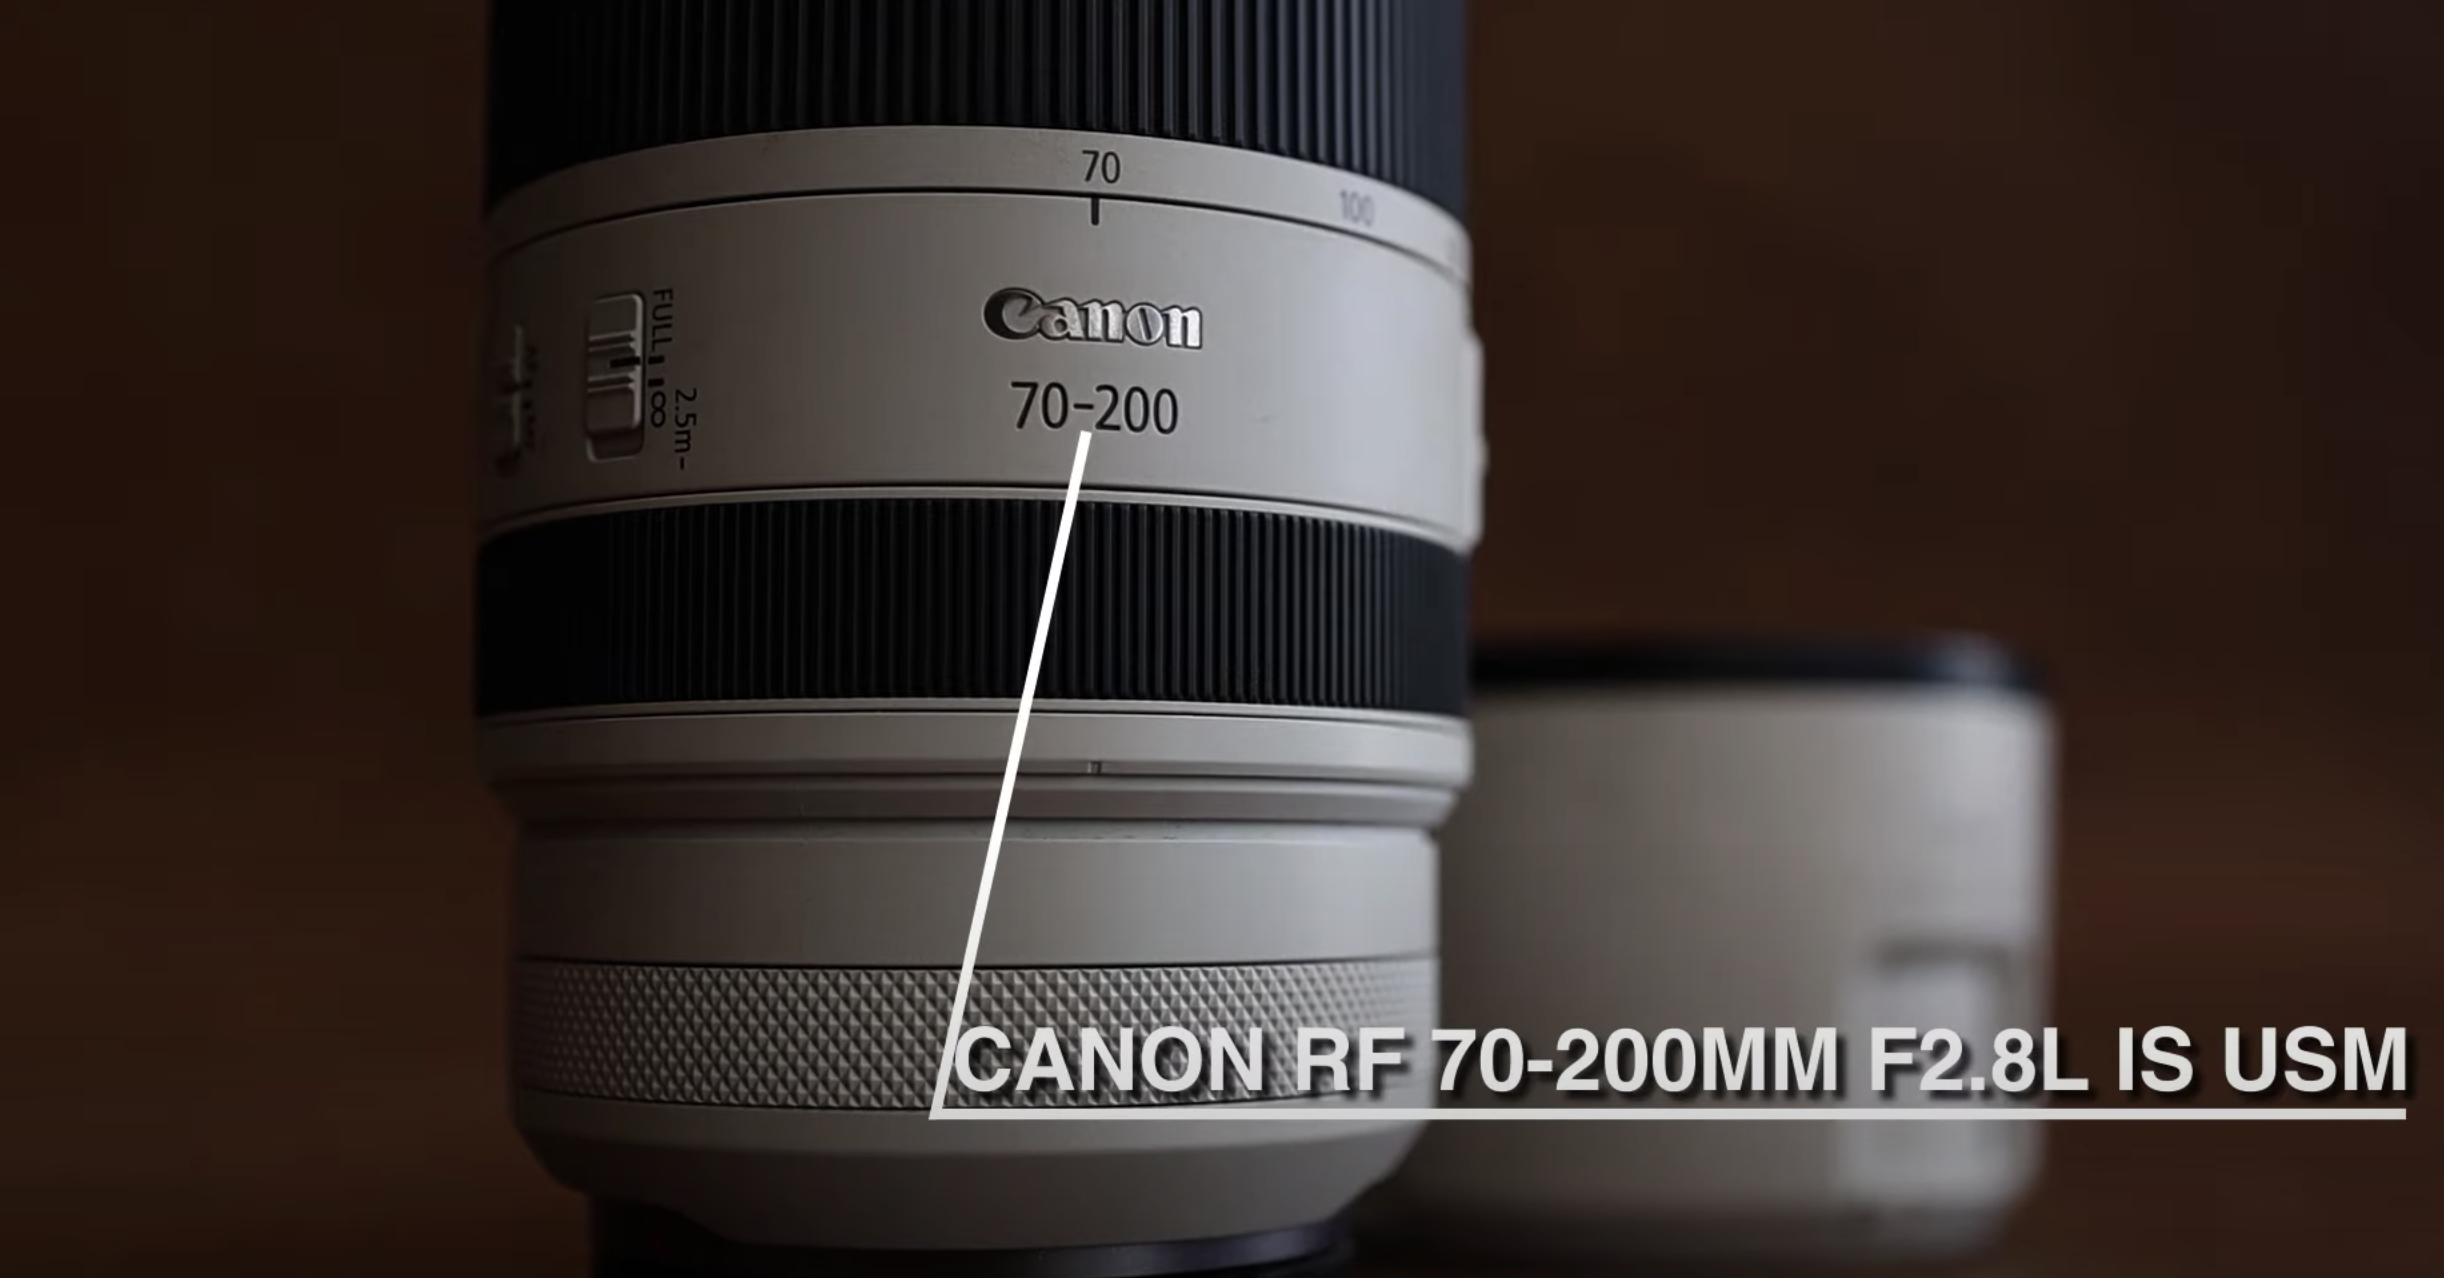
And so that leads us to our third lens. And this one is a kind of a tele-zoom lens. It’s a 70-200 f/2.8. And this is another lens that when I’m on location outdoors and I’ve got more room to move, 70-200 can absolutely provide incredible results for you. And the reason for that is you’ve got this range, right? 70 to 200, but the key here is f/2.8 throughout the range. I would never recommend to you as an up and coming portrait photographer, do not waste your money buying a 70-200 variable lens, meaning f/4 to f/5.6, because what’s happening there is at 70 millimeters, you’re going to get f/4.0, but at 200 millimeters it’s going to be f/5.6. And you don’t want that. That’s not what you want. It’s not going to give you consistent results. It’s not going to give you the depth of field you’re looking for.
Save your money. Invest in the right piece of glass. I cannot advise you enough on this. That particular lens, invest in the f/2.8. And what you’re going to notice here is you can get really close to your subject from a distance. And when it comes to portrait photography specifically, you are going to be able to create some portraits that are just absolutely stunning with compression there. So it’s going to be really sharp. Background’s going to be pulled into your subject, and they’re just going to have this magical look to them. And a lot of times when you look at other photographer’s work, you can’t figure out how are they doing this. A lot of times it’s the optics they’ve chosen. It’s not always Photoshop, right? It’s not always just magic what they’re doing. A lot of times if you shoot a portrait at 85 millimeter, f/1.2, that’s going to look completely different than using a 70-200 lens, shooting that at 85, right? Zooming into 85 and shooting that at 2.8.
So even though both are the same focal length, because one’s a prime and one’s faster, that is going to look completely different than a tele-zoom with a f/2.8, right? Because there’s a good stop and a half, two stops difference sometimes between these lenses. So I hope this makes sense. I hope the results make sense for you and you like what you see. If you’re enjoying this video, want to learn more about photography, like, comment, subscribe to our channel and we’ll see you in the next video.
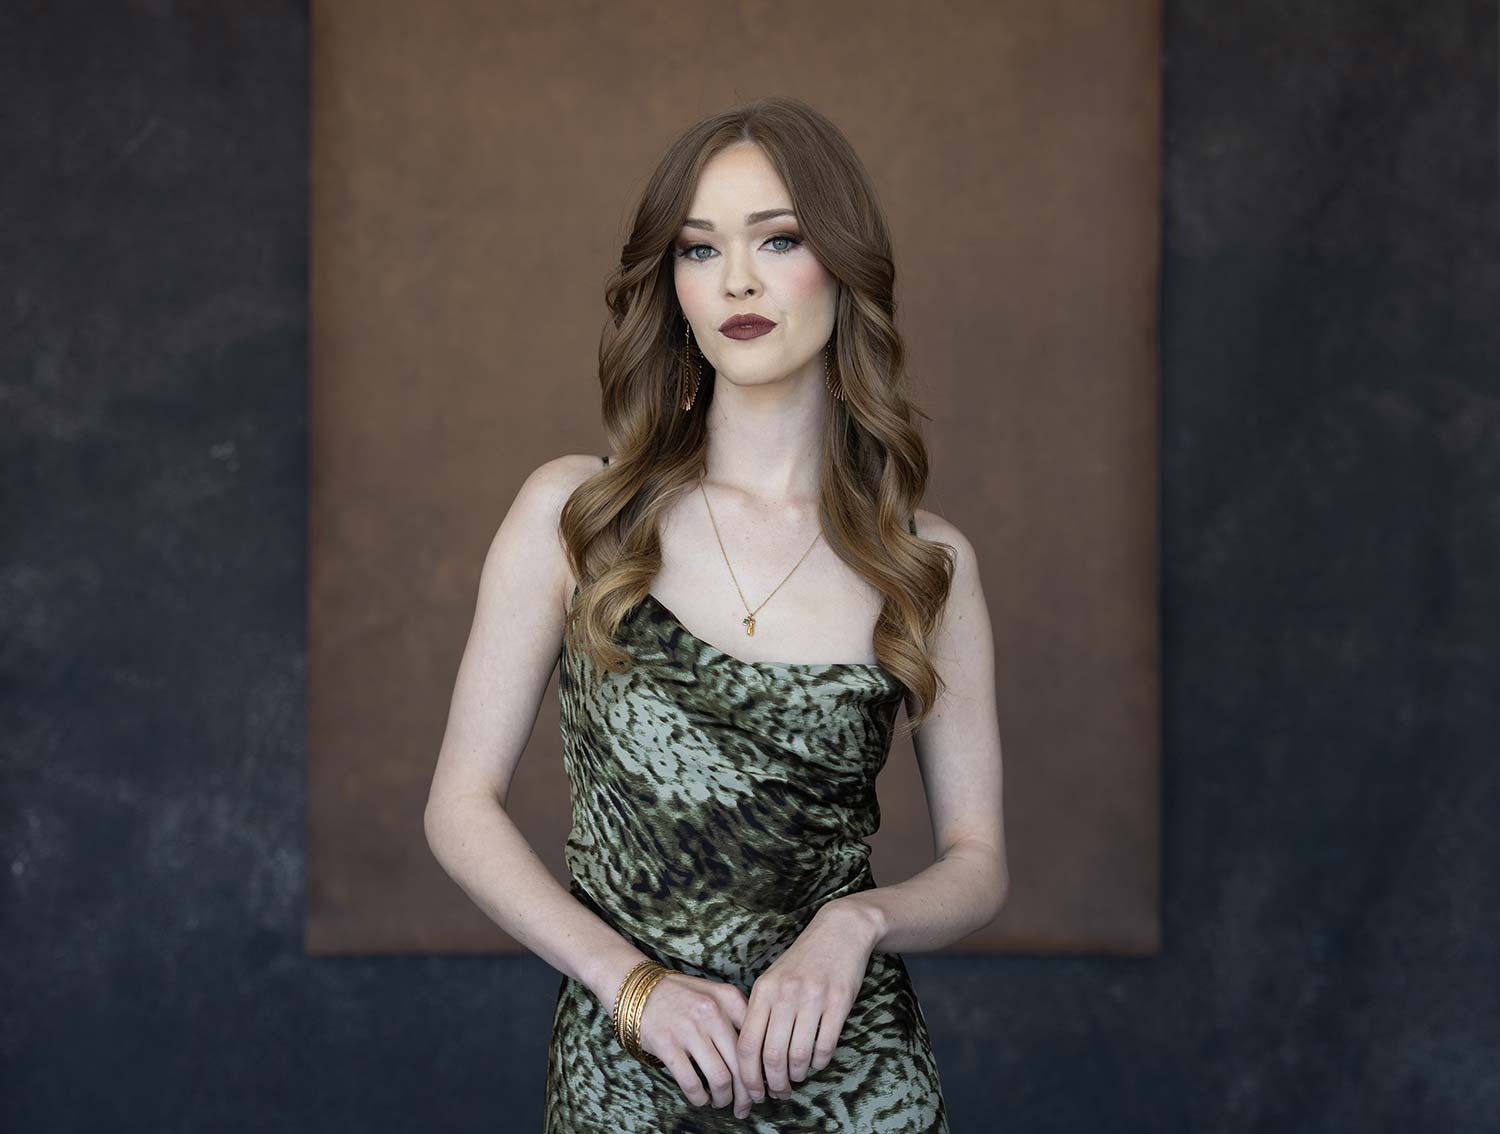
Final image