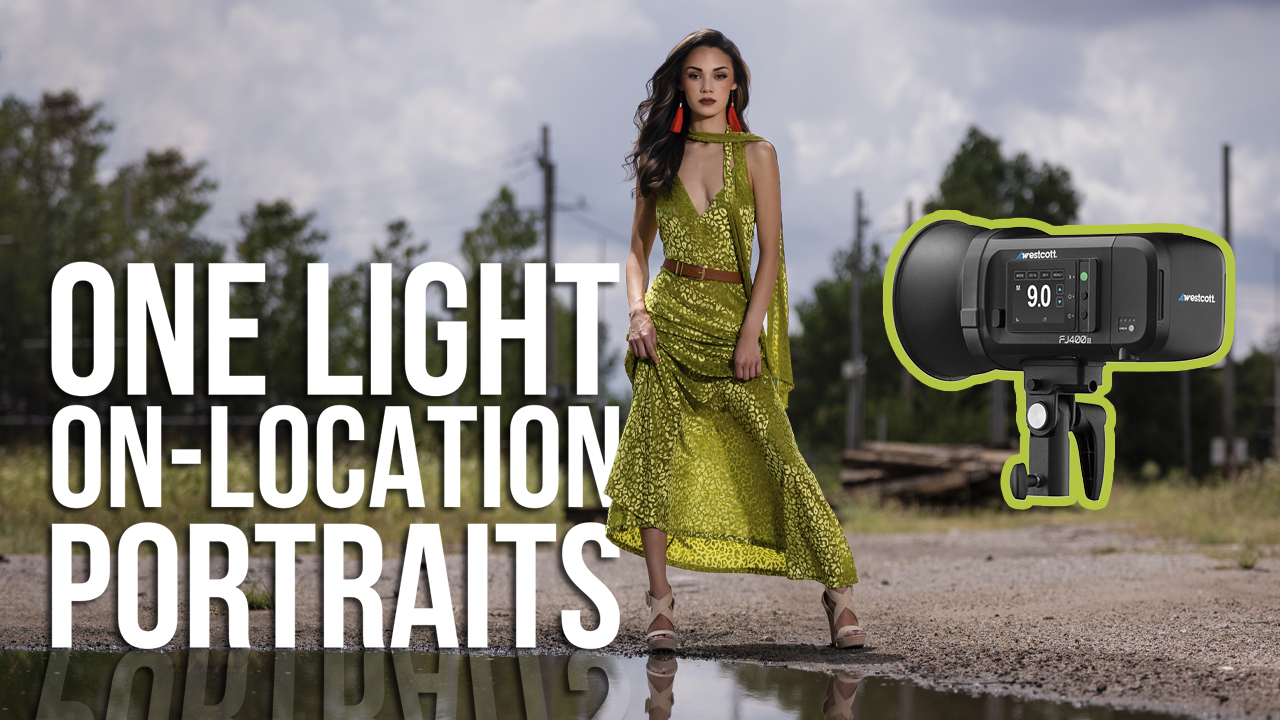
Lighting Academy 101: Seeing the Light with Michael Anthony
Today’s photographers are becoming more and more skilled with lighting. But before you can become a wizard with off-camera flash, you need to understand precisely how to recognize and manipulate light. Our studio has a team of multiple wedding photographers. We promise our clients that they are all trained in the recognition and manipulation of light. To fulfill that promise, we developed a system our photographers use to recognize light. Today I share that system with you.
We train our team in four technical elements: lighting, composition, posing and storytelling. Light is the first thing our photographers must become proficient in before moving on to the next subject. Lighting is essential because without it, we don’t have a picture. The word photography literally means “the study of light,” so to understand lighting, the first thing you need to understand is how to recognize it.
Direction
Many photographers look for open shade because it gives them a comfortable place to take photos free of unwanted contrast or shadows, but it’s important to understand that even in the softest lighting, light has a direction. Light direction is essential because photography is a two-dimensional medium. Directional lighting emphasizes two of the most important things we need for storytelling and composition: highlight and shadow.
Use highlights and shadows to create texture on your subjects—that gives a sense of realism and three-dimensionality to our subjects. Since we live in a 3D world, showing three-dimensionality on a two-dimensional medium makes an image more interesting.
To achieve this, directional lighting needs to create texture. Portrait photographers need to be aware of this because if we are photographing a closer portrait, we need to use a reflector to minimize contrast on the areas like the face where texture can be harmful to your overall aesthetic.
To recognize light, I want you to find a white foam sphere. Go outside and spend 10 minutes a day for the next week finding light direction. Stand in a different area, under a roof, or out under the open sky, next to a wall, etc. Ask yourself what the lighting direction is, and then use the sphere to check your accuracy.
After the first week, start looking for areas with high contrast, such as indoors, under overpasses or in an urban center. Find sources of reflective light and use your sphere to check your accuracy. These sources can be harder to find, but often produce the best results.
Shaping light on your subjects
There are three basic types of light you can use to shape your subjects. Short light emphasizes texture and is obtained by turning the face into the source of light. Broad light is precisely the opposite. Flat light fills in shadows and is often the easiest way to use light—but that also makes it the most boring.
Short light can be used to create a slimming effect on your subjects because by lighting the short side of the body in relationship to the camera angle, we minimize the amount of the body in light, making it appear smaller. Then, by turning the nose into the light, we create a three-dimensional illusion on the face.
We use short light on 99% of our female subjects in posed portraits.
Broad lighting can be used to make something appear larger and works exactly the opposite way that short lighting does. This light can be useful on male subjects or can be used to emphasize areas such as the hips on female subjects.
Once you understand how to recognize the direction of light and how to craft it to your subjects, you need to learn to use light as a communicative tool. Then you can move on to posing and storytelling.
Communicating with light
Lighting can influence the mood of your image, making it a storytelling element in your compositions. An image that is darker with more shadow communicates mystery, depth, anticipation or even anxiety, depending on your subject matter.
An image filled with light can communicate purity, serenity and a sense of calm or excitement—again, depending on your subject matter.
For wedding photography, brighter, lighter images are a better choice. But the problem with associating a lighting style with a genre of photography is that you shut the door for the stories that happen on the day of a wedding.
Is there anticipation on a wedding day? Nerves? What about anxiety? These are all parts of telling a wedding story that people understand, feel and remember. A wedding day shouldn’t be a photo shoot. It should be a documentary of the most important day of your clients’ lives. Good photographers understand this. This knowledge allows you to use your skillset to tell better stories.
Manipulating light
Good light is easier to find than you might think. A problem I see is photographers trying to emulate a lighting technique they saw another photographer do during a workshop, but they failed to understand the mindset behind the photographer.
So instead of remembering what the photographer was doing, remember why they were doing it. Think outside the box when using lighting for better results. The best images are a result of the impact on the viewer, and impact comes from thinking outside the box, trying new things, challenging yourself to look beyond the obvious to make better imagery.
To manipulate light, first decide why you need to manipulate it. Is the light on the subject’s face not good? Is the contrast between highlight and shadow too high or too low? Is the background boring?
Diagnose a composition and make your lighting choices based on that. We are just as likely to manipulate the light in the background as we are on the subjects, and if a reception hall is dark or uninteresting, we add colored gels to give the images a sense of depth. Finding that balance between interest and realism is essential—you don’t want to manipulate a scene into something that it is not.
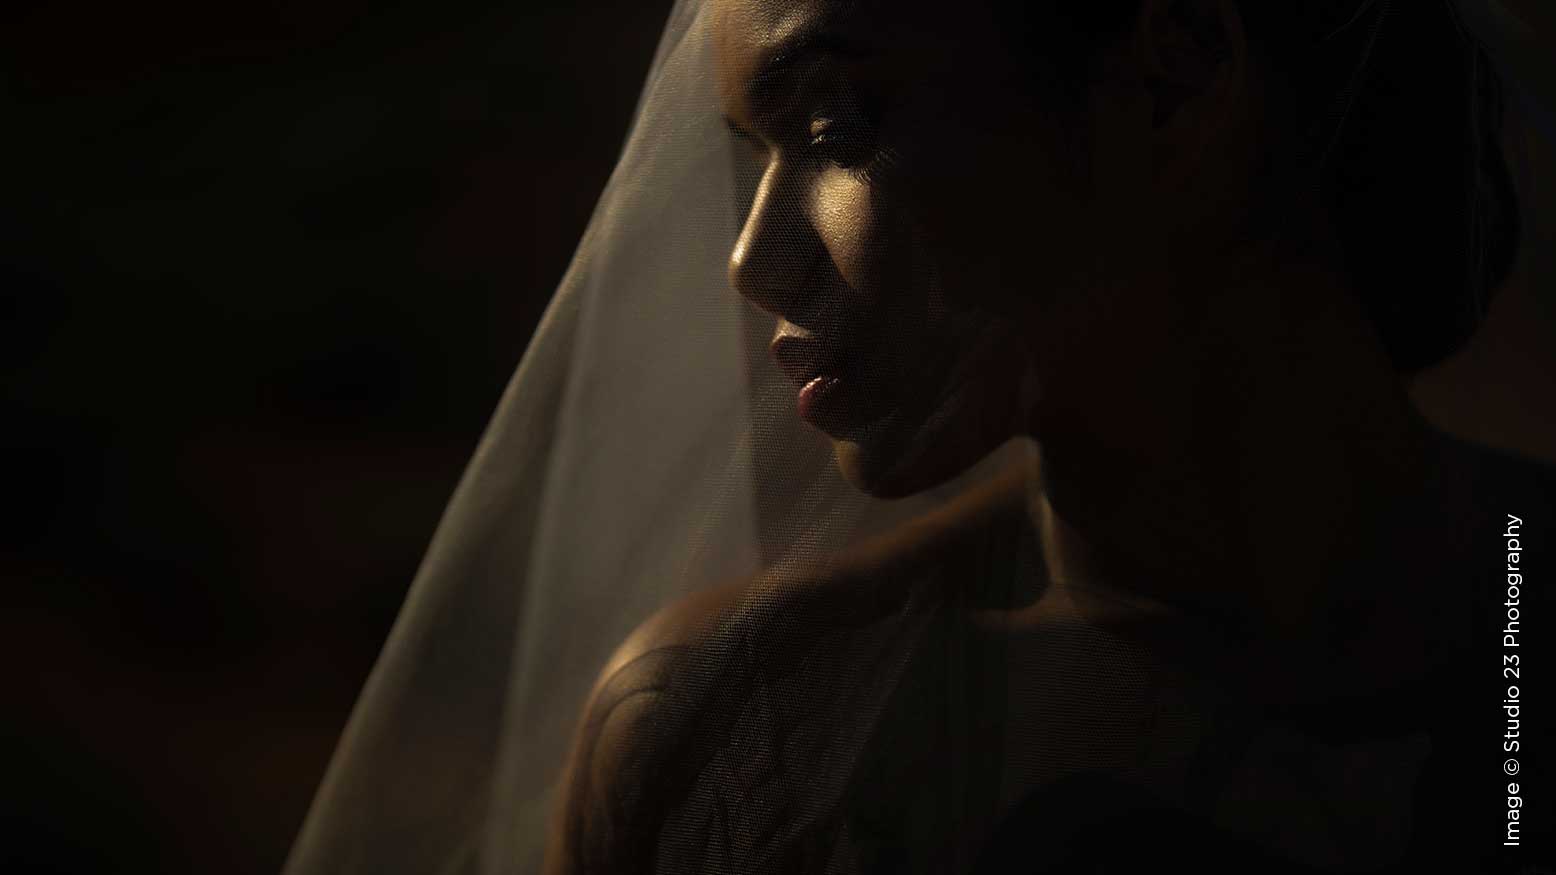
In this image, my groom wanted a shot in the room he grew up in. I was determined to make something different for him, something unique, but something that communicated precisely what he was feeling: mystery, anticipation, self-reflection.
Choose the right tools
This is the part of lighting that too many photographers focus on. I put it last on my list because as long as your gear is reliable, easy to use and can perform well, it doesn’t matter what you use.
I tell photographers that they need both high-powered and small low-powered lights. Larger light sources like the Profoto B10 can be used to combat midday sun, and lesser lights like the Profoto A1 can be used throughout the day for most applications.
You should have two types of modifiers with you at most times: a larger softbox, somewhere around 2 to 3 feet, and a hard reflector. Use the modifier to match the environment. If you are shooting in overcast or open shade, you will have soft ambient light, so use a smooth modifier. If you are out firing against the sun, then harder light is preferred. Use what works to make the most believable result. Off-camera flash is not a style, it’s a tool, so use flash with a purpose, not because it looks good.
That will help your imagery stand the test of time and make visual sense to the viewer.
Remember, the goal with lighting is to make imagery that achieves your vision for the overall story. Light is essential for capturing imagery that communicates your message, and is the first step in creating the necessary emotional connection your viewers want.