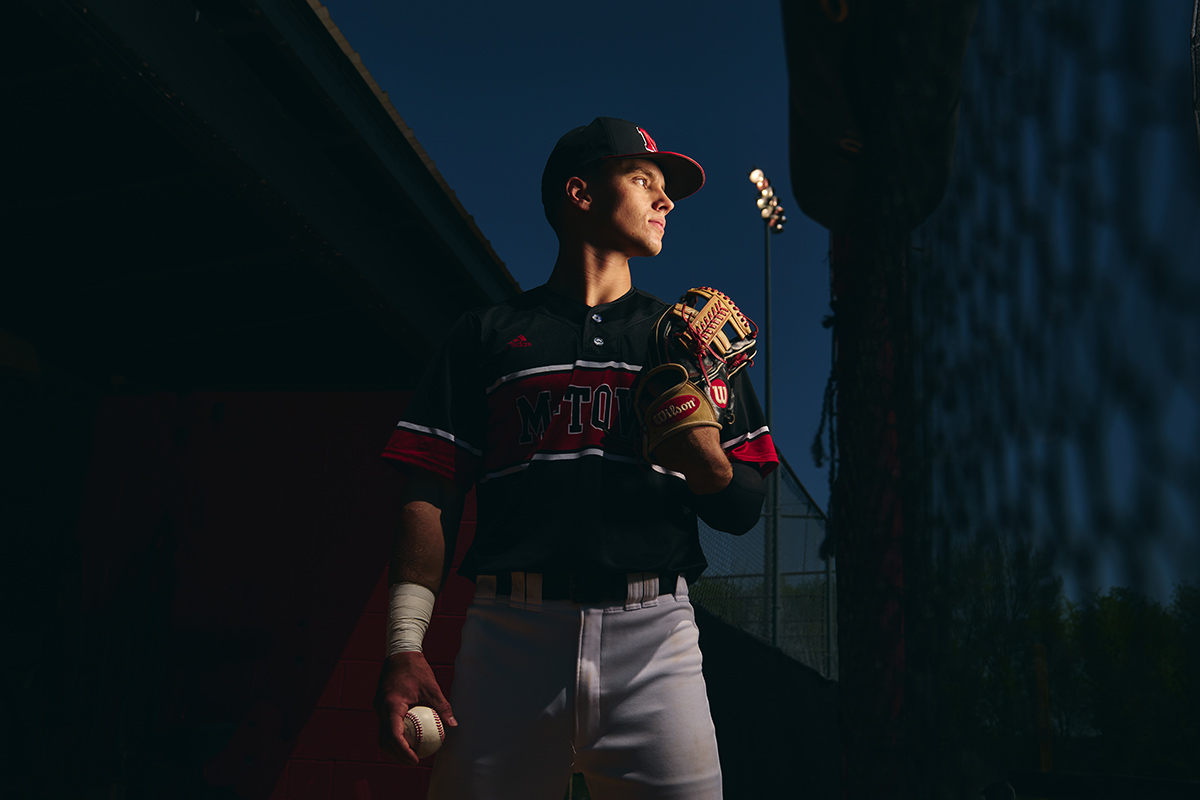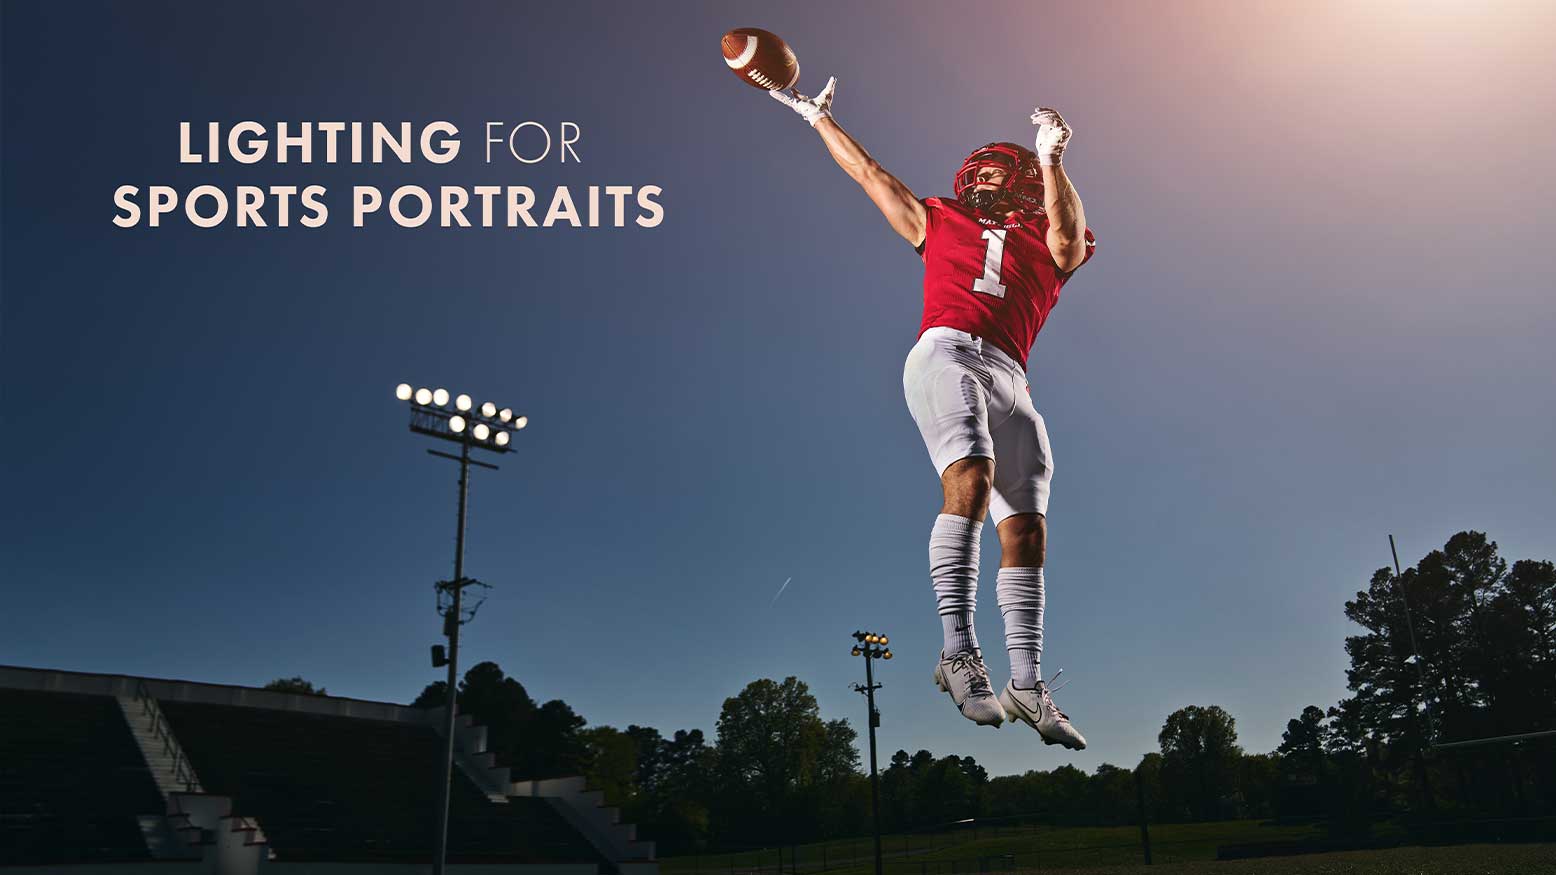
Lighting for Sports Portraits with Matt Hernandez
When anyone approaches me requesting advice for photography and how to build a business doing it, the first thing I tell them is, “You better LOVE it and you better be willing to work REALLY hard. It’s a lot harder than it looks, and it’s not nearly as glamorous as it looks either.” Most of the time people only see the end product. Not many get to see me lying in the dirt on a 90-degree day, getting filthy and sweating until my shirt is soaked to get “the shot.” They only see the final image on the wall in my studio or on Instagram that makes them say, “WOW… That’s AWESOME.” Sometimes the shot you think is going to turn out as your “wow image” is what you think it will be on the shoot, and sometimes it’s one you never expected.
The take from the shoot almost always looks different once you have it on the computer than it does while you’re shooting, and I guess that’s my point as I ramble on at the beginning of this article… Don’t be lazy. Get as wide of a variety of shots as you can, and don’t ever say “I’ll fix it in post” or “We can come back and get that shot later” because “later” will probably never come. If you need to lay down in the mud to get that hero shot, DO IT! I promise your clothes will be OK once you wash them. Getting your hands dirty is just part of it sometimes and not everyone is willing to do it. If you want to be different, that’s just going to be part of it!
Tip #1: shoot “tight, middle, wide” on everything you can
So let’s go back to the topic of variety to start. My first big tip would be to maximize every setup you do. For example, if you are using a 70-200 lens, get your setup and light right, then shoot one full body at 70, zoom in about halfway and take a second, then go all the way to 200 for a third. If you use this technique both in landscape and portrait orientation, you can walk away with six different shots from the exact same setup/pose. Believe it or not, getting into that habit is easier said than done. I personally have a bad tendency to take the same shot a few times, but when I remind myself to shoot tight, middle and wide,
it really helps cut down on shoot time and deliver a lot of different images in less time. It seems like it never fails: if I don’t shoot something full body or tight, the client asks for it after the fact. Once you’ve shot your setup all three ways horizontal and vertical, try moving to a new spot while leaving the subject and your lights in place.