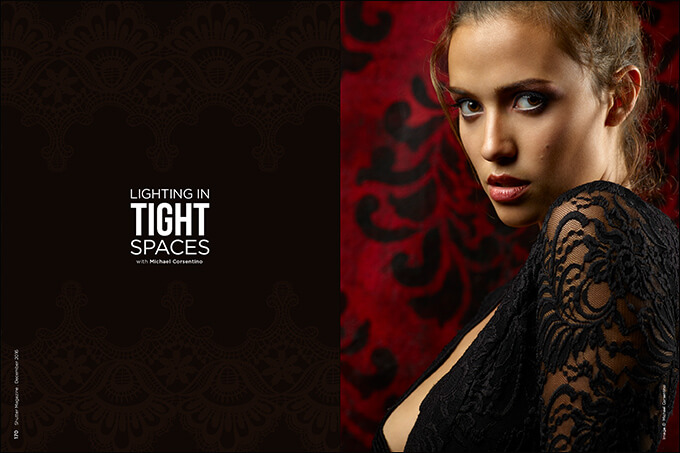
Lighting in Tight Spaces with Michael Corsentino
Want more information on this article? Get access to video content and additional supporting images. Launch the December issue of the magazine by logging in or signing up for a free account by clicking here. Shutter Magazine is the industry’s leading professional photography magazine.
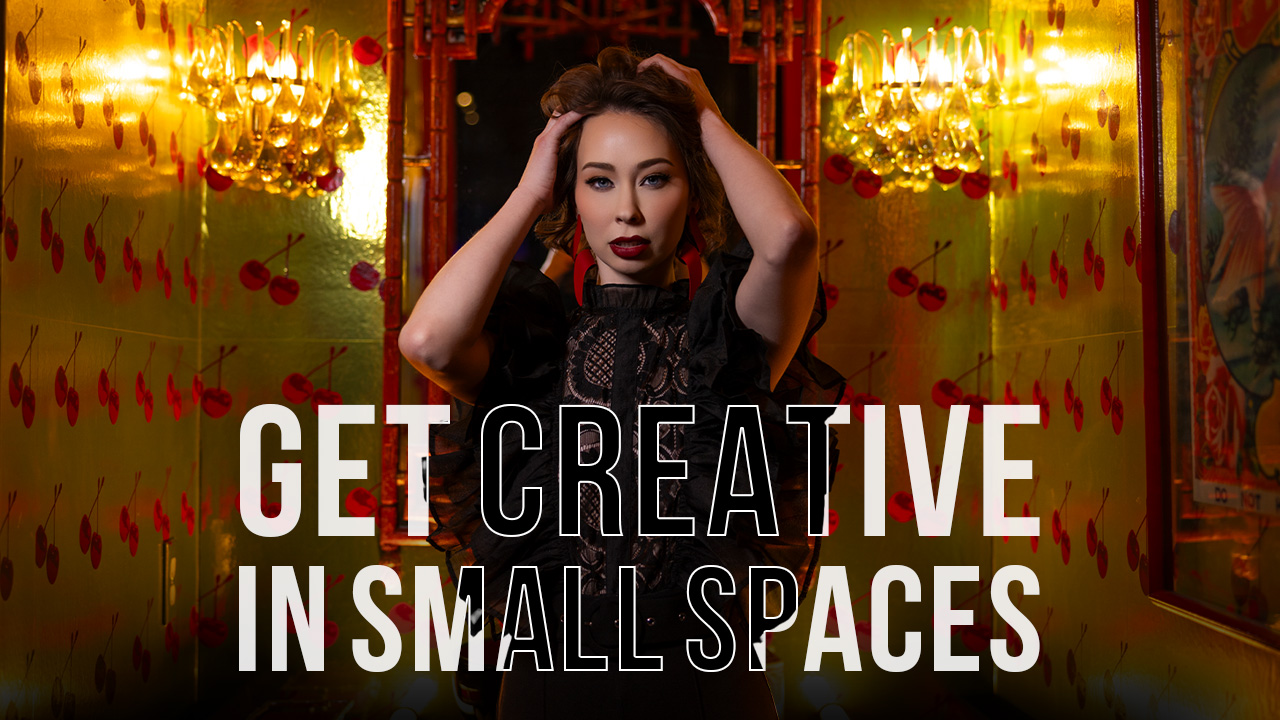
Whether you’re in a studio, office or on location, space is always an issue. A large studio with plenty of room is wonderful, but space is at a severe premium. What do you do? This month, I walk you through the considerations, tools, techniques and ways to get the job done when space is super tight. We also go behind the scenes for a fashion portrait shoot produced in a 10x10x10-foot space so you can see what’s possible with a limited footprint.
Let’s start with gear.
Equipment is a major consideration when you’re planning a shoot in a confined space. Things like large boom arms, lots of heavy-duty grip equipment, gargantuan octabanks and a ton of lights aren’t normally feasible; even when they are, they end up being more of a burden than an advantage. Your best bet is to work light on your feet. For the most part, that means one or two lights. I like moonlights due to their compact, lightweight form factor. Add small modifiers, grids to keep the light from your strobes exactly where you want it, and a backdrop that fits your concept, the space and the method you’ll be using to transport it. For this shoot, I used a 10-foot painted canvas backdrop that rolls up for transport. For something more compact, try Lastolite’s variety of high-quality collapsible backgrounds that fold down to a very manageable size.
My modifiers of choice for lighting in confined spaces, and often on location, are small octabanks, strip boxes, beauty dishes and ring flash. Each of these is easy to transport, quick and easy to set up, and they can be supported on a compact, foldable C-stand that’s ideal for transport. I typically rely on grids for all but the ring flash in order to keep the light from my strobes from spilling everywhere.
The value of grids quickly becomes evident in tight spaces where light can end up bouncing all over the place, creating a very flat, boring look. For the shoot featured in this article, I used two Elinchrom 500ws ELC monolights, an Elinchrom Deep Octa and an Elinchrom 14×35 Strip Box, both fitted with Lighttools soft egg crate grids. When you’re working in confined spaces, 500ws heads provide more than enough power in most cases. You don’t need as much power as you would in situations that call for more distance between your lights, subject and background.
With limited space, typically one of your biggest challenges is controlling the amount of light falling on the background. In a studio with ample space, it’s easy to move your subject away from the background and control the amount of illumination using either distance, separate lighting zones or both. In a confined space with little to no space between your subject and the background, this isn’t possible—you’ll need other tools and techniques to shape and control the light falling on your subject and background.
To do that, you’ll need to rely on the angle of incidence, which is the direction of your lights in relationship to the model and backdrop, as well as the tools you use to modify and shape those lights. For this purpose, honeycomb grids, both soft egg crates and hard grid spots, are indispensable tools. This is because grids take the light coming out of a softbox, beauty dish or reflector and channel it into a much more narrowly confined beam, allowing you to place light precisely where you want it and keep it away from areas you don’t—in this case, the backdrop.
The other essential component in controlling the light falling on the backdrop is the direction and placement of your lights. Even with a grid in place, if your lights are pointed directly toward the backdrop, you’ll have a very limited amount of control over its illumination. You’ll be lighting your subject and the model without a mechanism to help separate them. This is where light direction and placement are key. By simply moving your lights to the side of the backdrop, you’ll not only help avoid putting too much on it, but you’ll also avoid boring flat lighting; you’ll add shadow, volume and drama to the lighting on your subject.
I’ve included example images to illustrate this point. With the light positioned over the camera and pointed directly toward the backdrop and subject, you light both pretty equally and flatly. By moving the keylight (an Elinchrom 500ws ELC monolight with an Elinchrom Deep Octa) camera left and channeling its light with a Lighttools soft egg crate grid, I was able to more precisely control the light falling on the subject and the background as individual elements. The bonus, I think you’ll agree, is that the light is considerably more interesting and dramatic.
I’m an advocate of working one light at a time, so I always start with the keylight and progress from there, seasoning to taste with additional lights as needed. Once I’ve nailed a few winners using only the keylight, I add a second light, third light, etc. That’s exactly what I did here. I added a second Elinchrom 500ws ELC monolight fitted with an Elinchrom 14×35 strip box and a Lighttools soft egg crate grid. Arranged in a cross light pattern, behind the subject and opposite the keylight, this strobe served as a kicker light and alternative keylight. Cross lighting is great because it gives the model the flexibility to turn freely from left to right, with each light alternating as key and kicker.
Lens choice and aperture also play a pivotal role when you’re working in close proximity to your subject and background. For this shoot, I chose an 80mm and 150mm lens and set the aperture to f/11, with medium format that’s like f/5.6 when using a DSLR. This kept the front of the model’s face shape but allowed me to create the falloff I needed between the model and backdrop. If the backdrop is too sharp, it can easily become a distracting rather than enhancing element. We chose a retro-inspired fleur-de-lis-patterned red and black painted backdrop consistent with the gothic fashion direction of the shoot.
You can see that with a few simple tools, the right techniques and a creative vision, it’s easy to achieve great results even in the tightest spaces.
Check out this month’s companion video, and let’s keep the dialog going. Hit me up on the ShutterFest Facebook page with your lighting questions.
Want more information on this article? Get access to video content and additional supporting images. Launch the December issue of the magazine by logging in or signing up for a free account by clicking here. Shutter Magazine is the industry’s leading professional photography magazine.