
Couldn’t be more excited today to shoot these natural light beauty portraits using continuous lights from nanlite – the pavotube 2. These lights are incredibly powerful and provide and what-you-see-is-what-you-get style of continuous lighting for your portrait photography. Now, make no mistake, these are perfect for video production as well. Not to mention, with full control over the RGB color wheel, you can add a gelled photography look to your portraits in the same way. This continuous lighting set up is perfect for studio lighting or on-location at a client site.
Equipment Used:
Camera: Canon EOS R5
Lens: Canon EOS R5
Light: Canon EOS R5 & Nanlite Pavotube 2 – single light
Team:
Photographer: Sal Cincotta
Model: Blaire Winter
Let's create some natural light portraits using continuous lights!
What’s up everyone, my name is Sal Cincotta. Today we are going to create some natural light beauty portraits using continuous light. This is something I’ve become increasingly more and more a fan of, mostly just because it allows us to control the light at any time of day and location with a what you see is what you get kind of mindset. Today we are checking out the Nanlite PavoTube II. I’ve got four of them, but we’re only going to use two in this video. I might use three in another video, but we’re going to use two of them today and we’re going to use them in two different configurations, which I think is going to get you super excited.
Let’s talk about what we’re doing here. We’re in my studio and we’ve got my actual backdrop line from Intuition Backgrounds. It’s a layered system. I’ll put the link in the comments below. It gives it a lot more depth, look and feel. From a lighting perspective, we’re actually just using a single tube here for that light. Then I’m going to switch it and use two of them, but go more clamshell style. For most continuous lights you don’t really get that opportunity. Now, these particular lights put out a ton of power. You can change them all along the RGB scale. So we can do red, green, blue, or whatever you’re looking for there for accent lights or that gel look.They’re a very versatile tool in a small form factor. Yes, it’s tall, but these are skinny tubes. You can travel with them and they have a great kit that I’ll show you as well. We’re going to use those to create more natural light look and feeling portraits. And again, what you see is what you get.
Settings: f/2 @ 1/1600, ISO 200

Settings: f/2 @ 1/1250, ISO 200
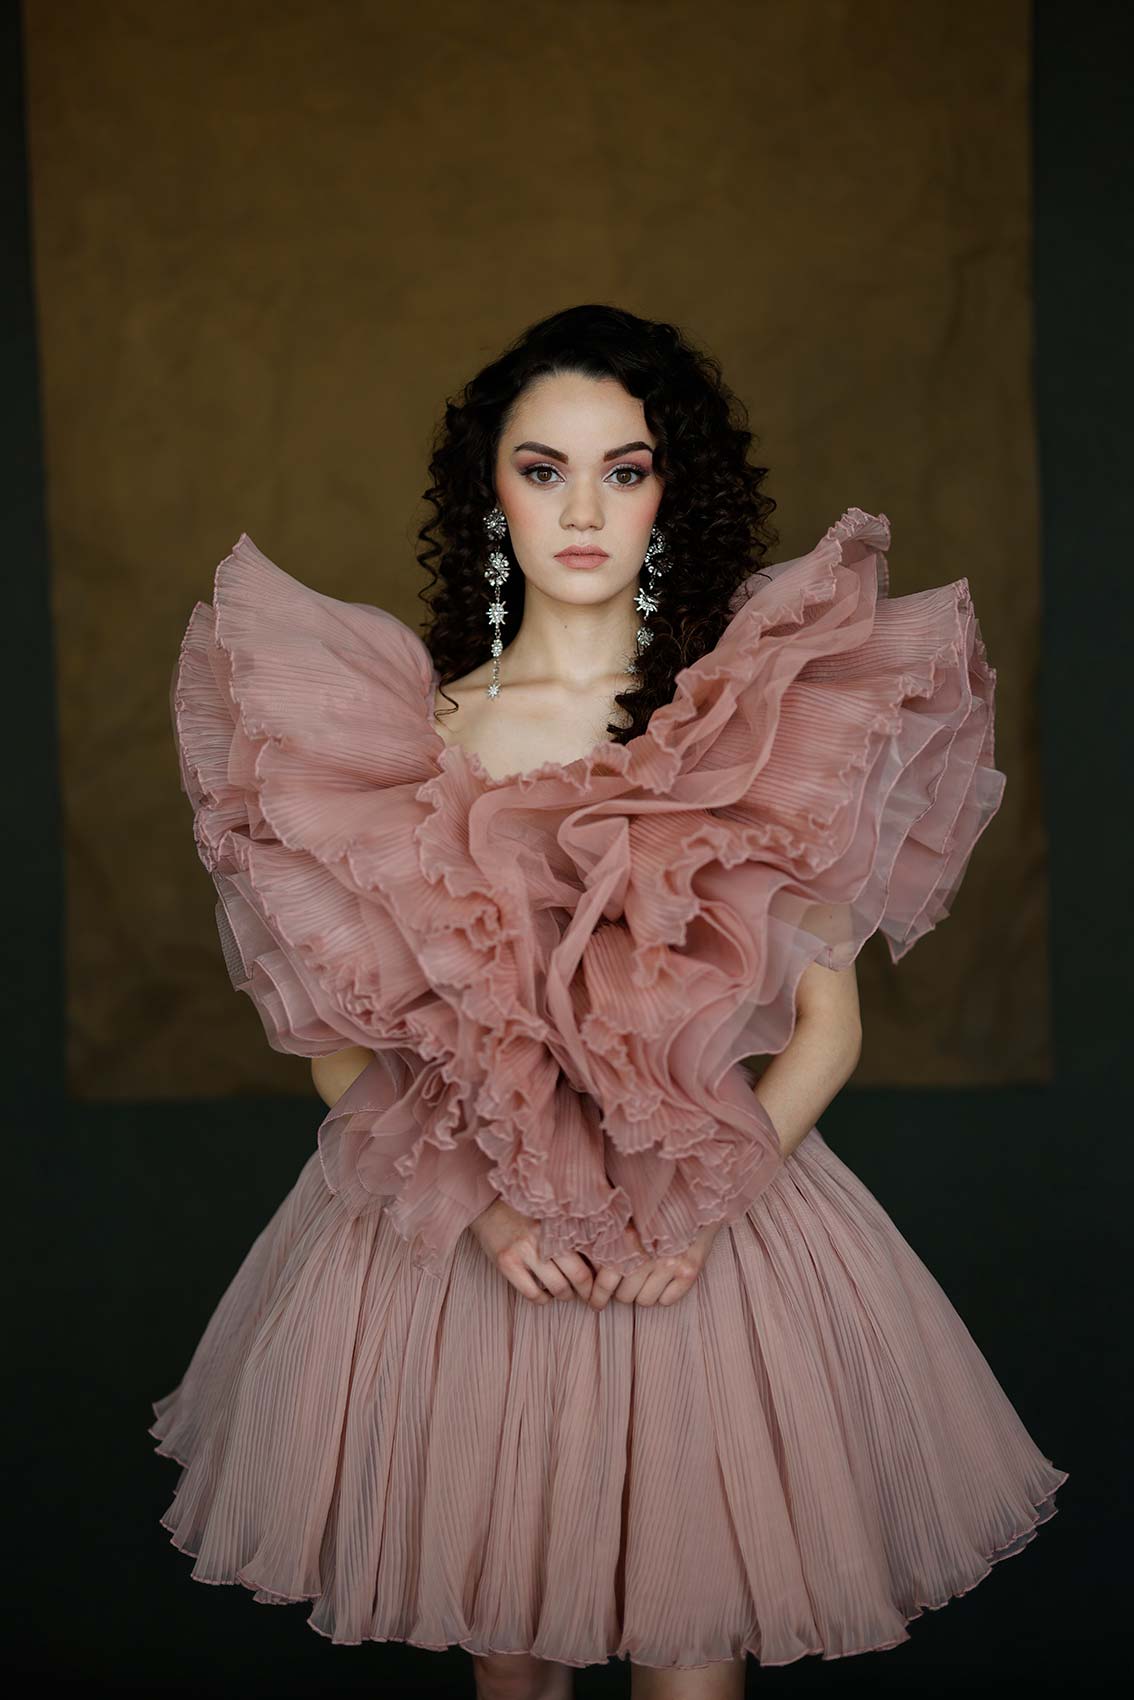
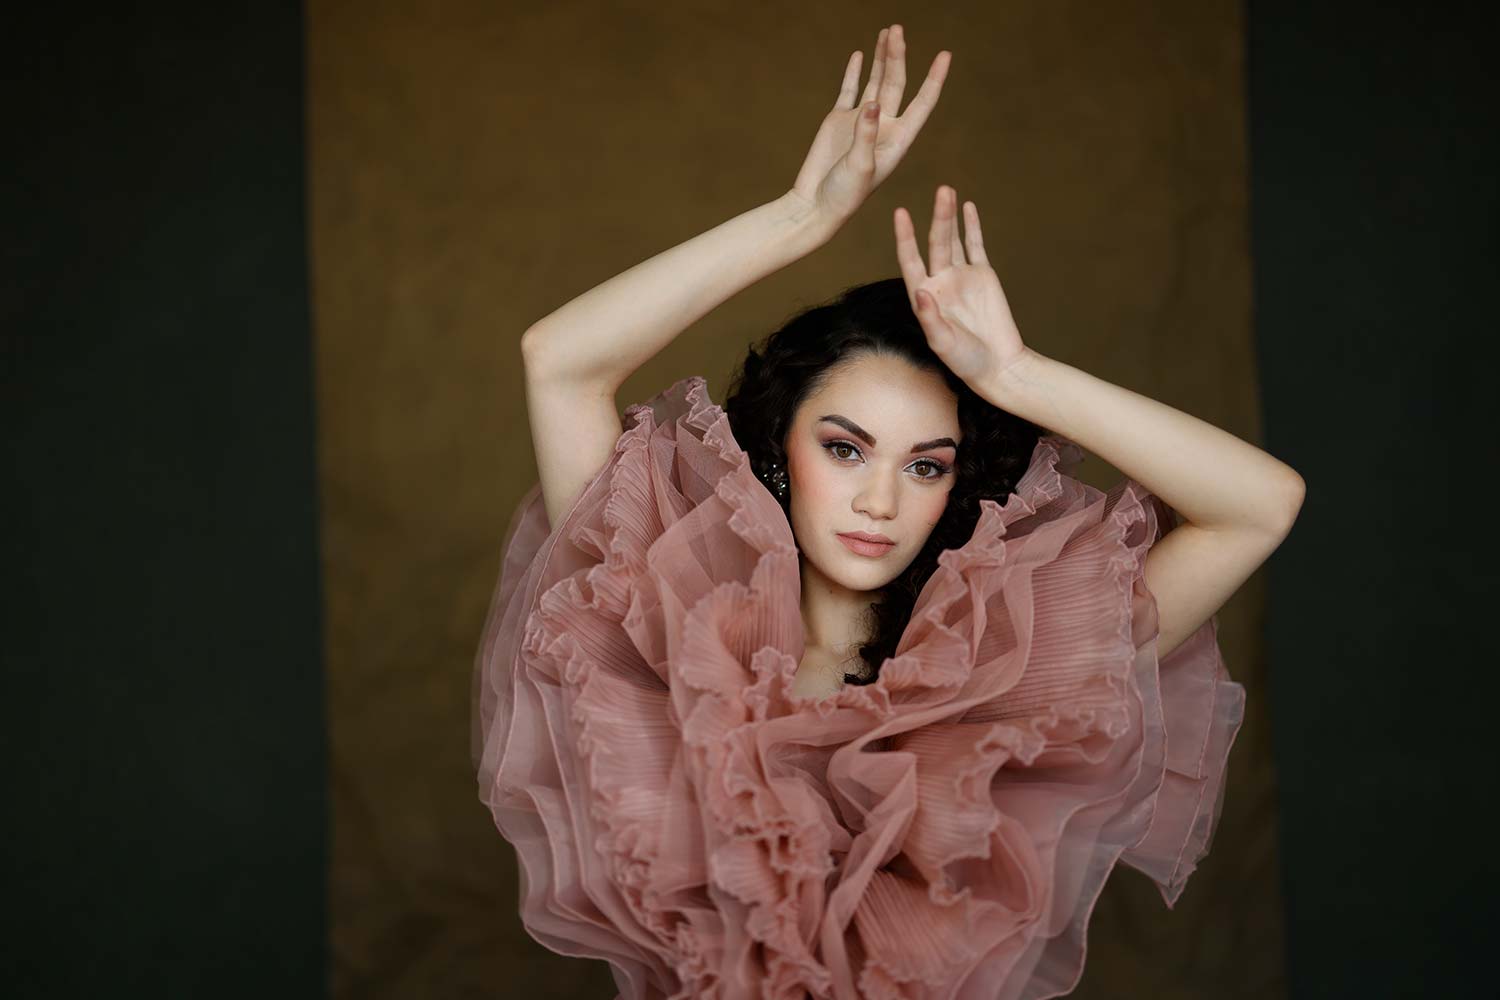
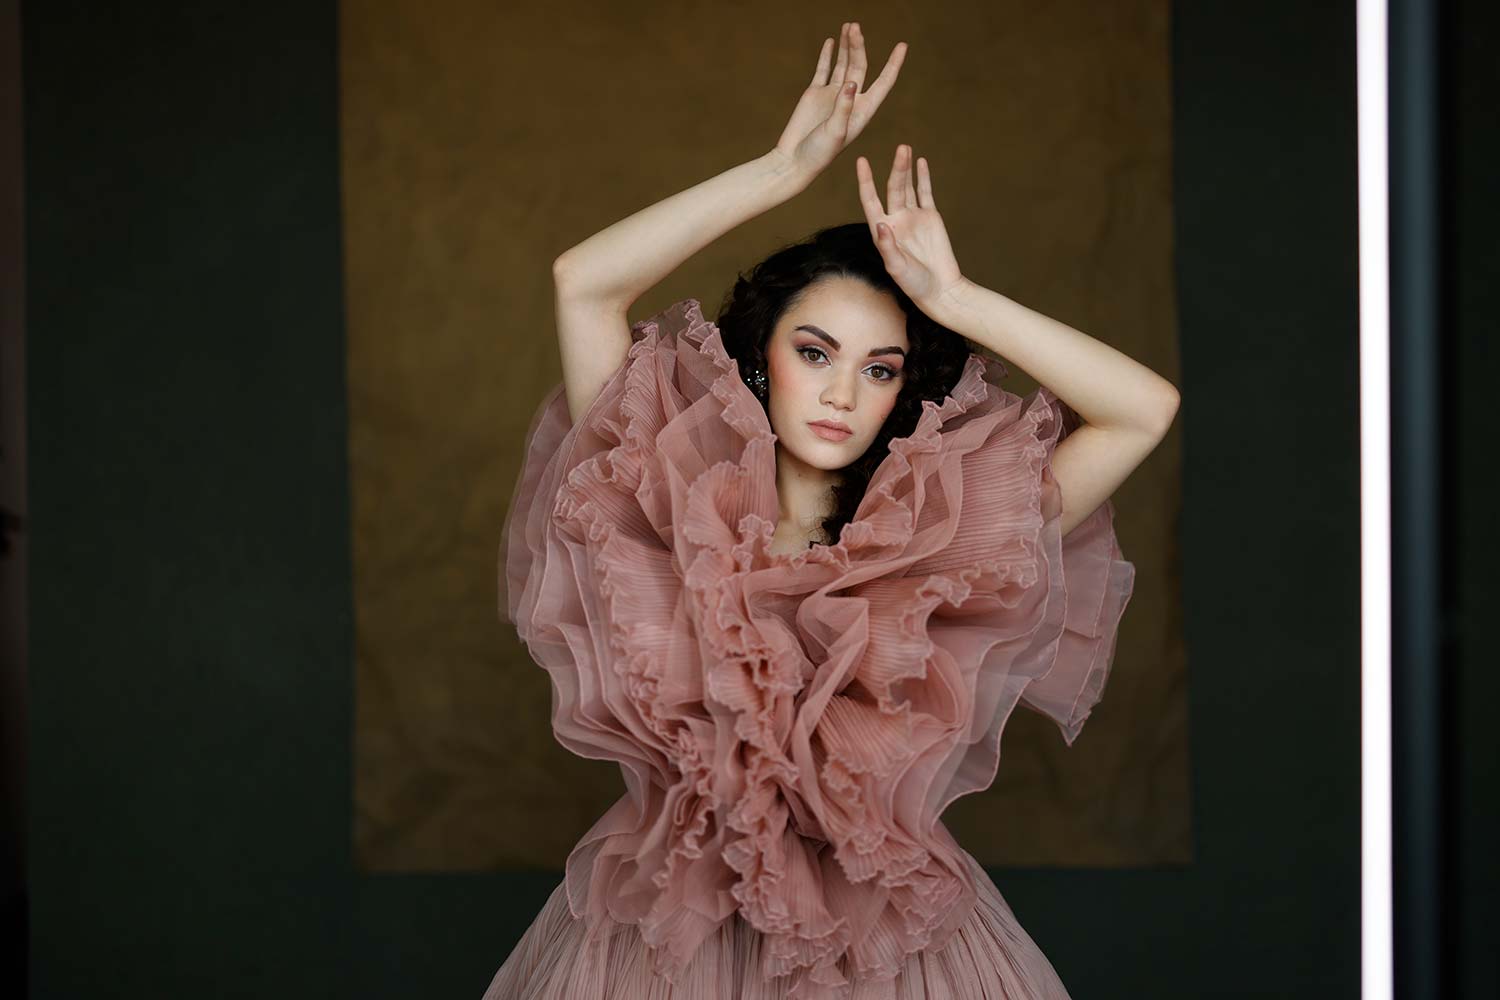
As we get started, I’ve just got the light in a vertical placement. I don’t know about you guys, but I love interesting catch lights. Catch lights are in the eyes, and if you have an octabox, you’re going to see that kind of octa shape in their eye. If you have clamshell lighting, you’re going to see two around there. These are great for video as well. You can see where they box them up and there’s four lights set up in a box. That creates a very unique look and feel for your portraits that people can’t quite put a finger on.
So, we’re going to do that. Let’s get set up. I’m just going to take one portrait using my 50MM F1.2 Canon R5. We are going to shoot this at 1.2. Now, I don’t want you to think that because I’m shooting at 1.2 this isn’t putting out enough power. I’ll ratchet it up. We’ll shoot it at 4.0 and 5.6. There’s plenty of light coming off it. We’re overpowering the ambient in the room with this particular light. I like a shallow depth of field, but I’ll go to 2.8 and 4.0 to make you guys feel a little more comfortable.
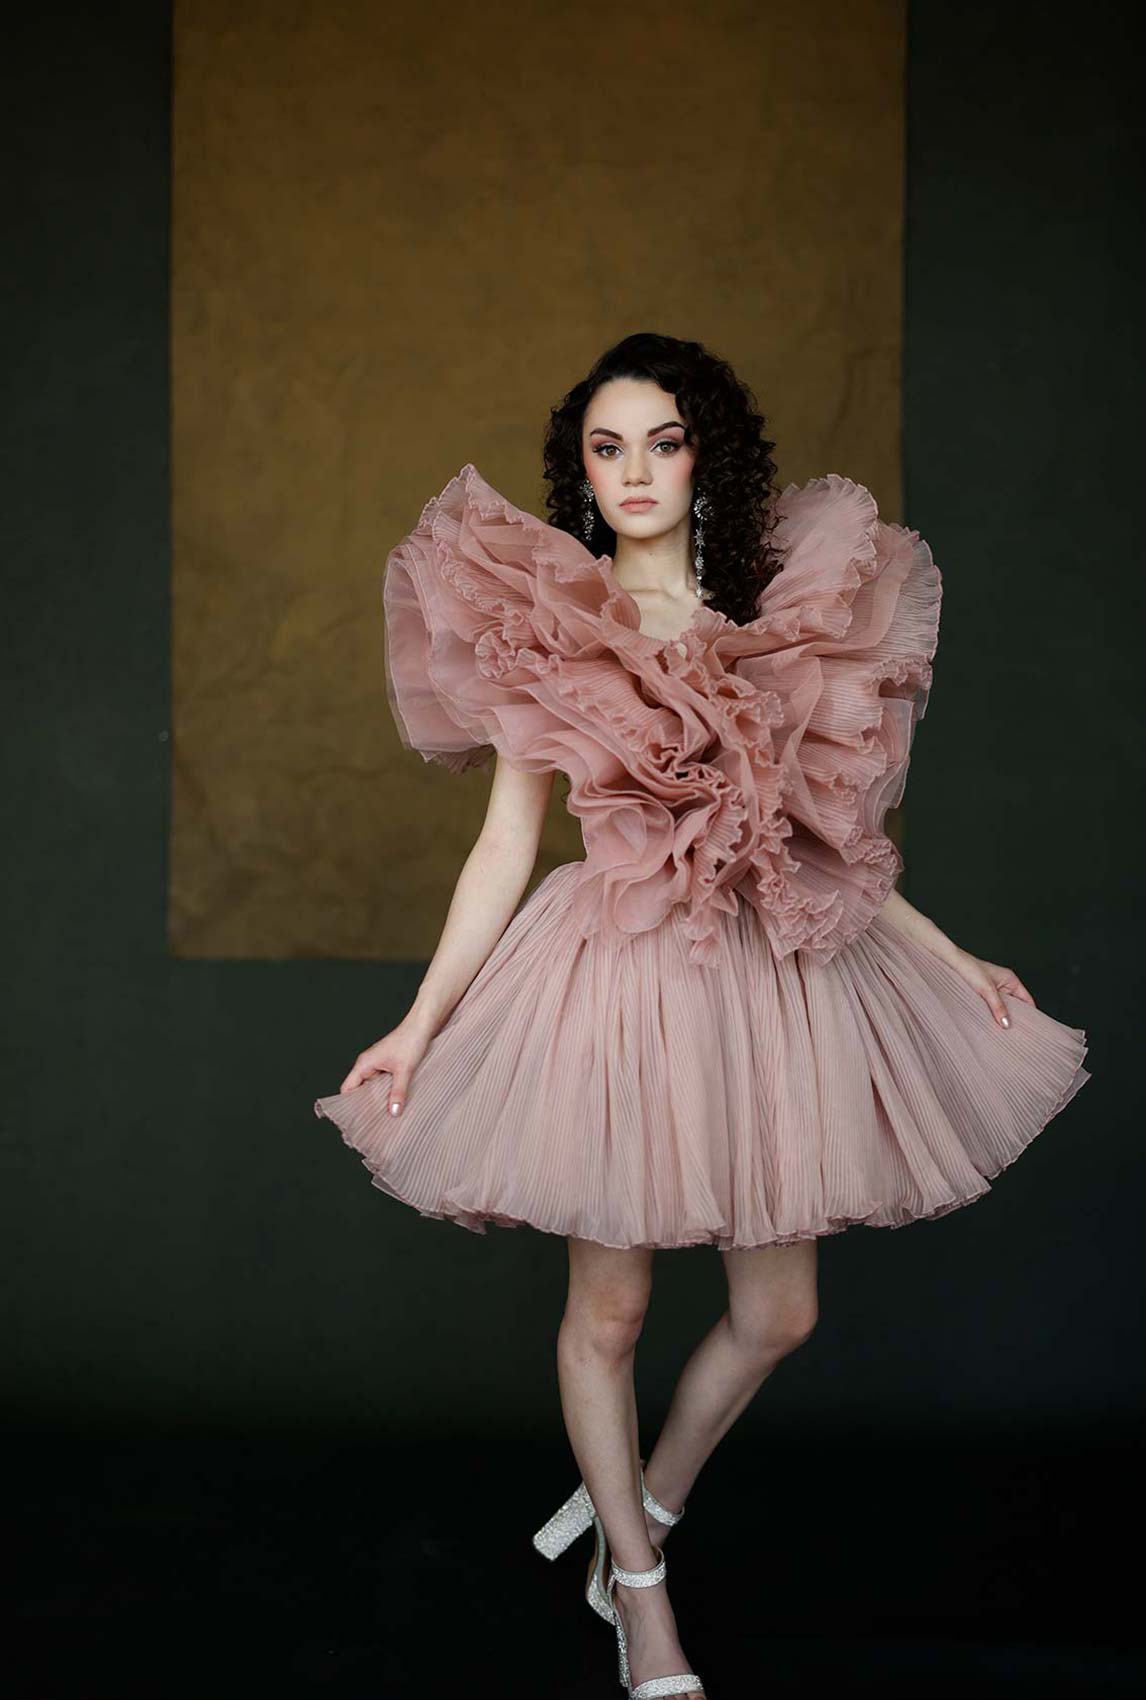
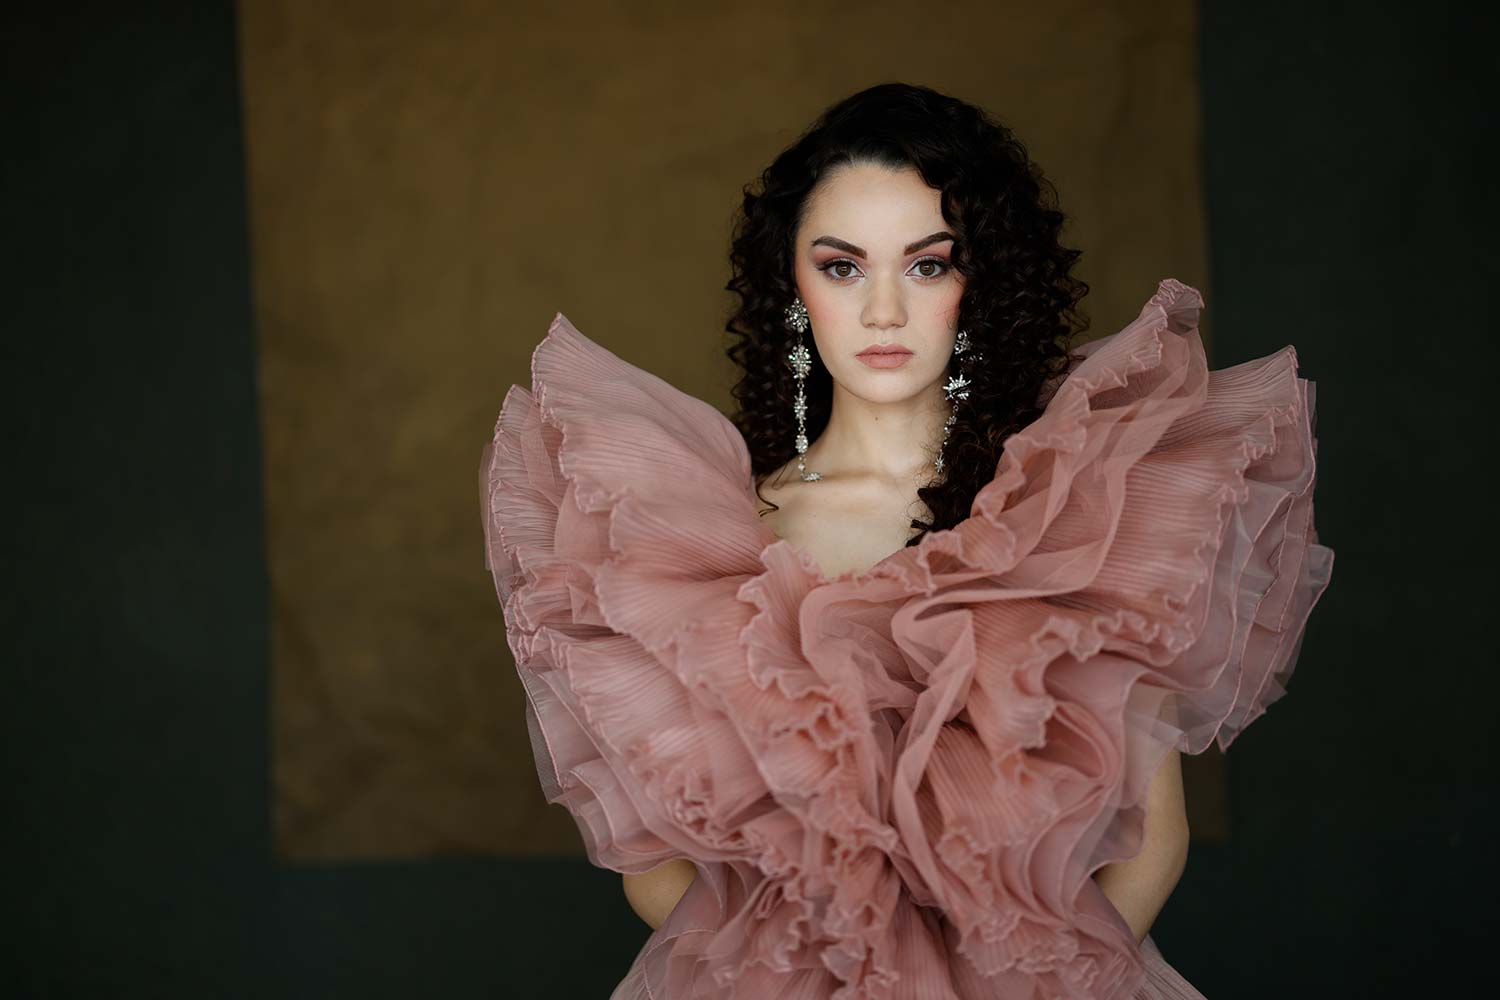
Also, let’s give it up for the stunning Blaire and her new little outfit here. Love it. We need a soft expression, life in the eyes, and a bit more smirky in the eyes. A very subtle and stunning look. I’ll frame her face, chin down, and go asymmetrical with her hand so they’re not perfect. Then I’ll have her lean, and we got a stunning shot. Next, I’ll have Blaire send her eyes down to the left with a more pleasant expression and it’s beautiful.
One of the things I love about this particular backdrop with the layers is how it just adds more dimension and depth. There’s more interest back there versus just a solid color. These are also interchangeable, so you could swap out different colors and it’s just going to add a little bit more dimension and interest to your shot. Now, for this particular one, we crinkled the canvas layer and scrunched it all together to give it more texture. It’s all about texture. That’s the word of the day: texture.
Settings: f/2 @ 1/1250, ISO 200
Let’s shoot a few more shots with the single light. I’m going to move this light to this side. Another reason I love this light is because now I’m just moving this light and I see the exposure on her face. I don’t have to go get redialed in.
Light on the left
Settings: f/2 @ 1/1000, ISO 200
Light on the right
Settings: f/2 @ 1/1250, ISO 200
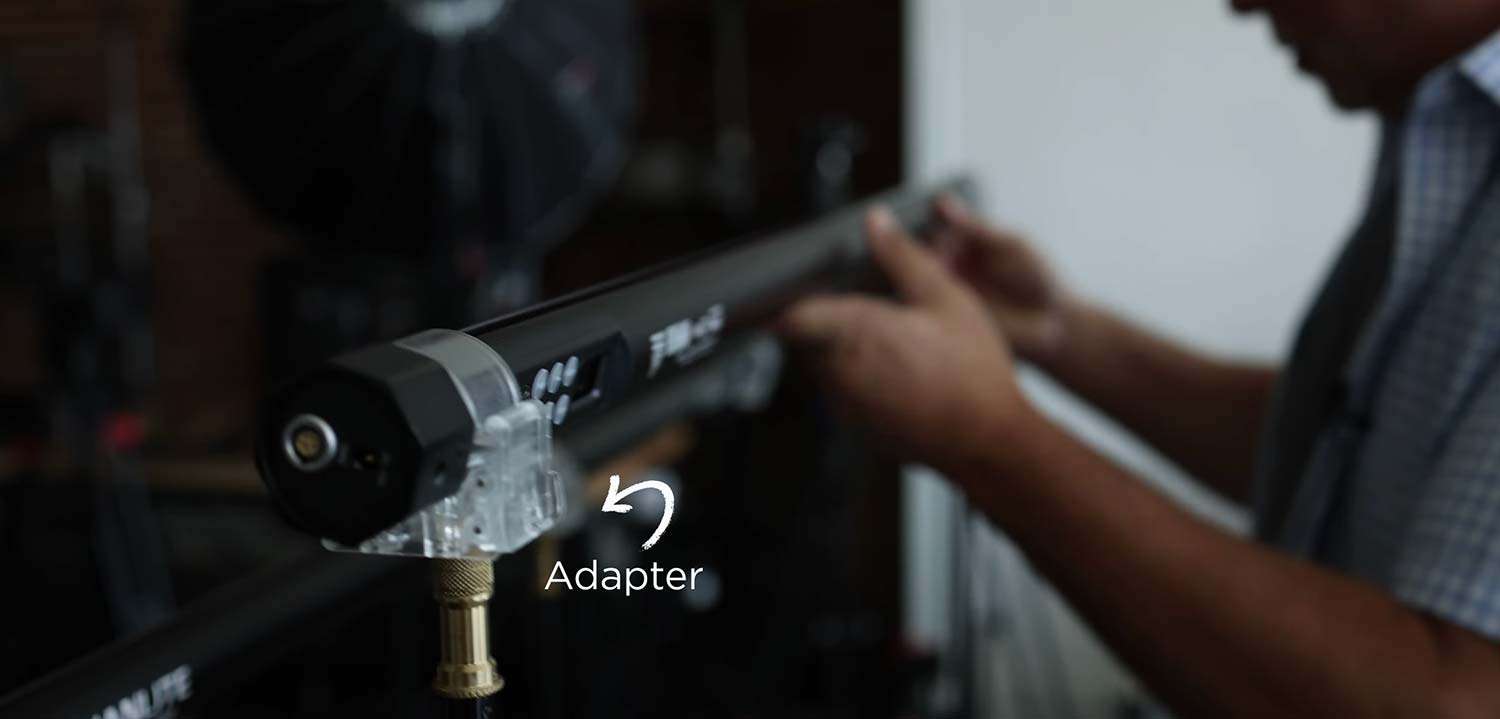
Now, this is what I’m excited about. We’re going to set up for clamshell lighting using these. I thought this setup was really special because it allows you to do some really unique things. They make these adapters for you to use. Just hold the tubes by the side, and then you can put it on your normal stand and adjust from there. It’s all about the catch lights that it’s giving you.
Clamshell lighting
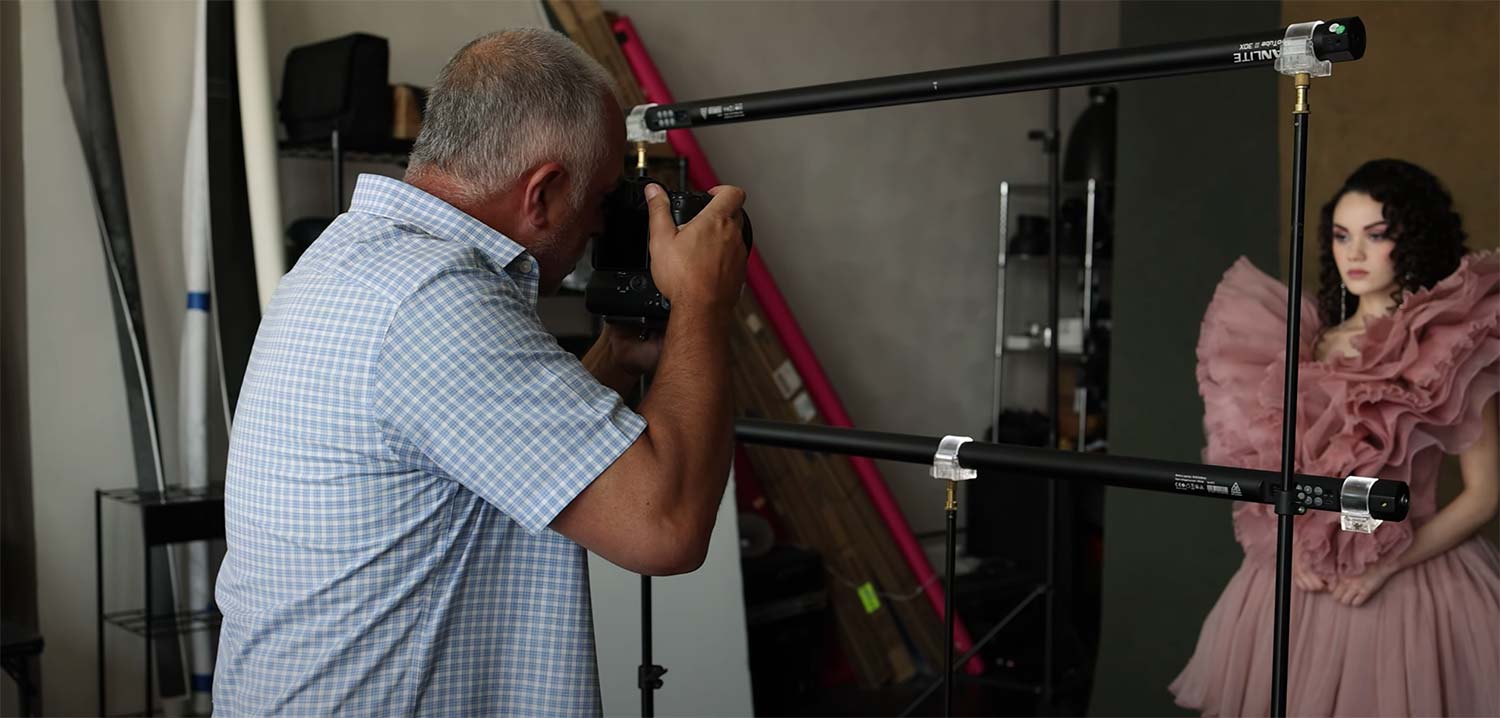
With these two lights set up, I can shoot through them and the light is nice and soft. We could adjust power. I’m at 100% power on both lights. For this, I want a nice, flat, even light for beauty light. It’s great for a headshot set up or any kind of beauty portrait. Obviously, if I have to go full body and back up, this particular setup isn’t going to work for that. But then I could take the tubes and go vertical on both sides and light her that way. We’ll show some of those next time.
I’ve been shooting at 1.2, and I know that’s probably making some of you twitch even though the images are tack sharp. But, what I’m going to do to make you all happy. I’m going to shoot at 4.0. There’s still plenty of power here for her without having to adjust ISO. So at 4.0, I’m at 1/25th of a second and, again, tack sharp in the eyes.
Settings: f/4 @ 1/125, ISO 200
All right, that’s a wrap for this shoot. Hopefully you enjoy the images. Let me know what you think about the light setup. Do you like the single tube or the double tube for clamshell? I’ll put a link in the description below for the adapter from Nanlite. They have them as part of their kit. When I first saw them I wasn’t quite clear on what I was ordering, but once I got them it made sense for the whole kit. This is a really cool way to set up your continuous lights so that you’re shooting anywhere at any time of day and still getting a nice, clean, soft look and feel for your portraits. Give it a try, I think you’ll love it.
And hey, if you’re digging this video, like, comment, subscribe, help us grow the channel. It’s been exploding lately. We are just about to cross 100,000 subscribers, so thanks to everybody out there watching. We appreciate all the love.


