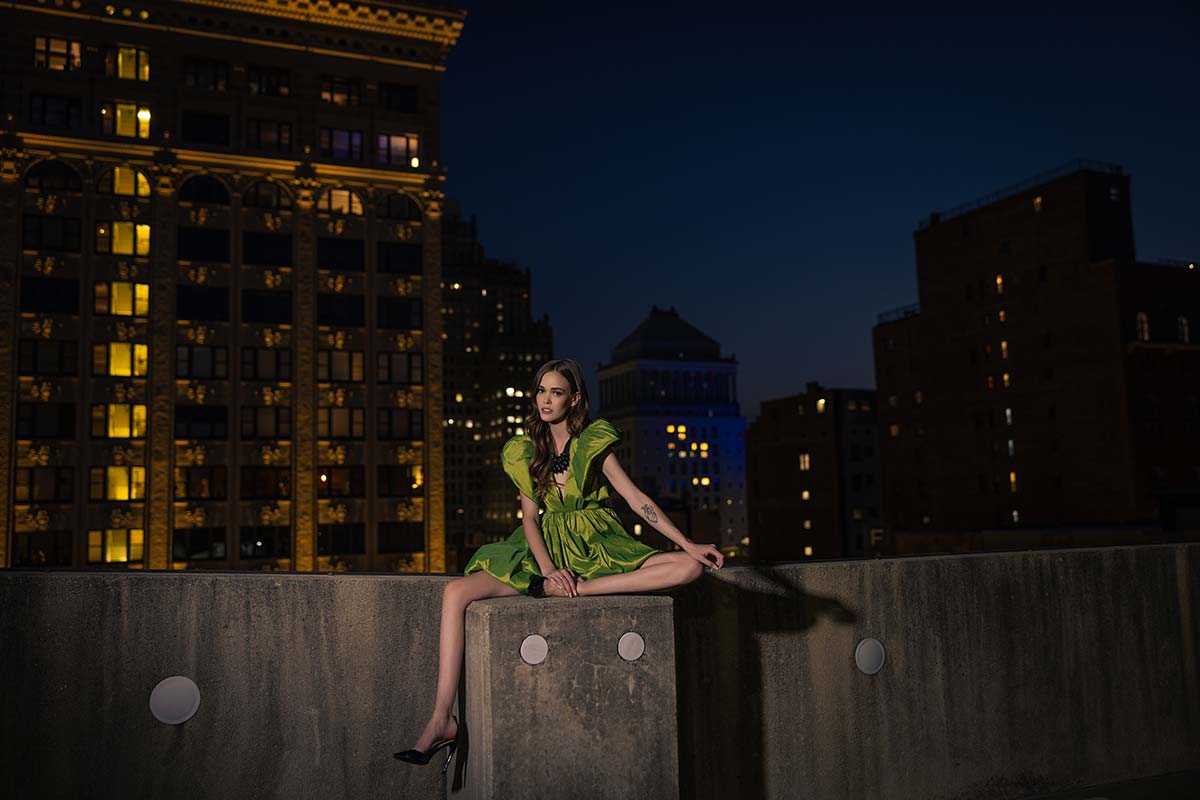

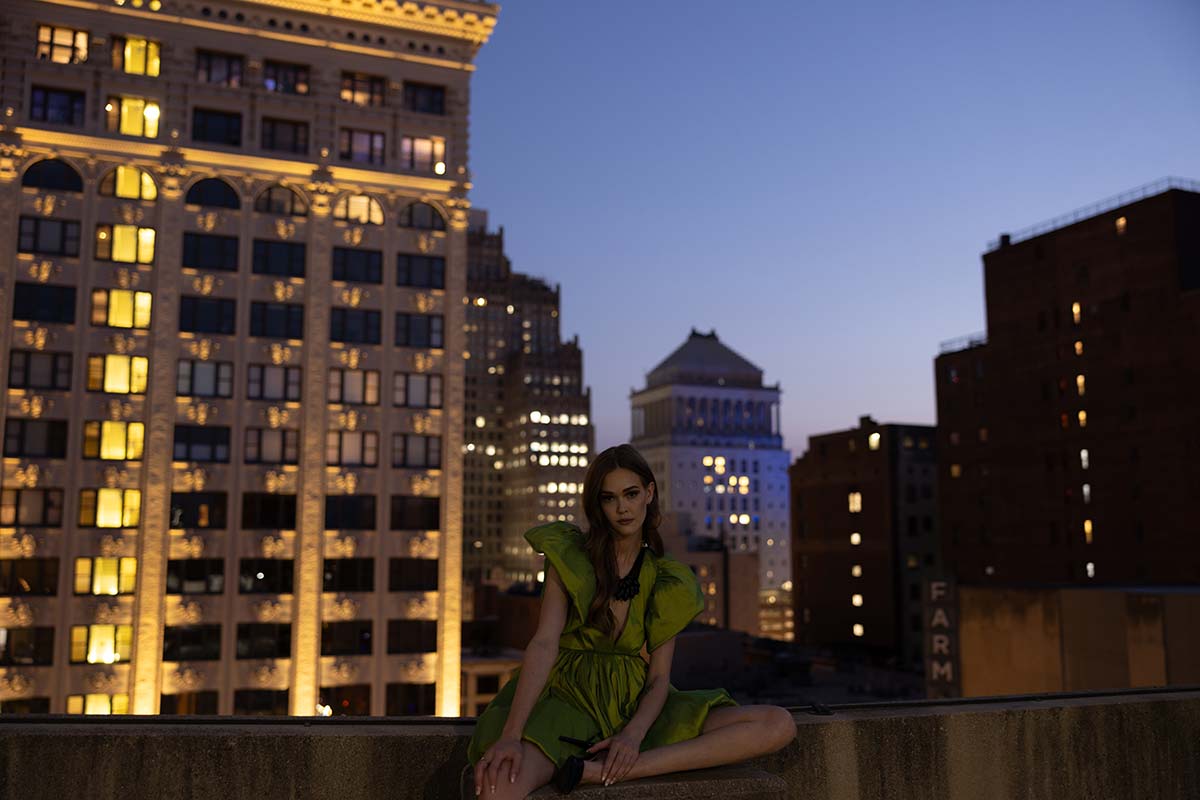
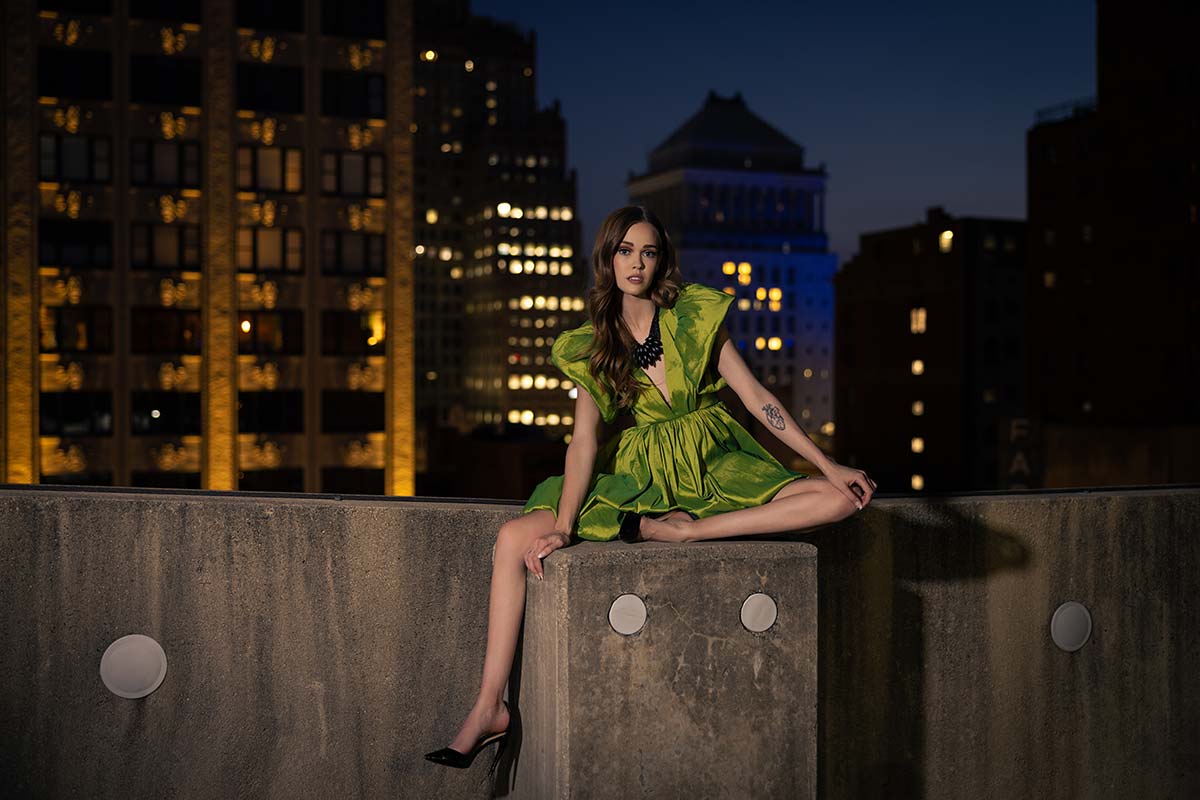
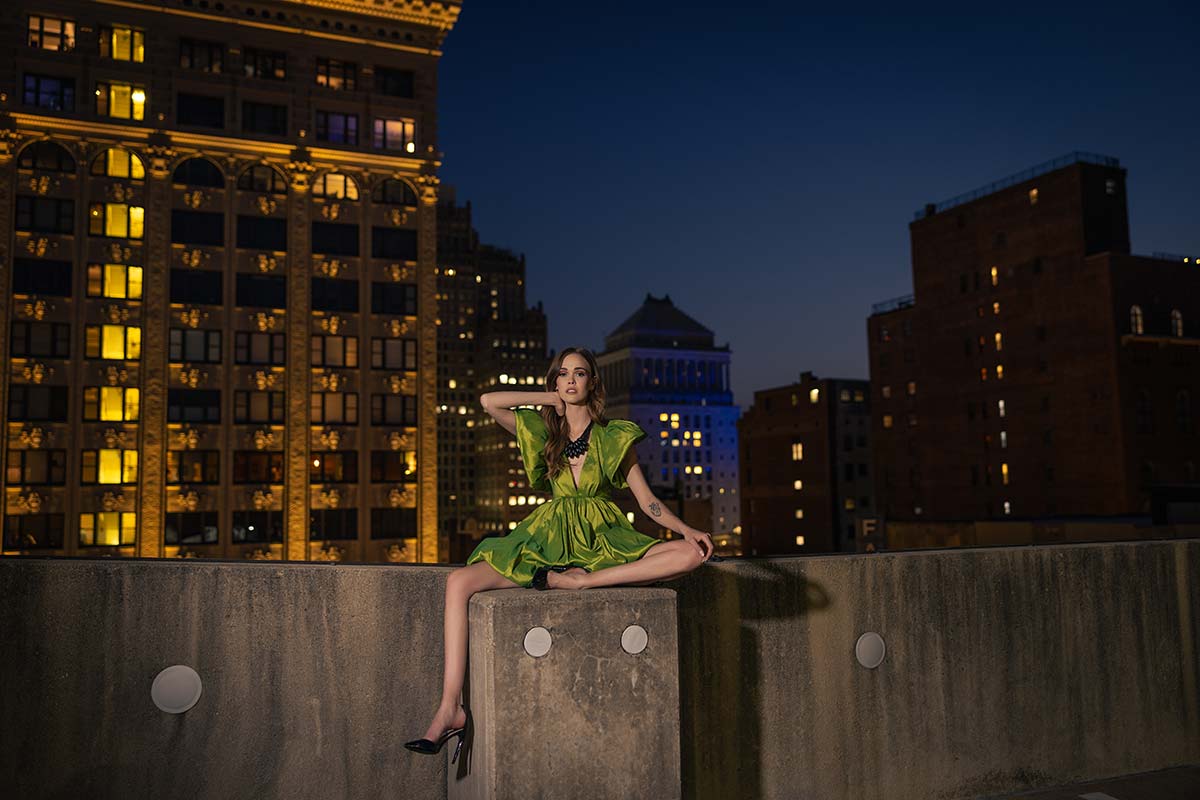

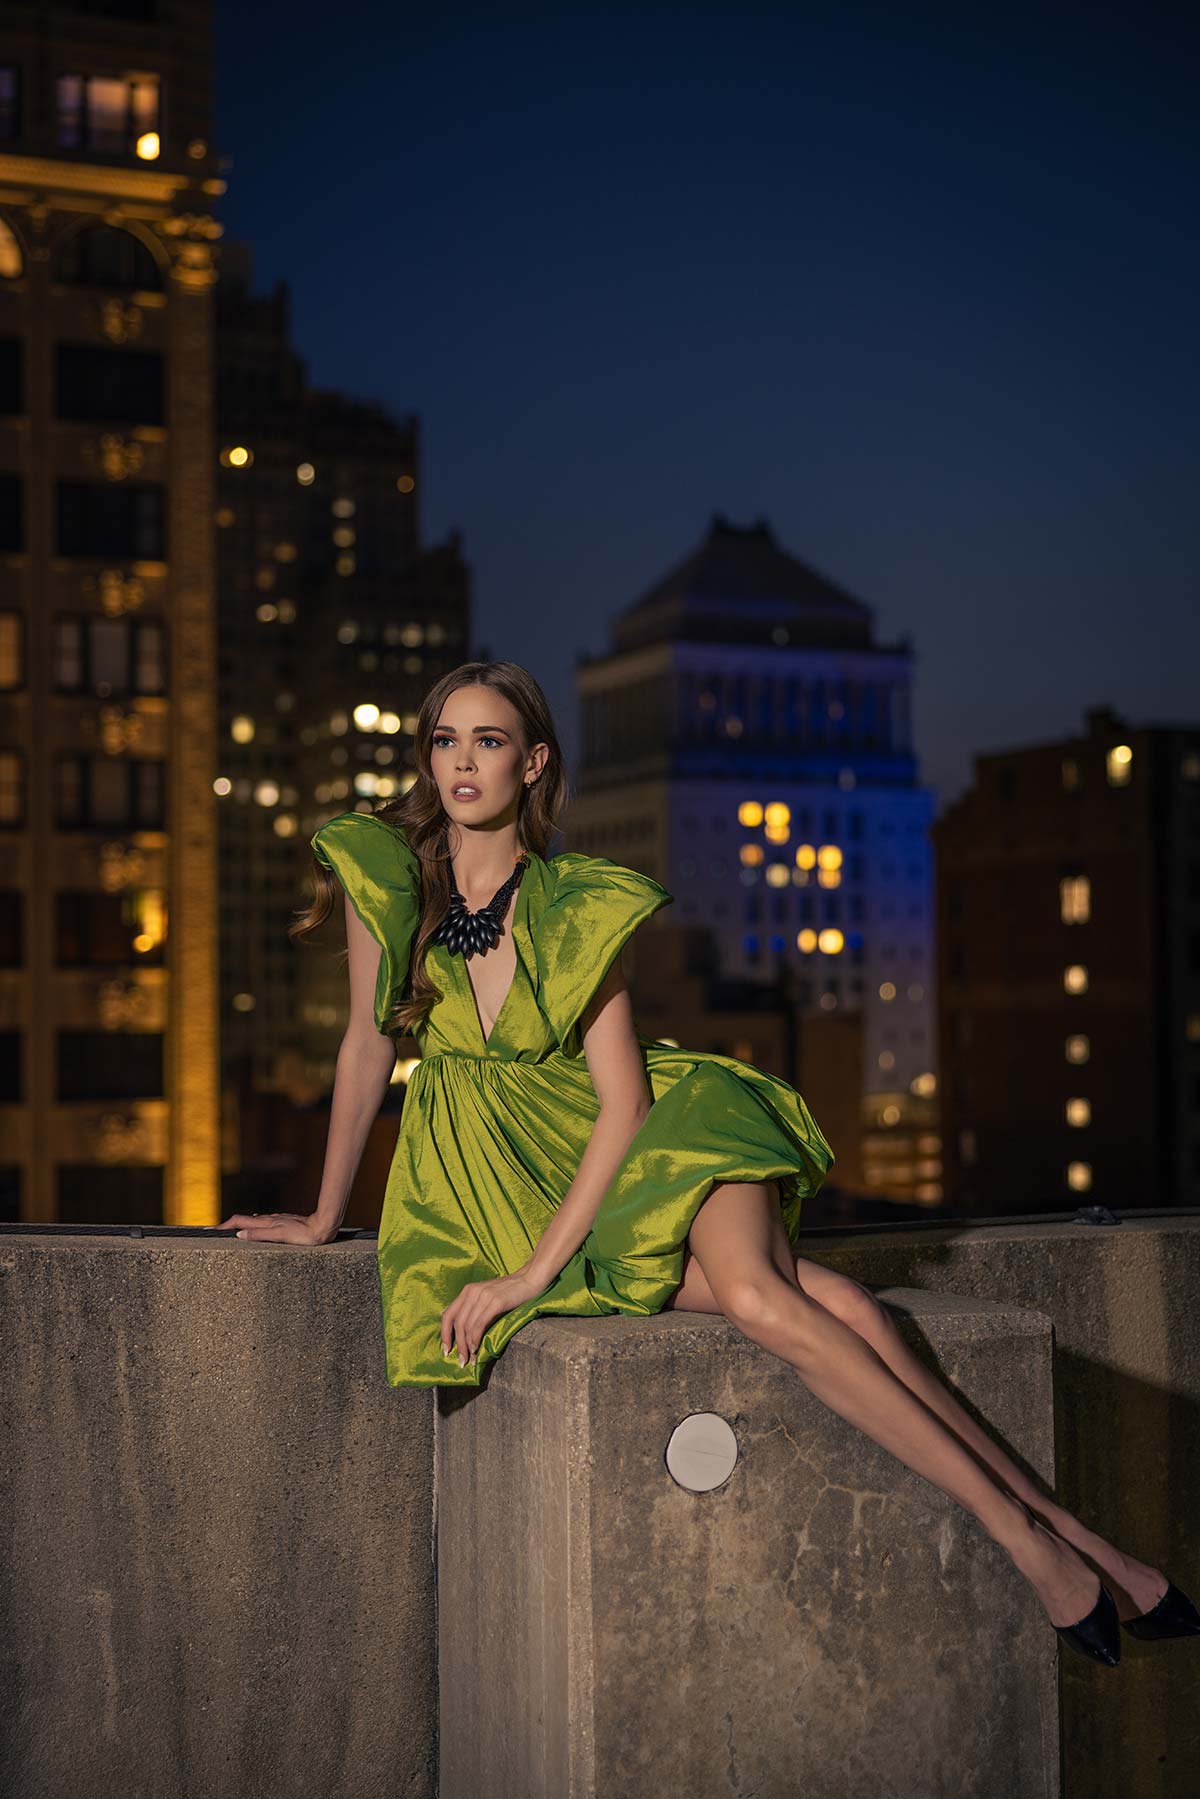

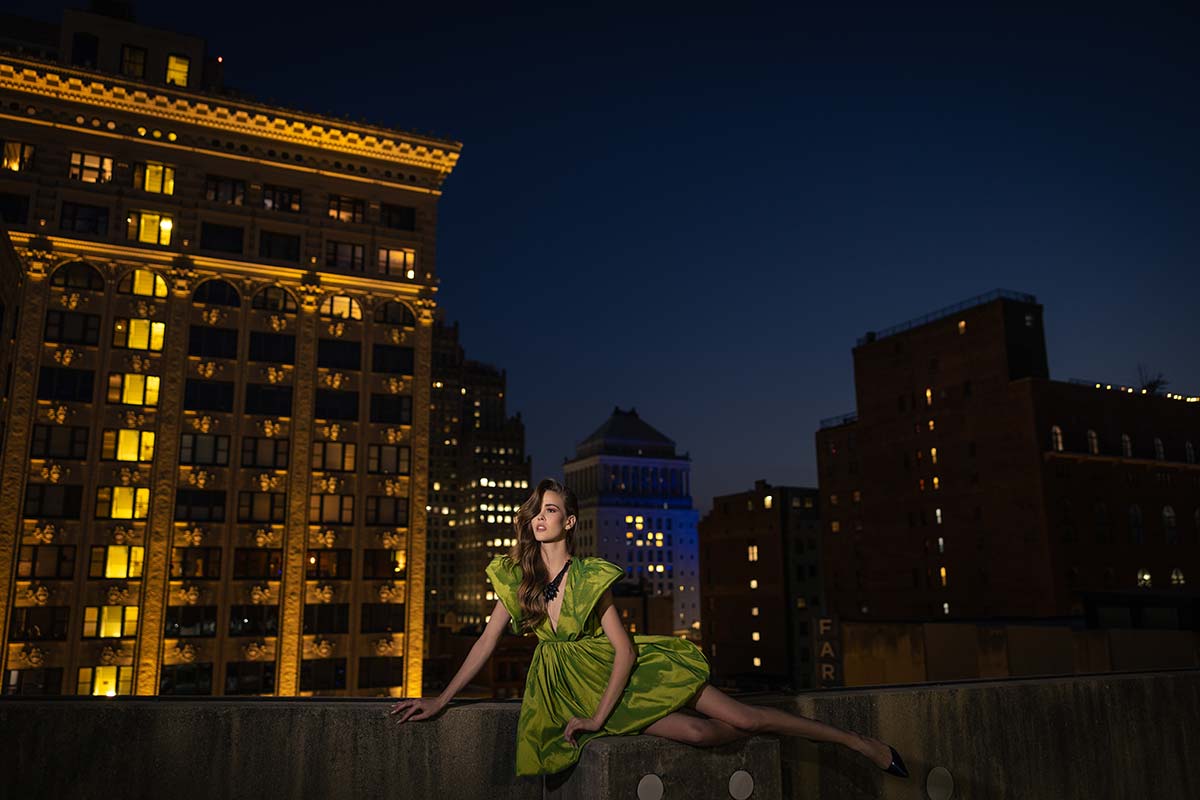
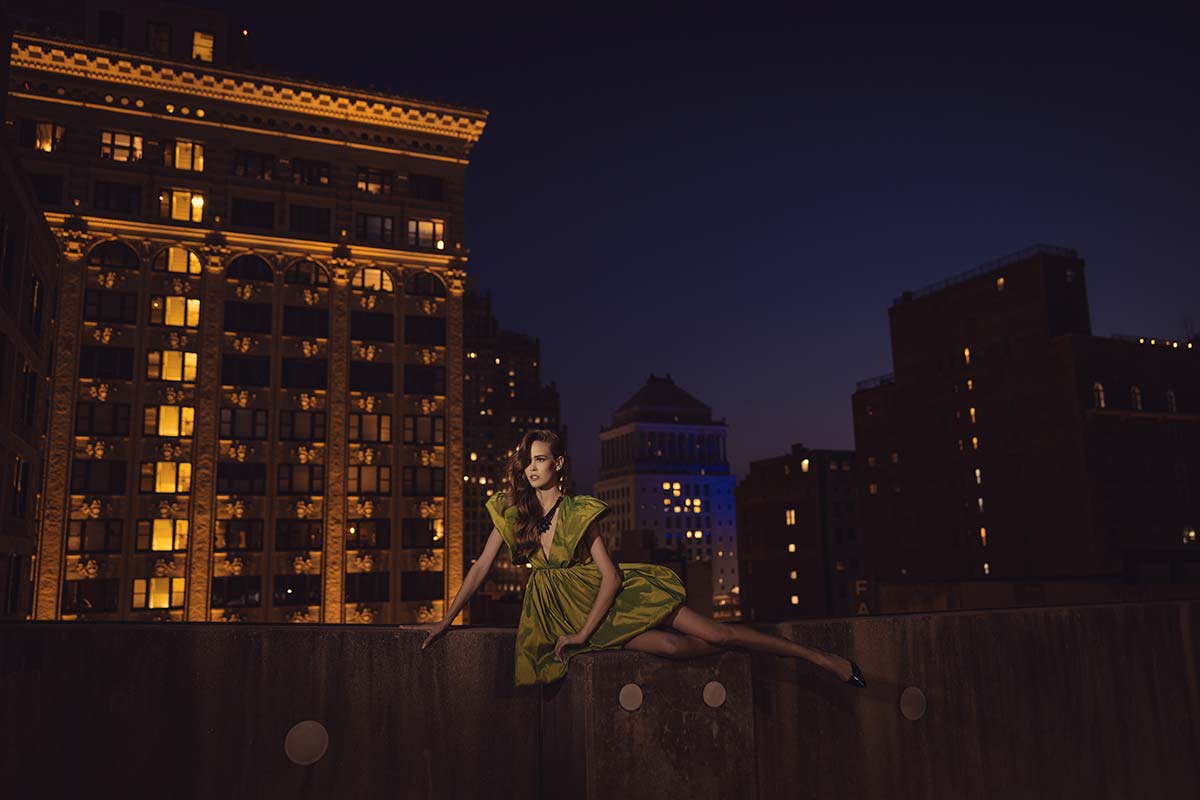
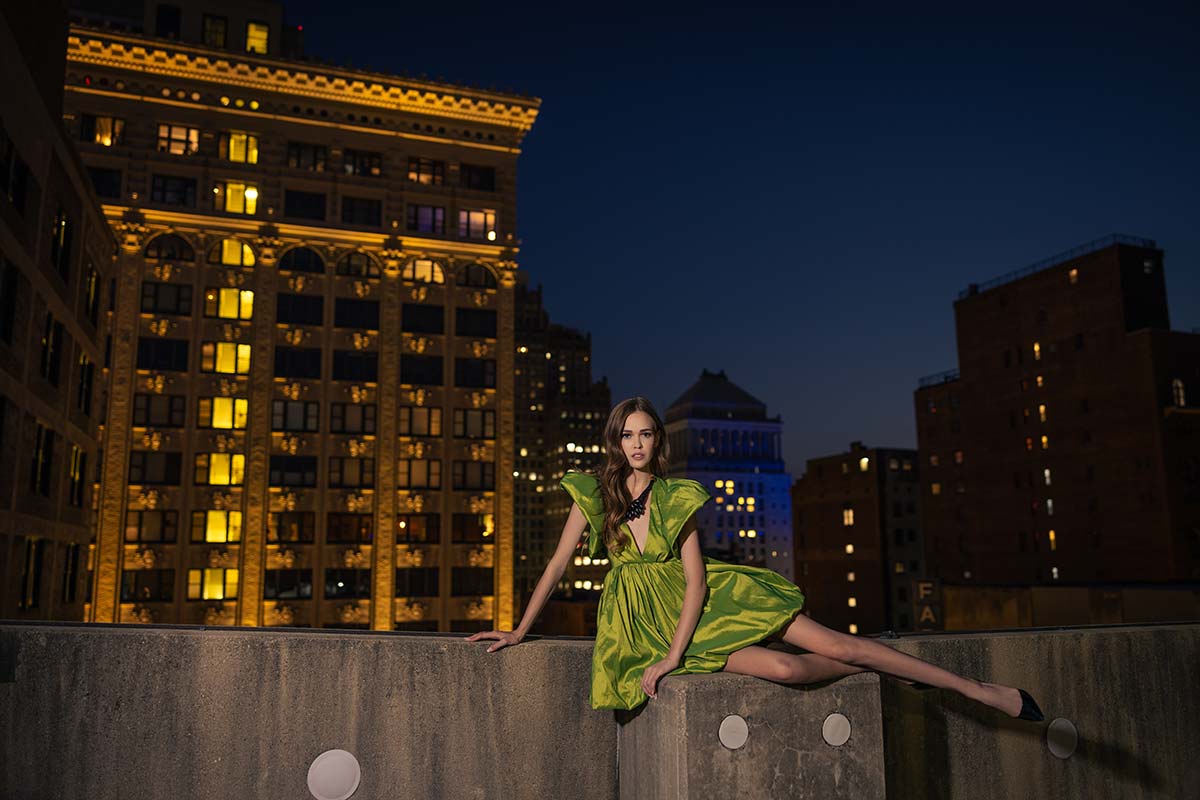
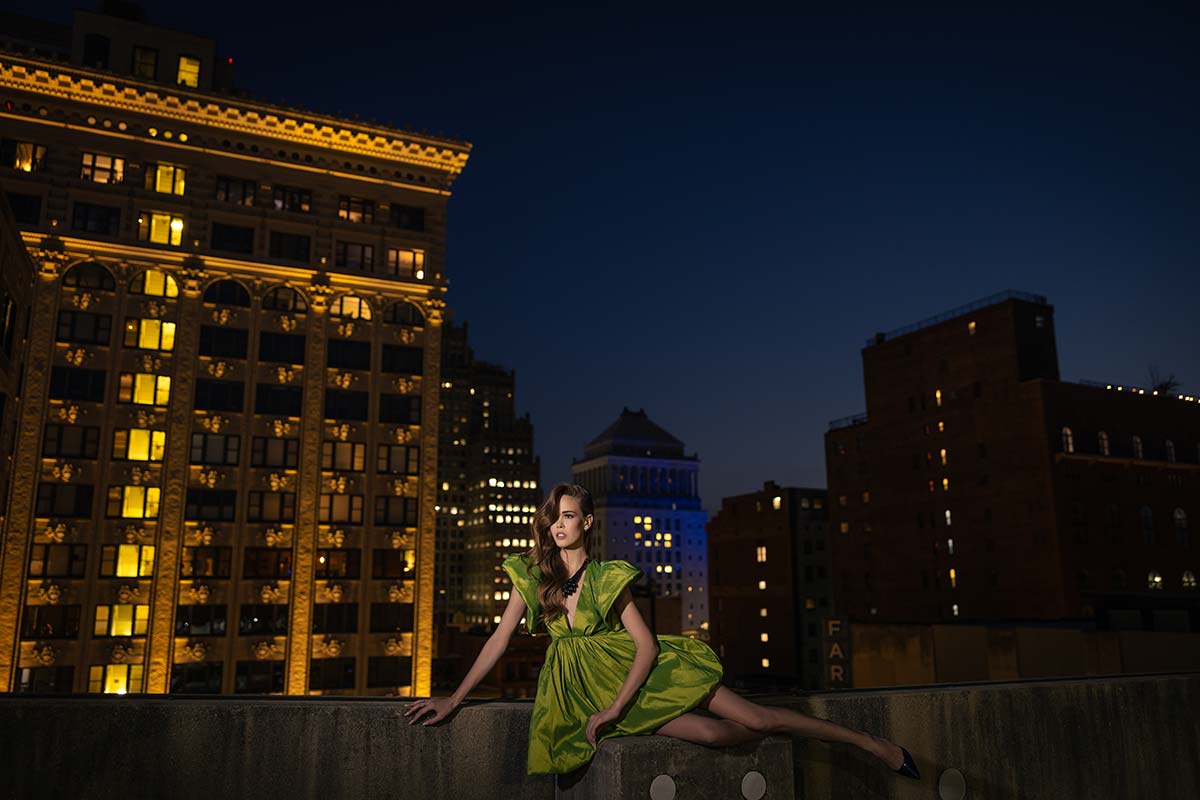
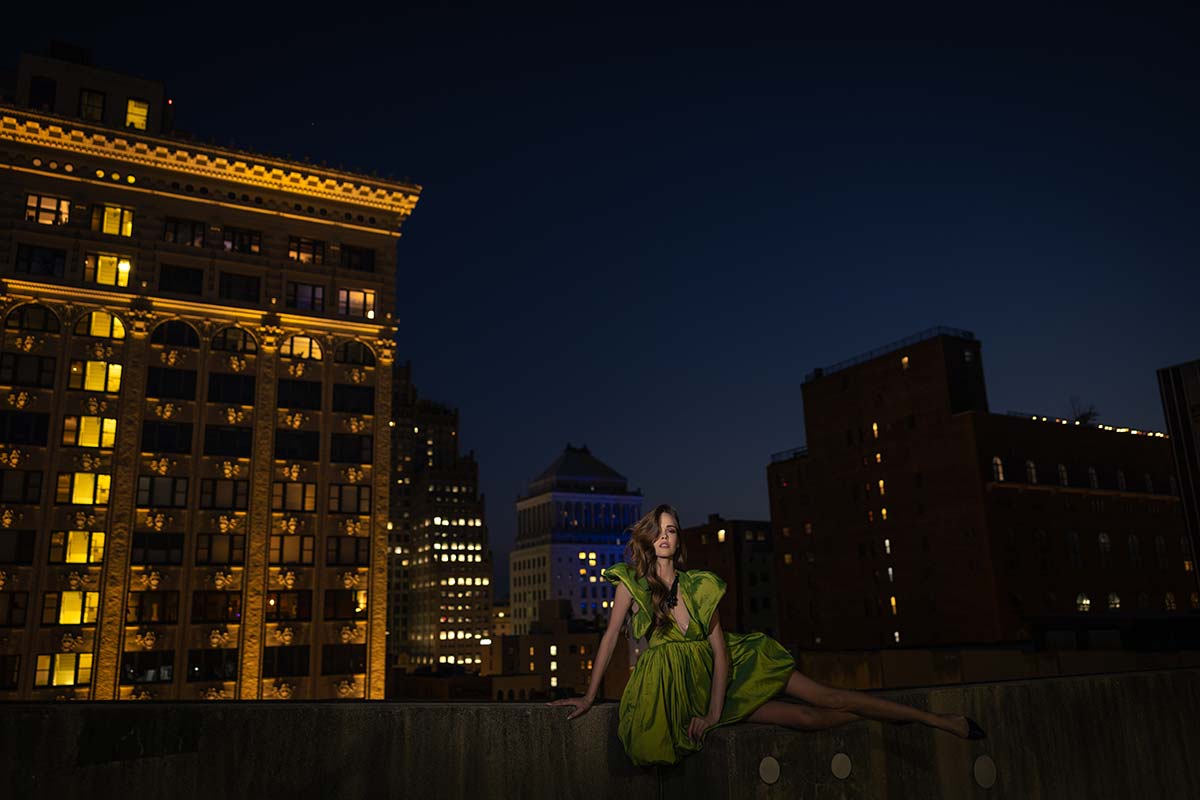
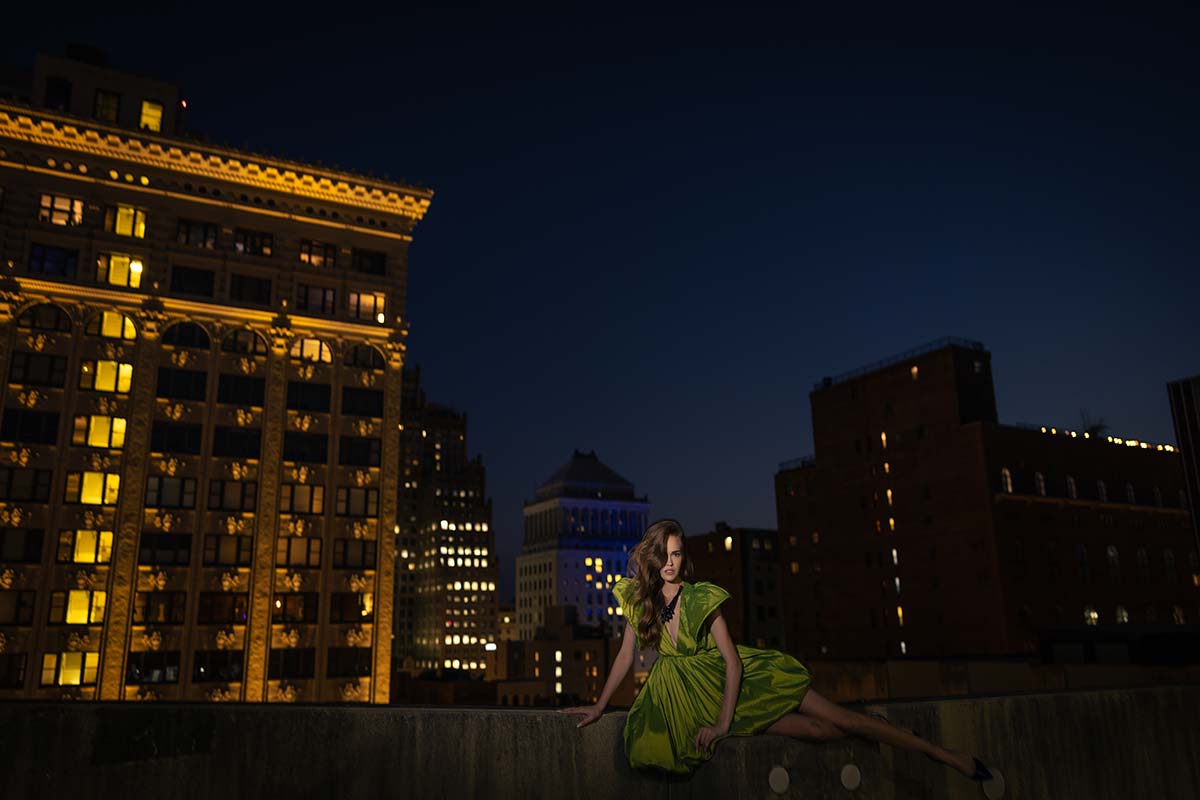
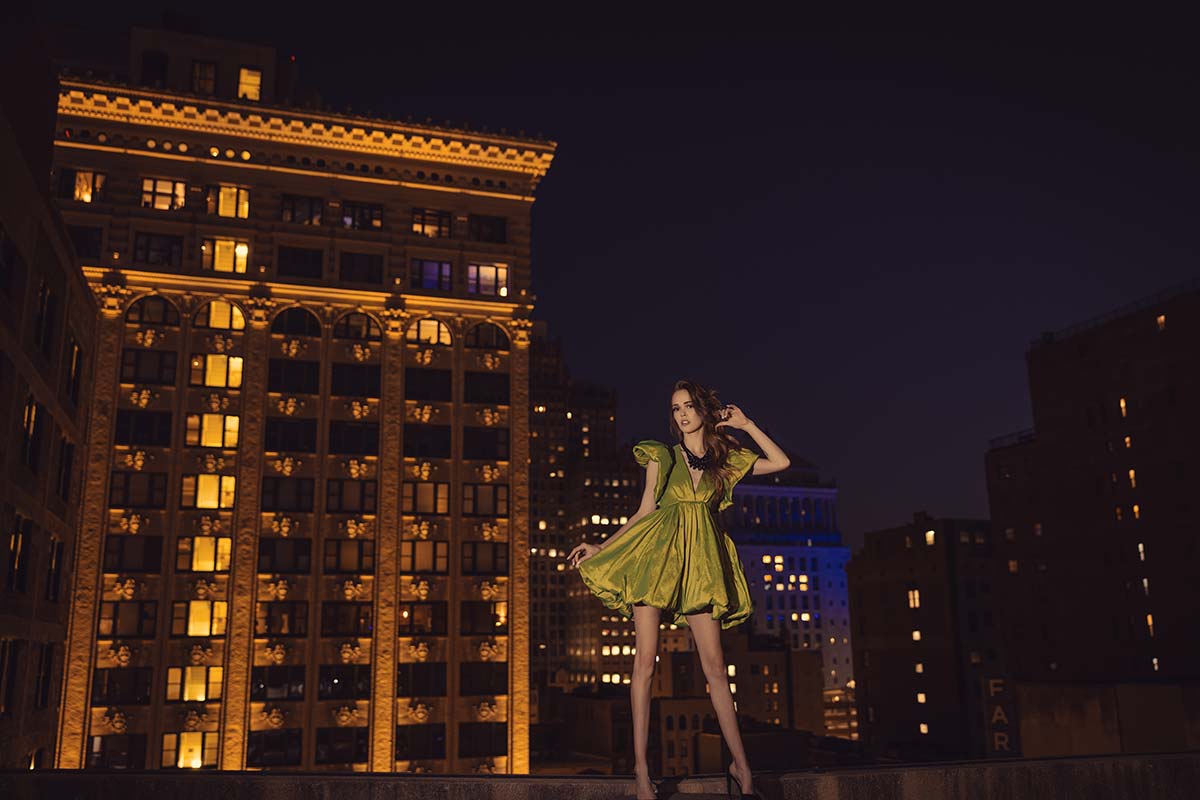
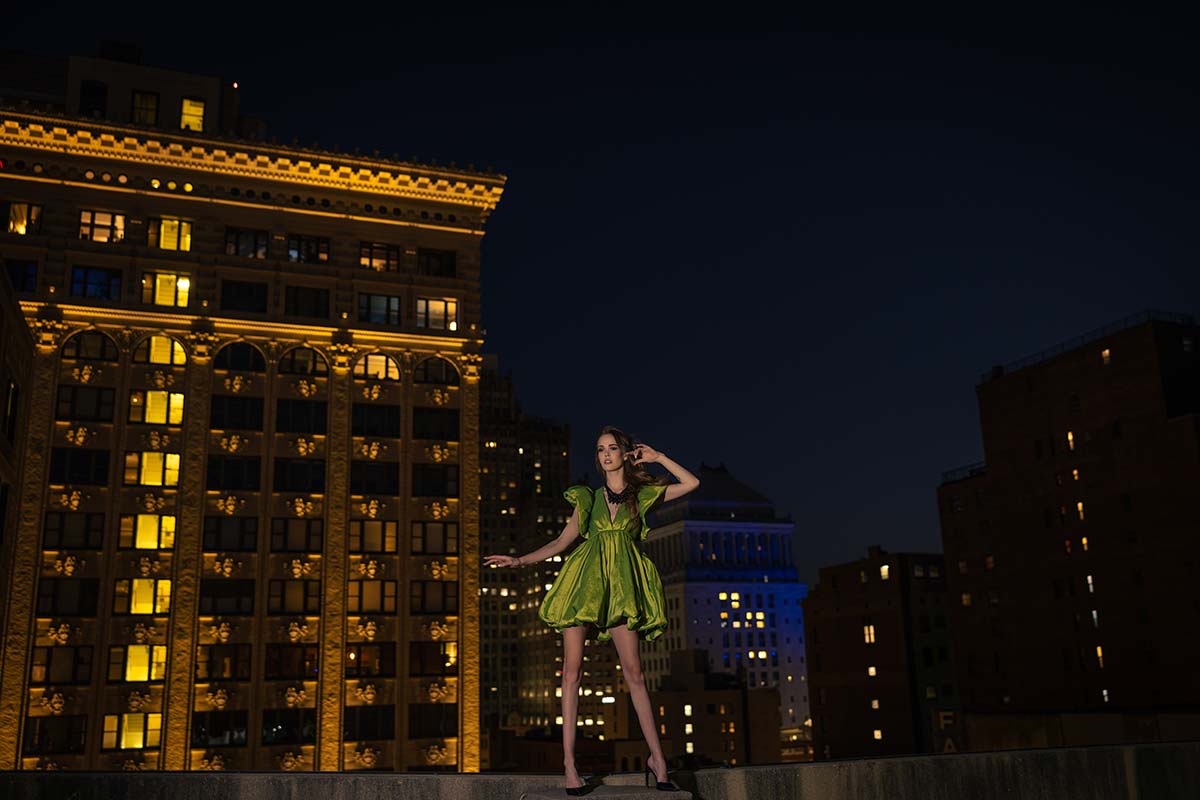
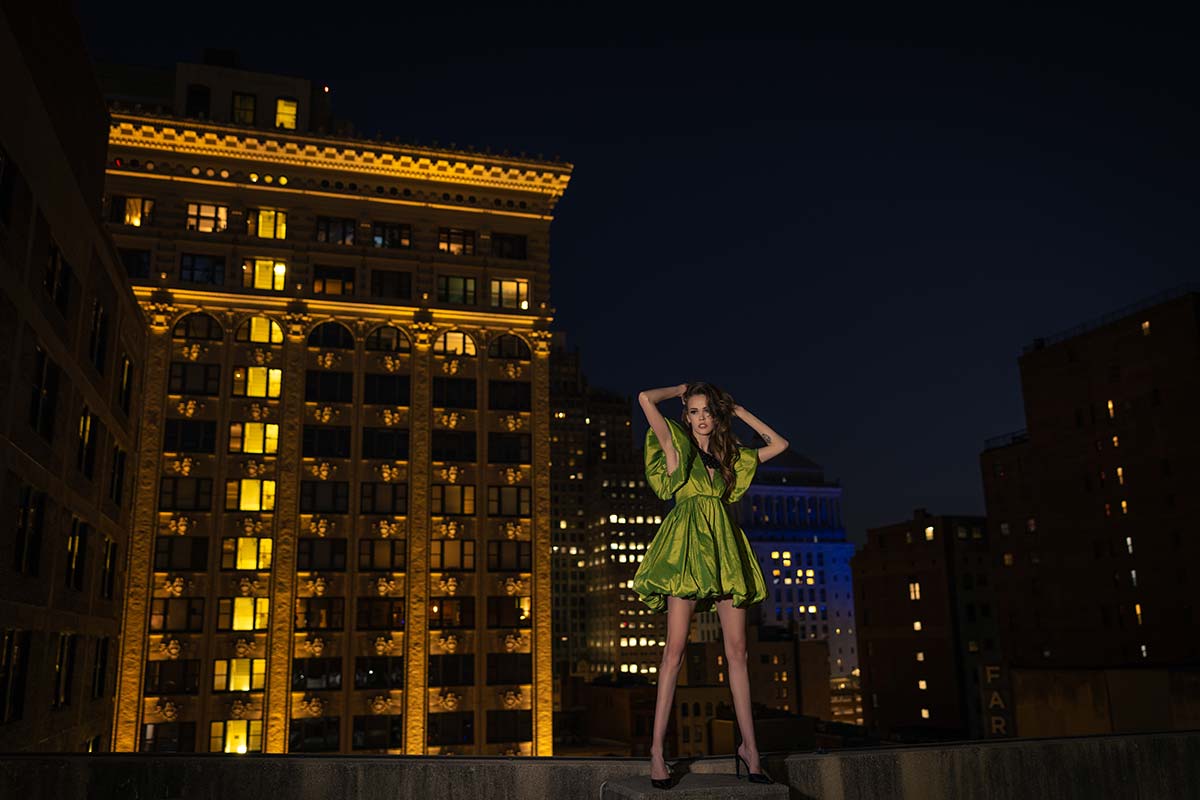


Learn How to shoot portraits with a wide-angle lens. Discover composition, posing, and perspective tips for unique, eye-catching portraits.

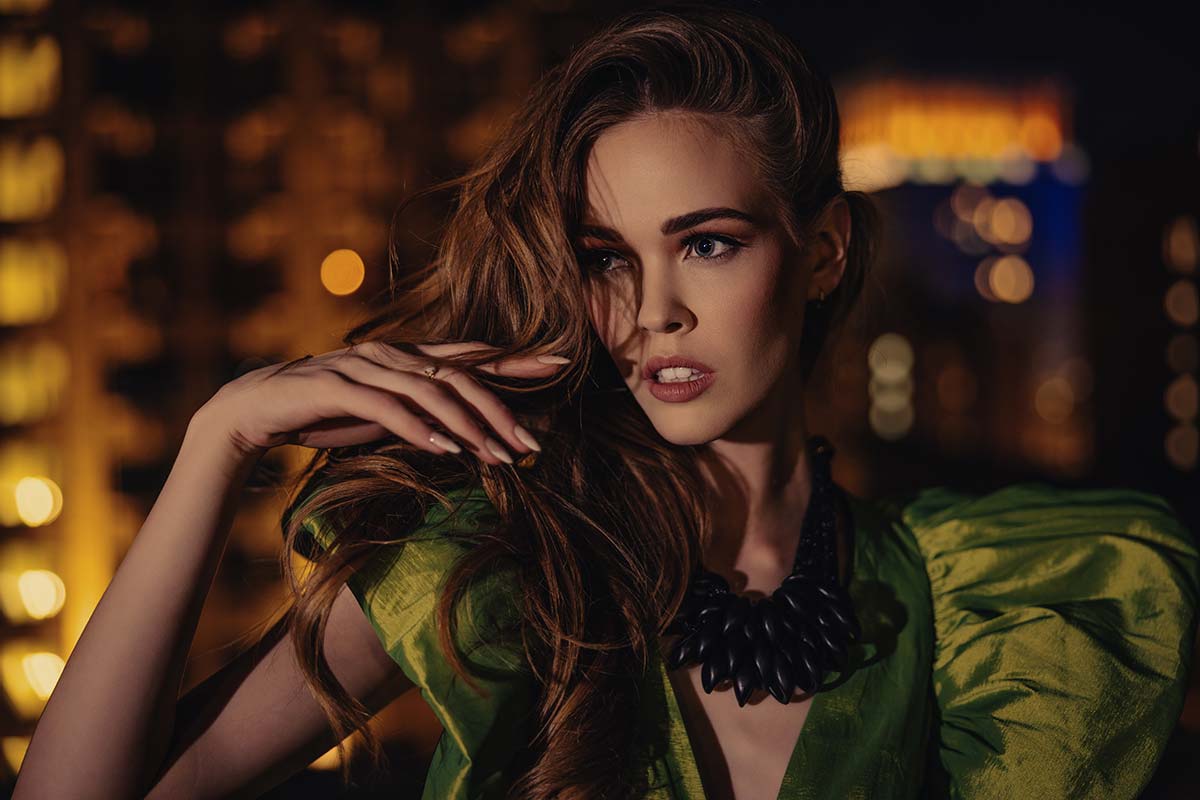
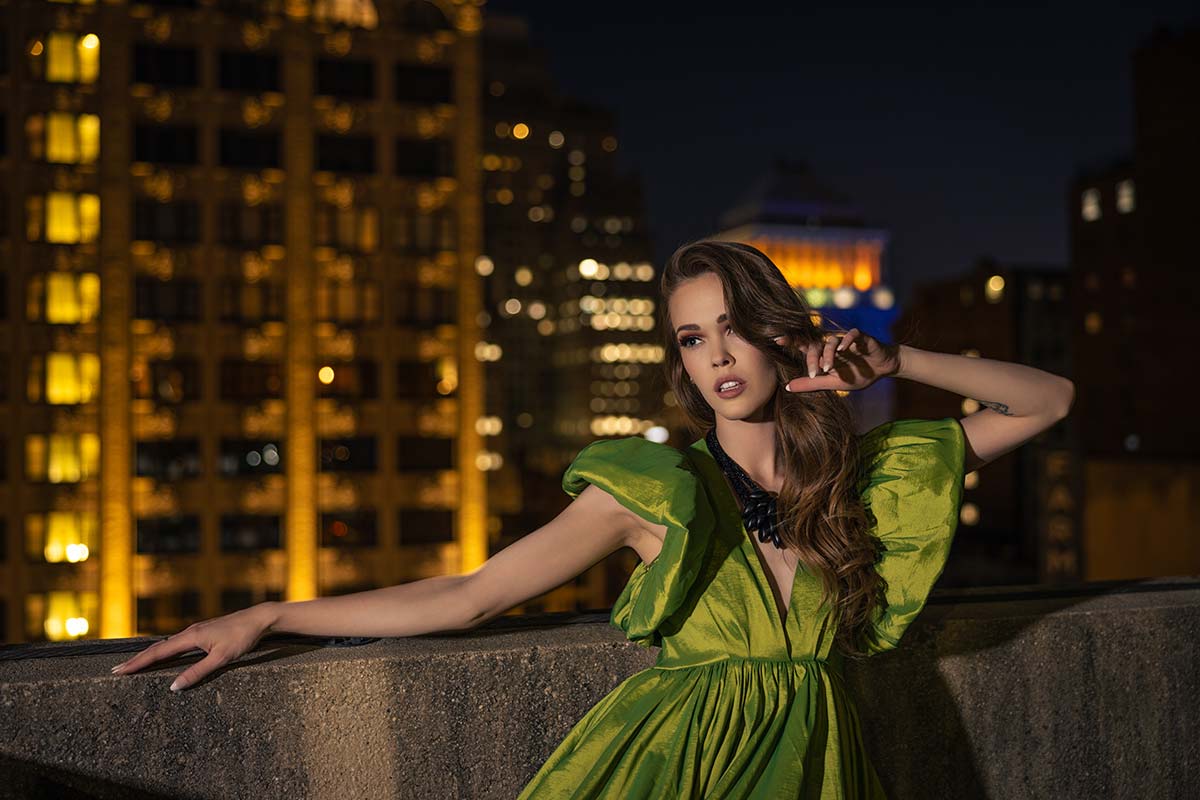
Learn how Destination senior shoots work, get behind the scenes insights, and discover how photographers create unforgettable senior portrait experiences.
