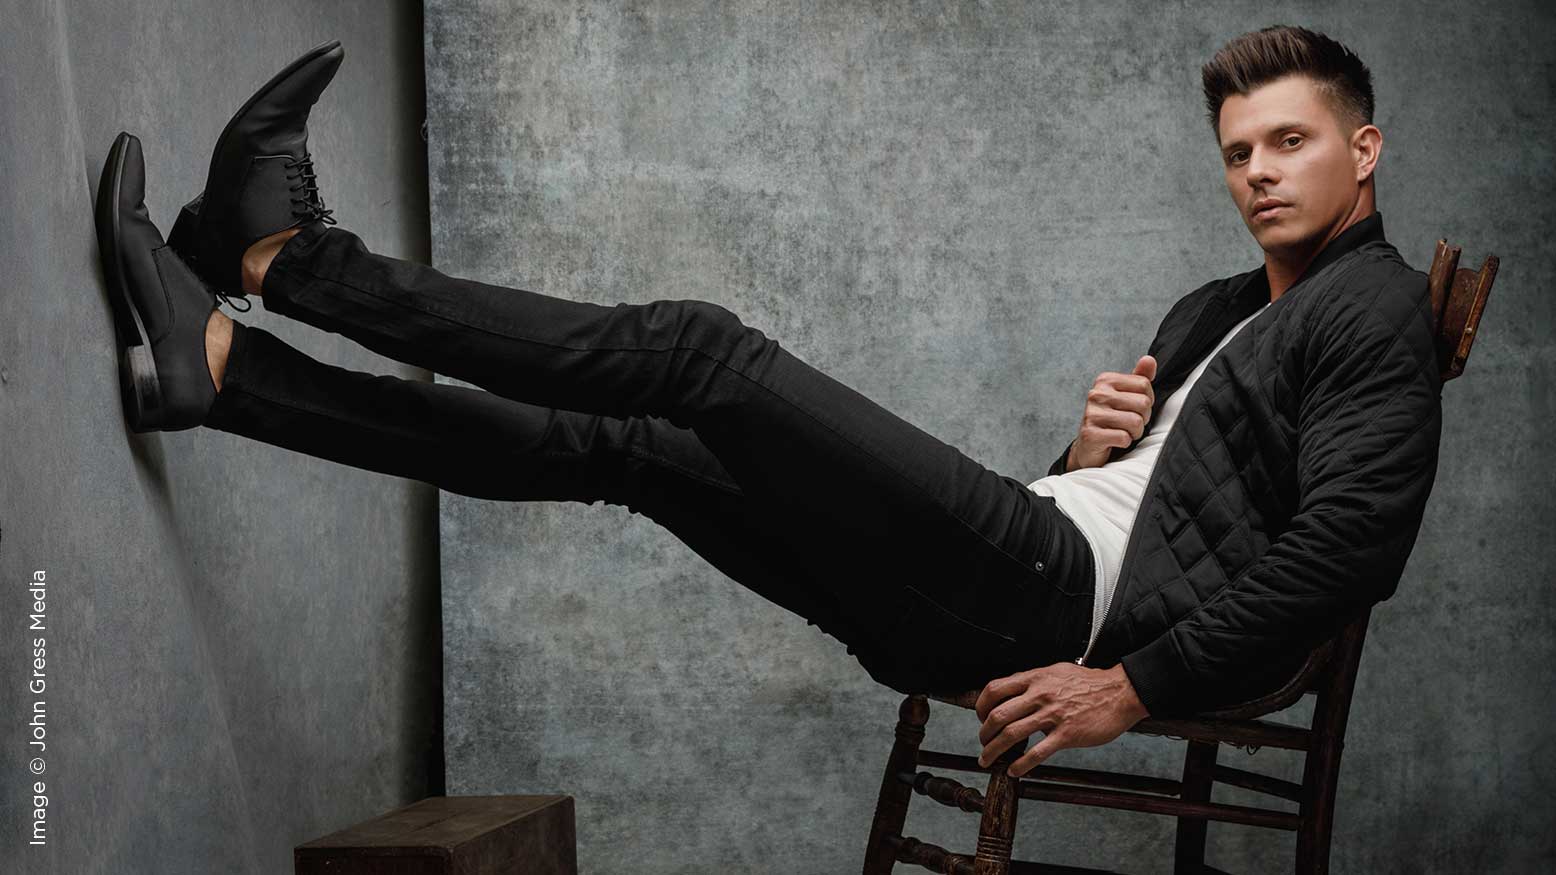
One-Light Setups with John Gress
“What’s my motivation?” This is a refrain that we often hear from actors, but that phrase can mean a lot to photographers, too. Especially when trying to simulate natural light.
In the real world, sunlight comes through big windows. Sometimes there’s a curtain in front of that window. Sometimes the window is really small and sometimes sunlight bounces off of white walls and windows outdoors.
In today’s article I’m going to share with you four lighting setups and my motivation for each one.
Can I get a window?
Everybody says that they love window light, especially people who are new to photography and don’t have much experience using flash. As a young photographer, I heard from the older photojournalists I knew that you really can’t beat window light, so just pose your portrait subject next to a window and that’s all you need to do. In general they were right, but they were forgetting that there would be mixed lighting problems due to interior incandescent lights and an overall lack of brightness on overcast days. If you started out as a “natural light photographer” and your images are noisy, lack sharpness and/or have strange colors, now is the time to transition over into the world of flash.
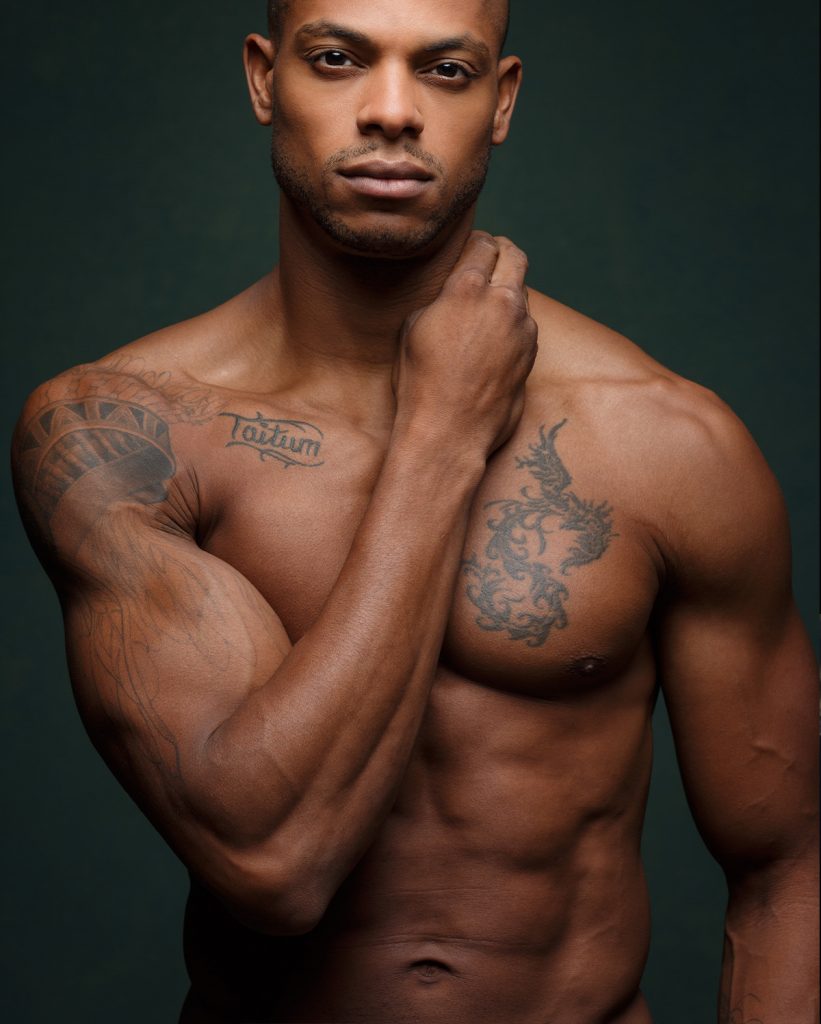
The Dutch Masters would pose their subjects at a slight angle towards an open window to produce “Rembrandt” lighting. You can simulate this window light by using a softbox or an umbrella off to one side at anywhere between a 30–60-degree angle—the placement of which will depend on your desire to see shadows in your images. But no matter where you place it, you want to make sure that there is a light on both of the subject’s upper eyelids. If you place your light too high, their brow will cast a shadow on their eyes and you’re going to lose the catchlights as well. If you place your light too low, beams of light will illuminate the underside of their nose and cast a shadow from their nose going upwards, both of which can be seen as mistakes and can be regarded as unflattering or “spooky.” I’ve heard other photographers say that the bottom of your softbox should be equal to the height of the subject’s jaw, but I have always tried to have my flashtube higher than the subject’s eyes. Regardless of your visual marker, you need to look out for catchlights and avoid uplighting.