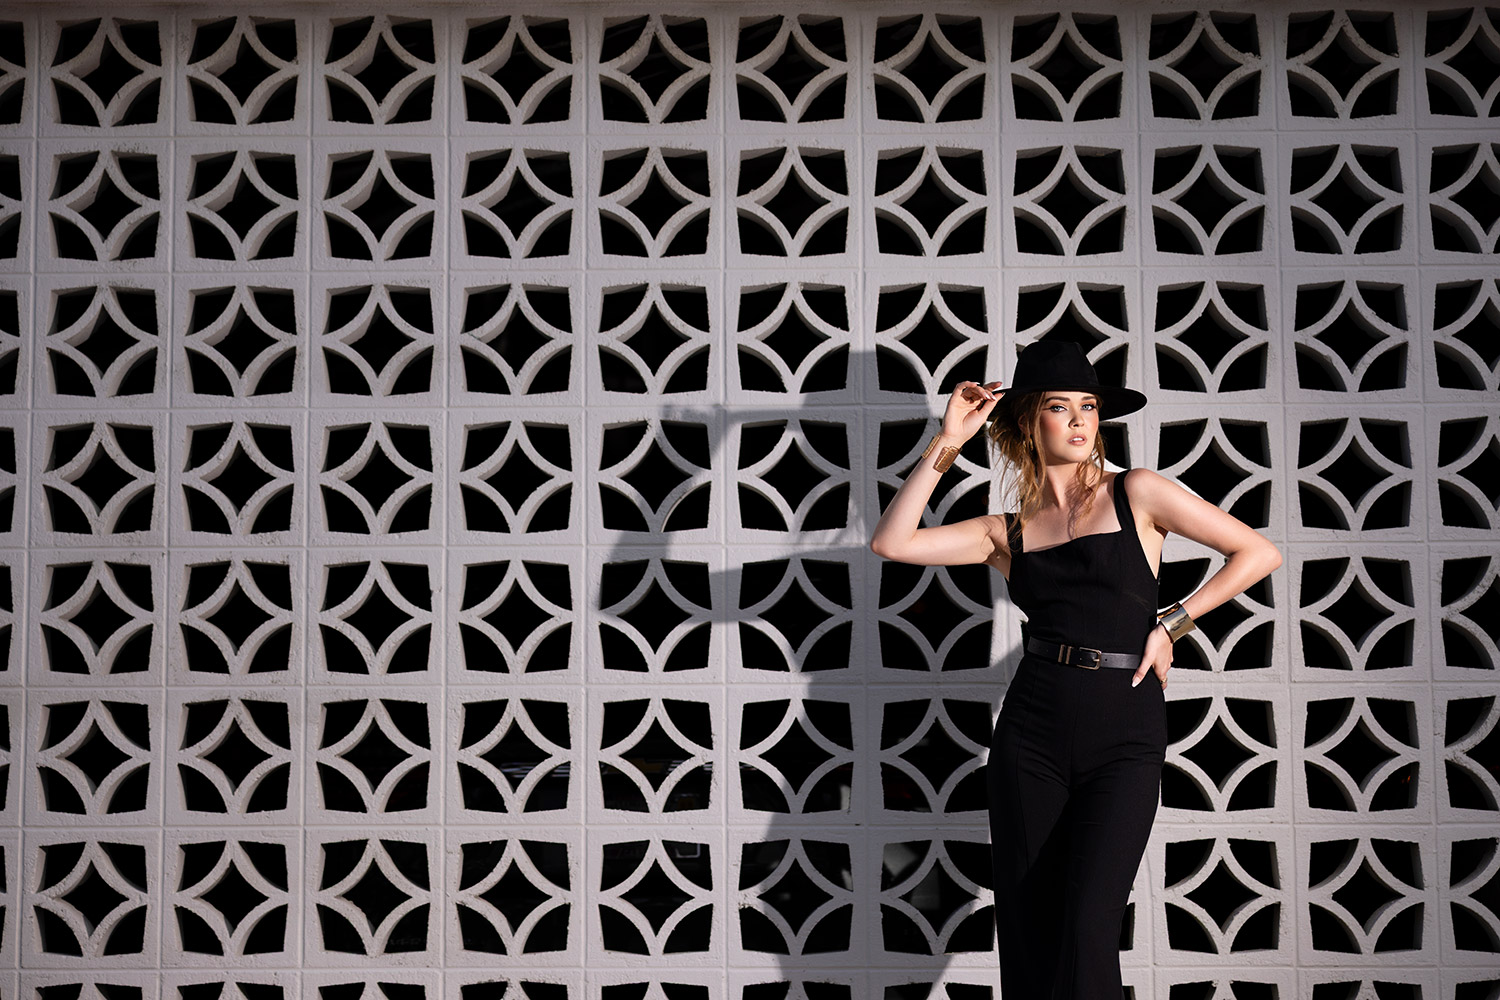

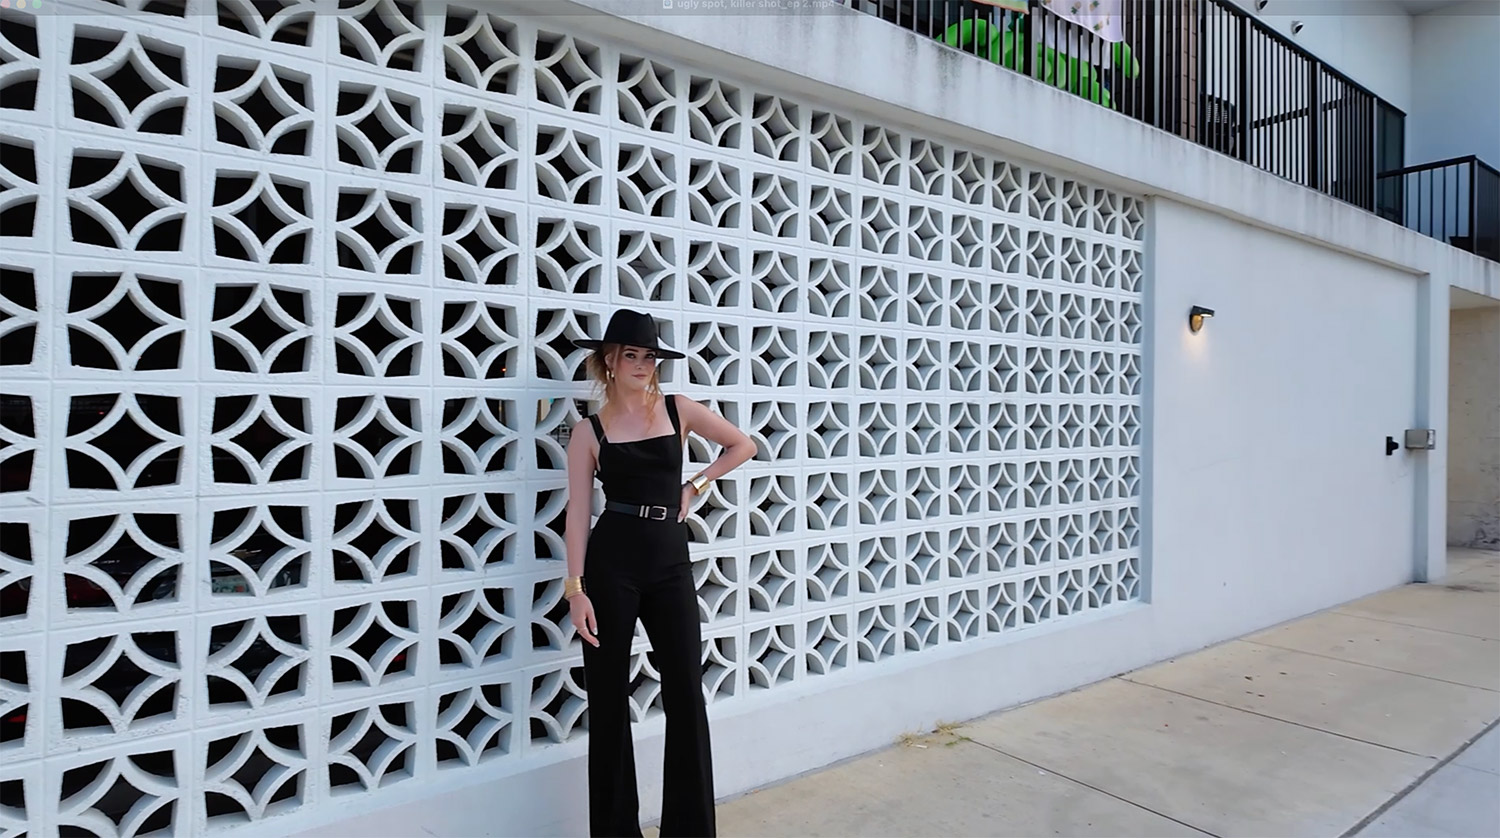
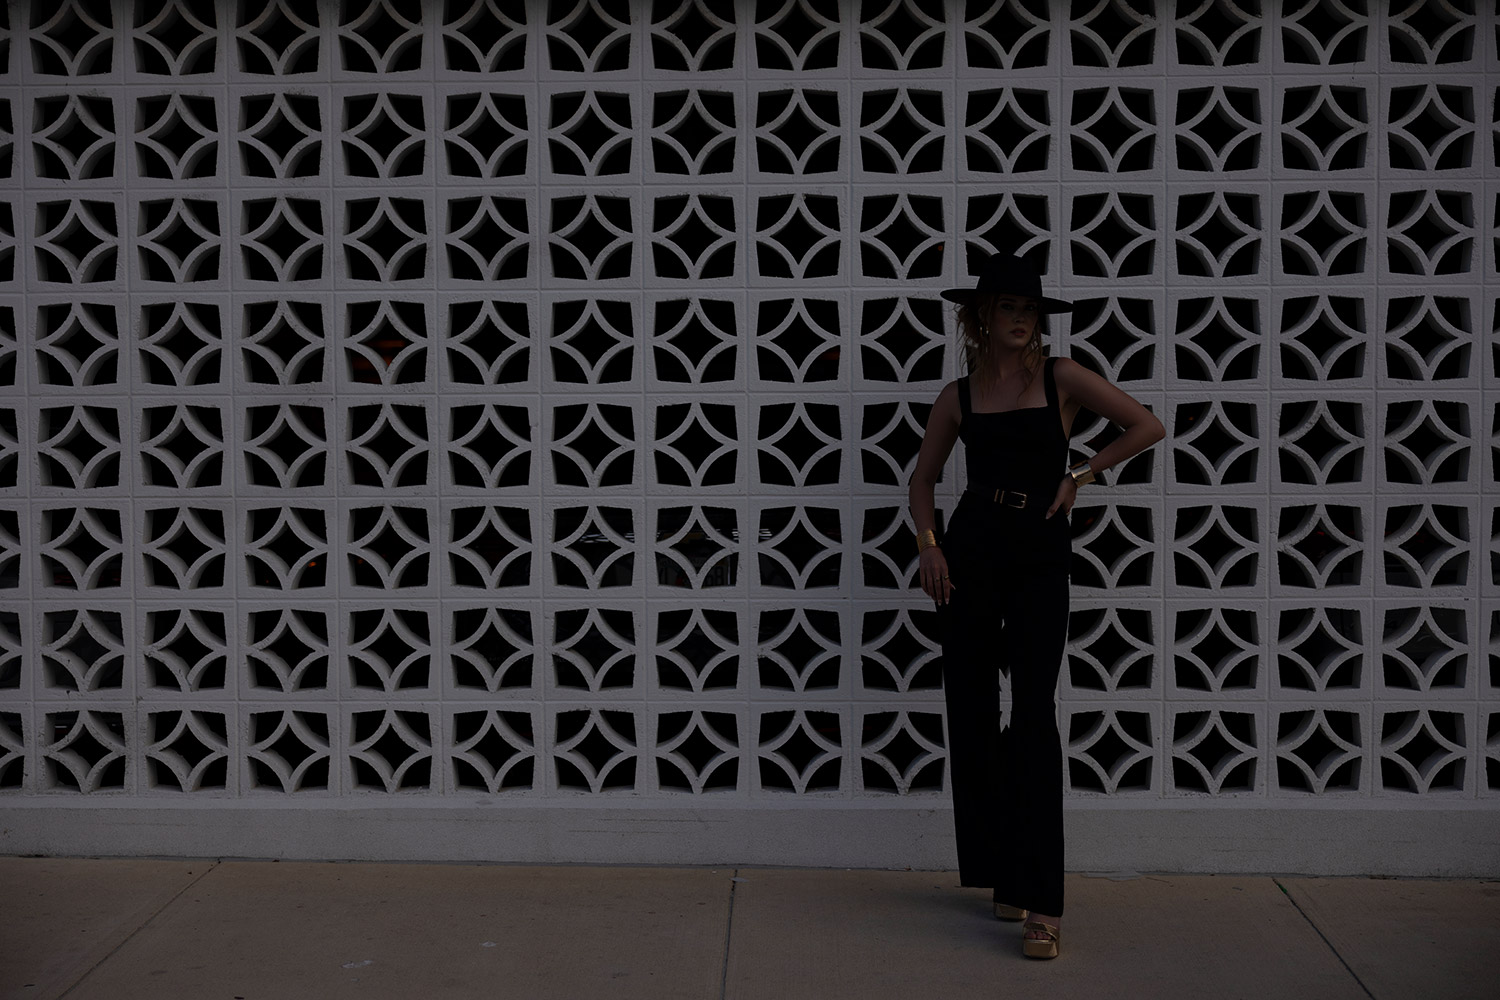
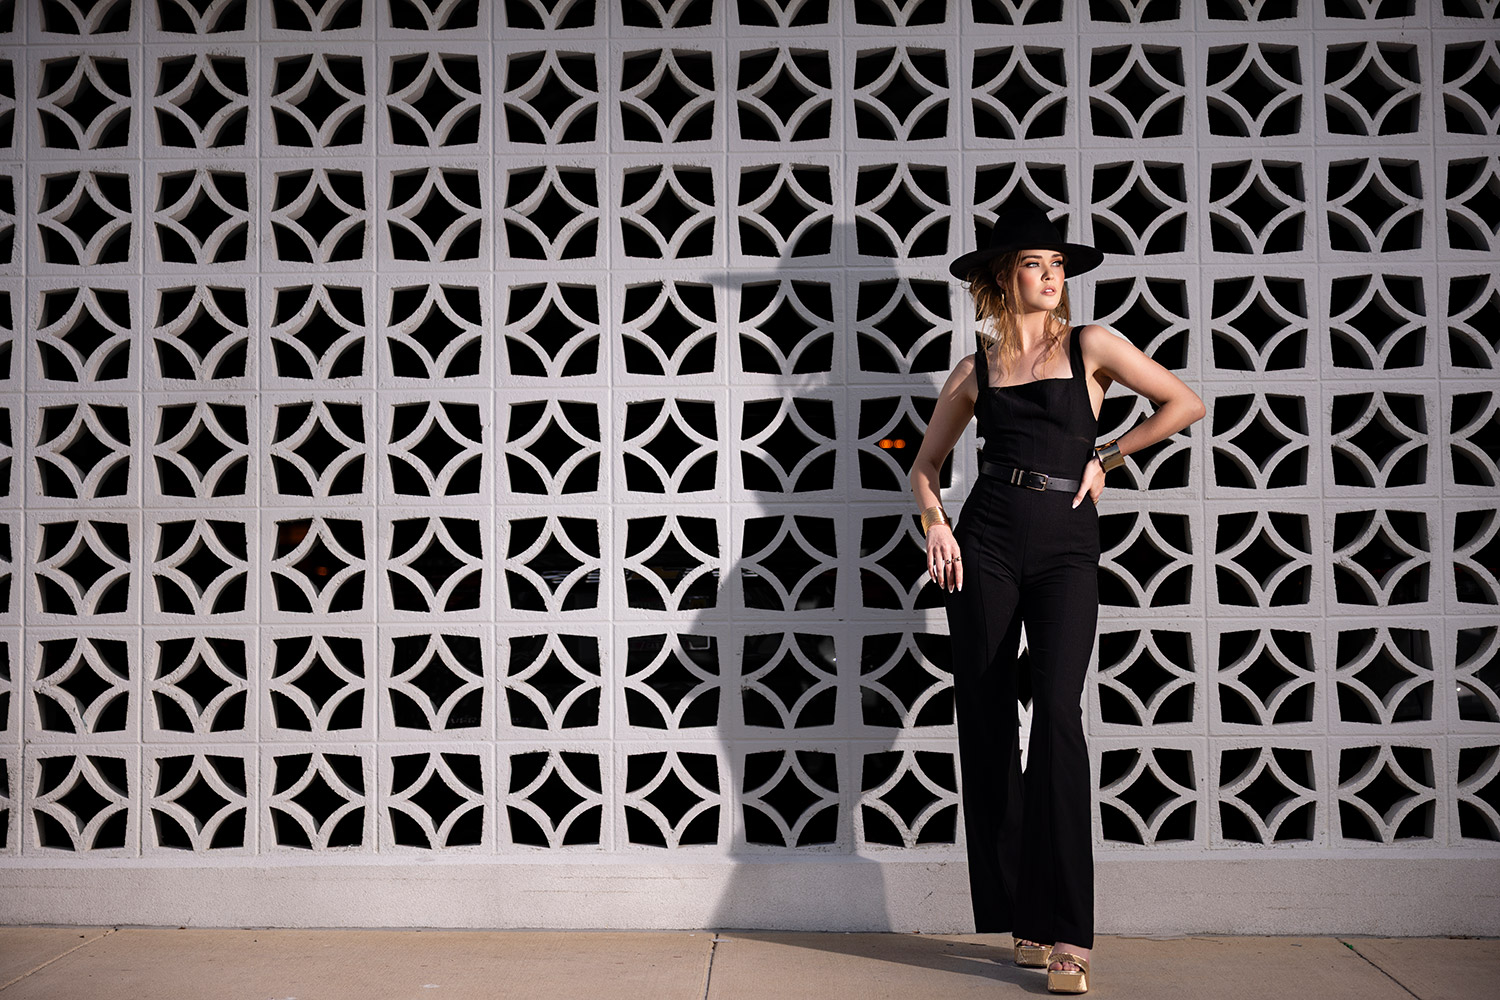
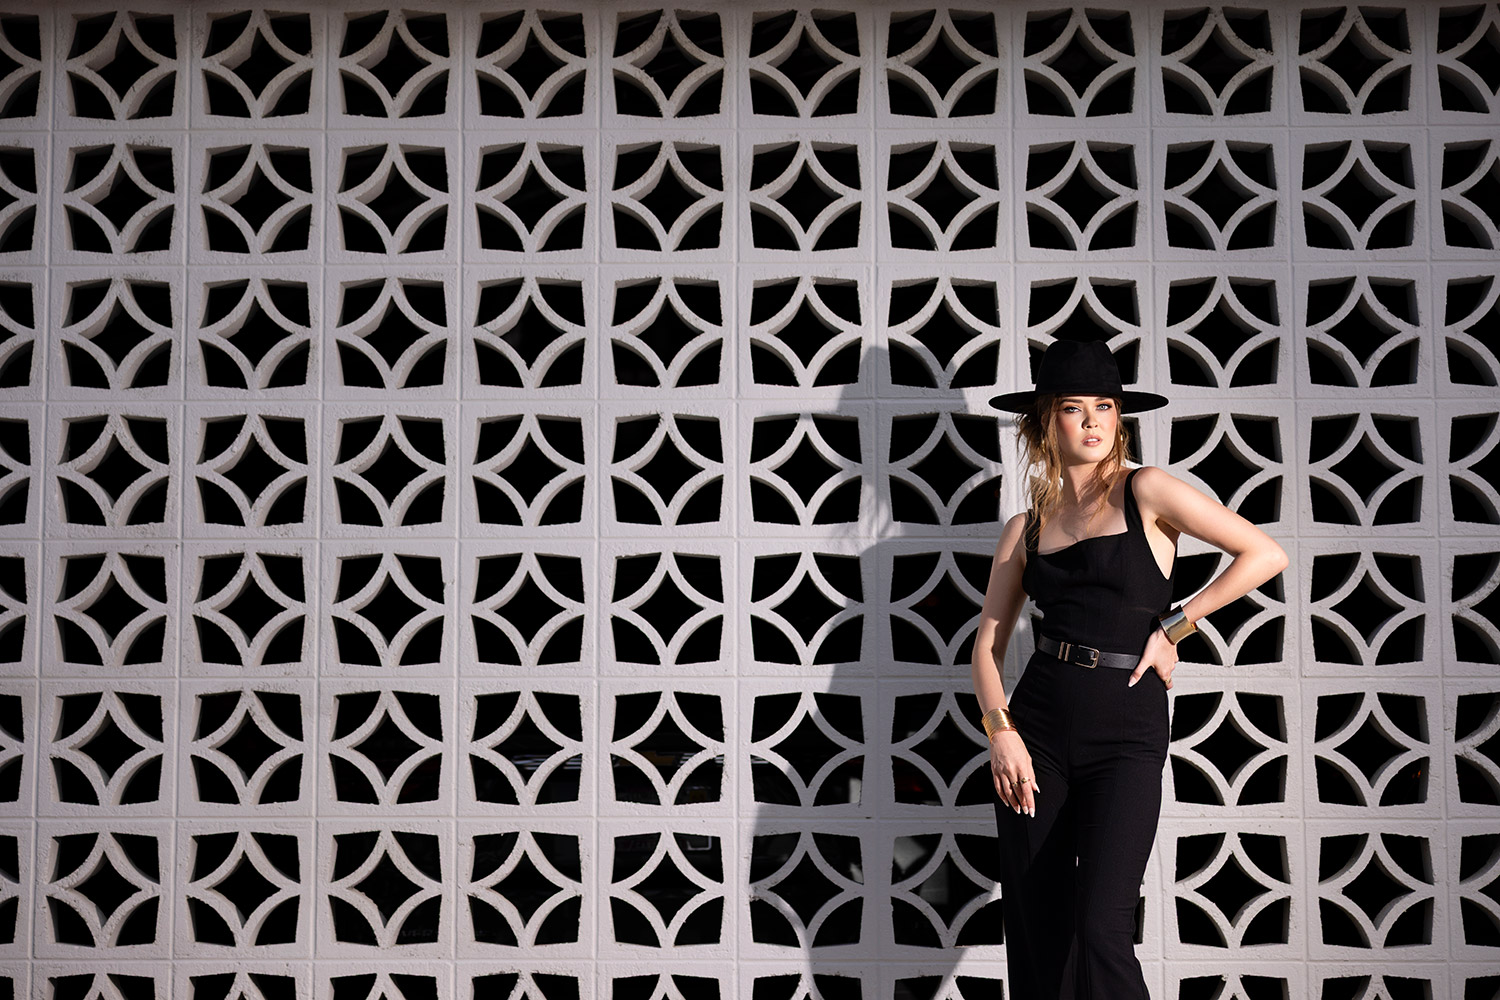


Discover easy photo editing hacks that elevate your images—color grading, retouching, film looks, and tips to create scroll-stopping, professional photos.

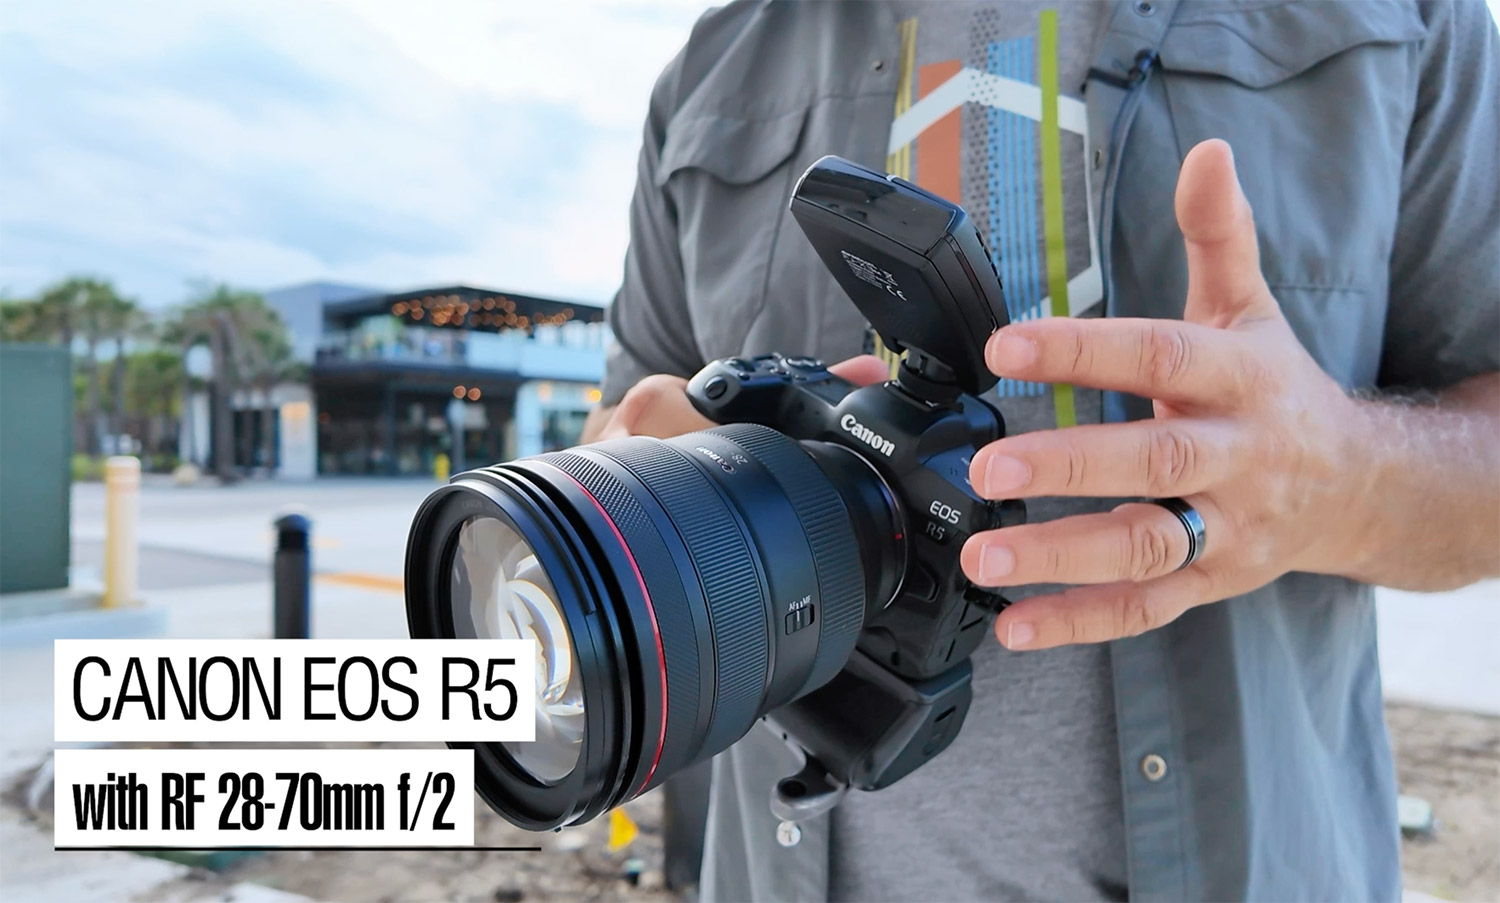
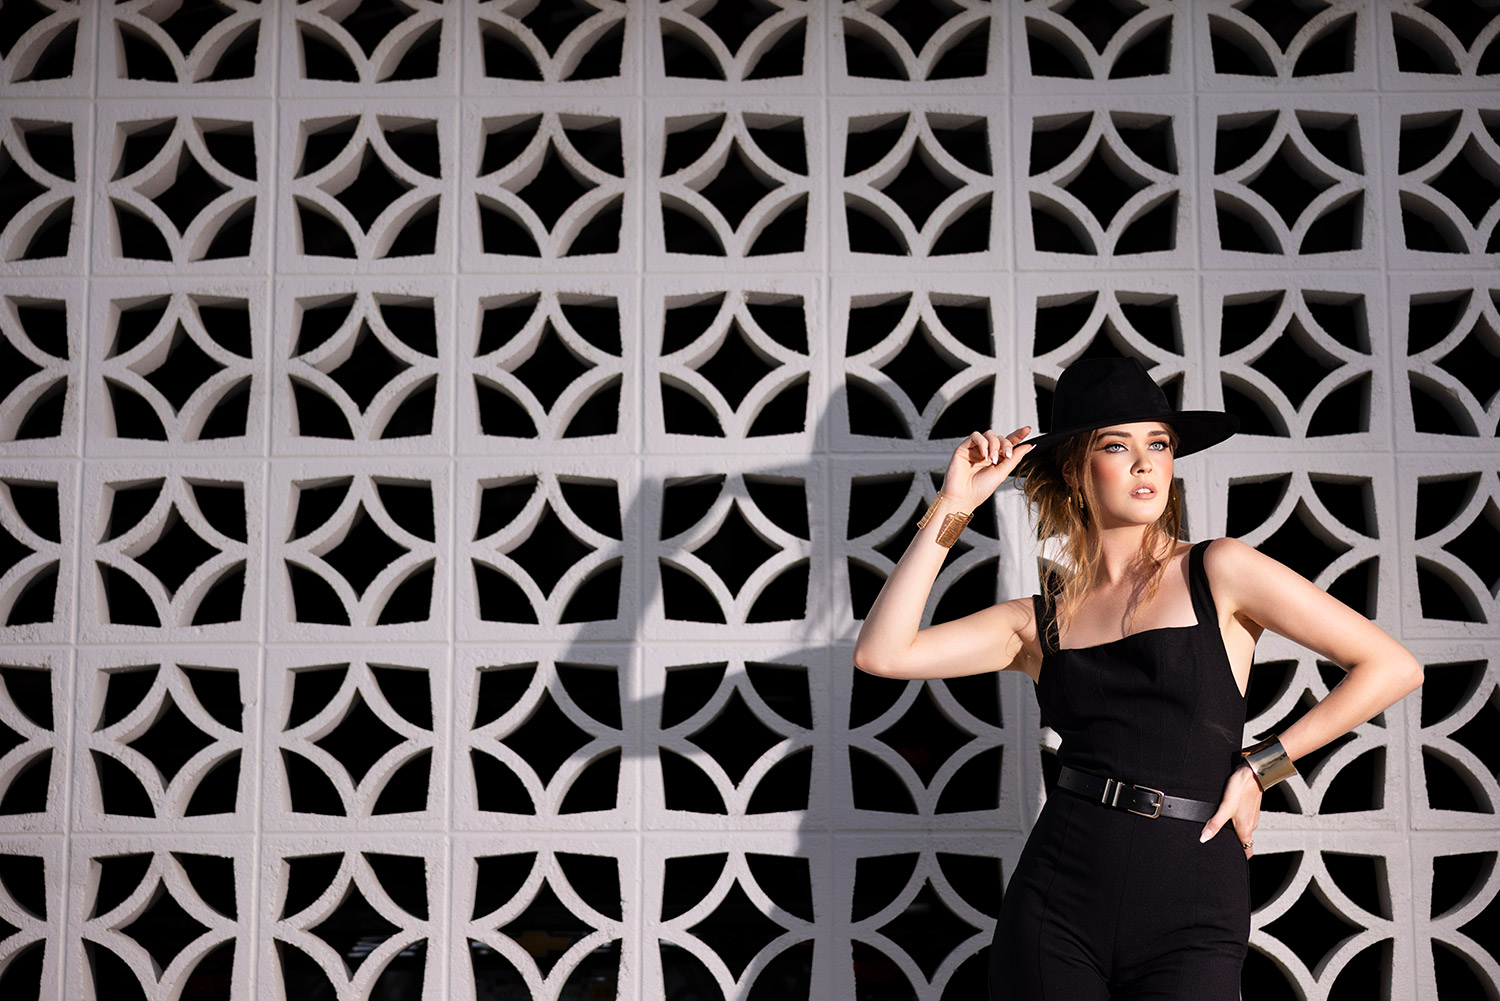
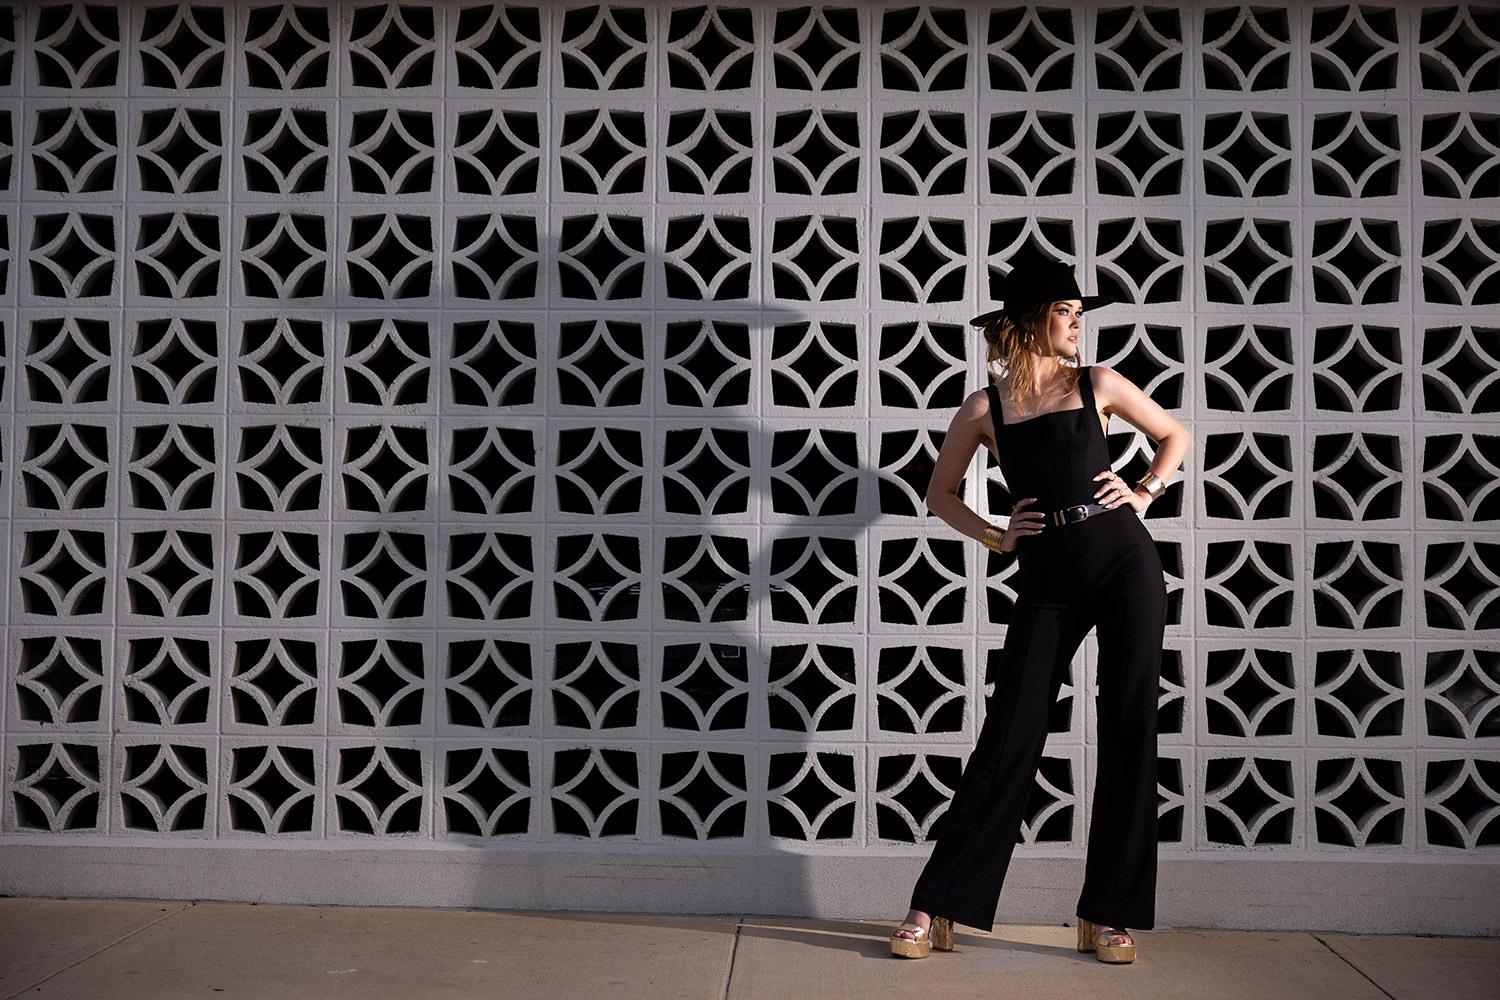
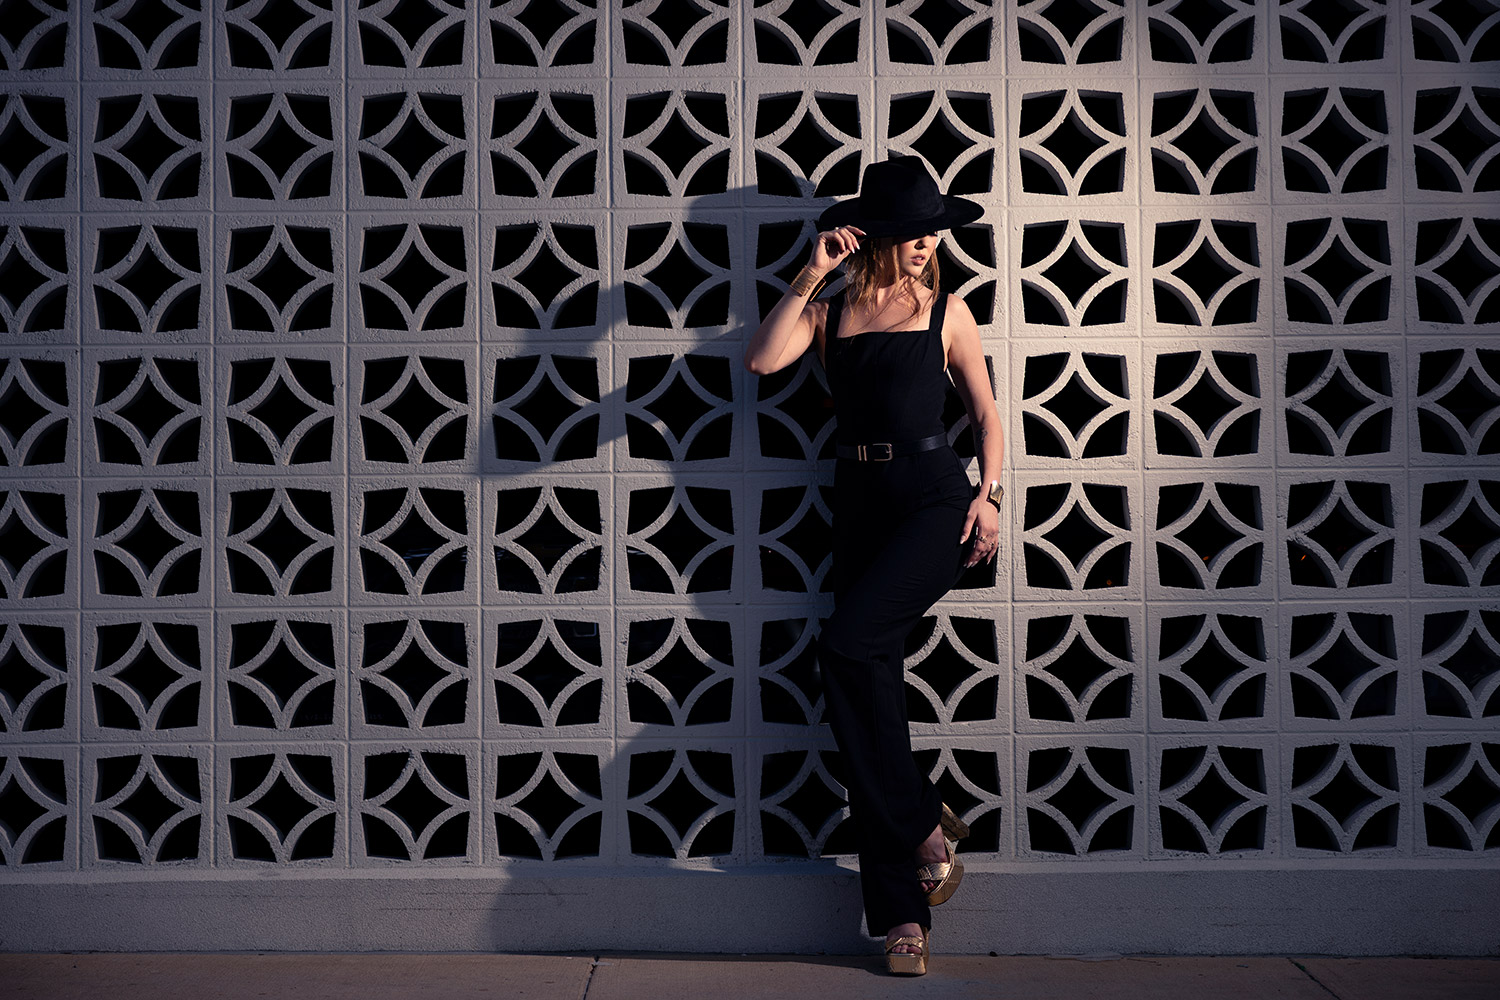
Equipment Used: Camera: Canon EOS R5 Lens: Canon RF28-70 f2.0 Light: Westcott 6-in-1 Reflector Team: Photographer: Sal Cincotta Model: Blaire
