Understanding Rembrandt Lighting

Ever wondered how to nail that classic, beautiful lighting in portraits? Look no further! In this video, we’re diving deep into the wonderful world of Rembrandt lighting for your in studio portrait photography – it’s like painting with light! Today we are using the Background Cordelia from Intuition.  Watch as we break down Rembrandt lighting in the simplest way possible. No fancy jargon here, just pure, easy-to-understand tips and tricks. We’ll show you how to create those gorgeous shadows and highlights that make your portraits pop! Whether you’re a newbie or a seasoned pro, there’s something for everyone. We’ll walk you through the history, the basics, and even some cool practical demonstrations. Get ready to take your portrait game to the next level!

Equipment Used:

Team:

Photographer: Sal Cincotta 
Model: Violet Deardorff
Hair & Makeup: Brandi Patton, ReFine Beauty

What’s up everyone? I’m Sal Cincotta, and today we’re going to explore some Rembrandt lighting. Let’s get to it.

Surely as a photographer you’ve heard of Rembrandt Lighting. All I know is it’s an artist, of course. His name is Rembrandt, like van Rijn or something like that. Sorry, Mr. Rembrandt, we’re definitely screwing up your name, but you will live in infamy at this point of course because of the lighting pattern for your self-portraits that we’ve all become accustomed to.

So today I thought, why don’t we use a little bit of that in our work? We already do it, but not deliberately. If I look at my work, maybe even if you look at yours, you’ll see that little triangle pattern, right, that’s the signature for Rembrandt lighting. You may do it instinctively, but now today with Violet behind me, I want to explore that setup for a little bit.

So let’s go through gear just real quick here. We’re using a Canon R3, Canon 85 millimeter f/1.2. We are using the Westcott lighting system; I’ve got an FJ400. And we have metered in using the Sekonic meter for F11, and that’s going to be what we work with.

So let’s talk about setup real quick ’cause it’s easier to get to than you might actually think. I set the light up for split light, right? So we just move right to, in this case it would be camera right of Violet. Obviously, I want to make sure her hair’s on the opposite side. So there’s some things there that could screw up that lighting pattern, but I’m going to put it right to the side of her.

Now, that being said, we’re in almost split light here. Now it’s a large light source, so it won’t be a real hard split. You’re going to have softer shadows because the larger the light source, the softer the transition from highlight to shadow detail. If you wanted a hard Rembrandt, that hard triangle, you’ve got to use a smaller light source, not as large, not as soft. Move it even further away and that would make that hard triangle. But for beauty portraits, I typically don’t want that hard triangle there. So I want a softer Rembrandt light for beauty portraits here. Just create a mood.

So we’re going to take this shot here. This’ll probably come close to Rembrandt lighting, just looking at where the positioning is, but then we’re going to start at the side of her for split light. And then what you end up doing to get Rembrandt is you come off just at about 45 degrees just from her right side, if that makes any sense. You just kind of crescent it forward here, and this is going to give us a Rembrandt lighting pattern.

So let me take these pictures here. I’ll take this first one with that light kind of split. Okay, here we go. This will be a test shot. 

So in camera you’re going to see that, that we’ve got no light hitting her on camera left, or very, very soft triangle there. Now, I mean it’s a nice portrait. I’d like this mostly for men. I can cheat this a little bit. So, if I cheat and look left just a little bit, to your left, so now I can cheat this. Let’s see what this does. And now what you’re going to see there, what a stunning portrait.

Test Portrait

Settings: f/11 @ 1/180, ISO 200

Rembrandt Portrait

Settings: f/11 @ 1/180, ISO 200

And now you can just start going to work on this. If you wanted to lift shadows, now we can bring in a reflector opposite just to fill some of those shadows. Let’s see if we can get a reflector. 

For those of you who are watching our videos or ever watching us broadcast live and you’re like, “You have this beautiful natural light,” not today, Satan. We don’t want natural light today. Our setup to block the light from coming in is interesting.

All right, so now what we’ll do is we’re bringing in a reflector just to fill the shadows. This could be another light source if you want it to, but you don’t need a secondary light source. It’s just going to be too much power. So this is really just to fill those shadows. So let me take that same portrait and all I’m trying to do is fill those shadows just a little bit. So now I’m getting those shadows filled in. 

Settings: f/11 @ 1/180, ISO 200

Okay, so now I’m getting that nice Rembrandt kind of short light that we’re seeing there. That’s nice. So now what I’m going to do is have Violet look straight at me. I’m going to rotate this light just a little bit. And remember, this is a large light source that’s close to her. So it is going to be soft light, and that triangle is going to be very soft, not distinctive lines. For male portraits, I like the hard lines, the harshness of that. It’s been used in Hollywood a lot. Of course, Rembrandt himself on all his self-portraits. If you haven’t seen those, look those up. It’s very, very distinctive. But for beauty portraits, I love using this in a softer way.

This is going to end up wrapping around her. And now I’m going to move around once I have this. And look, when you’re working, everybody you’re working with has to understand where that light source is, so they can’t just move around and just start trying to take portraits from everywhere. 

Settings: f/11 @ 1/180, ISO 200

I’m just using a little crystal to get something here. Just a little bit different. And this is so moody, guys.

Settings: f/11 @ 1/180, ISO 200

Now what I want to do is keep her here. Maybe make her sit. So let’s make her sit. Let’s make the most of this. All right, so what we did was we adjusted, have Violet sitting down now. I want to kind of get as many shots out of this set up as possible. Lower the light source and readjusted exposure. So now we’re at about f/5.7, 7.1 to be exact. Got her pose and we know where she’s got to be. She’s either got to be looking direct to camera or kind of at this 45 to maintain this pattern, right? The more she looks away, the less light’s going to hit here. The more she looks here, it’s going to change the type of light. It’ll suddenly become broad light if she turns enough.

Settings: f/8 @ 1/180, ISO 100
Settings: f/7.1 @ 1/180, ISO 100

Now you saw that last frame, she turned a little bit too far away from the light and you could see we lost the lighting pattern.

There you have it, guys. The one thing I want you to take away from this is once you get the light set up where it is in position for Rembrandt, you now have a position for your subject to work both at camera and at this 45. And they can kind of stay in this area and you’re going to get this beautiful lighting pattern on them. It looks amazing. It’s got that look that really feels dramatic, feels timeless, feels painterly, and I think it’s one of the masters that they use, the greatest of all time. 

Settings: f/7.1 @ 1/180, ISO 100
Settings: f/11 @ 1/180, ISO 200

So make sure you’re checking this out. Introduce it into your portrait photography; you’ll get some incredible images. We’ll see you in the next video.

Leave a Reply

Want more content like this?

Check out our recent posts

yt-thumbnail_Creative-beach-portraits-using-off-camera-flash

Creative Beach Portraits Using Off Camera Flash

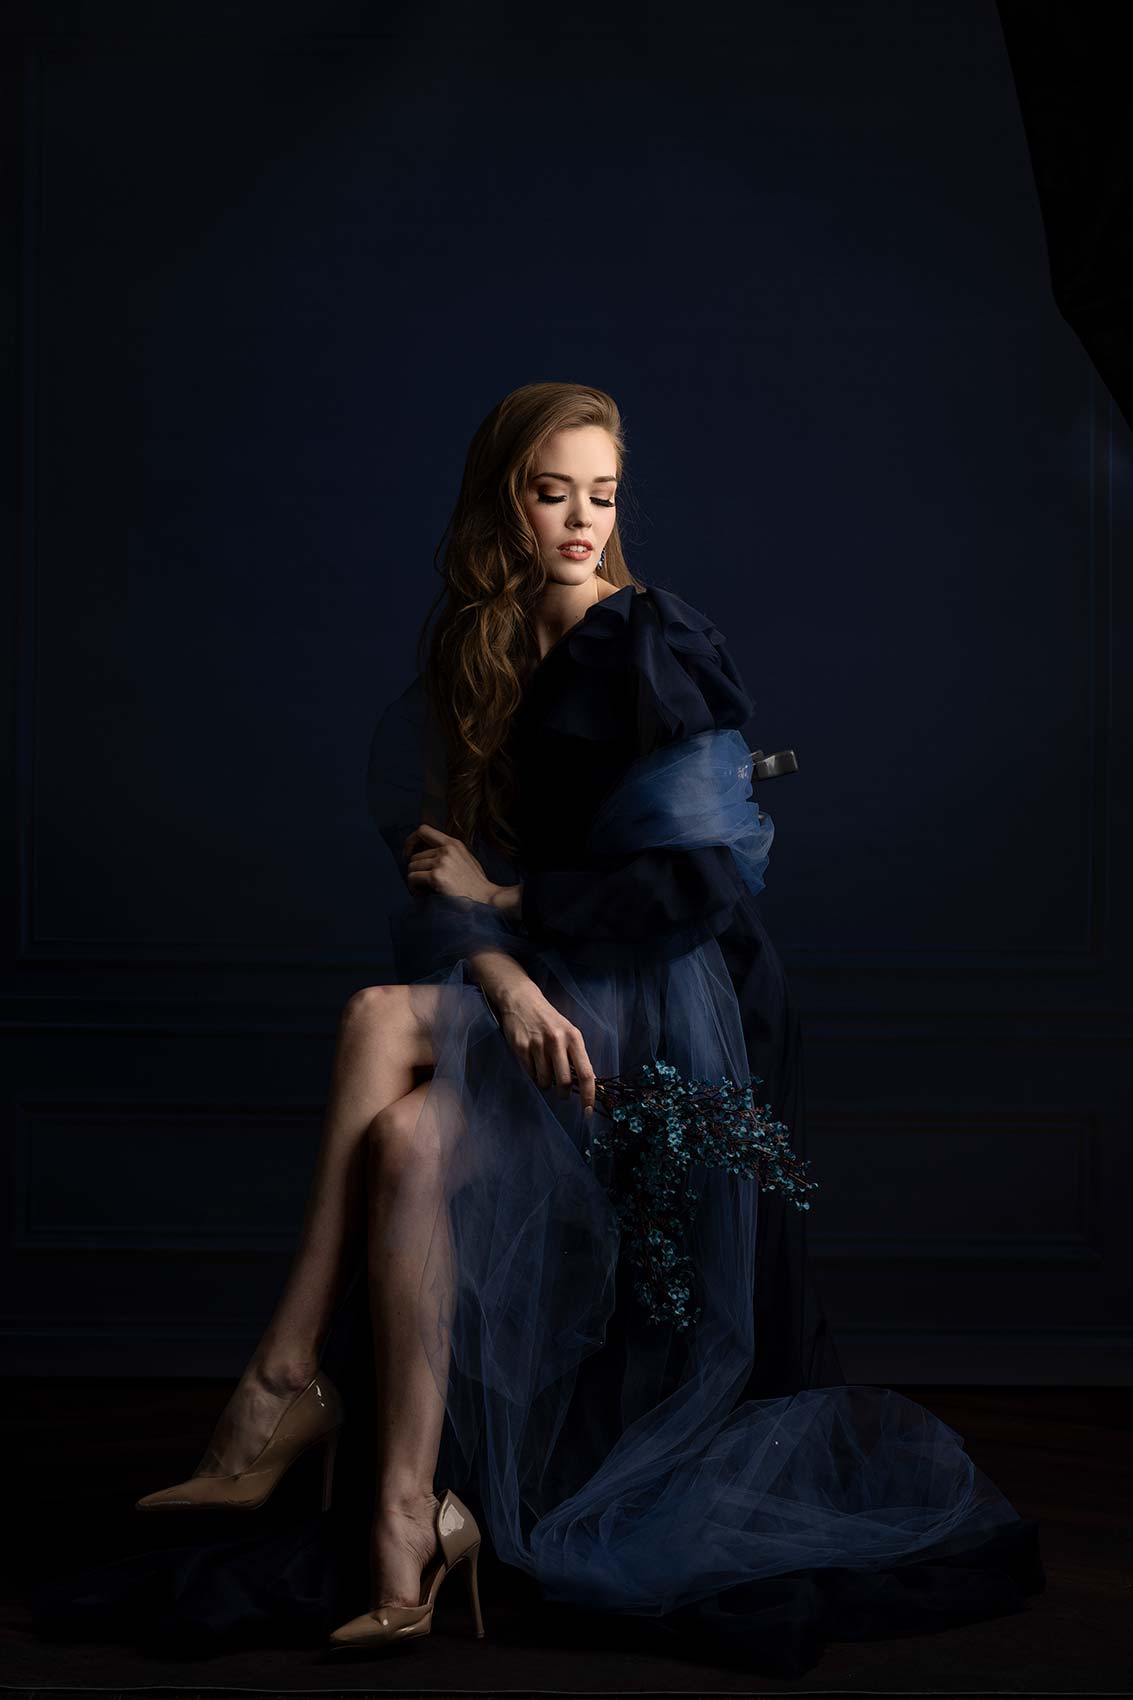
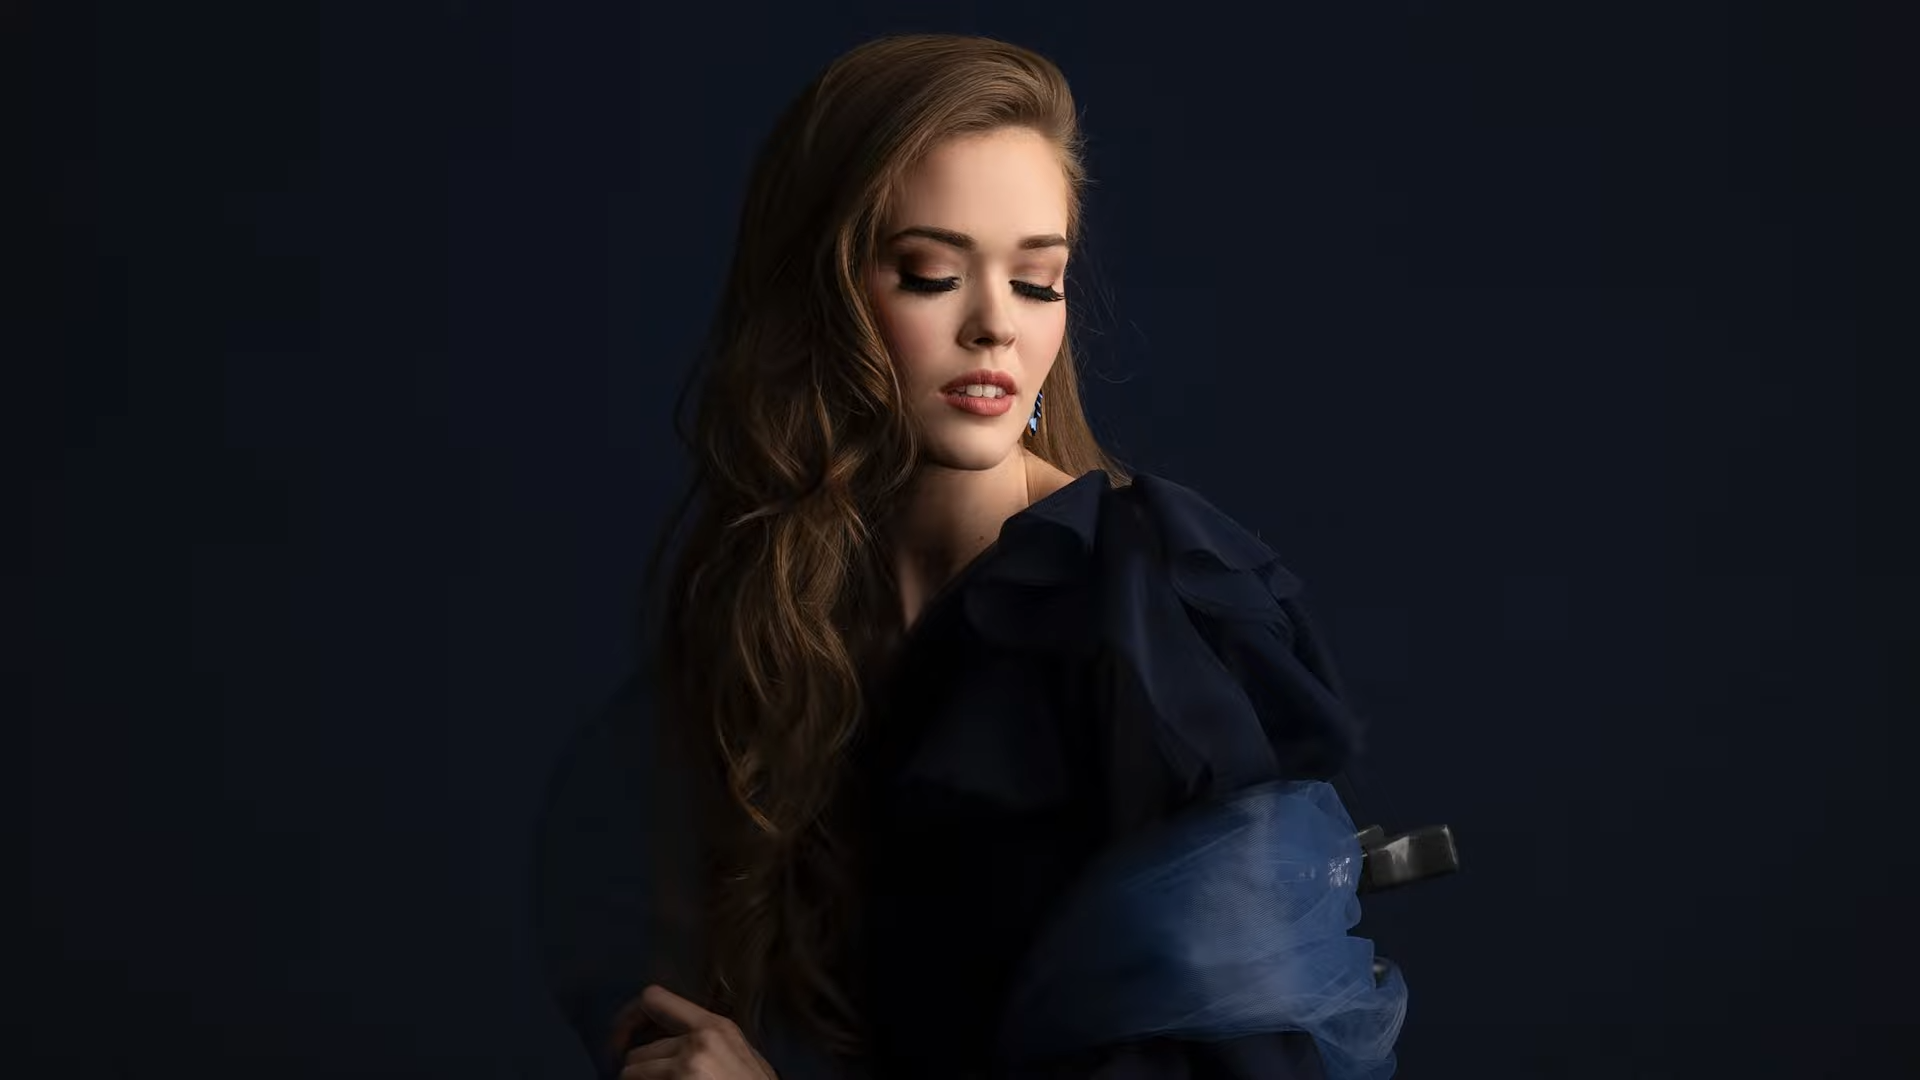
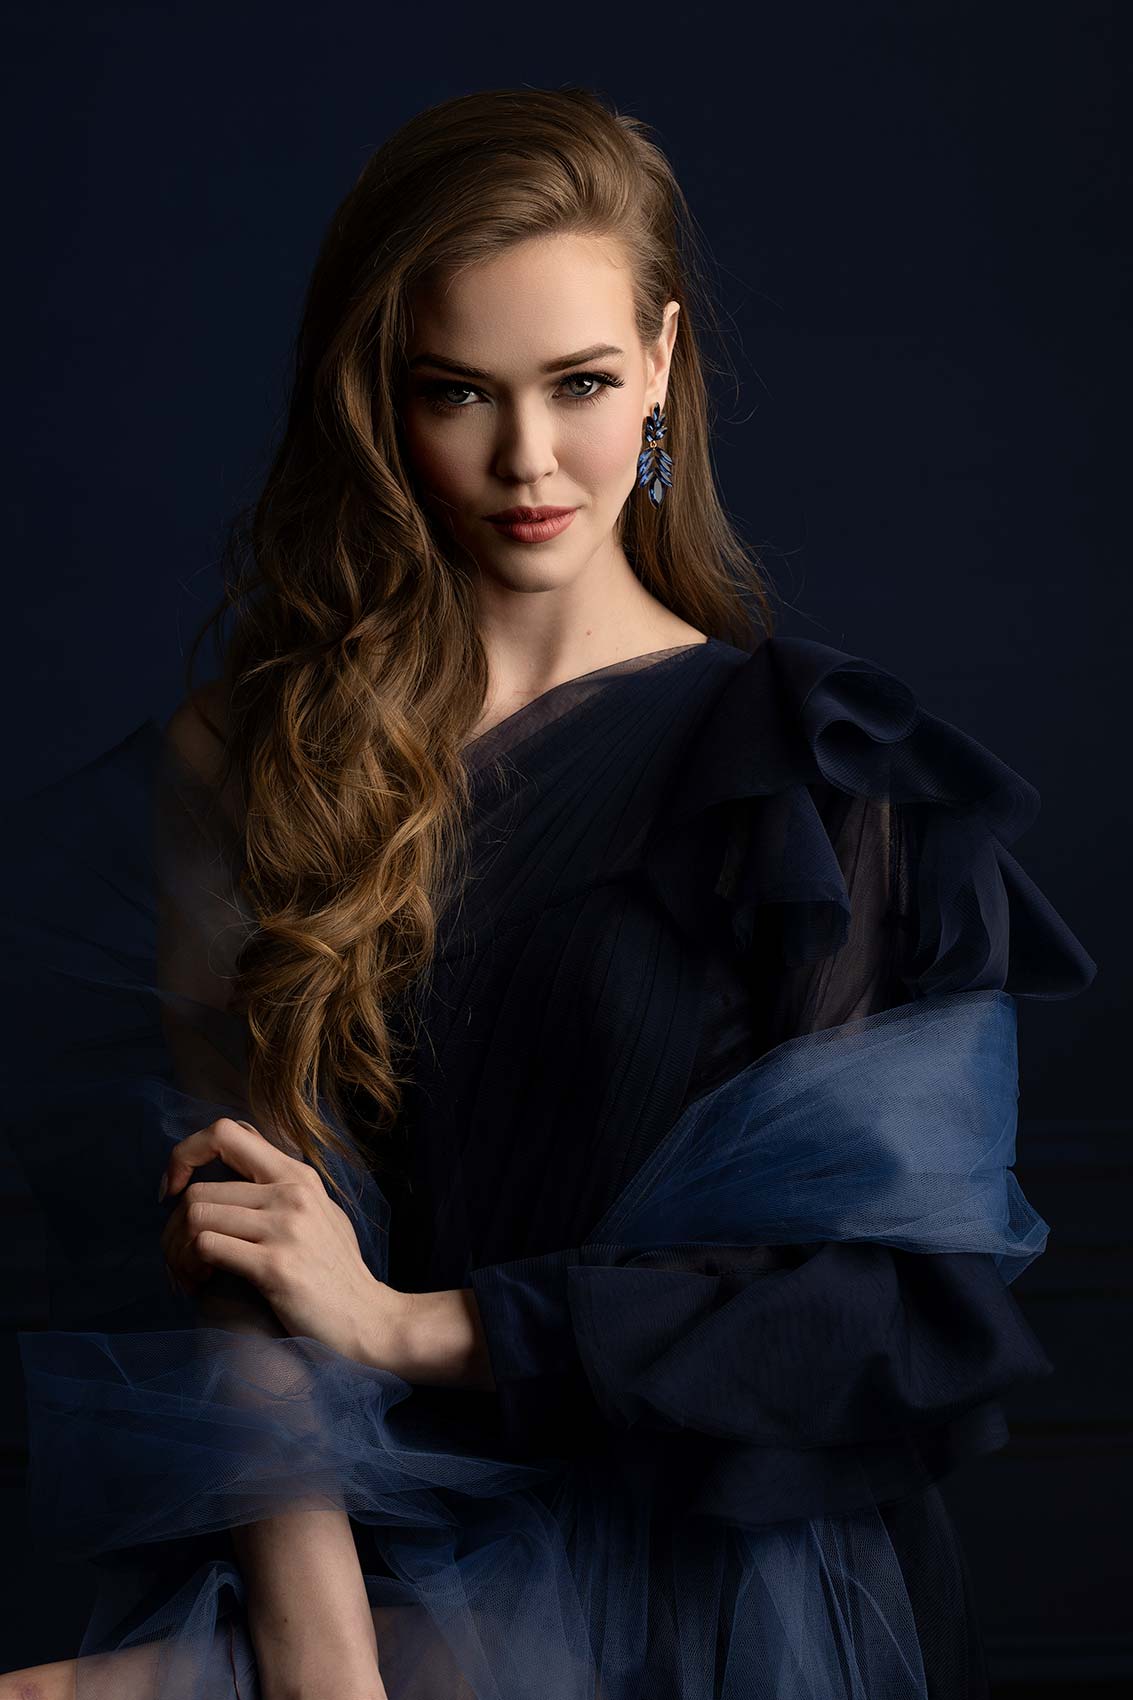
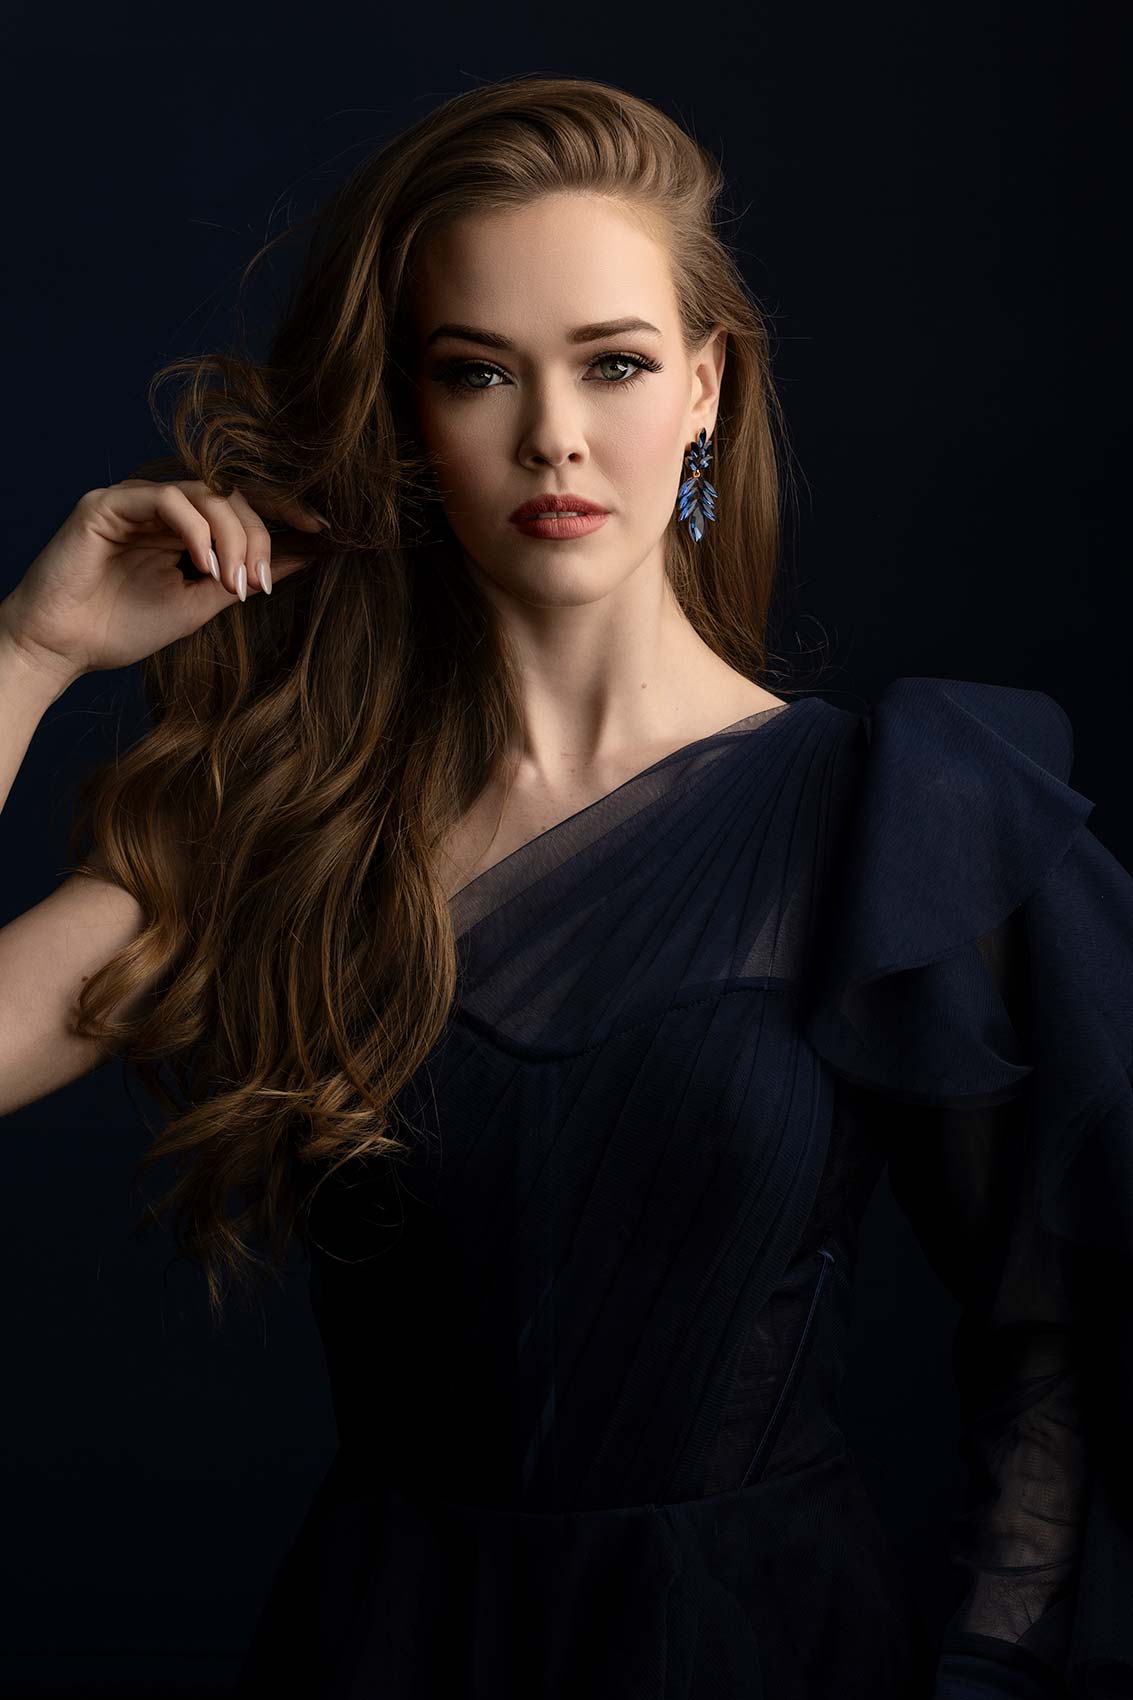
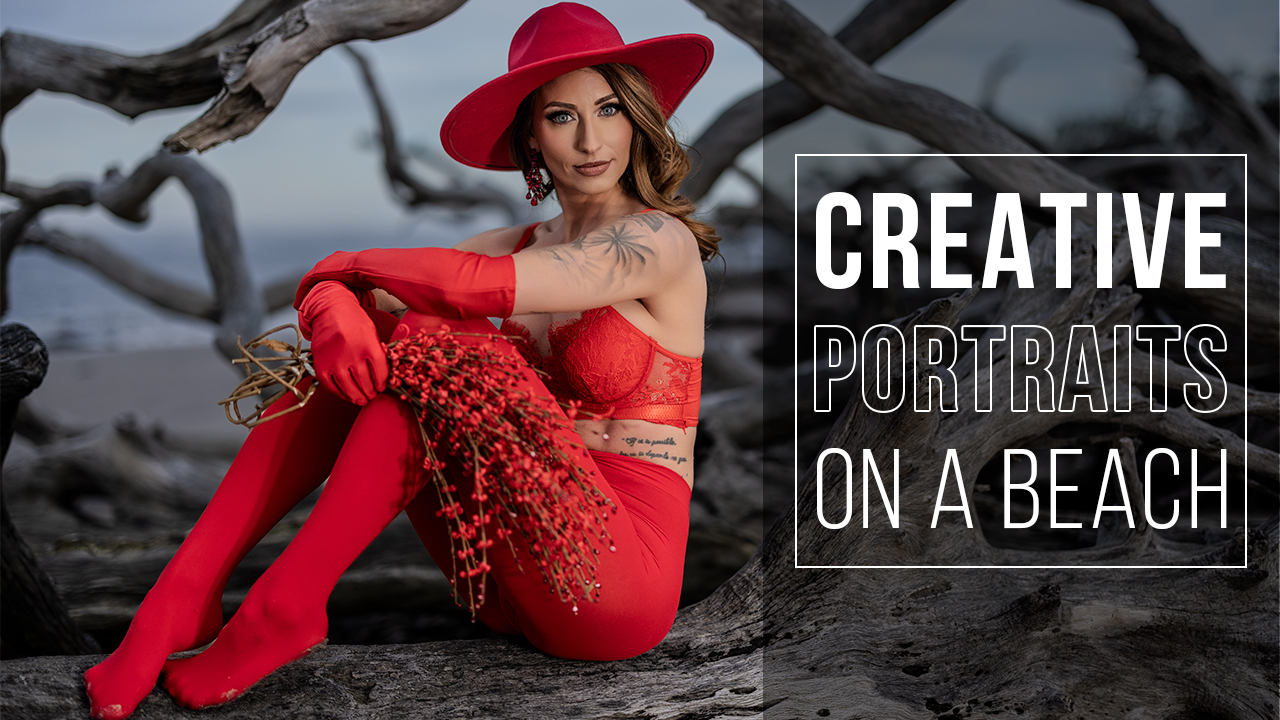
Ready for some creative beach portraits using off camera flash? In this photography training video, we are on a beach photoshoot using the new Westcott Fusion by Sal Cincotta. This product, among many other features, allows us to create a 6-ft softbox in the field with a free standing unit.

This is a great photography tutorial for seeing how we shoot step-by-step in the field using off-camera flash.

Read More »
new westcott fusion by salvatore cincotta thumbnail

New Westcott Fusion by Salvatore Cincotta

The new Westcott Fusion by Sal Cincotta is something I’ve been working on with Westcott for a couple of years now. It’s an incredible product that will give you more lighting possibilities than you could imagine.

Check out this on location shoot and how we use the product. More videos coming.

Read More »