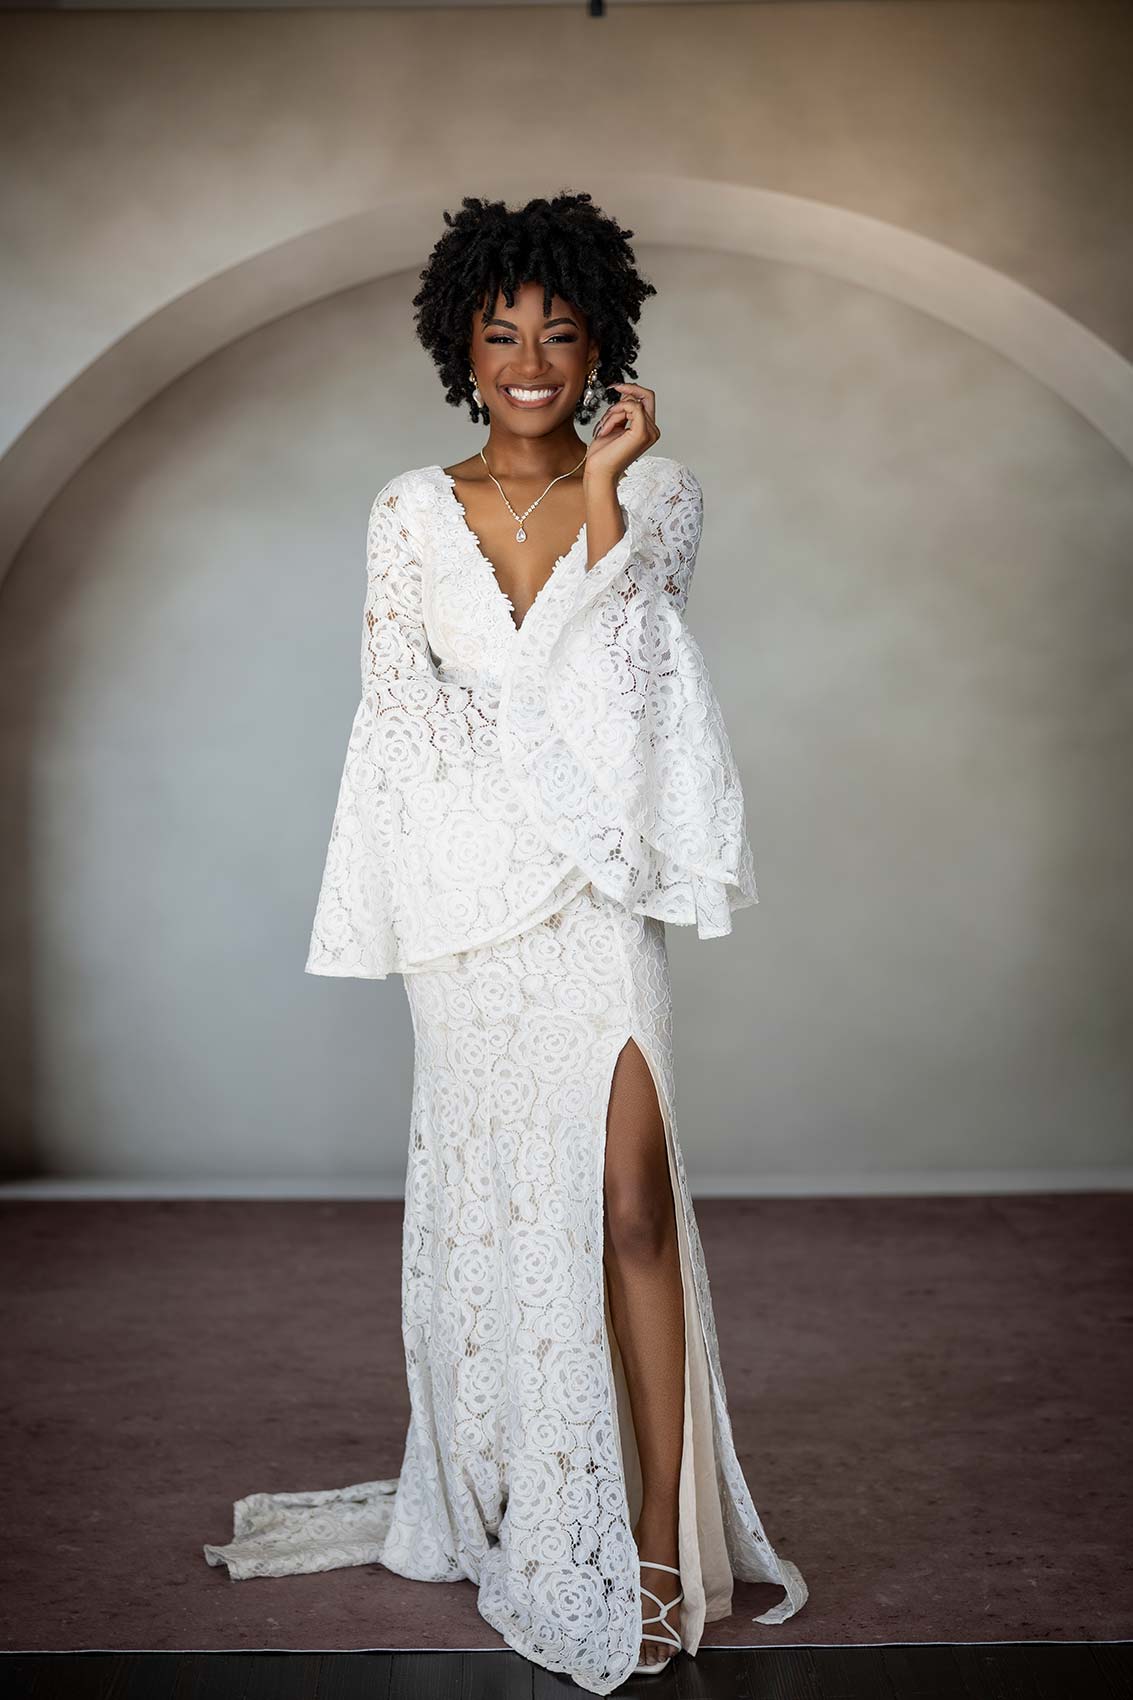
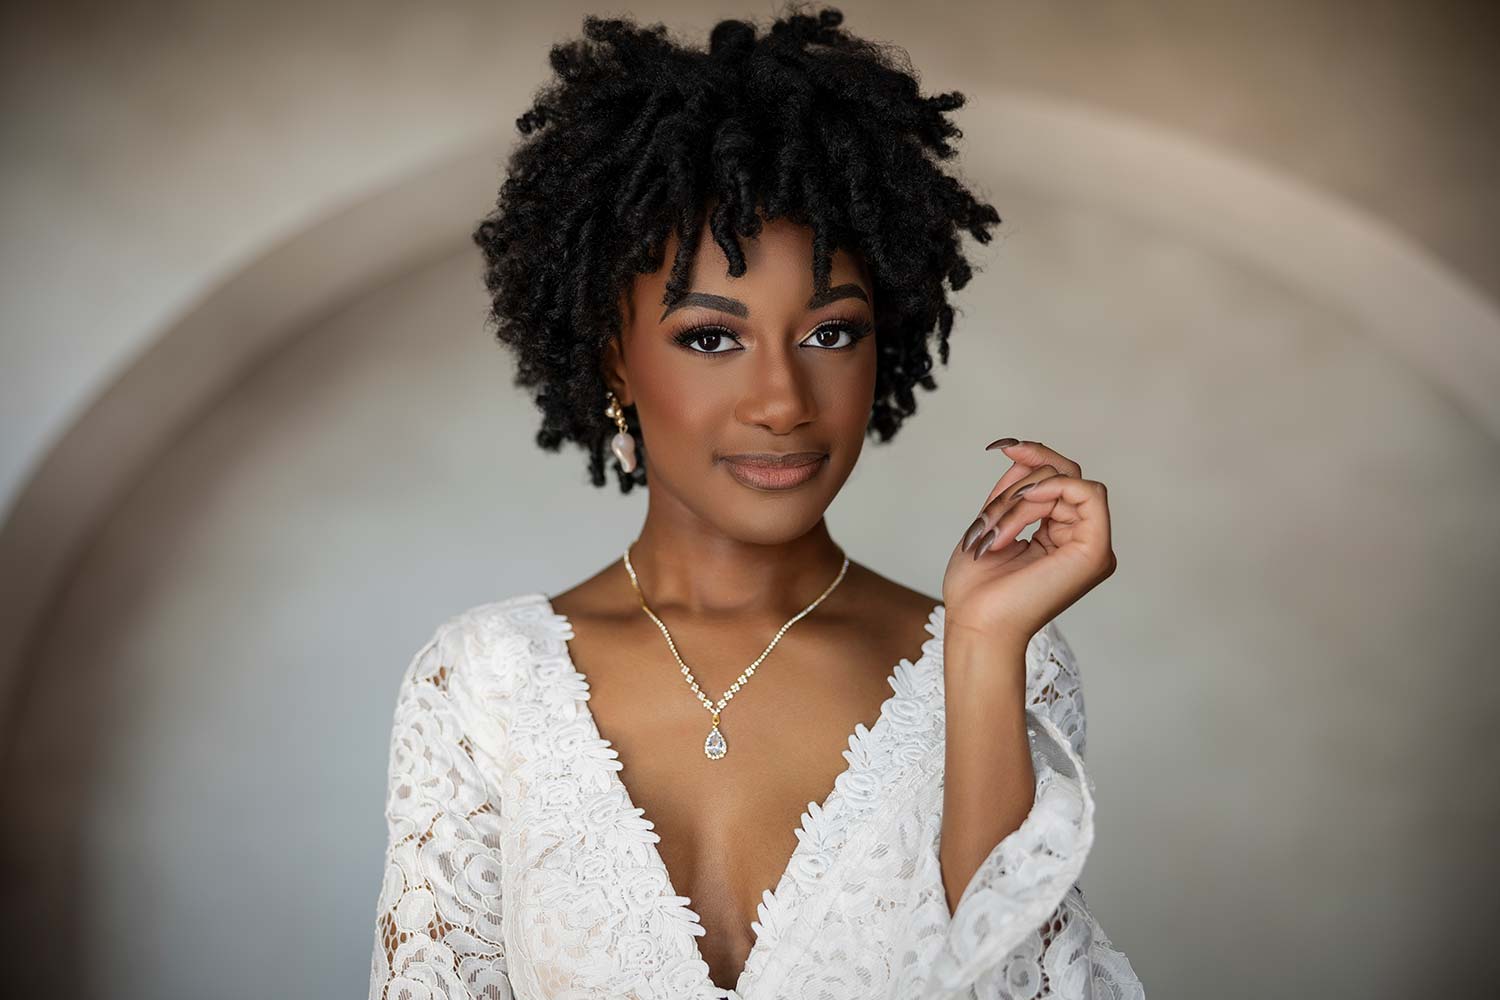
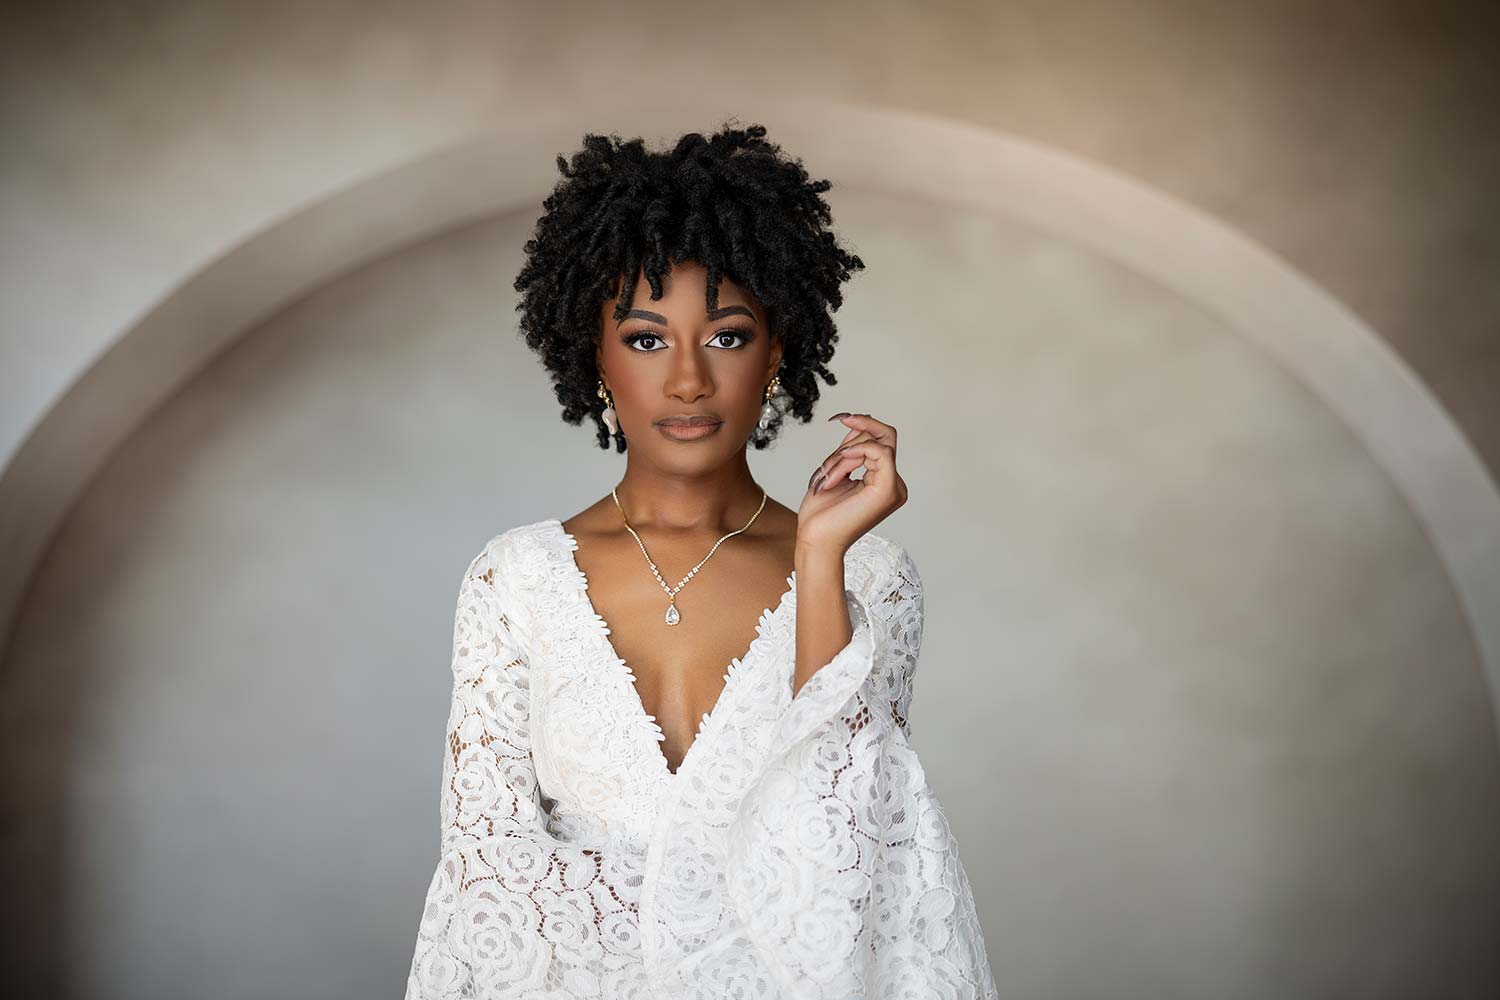
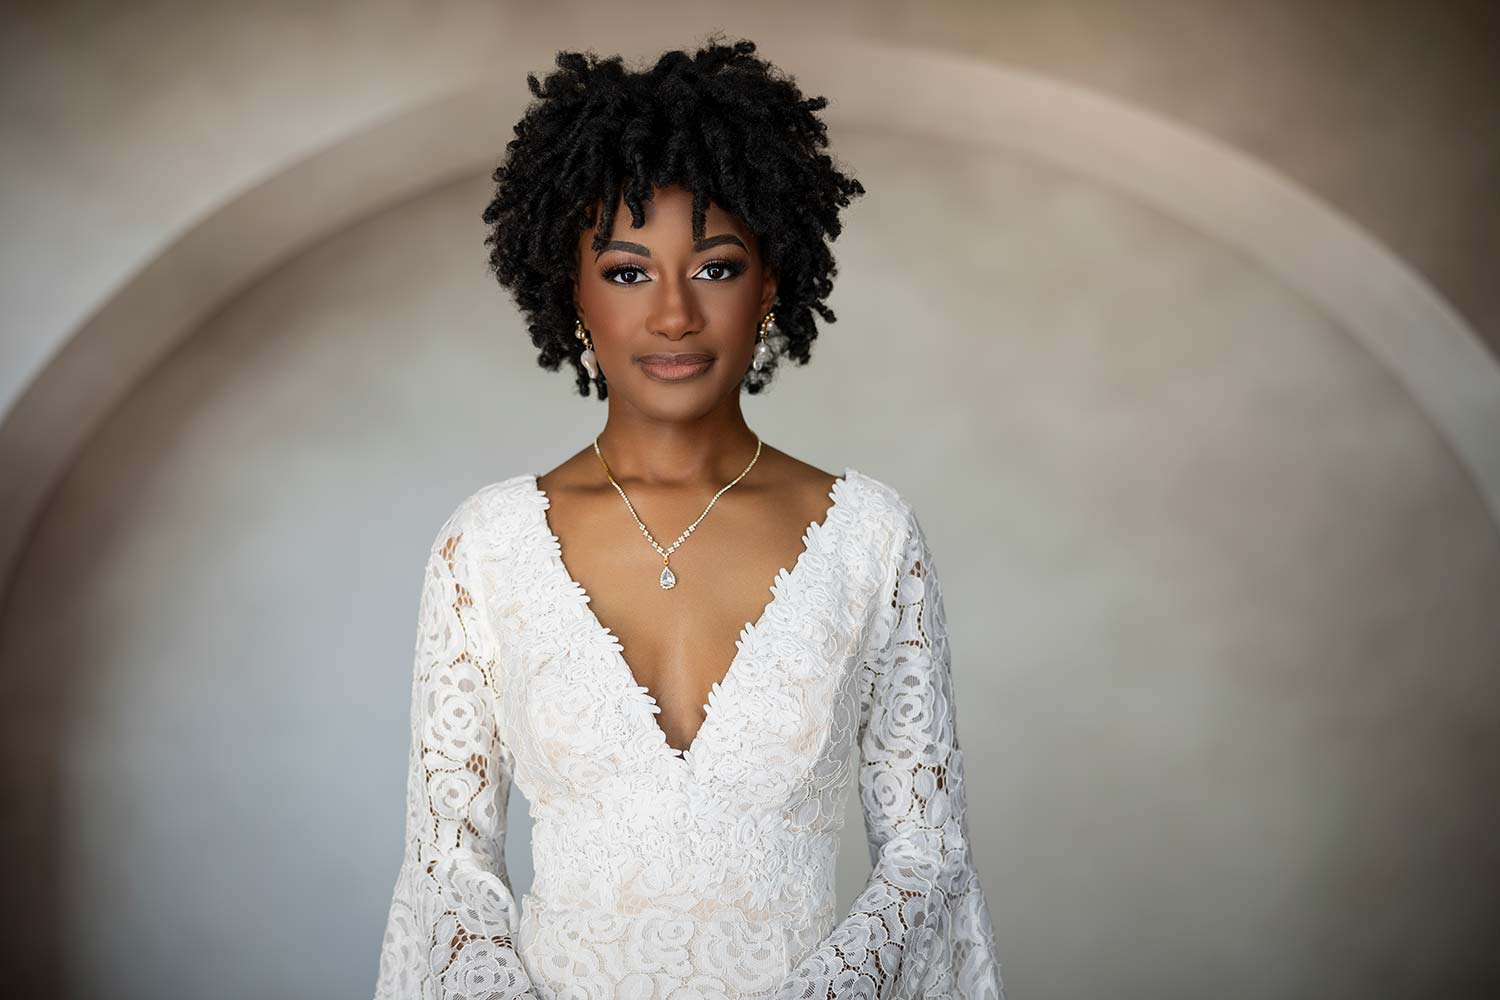
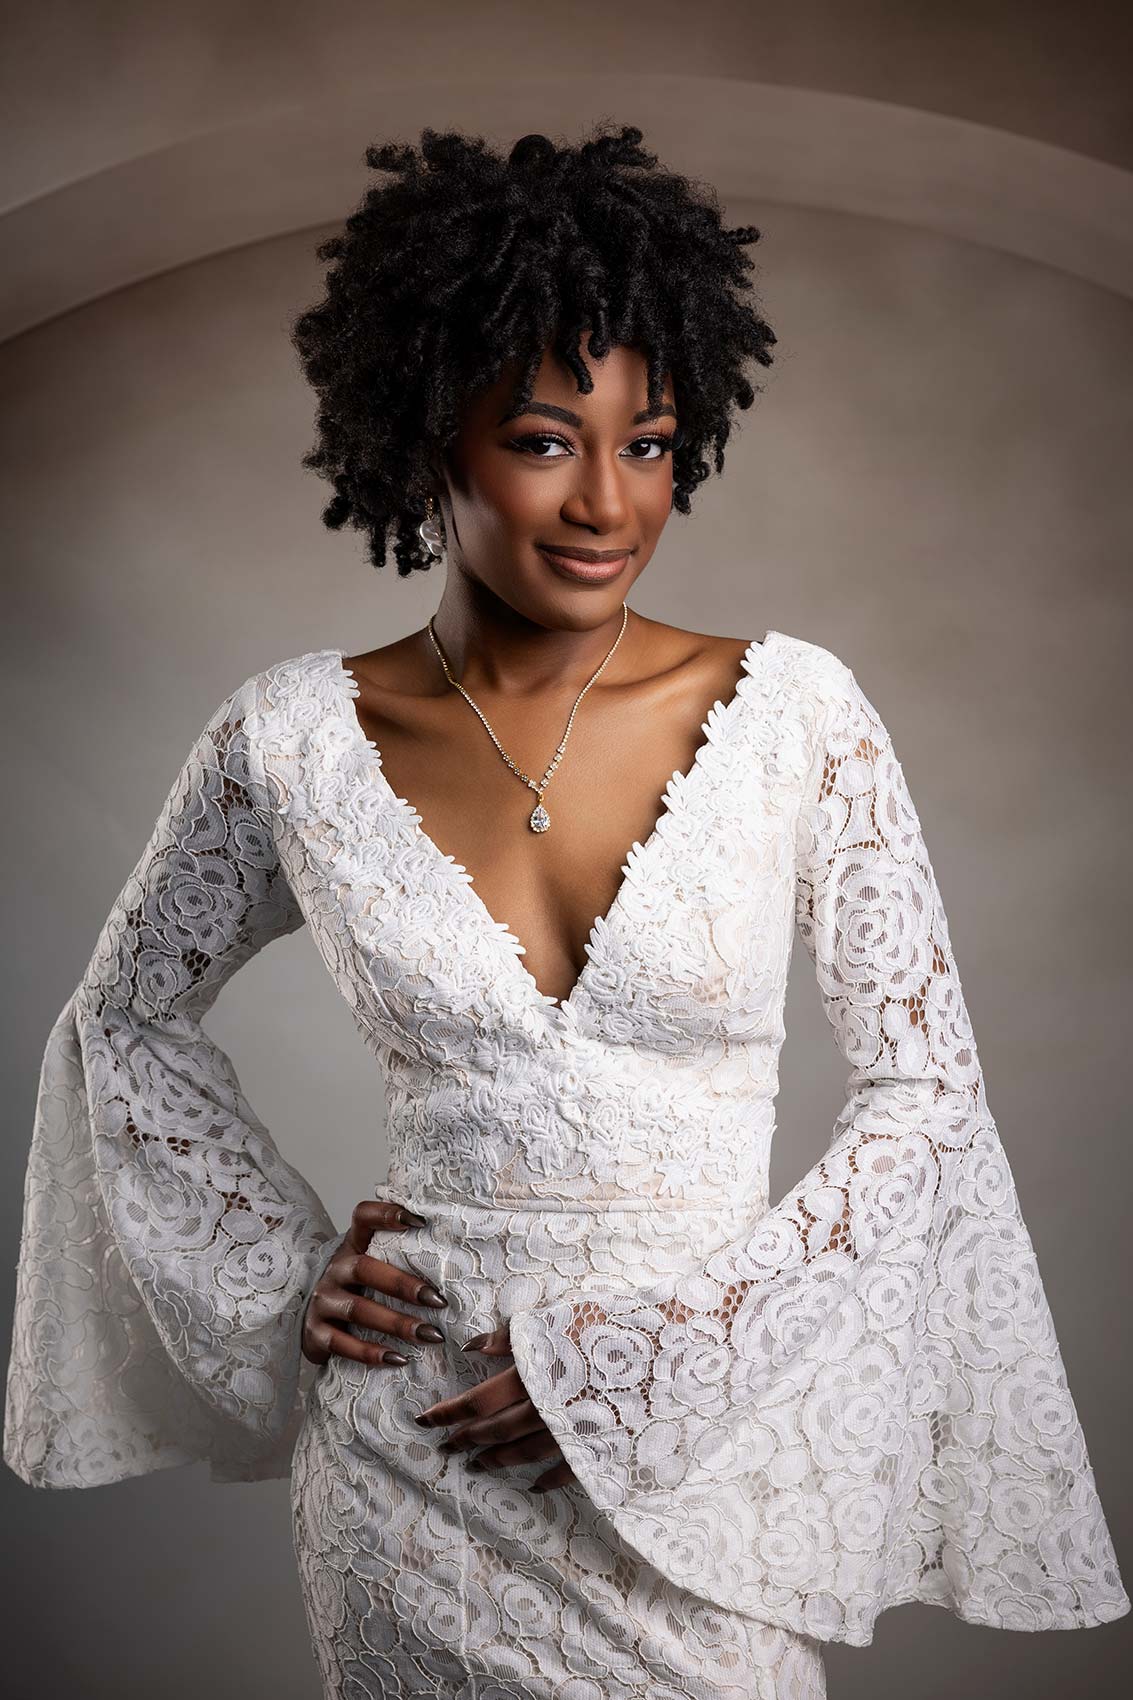
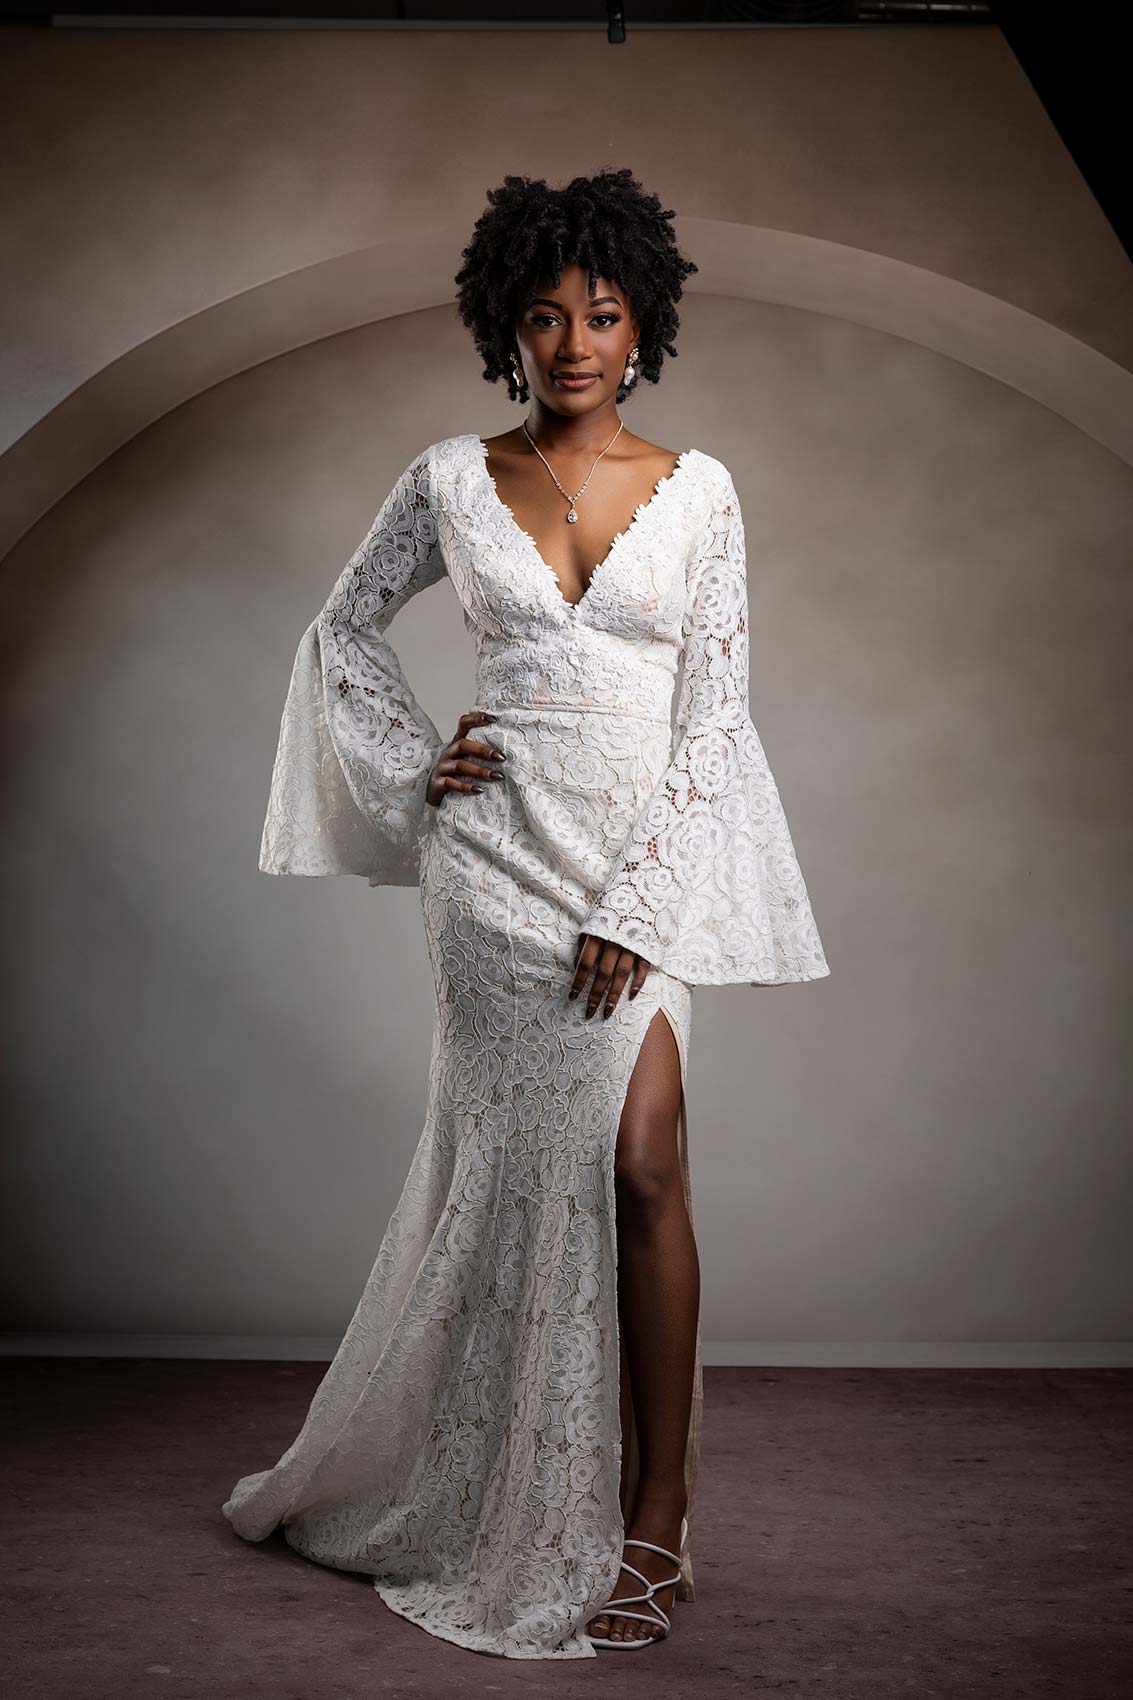
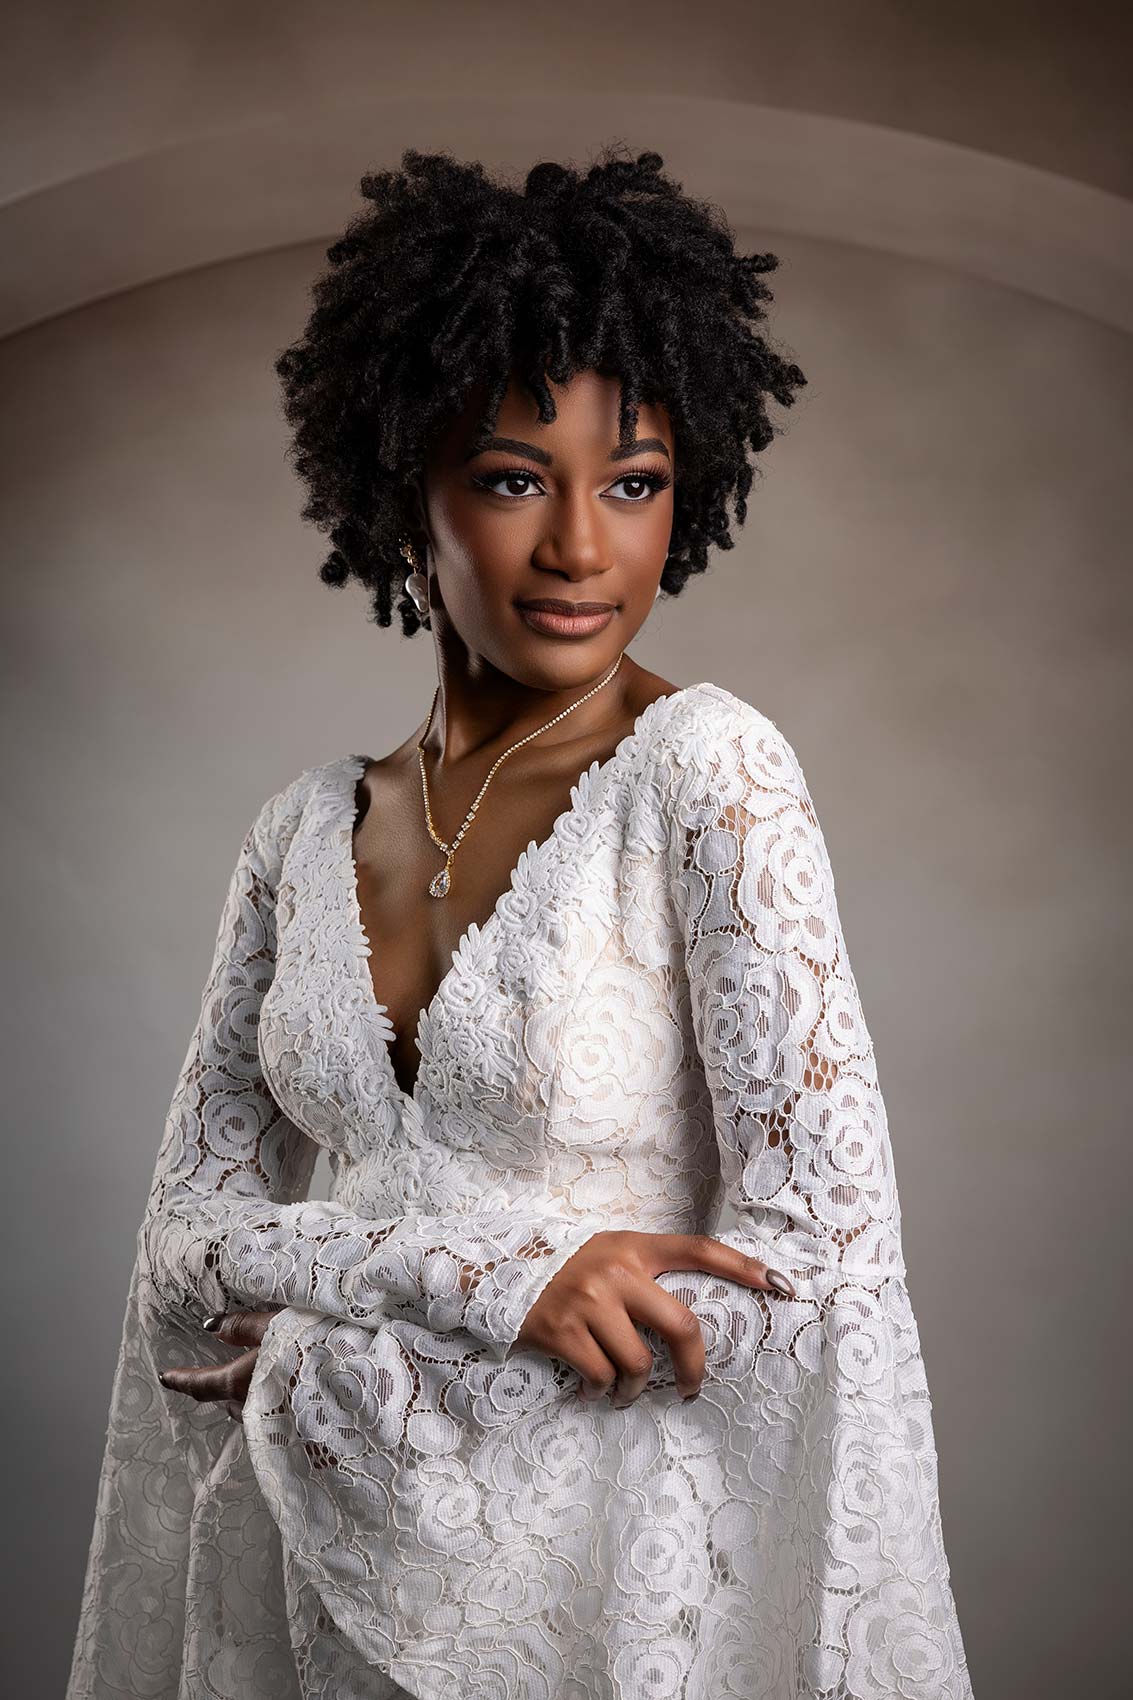
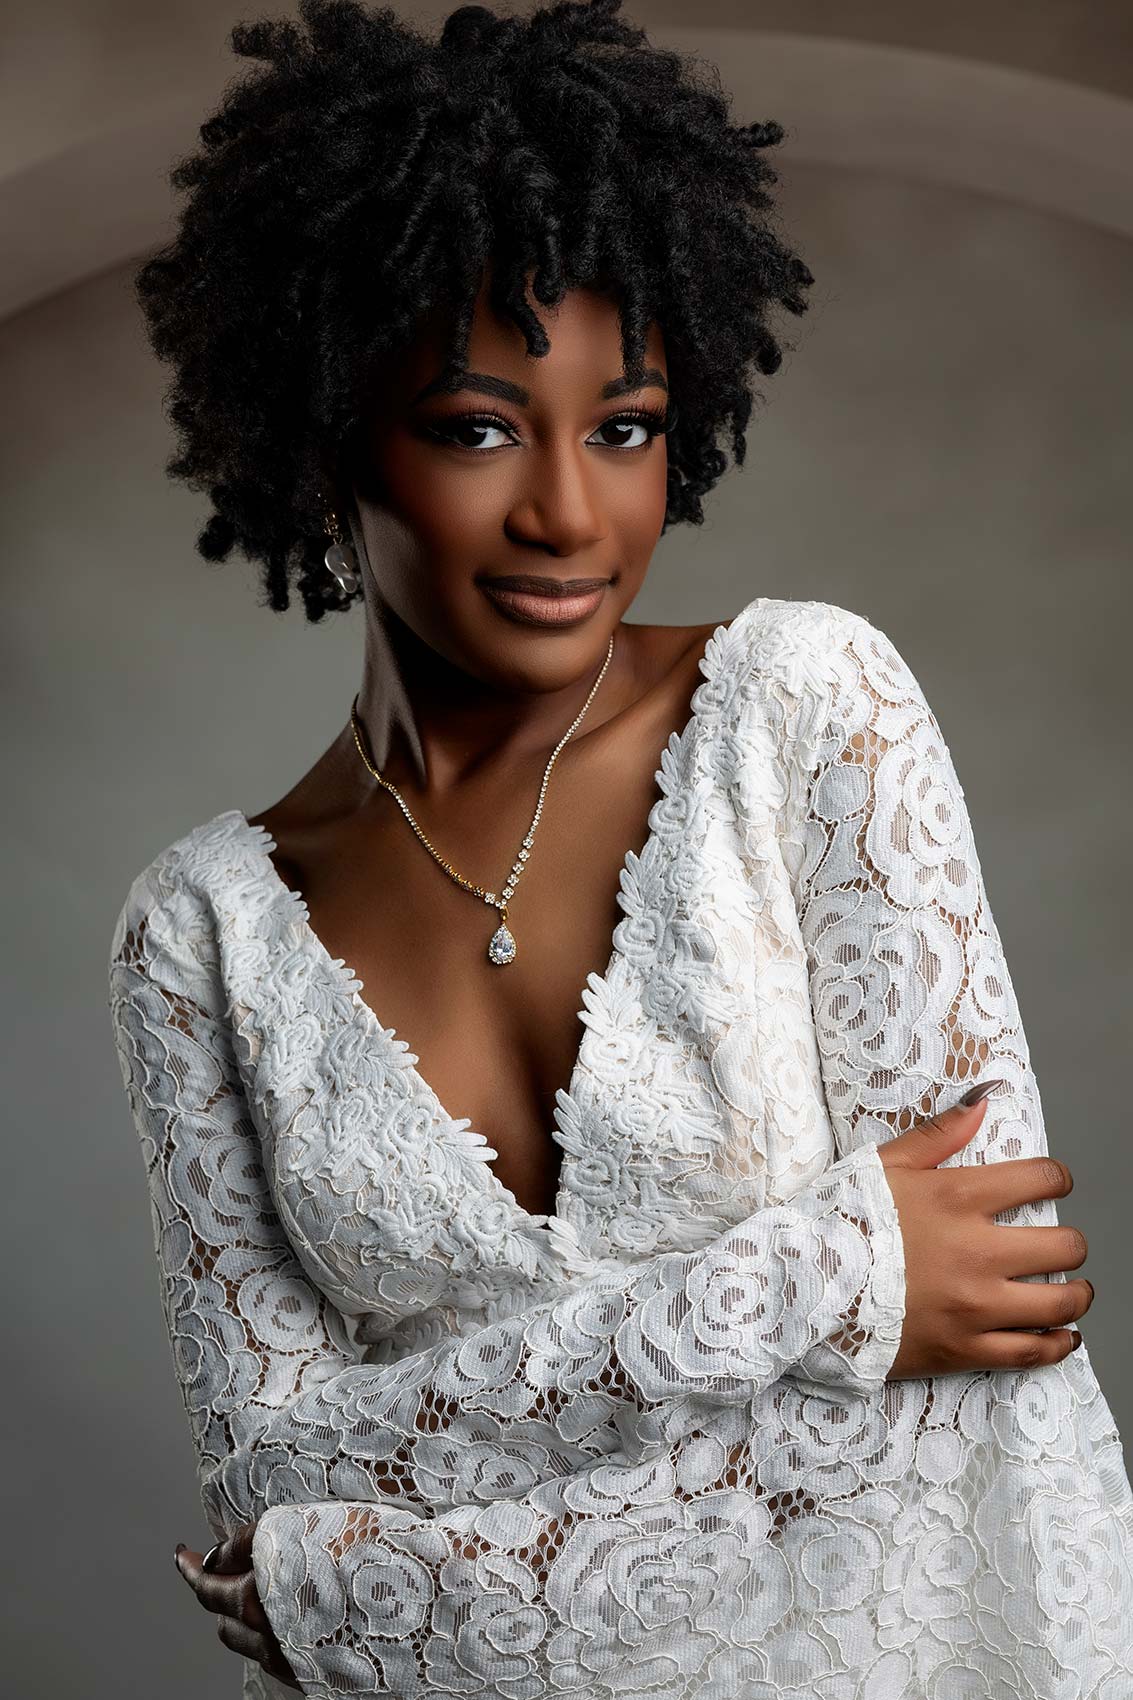
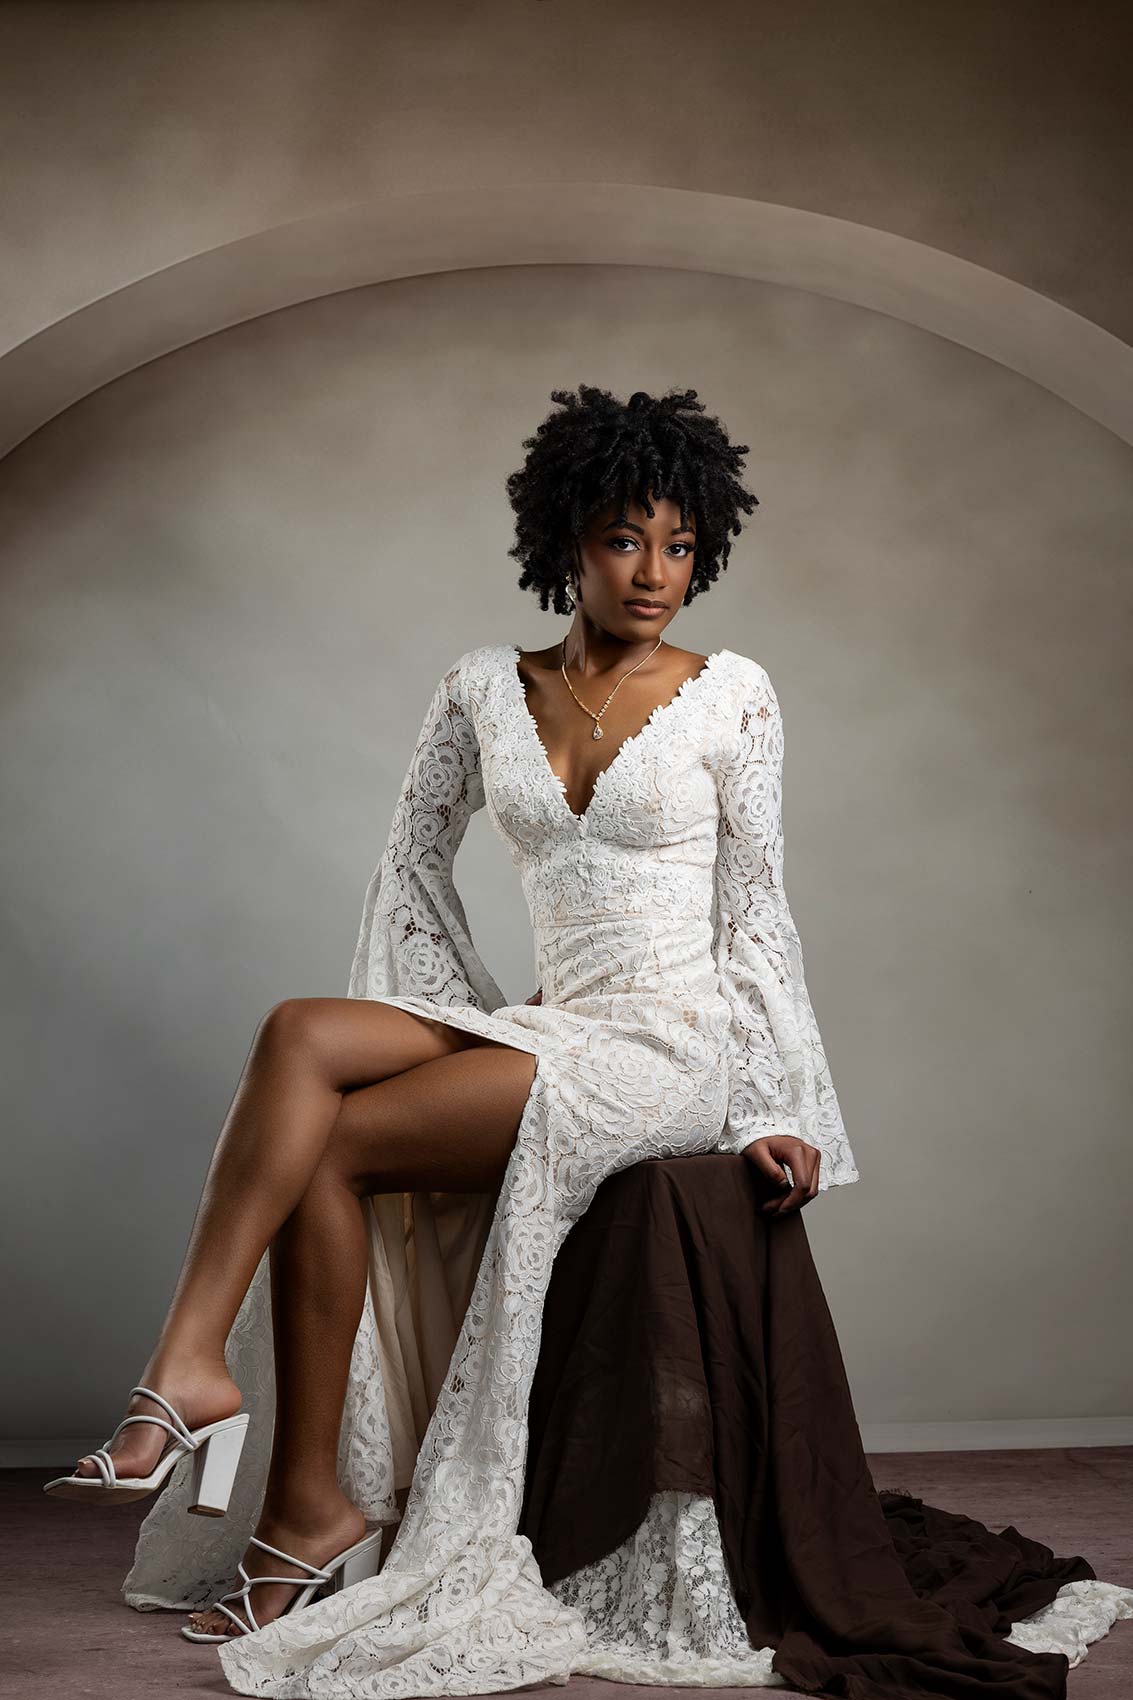
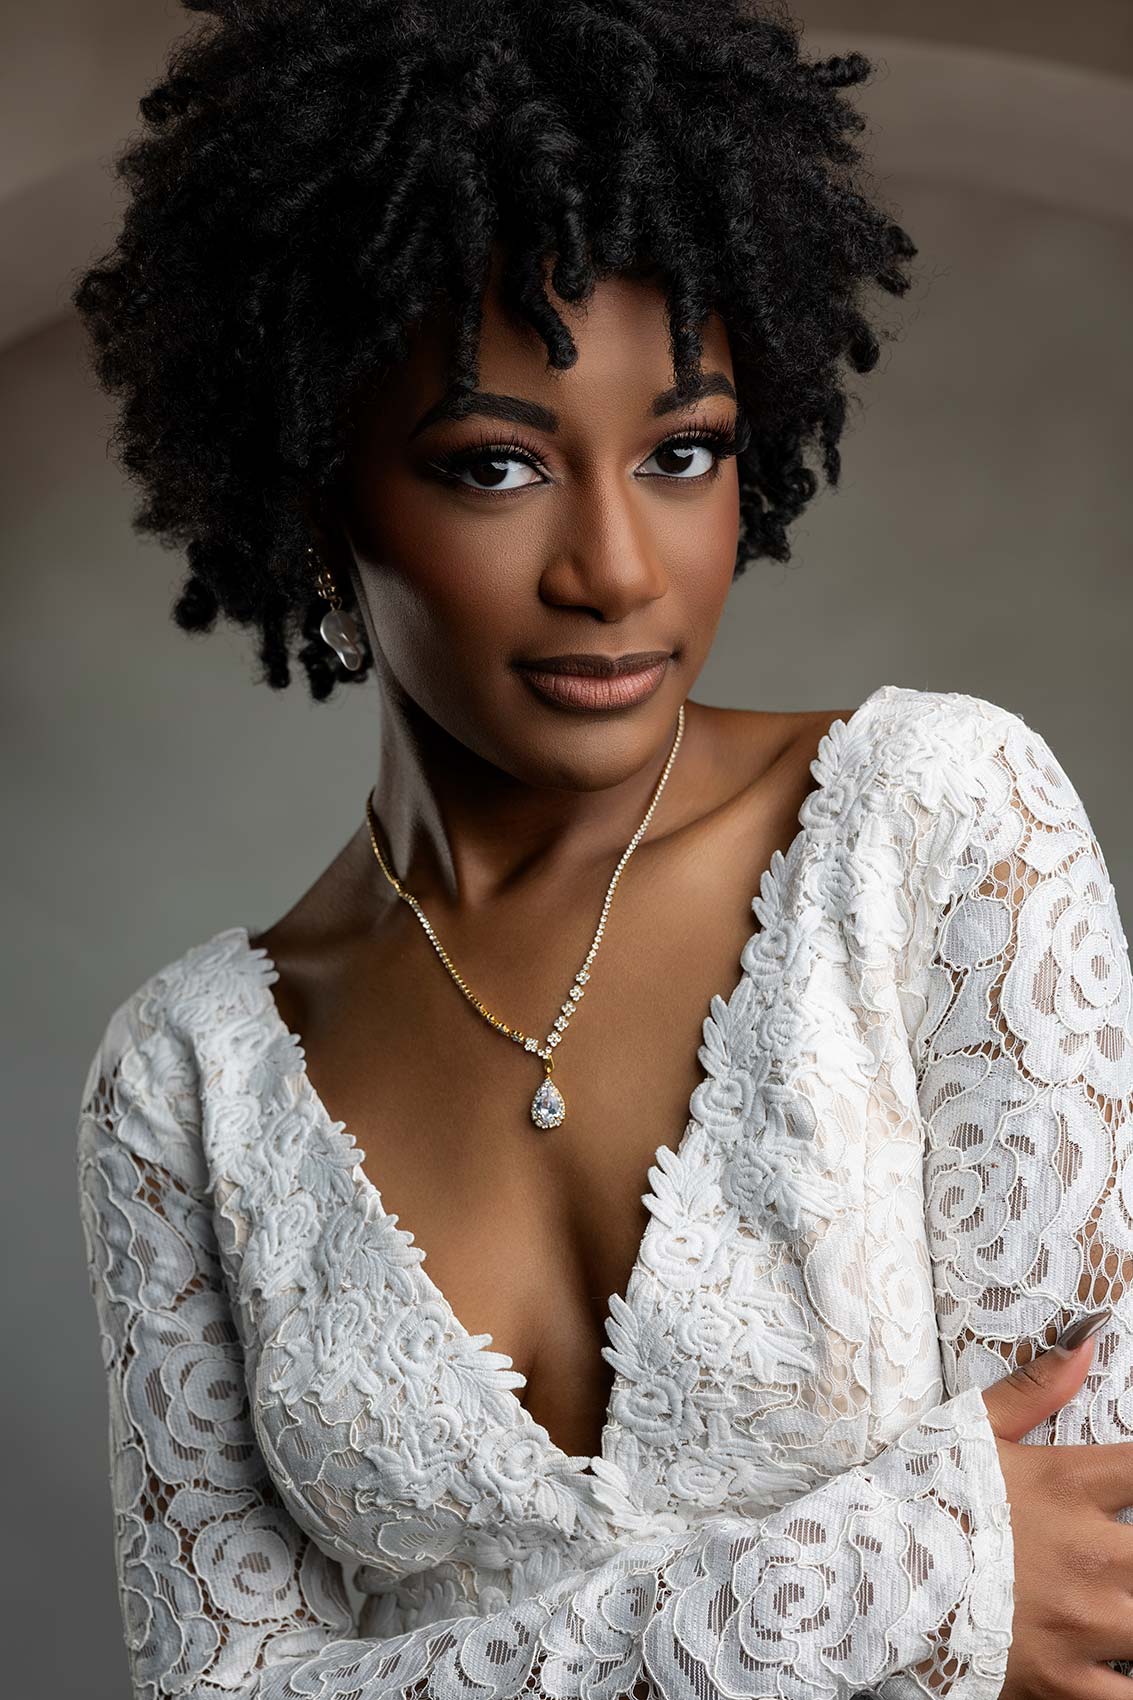
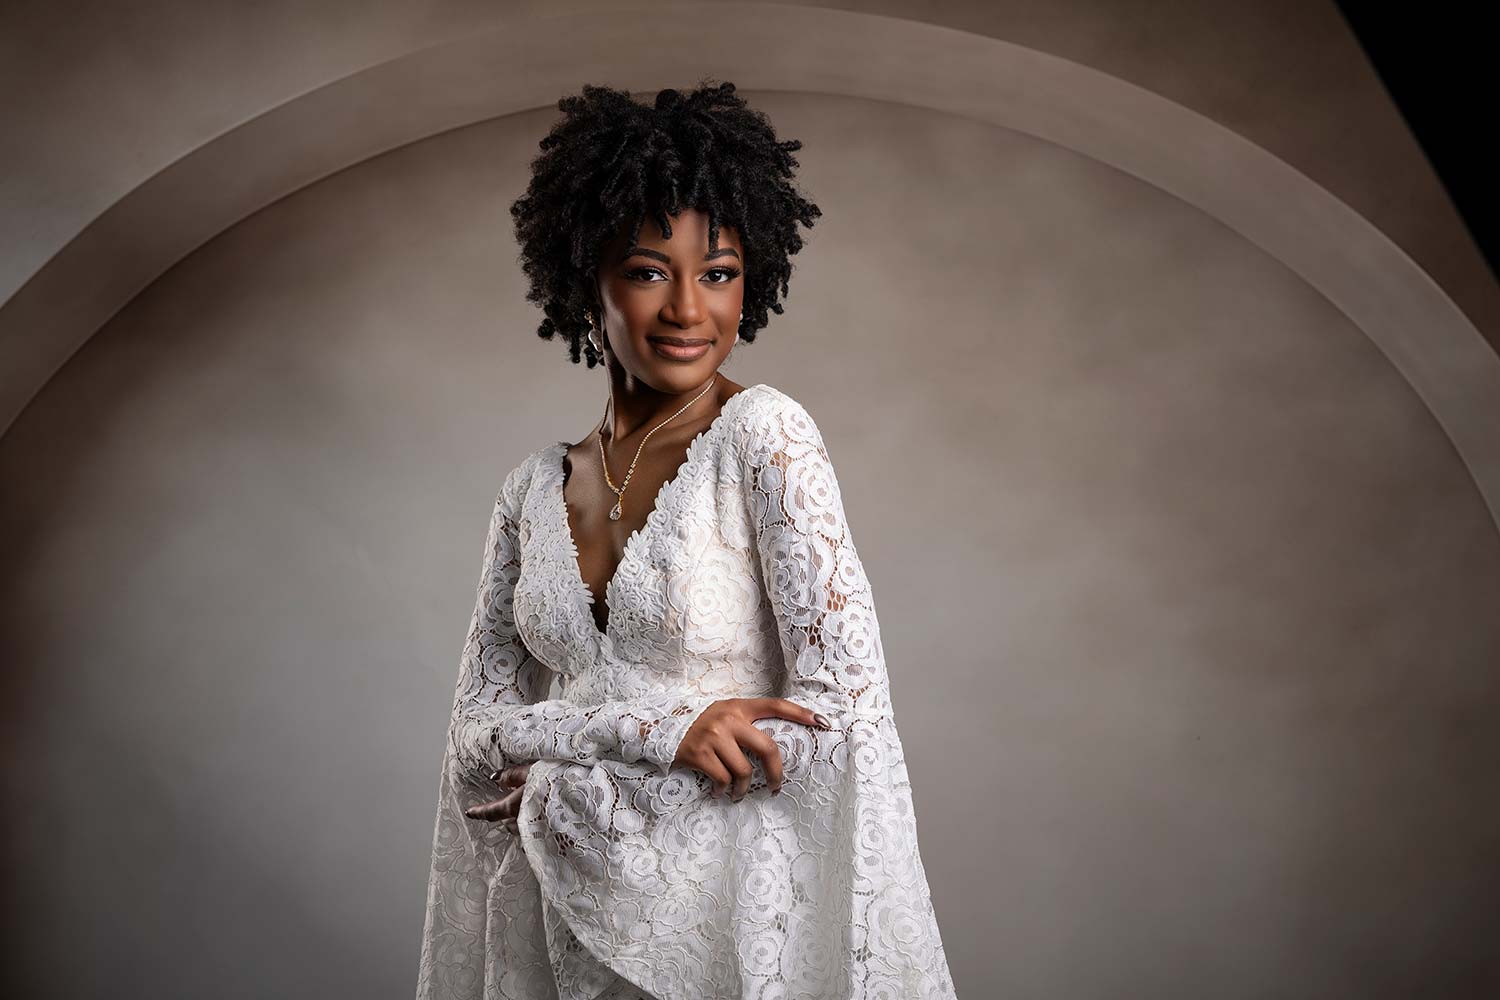
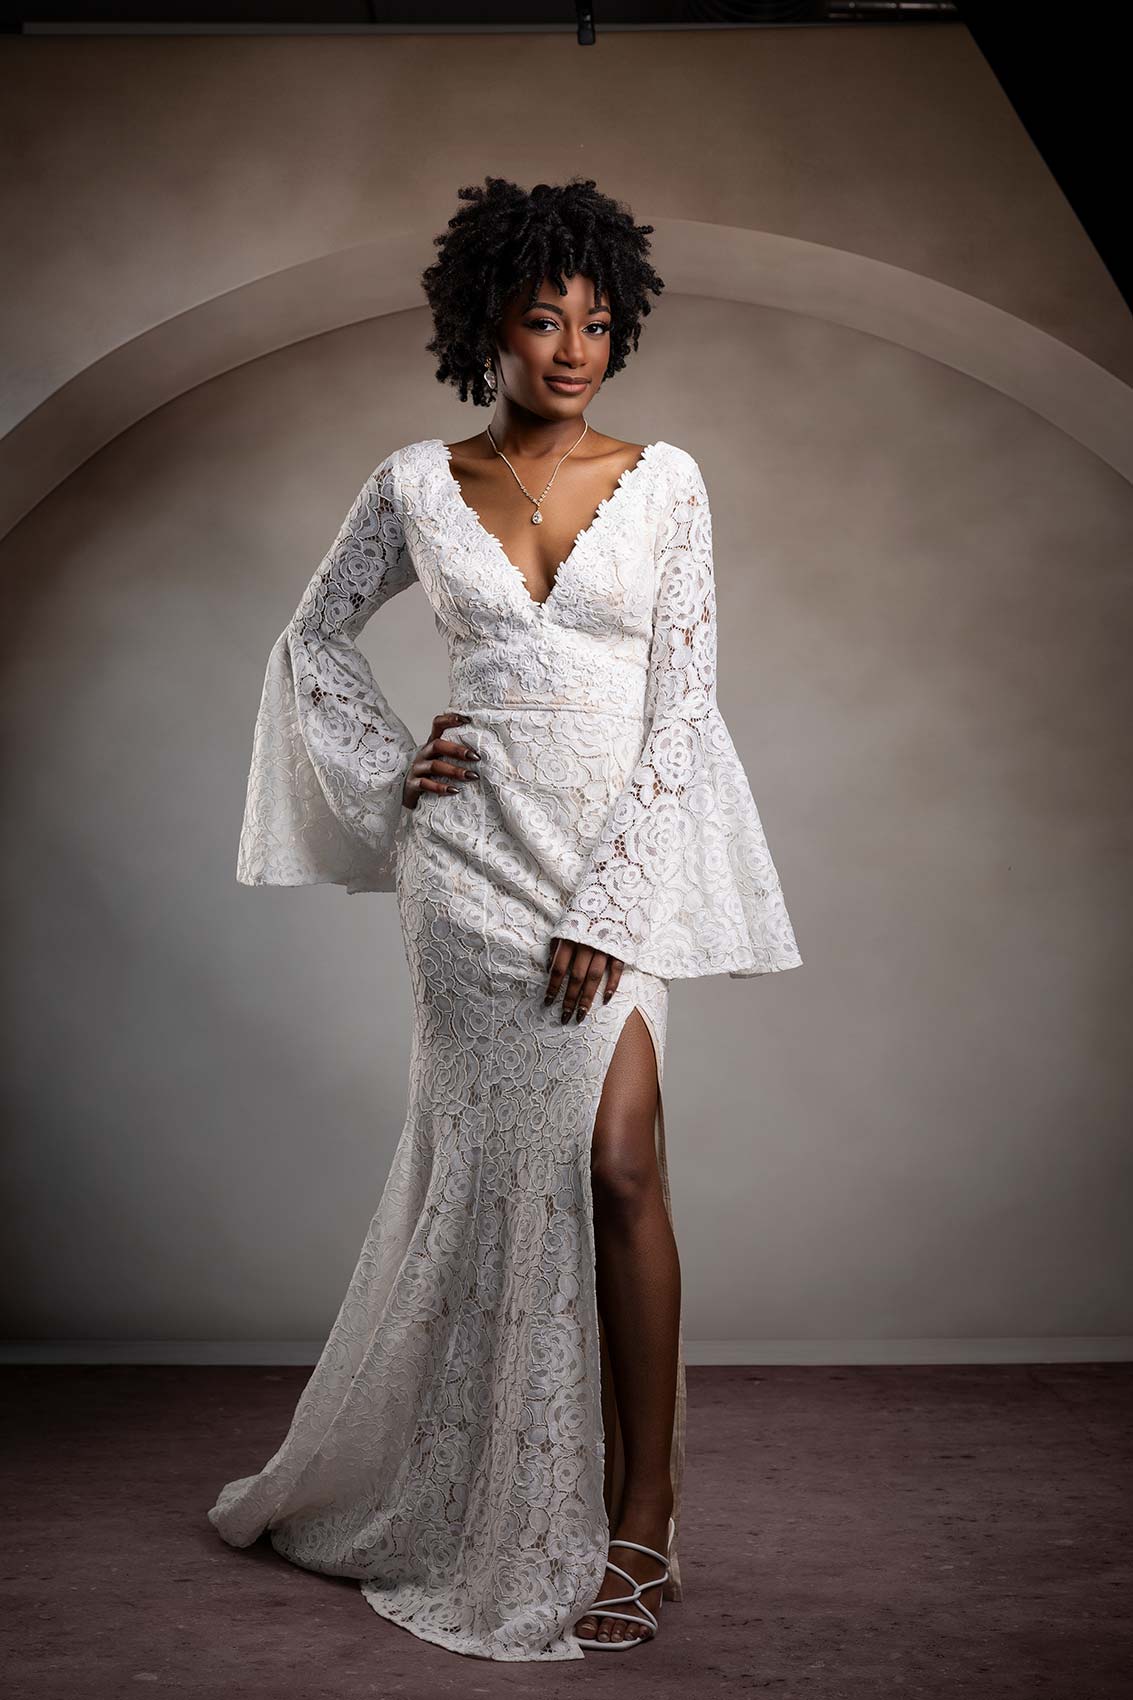
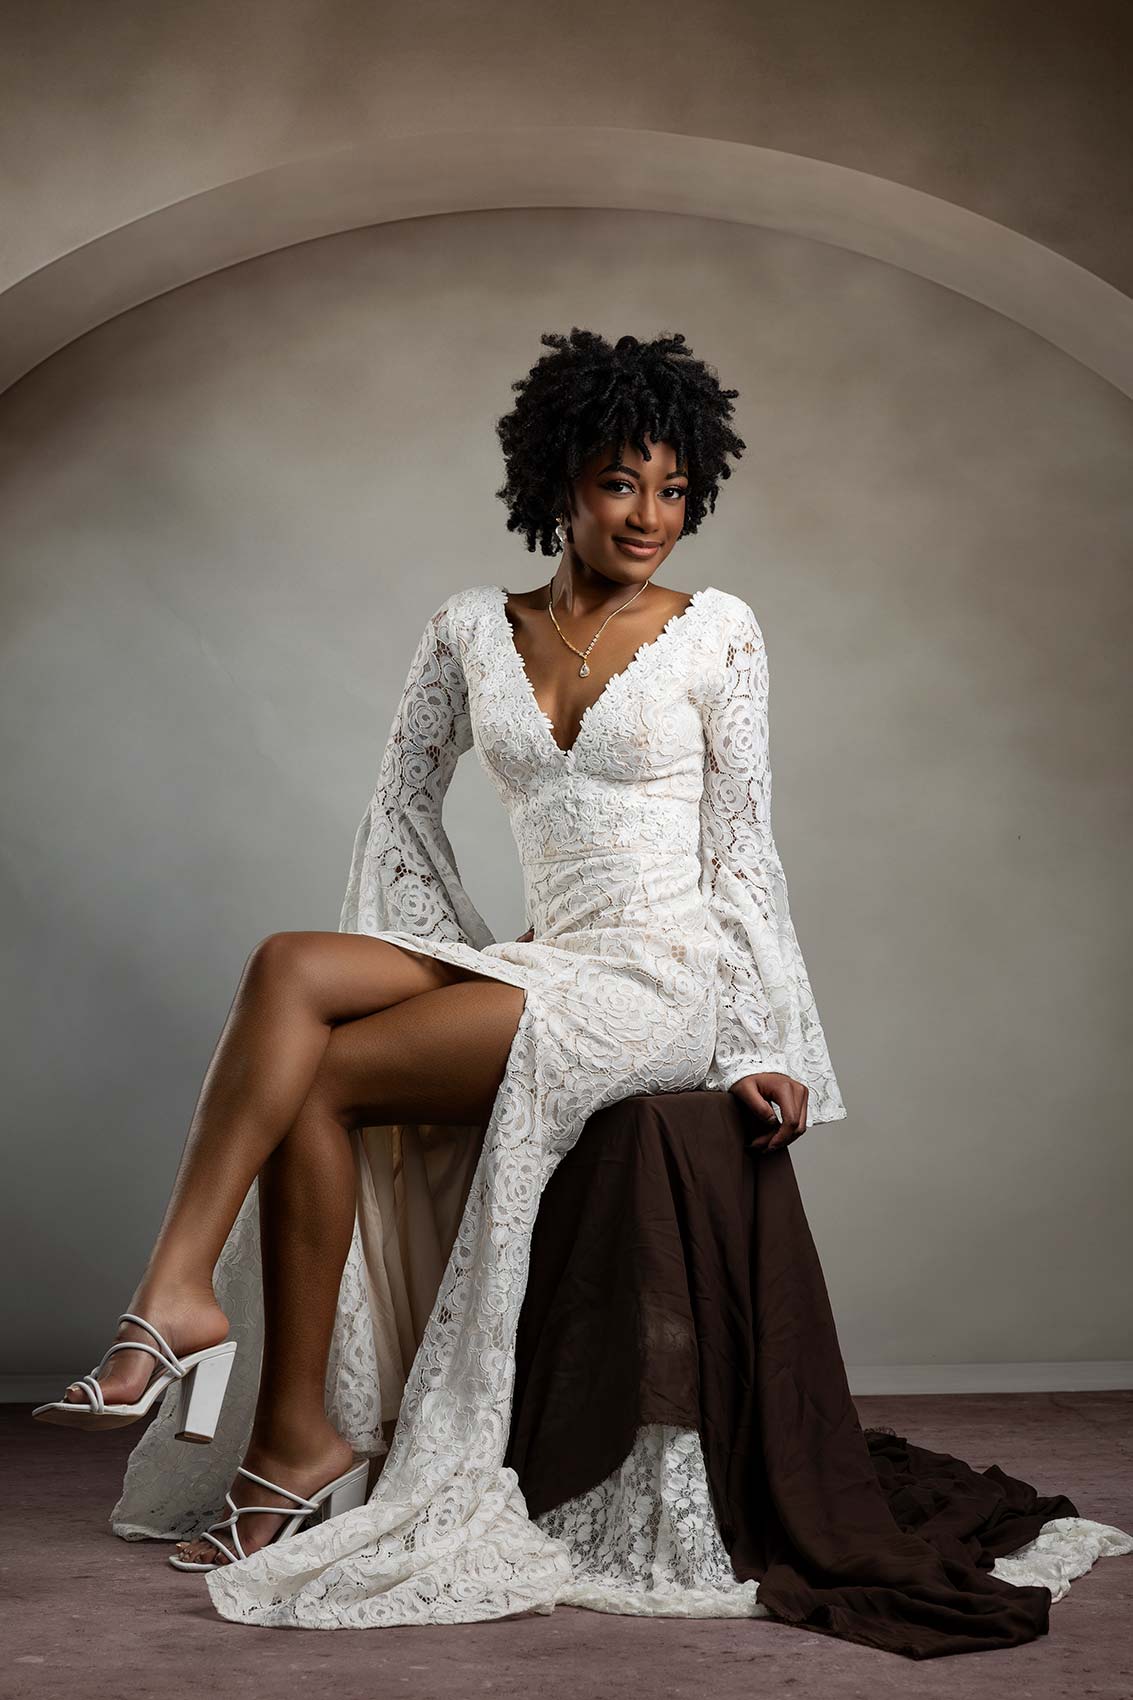
Lighting doesn’t have to be complicated when it comes to your photography lighting set-ups. In this video, we show you some easy ways to get beautiful portrait lighting in a quick and easy way. This studio lighting tutorial is perfect for beginning photographers and advanced photographers as well.
Equipment Used:
Camera: Canon EOS R3
Lens: Canon RF28-70mm F2 L USM
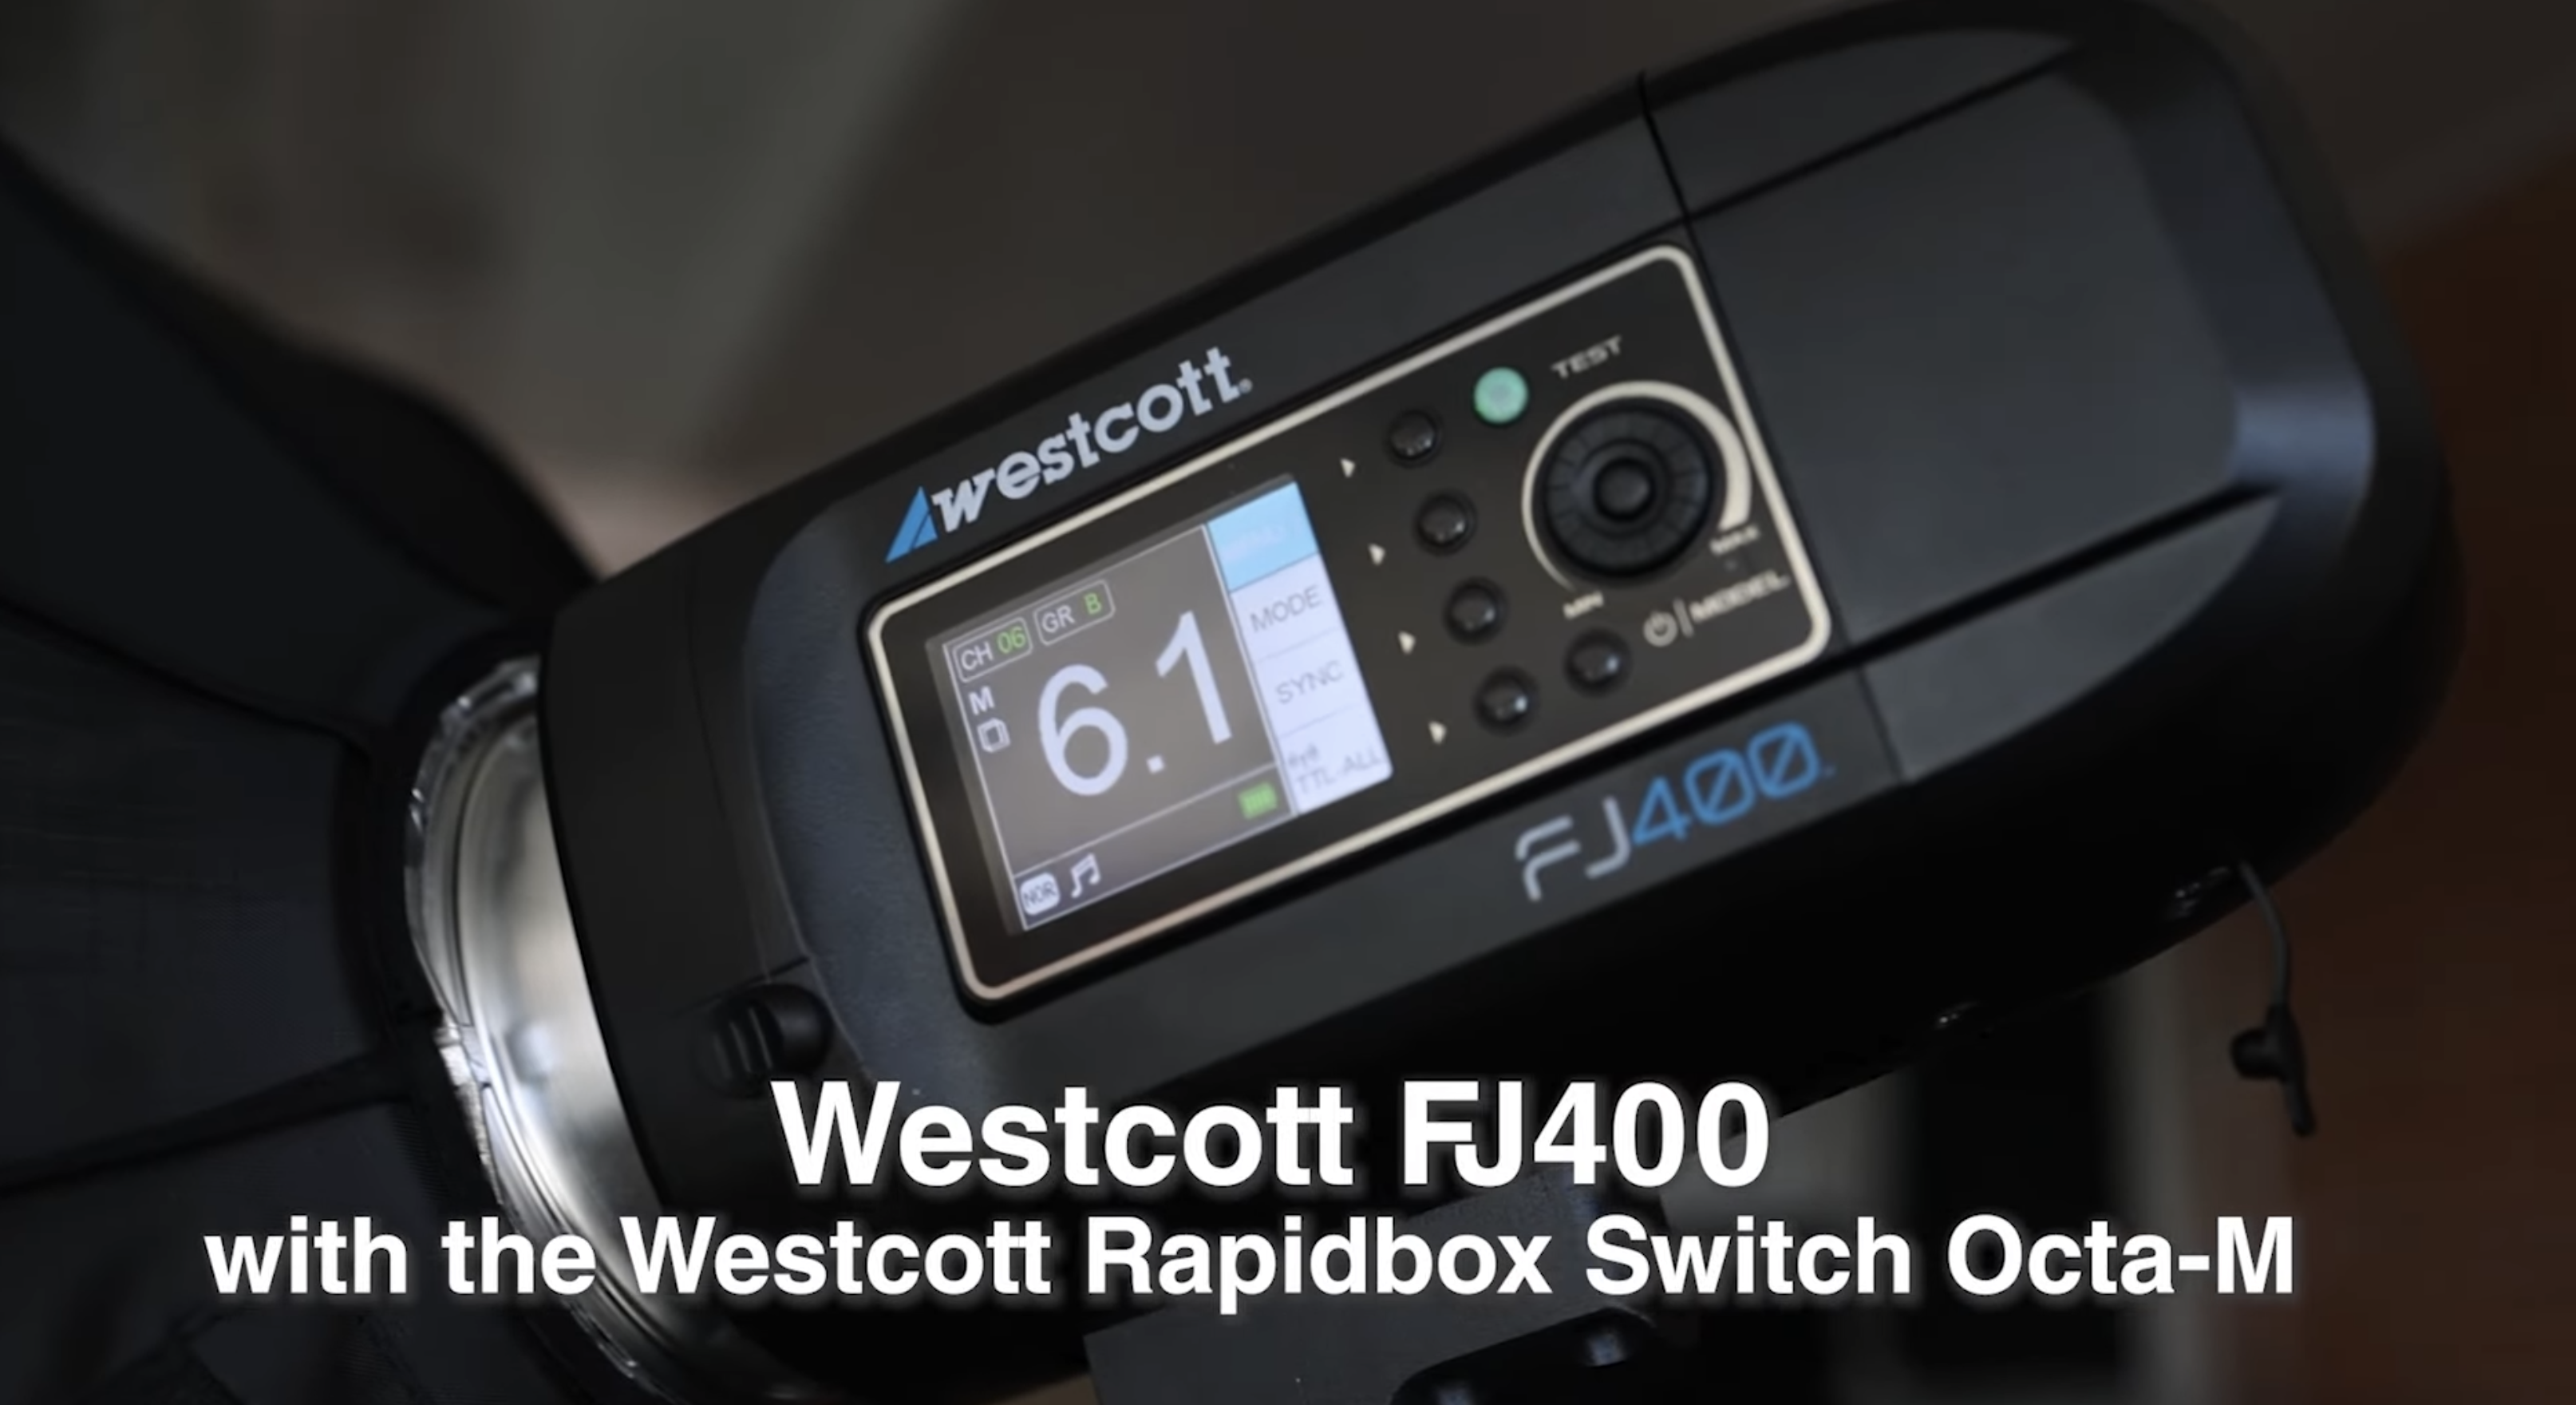
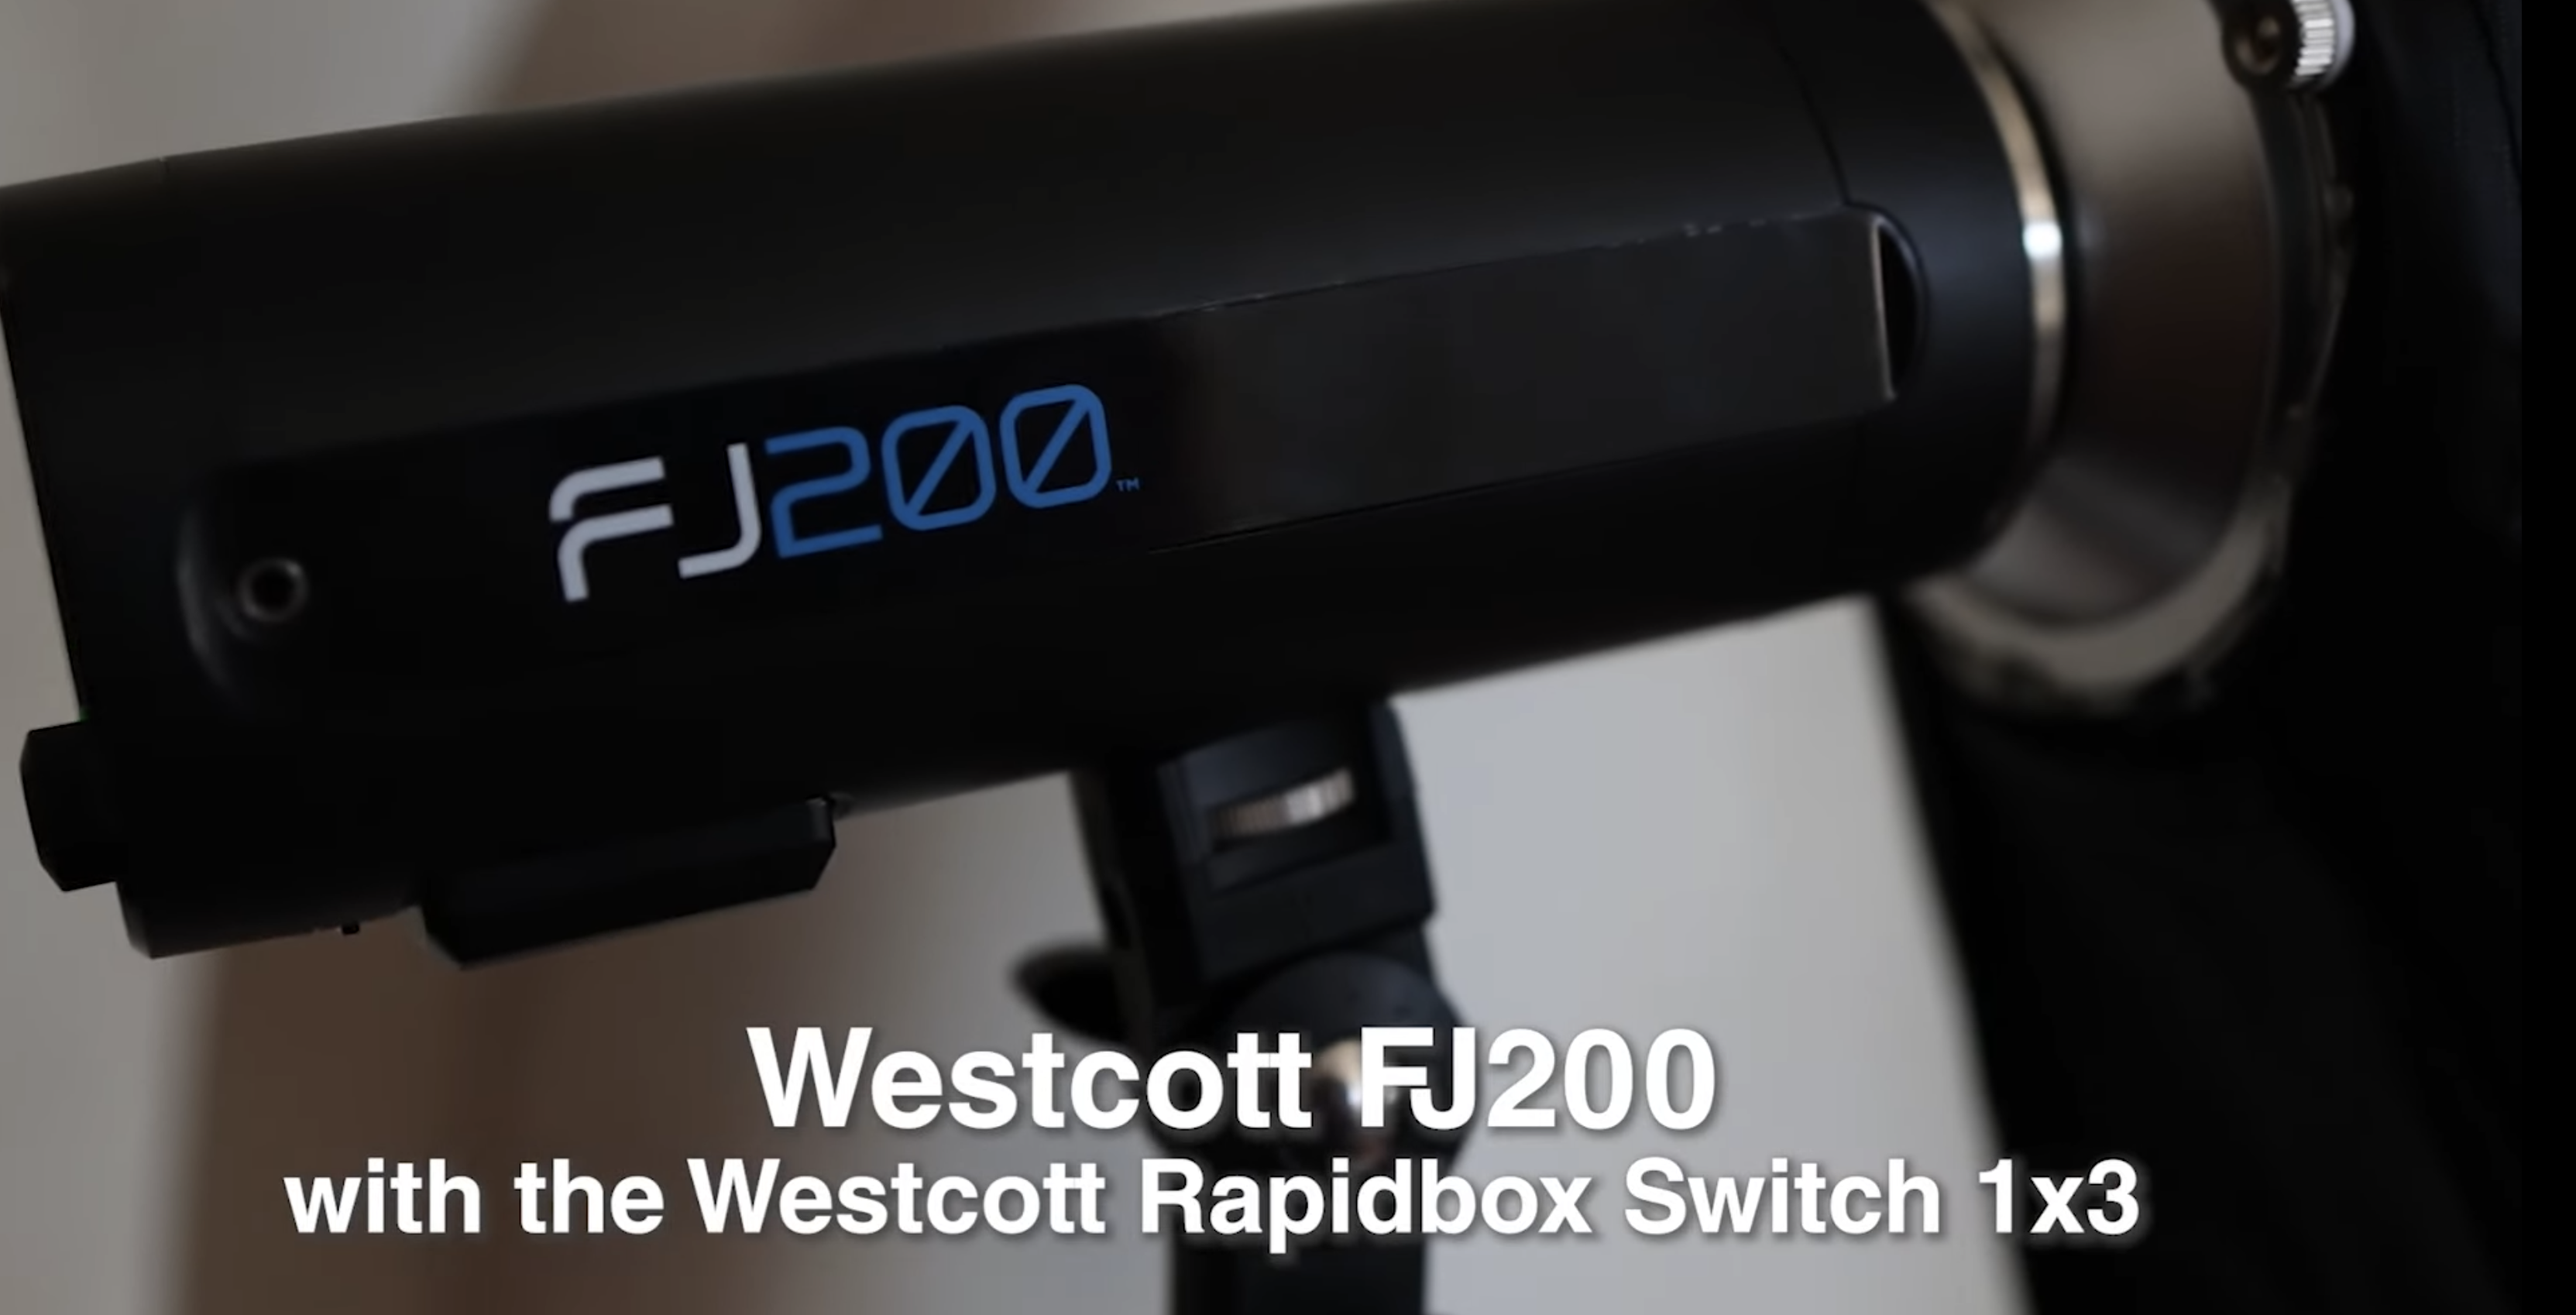
Light: Wescott FJ400, Wescott FJ200
Team:
Photographer: Sal Cincotta
Model: Peyton
Hair & Makeup: Brandi Patton, ReFine Beauty
What’s up everyone? My name is Sal Cincotta and today we are here with the beautiful Peyton.
All right, so we are here and we are going to do some quick and easy lighting setups for high school seniors, all right? Let’s get to it.
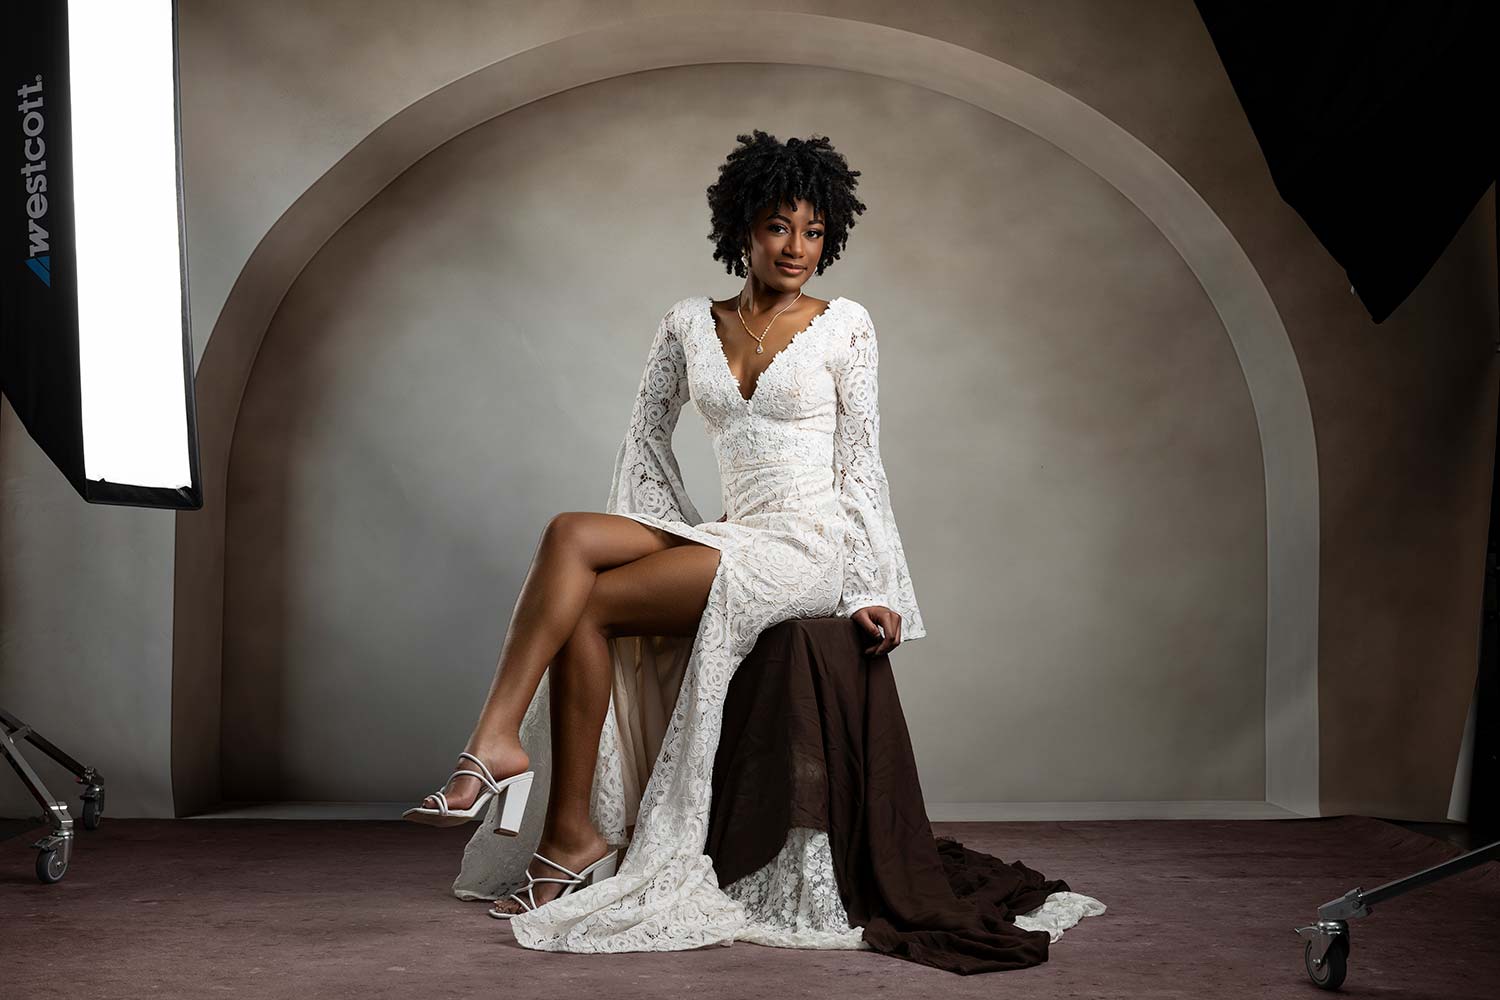
We are in a studio. My studio happens to have a lot of natural light coming in. Yours may not. So I’m going to show you two ways to photograph a shot like this, but let me get you through all the details here.
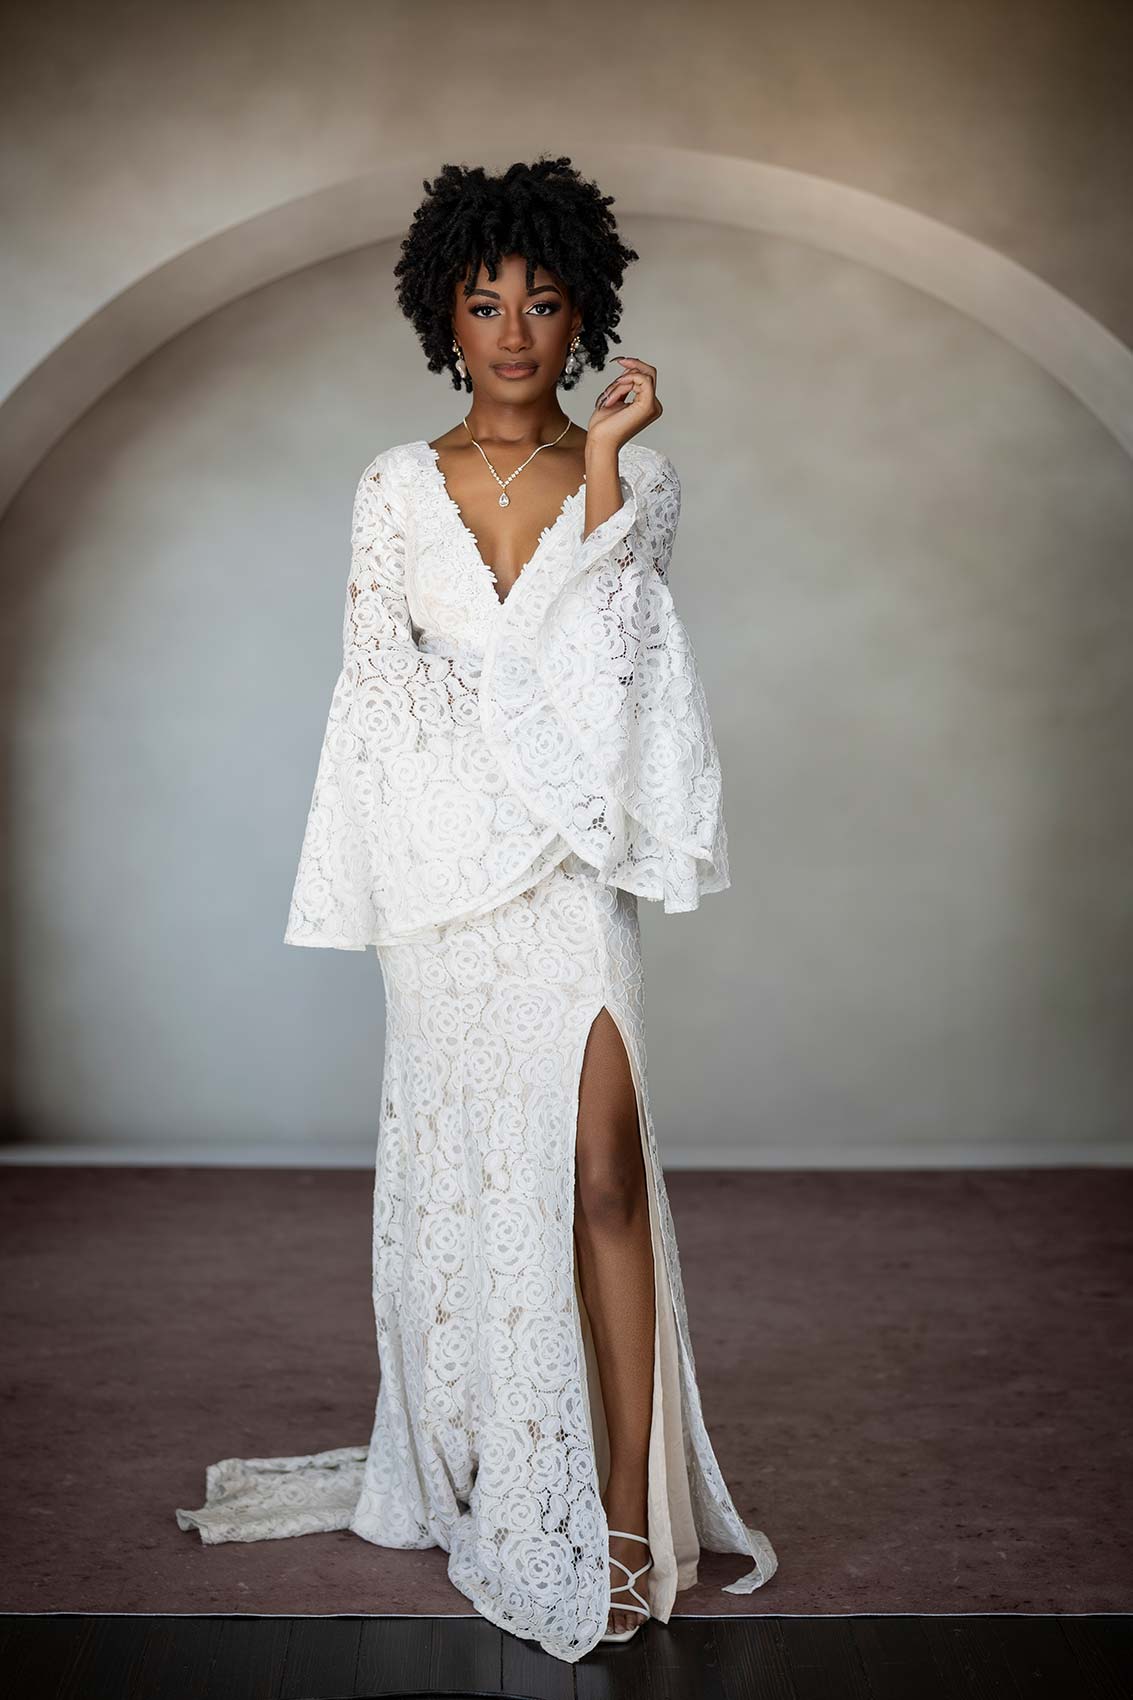
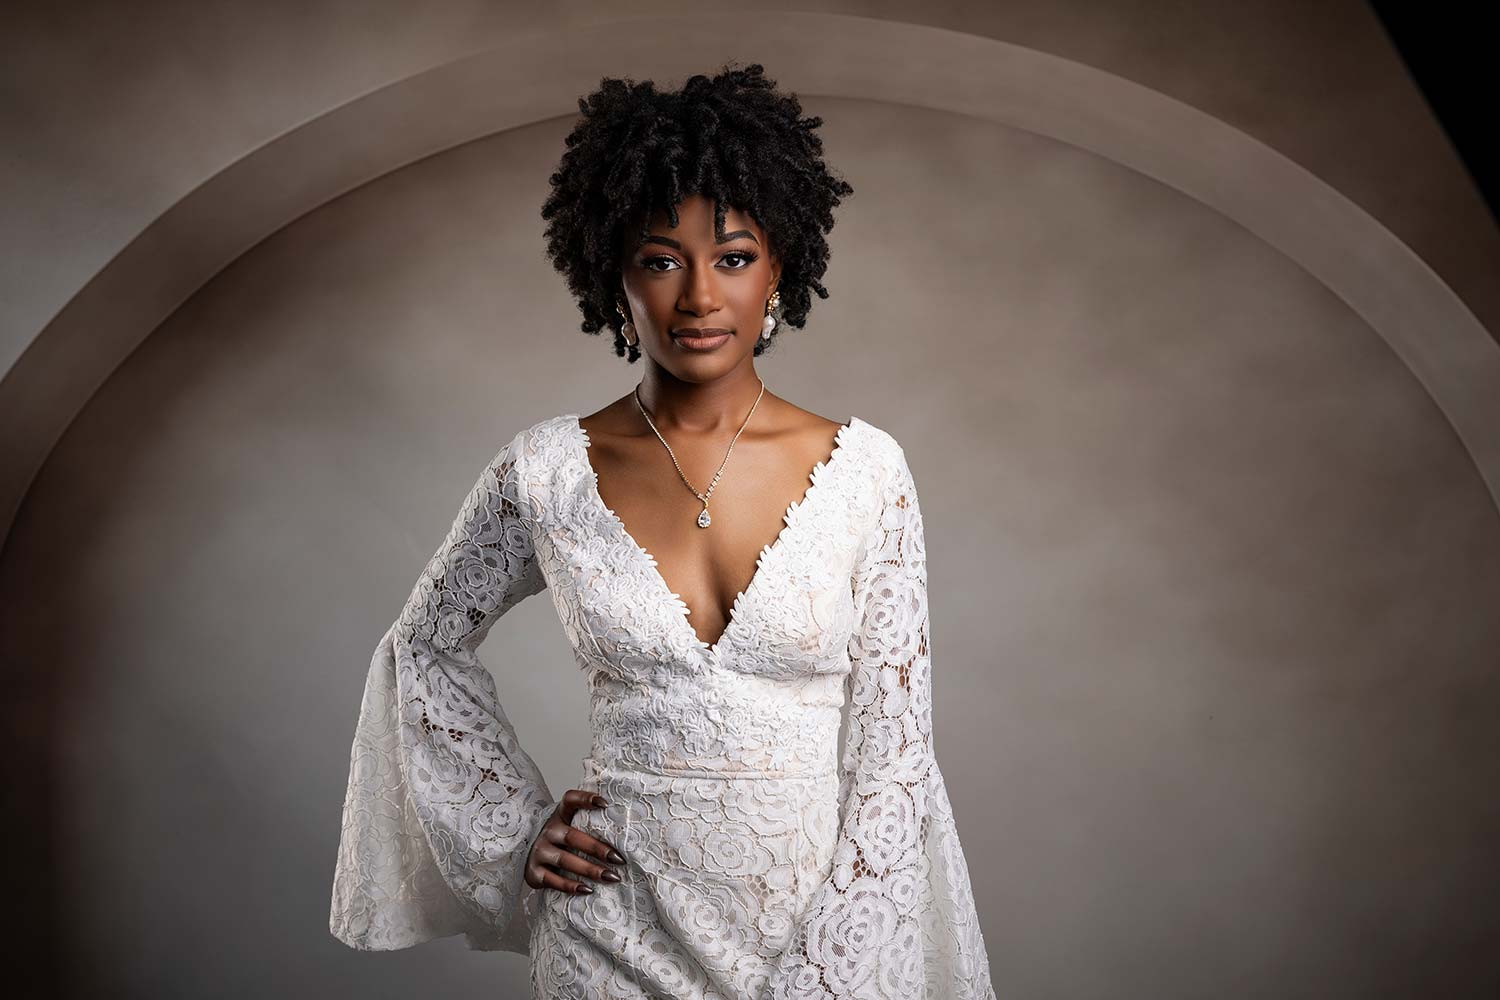
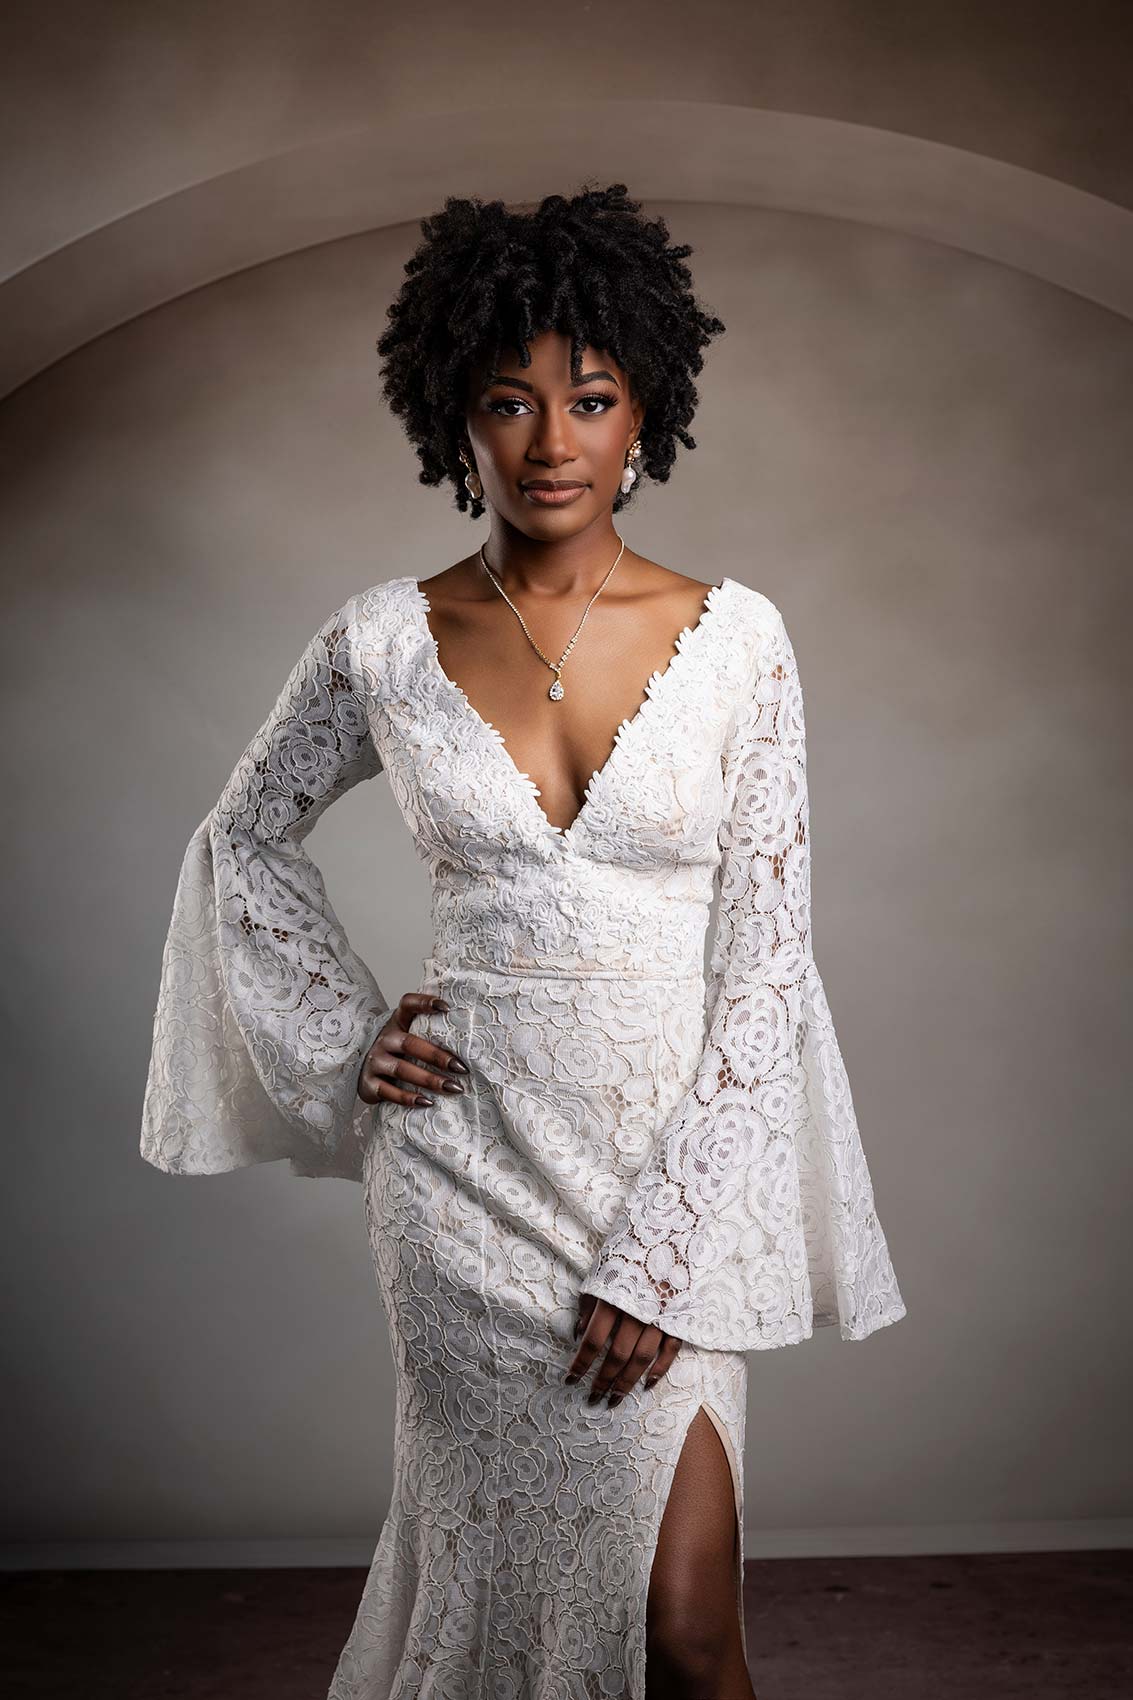
We’re working with the Canon R3 today. 28-70 F2 on the lens. We are working with the background from Intuition Backgrounds. It is the Francesca. It is a brand new line that is about to launch. And we’ve got a floor from Intuition as well. So really kind of to transform the studio. What I love is matching kind of the background, the floor, the dress, everything with these earth tones and her skin tones really to create this really nice feeling tone on tone on tone. So it’s going to photograph really well. So we’ll start with natural light and then we’ll go from there. So let’s go here.
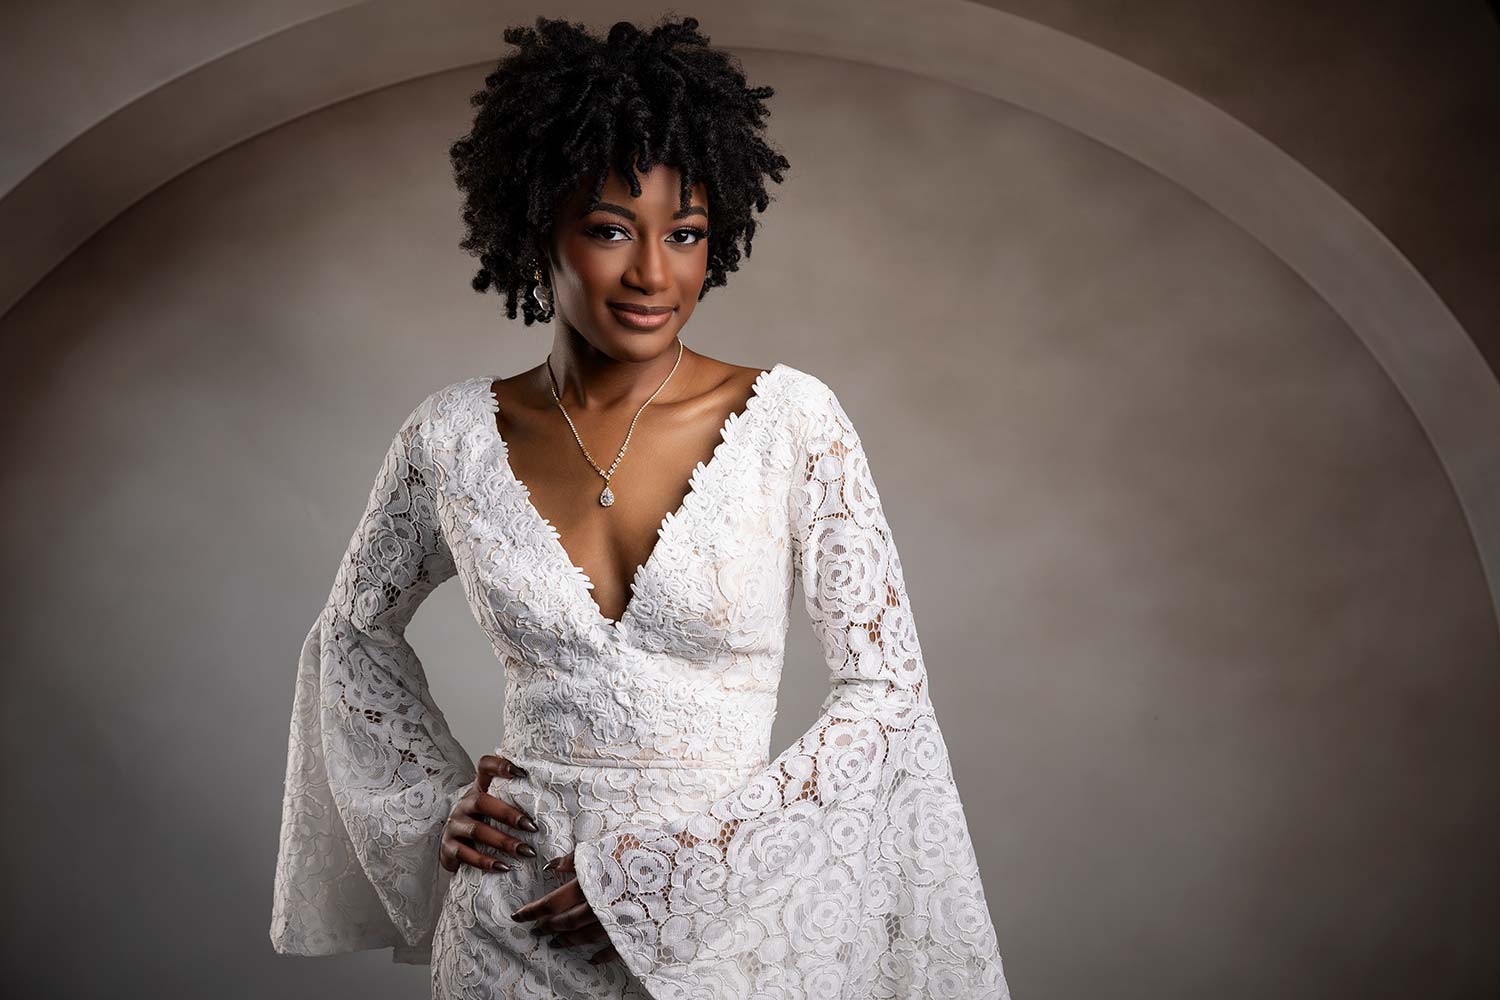
All right, so first we’re just going to kind of start out with some nice portraits waist up. I’m really liking how these are looking. We’re getting nice tones throughout the image. Skins popping. She’s popping.
It’s real quick. It’s an easy setup. It’s flat light coming in through here. No directional light. If you’ve got a studio with that space, use it. If you’ve got a garage or an open area, use that.
But now let’s transform it so it’s got a different look and feel, something a little bit more advanced. So when I’m in studio, I like using two light setups. It’s super easy. So I’m using Westcott FJ400 and an FJ200. And this is still going to be somewhat of a high key shot.
So I’ve got them on different groups so that it can control power. This is an octabox, so we’re going to get a nice soft light. And we’re going to meter for this. So it’s very important to meter your lighting so you know exactly what you’re getting. And you’ll see how quick and easy it is. I’m assuming we’re going to roll through this.
So what I’m going to do, I’ve got a Sekonic light meter, I’ve got my trigger. And we’re going to meter the two lights separately. I usually like one stop a light different. So this is 5.62. I’m going to keep it there. And then on the backlight, I’d like this to end up at about 4. It’s at 284. So I’m just going to change this light from the trigger. So I need one more stop of light there. So you just move it up one more stop. So this is at 4, and this is at 5.6. So now we’re dialed in. You see how quick and easy that was to dial your lighting in.
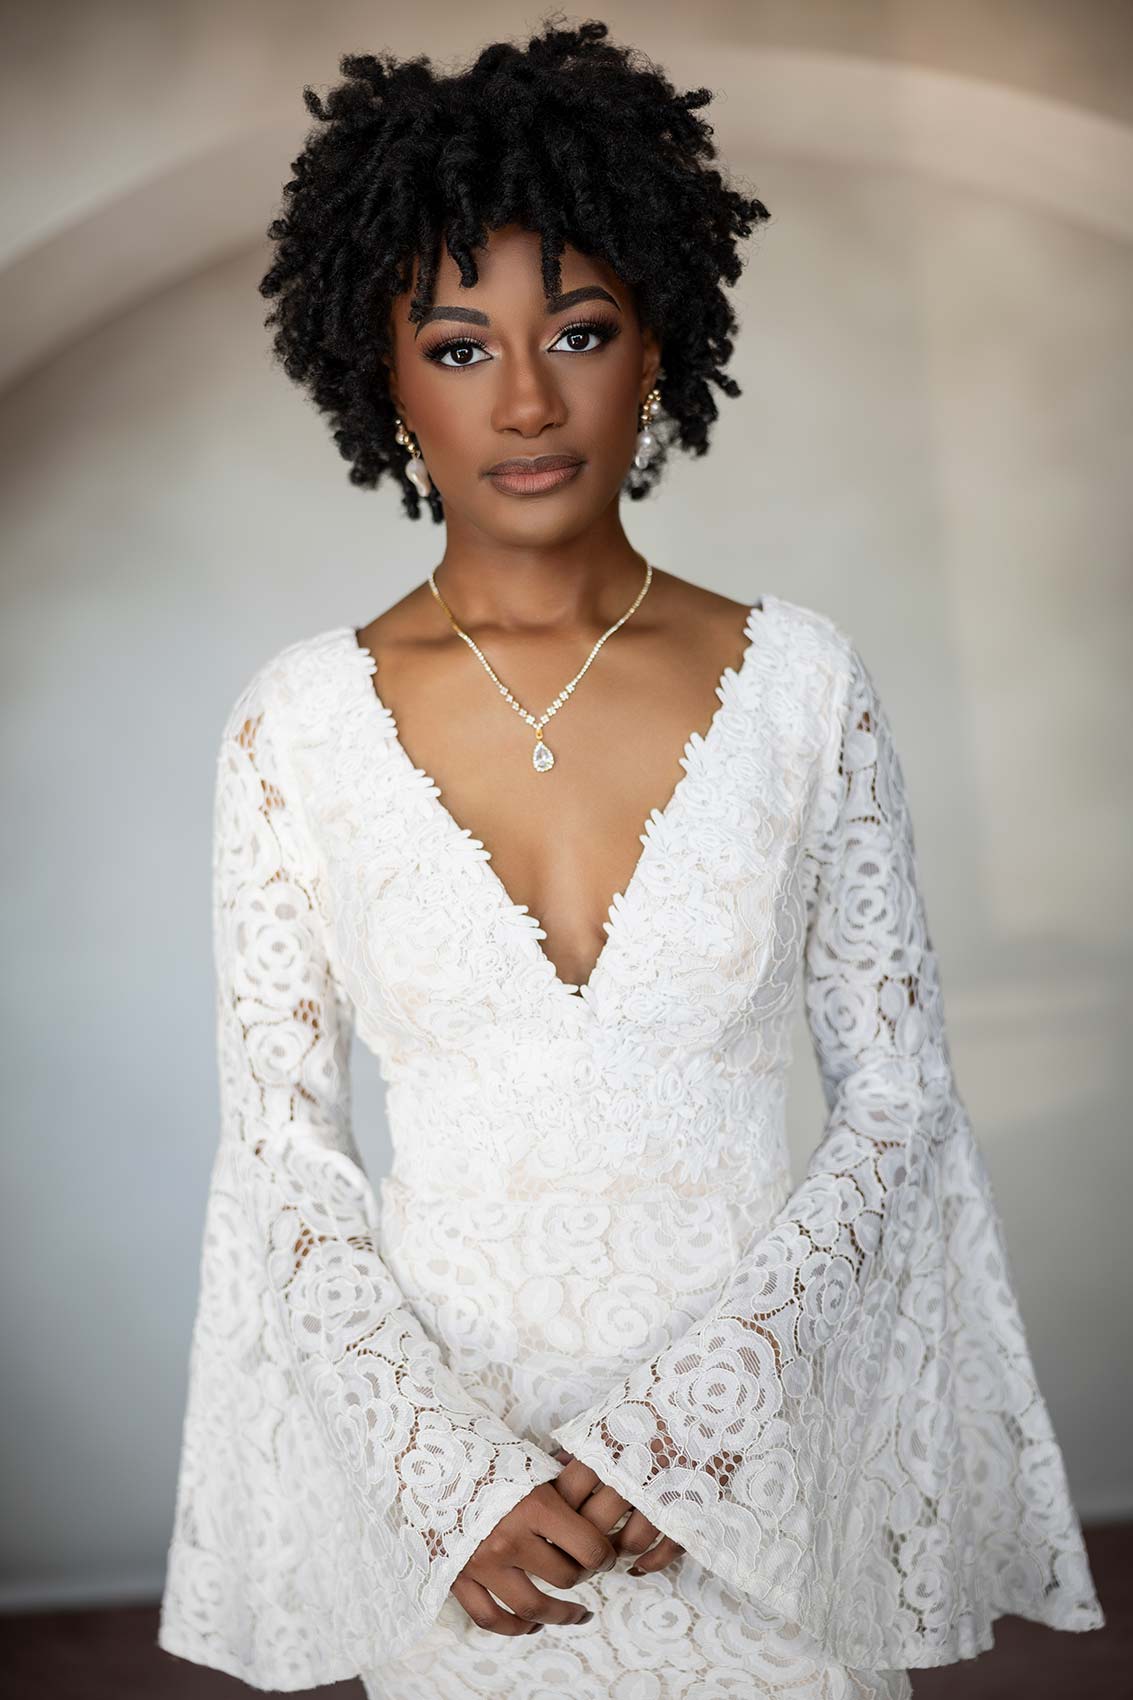
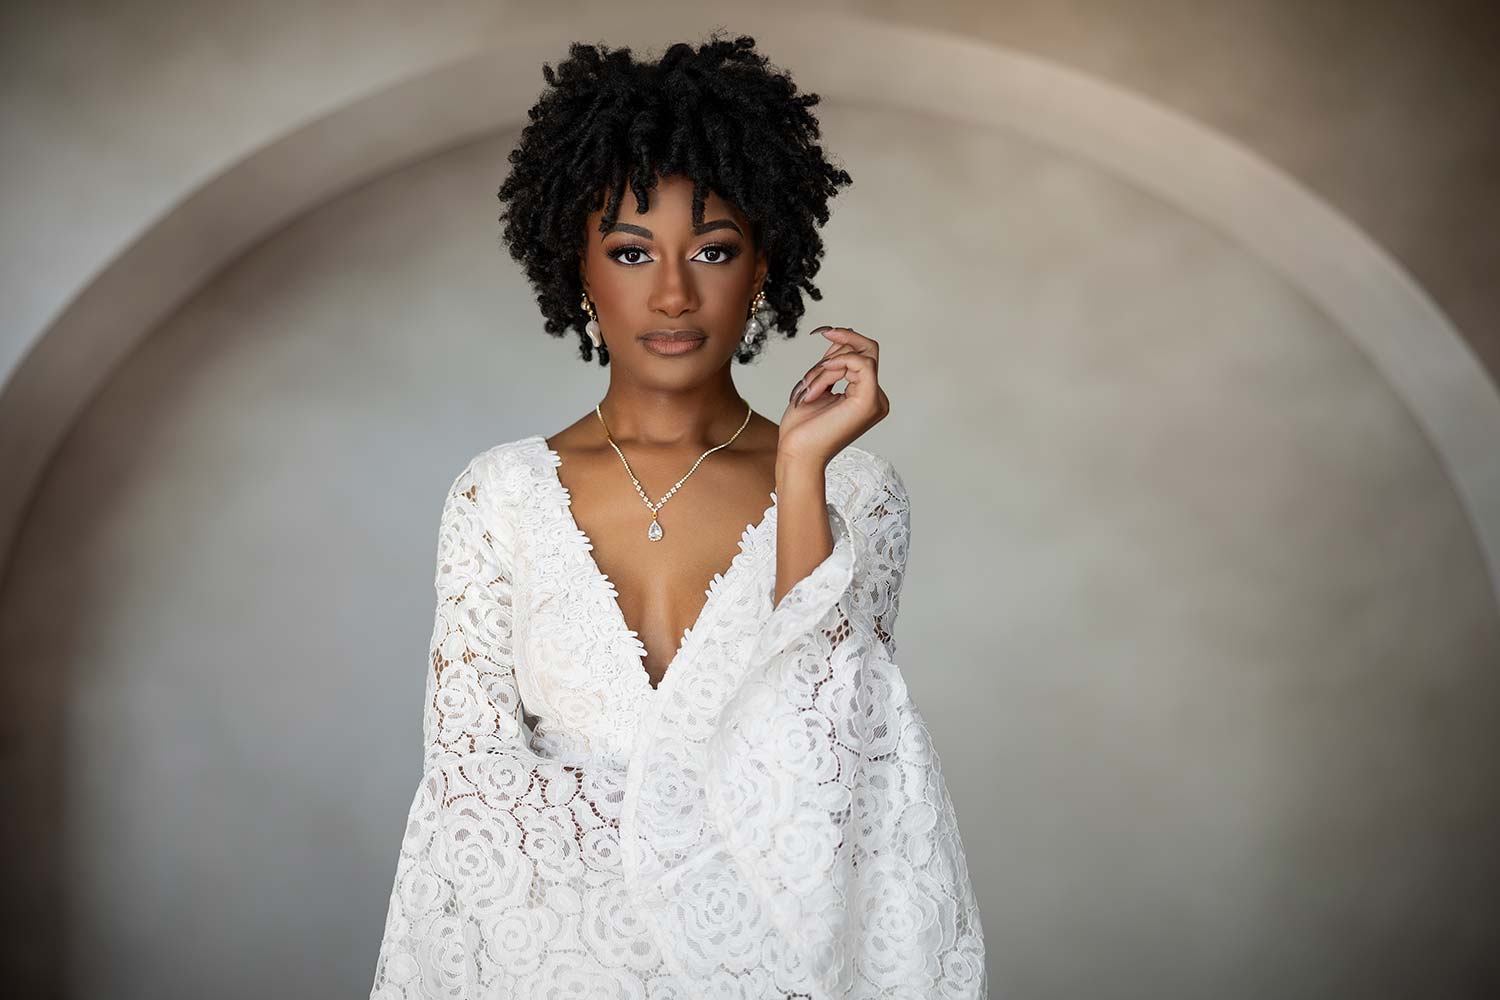
All right, so just quick, what we did to highlight it. Main light is at 5.6. It’s a FJ400 with an octabox on it. And then I’ve got an edge light, camera left. I always like to put those opposite just to create some separation from the background. It’s an FJ200. And that’s at F4. I mean, we were set up in less than 60 seconds, and it’s going to change the look.
So now what I’m going to do here is now that we’ve got more controlled lighting, it’s still going to feel like we’re outdoors and we have control of that now. First just flat light. It’s a little more directional. And I think it makes you look better as a photographer. It makes the portrait look better and everybody all around is happy.
If you want to stand out from other photographers, you’ve got to learn to do this kind of stuff. And it doesn’t have to be some expensive, elaborate setup. Sure, we could bring in 8, 10 lights in here, but two lights is all you need. And you could even do this with speed lights. So even if you have a set of speed lights, just get a large main light source and it’ll really change the way things look.
All right everybody, that is a wrap. You don’t have to overcomplicate your lighting for high school seniors. We can work natural light. Natural light’s there. The pictures look beautiful, I won’t argue with anyone. But you let me know down in the comments which ones you like better. Did you like the studio lighting portraits better or the natural light?
And so with the studio lighting, a quick two light setup. Super, super easy. See what gear I’m using, check down in the comments. We’ll see you in the next video.

