Seeing the Light: Outdoor Lighting vs. Studio with Eli Infante
When setting up a photoshoot, one of the most significant decisions a portrait photographer can make is the stylistic choice between shooting outdoor lighting vs in the studio. Each has its advantages and disadvantages, but the lighting can offer extraordinary results. That’s why I follow a few philosophies for each approach. Here are a few tips to get creative with lighting, whether you’re outdoors or in the studio.
Outdoors
When planning a shoot, I think about how important the setting is to the concept. One of the most significant advantages of outdoor lighting is capturing dramatic scenes. We have gorgeous locations in South Texas, such as South Padre Island and Sal Del Rey. I’ve also had the chance to capture some of my most thrilling photographs with beautiful Texas sunsets in the background.
Another reason to light outdoors is the opportunity of working with the environment to create a good photo composition. Here is an example of using framing with the building in the background. On location, shooting can provide variety and is one of the key factors I look for when scouting. I found an interesting wall pattern at the location, so I placed two speedlights with color gels to create a one-of-a-kind photo using a four-light setup.
The most important lesson I’ve learned about lighting outdoors is how many possibilities there are to work with the environment at the location. Finding a great location can set the mood for your shoot and can play a significant role in your artistic vision.
Camera Settings & Gear – Outdoors
When lighting outdoor portraits, you have two exposures. You first set your ambient exposure (available light) with your camera settings. For most of my work outdoors, I’m using ISO 100, Aperture f/2.8 and below, and using the shutter speed to control how dark or bright I want my background to be. Once I’ve dialed in the appropriate exposure for my ambient light, then I turn on my flash. The flash only affects the subject’s exposure and is set to high-speed sync when added. High-speed sync is a technique that allows me to go above my flash sync speed to capture shallow depth of field portraits, which is my personal stylistic choice.
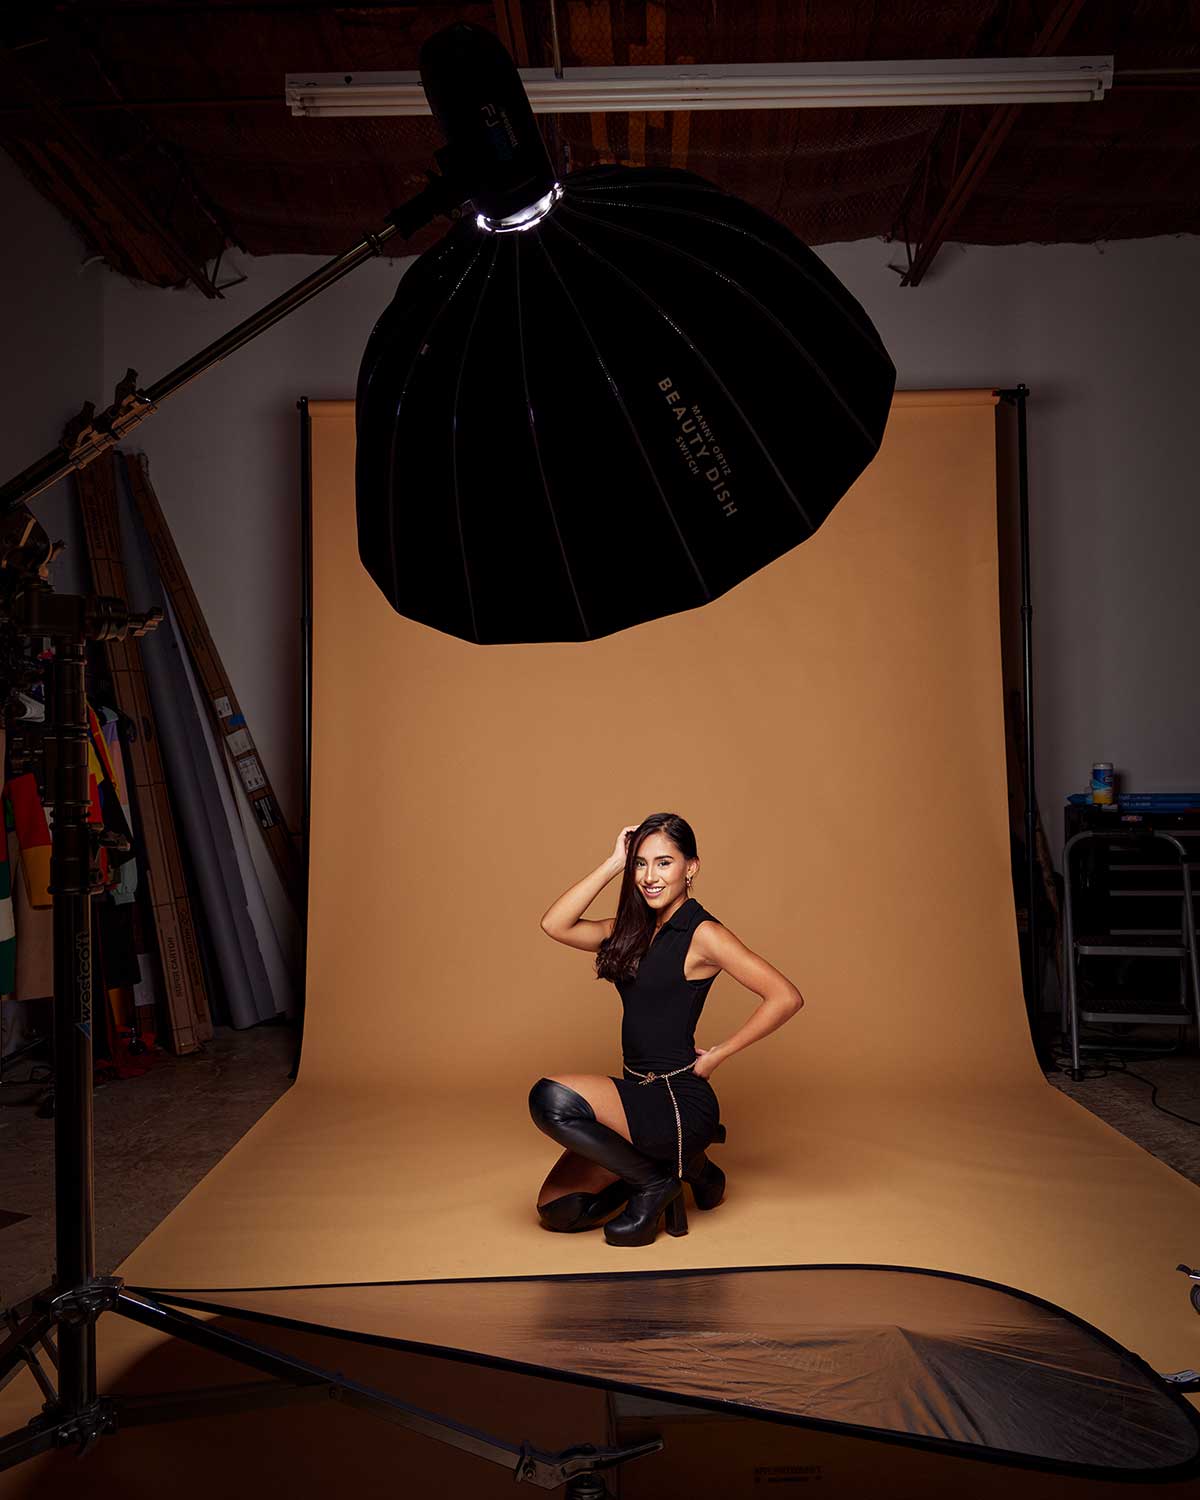
My go-to strobe for on-location work is the Westcott FJ400 and FJ200 because they pack enough power for my photographs. I try to pack light and keep my softboxes to 24 to 36 inches if there is wind or heavy foot traffic. I used large modifiers when I started shooting, which was a huge nightmare on windy days. My go-to lenses for outdoor work are a 35mm and 85mm prime. The 35mm allows me to create environmental portraits to showcase the location, while the 85mm is super useful when creating that beautiful bokeh when the opportunity arises.
Light Setups Outdoors
When it comes to outdoor lighting vs in the studio, I narrow it down to two simple setups: butterfly lighting and Rembrandt. Butterfly lighting is excellent because it’s easy to use and looks great on most subjects. To create butterfly light, place your light above your subject angled down until you get the catchlights in the upper-middle part of the eye. The Photoflex LiteReach Plus is an excellent boom for this setup.