Shapes and Shadows with Bambi Cantrell
My love affair with black & white photography started when I saw an amazing image by acclaimed photographer, Richard Avedon: “Dovima with Elephants, Evening Dress by Dior.”
I stood mesmerized by the simple yet powerful image. That image changed my very thought process. I went from being a very literal photographer (what you see is what you get) to a photographer who was drawn to a more interpretive style of imagery. There is something powerful in the ability to capture images in purity, and not being tainted or moved by the color in an image. Black & white photography does that for me. The lack of color creating hues of dark and light, black & white are very pure and each person interprets a scene based upon their private thoughts.
Four things I keep in mind when deciding whether an image will be color or black & white.
• Impact. Will the story be more impactful? Can you hide distracting elements?
• Interpretation. Will the lack of color hinder or help how the viewer sees the story?
• Isolate. Can I isolate what is important more effectively in black & white?
• Illumination. How will you light your subject? And where will the main light be in relationship to your camera?
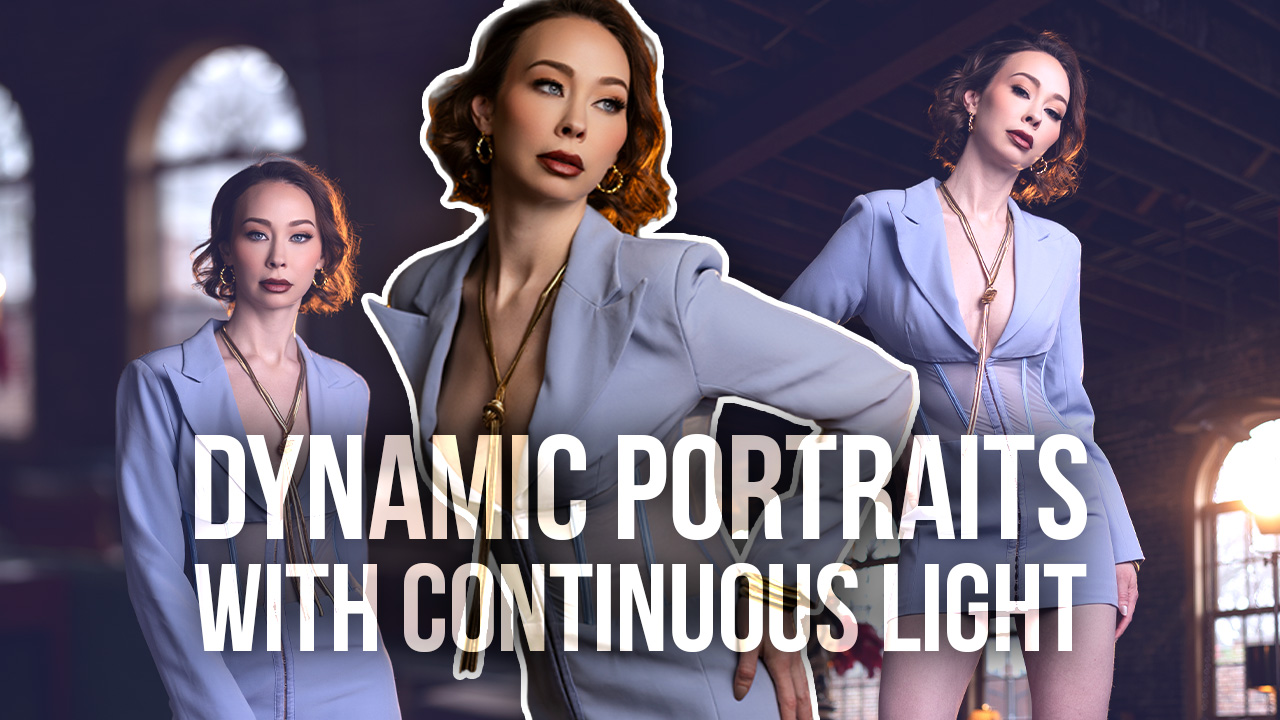
Speaking of lighting, I’d like to address the way I lit a few of my captures to produce the effect I was looking for. I used a single Profoto studio strobe with a softbox to light the subject’s face. The softbox was about 5 feet from the subject, at about a 90-degree angle. My vision was a bit of Hollywood glamour. To ensure a softer light I placed the softbox as close as possible to the subject. This removed hard shadows.
Let’s take a look at the silhouette for a moment. The image was the last of a series of images captured of a local dancer. Here are the steps taken to capture this picture.
I purchased a large piece of 40% opaque plastic (about 6 x 8 feet in size) and placed it on two heavy-duty light stands with clamps. I then placed the plastic about 4 feet from a southern-facing window with light streaming in. The subject was then placed on a small box about 2-3 inches from the plastic (behind) to capture. I choose to meter for the light and captured the image. The same concept can be done with strobes. When photographing in this style, keep in mind that the shape and shadows will be a bit distorted, and the arms should be kept away from the body to avoid bulking up the subject.
I captured this image in real time during my client’s wedding. Mom was very self-conscious about being photographed before hair and makeup, so I decided to make it all go away and photograph into the window to make her feel a bit more comfortable.
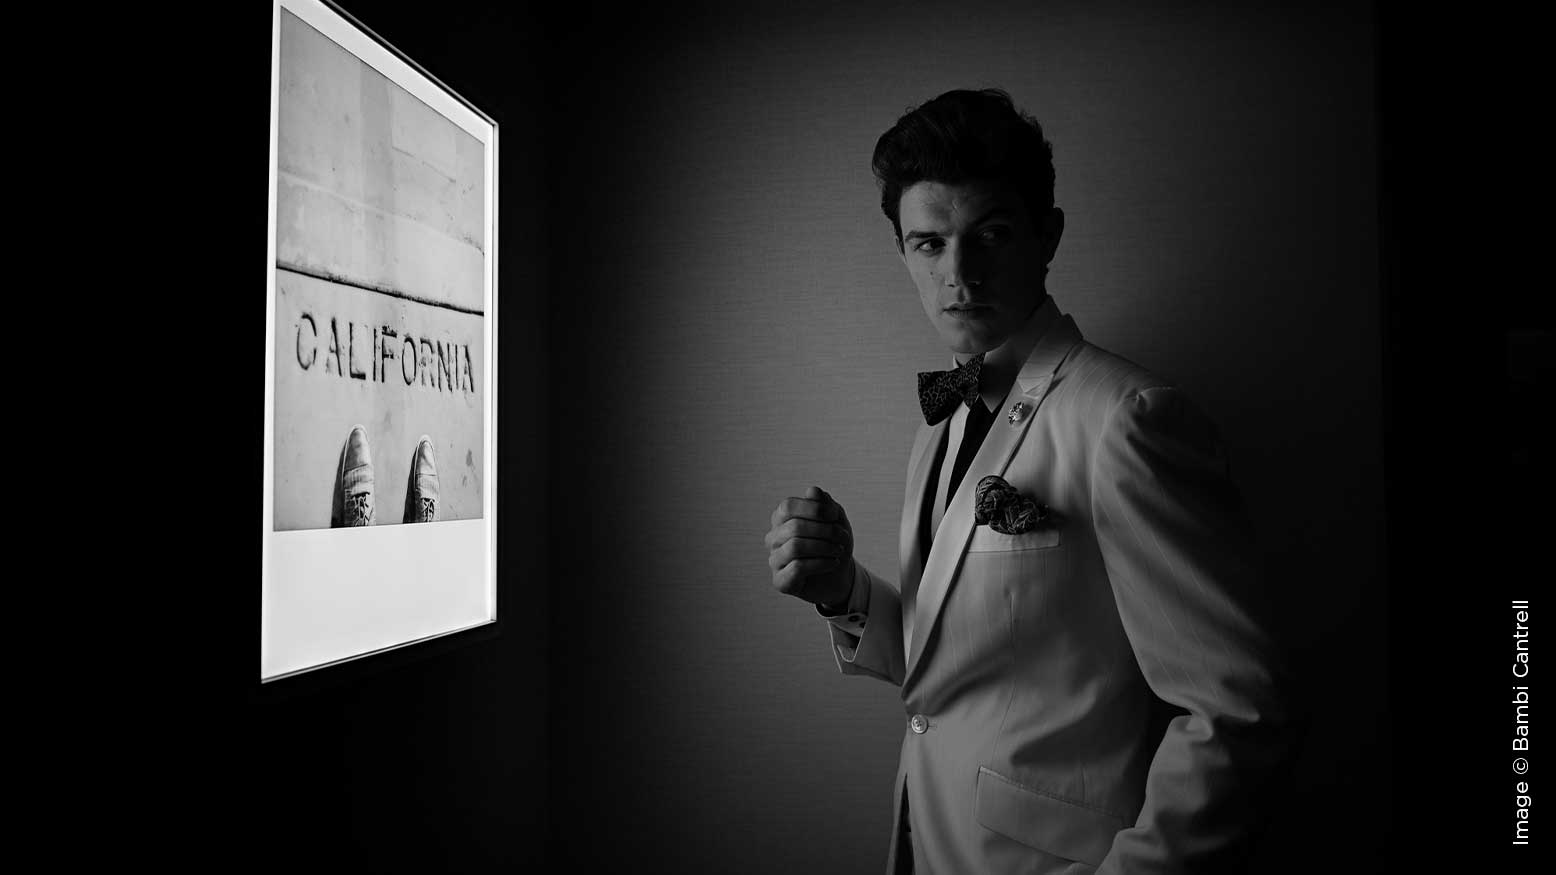
“Light is light,” I always say, “in black & white.” The use of existing light sources to create drama literally anywhere, anytime is one of my very favorite concepts. I have the ability to use anything from a flashlight to spotlights in the ceiling as a main light without being overly concerned with color temperature. This is especially effective when under the time constraints of a wedding day.
To be effective at using this technique, practice seeing light direction in everyday experiences like watching movies (preferably old black & white films), watching your children play, or just having lunch with friends.
Another great thing about rehearsing how you will light a certain subject is that when you have reduced mobility (as was the case below), you are able to capture in real time and get something amazing.
I like to ask myself, what am I trying to say in capture? Am I trying to showcase an emotion, a particular mood, or maybe simply showcase the best feature of a bride in her gown?
With the hard work of capture done, now I am ready to edit the images and print them. My personal preference for black & white conversion is to use Exposure X5. (I do all conversions after capture, not in camera.) I came from the film days, so it is nice to see some of the black & white conversions that emulate film, like recording and infrared.
The bottom line is whether you’re photographing for black & white images or color, learn the difference between an f-stop and a bus stop, print and frame your work, and look at life in shades of gray, and shadows not hard and fast rules.