
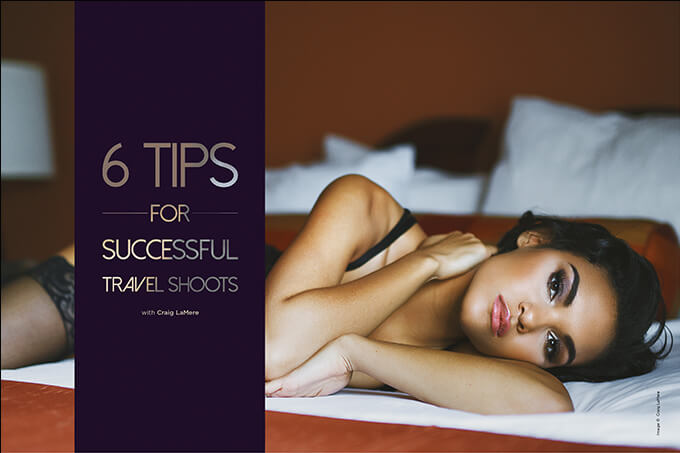
Six Tips for Successful Travel Shoots with Craig LaMere
Want more information on this article? Get access to video content and additional supporting images. Launch the April issue of the magazine by logging in or signing up for a free account by clicking here. Shutter Magazine is the industry’s leading professional photography magazine.
One of the coolest parts of my business is all the traveling I get to do. I have been so lucky and blessed to have traveled from one end of the country to the other shooting, as well as a few other countries. When I first started traveling and shooting, I was so caught up in the excitement of it that I didn’t plan well, and ended up packing the wrong gear or forgetting gear. This month, I give you six tips to help make your next travel shoot successful.
Gear Bags and Cases
One of the most important decisions you are going to make is the gear case you choose. If you saw my studio, you’d think I was a gear case hoarder. I have nine different cases, maybe more. I have a case that is built to hold a body with a grip and a 70–200. I have a small backpack that holds a gripped body, a 70–200 and two more lenses. I have a medium backpack that holds two gripped bodies and five or six lenses. I have a backpack that holds six heads. I have a huge rolling case I can put my whole studio in. The list goes on.
When you are choosing a case, think about how you are going to be getting around. If you are flying, you might want to choose a case you can carry on and not have to check. If you are going to be in places where you can’t roll a case, you might want to get a backpack type. If you are driving to your destination and don’t have to worry about size, you might want a case that can hold half your studio. When you travel by car, it is pretty easy to make choices because you have a whole car you can fill.
This kind of thinking will pay dividends later.
Choosing Bodies, Lenses and Lights
When I fly, I take a carry-on case filled with two bodies, two light meters, some microfiber cloths, a tornado blower, and extra batteries for my camera, triggers and meters. That case never leaves my side. Because of the size limitation, you have to be very calculated when packing.
Once all the must-have items are packed, I have some decisions to make. This case has to fit all the gear for any shooting I’m going to do. I now have to decide, based on my shoots, what I’m going I pack in my bag. Every shoot has must-have gear and some problem-solving gear.
For destination weddings, I bring my Nikon 70–200 2.8 G, Nikon 105 2.8 G, Nikon 24–70 2.8 G and my Nikon SB-5000. My problem-solving lenses are my Nikon 50 1.4 G and Nikon 85 1.4 G. The workhorses for the wedding are the 70–200 and the 24–70. The 105 is for details. The SB-5000 is to bounce light if I need it. The 50 and the 85 are there if I find myself in a low-light situation where I need to open up more to get the shot and I can’t use the speedlight to help.
When I travel to shoot portraits, fashion or boudoir, I have to bring lights that are going to do a little more than the speedlights can, so I pack my Profoto B1’s. They are not small heads, and take up about half of the remaining room in my case. Because they take up so much room, I have to think carefully about the lens. I have four lenses that will get me though about any portrait, fashion or boudoir shoot: my Nikon 85 1.4 G, 58 1.4 G, 50 1.4 G and 24–70 2.8 G.
Flying With Gear
Consider the amount of gear you have to take, how much you can carry on, and if you will have to check any of it. I have never considered it an option to check my camera bodies and lenses. When I first started traveling, I would have up to $6,000 in my bag. These days, it is closer to $16,000 worth of bodies, lenses and lights. If I checked that bag, I’d have an ulcer by the time I got to where I was going.
When I’m flying and I am going to be shooting in a city setting, my case of choice is the Think Tank Airport International V2. If I’m going to be in locations where I will be carrying in my gear, my case of choice is my Lowepro backpack. It is carry-on size like the Think Tank. What I like about both cases is that either of them fit in 95 percent of the overhead compartments on most airplanes. The only time they have not fit in the overhead is when I have to fly part of the trip on a small regional plane. They don’t do a regular bag check. They take your carry-on from you as you are entering the plane and put it underneath. That way, you know for sure that your bag is with you and will be there when you touch down.
Hard Golf Case
Most of the time, one way or another, when I travel I have access to background stands, light stands, drops and light modifiers. On the occasions when I have to bring my own stands, drops and modifiers, I have a secret weapon for traveling: the hard case golf bag. I spent a long time looking for very large and long suitcases to travel with, and then I saw this case. The great part about it is it is very long and can hold a lot of weight and it is solid on the outside so you do not have to worry about the contents. You can put most modifiers and stands in one. The only modifiers you can’t get into a golf case are beauty dishes. Even the standard 22-inch ones are too large.
When I first started using the golf case for travel, I learned a couple of good lessons. One, there are different rules for golf cases depending on the airline. Some have a 100-pound allowance for them, and some maintain the regular 50-pound limit. In the latter case, you can get stuck with a pretty hefty charge, so find out the limit.
The second lesson I learned was when I was checking my golf case and the ticket agent opened it and saw it was full of everything but golf clubs. At that point, my case ceased to be a golf case and just became a heavy and very, very expensive oversize suitcase. As luck would have it, the agent was super cool and told me I had to have some clubs in the case or I would get charged if I got caught again. She told me I didn’t need the whole set, just some type of golf club inside the case. Now when I use my golf case, I have a putter and an iron inside—my lucky 7 iron, as a matter of fact.
Rent When You Can
When you have to have stands, modifiers and other stuff and you don’t want to take with you, one of the best resources is equipment rental stores. If you are traveling to a bigger market, you have a great chance of finding a store that rents professional gear. If I am unfamiliar with the area, I look up stores to see what is available. I don’t care about bodies or lenses—what I need are modifiers and stands. If I can find a rental store where I can get an extra large umbrella, a strip light or a couple of C-stands, that is a huge win. One of the things that surprised me the most was how economical it is to rent gear, especially if you need it for only a few days. The savings in time and energy in packing all that stuff around is worth the rental alone, not to mention the wear and tear on your gear.
Collaboration
One of the best ways to shoot when you are traveling is to collaborate with other shooters in the area. Thanks to Facebook, Instagram and other social media platforms, it is pretty easy to reach out to other shooters and make plans to have a good time and create kickass images wherever you are visiting. Collaborating with a local is one of the smartest and simplest things you can do if you are portfolio building.
Local shooters know the lay of the land, have access to people to shoot and know makeup and hair people. It’s often easier to collaborate with these shooters than ones in your area since you’re not competitors.
Want more information on this article? Get access to video content and additional supporting images. Launch the April issue of the magazine by logging in or signing up for a free account by clicking here. Shutter Magazine is the industry’s leading professional photography magazine.


